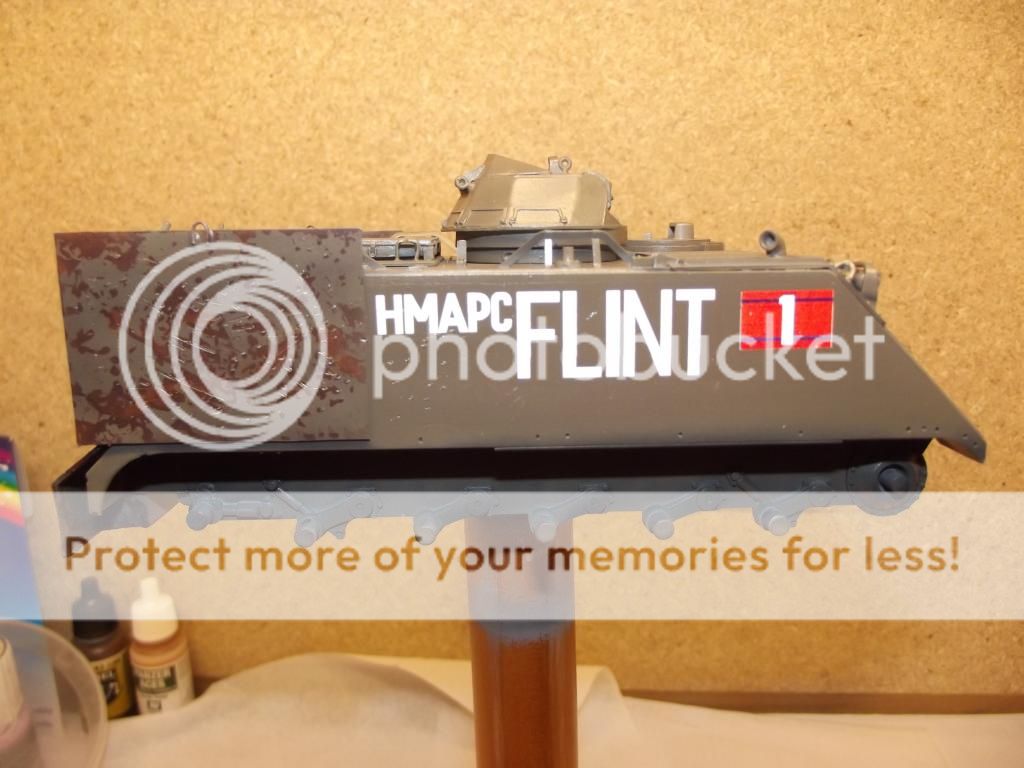
Australian M113 Mine Roller

Post Reply
ROBOPAUL
Staff Sergeant
Staff Sergeant
Posts: 186
Joined: Mon Dec 16, 2013 3:49 pm
England

Australian M113 Mine Roller

Post by ROBOPAUL »

Australian M113 Mine Roller

In June 1966 the Australian government sent the 1st Australian Task Force to support the American war in Vietnam. They were located in a rubber plantation at Nui Dat in the middle of Phuoc Tuy province (approximately 60 kilometres South - East of Saigon). 1 ATF was instructed by the Americans to “pacify” the province.

Six months later the newly appointed Task Force commander, Brigadier Stuart Graham decided to lay a barrier fence and minefield from Dat Do village (next to Nui Dat plantation) southwards to the coast 11 kilometres away. Graham believed that the minefield would separate the people in the heavily populated South - West from the enemy in the North and East. It would also release more troops to conduct Search and Destroy missions that was the American strategy at the time. Graham chose to lay the minefield against the advice of his senior advisers, including his Combat Engineering Specialist.

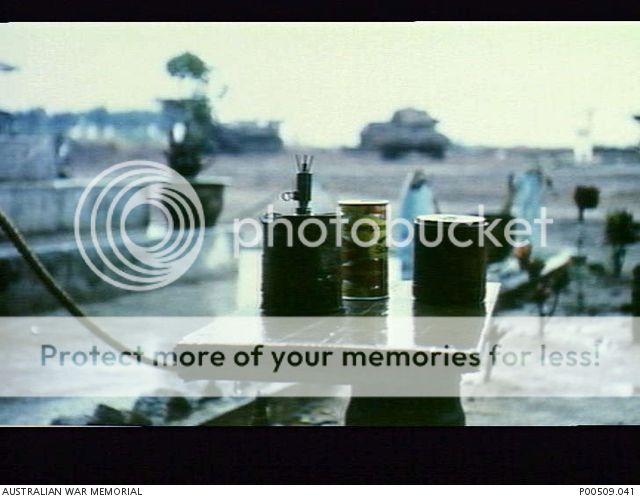
The minefield was 11 kilometres long, 100 metres wide and consisted of over 20,000 M16 “Jumping Jack” mines, with approximately 12,000 of these fitted with anti lift devices (hand grenades). Either side of the minefield was a barbed wire fence. While laying the minefield several Australian soldiers were killed and more were wounded as the mines detonated during the laying process.
One of the basic tenets of military mine laying is to ensure the minefield is covered by observation and covering fire in the event of enemy incursion. Neither of these rules was followed, nor were there any plans for the removal of the mines at a later date.
Image

After an initial period of several months exploring the minefield at night, and losing over 30 soldiers the Viet Cong eventually devised a method of safely lifting the mines and defeating the anti lift device. It has been estimated that over 3000 mines were removed and later used against Australian patrols with devastating and fatal effect. In fact the stolen mines were the source of most of the Australian casualties from that time. It was not unknown for an M16 mine to take out a complete infantry section of 10 soldiers.

Brigadier Graham returned to Australia and was promoted!!!!!!!!!!!

After much procrastination and a rising death toll from the mines it was decided to remove the mines. The Australians had had virtually no experience of clearing mines since the Western Desert Campaign of World War 2 and as a consequence had no specialist mine clearing equipment in Vietnam.

The 1st Field Squadron of the Royal Australian Engineers was given the task.

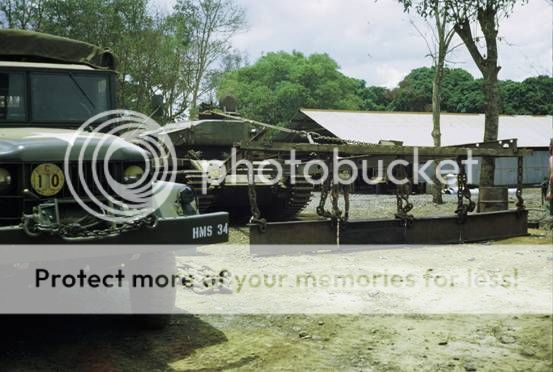
The 1st vehicle they modified was a Centurion MBT. It did not prove to be very successful as it kept missing mines which would then damage the tracks or wheels.
Image

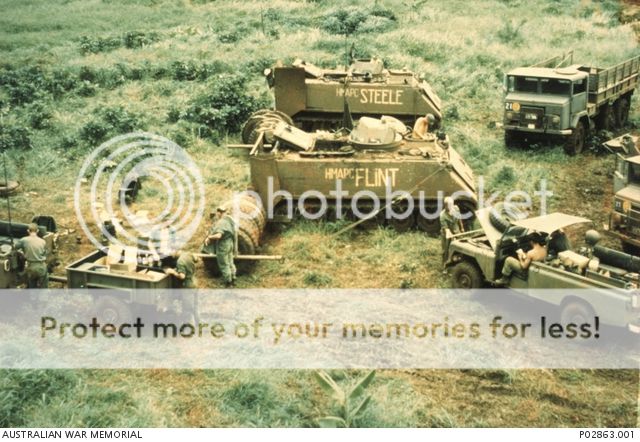
They then modified three M113’s and called them HMAPC FLINT, STEEL and GEORGE. The procedure was to roll the tyres over the mines at a set speed where the exploding mines would detonate at the rear of the vehicles with the add on armour plate absorbing only minor shrapnel damage. Unfortunately this procedure was also not as successful as was hoped for.
Image
Image

Finally the decision was made to armour plate some bulldozers and bury the mines. During this operation one of the dozers fell into a tunnel that had been dug by the VC to steal the mines.
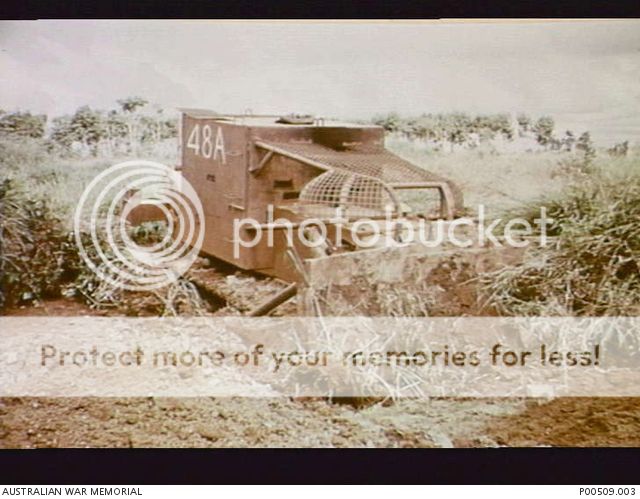
Image

The subject of my build for this GB is to be one of the M113 mine rollers (FLINT).

HMAPC Her Majesty’s Armoured Personnel Carrier
FLINT Named in honour of a former engineering luminary
STEEL As above
GEORGE Captain George who was in charge of mine clearing operations.

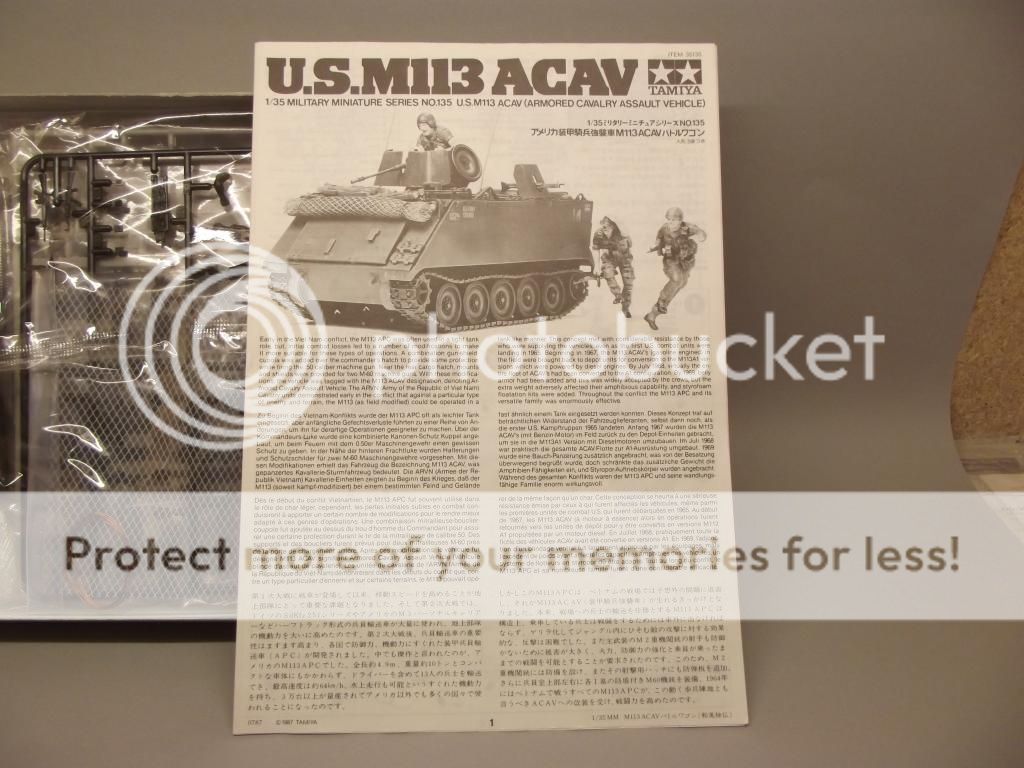
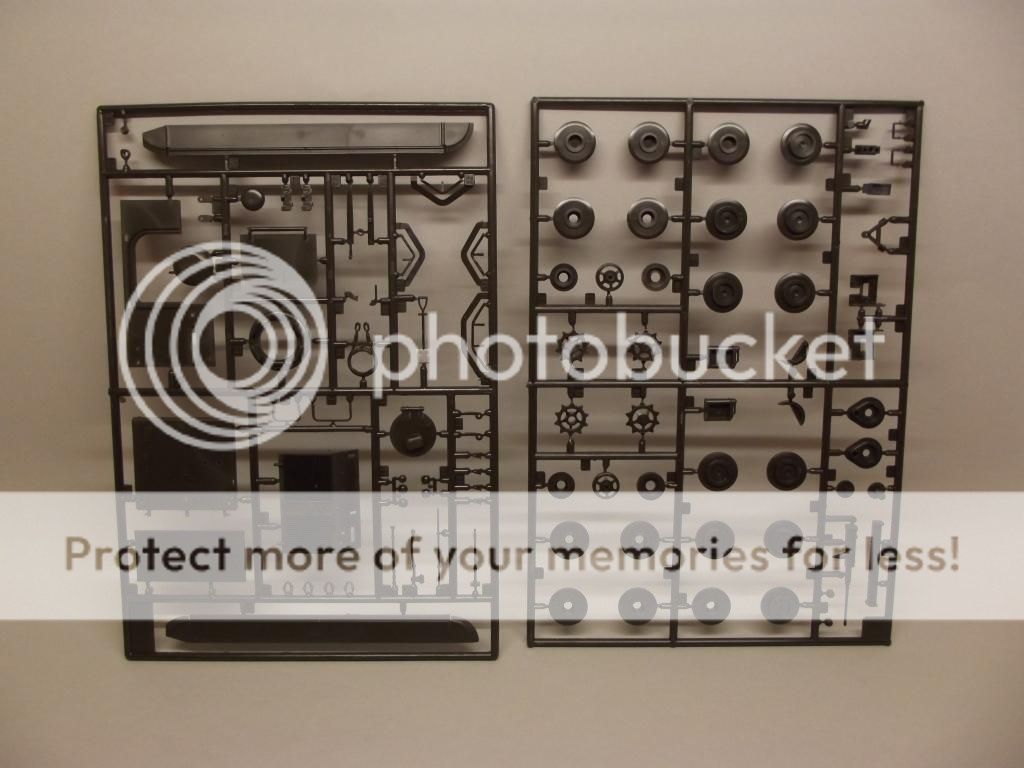
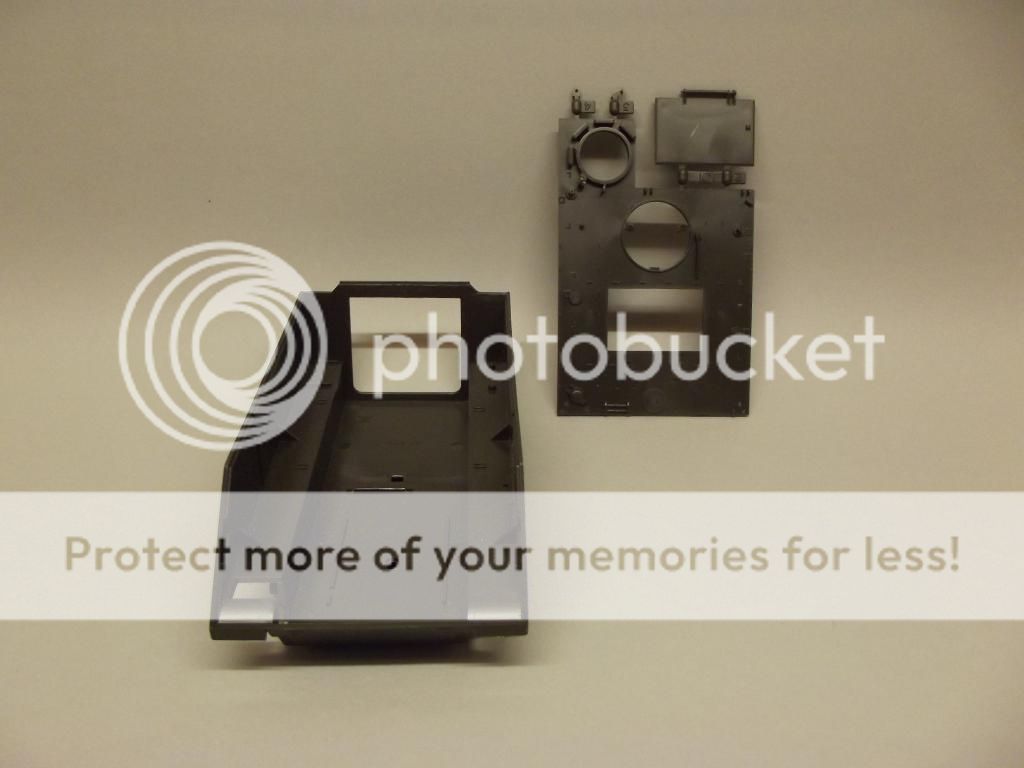
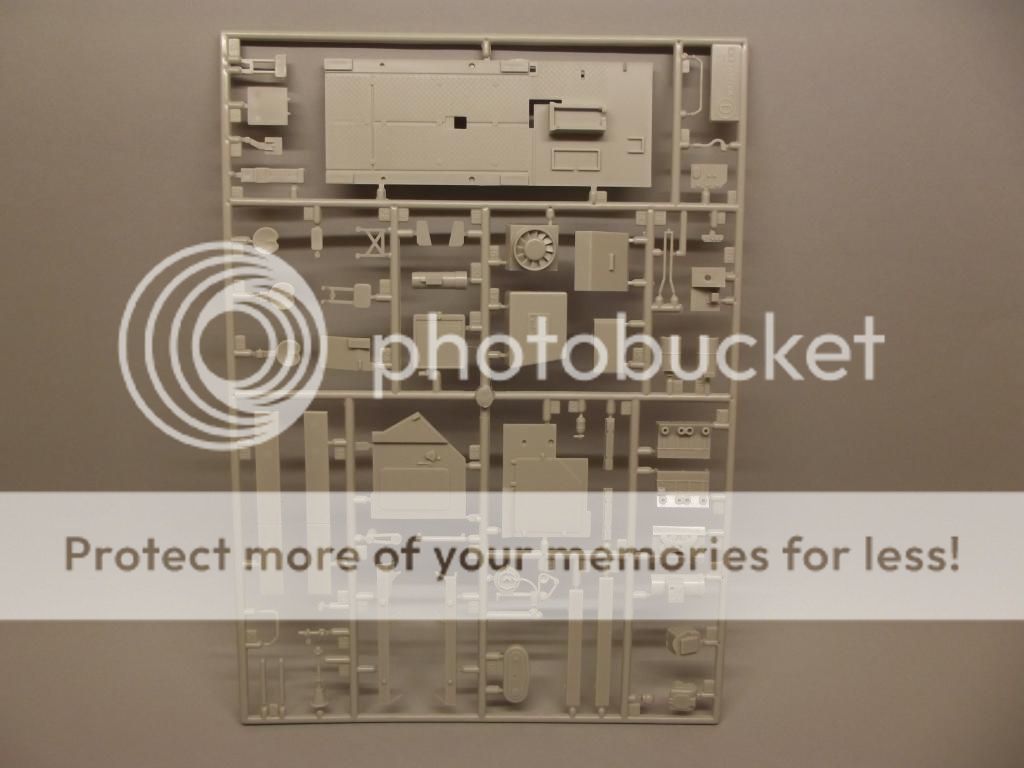
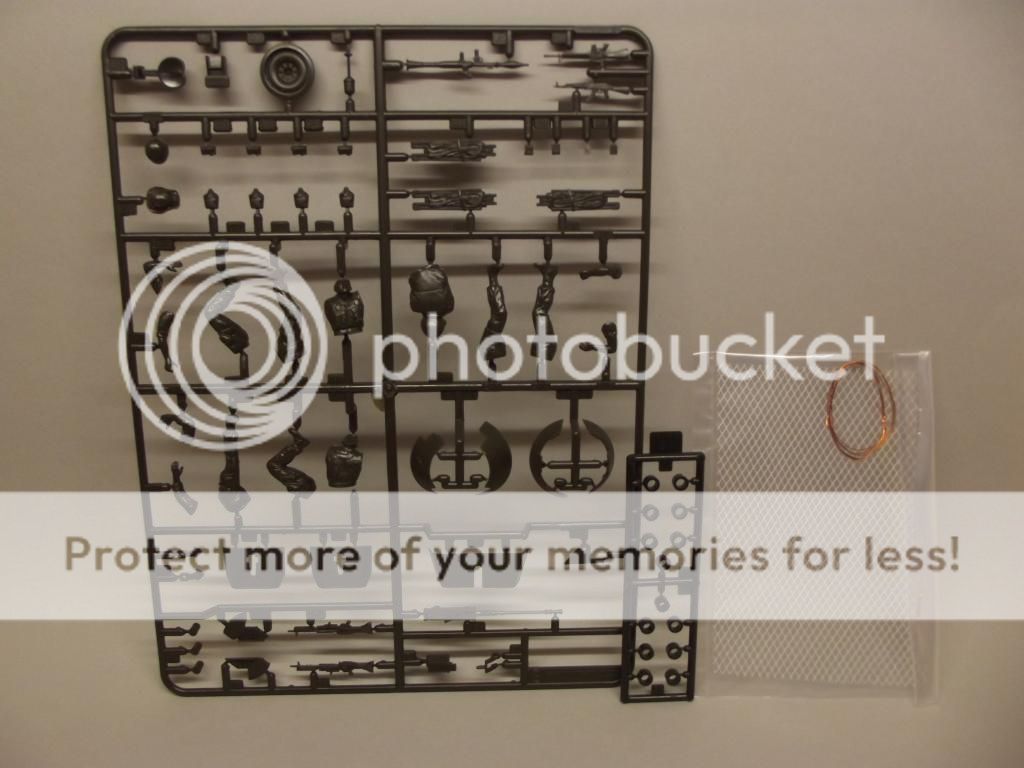
Here are the sprue shots.
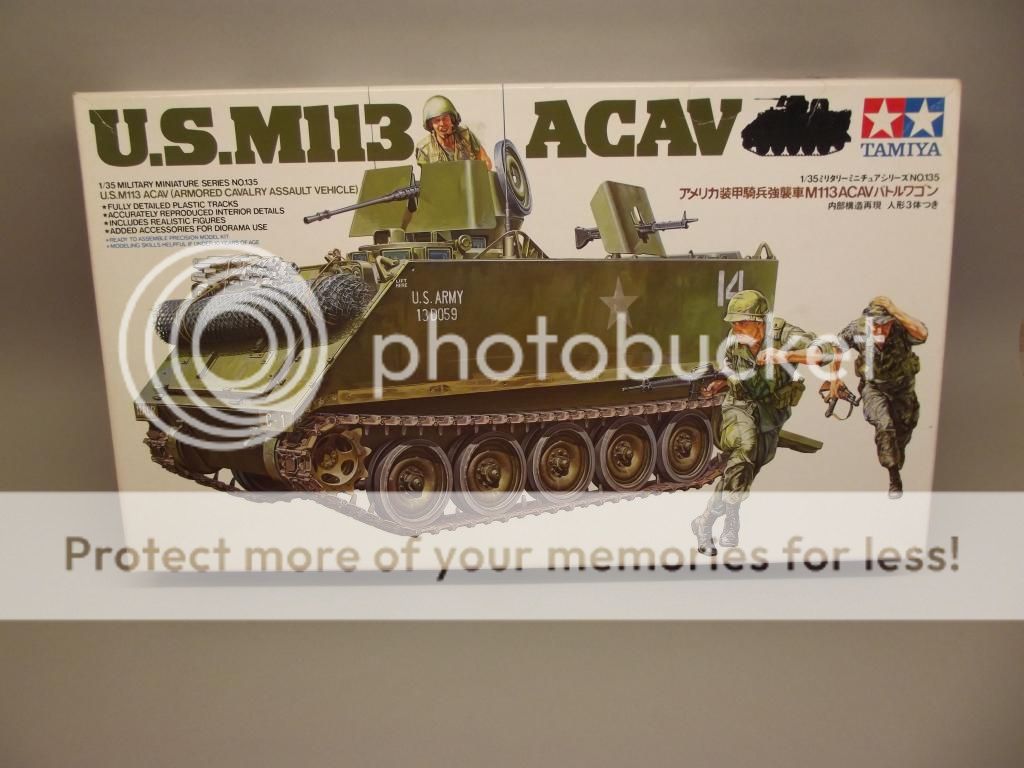
Image
Image
Image
The tracks are quite well detailed on the outside but there is no detail whatsoever on the inside. so I may replace them.
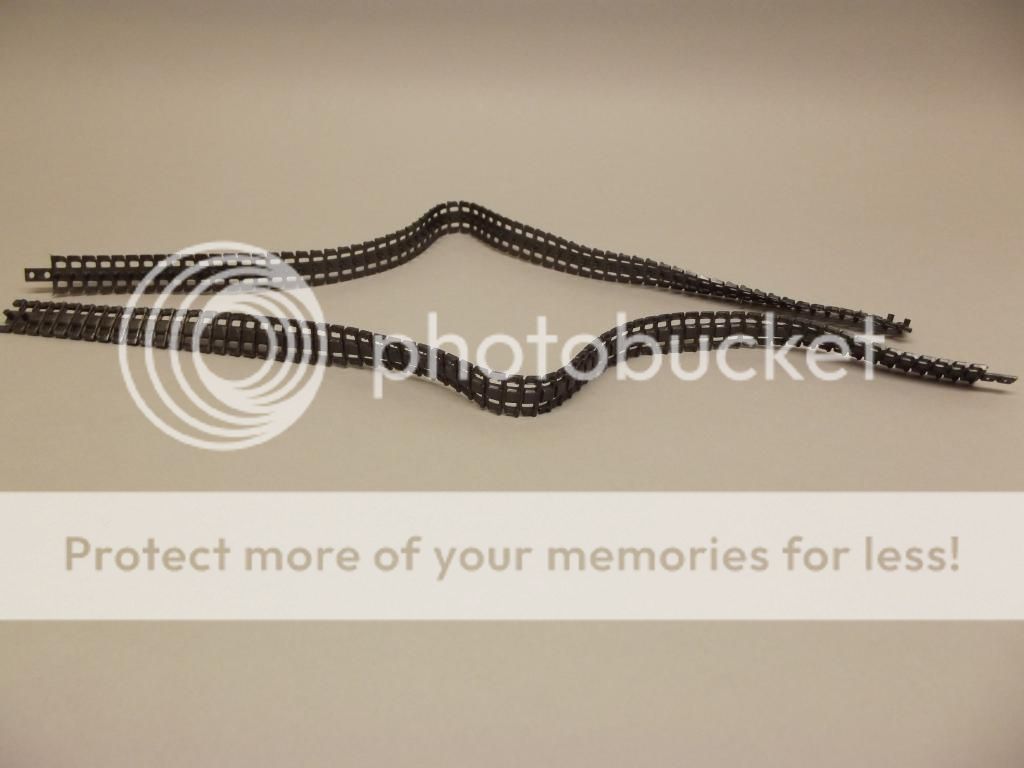
Image
Image
This is obviously quite an old kit!!!!!!!!
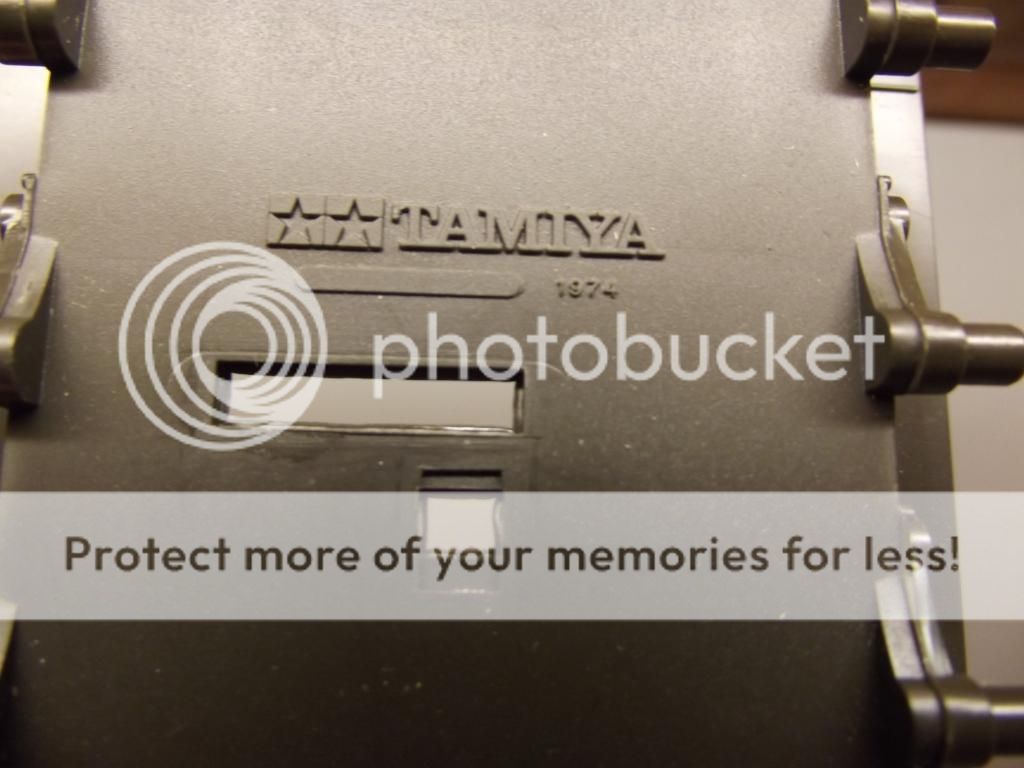
Image
Image
Image
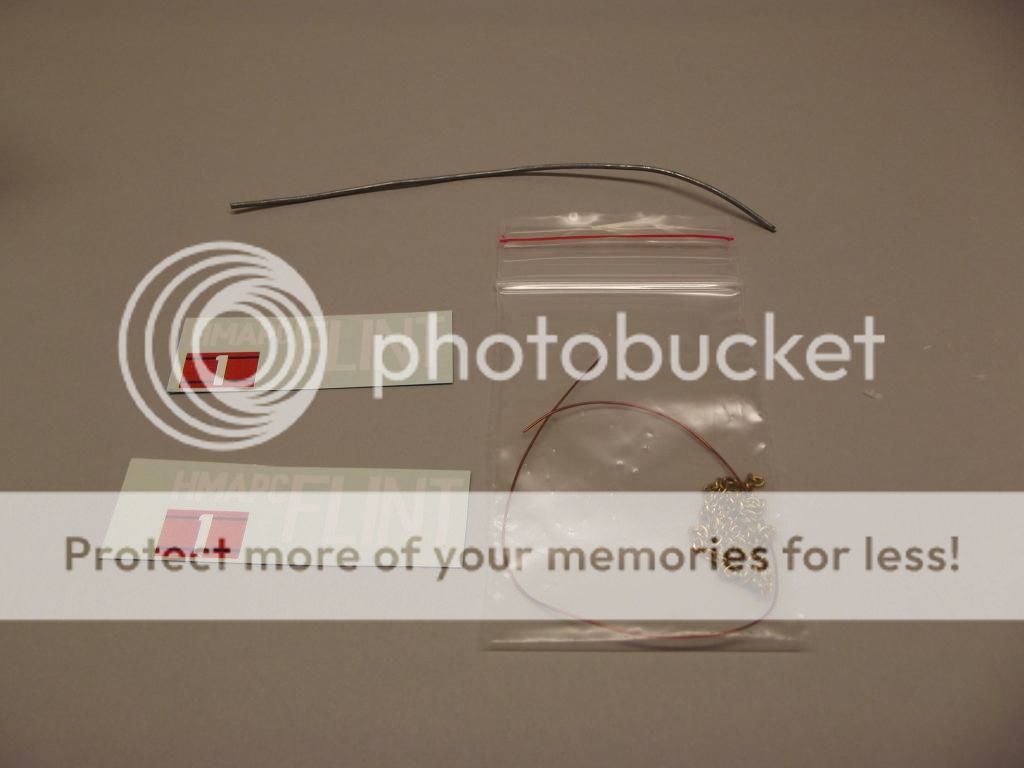
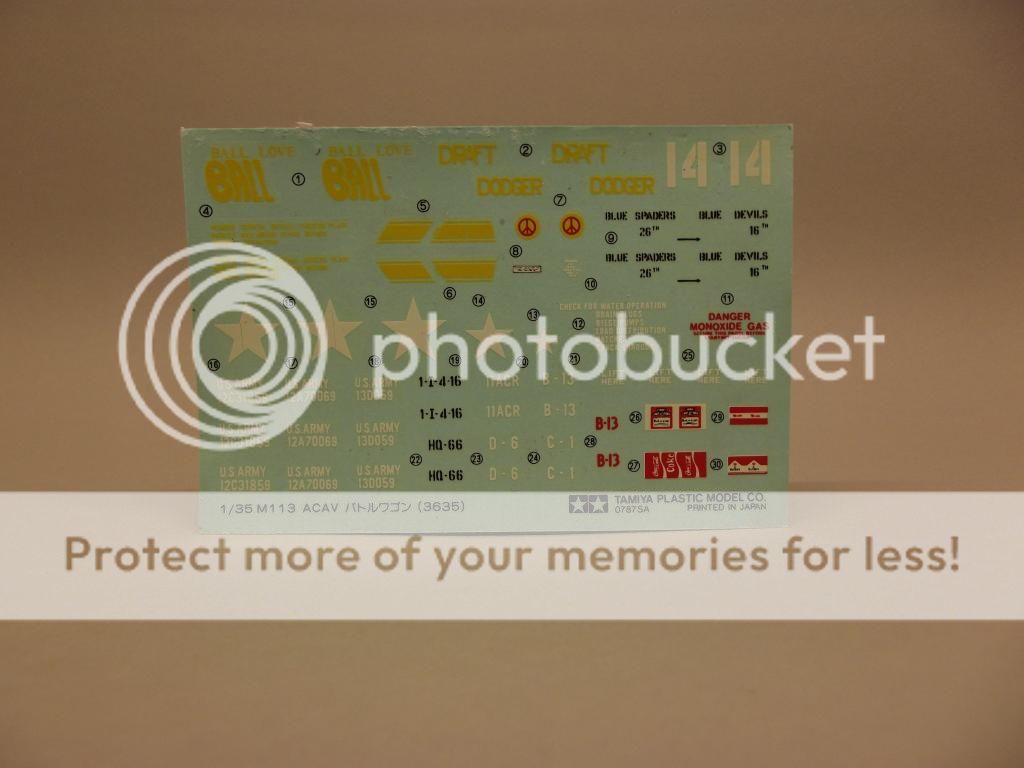
Decals, probably won't need these. They don't look great anyway.
Image
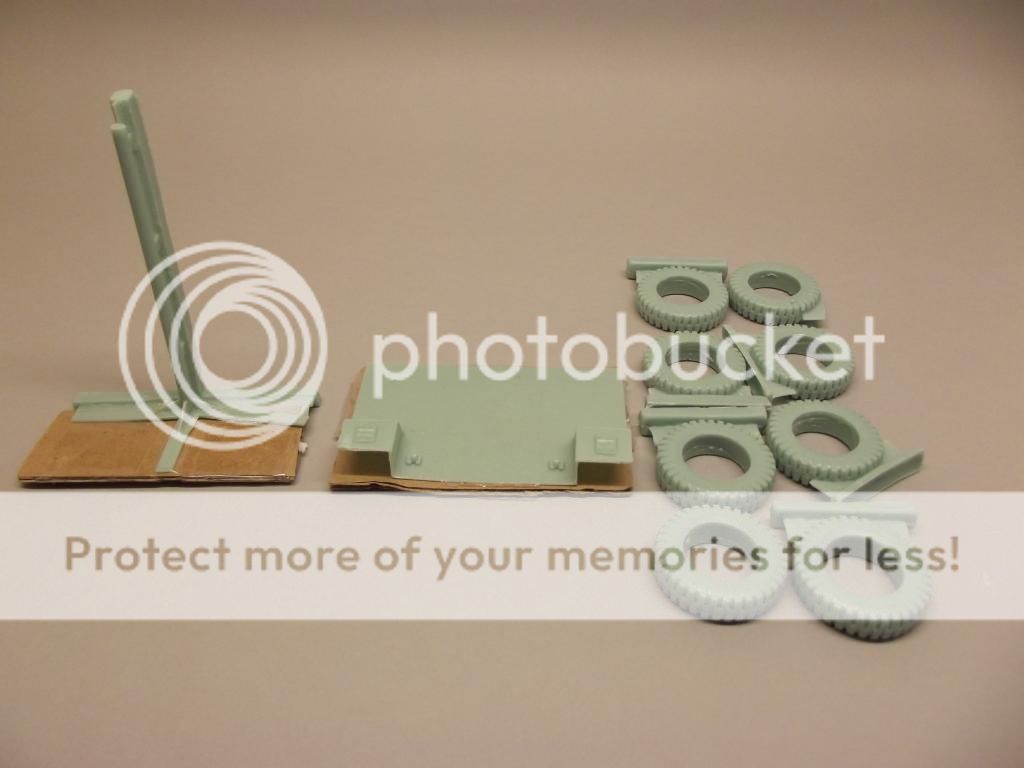
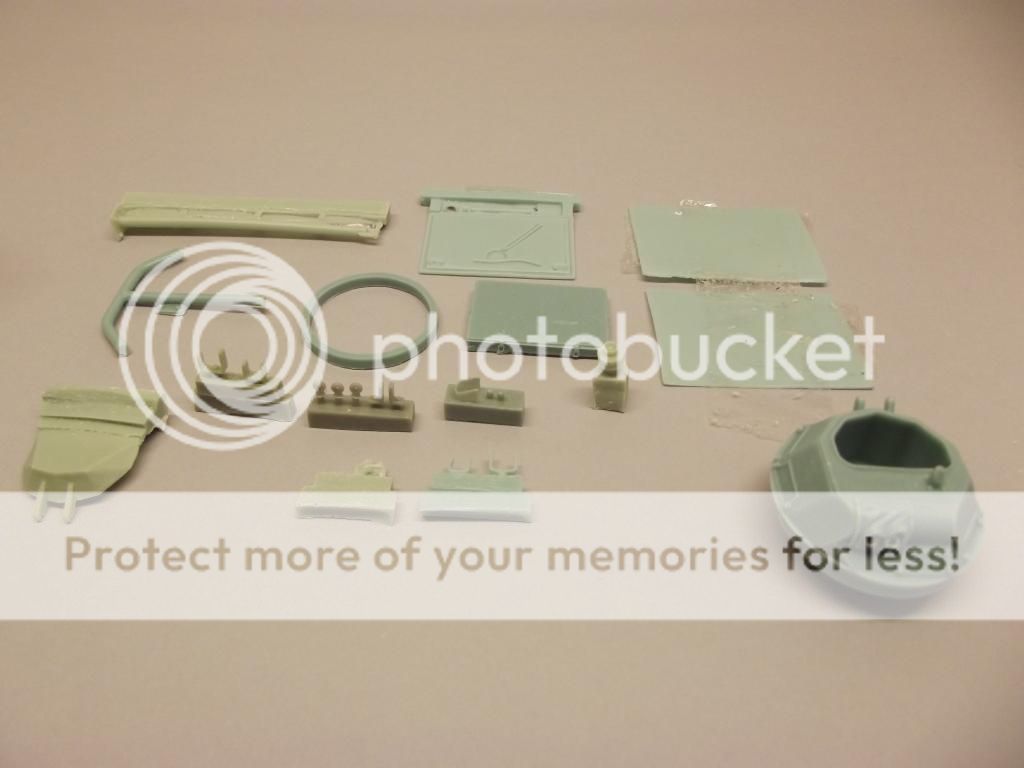
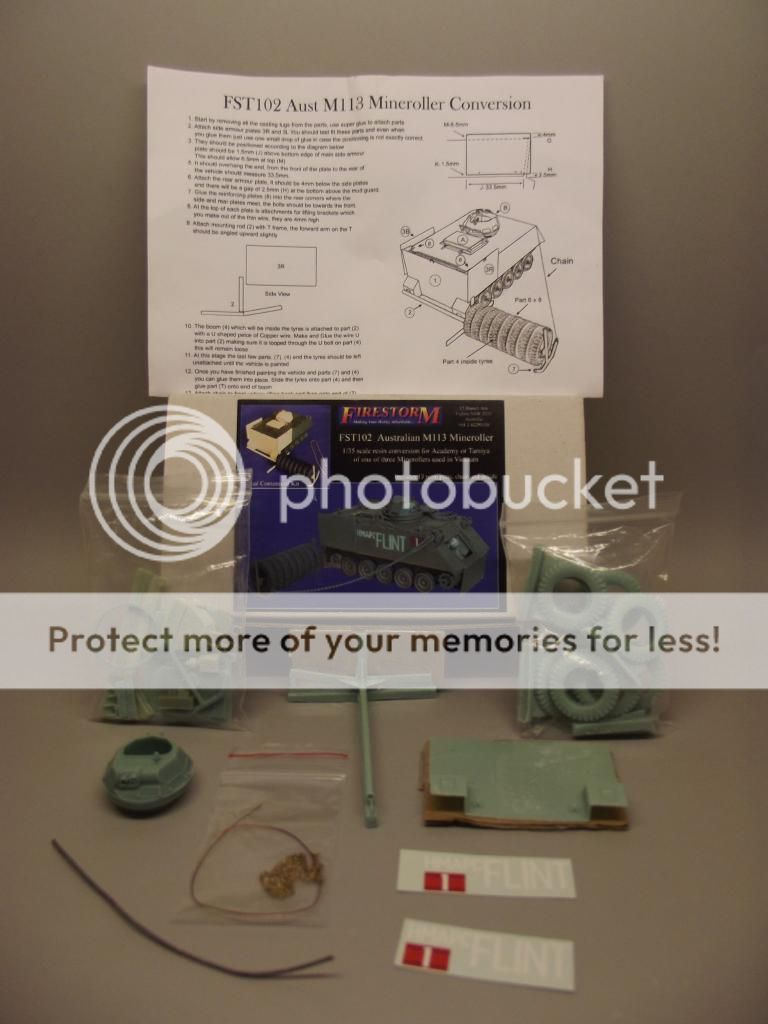
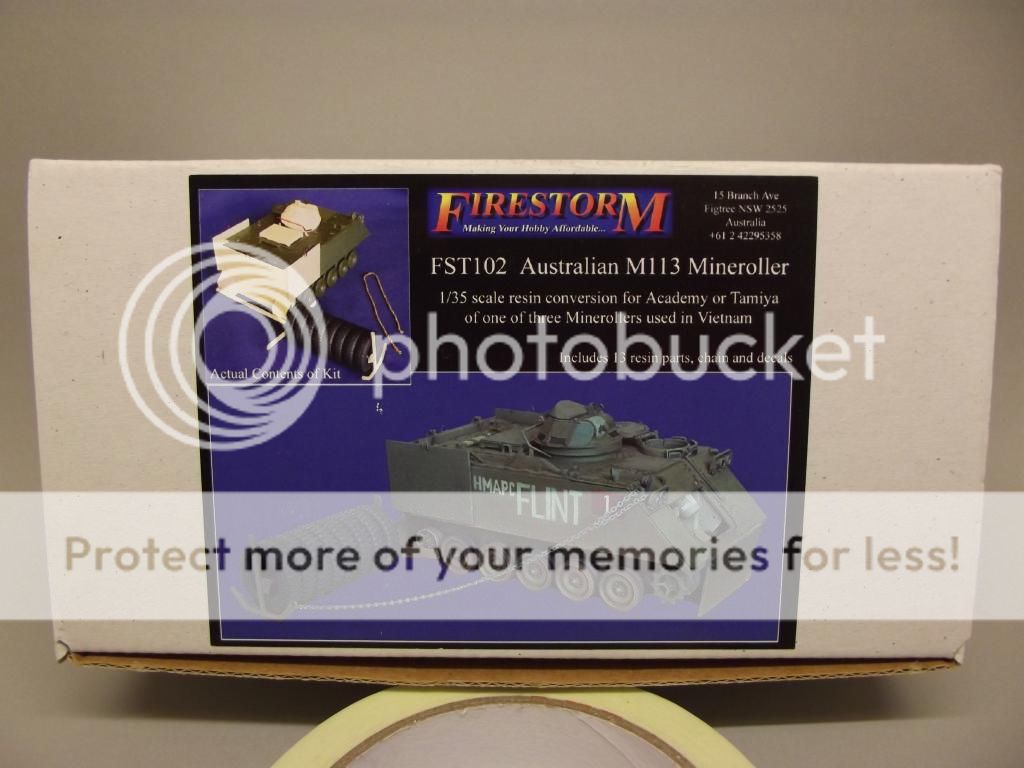
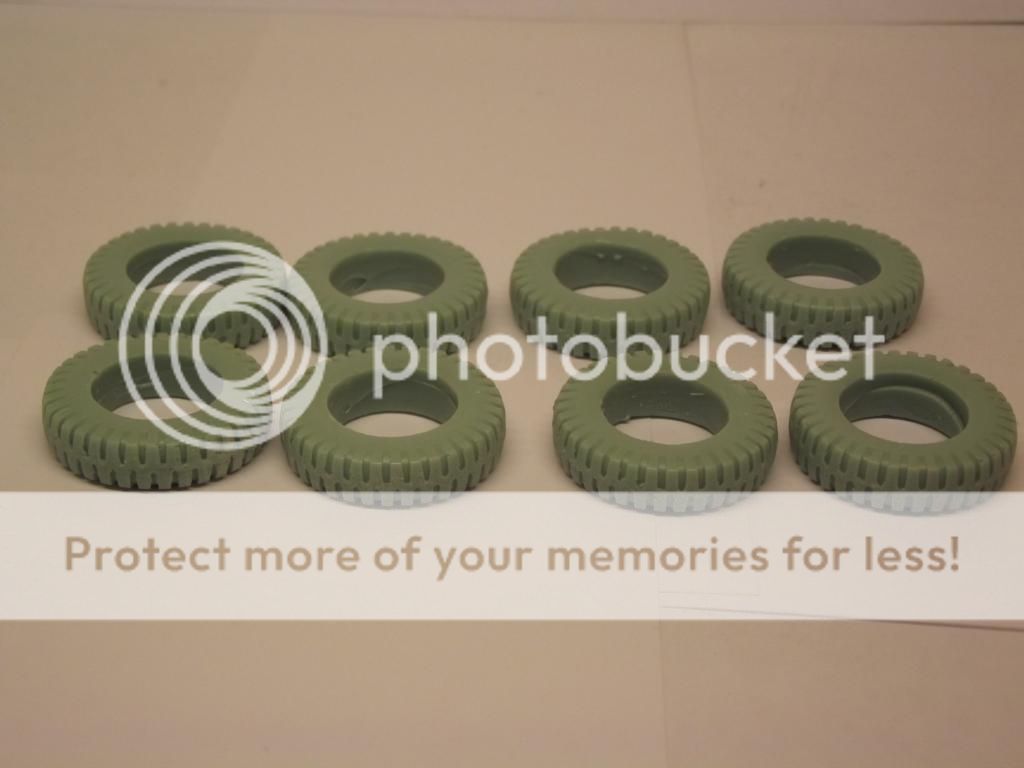
And the good stuff. The upgrade components.
Image
Image
Image
Image
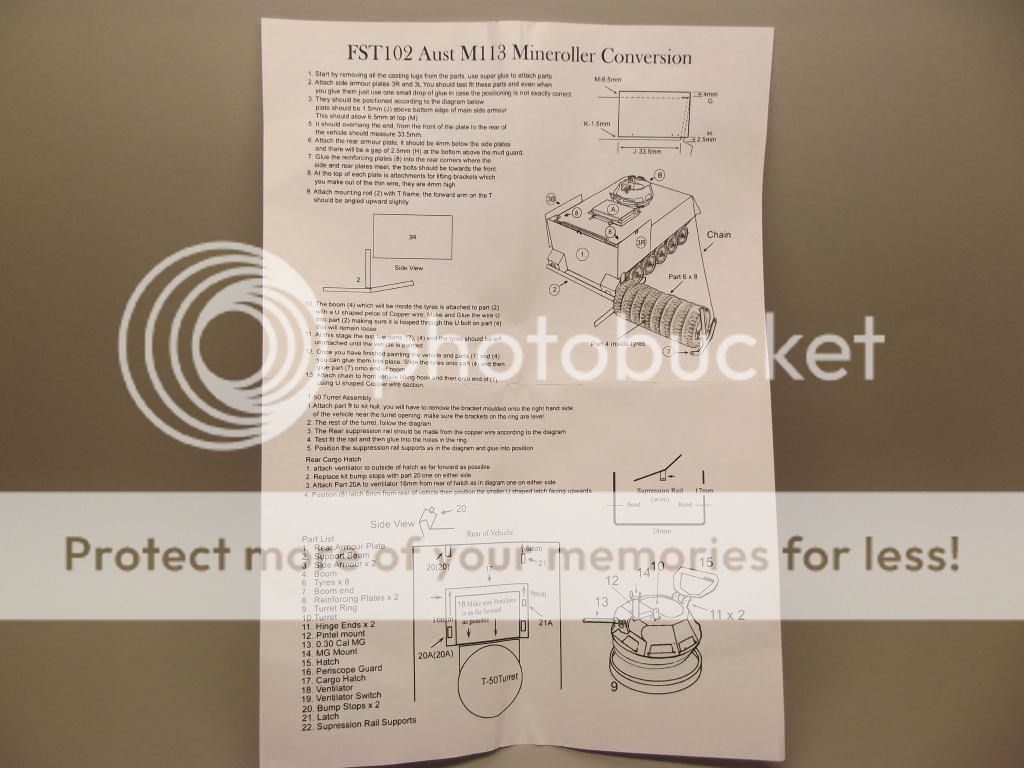
Instructions, pretty good but still a bit scary.
Image
Image
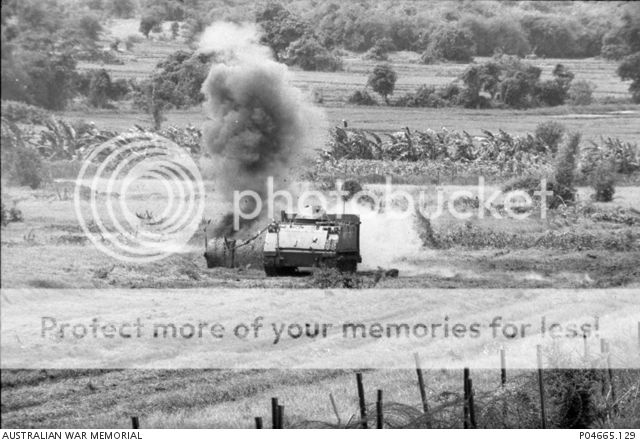
I am also thinking about a diorama. Maybe something along these lines. LOL
Image

TO BE CONTINUED
User avatar
snappercity
Staff Sergeant
Staff Sergeant
Posts: 229
Joined: Mon Dec 02, 2013 12:05 am
Location: Surrey

Re: Australian M113 Mine Roller

Post by snappercity »

Superb. :banana:
Mark - Too many models, Not enough time...

On the bench:
Airfix 1:72 Vulcan
Takom 1:35 Zwilling Flak 40
Roden 1:144 C-141B Starlifter
User avatar
chief5437
Major
Major
Posts: 4810
Joined: Fri May 31, 2013 1:25 pm
Location: England
England

Re: Australian M113 Mine Roller

Post by chief5437 »

Brilliant subject! Very interesting reading. Good luck with it :th:
Chief
User avatar
HamilkarBarkas
Chief Warrant Officer 2
Posts: 1875
Joined: Fri May 31, 2013 3:12 pm
Location: "Augschburg" Augsburg/Germany

Re: Australian M113 Mine Roller

Post by HamilkarBarkas »

A very nice idea! i was not aware of this rather unusal device :)
User avatar
Twokidsnosleep
General
General
Posts: 18026
Joined: Thu Aug 07, 2014 4:07 pm
Location: BC,Canada
Canada

Re: Australian M113 Mine Roller

Post by Twokidsnosleep »

Very interesting topic
Good to see military genius is multinational
Scott

On, Under or Near the Bench:
American Graffiti Ford Coupe
Headless Horseman...figure sig
1/72 Black Pearl Pirate Ship
Yevgeny
Sergeant Major
Sergeant Major
Posts: 730
Joined: Tue Sep 30, 2014 10:37 am
Location: Worthing, UK

Re: Australian M113 Mine Roller

Post by Yevgeny »

Interesting piece of history. Never knew that.
Hope you will make a diorama with it :)
Sir, we're surrounded!
Excellent! Now we can attack in any direction!
------------------------------------------------
Model N1 DONE! - Tamiya 1:35 Panzerkampfwagen V Panther Sd.kfz.171 Ausf.A
Model N2 DONE! - Academy 1:72 M1126 Stryker
Working on:Trumpeter (00204)
Waiting: Meng (SS-004), Airfix (A50125), Tamiya (35068)
User avatar
UKguyInUSA
Second Lieutenant
Second Lieutenant
Posts: 3429
Joined: Sun Mar 30, 2014 10:19 pm
Location: New Hampshire, USA formerly Palm Beach, Florida, USA and Leicestershire, UK (until 1999)
Contact:

Re: Australian M113 Mine Roller

Post by UKguyInUSA »

A very different but interesting topic and history lesson! Thanks for sharing and I look forward to seeing this come together :) :thumb1:
WIP:: Tamiya 1/48 F4U-1A Corsair

Non-WIP::Eduard 1/48 Fokker DVII, Revell 1/32 Arado AR196 and 1/32 BF109G10 Erla,
ROBOPAUL
Staff Sergeant
Staff Sergeant
Posts: 186
Joined: Mon Dec 16, 2013 3:49 pm
England

Re: Australian M113 Mine Roller

Post by ROBOPAUL »

Thanks for the comments guys. I thought it was interesting for the Heath Robinson approach typical British style make do and mend. I am hoping to do a do I but as its my first it remains to be seen how that will turn out lol.
User avatar
snappercity
Staff Sergeant
Staff Sergeant
Posts: 229
Joined: Mon Dec 02, 2013 12:05 am
Location: Surrey

Re: Australian M113 Mine Roller

Post by snappercity »

Mark - Too many models, Not enough time...

On the bench:
Airfix 1:72 Vulcan
Takom 1:35 Zwilling Flak 40
Roden 1:144 C-141B Starlifter
ROBOPAUL
Staff Sergeant
Staff Sergeant
Posts: 186
Joined: Mon Dec 16, 2013 3:49 pm
England

Re: Australian M113 Mine Roller

Post by ROBOPAUL »

WOW fantastic pictures. I haven't seen some of these before. Lots of inspiration. Thanks a lot. :th:
User avatar
snappercity
Staff Sergeant
Staff Sergeant
Posts: 229
Joined: Mon Dec 02, 2013 12:05 am
Location: Surrey

Re: Australian M113 Mine Roller

Post by snappercity »

No problem. Check out the Flickr link. This guy has loads of Vietnam M113 pics.
Mark - Too many models, Not enough time...

On the bench:
Airfix 1:72 Vulcan
Takom 1:35 Zwilling Flak 40
Roden 1:144 C-141B Starlifter
ROBOPAUL
Staff Sergeant
Staff Sergeant
Posts: 186
Joined: Mon Dec 16, 2013 3:49 pm
England

Australian M113 Mine Roller

Post by ROBOPAUL »

Ok time for an update.

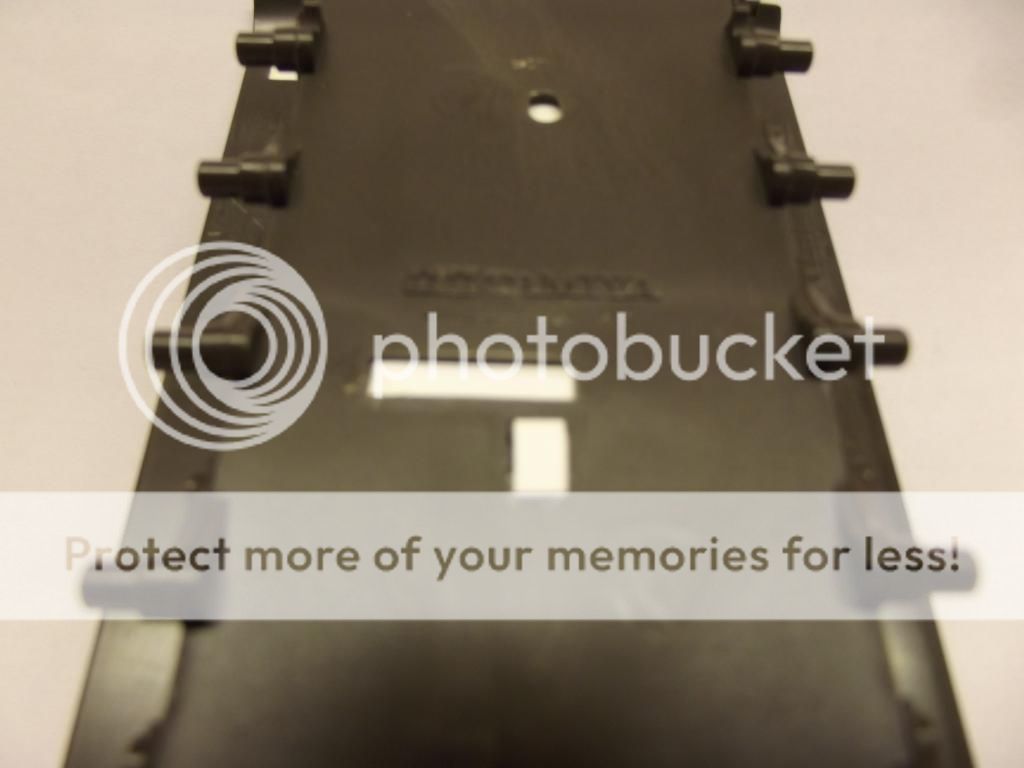
I started of by filling the holes on the bottom and by the front sprocket mounting points.
Image[I.
MG]http://i985.photobucket.com/albums/ae33 ... 956865.jpg[/IMG]

Image

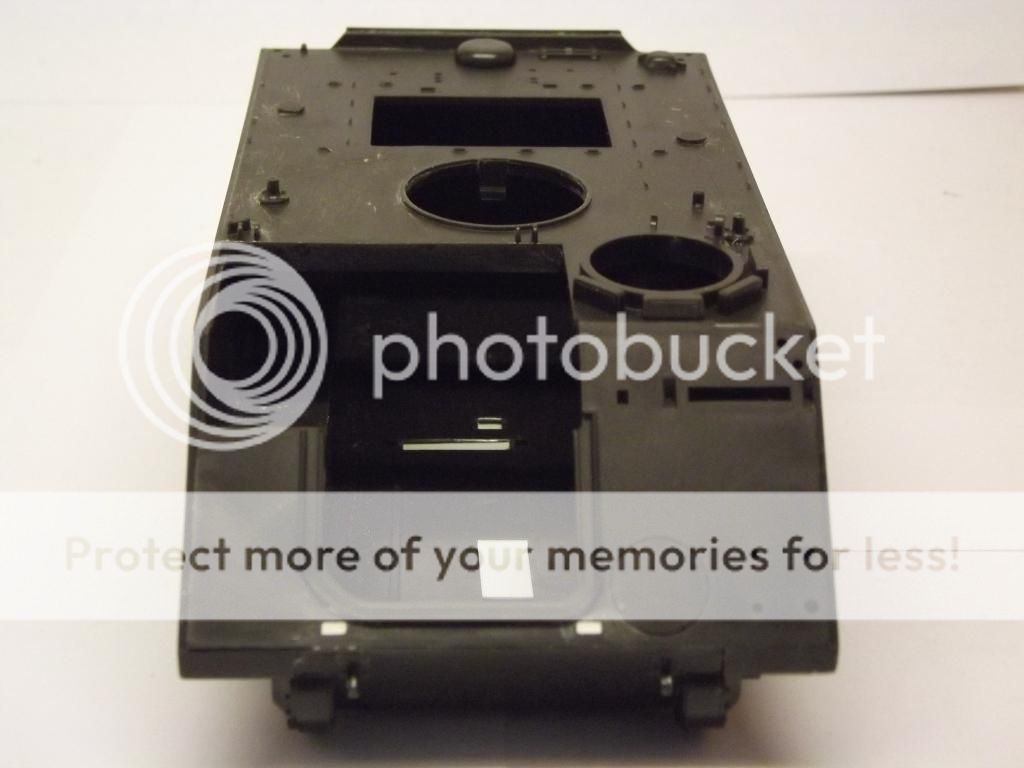
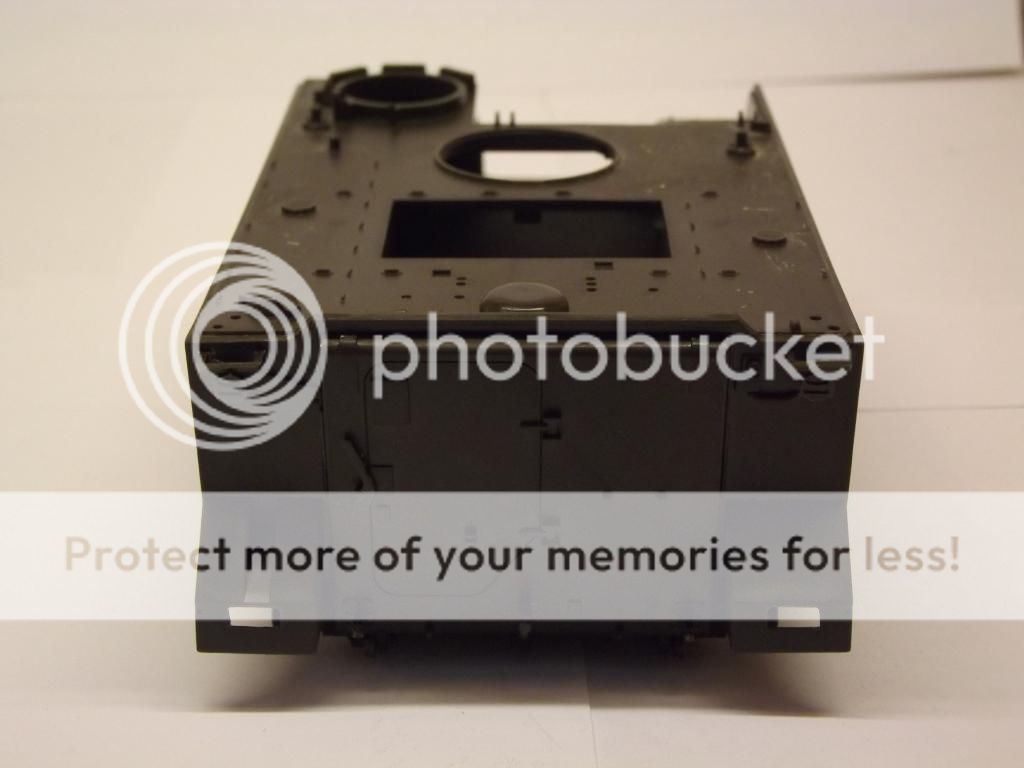
I then started assembling the hull. As it was going to be fully closed up I decided not to bother with any of the interior details.
Image
Image

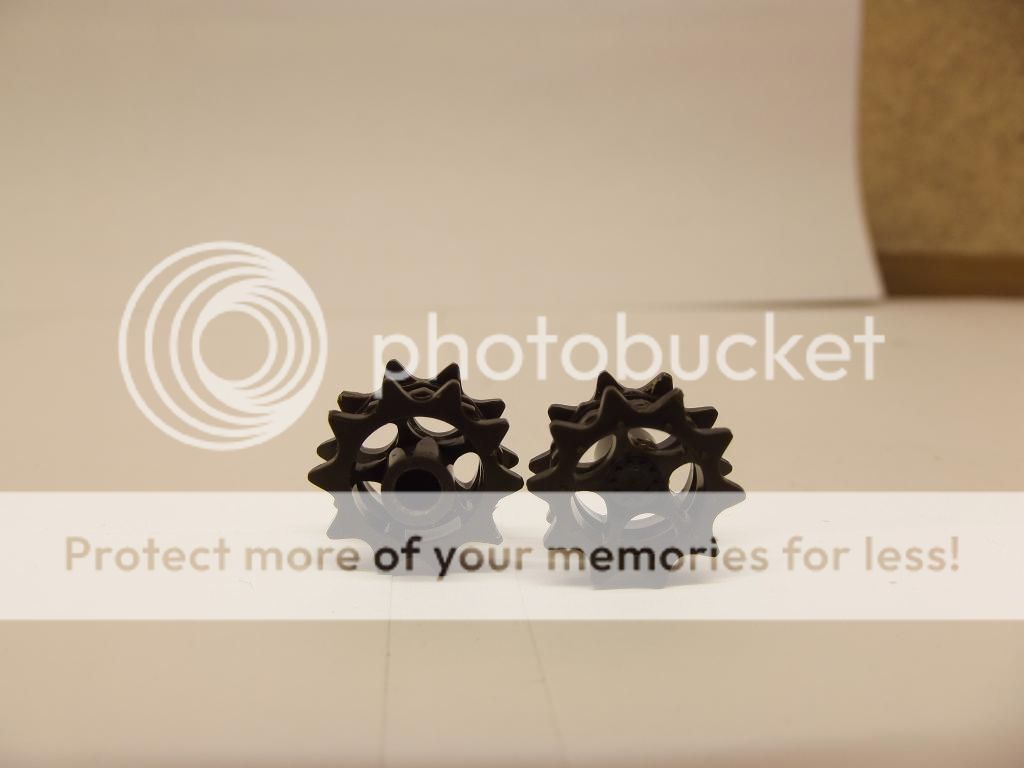
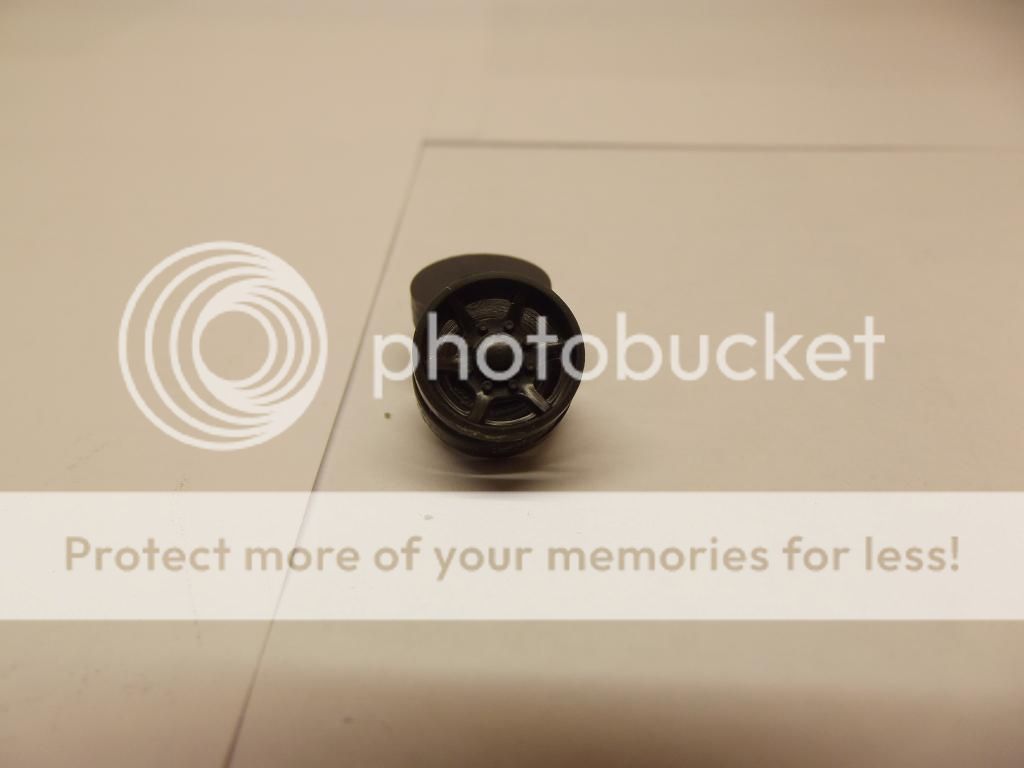
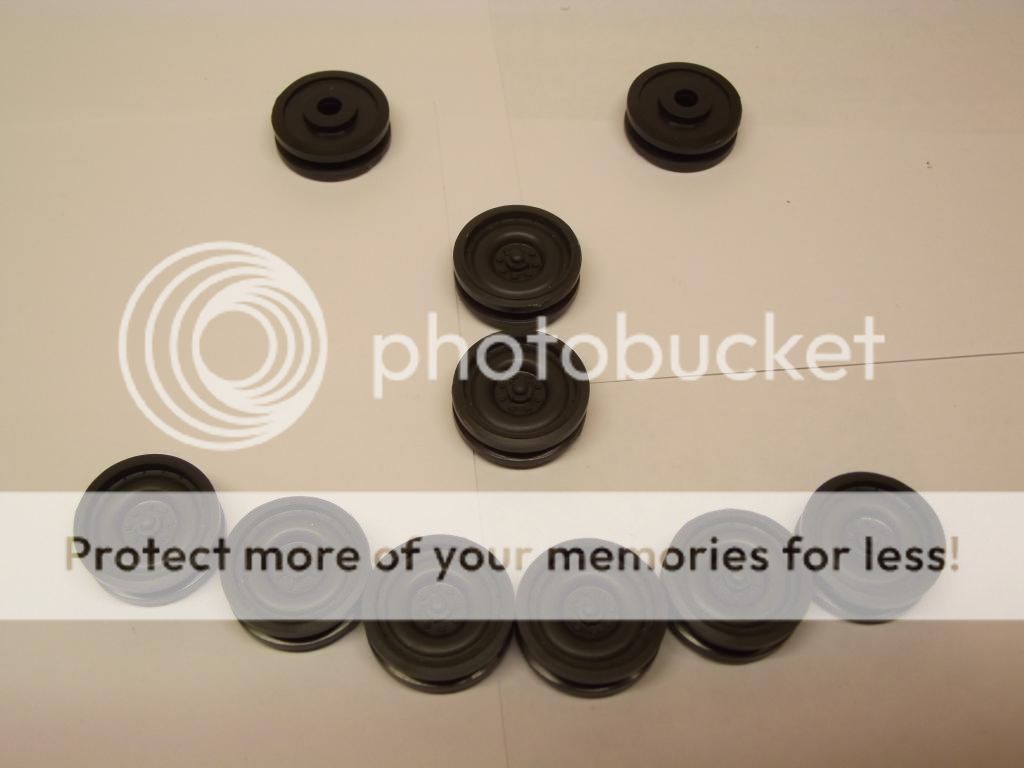
Sprockets, Idlers and Road wheels, detail ok on the outside but no detail what so ever on the inside!!!!!!
Image
Image
Image

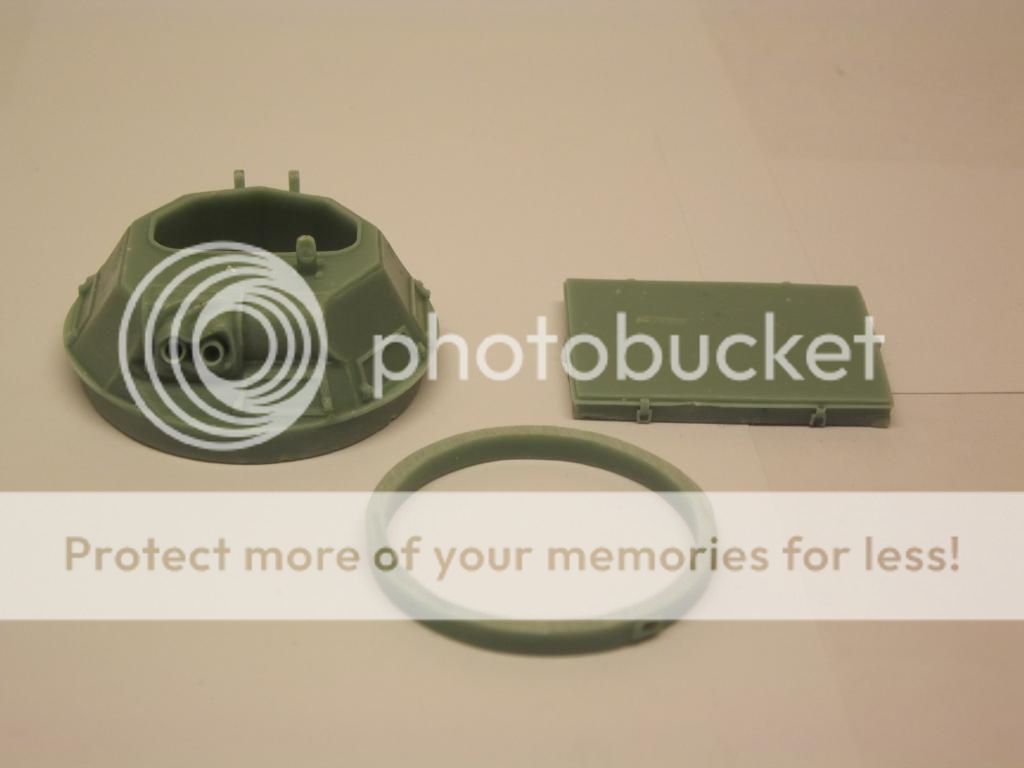
I then cleaned up the resin parts. I did this outside on a nice sunny day because resin dust is not very nice stuff.
Image
ImageImage
Image

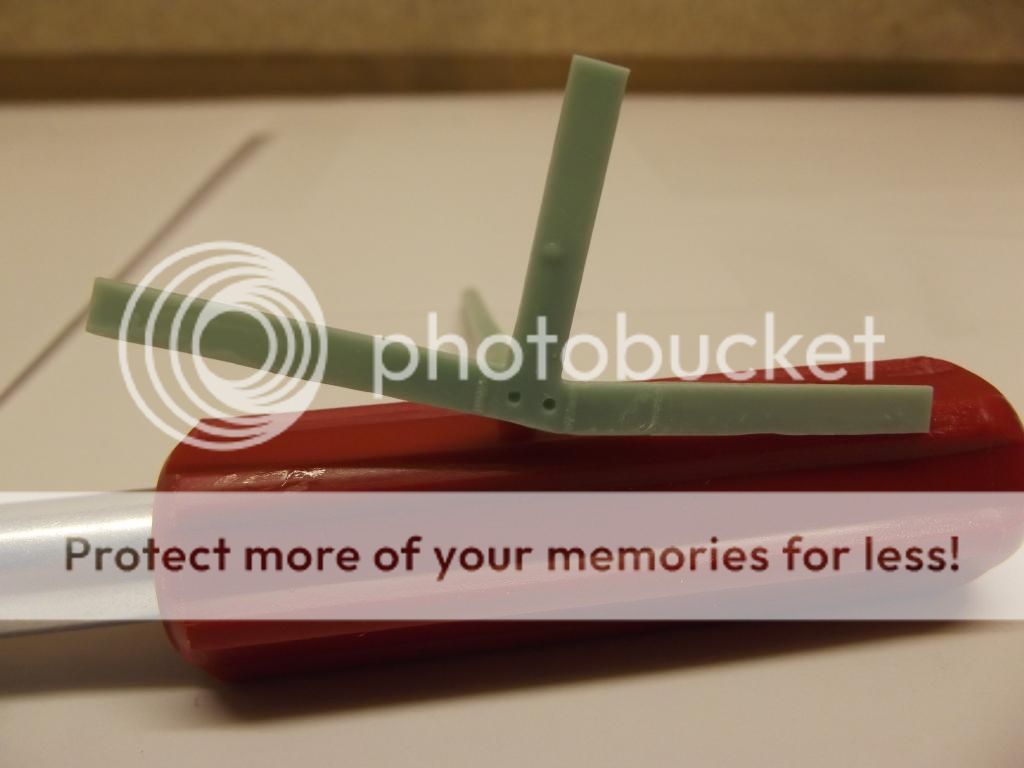
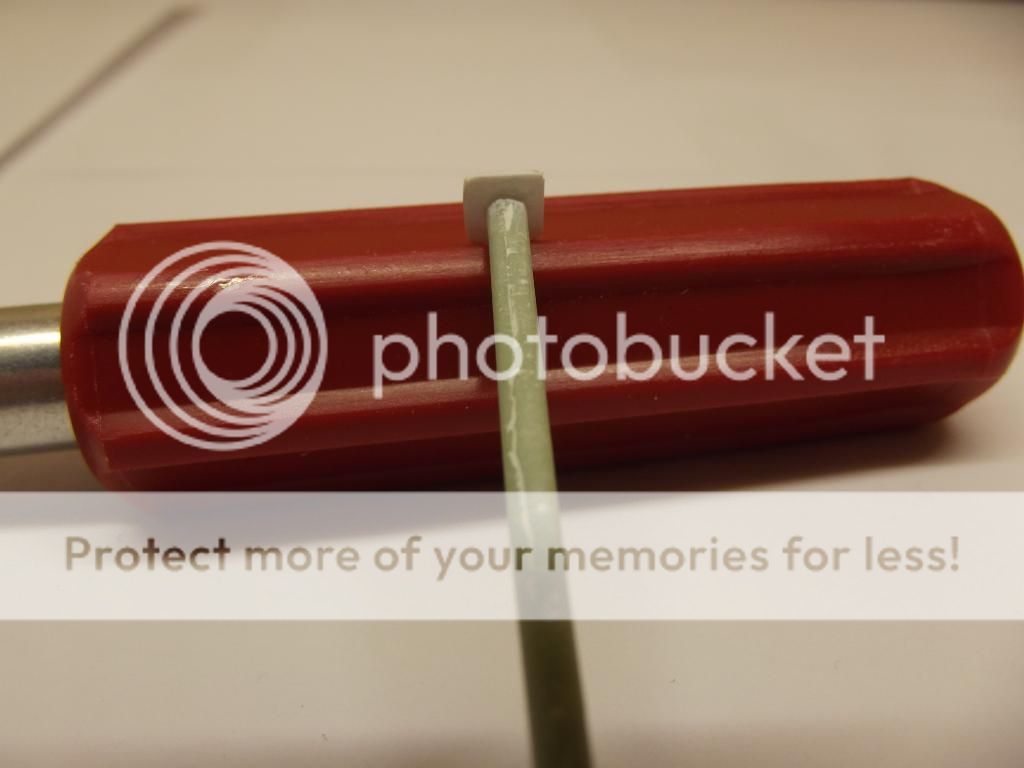
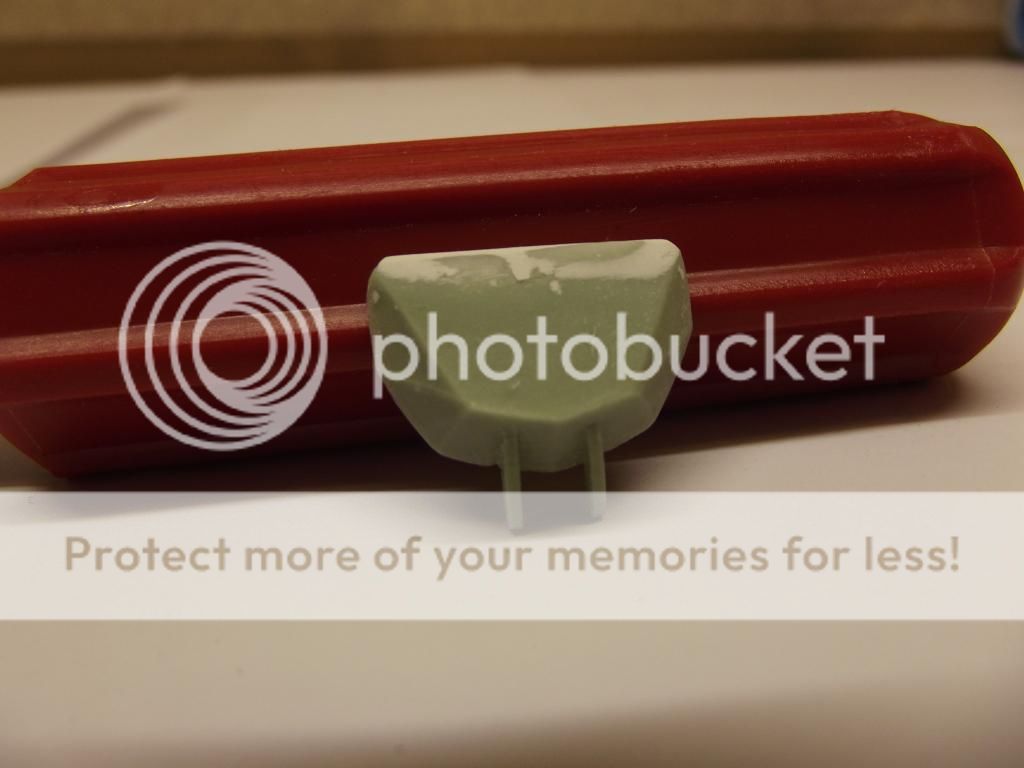
When I was cleaning up the resin I came across a few problems. I didn't realise resin was very brittle. It also can have a lot of flaws.
Image
Image
Image
Image
Image

So anyway using some glue and some filler and plastic card stock I was able to repair, fill and use my limited modelling "skills" to sort the problems out.
Image
Image
Image
Image

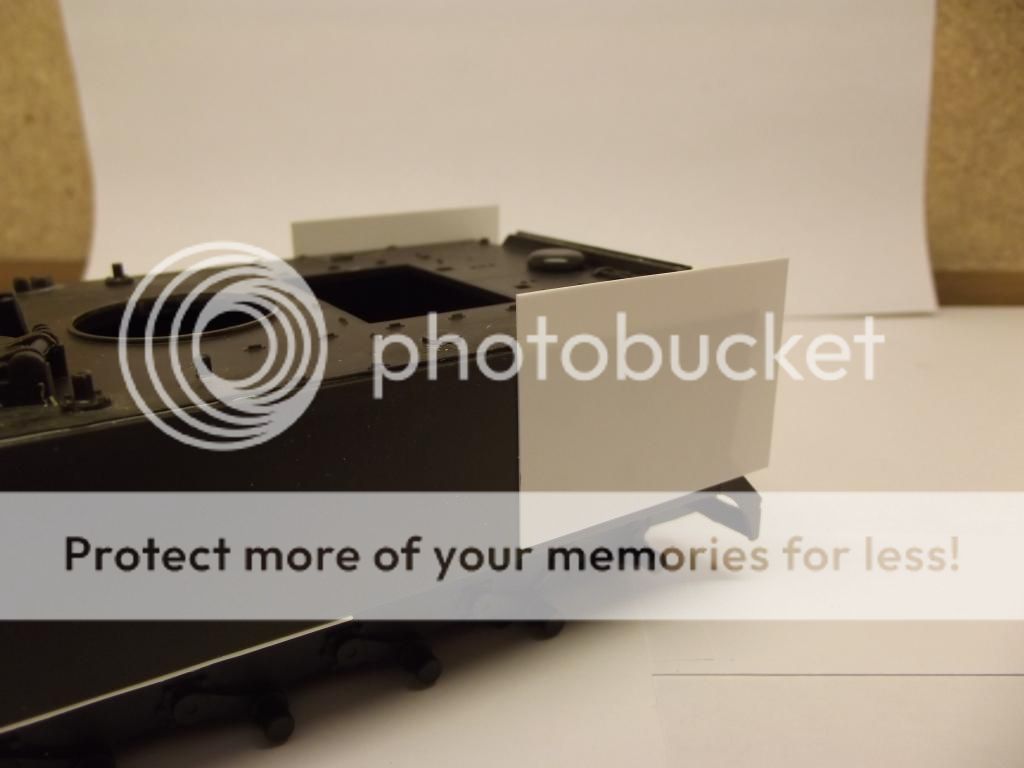
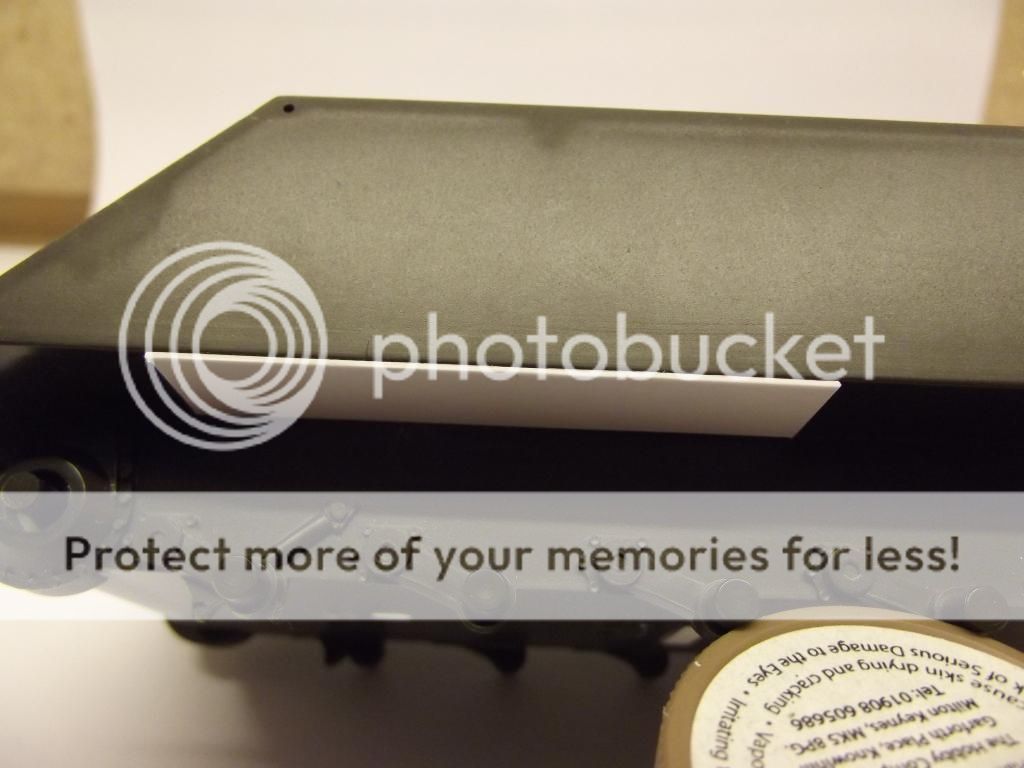
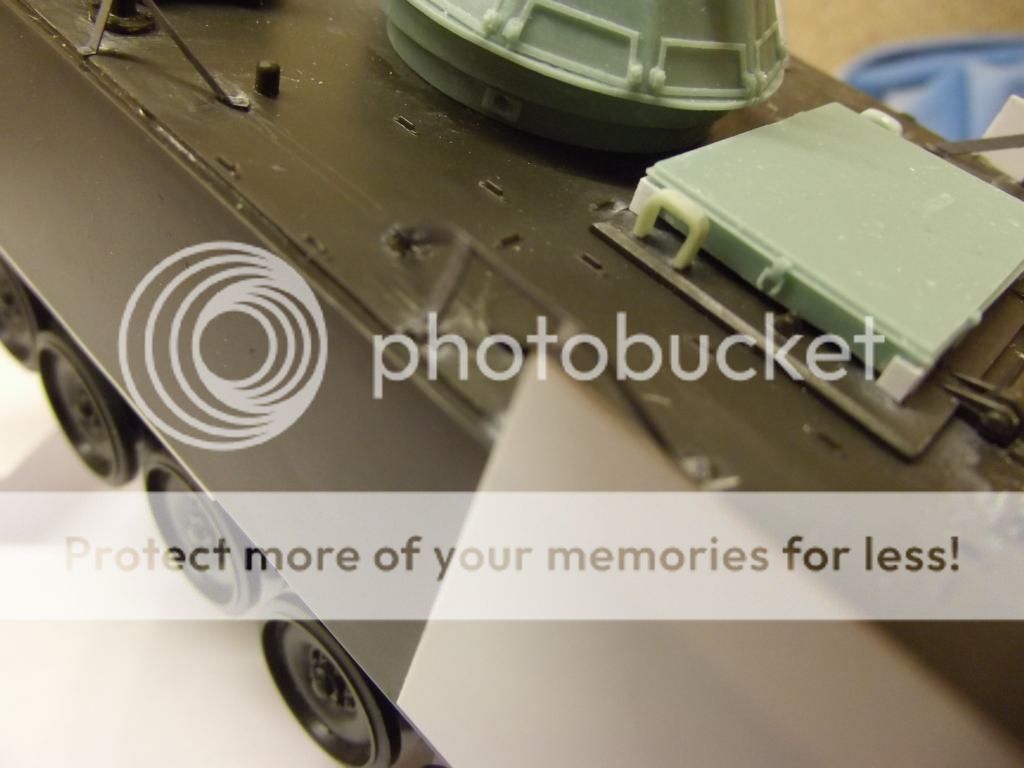
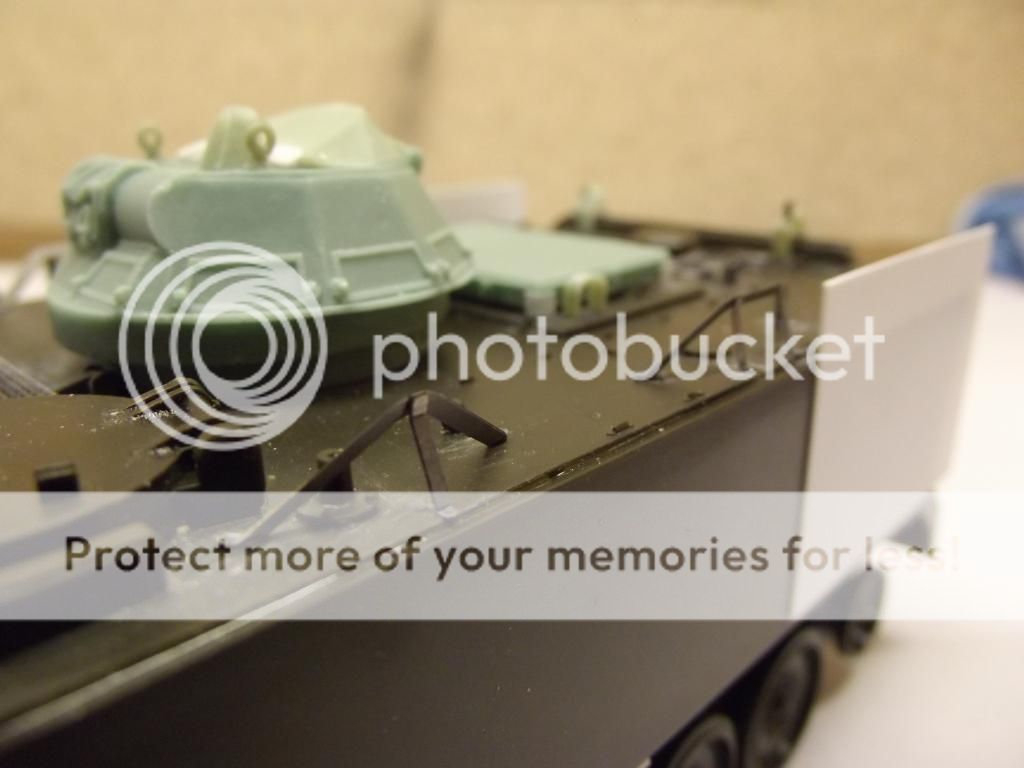
I also used some plastic card to simulate the sponson armour which was added above the front three road wheels on both sides.
Image

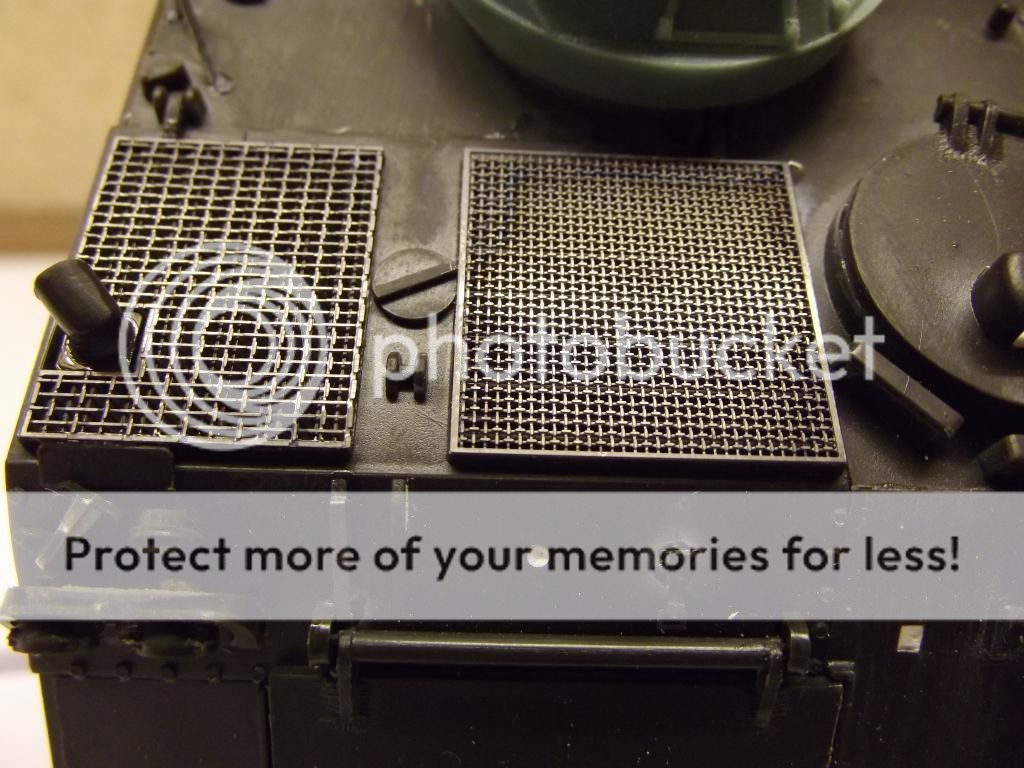
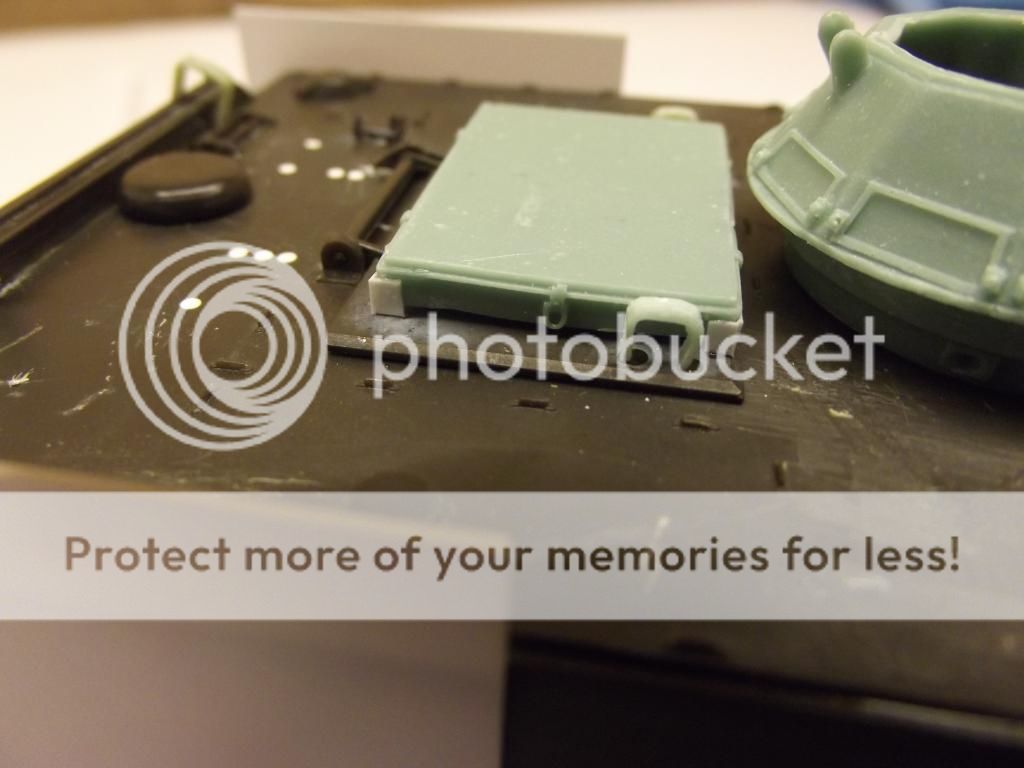
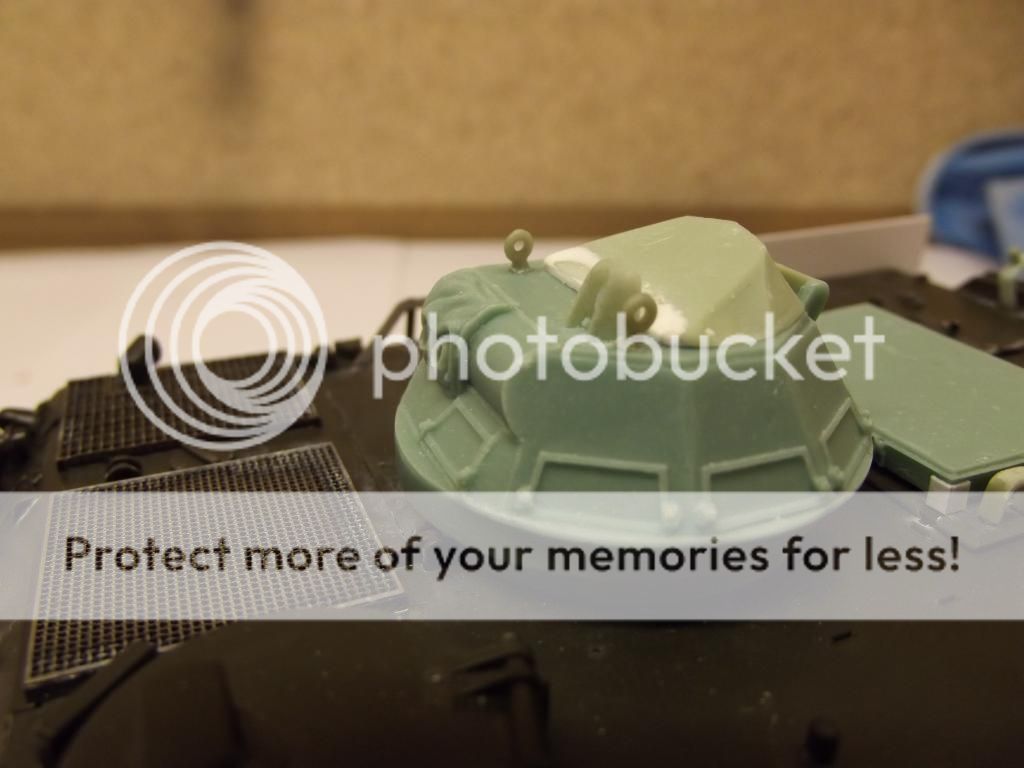
Then I started to add all the details including plastic parts, photo-etch and resin parts. i didn't add all the PE that I could have done as I felt it wasn't necessary. I also left the tools off just putting on the PE fixings for the tools.
Image
Image
Image
Image
Image
Image

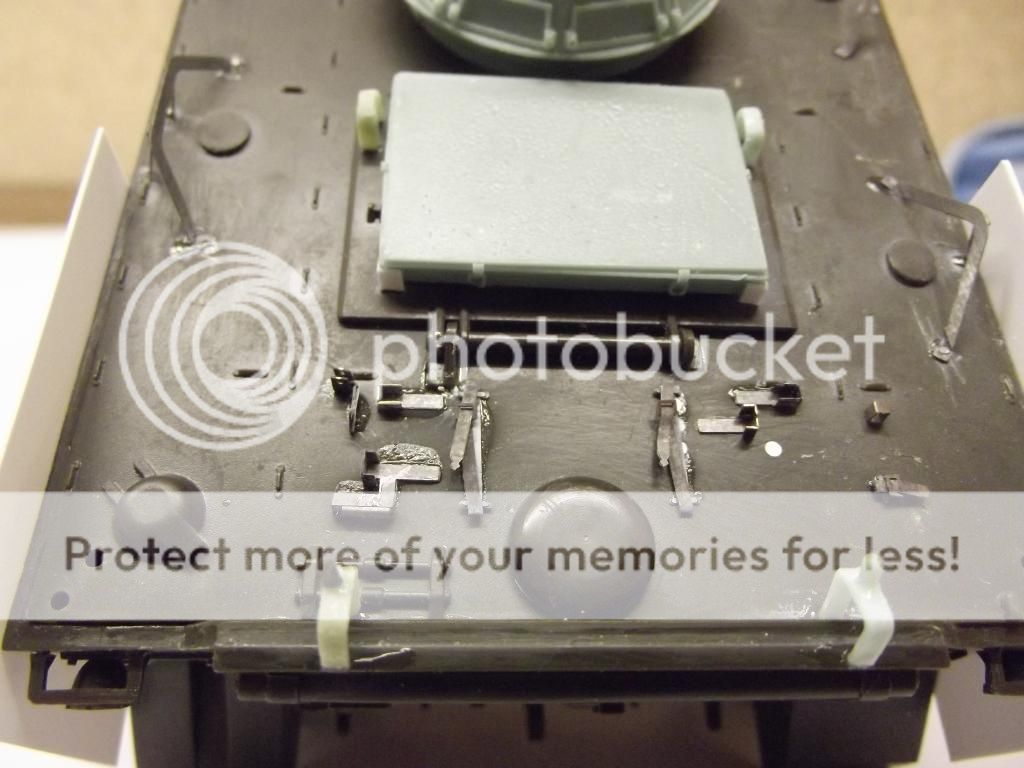
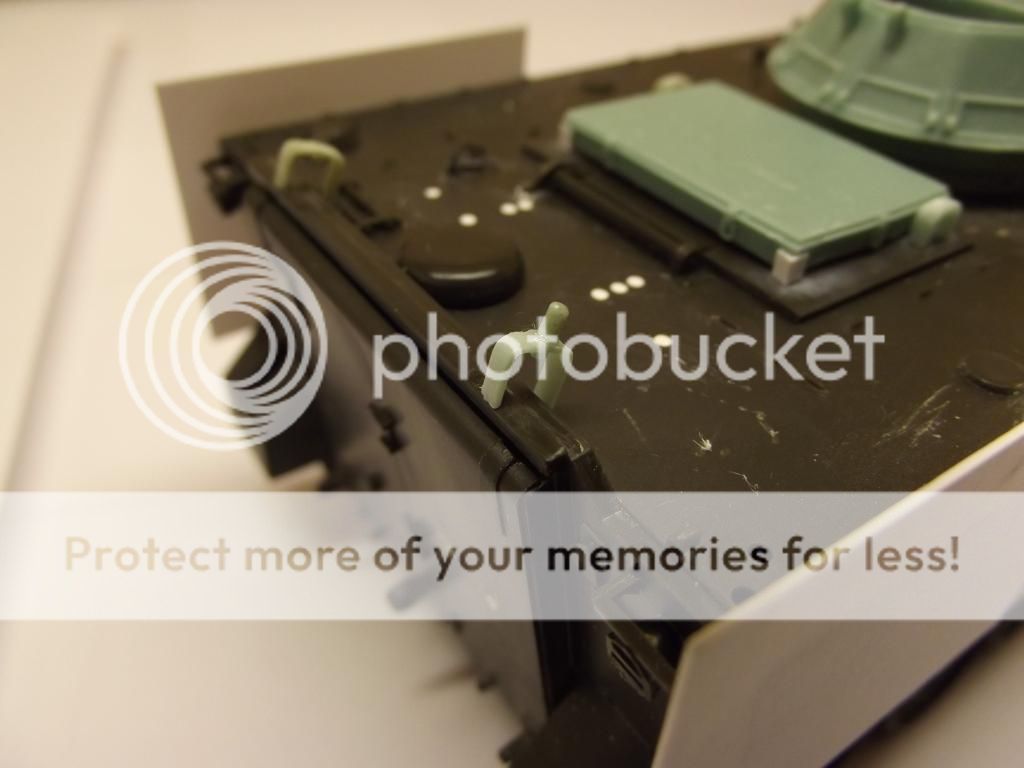
These are the rear bump stops for the main hatch which aren't included in any of the M113 kits!!!
Image

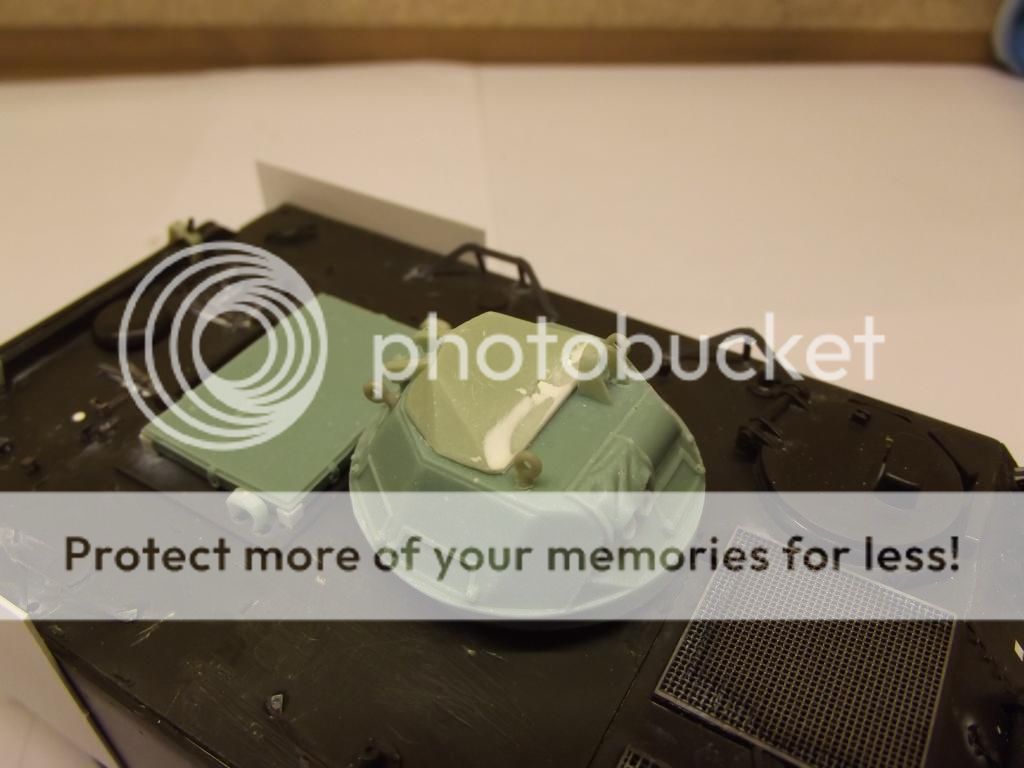
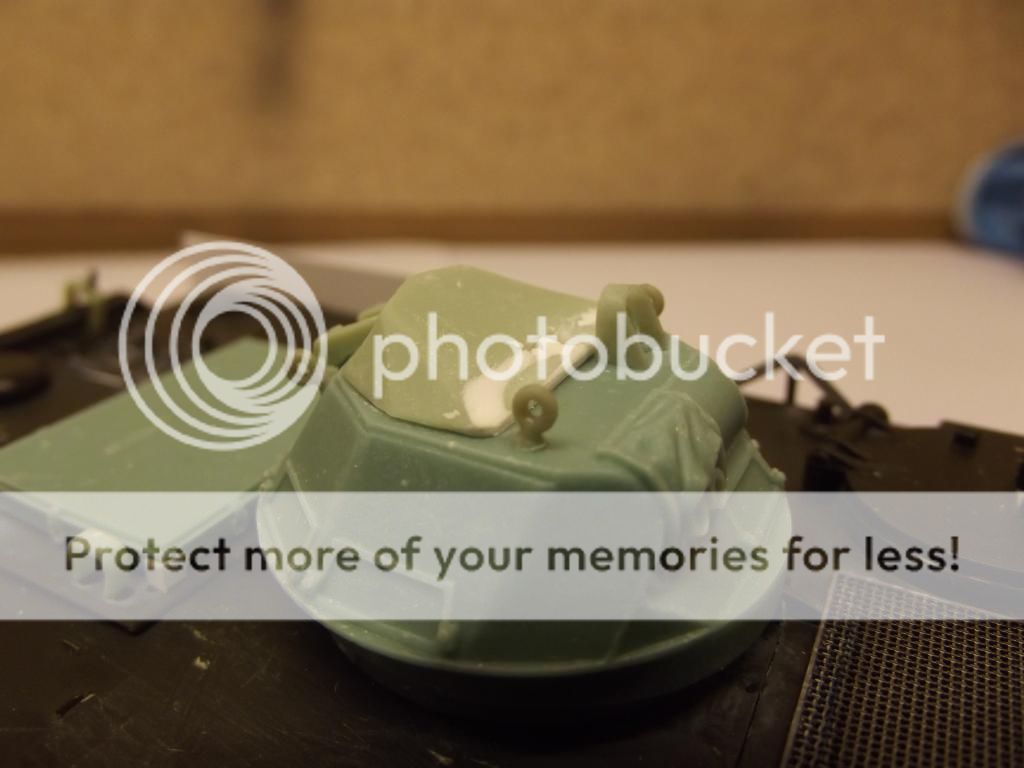
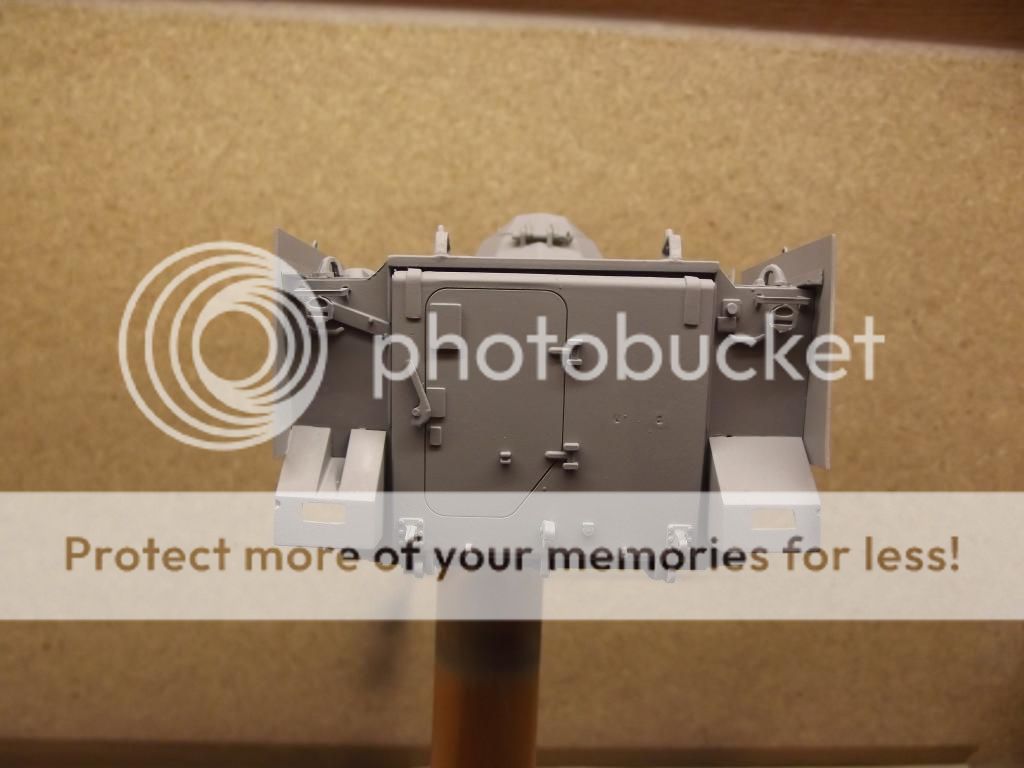
The large box on the troop compartment hatch was an air filter. This a the T50 turret were the main differences between the Aussie and the American M113.
Image
Image

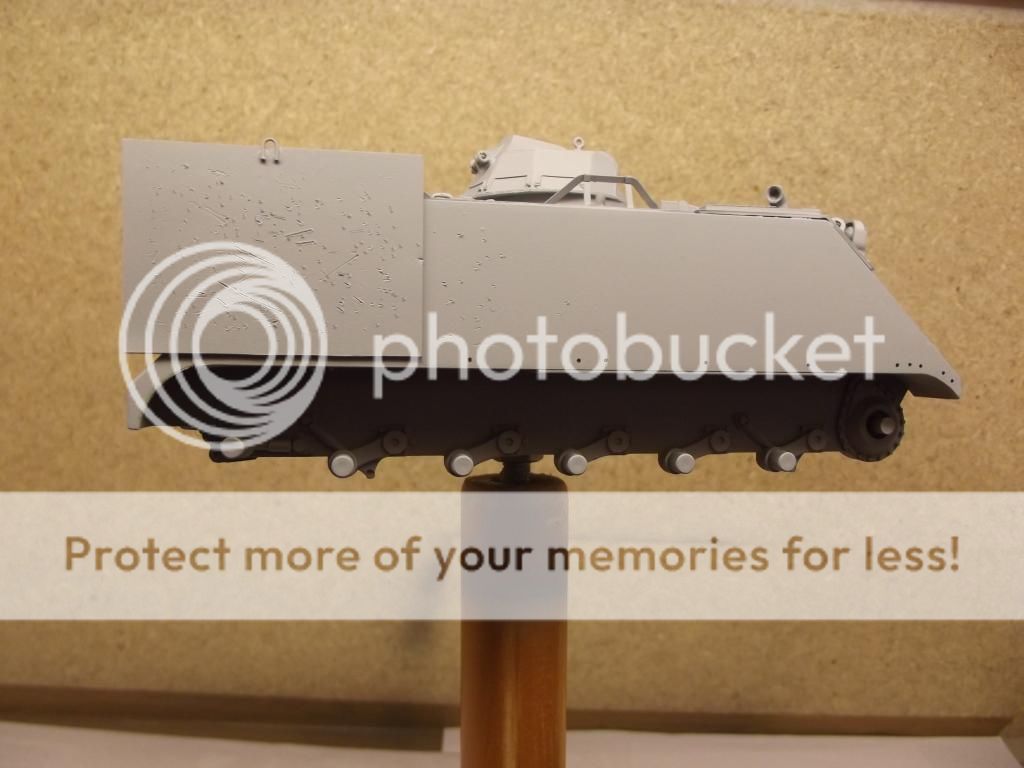
The resin rear armoured panel has got some simulated blast marks (from mines going of) on it so using the ends of some metal files I added some damage to the side panels.

Resin part.
Image

Plastic card part.
Image

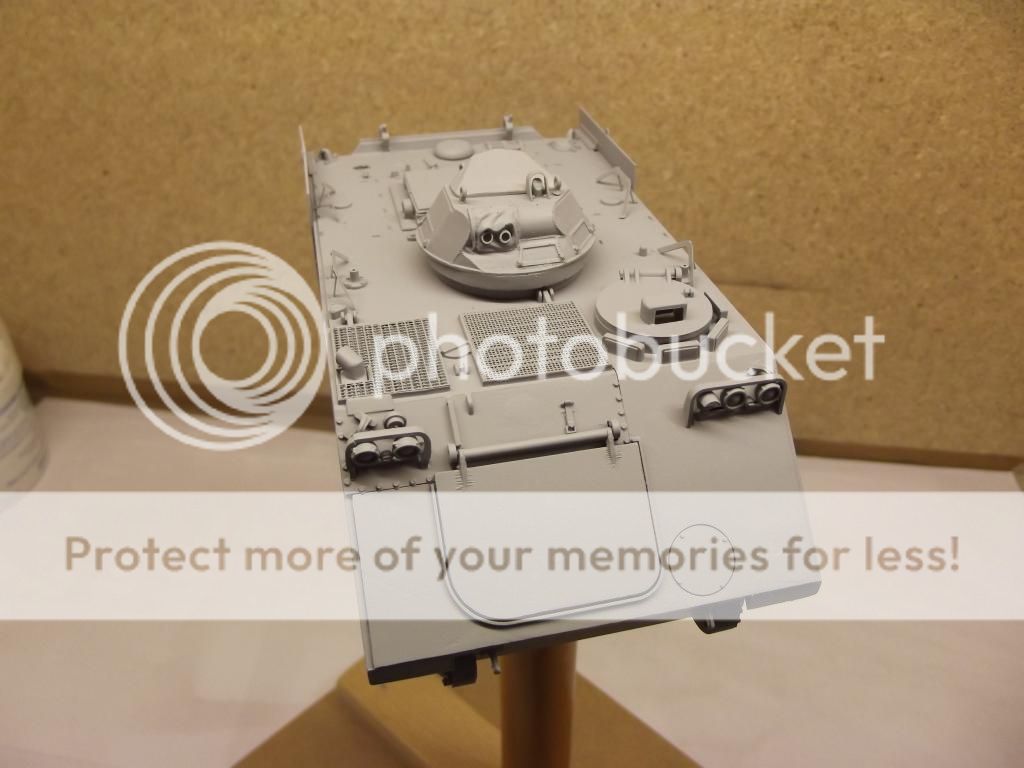
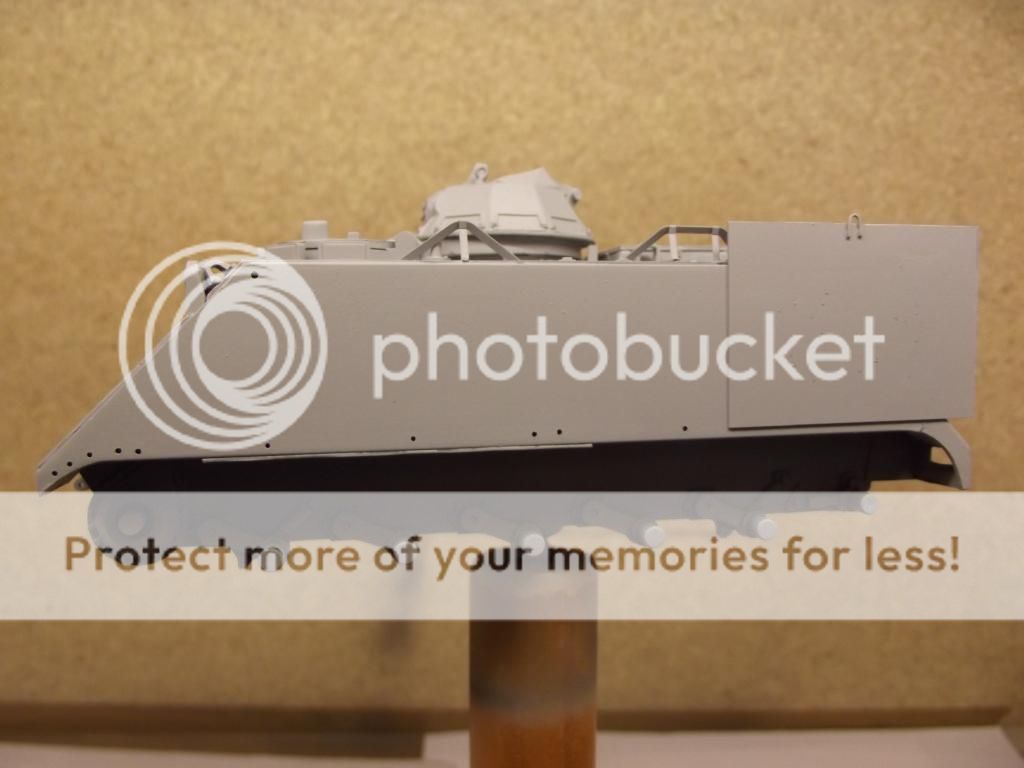
So I am now pretty much ready for paint. Will probably get it done Thursday but will have to see. Any comments, questions or constructive criticism are most welcome.
User avatar
snappercity
Staff Sergeant
Staff Sergeant
Posts: 229
Joined: Mon Dec 02, 2013 12:05 am
Location: Surrey

Re: Australian M113 Mine Roller

Post by snappercity »

Looking good. Not surprising really about the resin issues. These things were meant to test us.

Why didn't you update your original thread?
Mark - Too many models, Not enough time...

On the bench:
Airfix 1:72 Vulcan
Takom 1:35 Zwilling Flak 40
Roden 1:144 C-141B Starlifter
ROBOPAUL
Staff Sergeant
Staff Sergeant
Posts: 186
Joined: Mon Dec 16, 2013 3:49 pm
England

Re: Australian M113 Mine Roller

Post by ROBOPAUL »

I put the update in the wrong place and don't know how to move it, I think it's an age thing lol. Maybe an administrator could help?
User avatar
Paul
Site Admin
Site Admin
Posts: 12622
Joined: Thu May 23, 2013 4:47 pm
Location: Merseyside, England, UK
Contact:
England

Re: Australian M113 Mine Roller

Post by Paul »

ROBOPAUL wrote:I put the update in the wrong place and don't know how to move it, I think it's an age thing lol. Maybe an administrator could help?
Sorted for you paul. :cheers2:
User avatar
SyntaxModels
First Sergeant
First Sergeant
Posts: 538
Joined: Mon Sep 22, 2014 8:34 am
Location: Melbourne, Victoria, Australia

Re: Australian M113 Mine Roller

Post by SyntaxModels »

Looks good!
- Leo

My Motto: "Eh, that'll do, wait a minute, this is my model I can do whatever the hell I want with it! Yes that's a good excuse!"

Visit my YouTube Channel!
https://www.youtube.com/channel/UCKvbyv ... DwSd88cMYg
ROBOPAUL
Staff Sergeant
Staff Sergeant
Posts: 186
Joined: Mon Dec 16, 2013 3:49 pm
England

Re: Australian M113 Mine Roller

Post by ROBOPAUL »

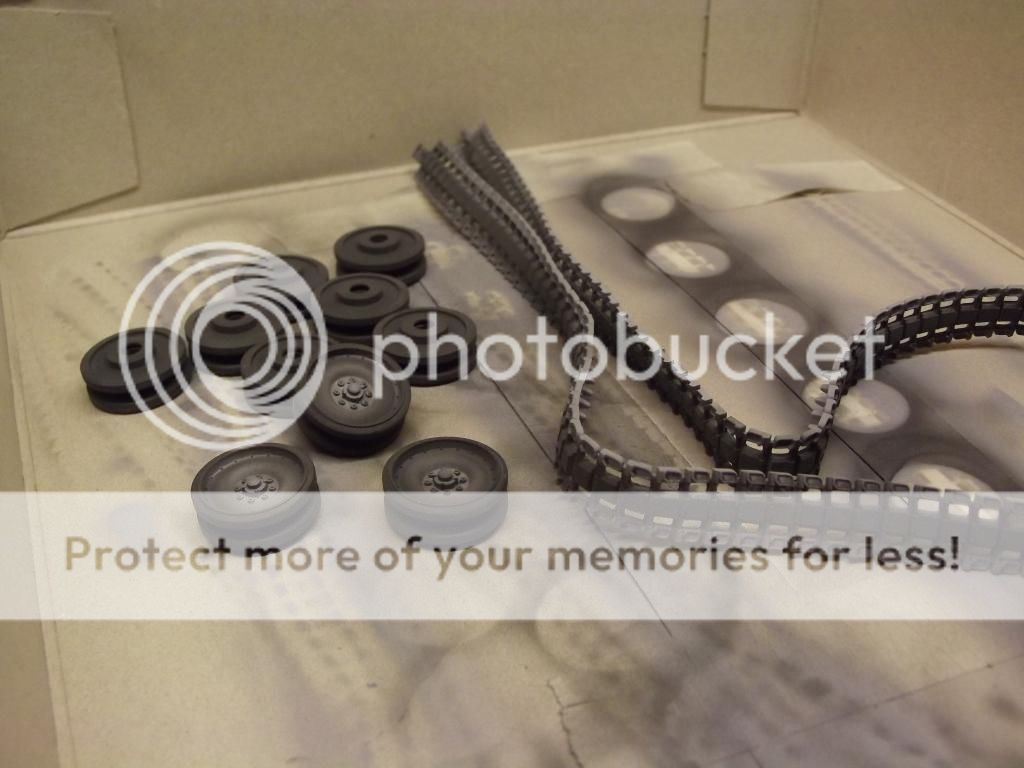
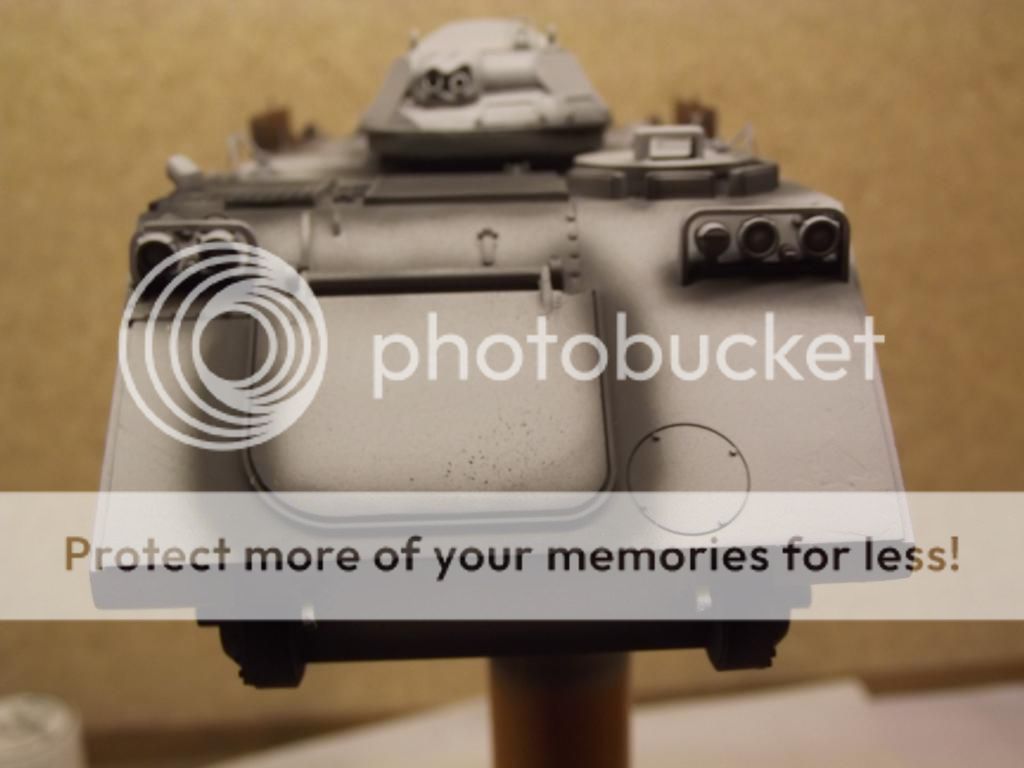
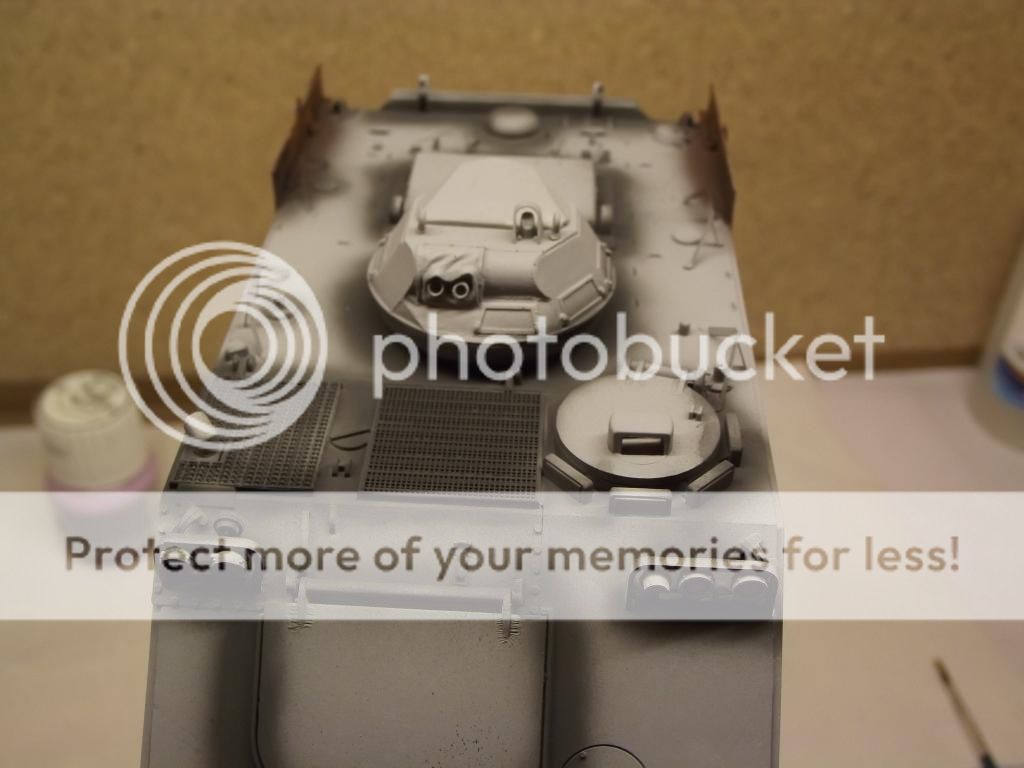
Time for a smallish update. First of I primed using AMMO by MIG primer. I first shook the bottle very well, then sprayed it neat with no thinning. I use a NEO for Iwata CN. I like this primer as long as you spray light thin coats it goes on really well.
Image
Image
Image
Image
Image
Image

I then did some pre-shading but I forgot to take photos so I will have to take some and add them later.
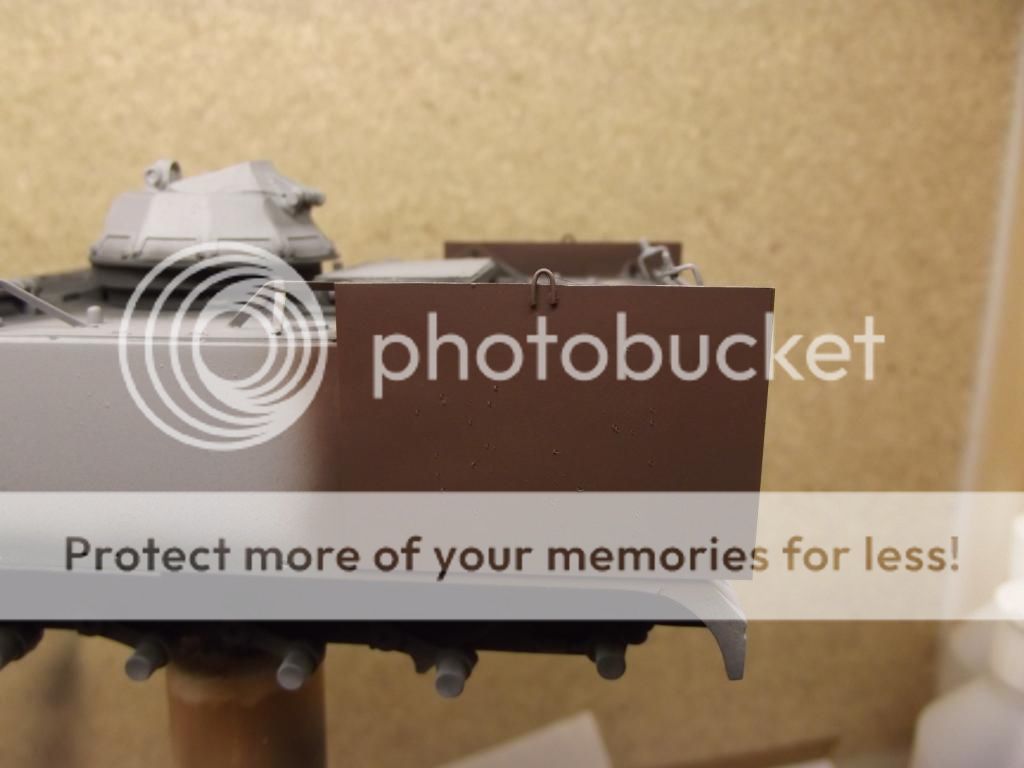
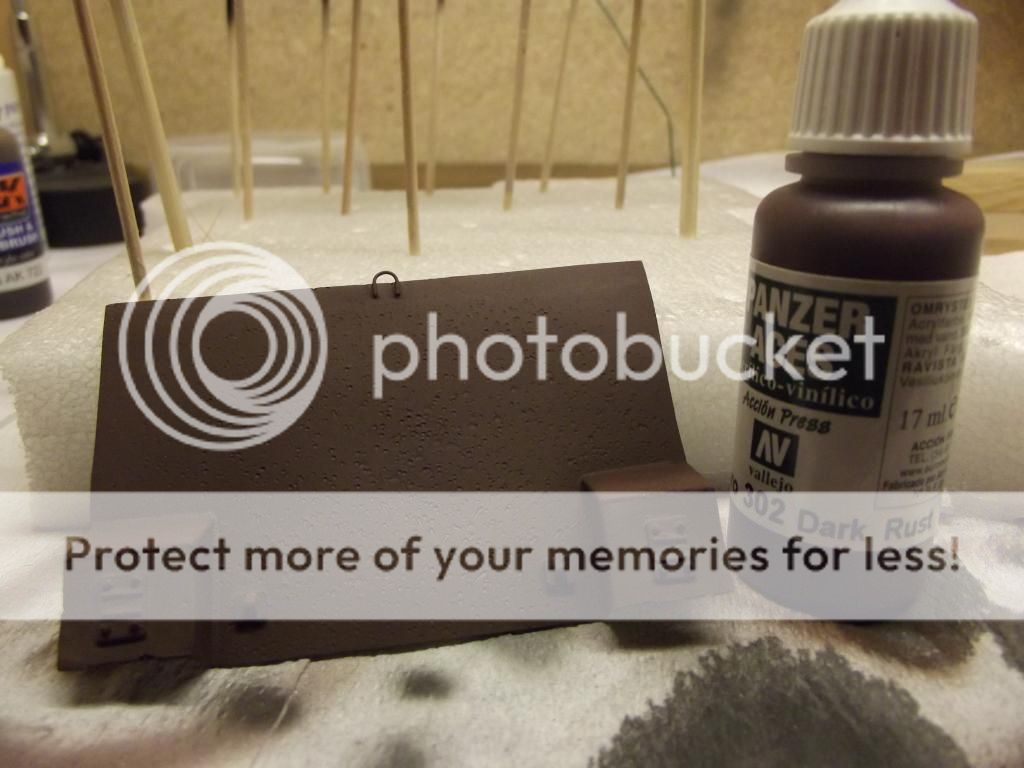
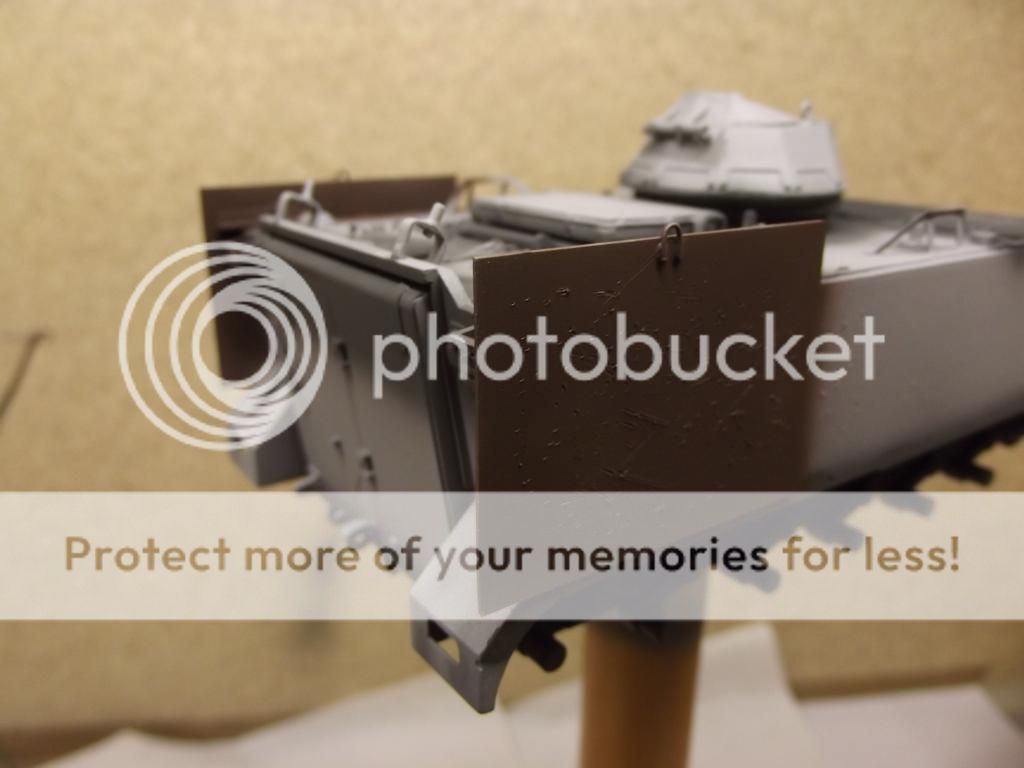
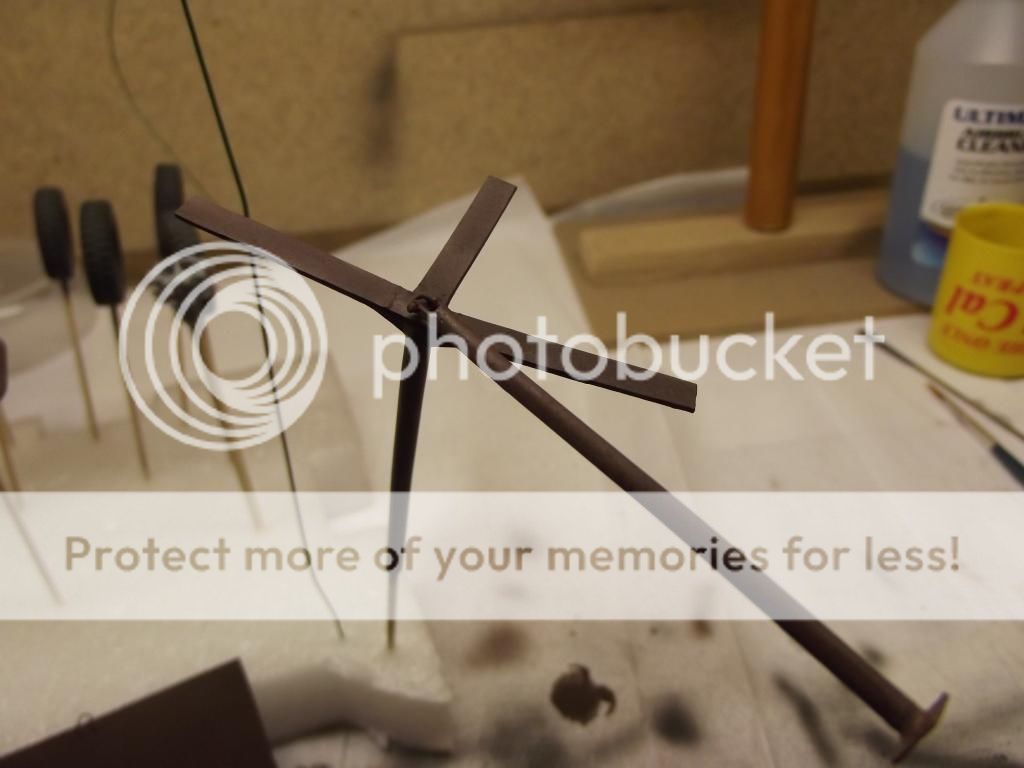
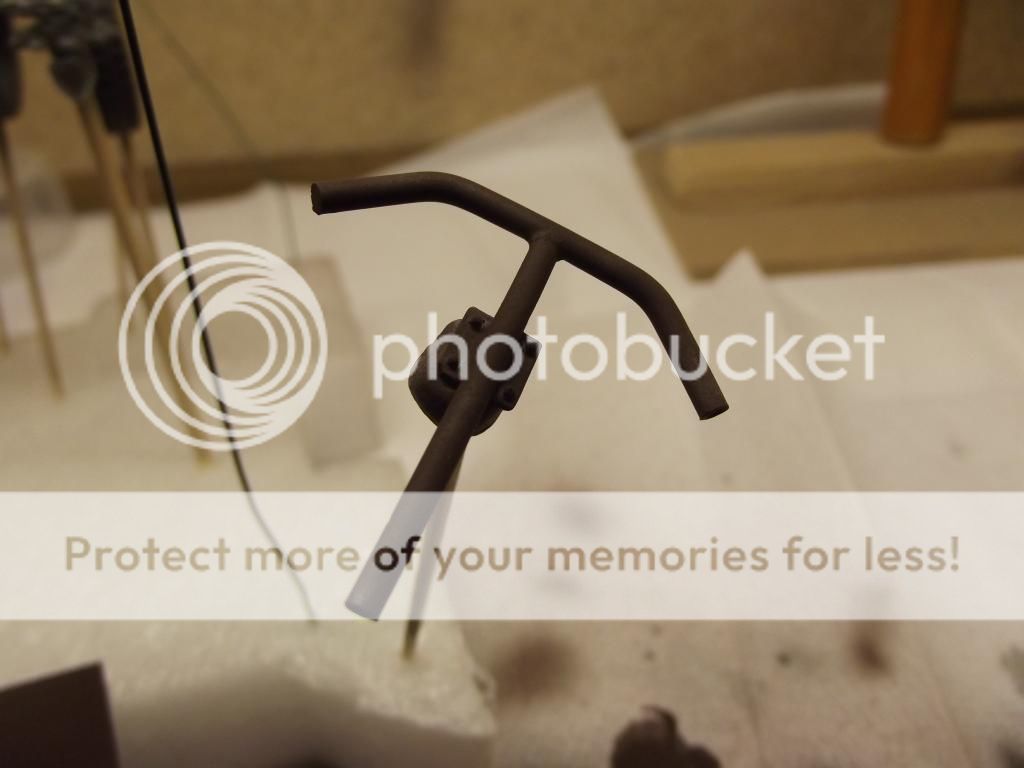
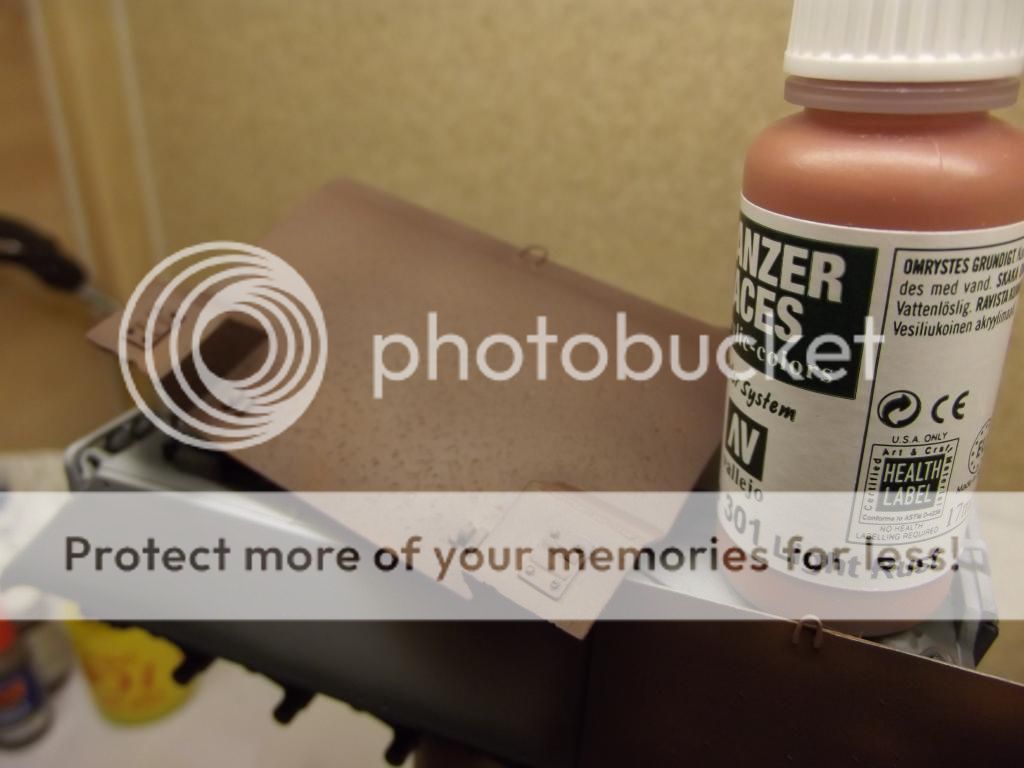
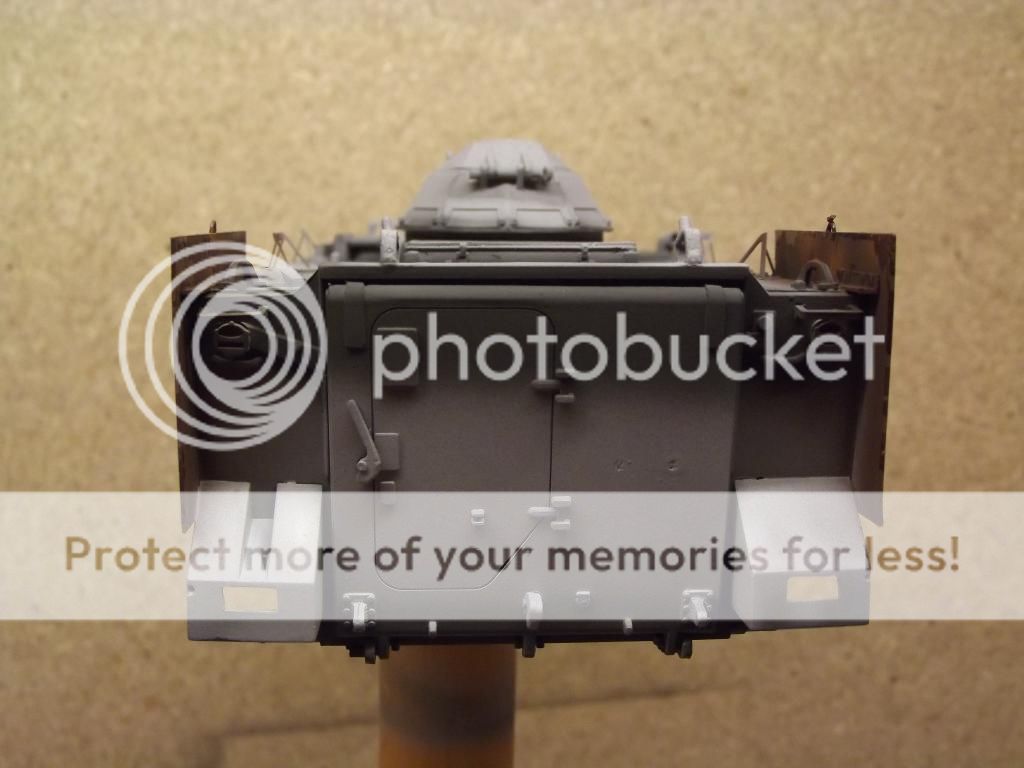
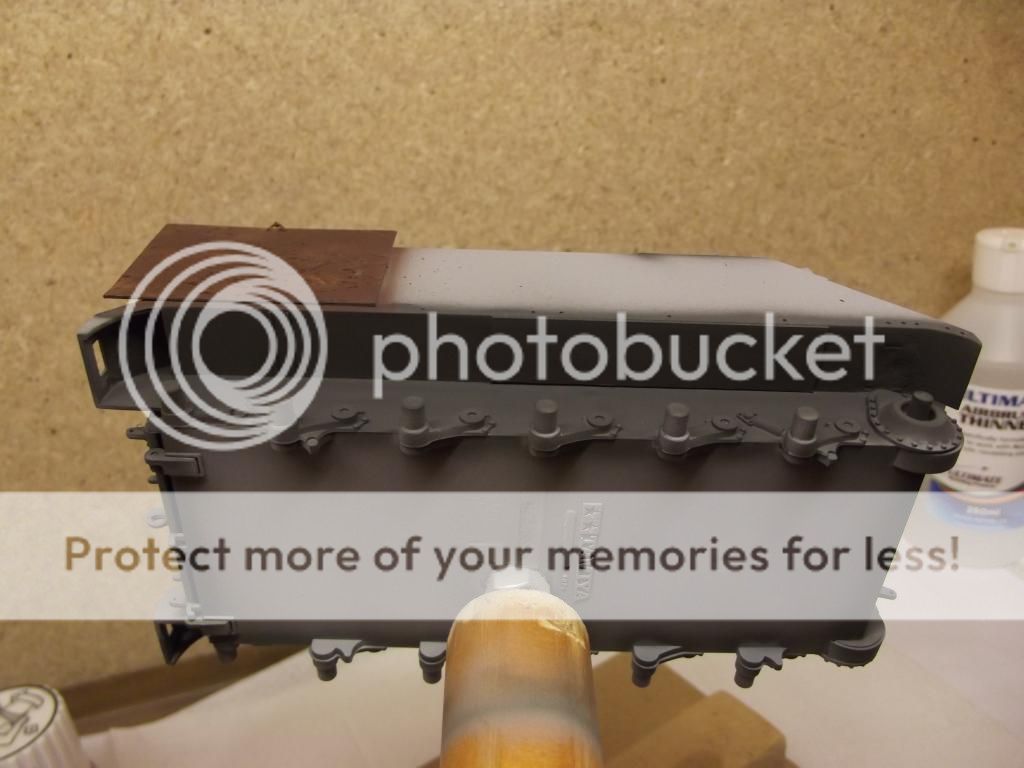
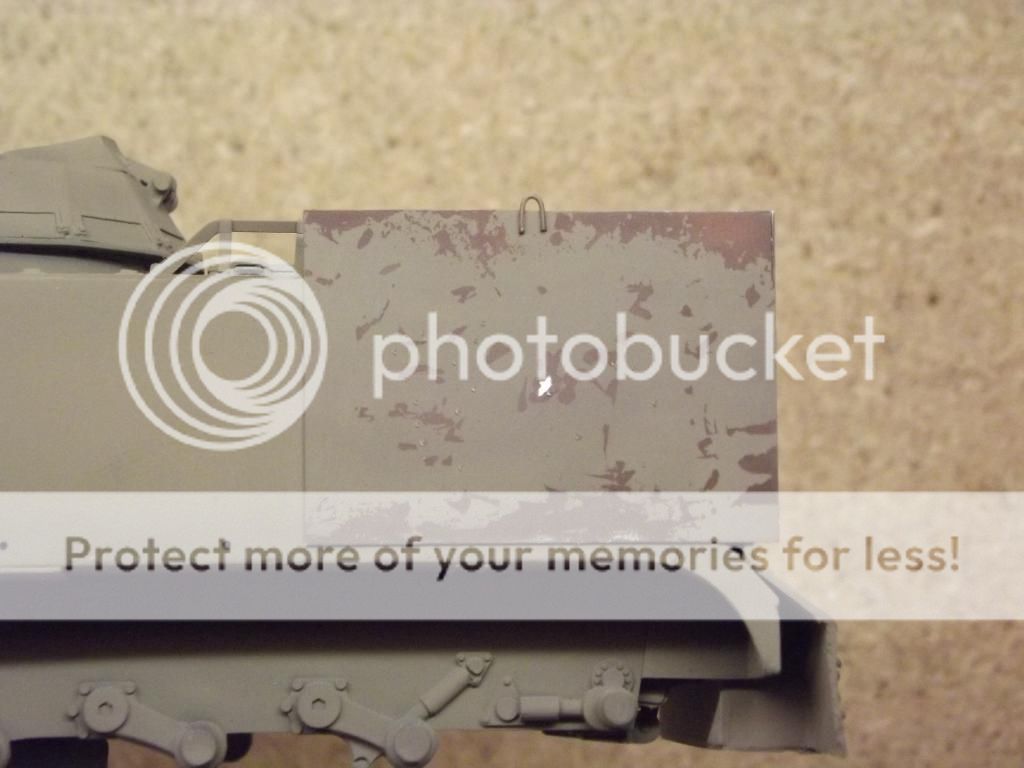
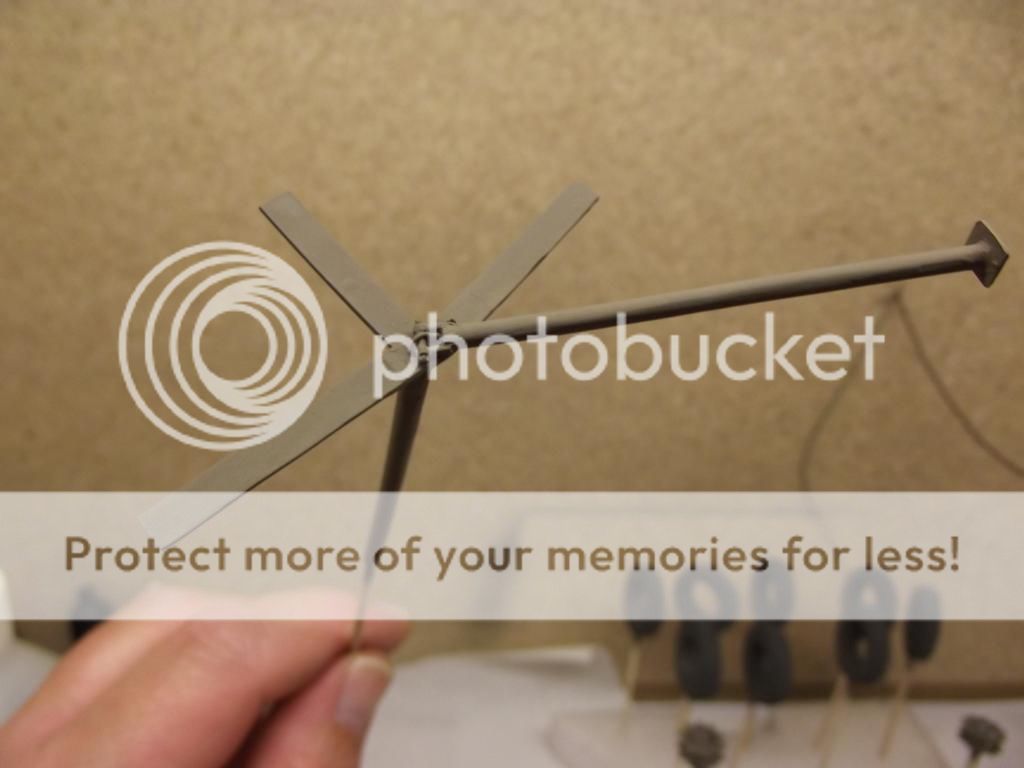
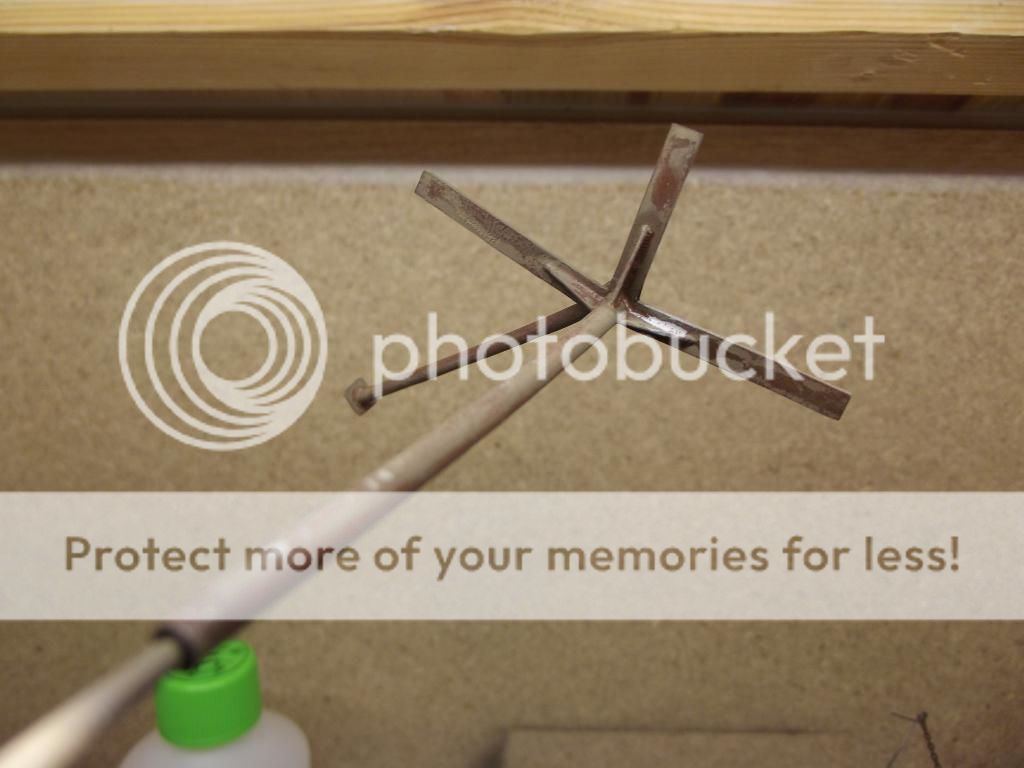
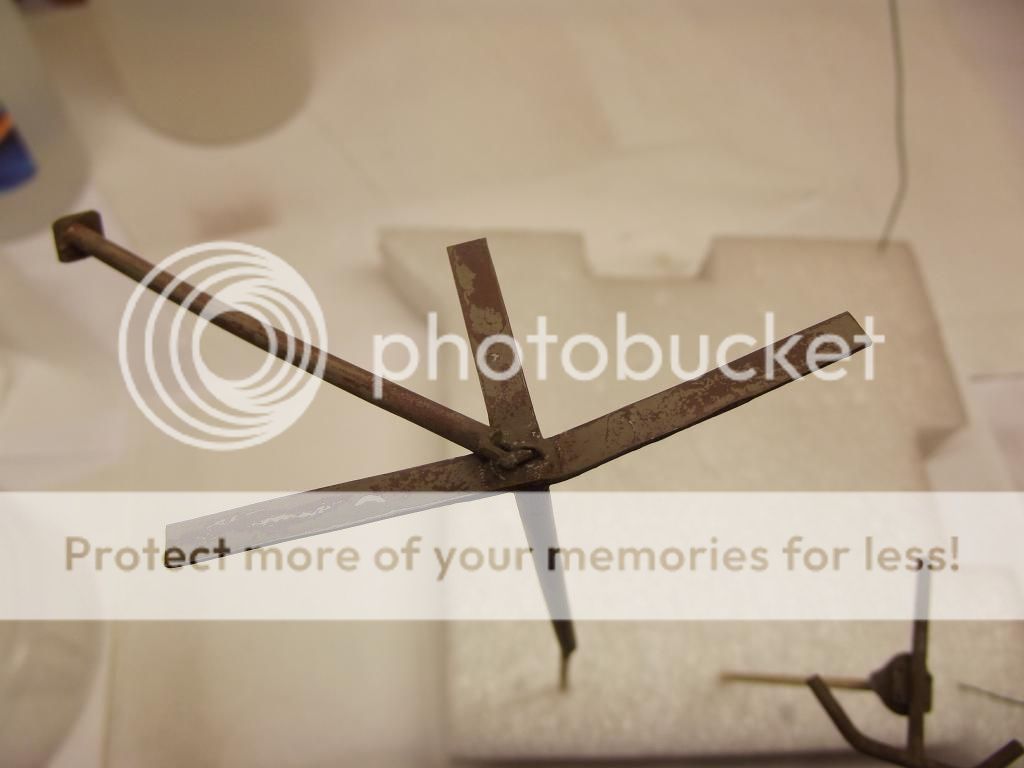
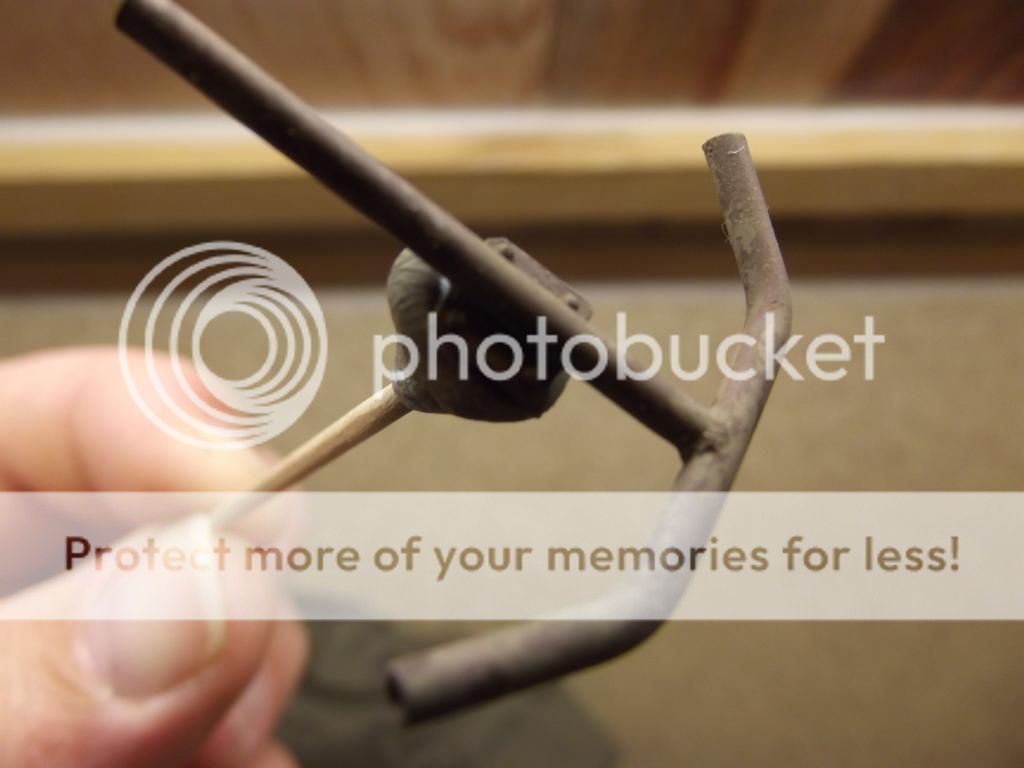
Then I decided that I wanted the add on armour and the mineroller assembly to show signs of rust and wear as per photos. I sprayed these parts with Vallejo Panzer Aces Dark Rust heavily thinned with 70% Ultimate thinner as per Pauls thinning charts, thanks Paul.
Image
Image
Image
Image
Image

I the put down a little bit of Vallejo Panzer Aces Light Rust again thinned as the Dark Rust just for a bit of variation. You can just see it in the photos.
Image
Image

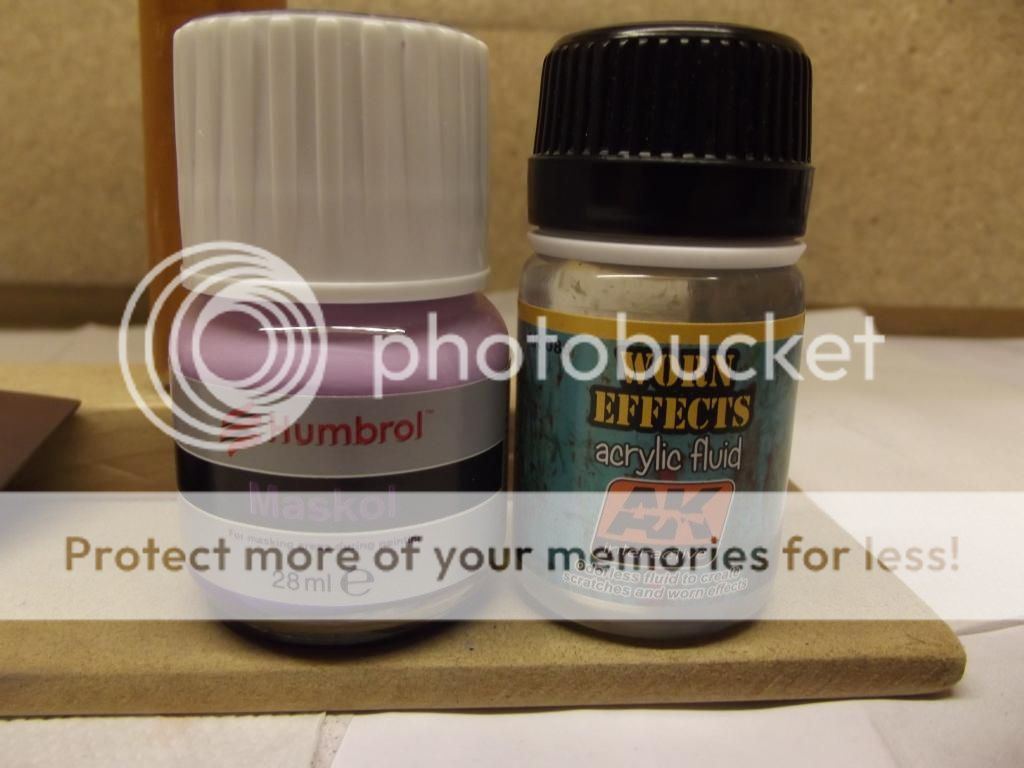
I will now use a combination of the following products to do the chipping. Update to follow. Wish me luck!!!!!!!!!!!!
Image
User avatar
snappercity
Staff Sergeant
Staff Sergeant
Posts: 229
Joined: Mon Dec 02, 2013 12:05 am
Location: Surrey

Re: Australian M113 Mine Roller

Post by snappercity »

Great efforts. Really looking forward to seeing how this turns out.
Mark - Too many models, Not enough time...

On the bench:
Airfix 1:72 Vulcan
Takom 1:35 Zwilling Flak 40
Roden 1:144 C-141B Starlifter
Russ72
Sergeant Major
Sergeant Major
Posts: 666
Joined: Tue Jan 21, 2014 12:30 pm
Location: Brisbane, Australia

Re: Australian M113 Mine Roller

Post by Russ72 »

Nice going Paul. :cheers2:
User avatar
SyntaxModels
First Sergeant
First Sergeant
Posts: 538
Joined: Mon Sep 22, 2014 8:34 am
Location: Melbourne, Victoria, Australia

Re: Australian M113 Mine Roller

Post by SyntaxModels »

Amazing, really looking forward to how it turns out!
- Leo

My Motto: "Eh, that'll do, wait a minute, this is my model I can do whatever the hell I want with it! Yes that's a good excuse!"

Visit my YouTube Channel!
https://www.youtube.com/channel/UCKvbyv ... DwSd88cMYg
ROBOPAUL
Staff Sergeant
Staff Sergeant
Posts: 186
Joined: Mon Dec 16, 2013 3:49 pm
England

Re: Australian M113 Mine Roller

Post by ROBOPAUL »

I have managed to get some more painting done (not always easy as I seem to be working a lot lately!!!!! and her indoors doesn't like it when I want to model when we are both of work together, anyway).
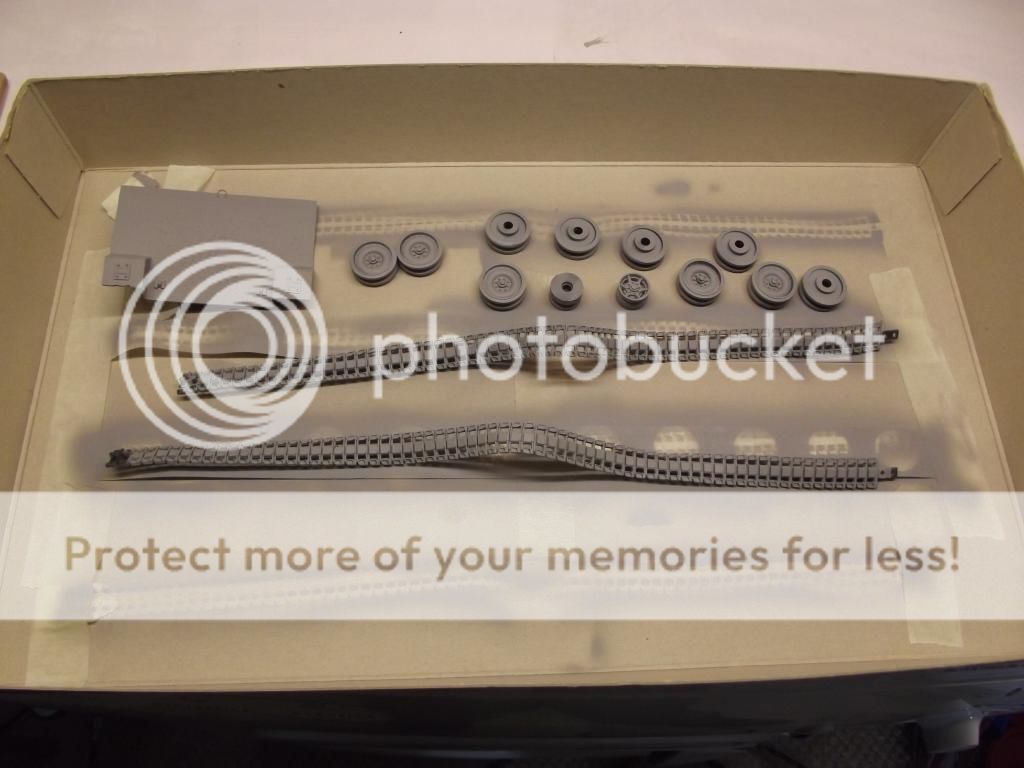
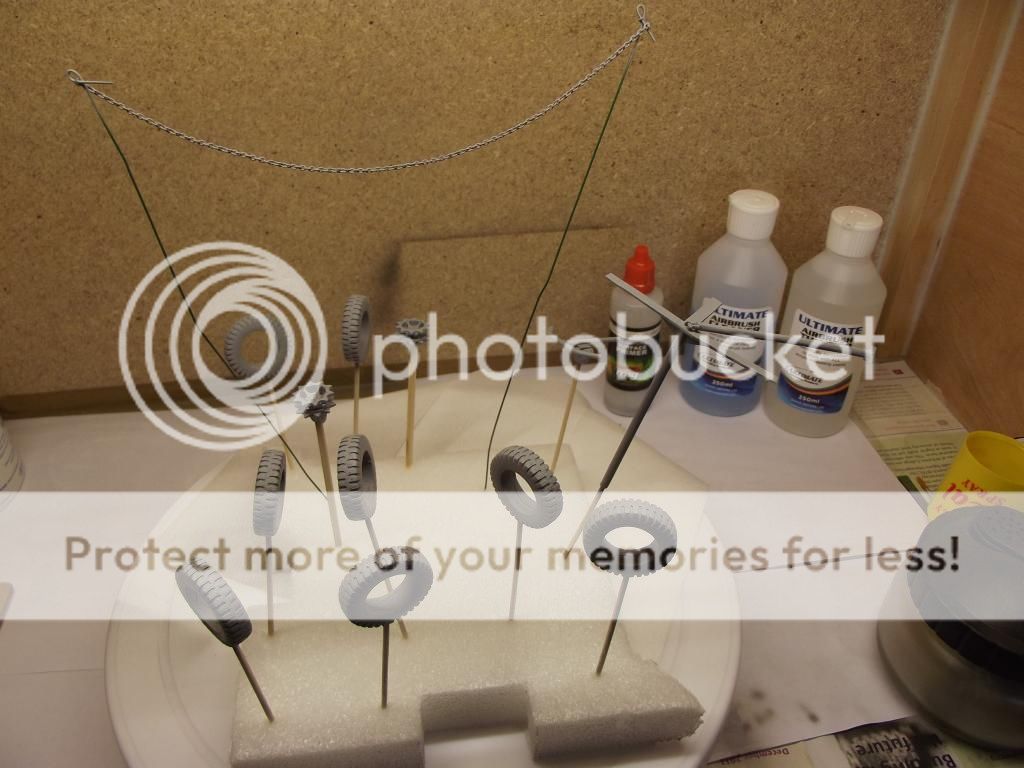
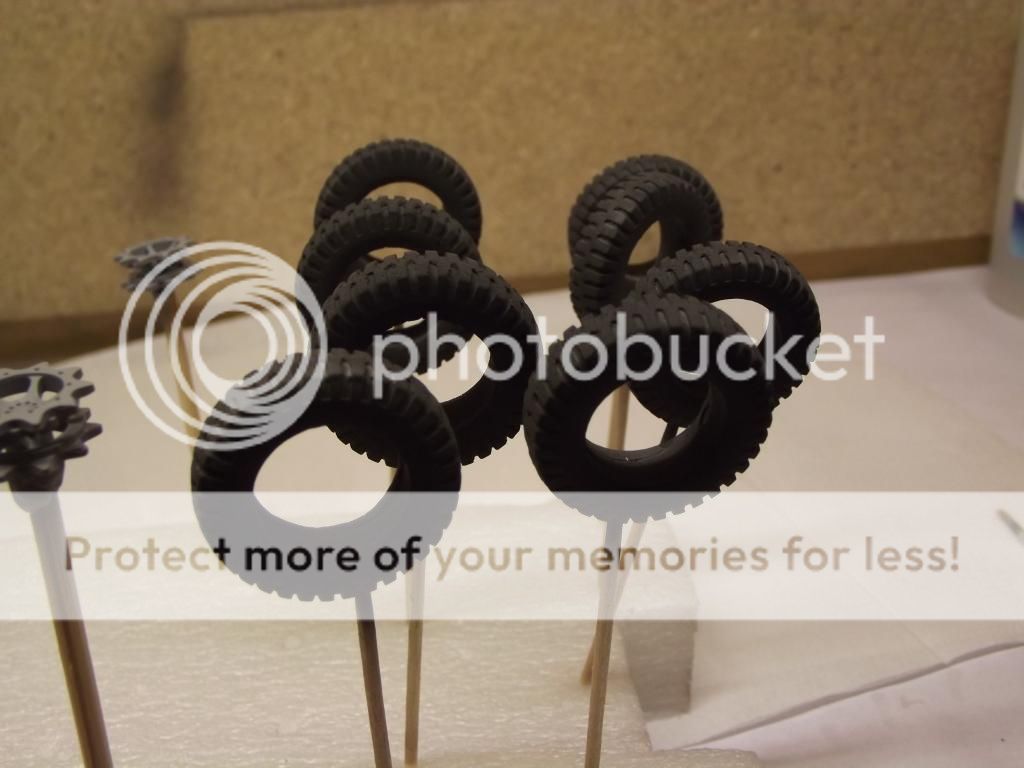
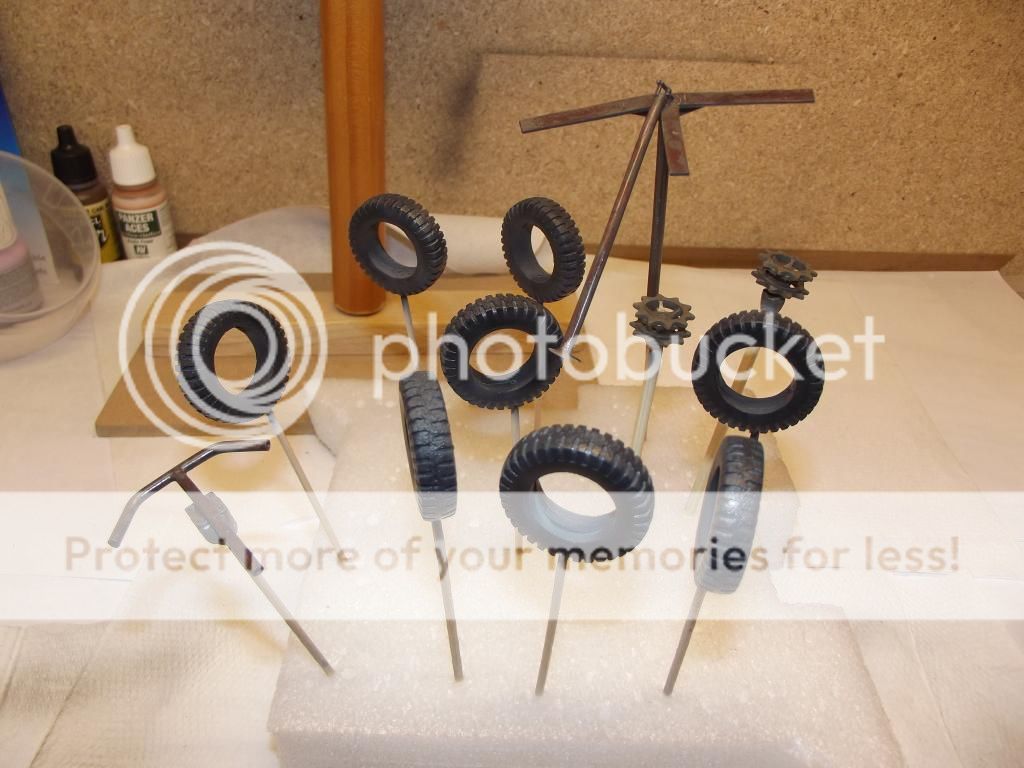
I painted the tyres and pre-shaded using Tamiya Rubber Black.
Image
Image
Image
Image
Image
Image

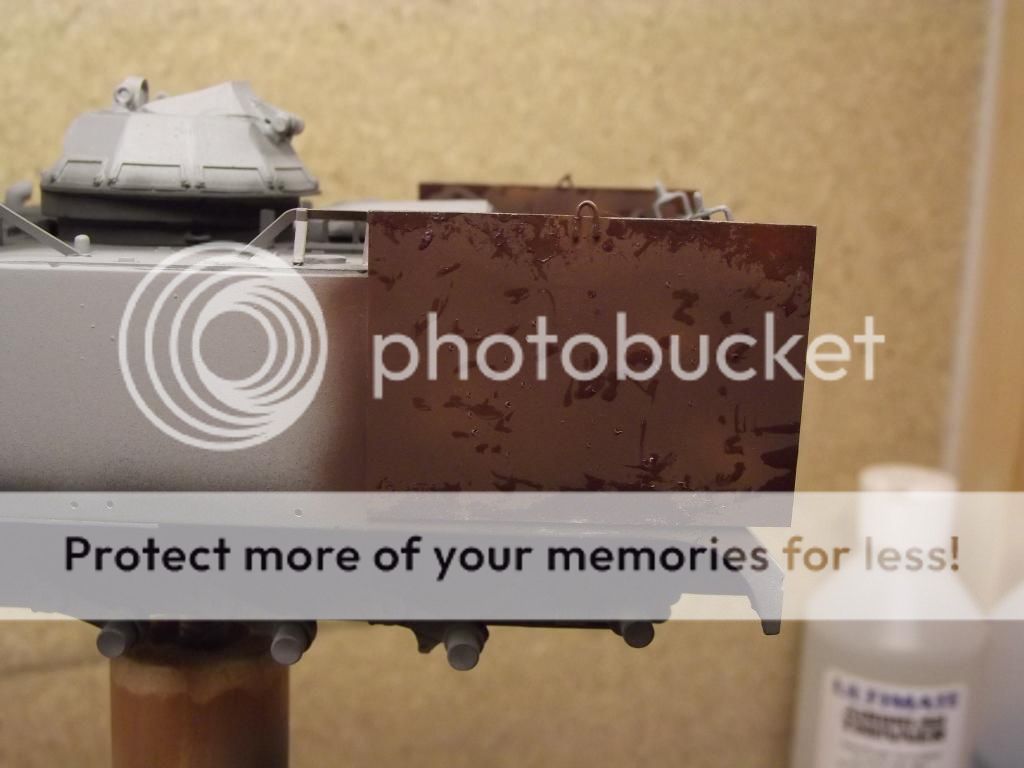
I then put Humbrol Maskol on to the pre-painted "rusty" parts (man that stuff stinks). I just used a toothpick to do it.
Image
Image
Image

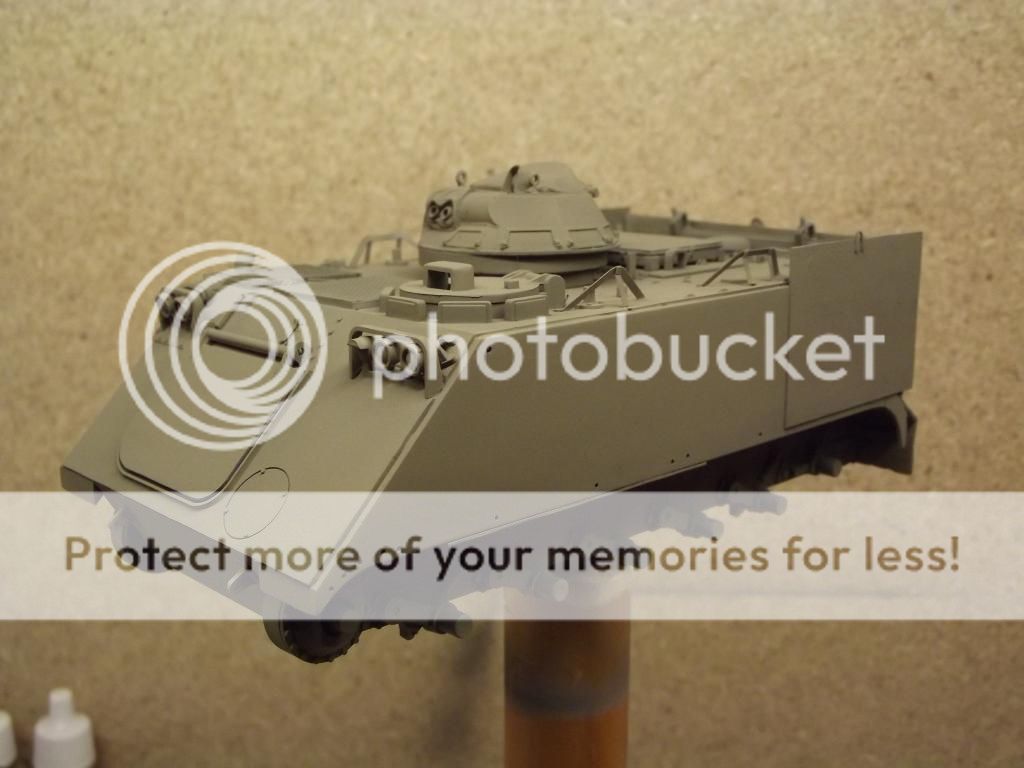
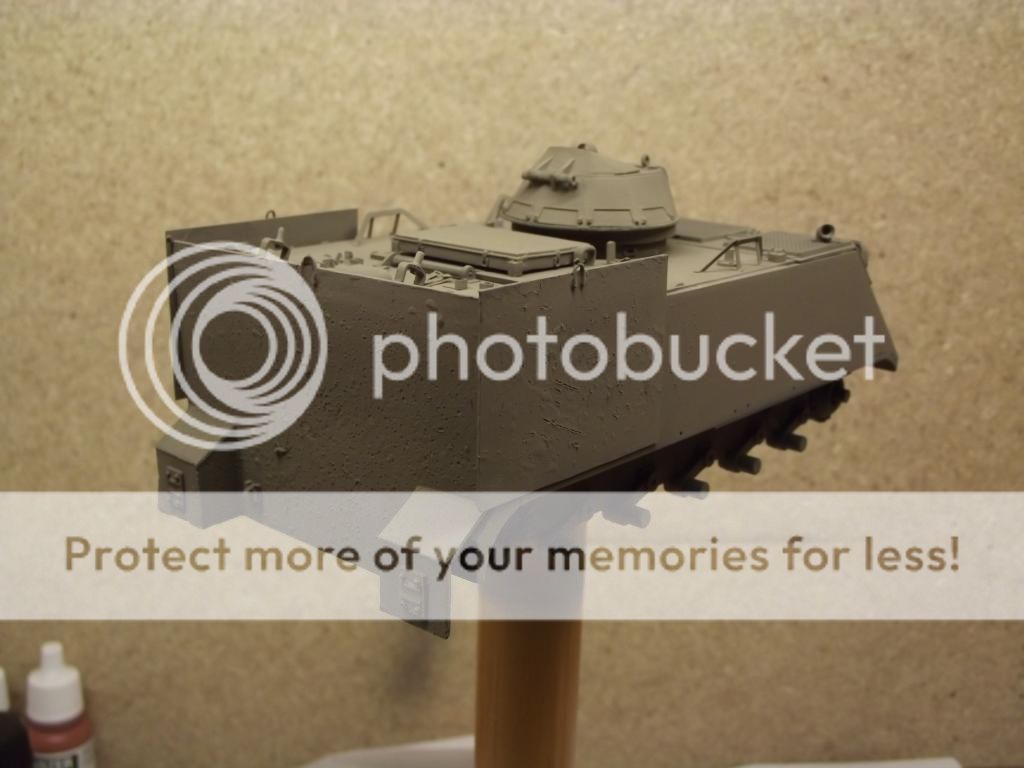
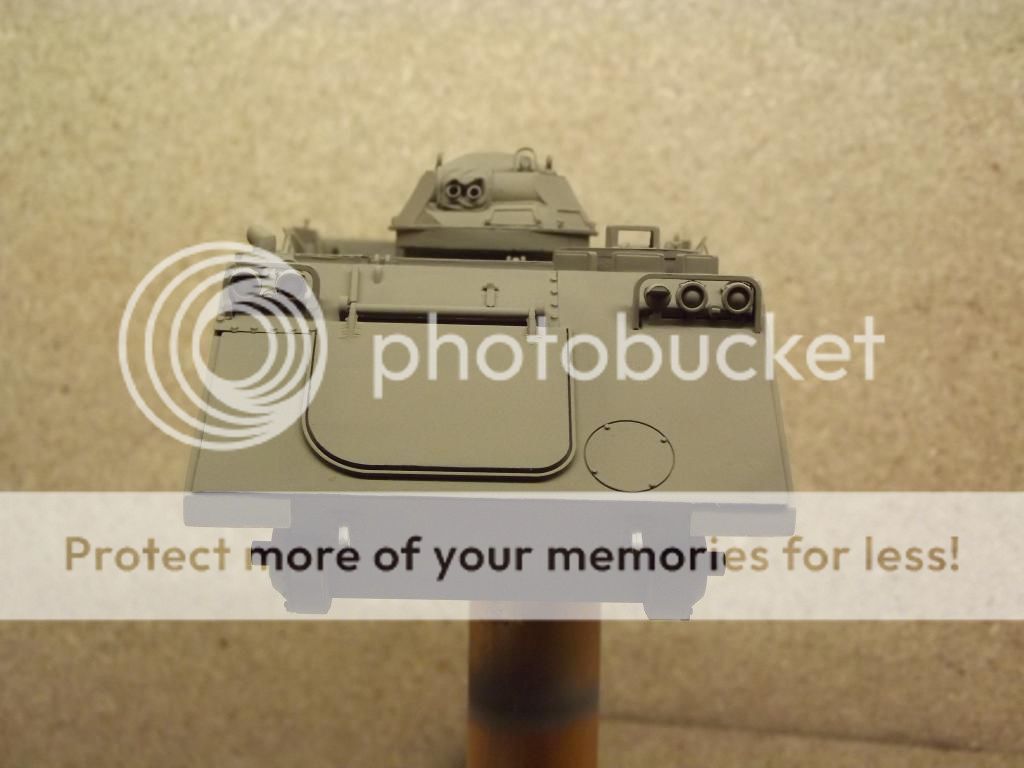
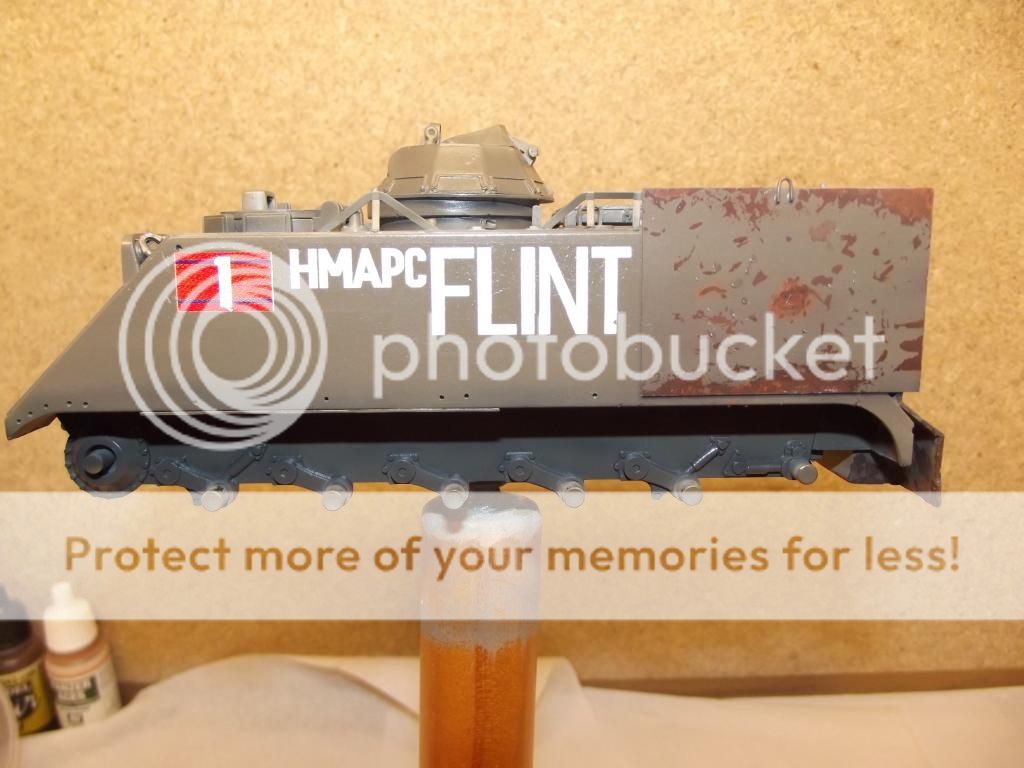
I then painted the model all over with Tamiya XF-51 Khaki Drab lightened with about 10% XF-2 Flat White and thinned as usual about 50/50 whith Ultimate thinners. I am not sure about the colour but it was recommended on another forum. What do you think?
Image
Image
Image
Image

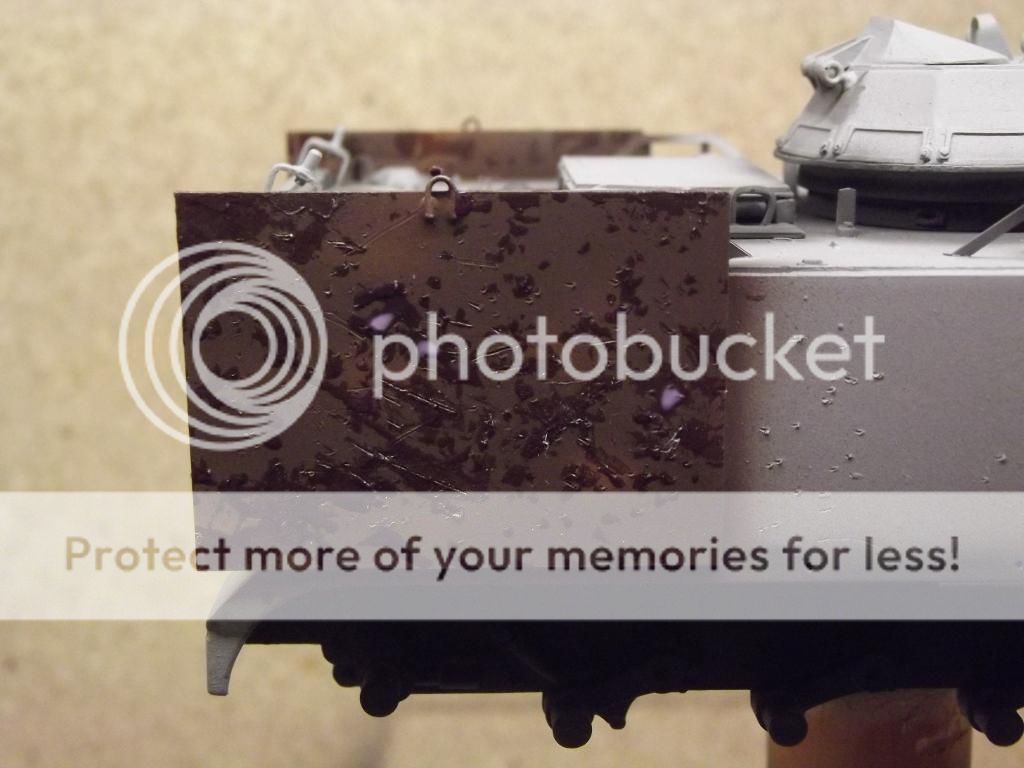
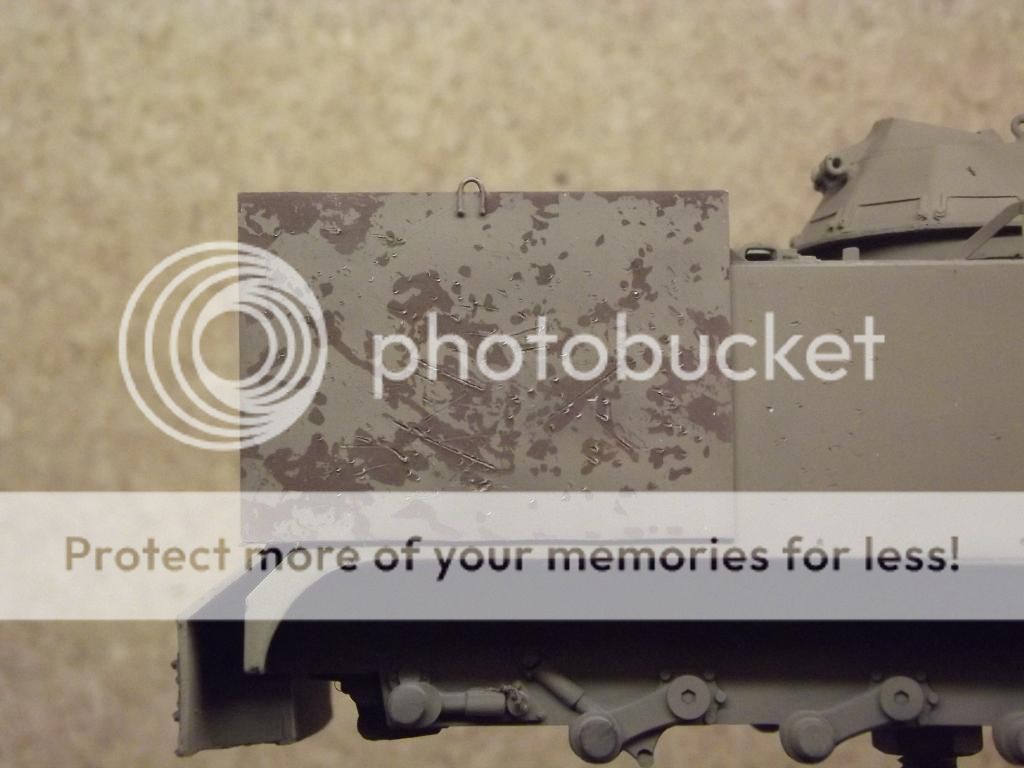
After letting the paint dry for a couple of hours I used White Blu Tack to rub of the Maskol. It did rub of some of the underying paint and primer but I was probably a bit bit to vigorous with the White Tack.
Image
Image
Image

I think the rusty panels need a bit more work but I don't think this is a bad start.
Comments and constructive criticism please.
User avatar
SyntaxModels
First Sergeant
First Sergeant
Posts: 538
Joined: Mon Sep 22, 2014 8:34 am
Location: Melbourne, Victoria, Australia

Re: Australian M113 Mine Roller

Post by SyntaxModels »

Looks good mate, I love the M113 and its Aussie, whats not to love ;) .
- Leo

My Motto: "Eh, that'll do, wait a minute, this is my model I can do whatever the hell I want with it! Yes that's a good excuse!"

Visit my YouTube Channel!
https://www.youtube.com/channel/UCKvbyv ... DwSd88cMYg
ROBOPAUL
Staff Sergeant
Staff Sergeant
Posts: 186
Joined: Mon Dec 16, 2013 3:49 pm
England

Re: Australian M113 Mine Roller

Post by ROBOPAUL »

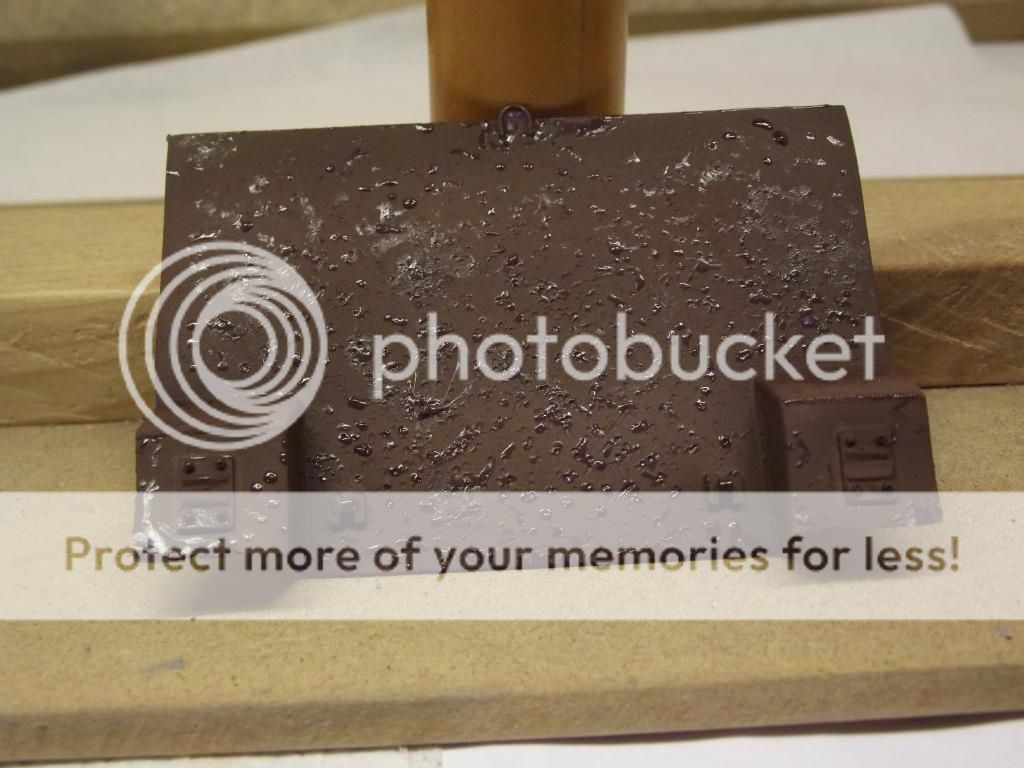
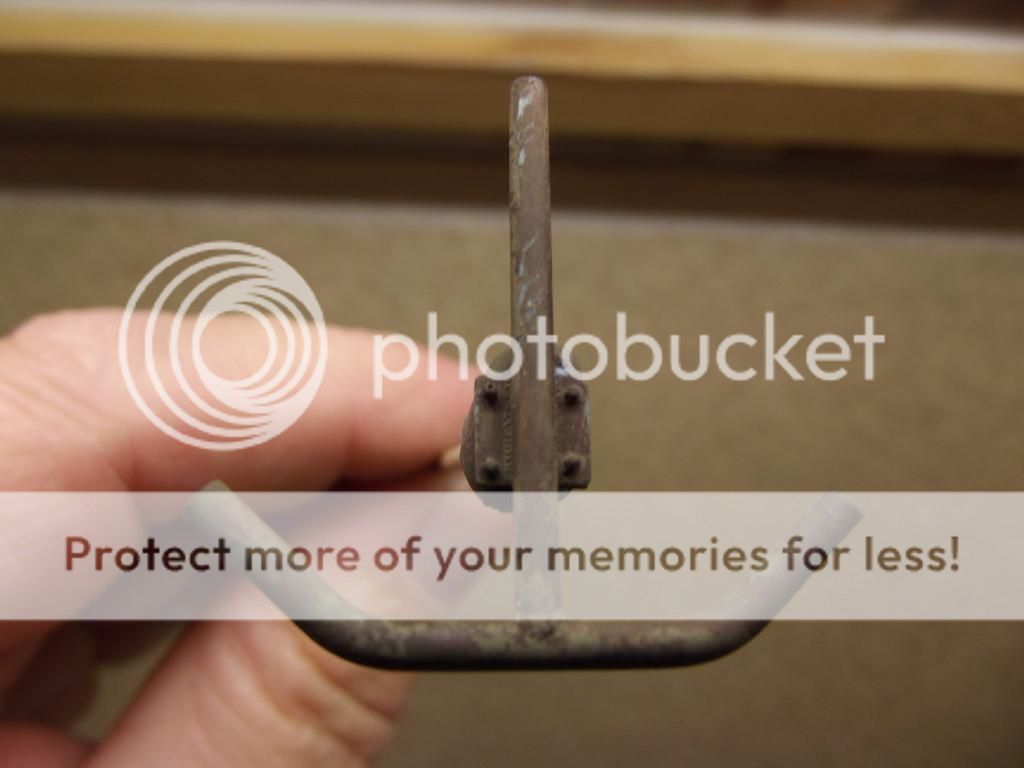
On the mineroller assembly I wanted to try the AK worn effects fluid for a different type of wear. I sprayed 2 thin coats, let it dry for about a couple of hours and then spayed a couple of thin layers of the basecoat thinned as normal with Ultimate thinners, this I left to dry for about 30 minutes. I then put water onto these bits and used a paintbrush to work the top layer of paint off.
Image
Again I was a bit too vigorous and took of too much paint in places.
Image
Image
Image
Image

So after repairing all the damage I put down a couple of coats of Alclad Aqua Gloss as per Paul's recommendations, this is fantastic stuff as long as you spray in light coats, I also found that it sprayed better if I used a low (16 psi) pressure. After this was done I then put on the decals using Micro sol/set again after watching Paul's excellent tutorial on how to do this. then I sealed it all with another couple of coats of Aclad Aqua Gloss. Next up weathering !!!!!!!!!!
Image
Image
Image

Comments and constructive criticism welcome.
Yevgeny
Sergeant Major
Sergeant Major
Posts: 730
Joined: Tue Sep 30, 2014 10:37 am
Location: Worthing, UK

Re: Australian M113 Mine Roller

Post by Yevgeny »

Looks very good. I like how the damaged plates look.
Good to see you using Aclad aqua gloss with good results, as I'm going to use it too soon :)
Sir, we're surrounded!
Excellent! Now we can attack in any direction!
------------------------------------------------
Model N1 DONE! - Tamiya 1:35 Panzerkampfwagen V Panther Sd.kfz.171 Ausf.A
Model N2 DONE! - Academy 1:72 M1126 Stryker
Working on:Trumpeter (00204)
Waiting: Meng (SS-004), Airfix (A50125), Tamiya (35068)
User avatar
Tiger131
Chief Warrant Officer 2
Posts: 1700
Joined: Tue May 28, 2013 3:44 pm
Location: walsall
England

Re: Australian M113 Mine Roller

Post by Tiger131 »

Just gonr through your thread like the conversation set and those pictures you got are some great reference to work from..and that blast damage on those pieces look bang on look forward to seein more :banana: :banana:
Image
User avatar
SyntaxModels
First Sergeant
First Sergeant
Posts: 538
Joined: Mon Sep 22, 2014 8:34 am
Location: Melbourne, Victoria, Australia

Re: Australian M113 Mine Roller

Post by SyntaxModels »

Looks like its coming along mate!
- Leo

My Motto: "Eh, that'll do, wait a minute, this is my model I can do whatever the hell I want with it! Yes that's a good excuse!"

Visit my YouTube Channel!
https://www.youtube.com/channel/UCKvbyv ... DwSd88cMYg
Post Reply

Return to “Builds”