Well, I finally got my entry model for the World War One Centenary SiG build completed with just two days to spare until the closing date!
This is the Eduard 1/48 scale Airco DH-2 Bi-Plane that included a few firsts for me;
1) My first Eduard kit
2) My first Bi-Plane....I've always modeled WWII to modern day planes
3) My first time rigging
4) My first time using EZ-Line
Although initially, I was intimidated at the thought of attempting the rigging, once I got into it and had developed a method, I really enjoyed the challenge and will no doubt attempt more bi-planes, as they have a decorative antiquity about them once completed.
Anyway, let's post some photos of what was done to complete the model from where I last left off on Build Update #2 and then post some photos of the final product, plus, I'll include some conclusions at the end of this reveal;
The plane was assembled except for the small fiddly bits...
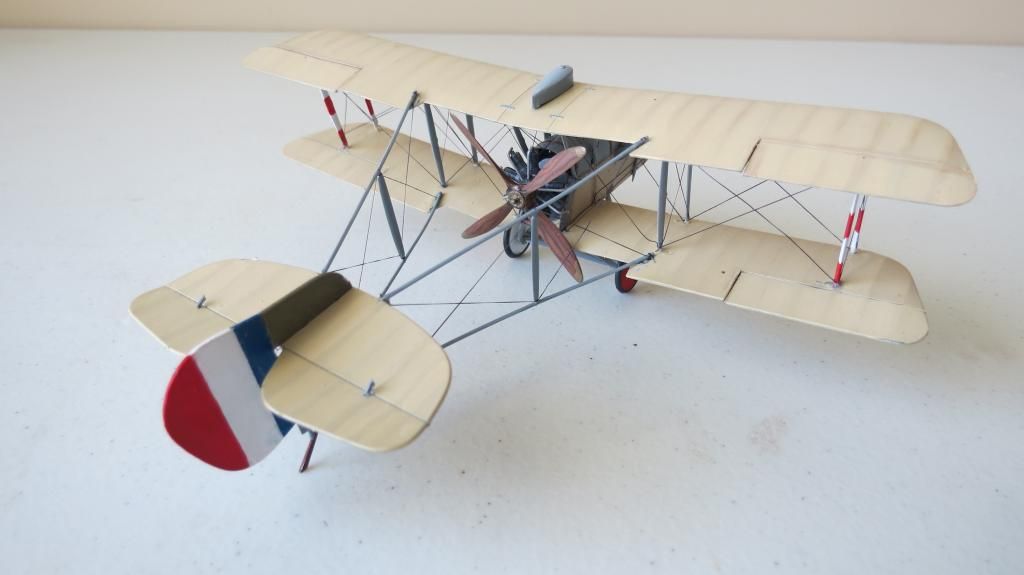
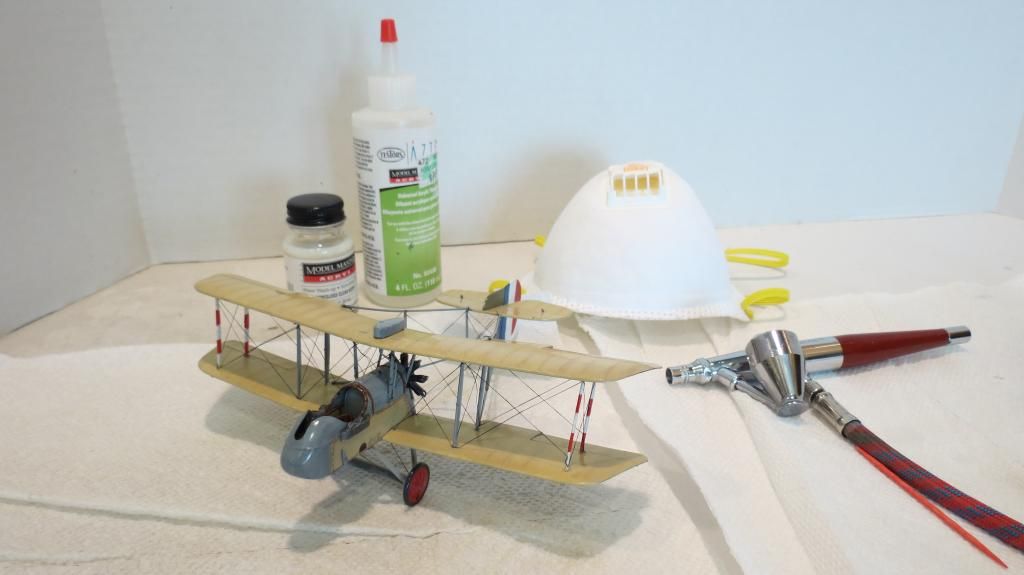
I then airbrushed a gloss clear coat all over prior to decaling...
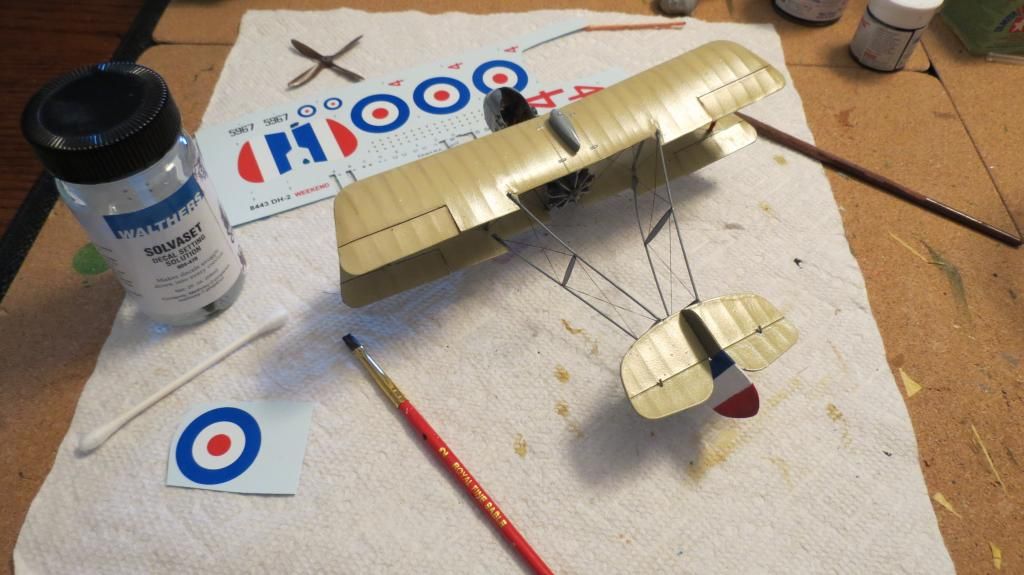
When that had dried, I then applied the decals using "Walther's Setting Solution"....
After completing the decals, it was time to add more rigging using fine black EZ-Line, scissors, tweezers, scalpel, super-glue and a toothpick...
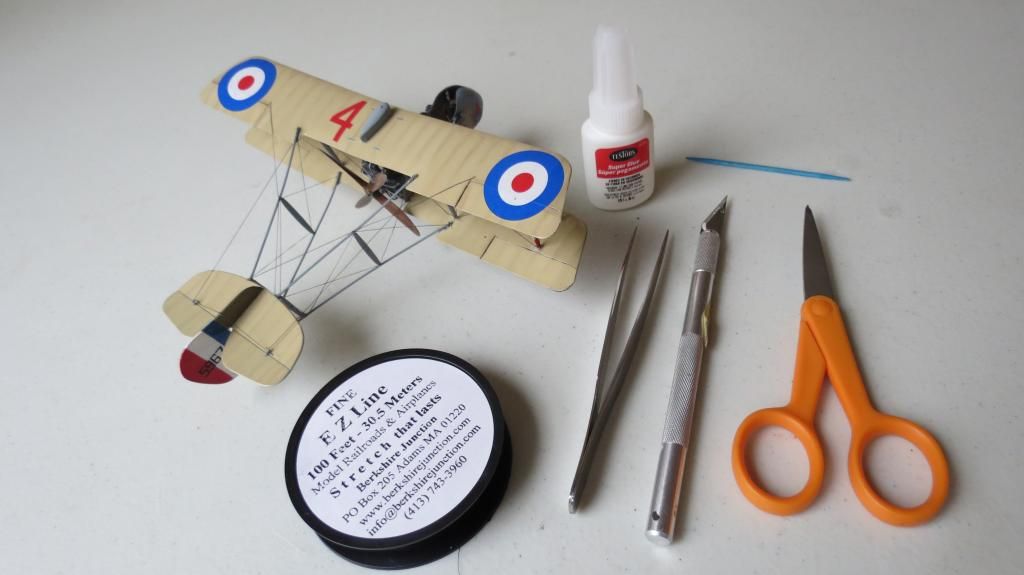
After the rigging was completed, I added a small amount of weathering, made my own gun-sight for the forward machine gun and fitted that in place and she was done. All that was left to complete her was to airbrush a flat/matte clear coat all over her to seal everything in....
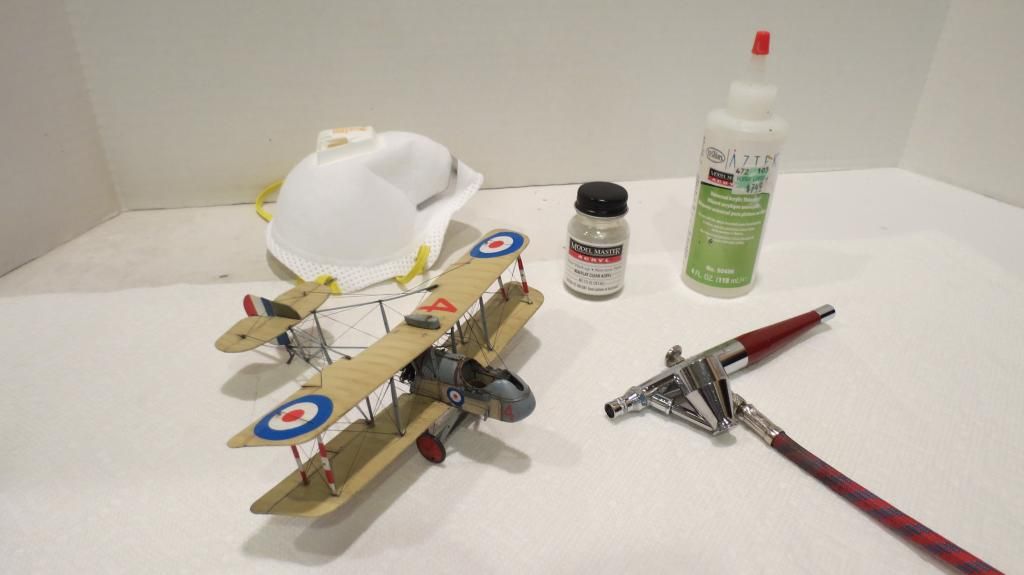
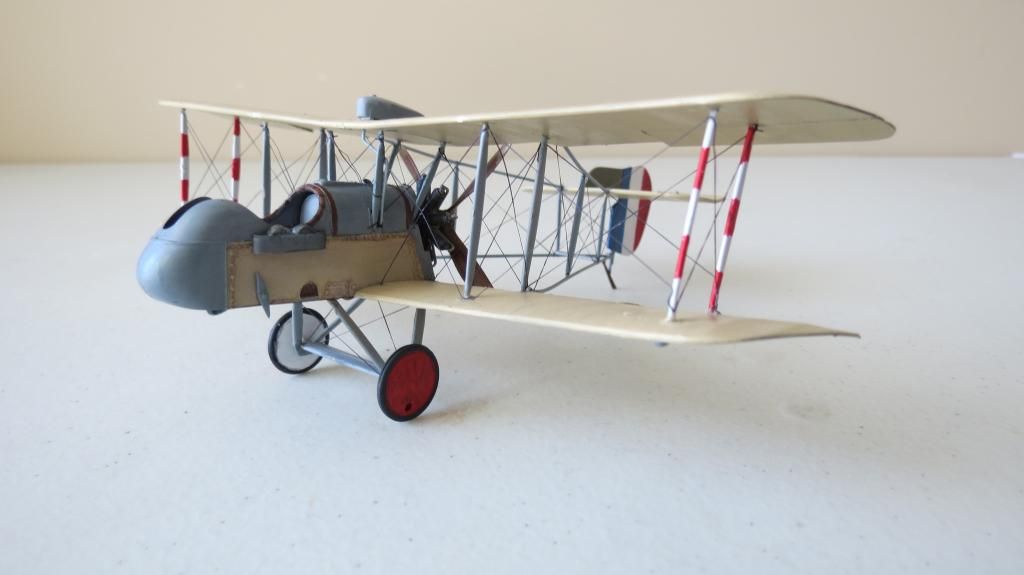
When that was dry....she was ready to display! Enjoy the rest of the views, and forgive me for how many there are...I hate trying to choose which ones to show
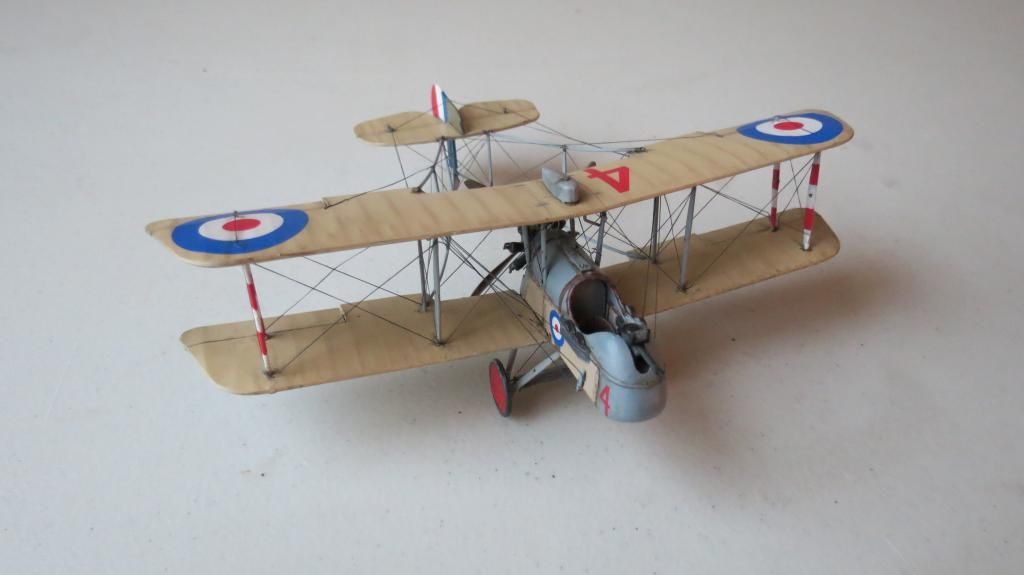
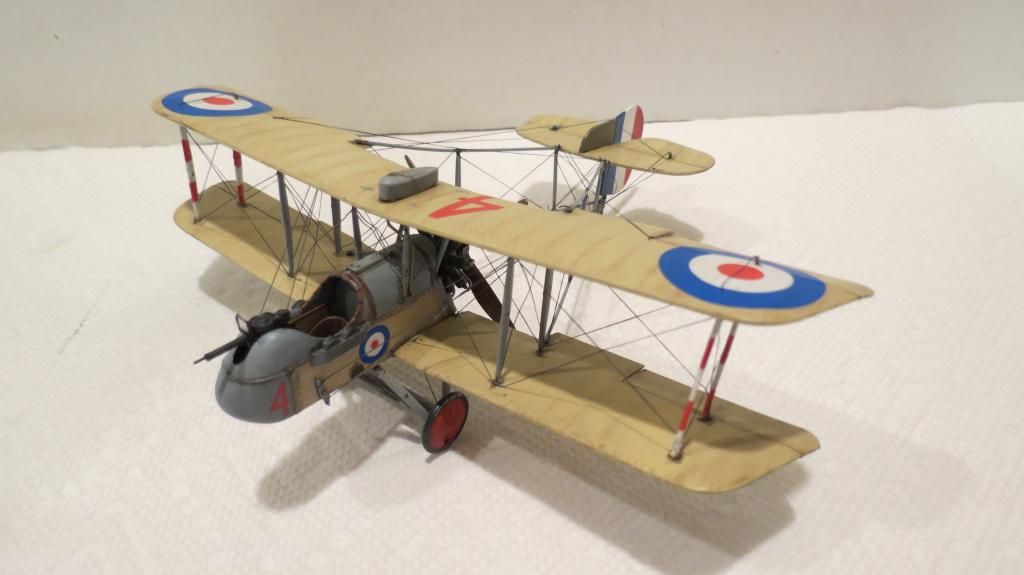
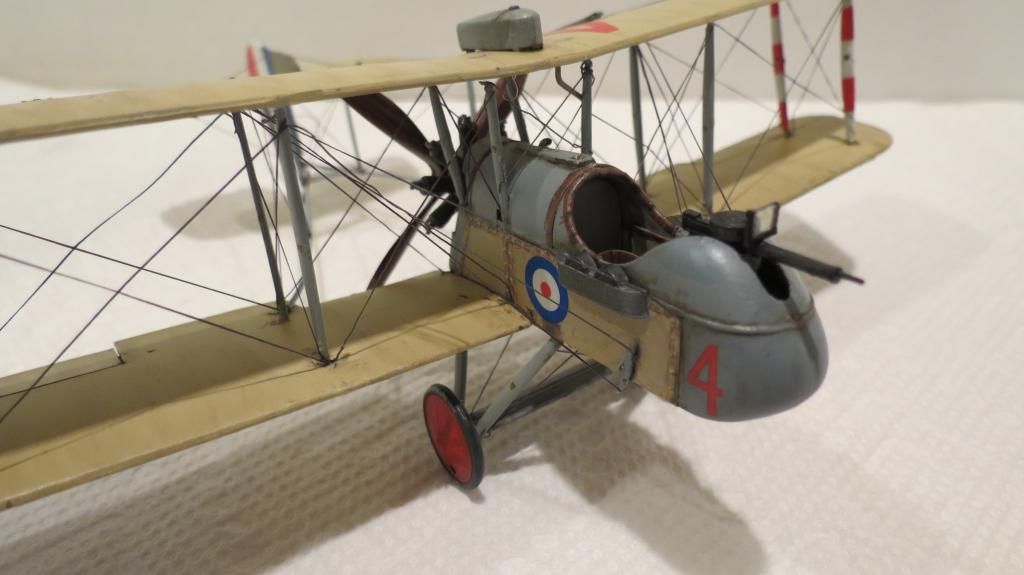
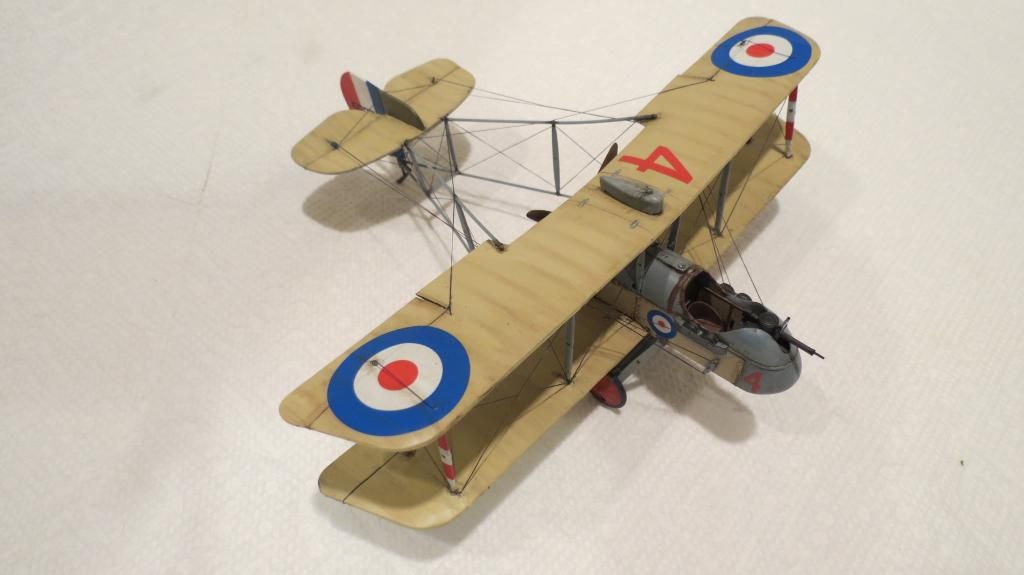
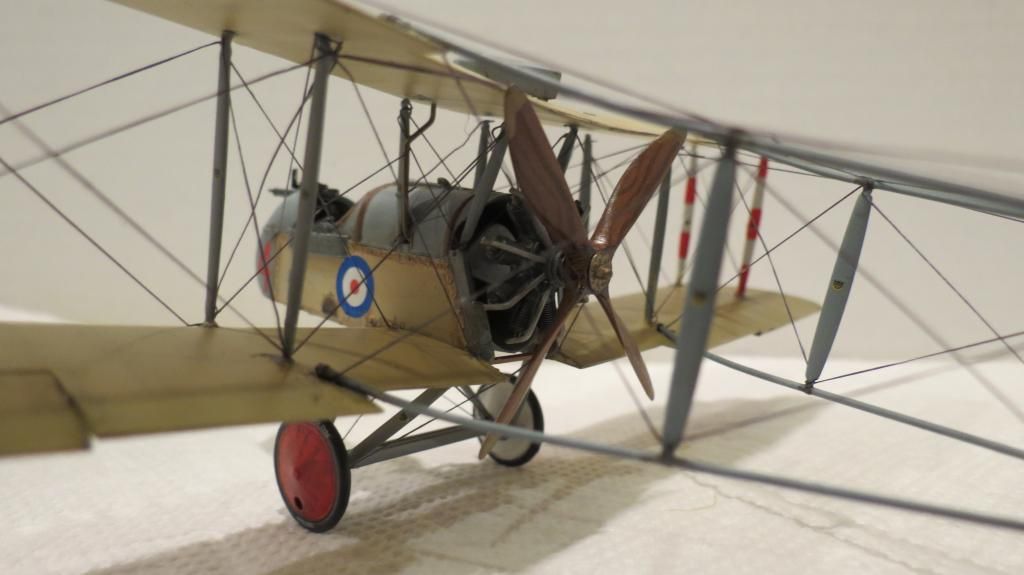
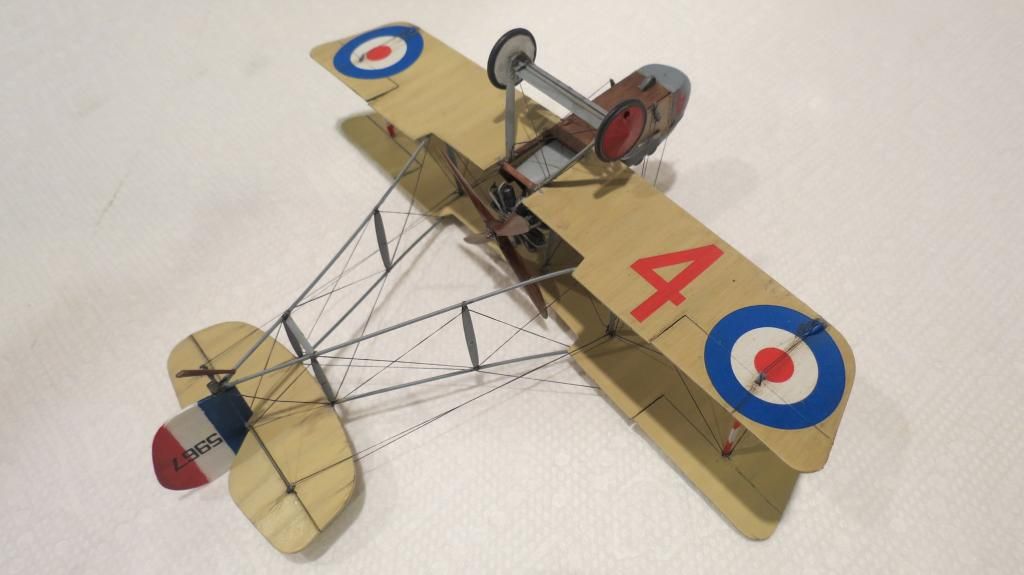
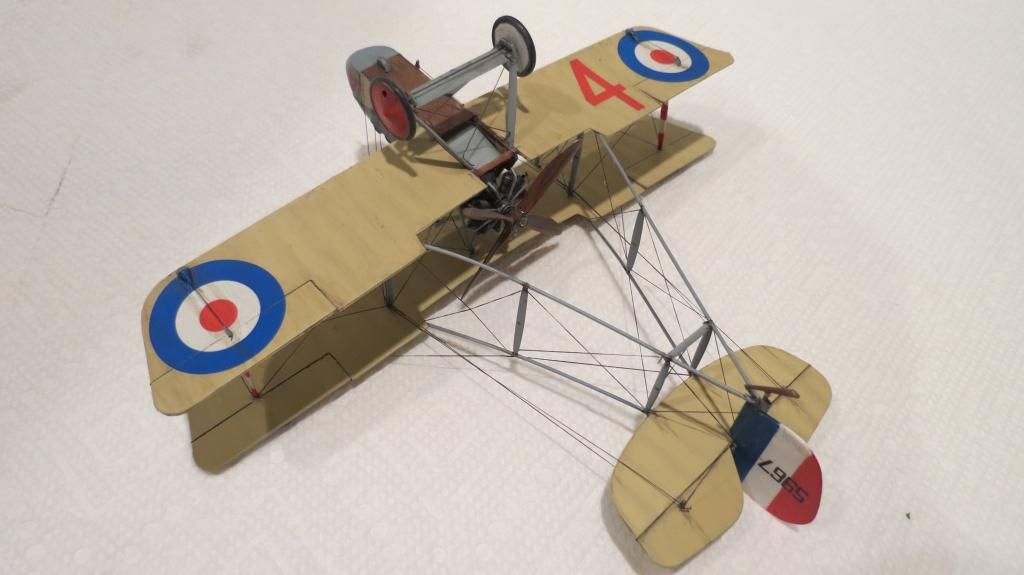
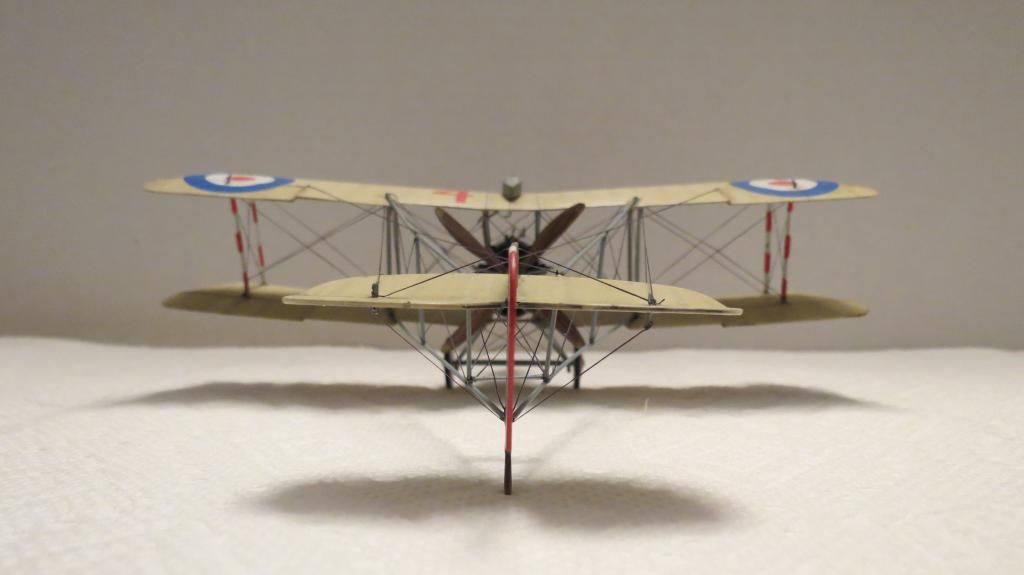
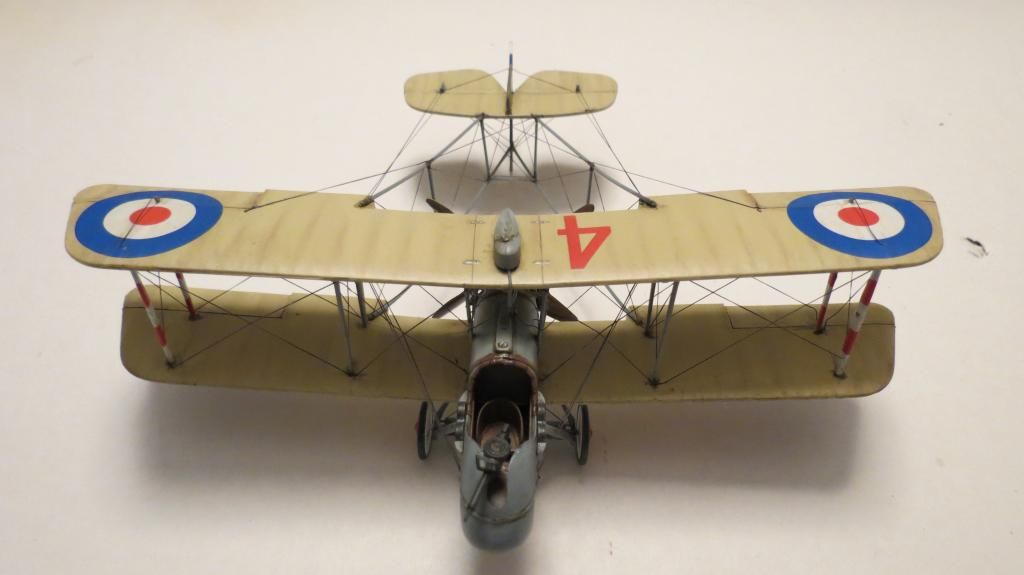
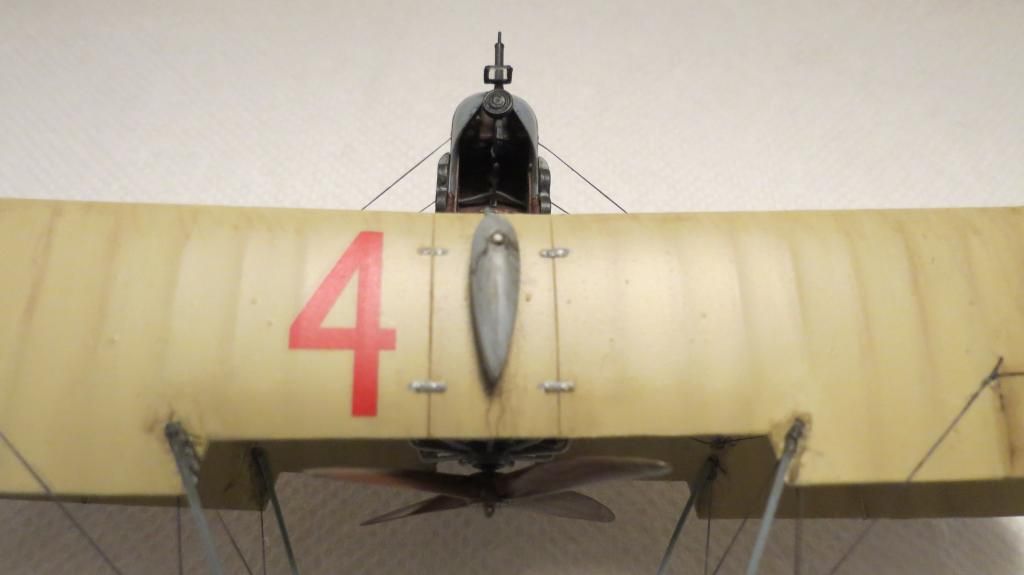
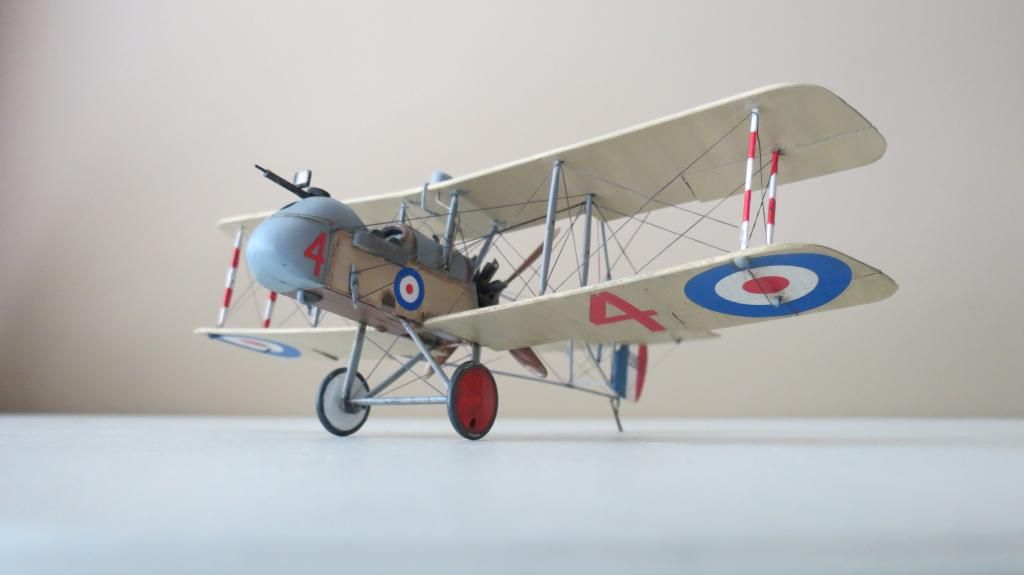
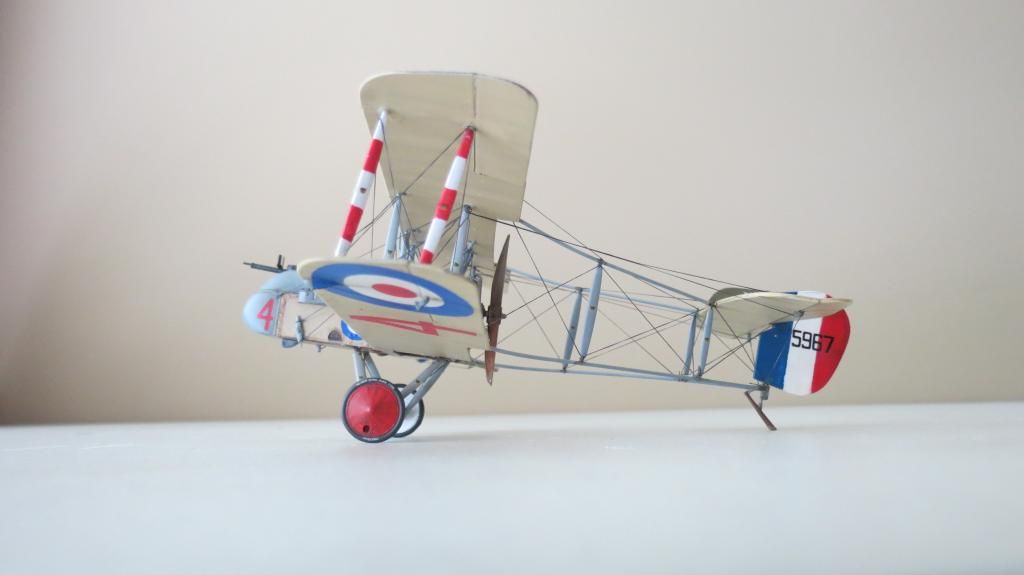
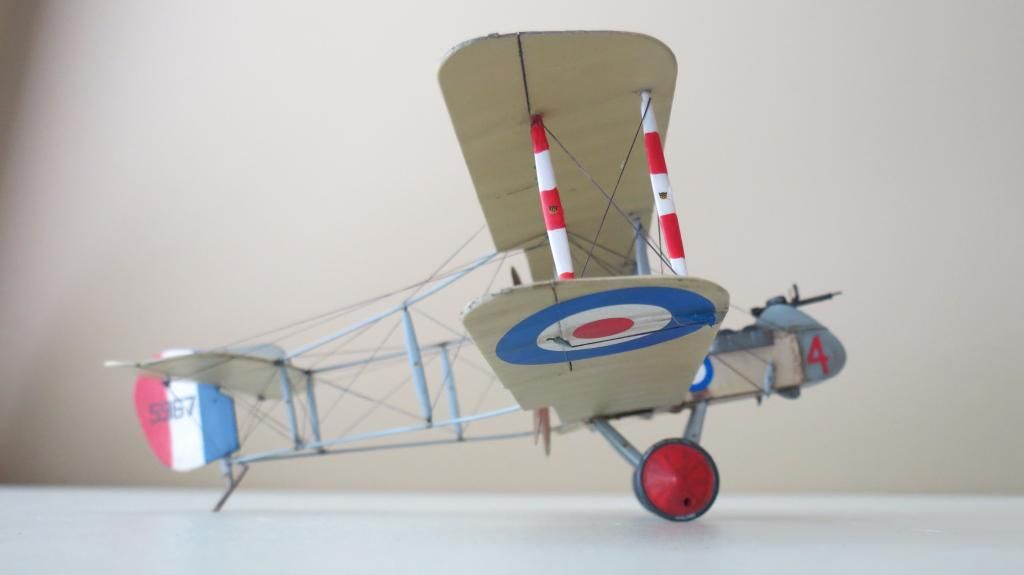
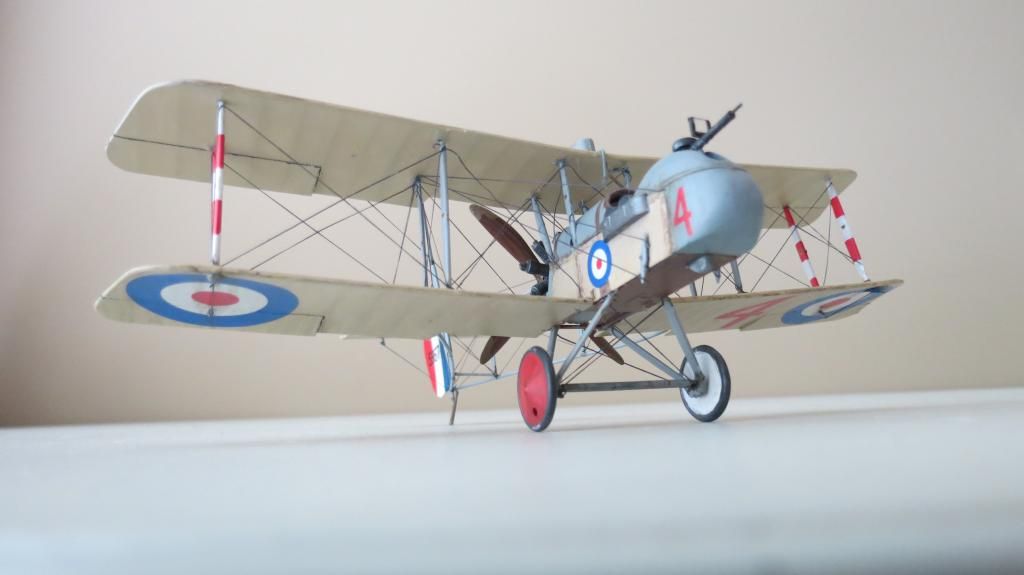
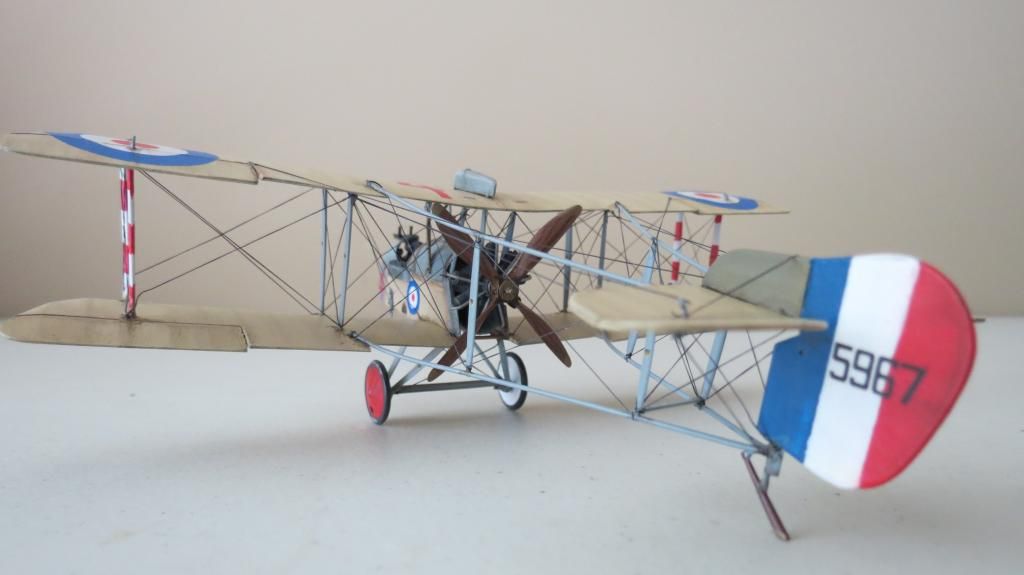
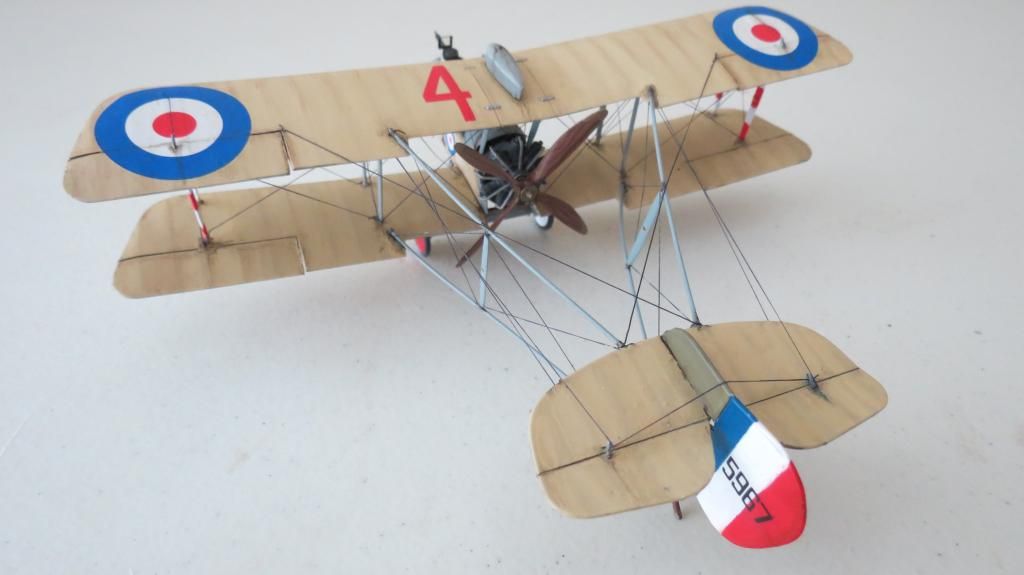
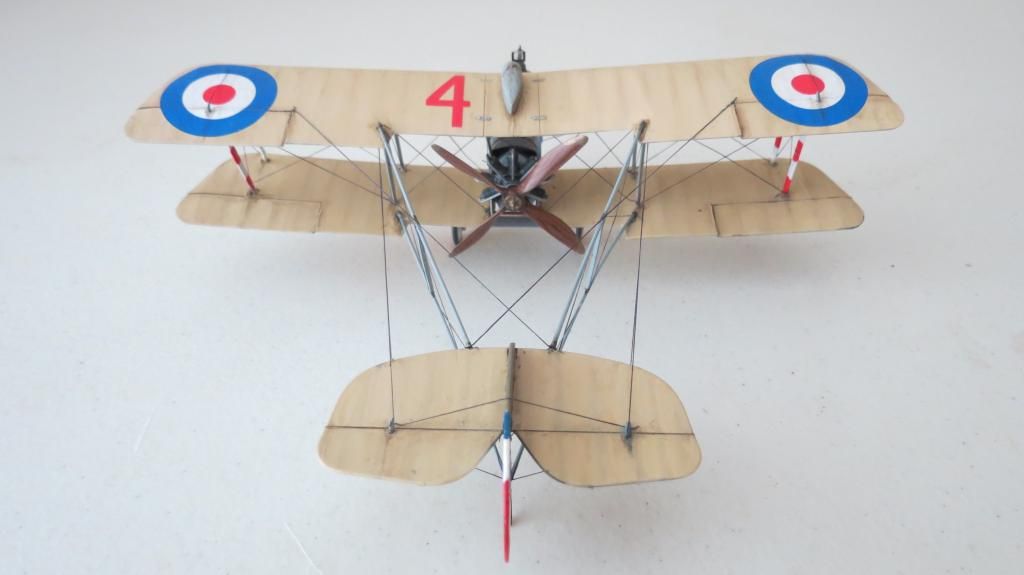
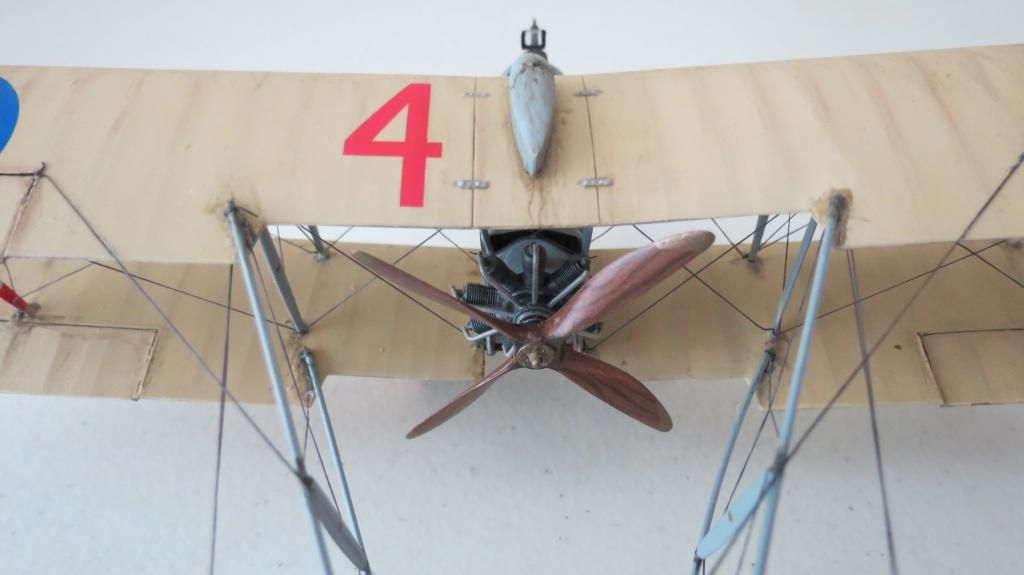
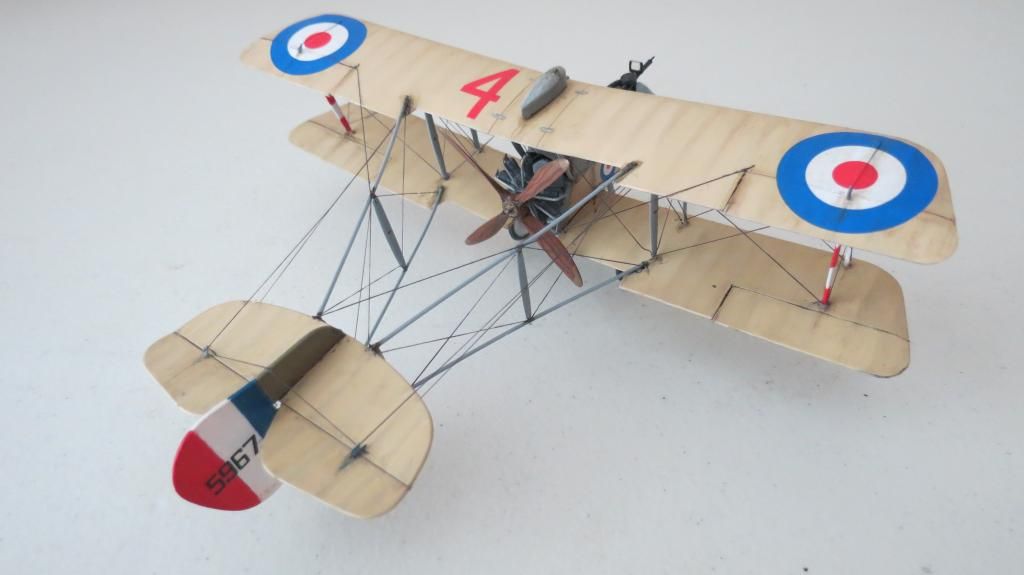
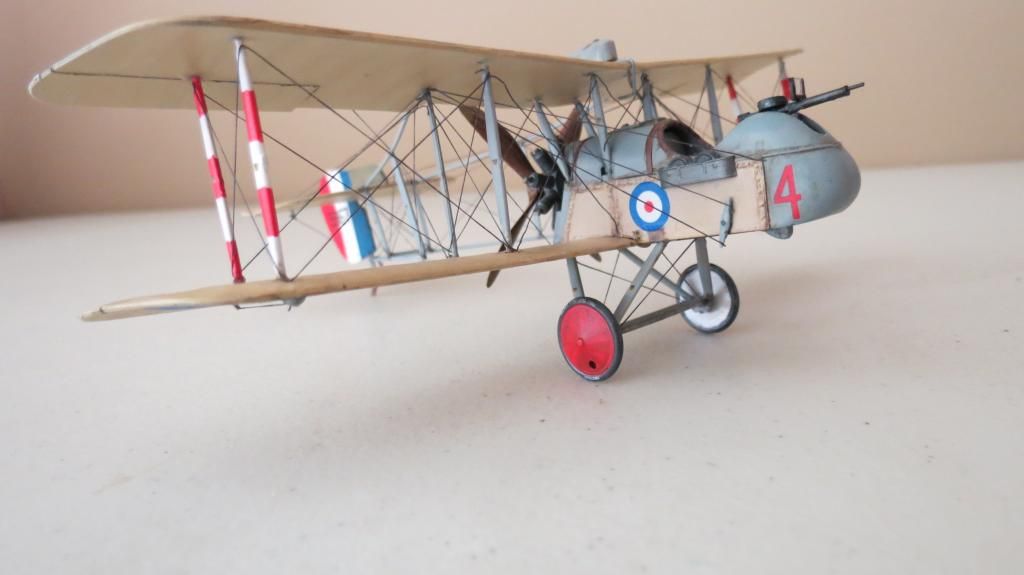
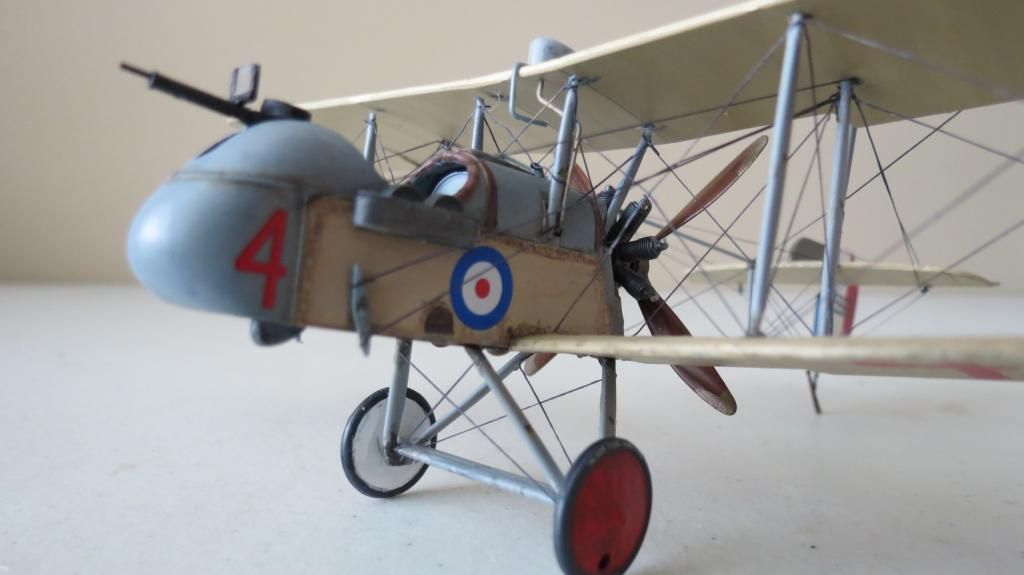
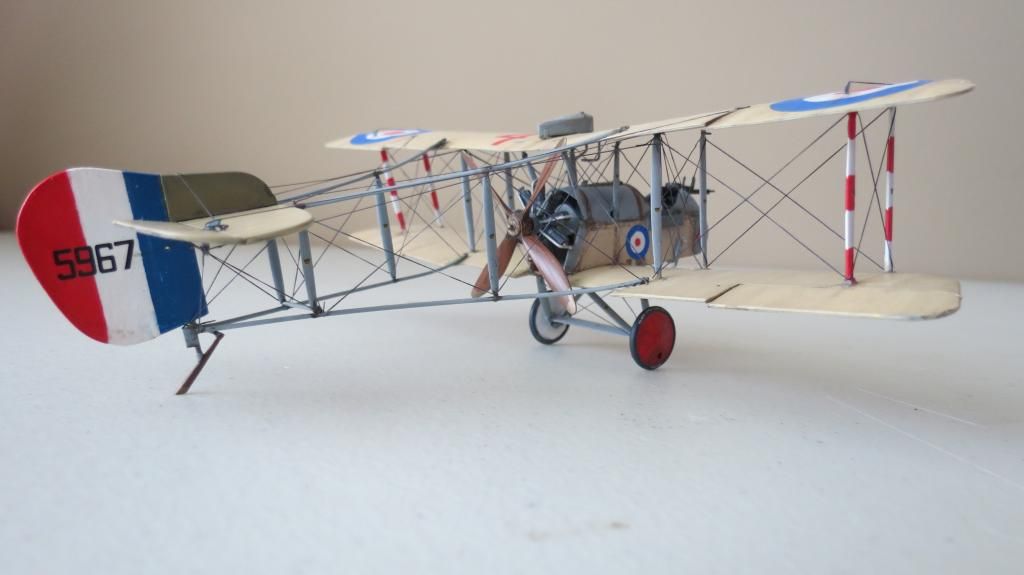
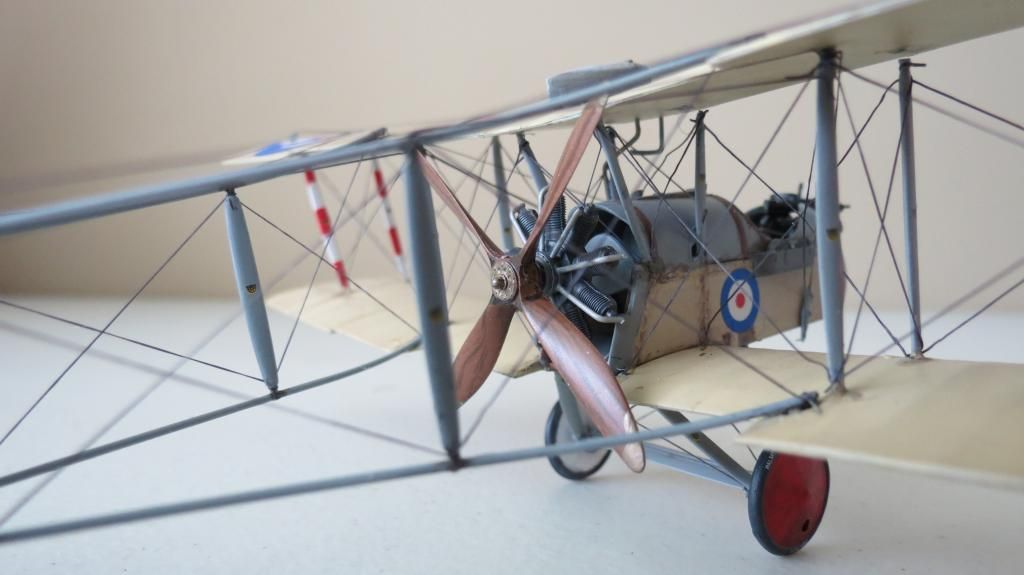
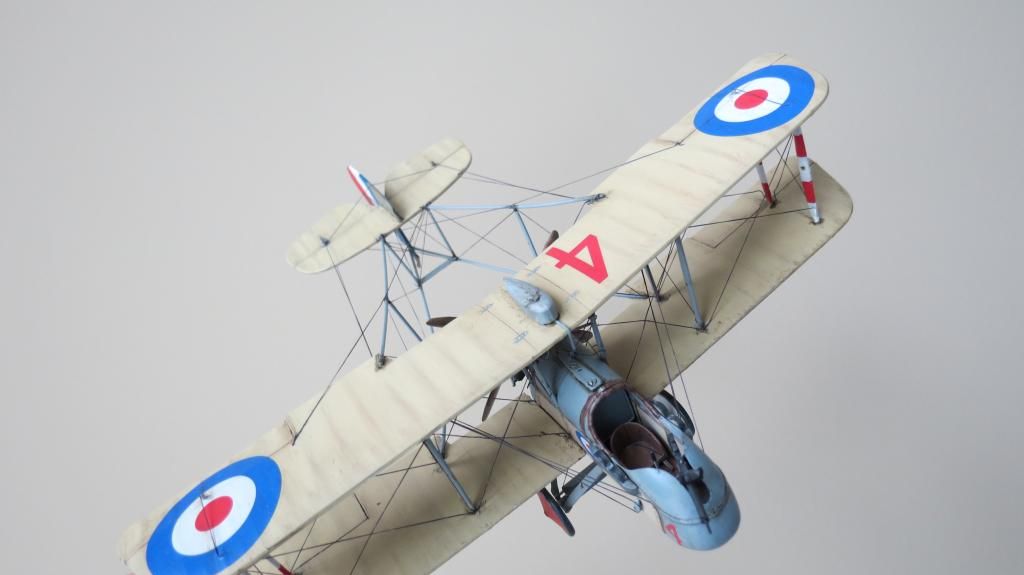
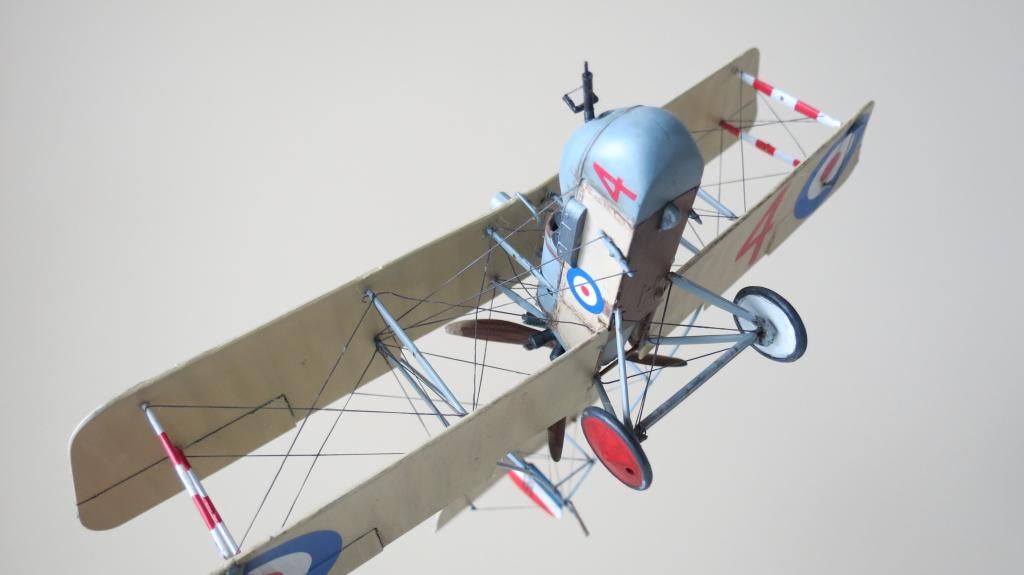
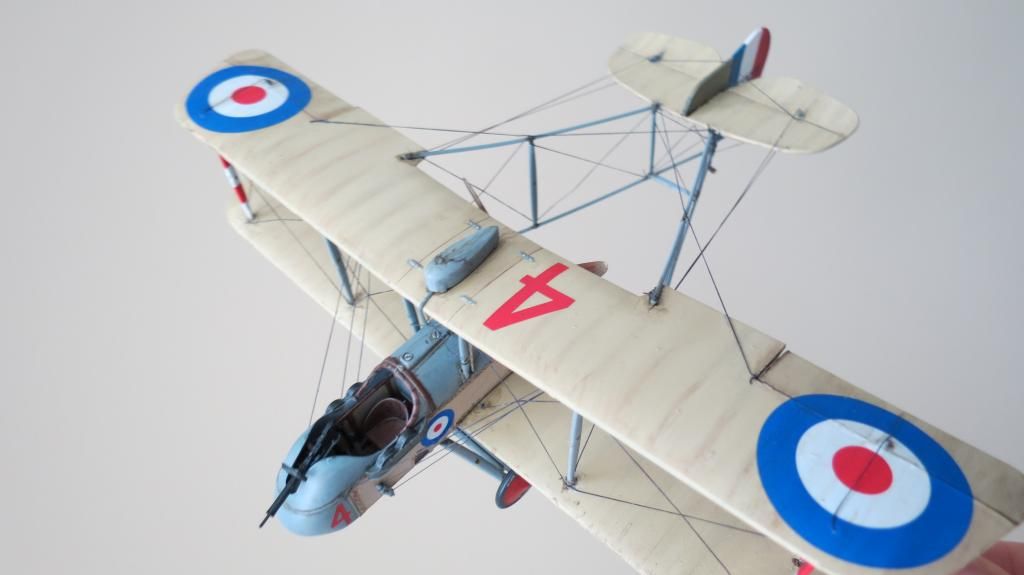
Well....there she is, I hope you enjoyed the photos?
Overall conclusions: The molded parts were very clean and crisp, flash free, no sink marks, no ejector pin stress marks on visual surfaces, no short shots, blemishes, splays etc . There are no recessed panel lines because of the nature of the model, but, the wings do have ridges to simulate the wooden spars/ribbing that the fabric was laid over and fixed to. All ejector pins are outside of the molded parts; they are located on slugs beneath the gate locations. This is a great method because it eliminates ejector pin marks from the molded parts. Other manufacturers could take a good lesson from Eduard and start to implement this method where possible.
I give this kit 9 out of 10 or 4 1/2 out of 5 stars; I marked it down a point because there is only one squadron marking choice with the decals and the instruction and paint color guide is in black and white. It was a great kit to build and no filler was required, just a little bit of delicate filing in a few spots to fit parts snugly.
Below are my scores/ratings for this kit;
Quality of molded product = 10/10 The molded parts are excellent quality.
Quality of assembly instructions = 9/10
Quality of painting instructions = 8/10 Everything is in black and white and they could offer alternative paint manufacturer's codes, because I had never heard of Mr. Color and Mr. Metal Color paints before?!
Quality of Decals = 10/10 These were nice and thin, matted and reacted well to the Walther's Decal Setting Solution that I used, conforming to raised and recessed details nicely.
Quality of packaging and box artwork = 9/10 The box artwork is very nice although there is only a plain white background and not scenery. I believe that this is possibly intentional so that you can see the how the rigging is placed on the model within the box artwork. All three sprues are in one bag with the instruction manual and decals loose in the box
Quality of fits = 10/10 No filler was required throughout the whole build!
Quality of details of molded product including options = 8/10....There is only one option of aircraft markings offered. The radial engines are reasonably detailed, along with the interior that has 4 optional instrument panels and decals, a seat, joy-stick, foot pedals, aileron actuator pedal and machine gun....although no gun-sight was included, because there are no clear molded parts; I made my own gun-sight. The plane comes complete with all wing aileron, flap and rudder actuators, which is cool, because if you choose to add rigging, those details are there to glue the rigging to. The ailerons on the main wings are marked with recessed panel lines on both the top and underside of the upper and lower wings. I decided to cut through the ends then thin the material down by scribing each side of the parts, thus creating a hinge like feature such as what you would see on a "Tic-Tac" breath mint container. This allowed me to pose the ailerons in a lowered position.
For those who have been or are thinking of buying this model, I highly recommend it, and, don't let the thought of rigging intimidate you; with patience and a method, it comes together nicely! Just ensure that before you rig the wing spars, that they are super-glued solid, because the tension on the EZ-Line will move them out of alignment if just using Tamiya Thin. When they are glued in place, put the top wing on to help align their positions and when set, remove the top wing to allow easy access to all the wing spars for rigging
Also, when I airbrushed my final matte/flat clear coat on, it effected some of the EZ-Line wherein it stretched it out, thus losing it's tautness and made it look saggy on some of the rigged lines. I replaced some of the effected EZ-Line, but others would have been to difficult and painful to do so. Therefre, bear this in mind when and if you build this model; I might suggest that instead of air-brushing the clear coat on, brush it on by hand so you don't get any clear coat on the EZ-Line
Here is the link to the video of the Final Reveal of this build...please leave comments and subscribe!
[youtube]xc3Ssh-le3k[/youtube]
And, for those of you who didn't catch my build thread, here is the link to that too: http://intscalemodeller.com/viewtopic.php?f=283&t=8915
Thanks for taking a look guys, for all your comments, support and encouragement during this build...I really enjoyed it!
Cheers
Martin


