Nice work Deron and thumbs up on the photo box.
I know nothing about tanks so have nothing to suggest there - it looks pretty grand to me

!
But I do have a couple of hints on the photography - do with them as you will! - I use a camera but Mrs Bob uses her iPhone with her craft stuff using the methods below and takes great shots.
First up you might look to isolate the subject from its surroundings - easily done by softening those corners, e.g. sit the model on a bit of soft cloth with folds covering the joins or place a piece of card curved from one side to the other behind it.
Alternatively - create a cheap backdrop - this is what I do (cheap is my middle name) see below
Soften the lighting by putting a bit of tissue or thin cotton t shirt over the light source - this will help to eliminate any shadows. Don't let it catch fire.
Even better, take your photos it in diffused/not direct natural light - phone cameras are brilliant but do not do artificial light very well.
Once you have your shots - crop them using the phone's software or the tools on photo bucket. this will allow you to chose where the subject sits in the frame and help you to get rid of any bits that are not wanted
To illustrate i have just taken the photos below for this post (breaking my rule of using natural light - but I am sure you will forgive that!). The model shots have been cropped
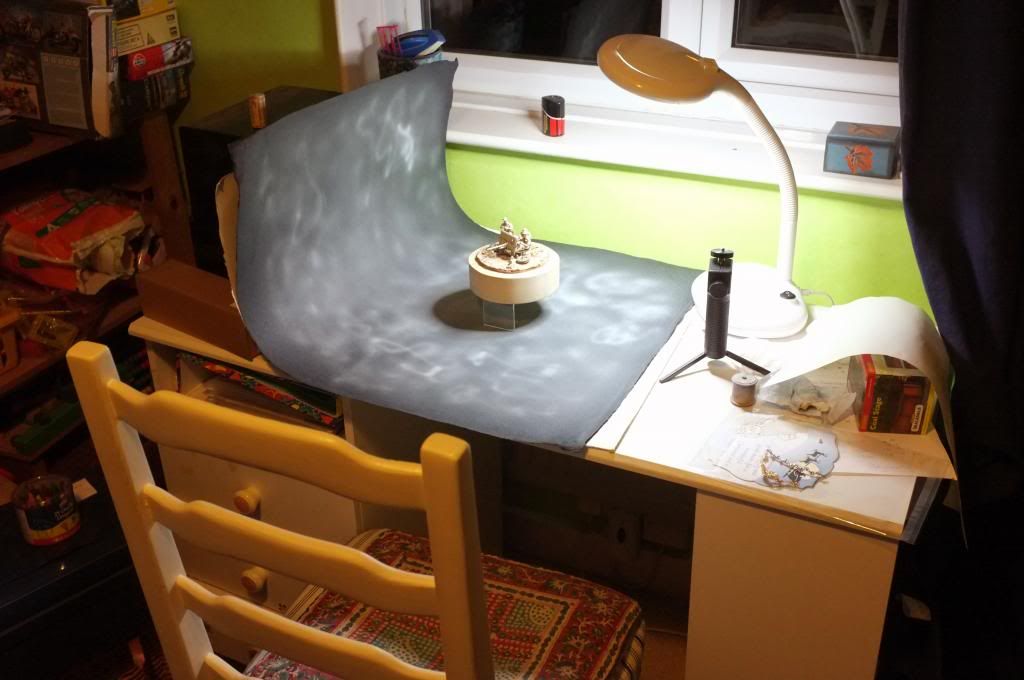
My set up - I use large sheets of art paper for backdrops at a cost of around £2 a sheet. Blues and light greys work best. The first wide shot below shows the set-up and a dark grey sheet onto which I have sprayed blotches of white paint (it needs more) - this is for moody shots See how it is curved up behind the subject - this gets rid of corners and creates an illusion of space. I have placed the subject on a plinth to lift it off of the paper in order to further isolate the subject. In day time, when I usually take photos, the window above the model is out of direct sunlight so the lighting is not harsh except in the late afternoon.
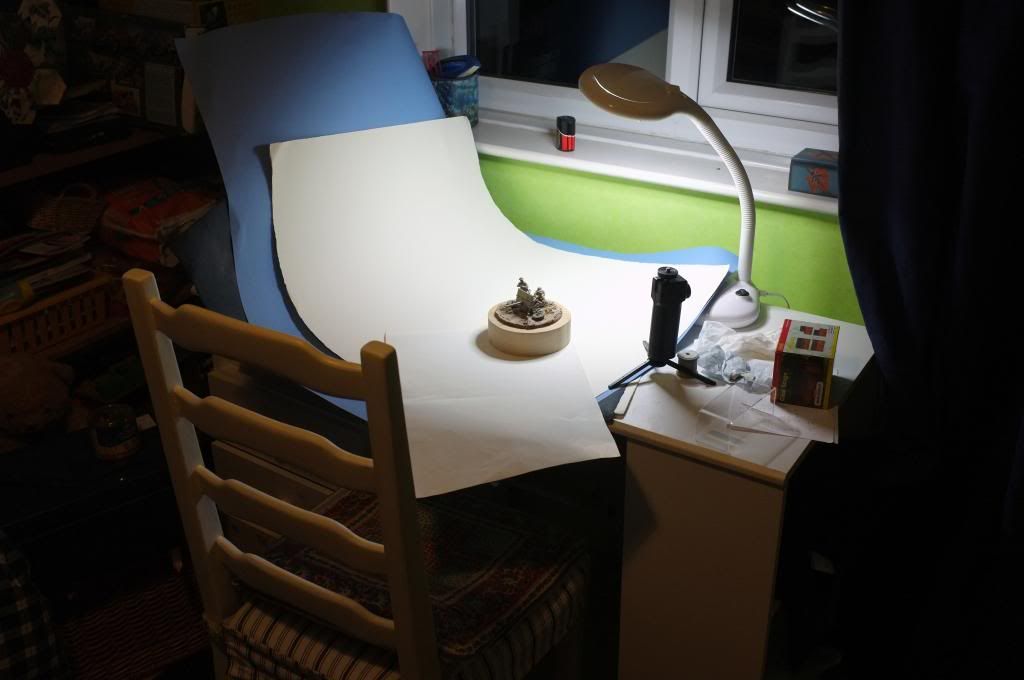
The second shot shows cream and a blue coloured sheets which i also use for this purpose. You might also make out an A3 sheet of white paper. When taking pictures in daylight i hold this sheet to bounce natural light back onto the model from the side - this fills in the shadows and it highly effective (and again cheap!)
(Edit sorry Deron - oops like the fool I am, I tried adjusting my example photos and deleted a couple of them on photo bucket! - still hopefully my gist is still there!)
On the wall behind my workbench (in another room) I have a 80cm grey Ikea roller blind which is also used for this purpose - but that cost £9 so I had to save up a bit for that one!
You can get wonderful purpose made backdrops from specialist suppliers, but at a cost. Have a look at Lee's recent gallery post of his rocket for fabulous photos against a fantastic graduated blue background for what can be achieved.
Hope that is of some use
Happy modelling and snapping!