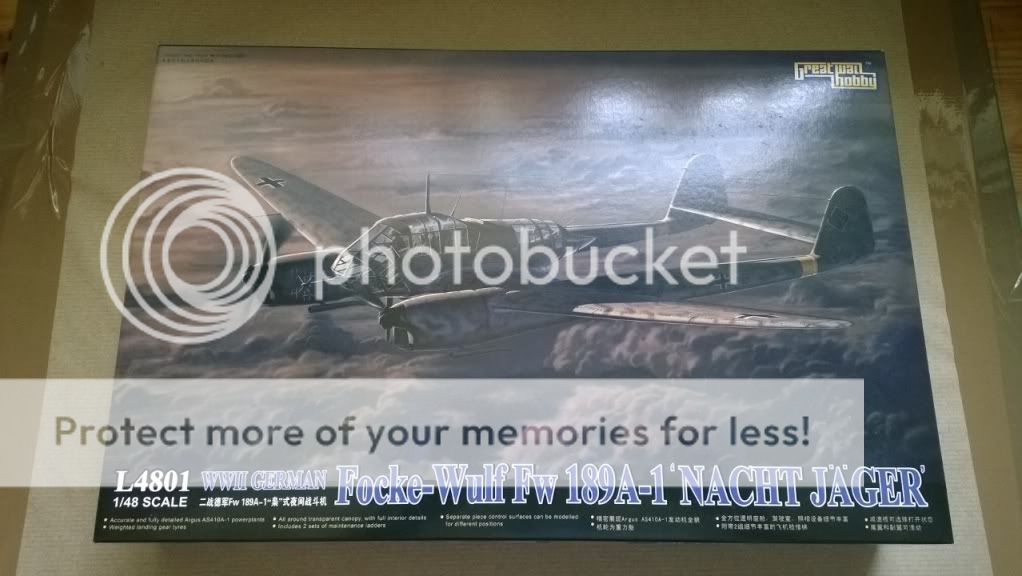
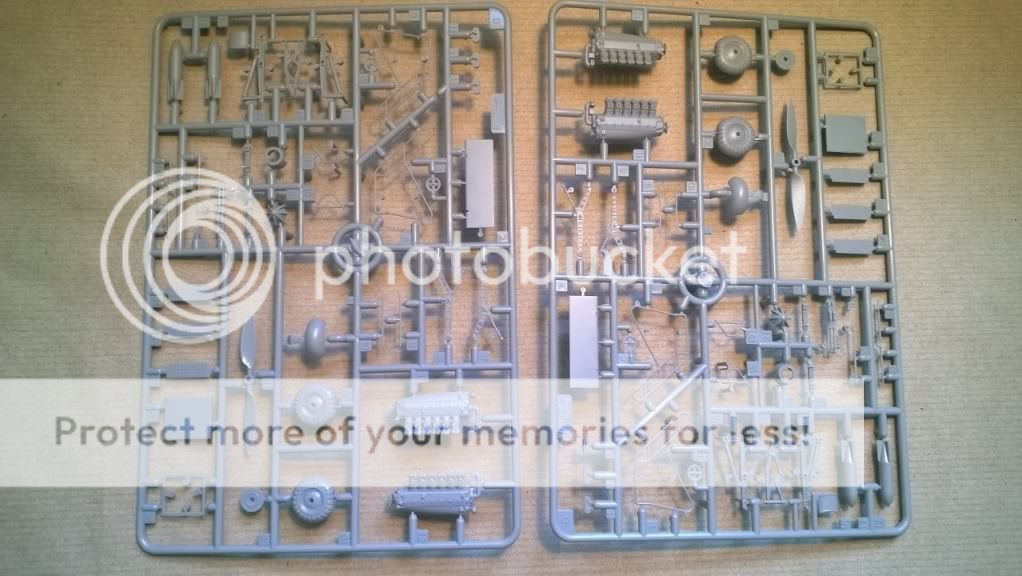
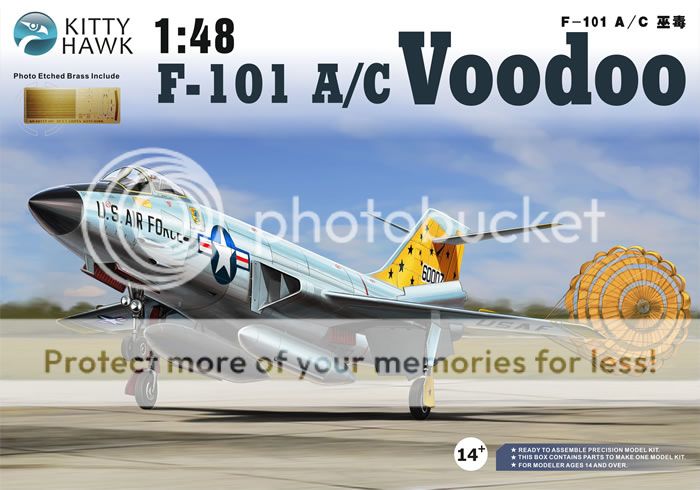
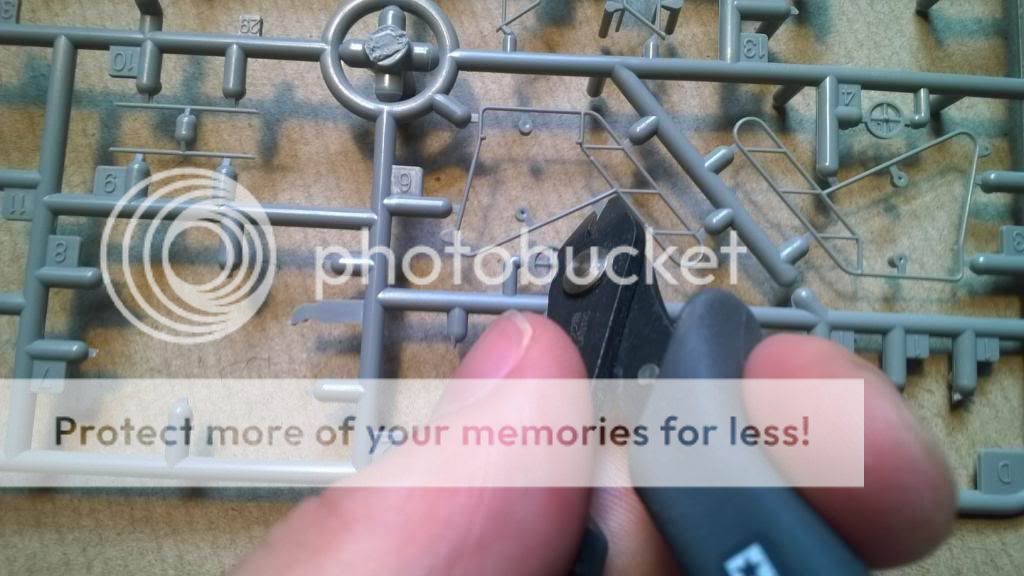
OK, so I'm making progress with the build and the kit really is as good as it looks - well done Great Wall Hobby (again!)
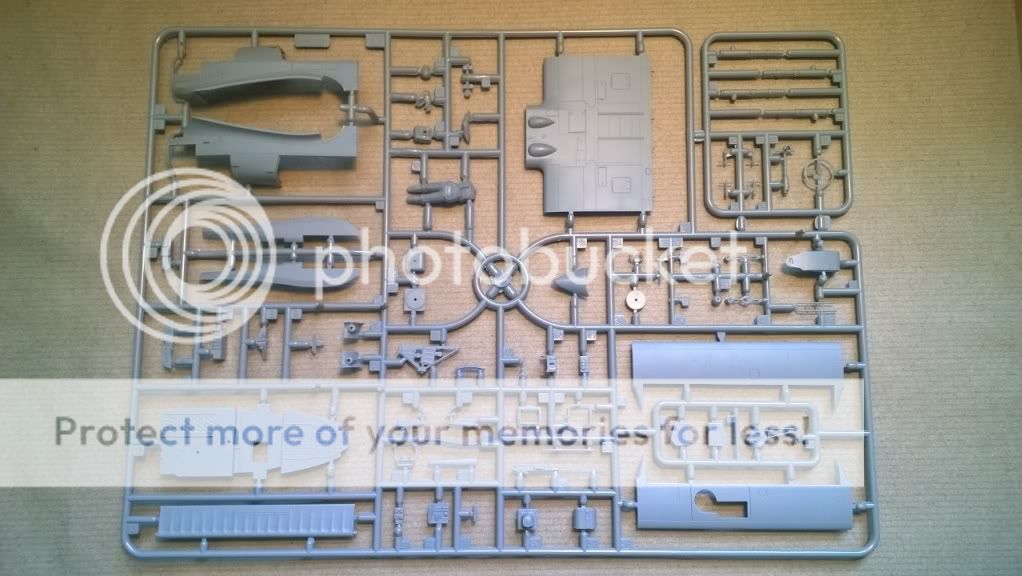
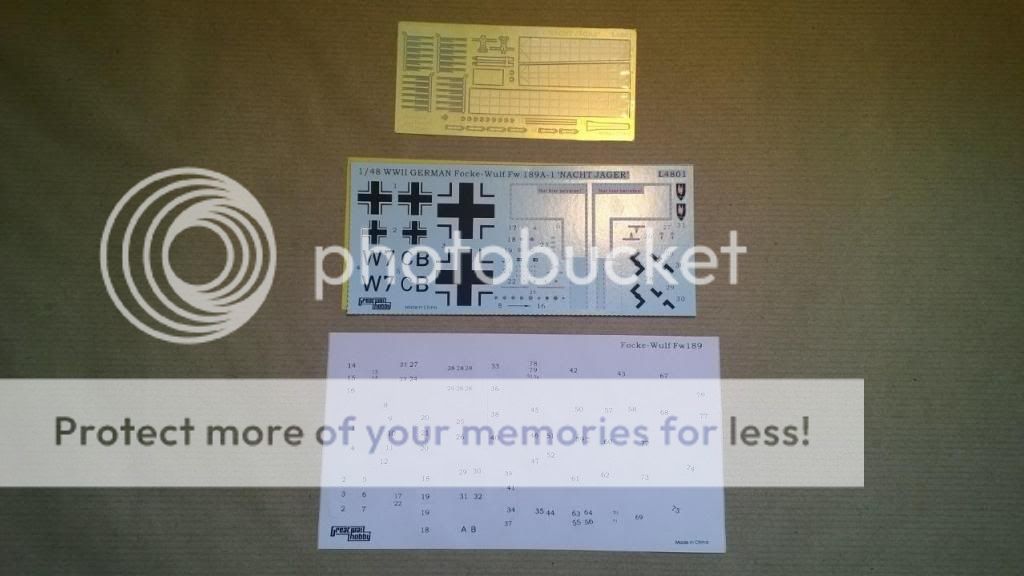
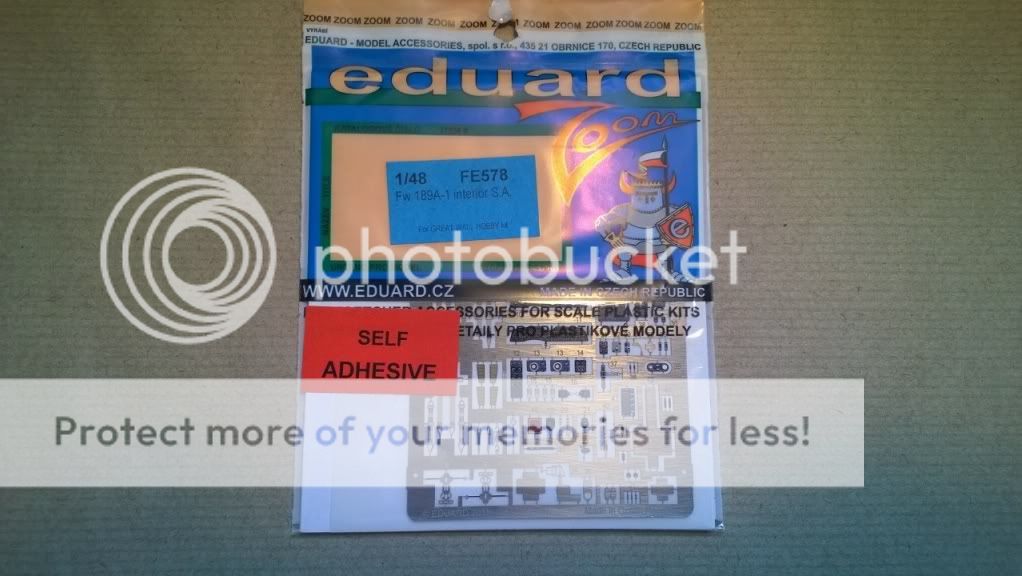
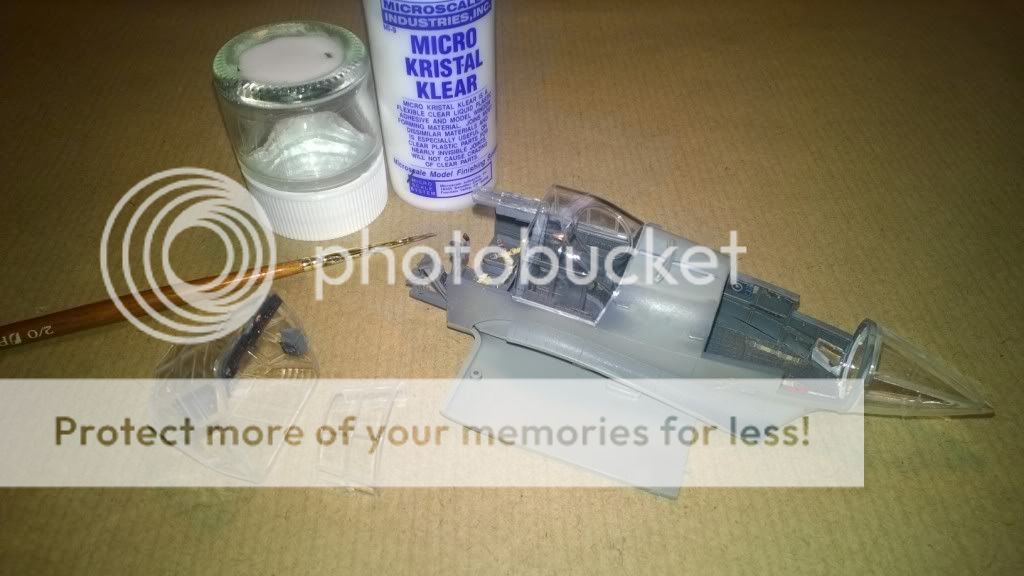
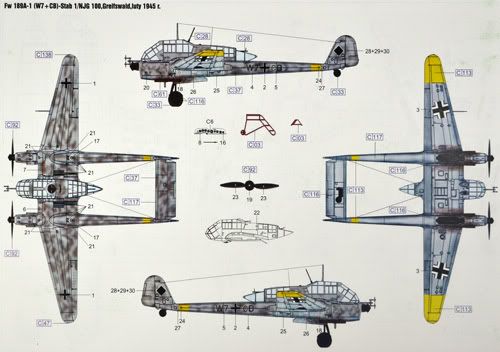
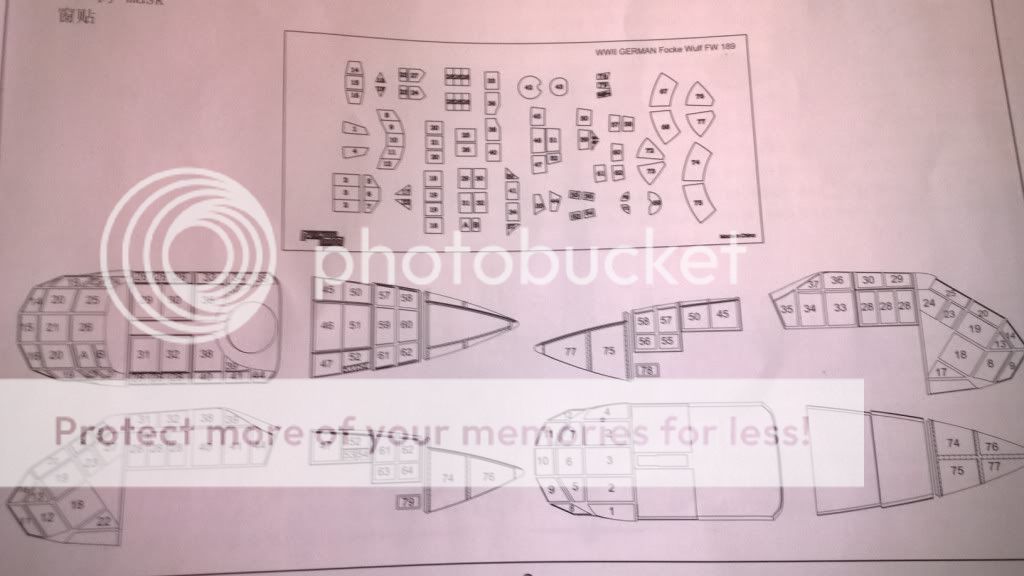
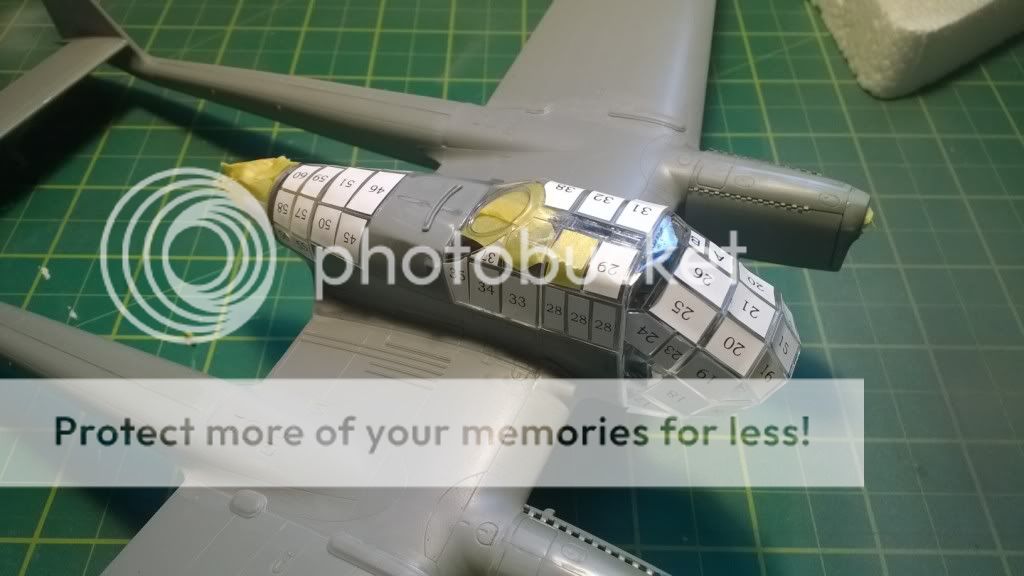
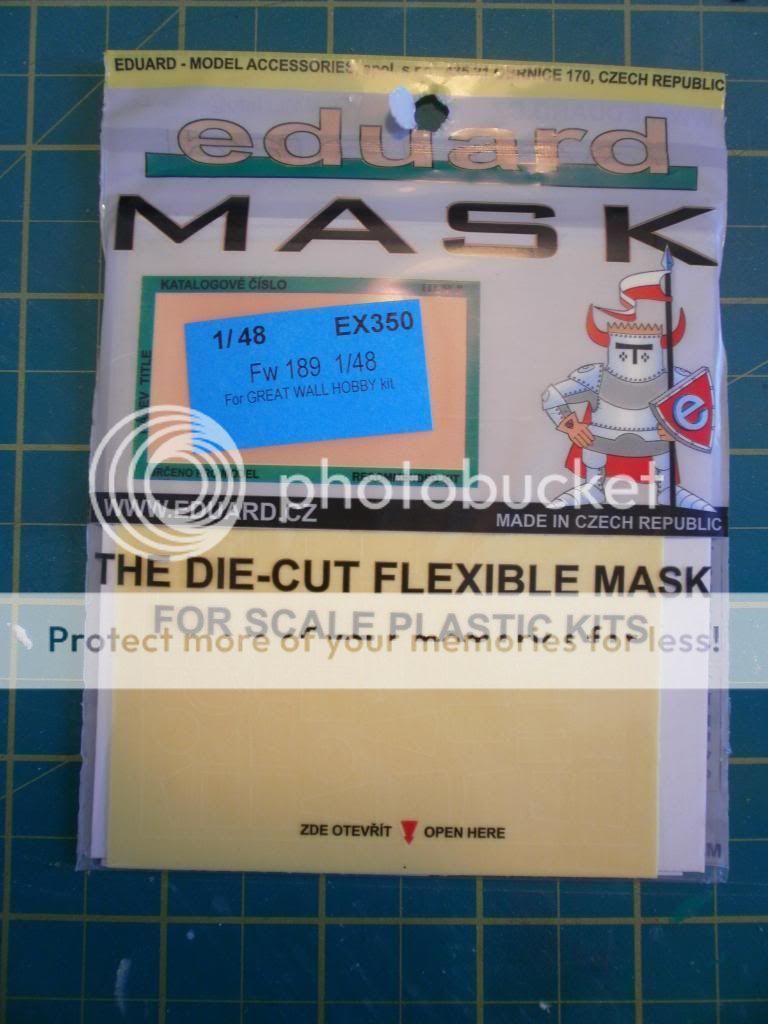
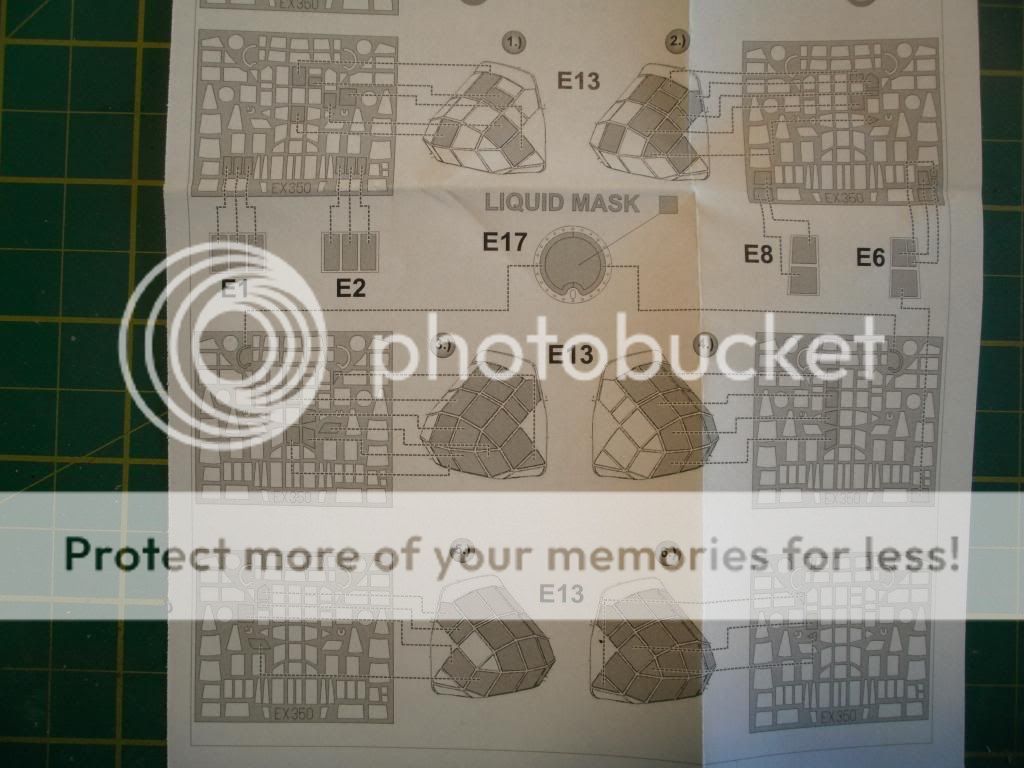
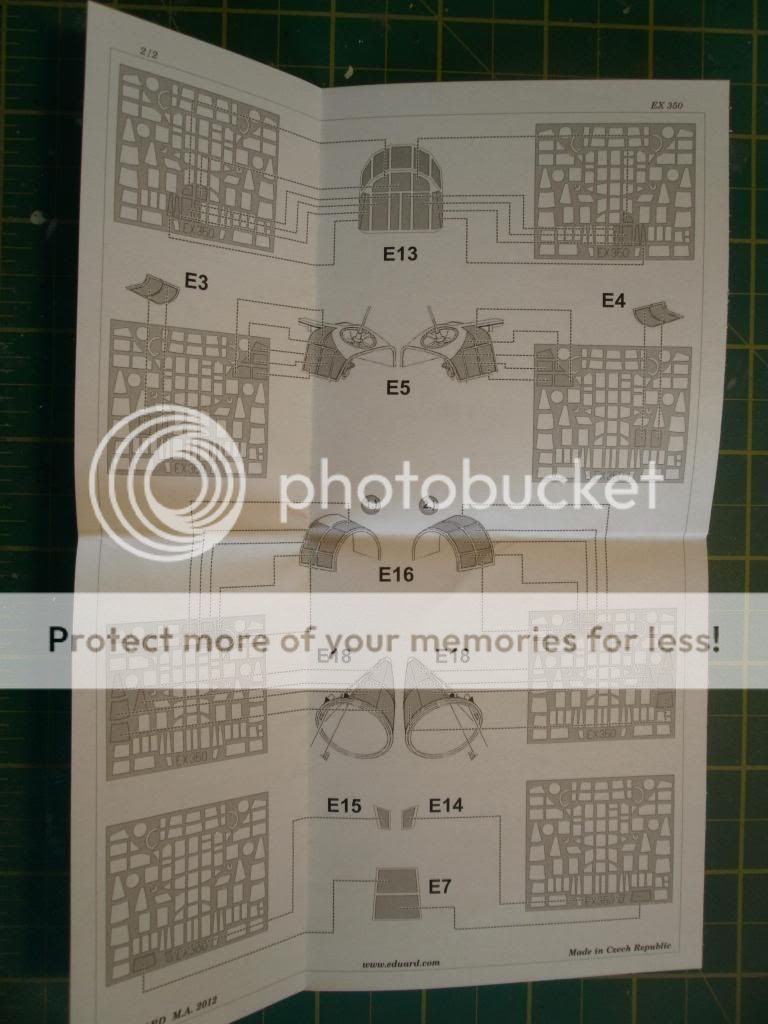
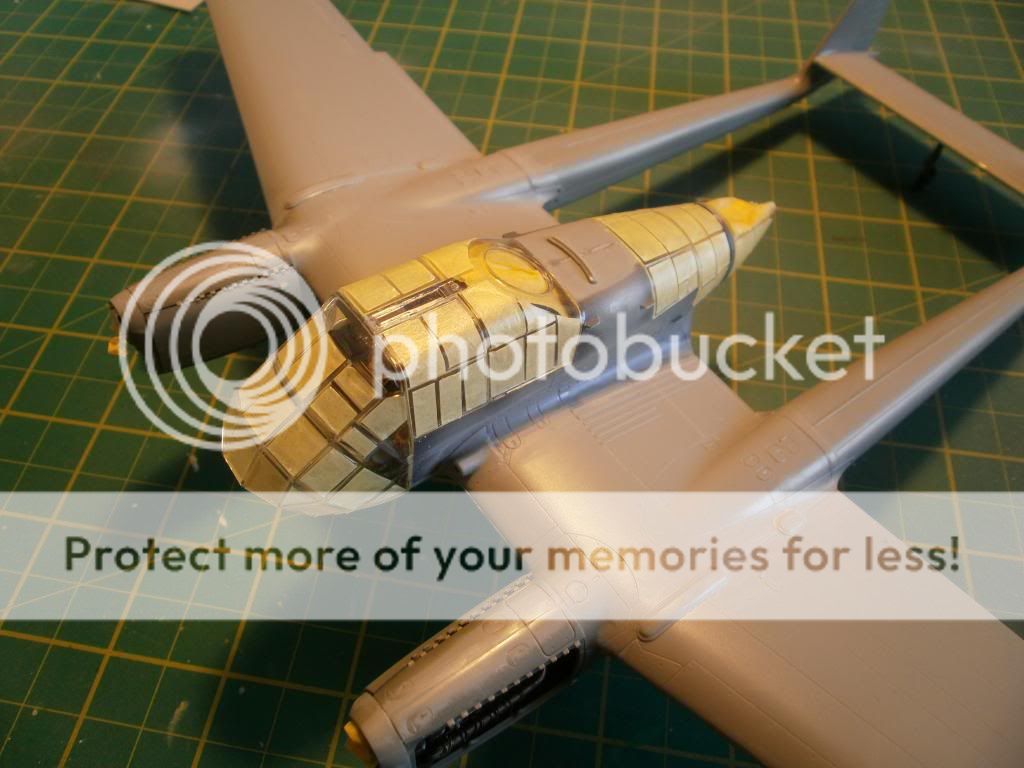
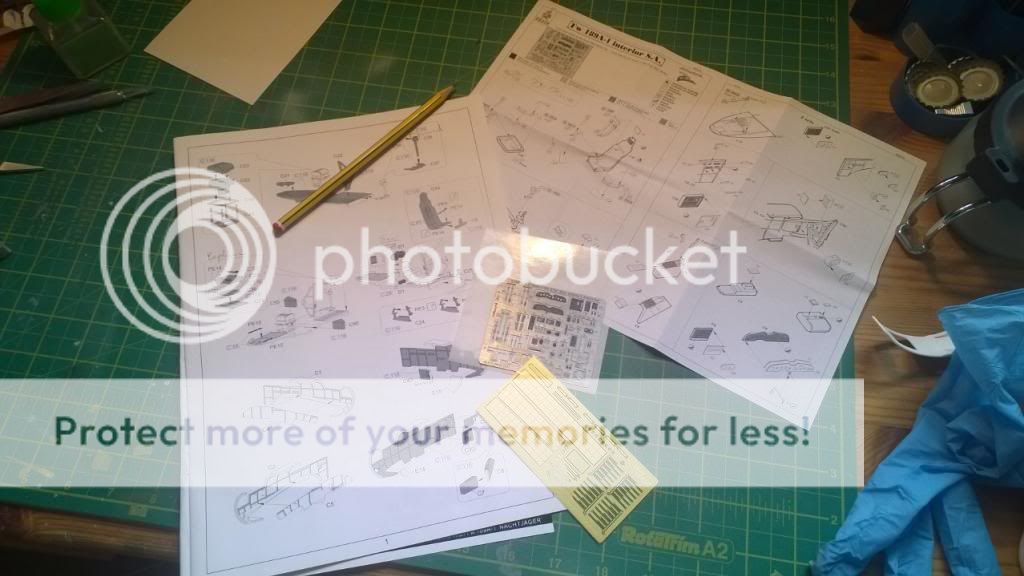
Before I started I went through the instructions for the kit and Eduard photo-etch and worked out which bits to use where. Tedious, I know, but necessary, especially as the Eduard instructions are terrible and include mislabelled parts for both thr kit and photo-etch. Why this is the case when the instructions for Eduard's own kits are about the best there are I have no idea.
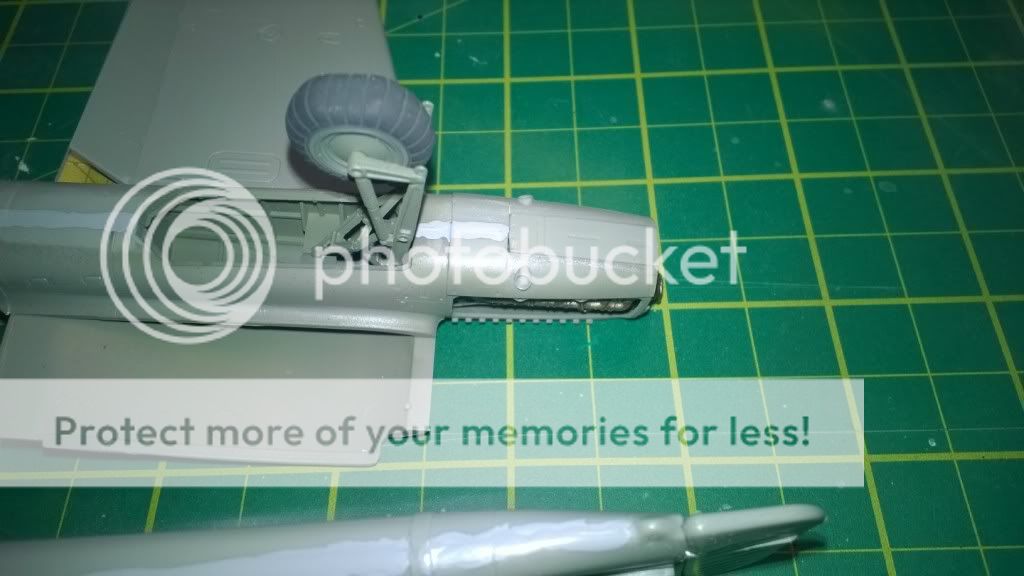
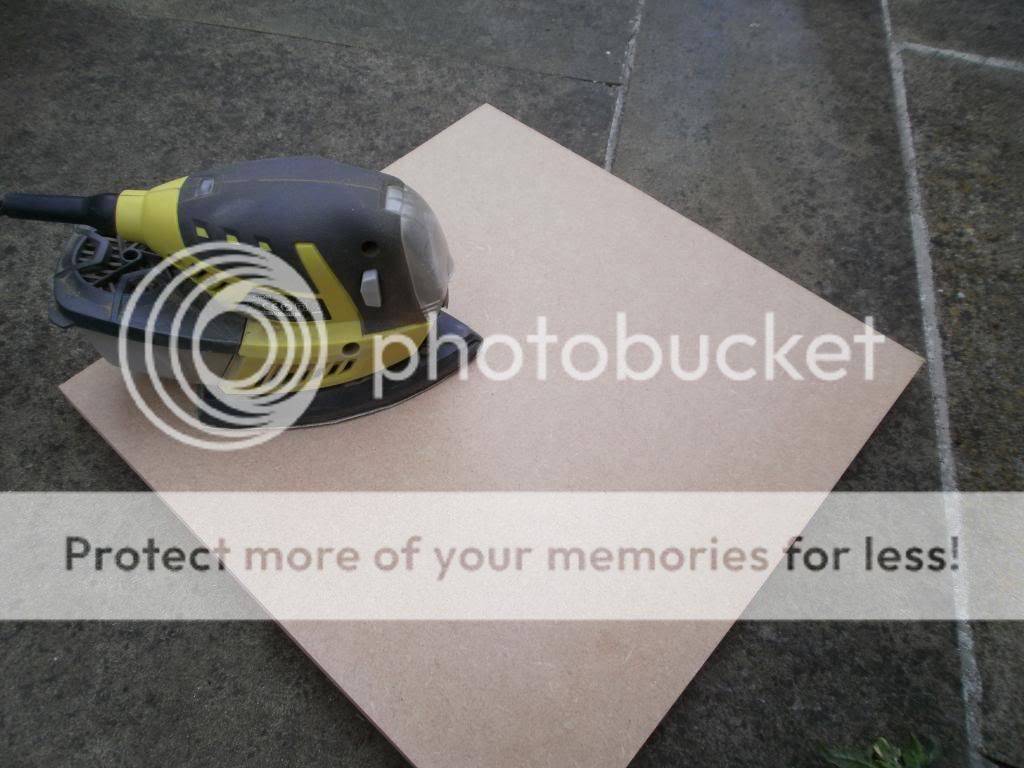
There were a few ejector pin marks to clear up, but were easy to sand out. It may seem like a strange thing to say, but I actually think the plastic on this kit sands better than others. Does that make sense?! I have no idea

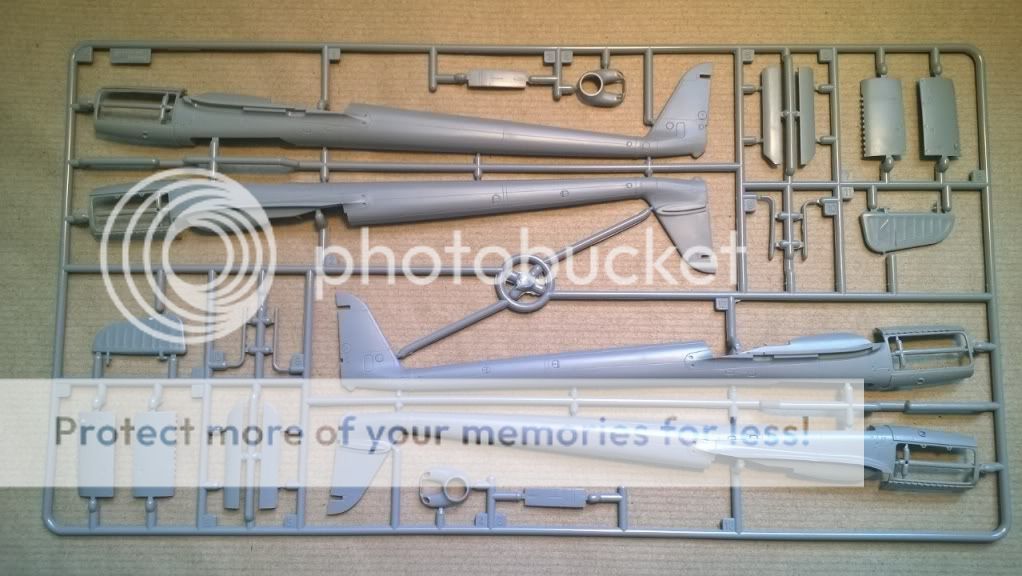
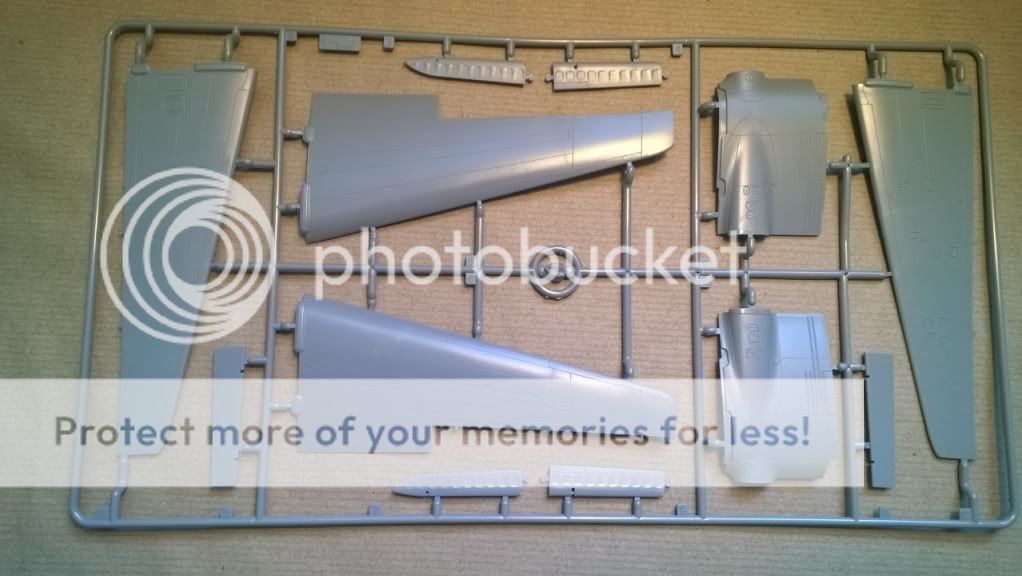
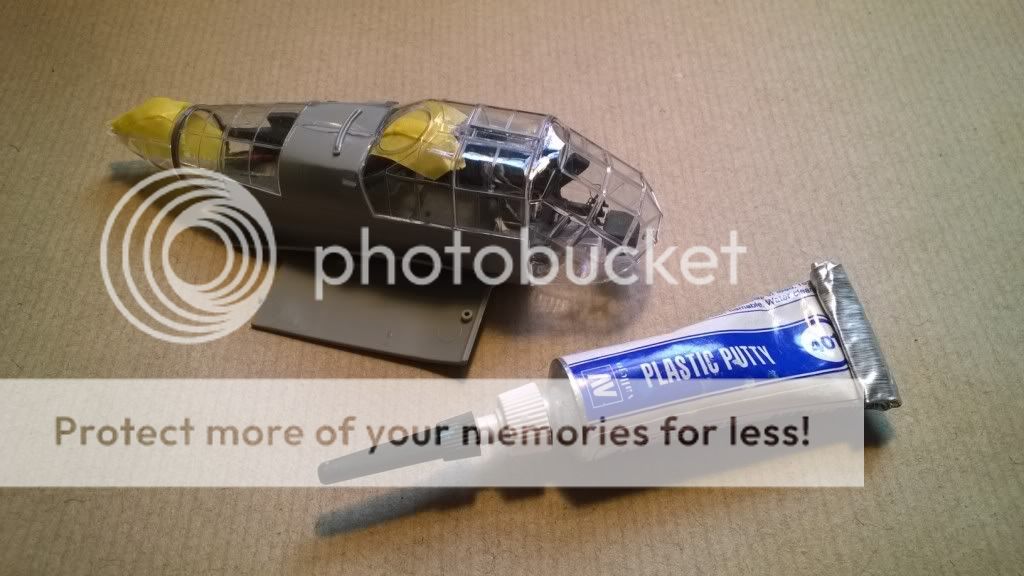
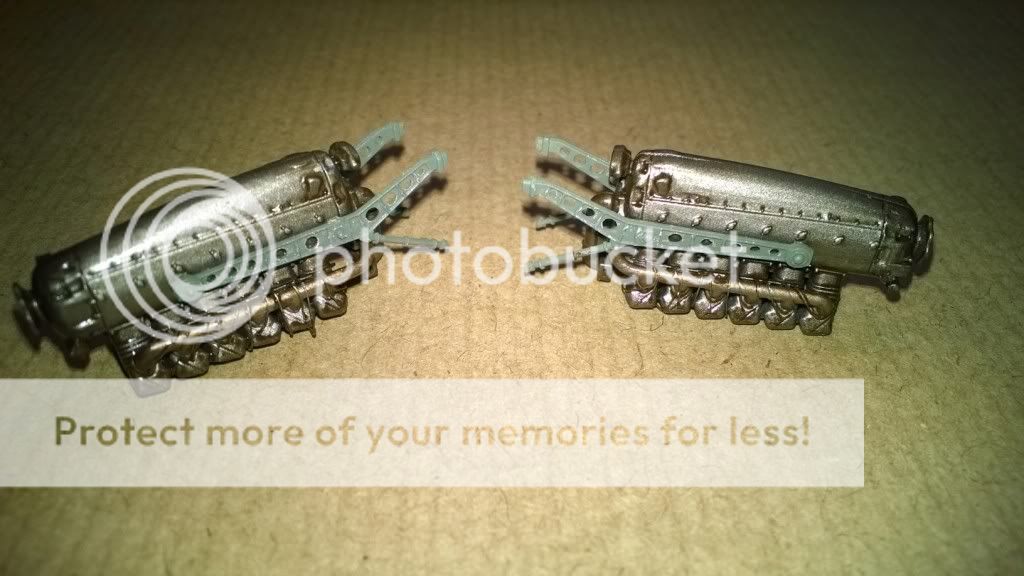
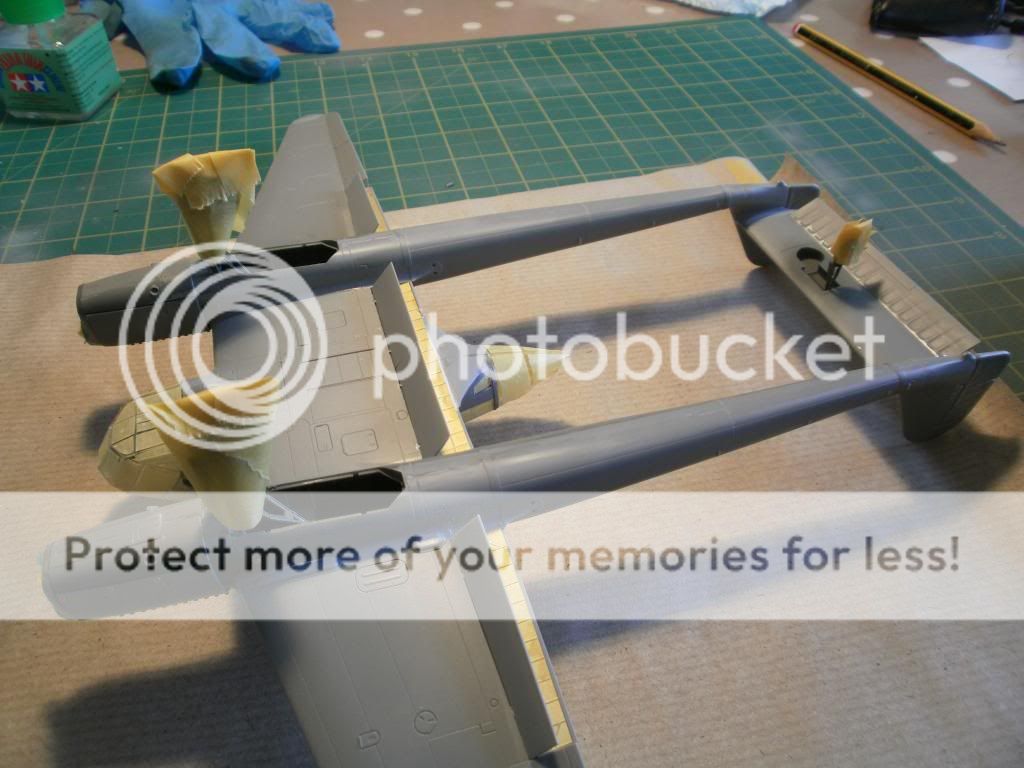
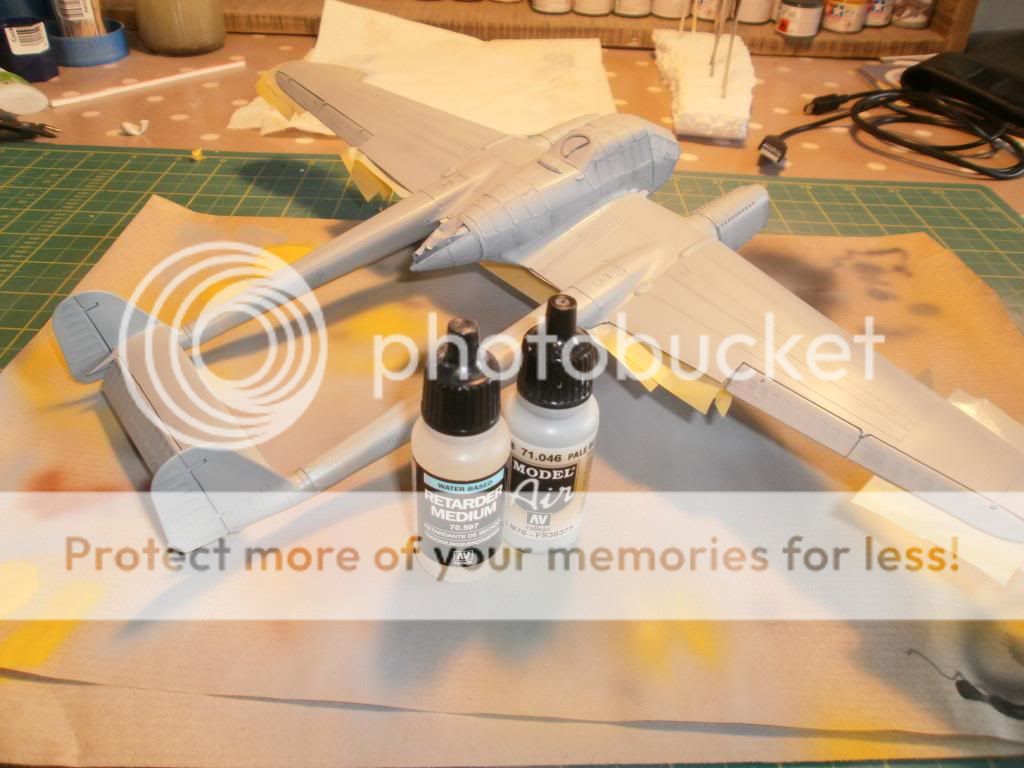
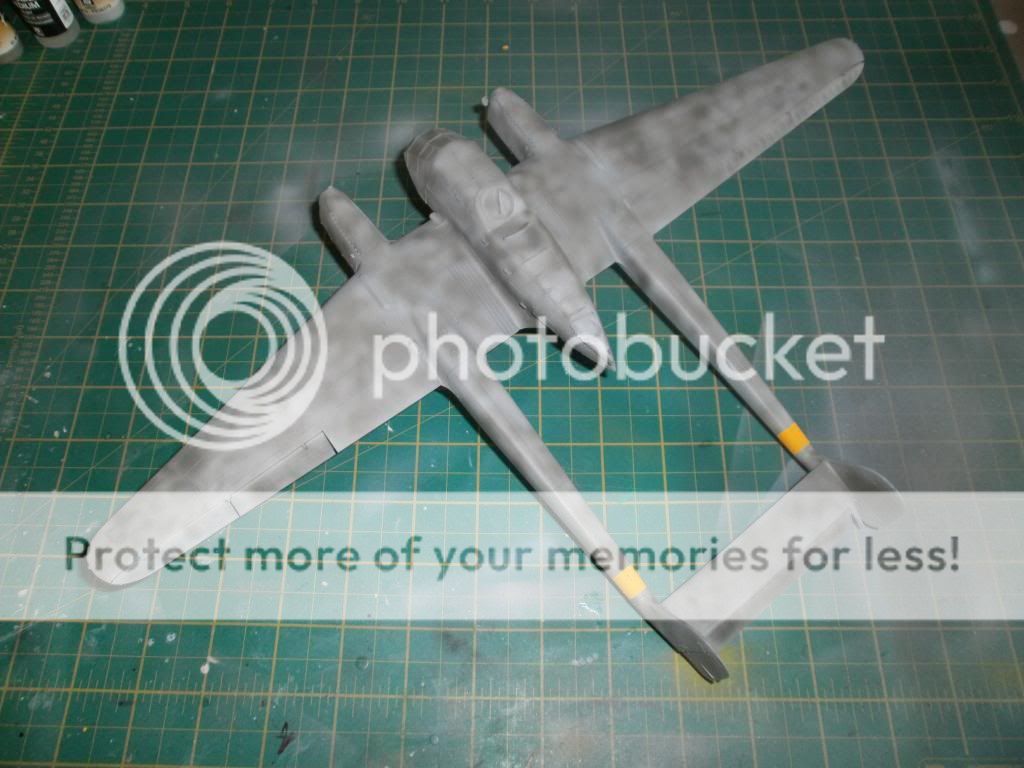
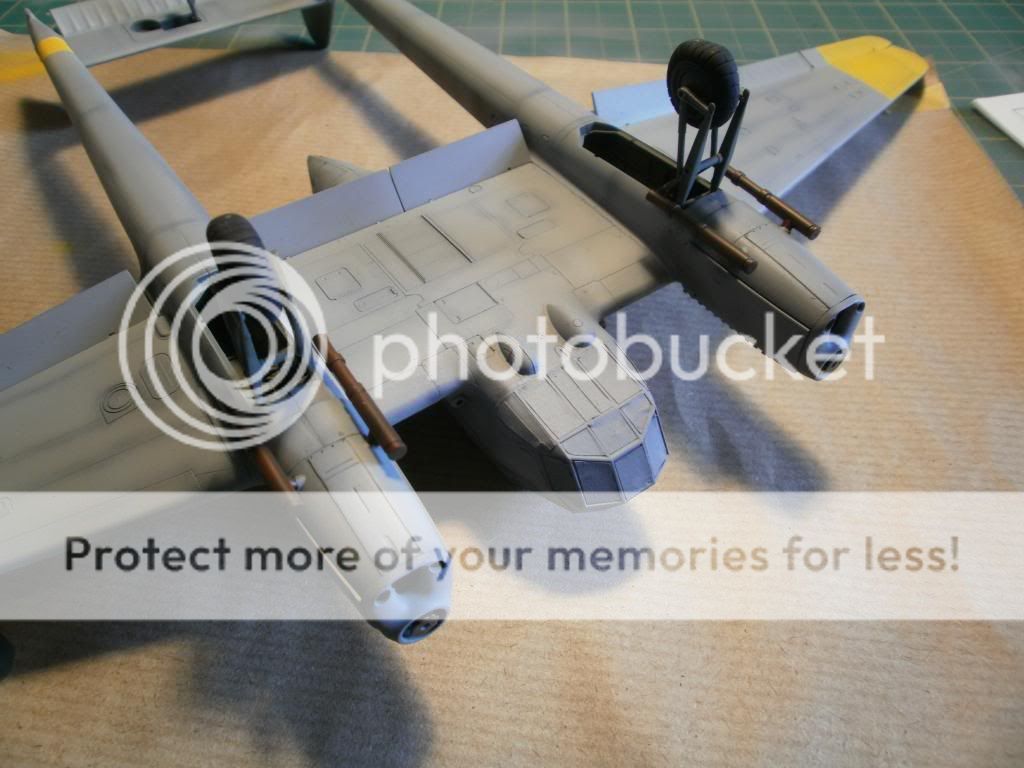
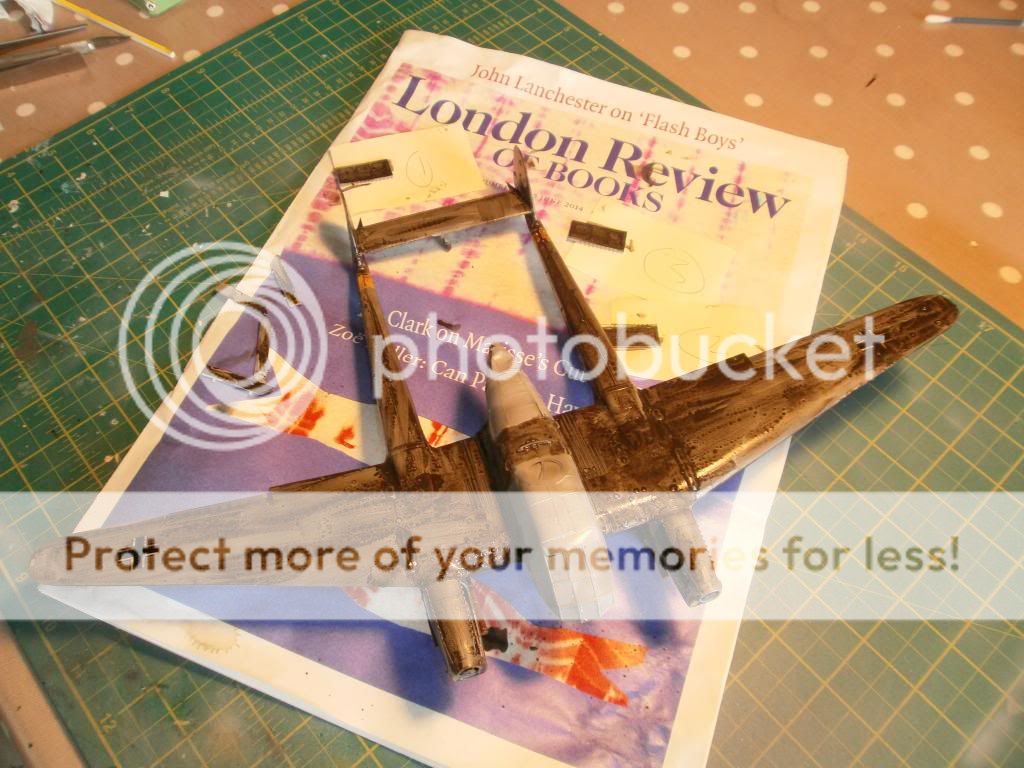
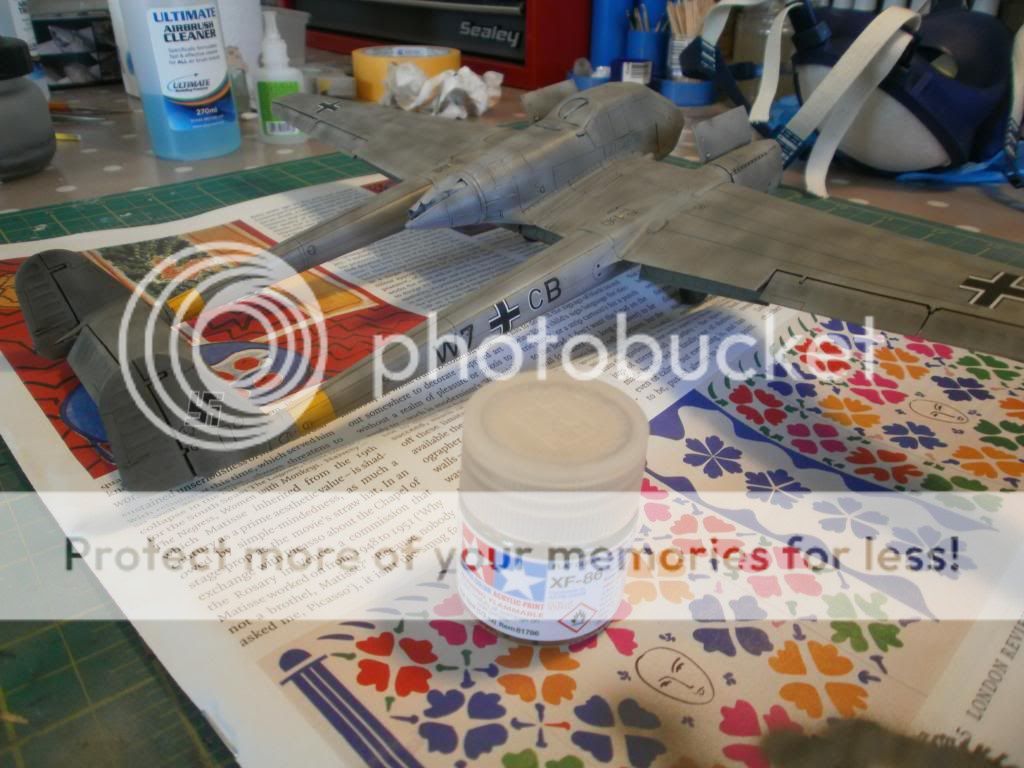
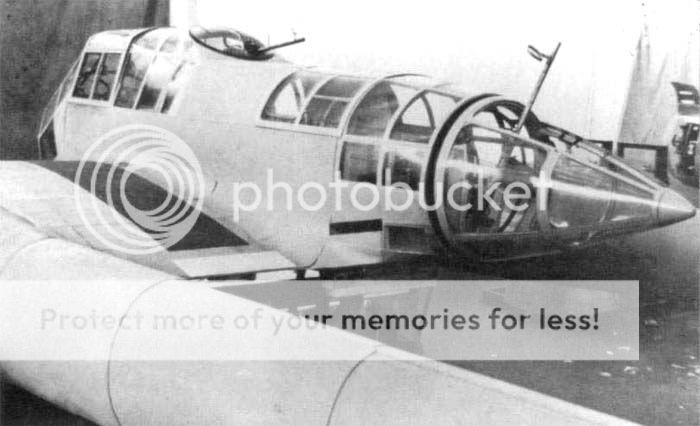
The fuselage/cockpit/whatever it's called on this strange looking aircraft went together no problem

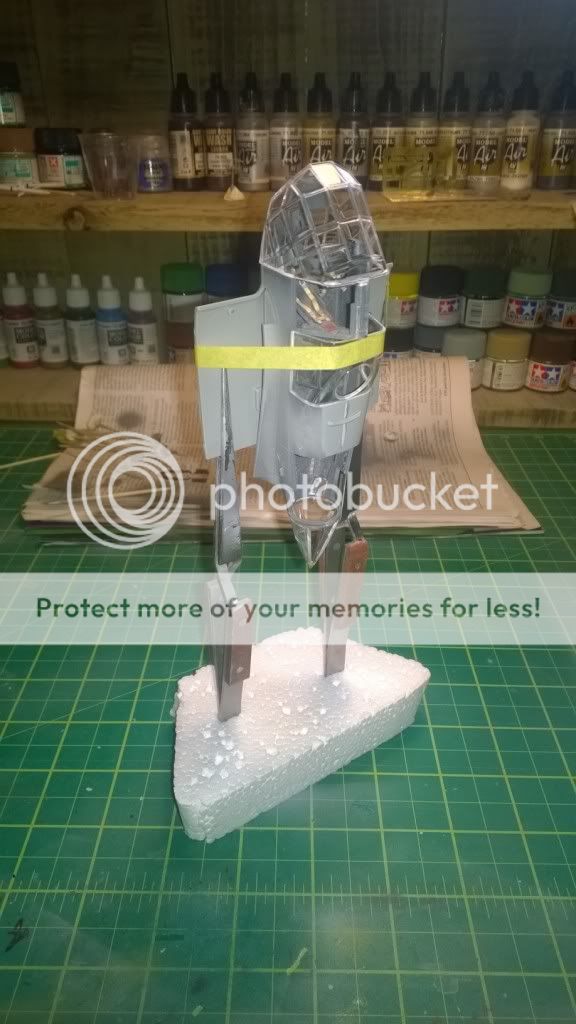
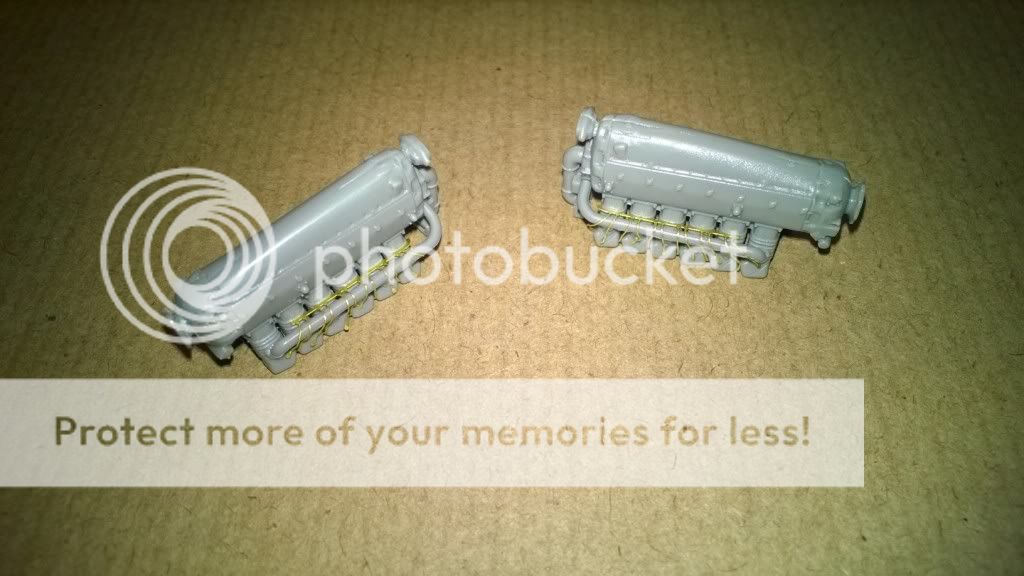
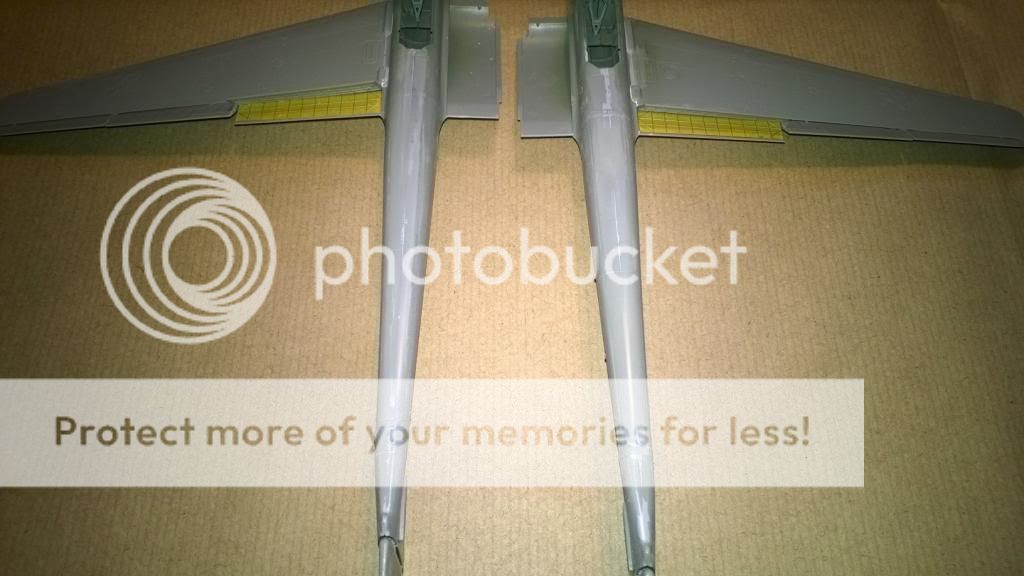
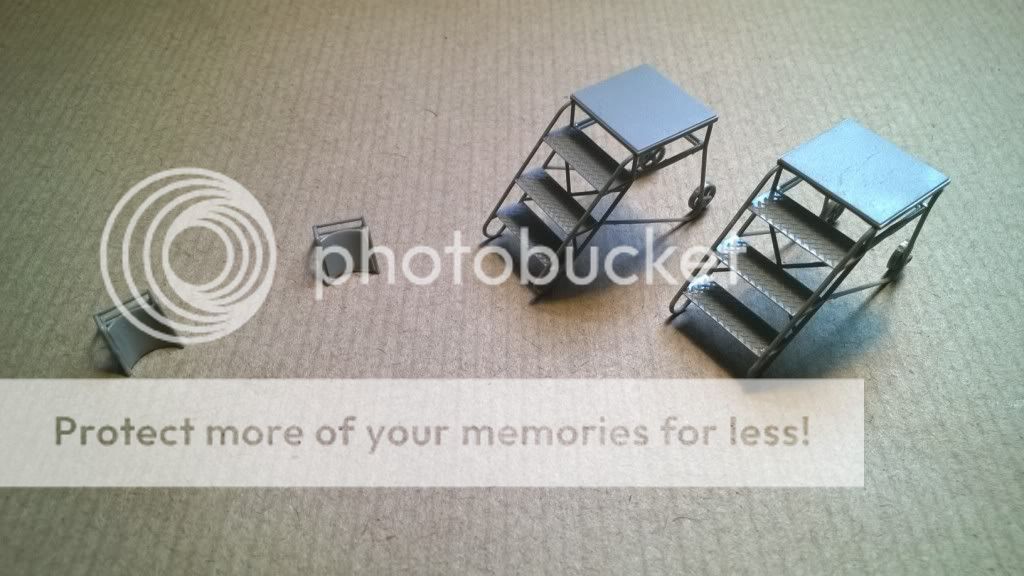
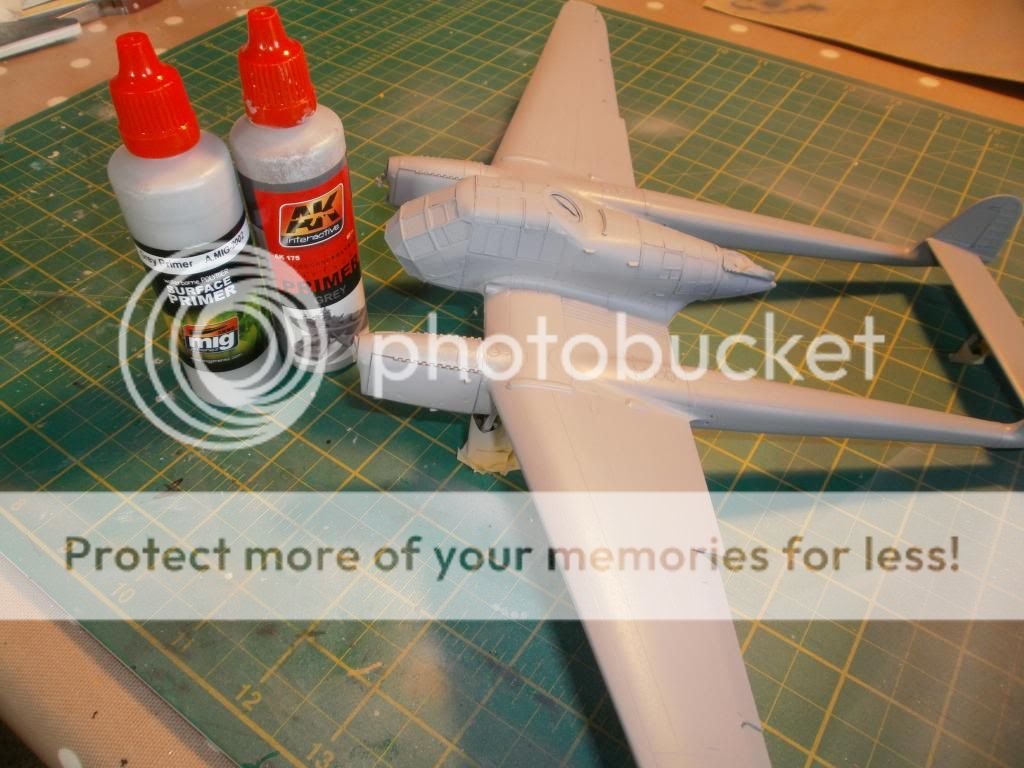
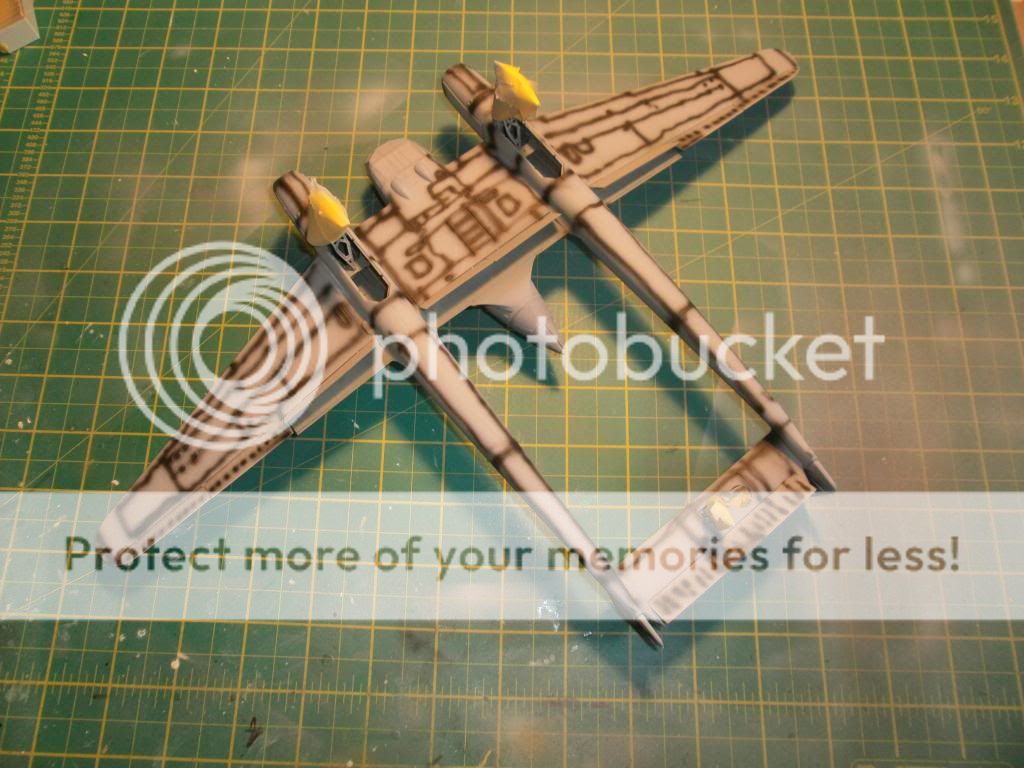
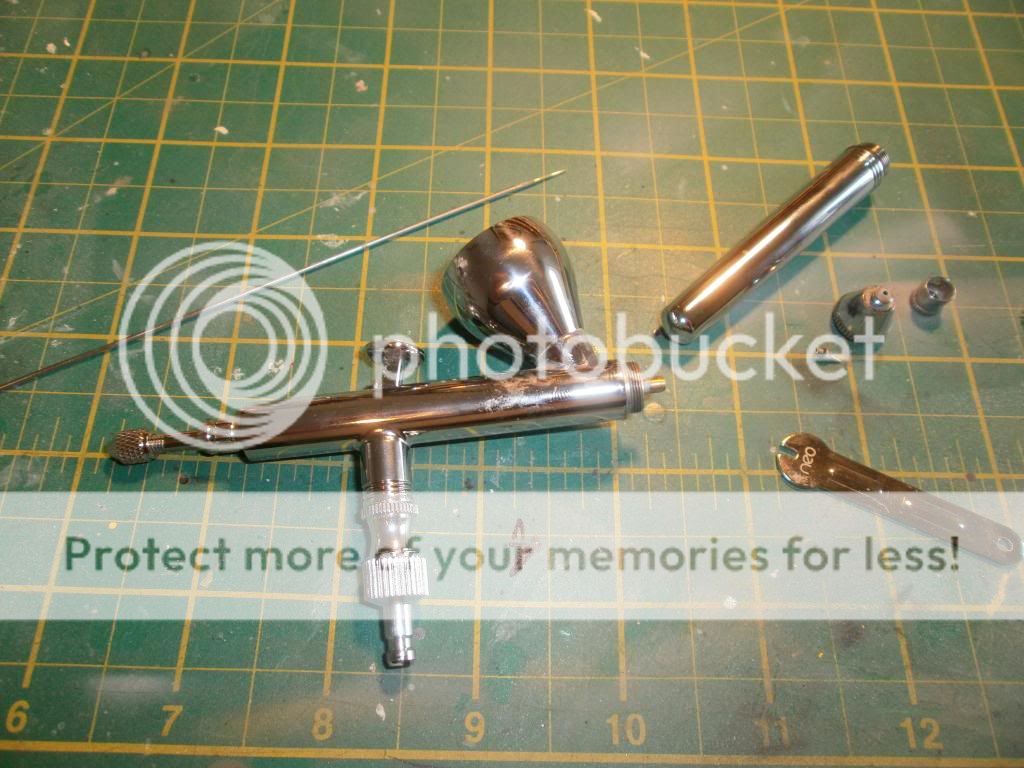
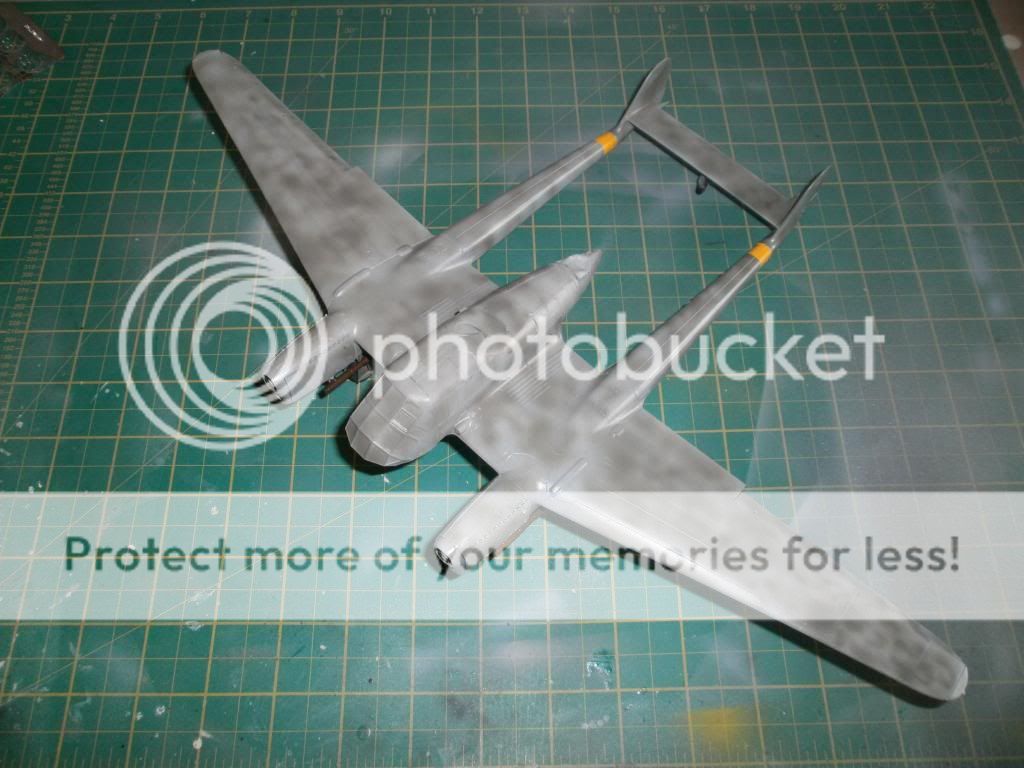
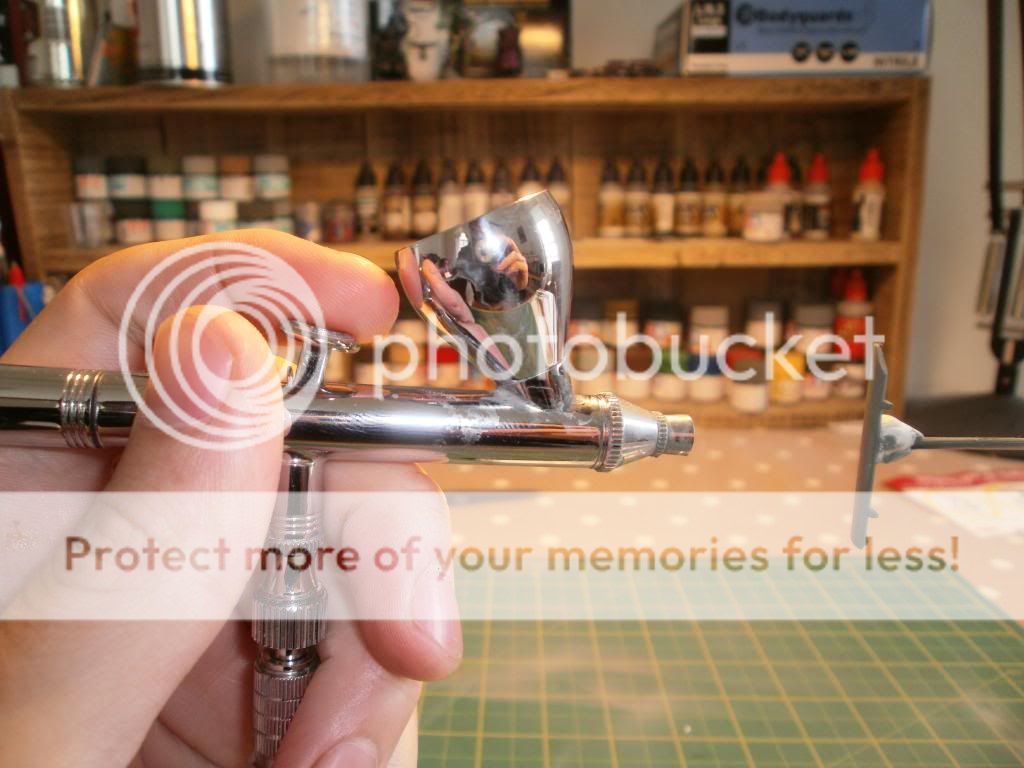
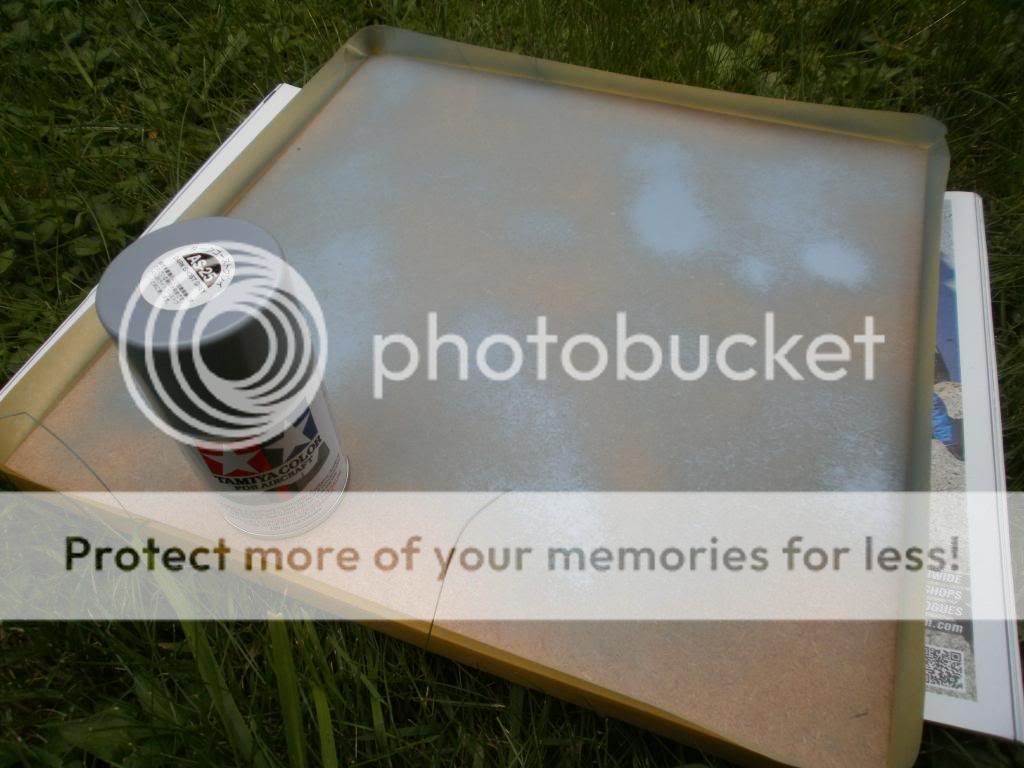
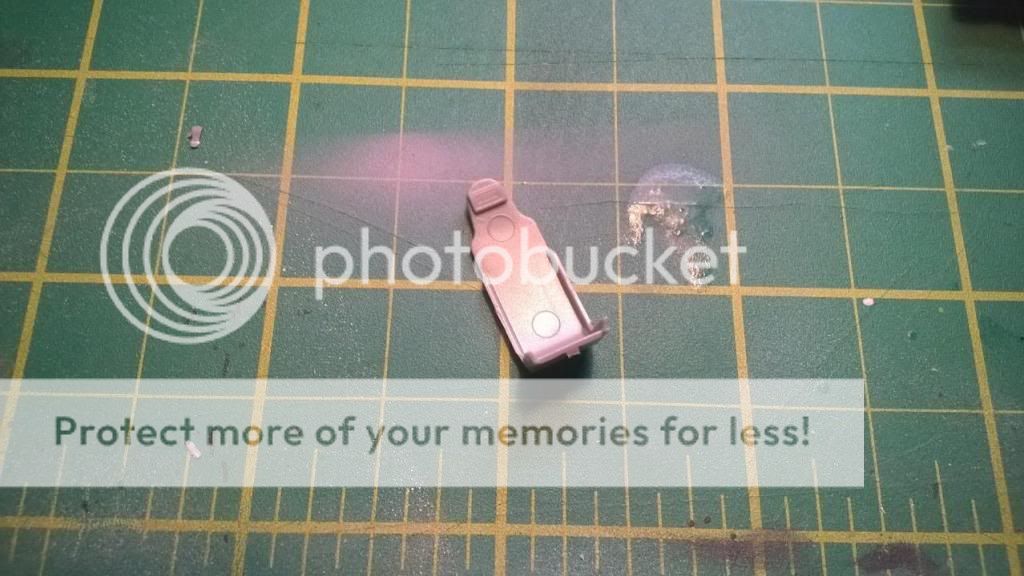
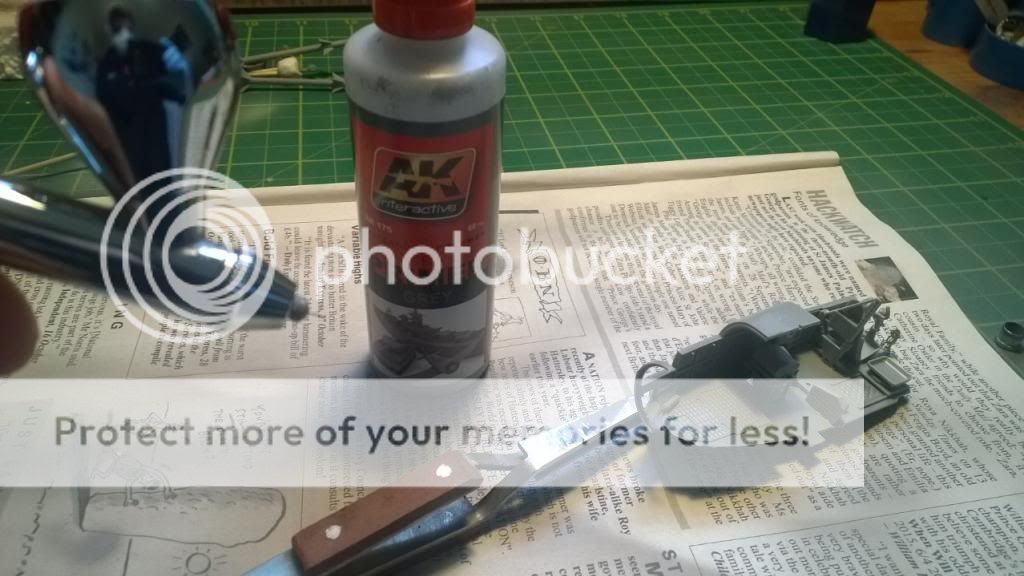
I then primed it with AK's grey primer. I find this better than Vallejo's which was endlessly clogging up my airbrush, but I've still had problems getting it to spray as smooth as I'd like. I have found whacking the air pressure up to around 25/26 psi improves things, as does removing the nozzle cap to stop paint accumulation and spitting. I guess this wouldn't be a problem if you had a two pronged pinch clean nozzle, though.
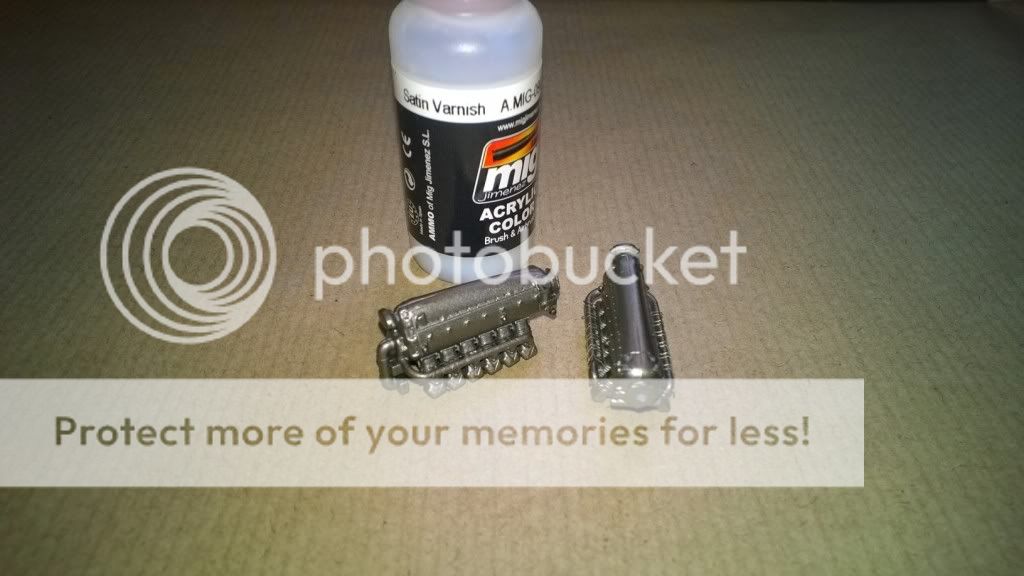
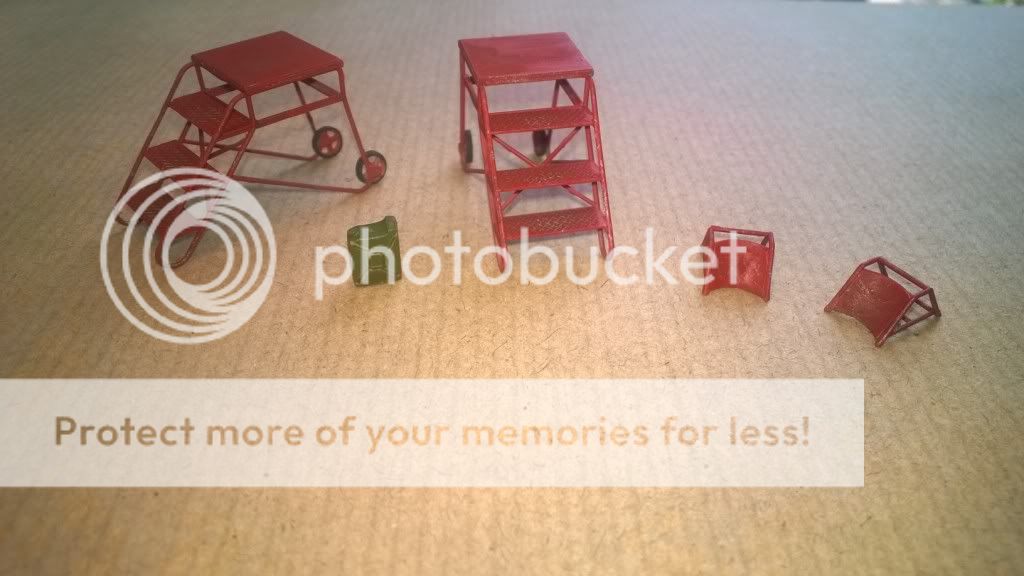
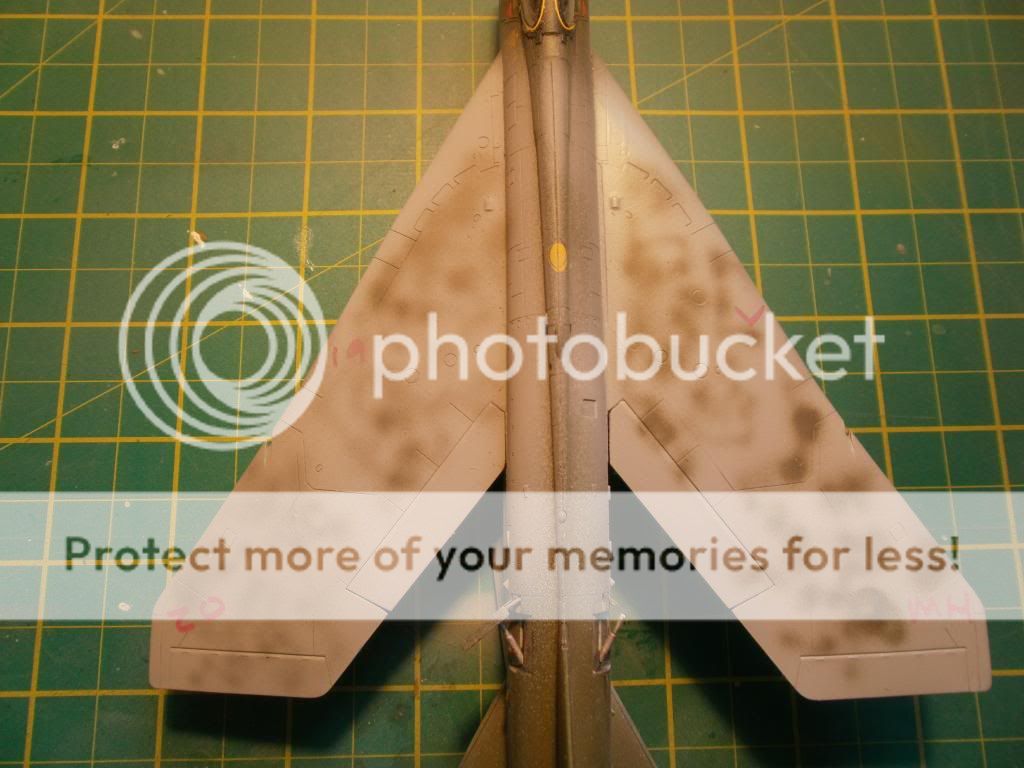
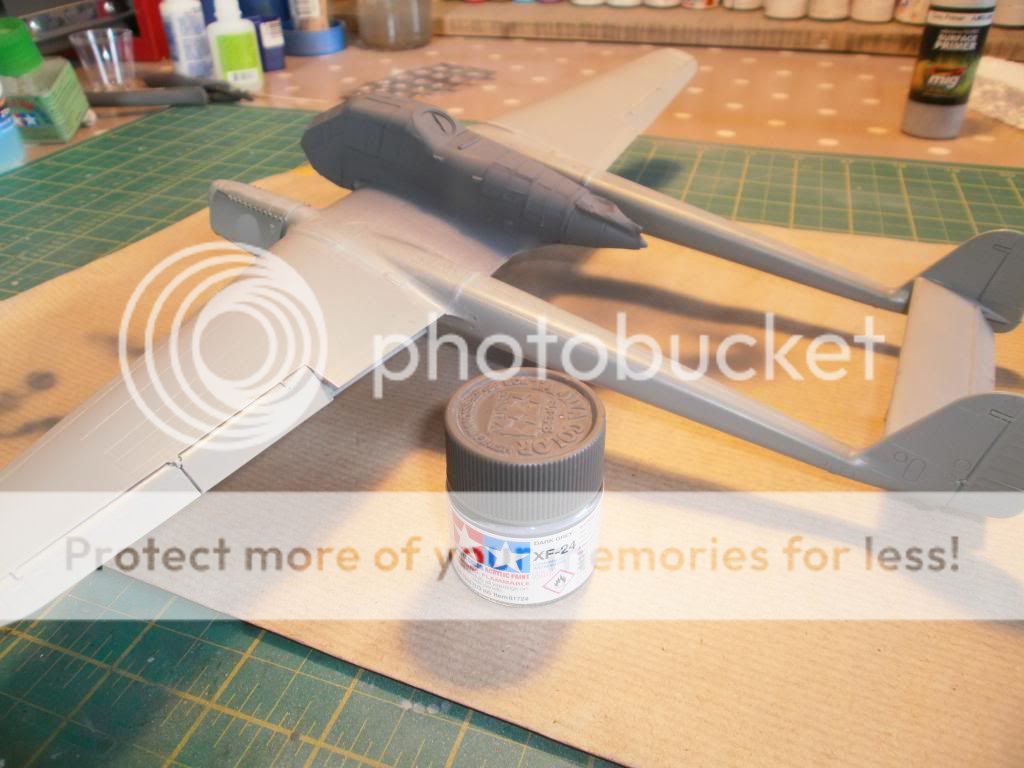
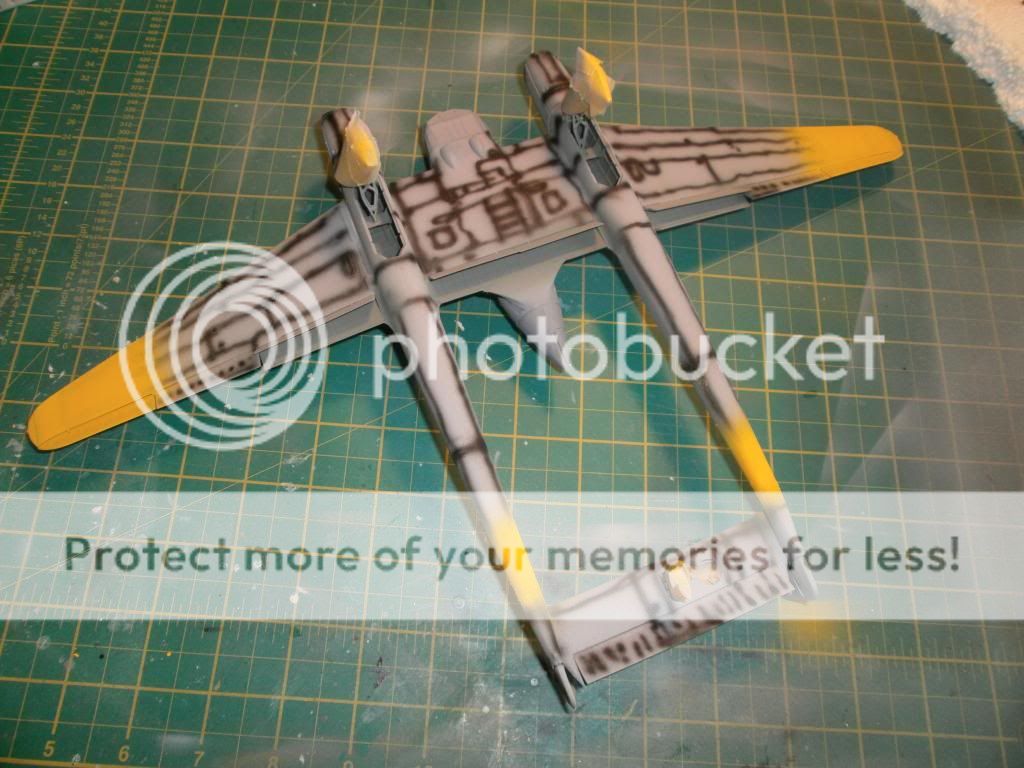
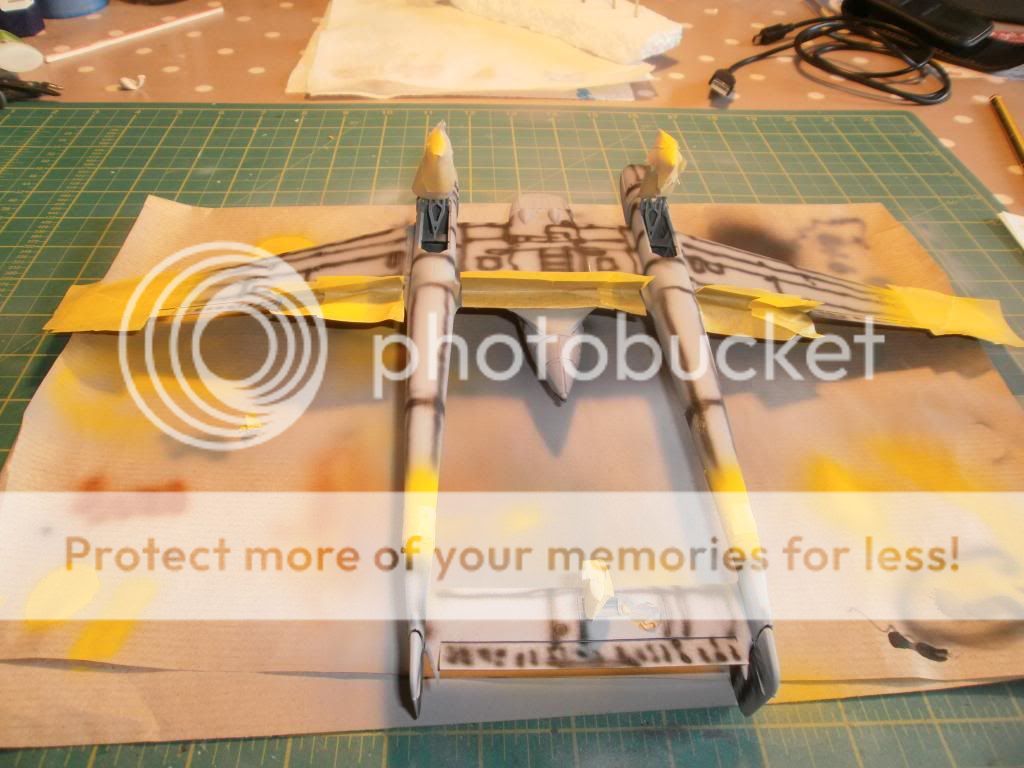
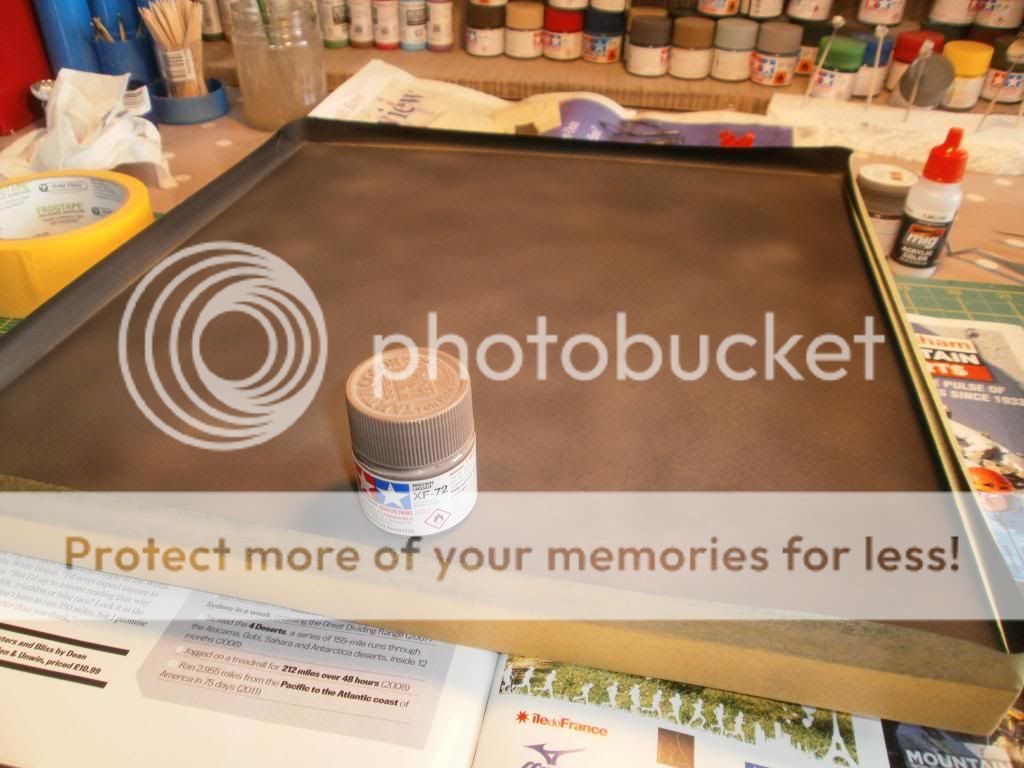
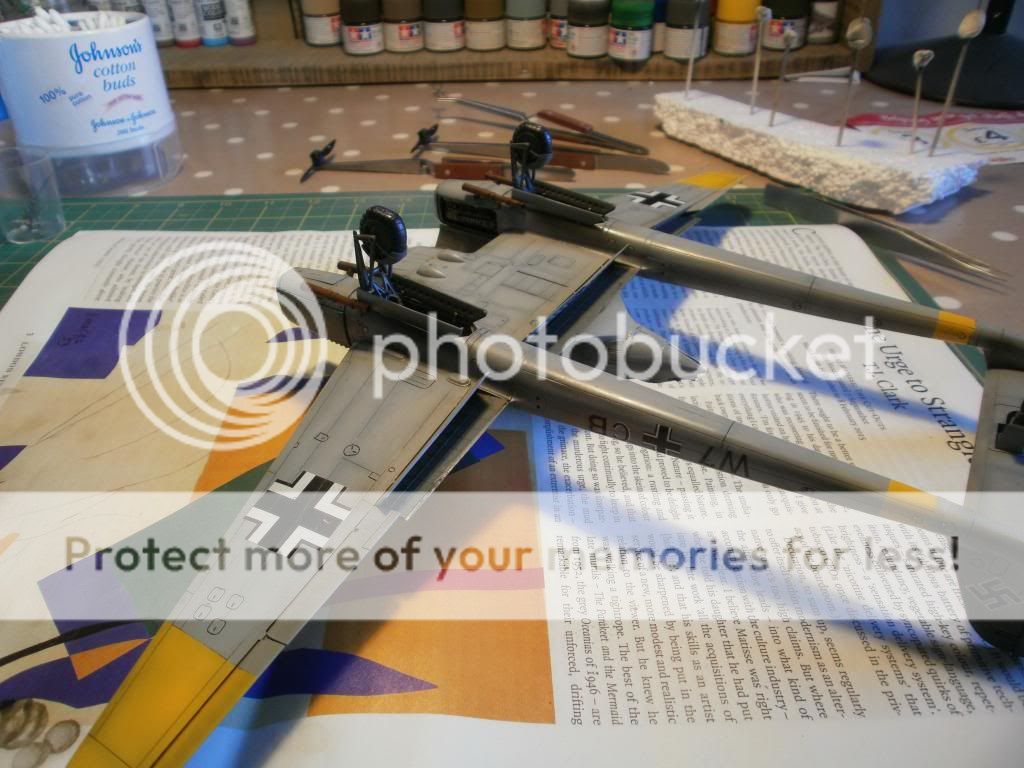
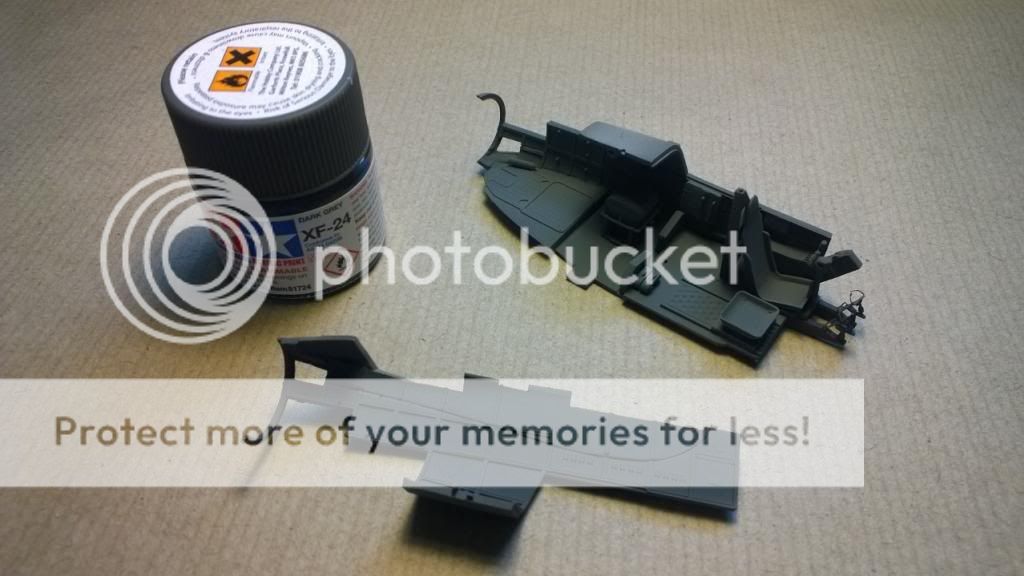
Next I painted it with Tamiya XF-24 Dark Grey. I used to use Tamiya as that was the best I could get at my local model shop, but stopped using it after trying Vallejo Model Air and especially Mr Hobby aqueous. I've recently rediscovered it however, and it goes on better than I remembered. It does look a little different if you put it down next to Mr Hobby, but I think that's because Tamiya is flat while most Mr Hobby is semi-gloss. Either way, a coat of clear evens things up.
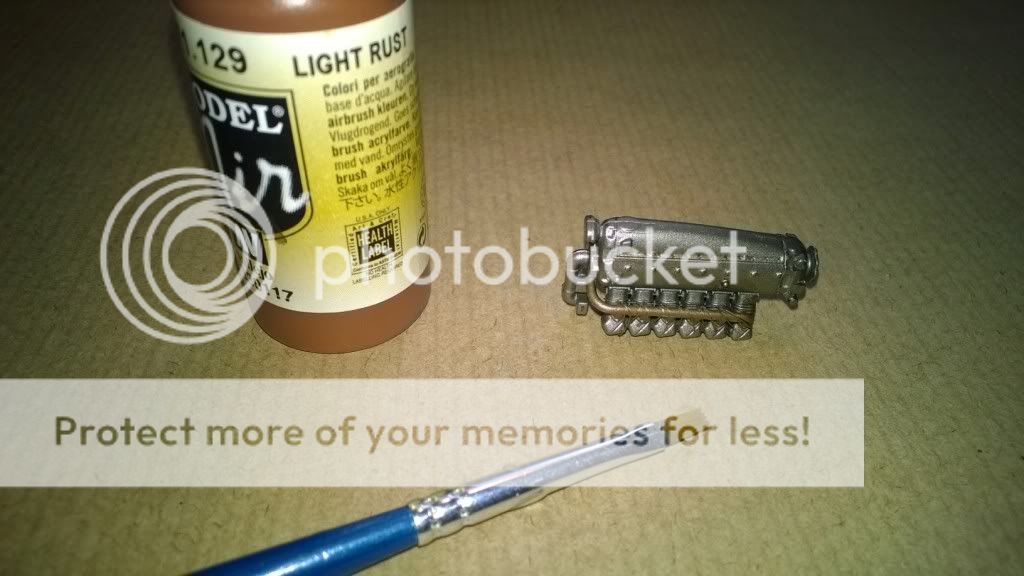
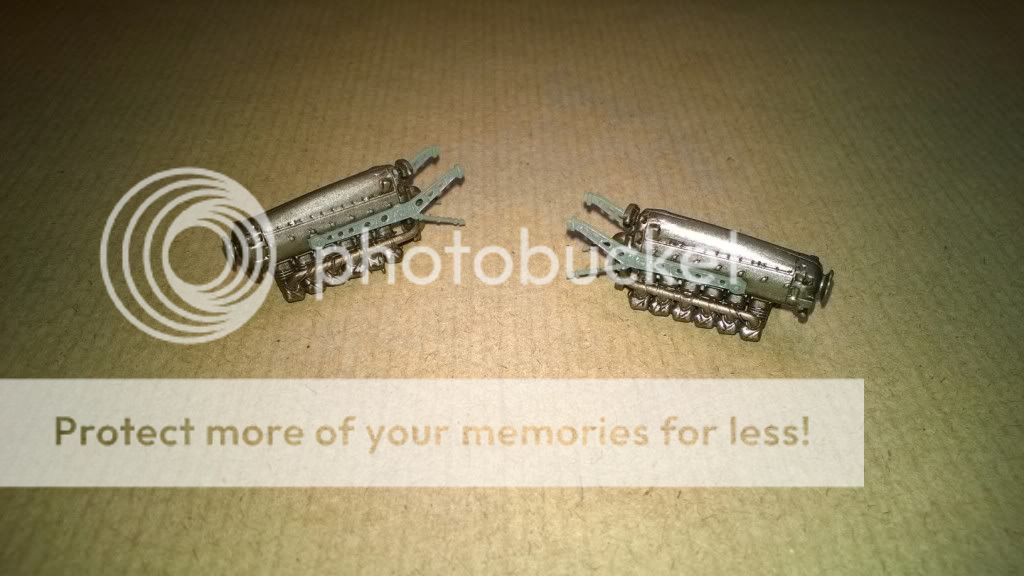
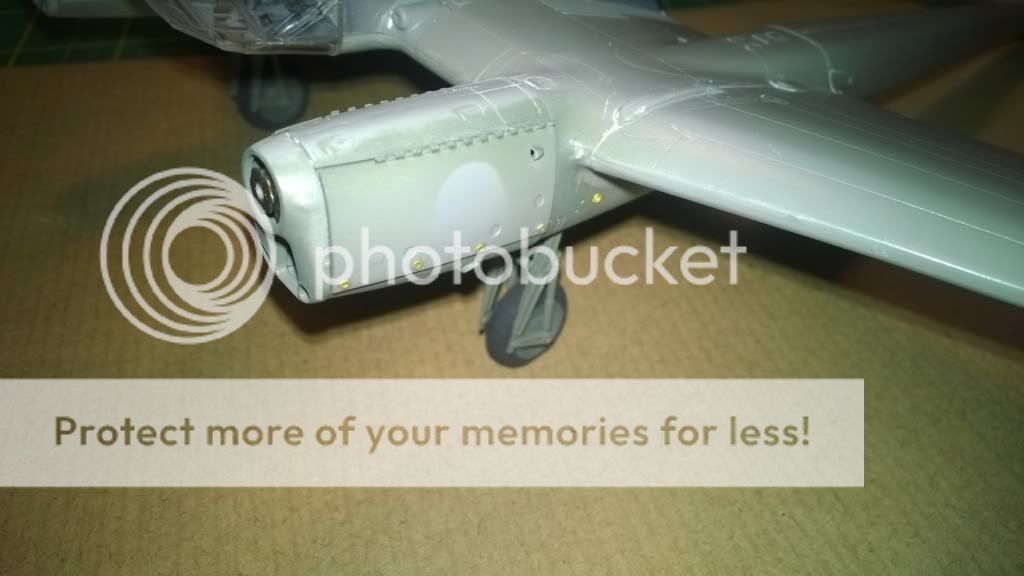
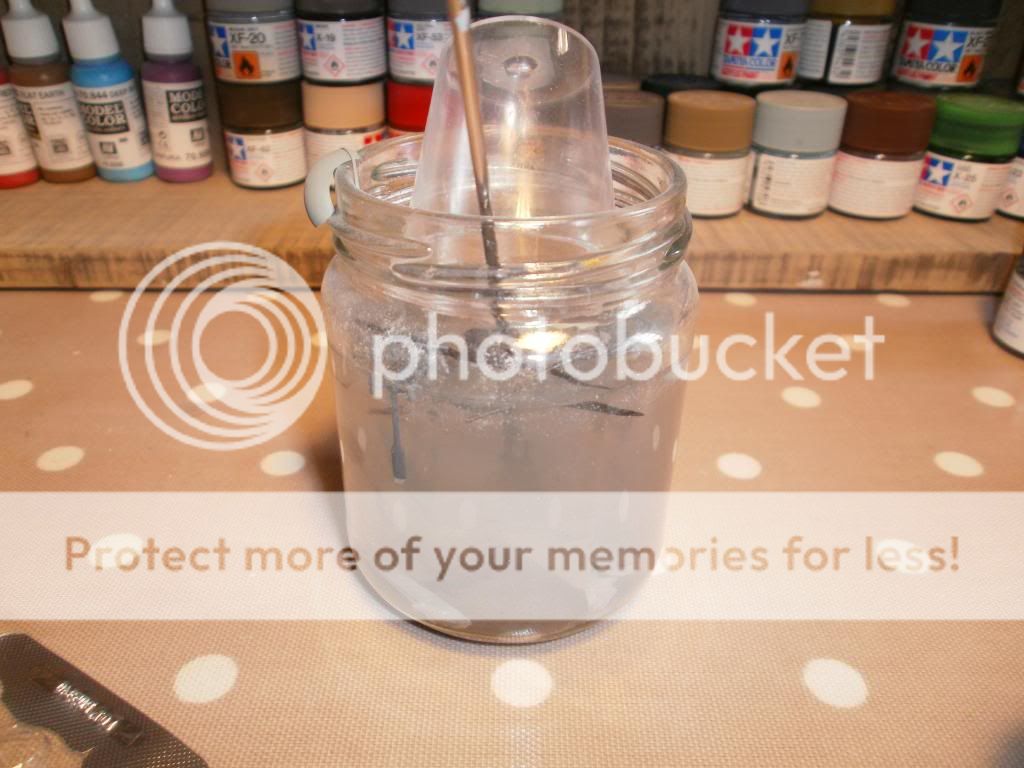
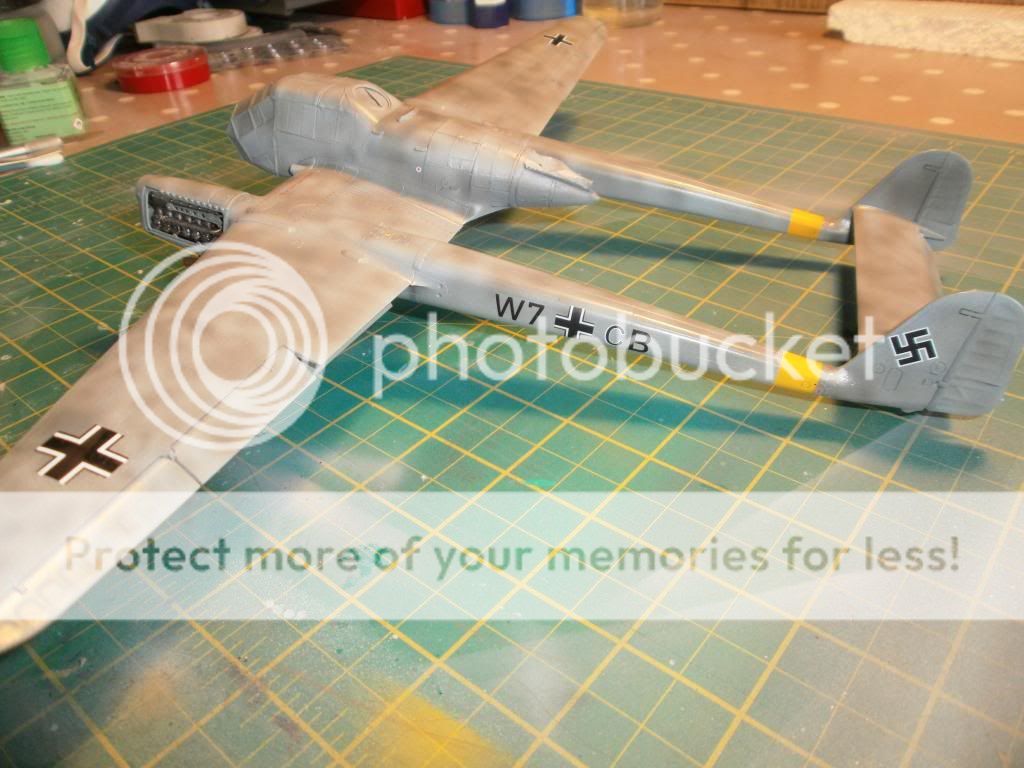
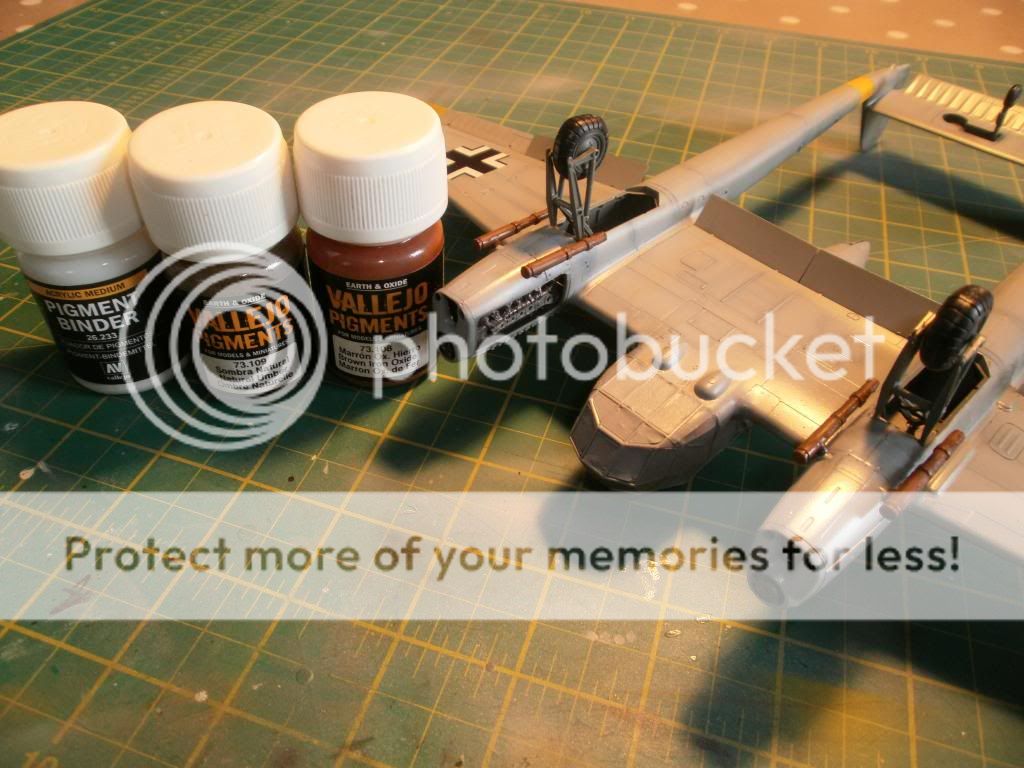
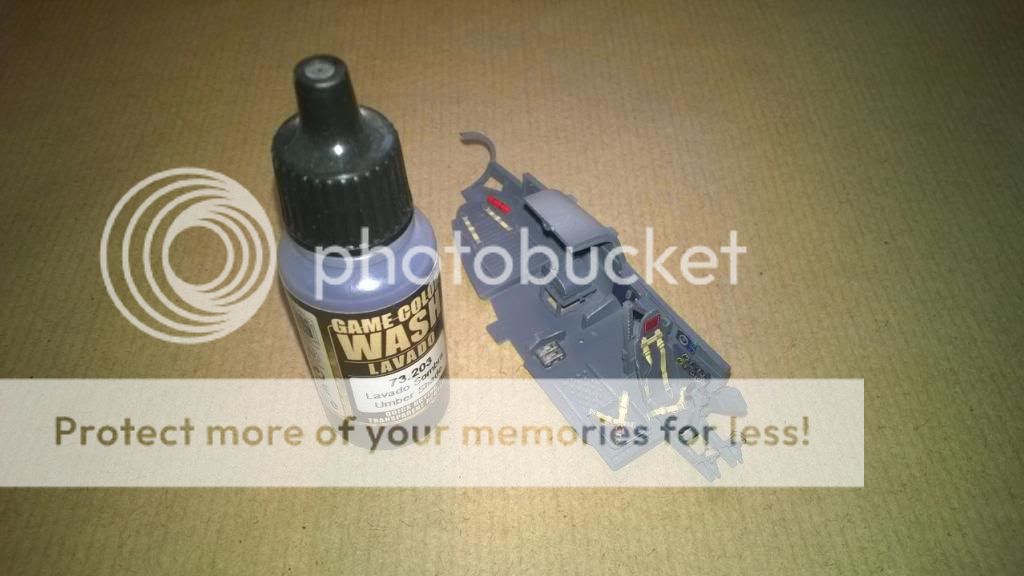
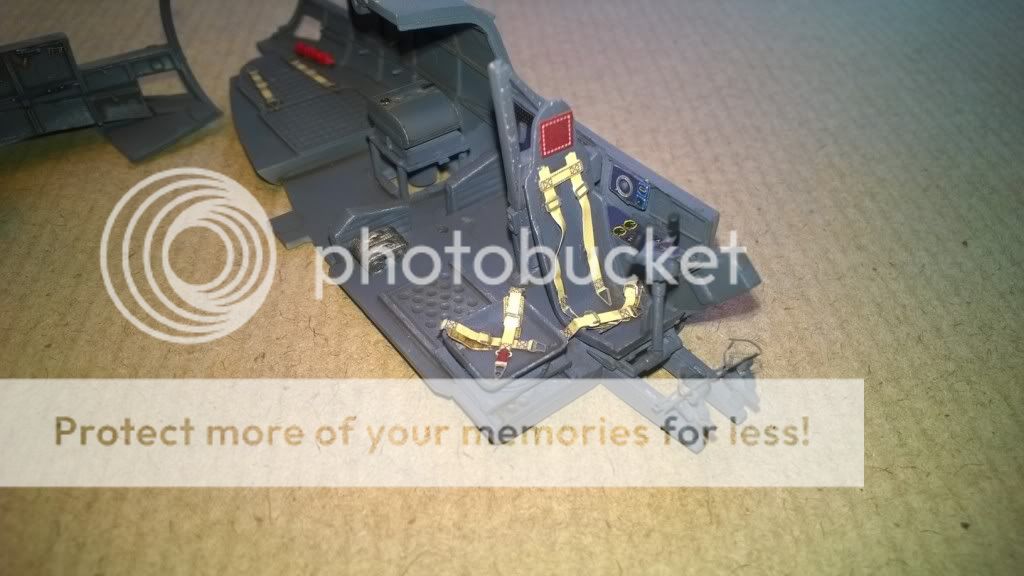
I then added the photo-etch and gave it a matt coat, and then a wash using Vallejo's acrylic game colour wash in umber. I've tried doing washes with oils, enamels, watercolours and ground up pastels, but I find for most times when you don't want to use a clay wash, this is best, and because it's acrylic, pretty forgiving. It's pretty thick, so I thin it one third wash to two thirds water with a single drop of Ultimate thinners to help break the surface tension and allow it to flow.
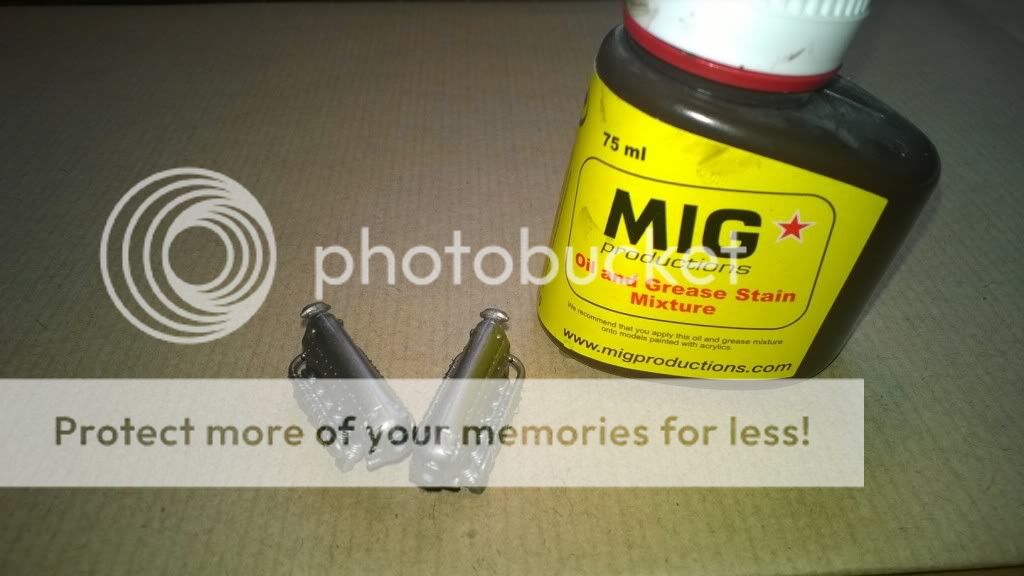
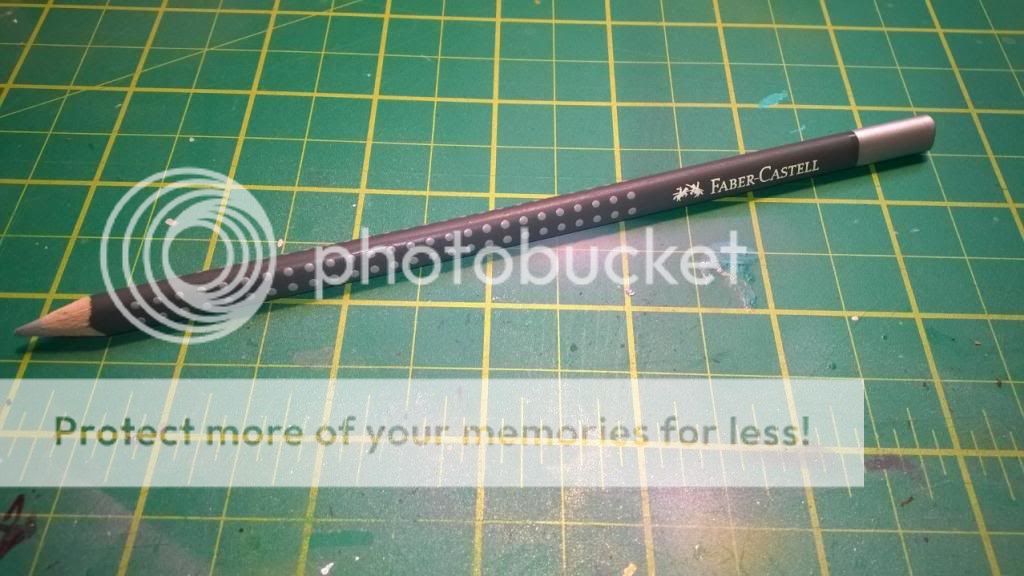
Chipping was added using an artist's silver pencil which is quick and effective and infinitely easier than painting the effect on or using the hairspray chipping method - although these techniques certainly have their place
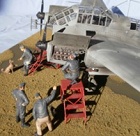
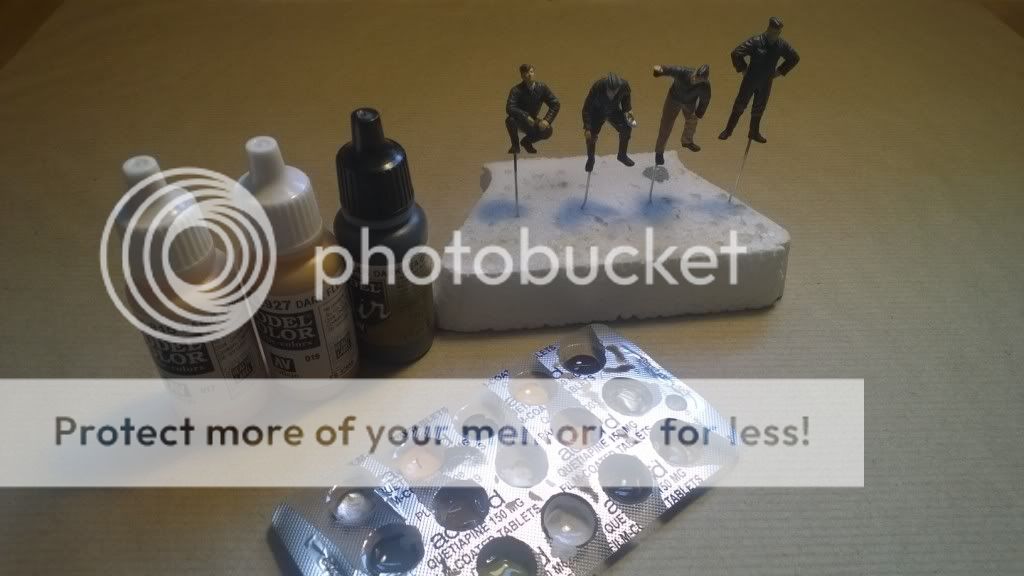
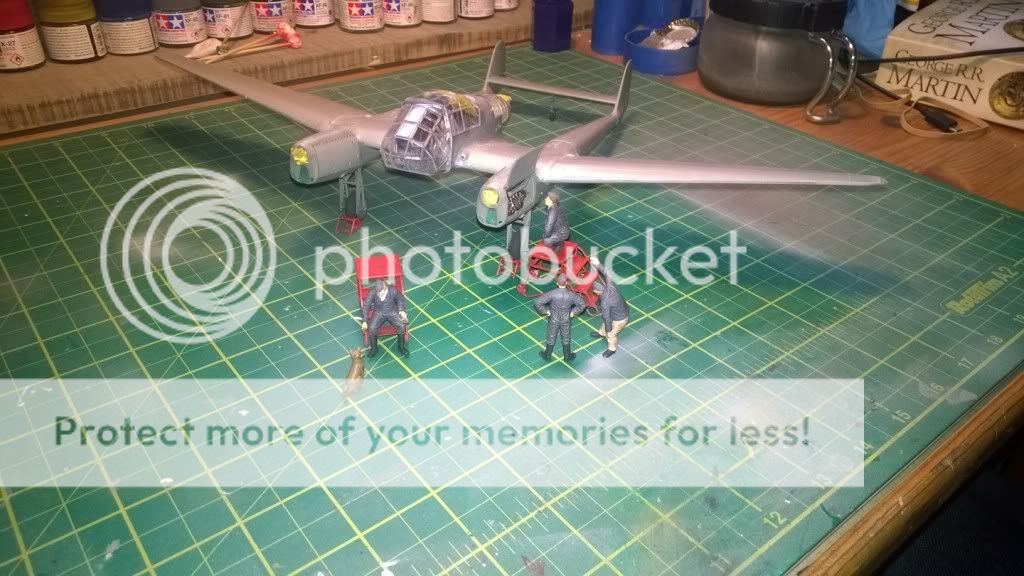
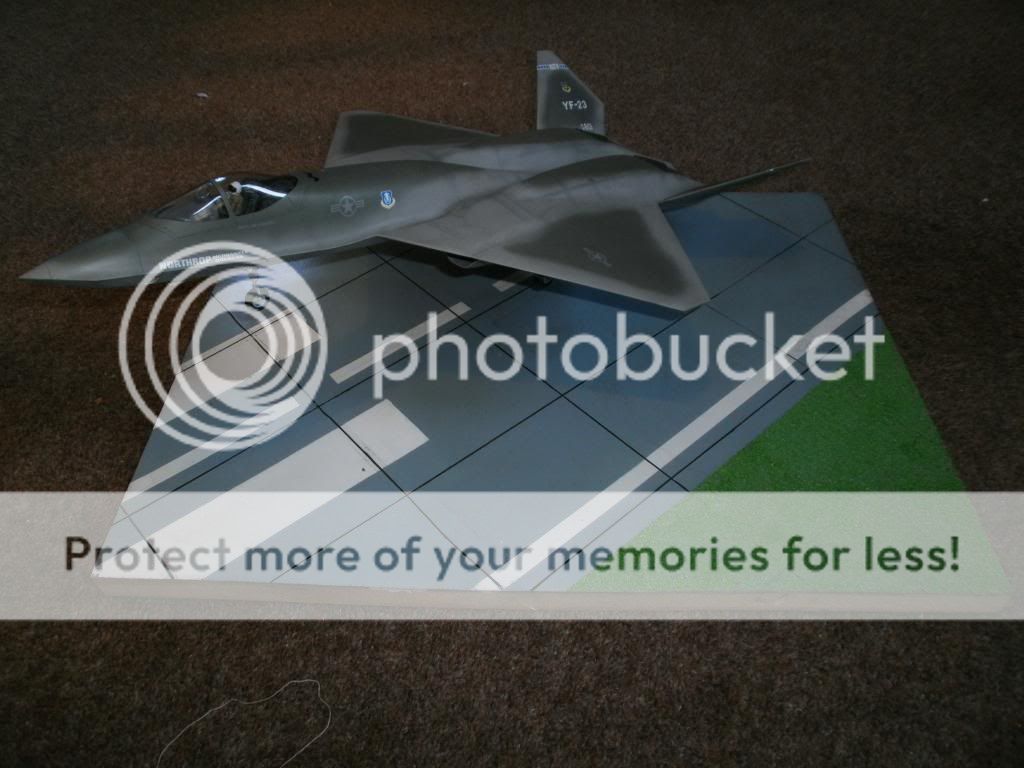
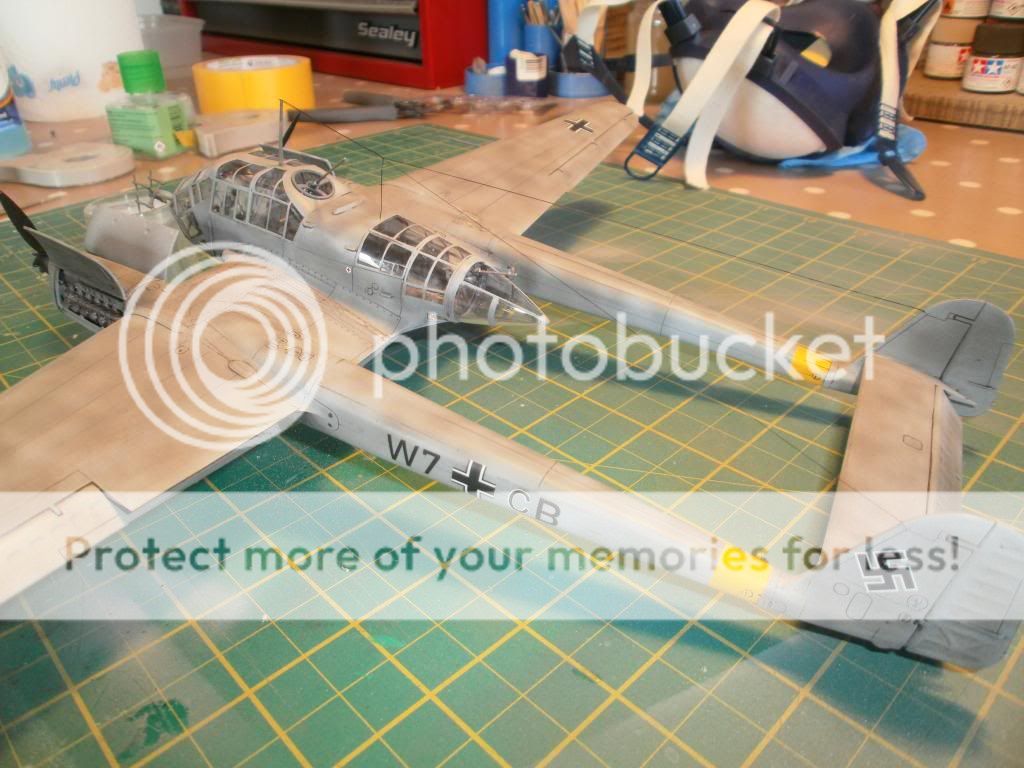
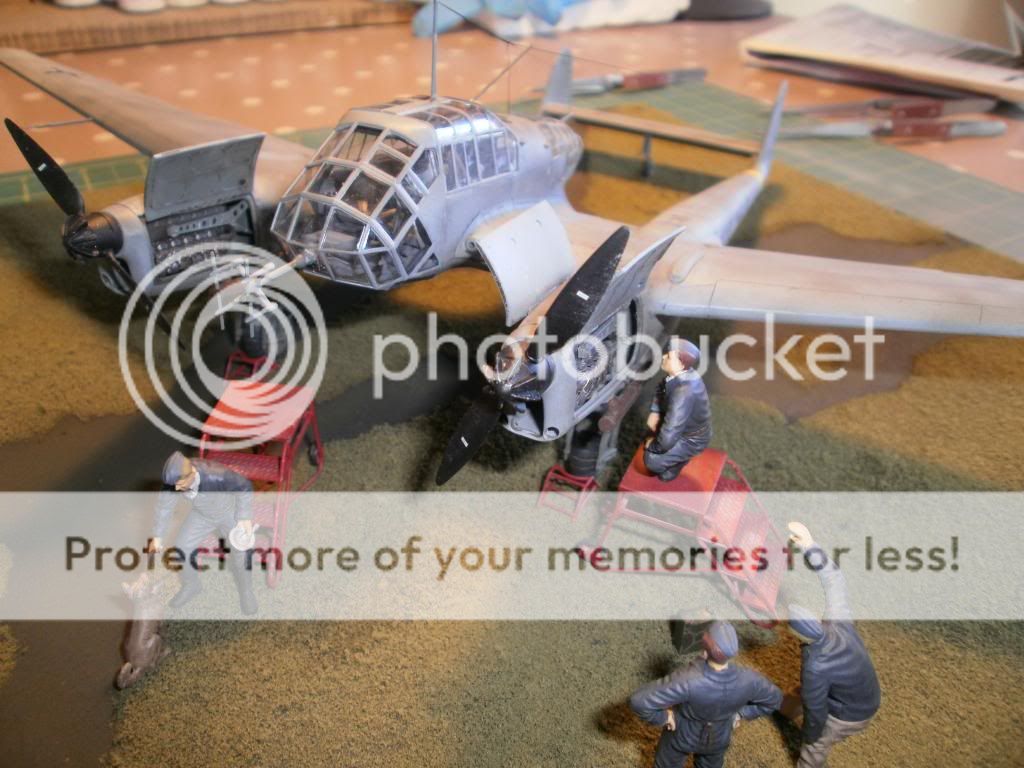
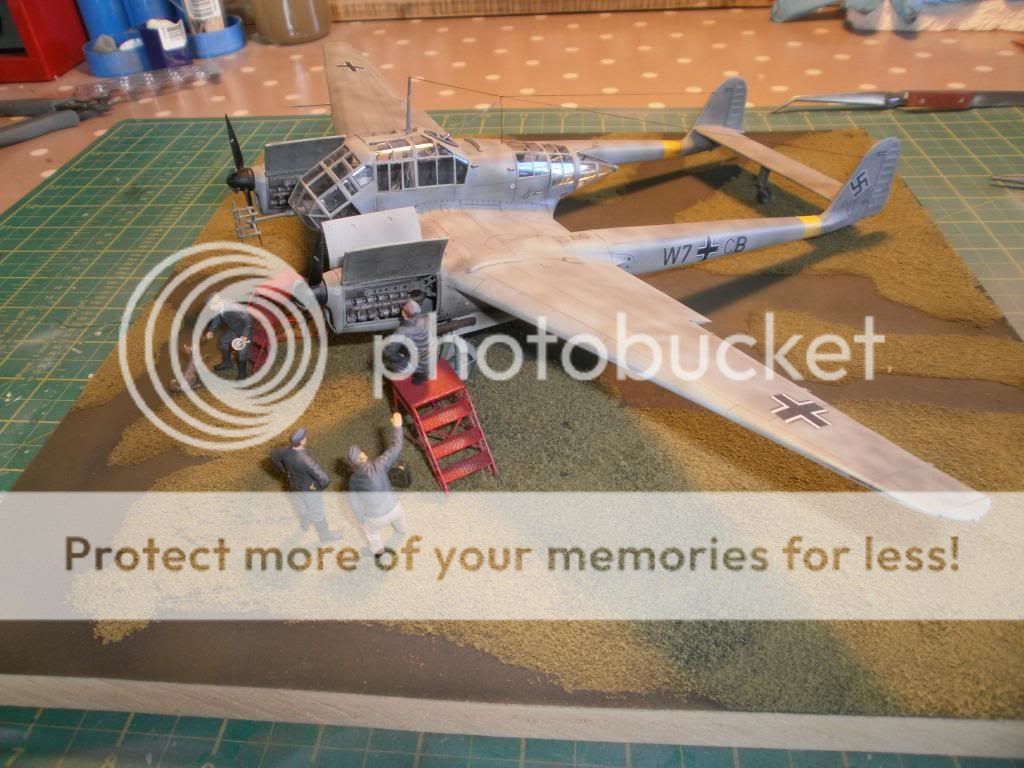
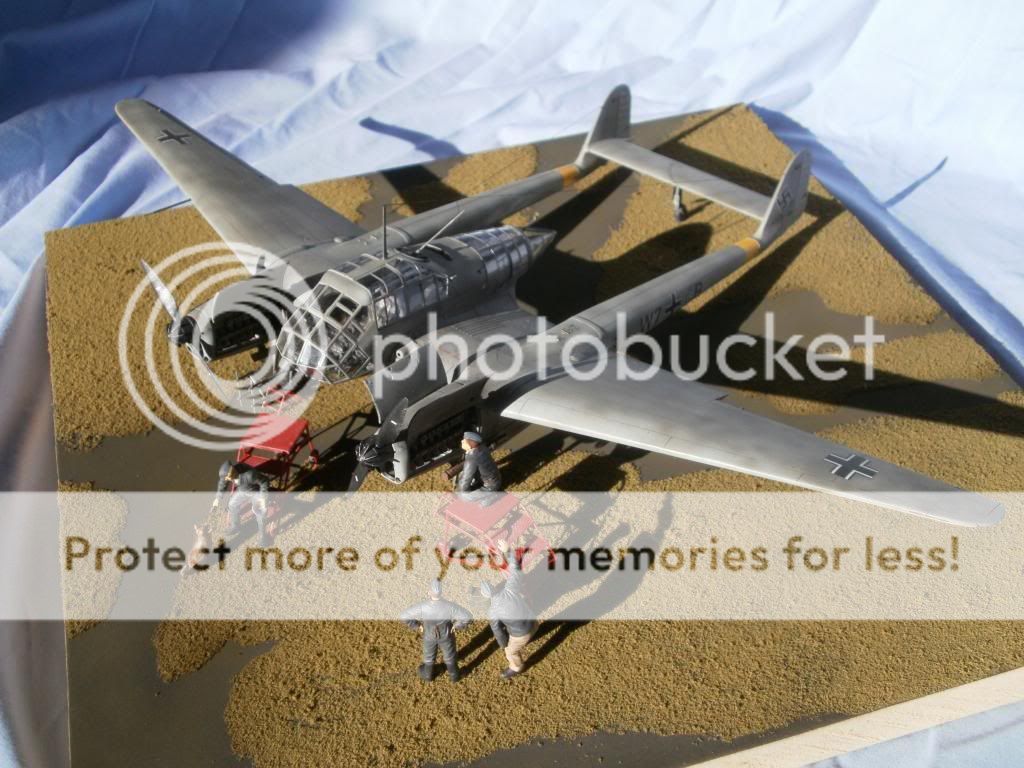
I'm pretty pleased with the result
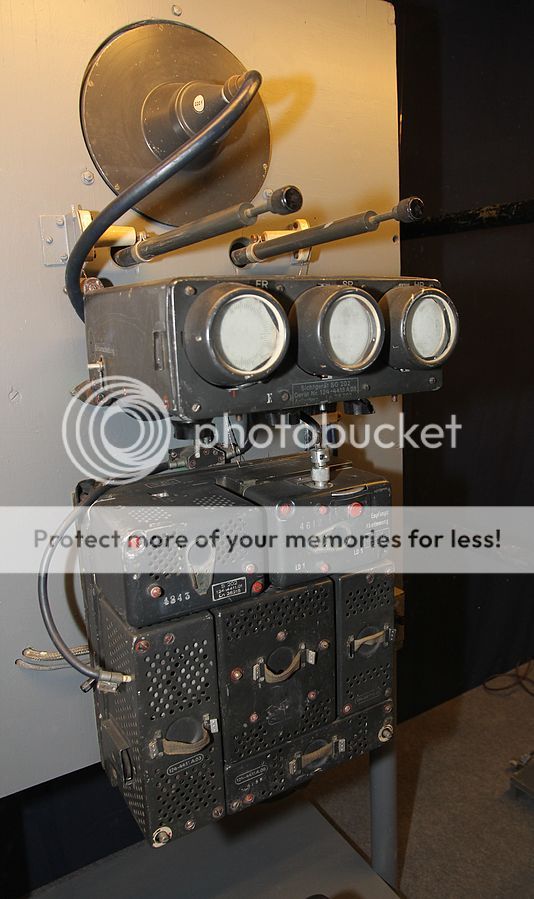
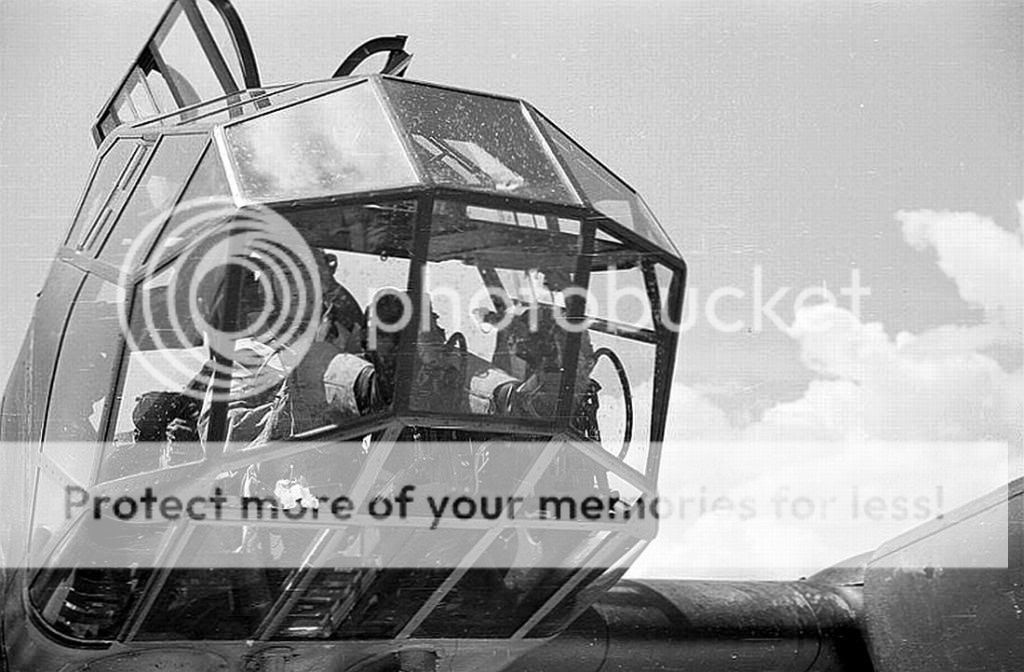
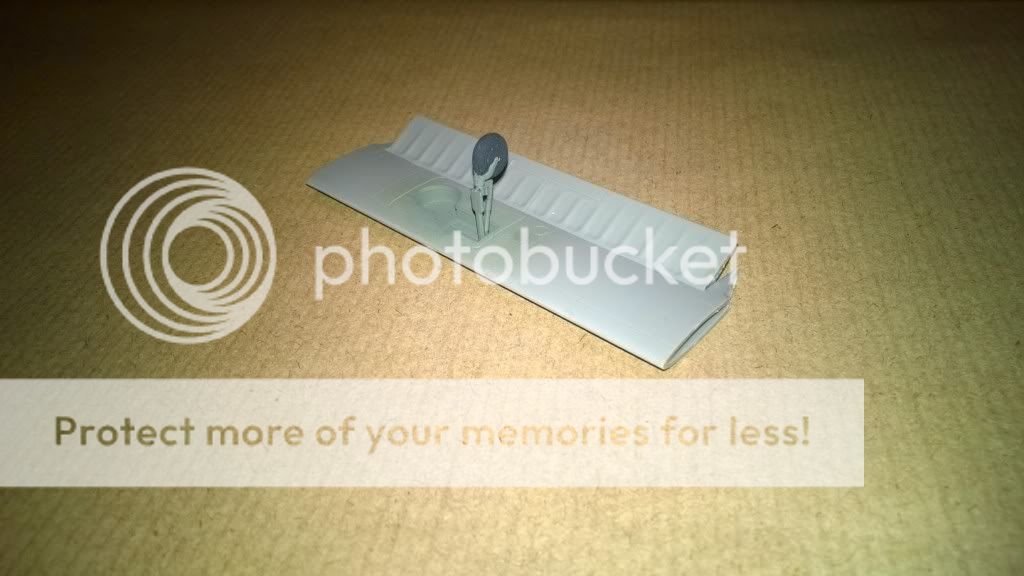
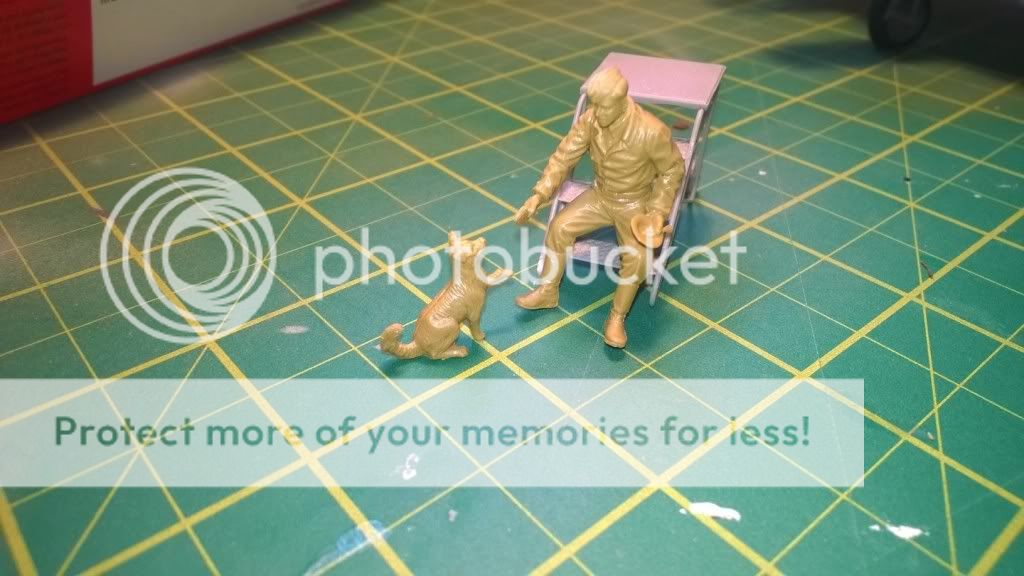
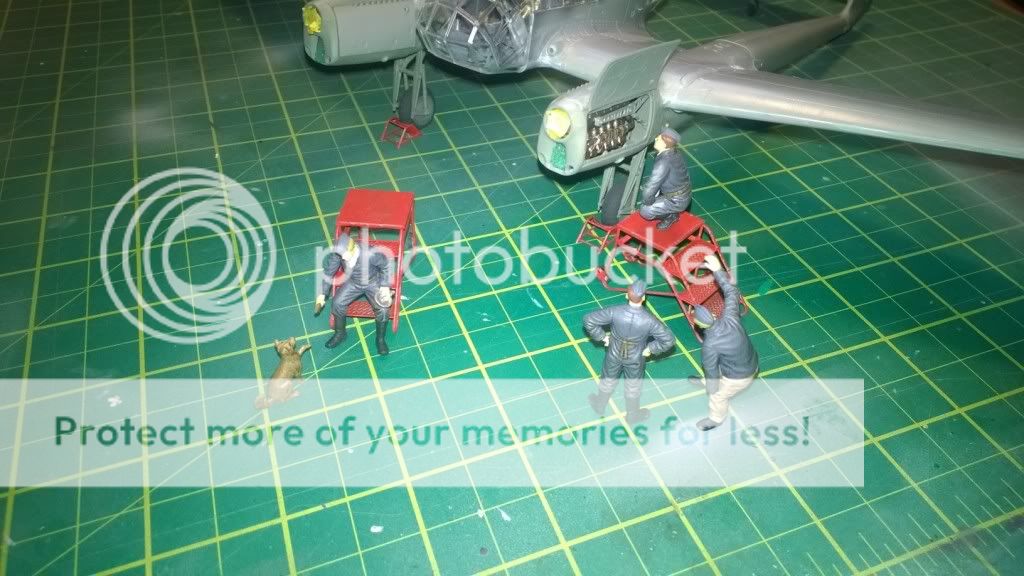
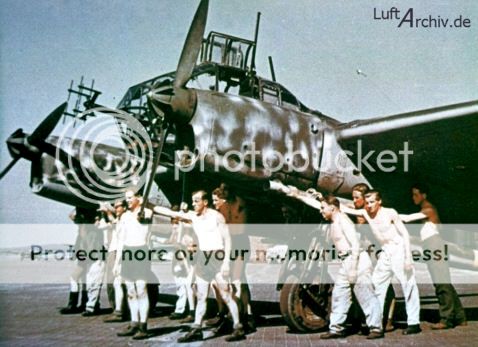
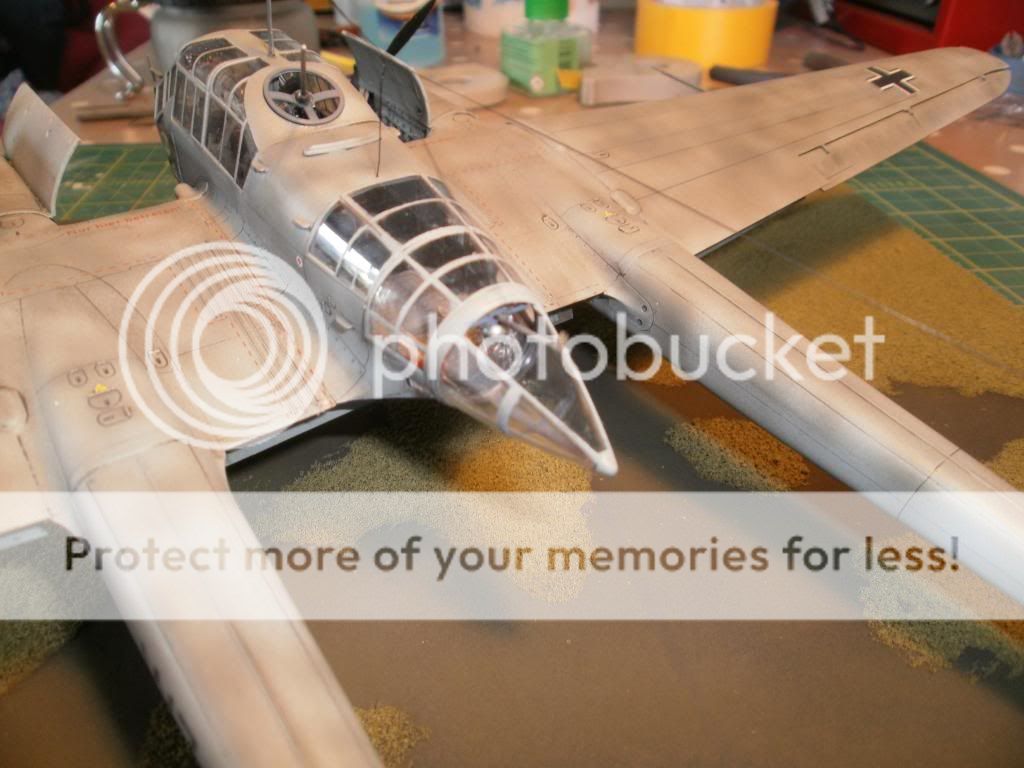
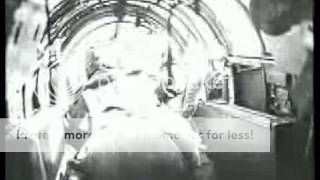
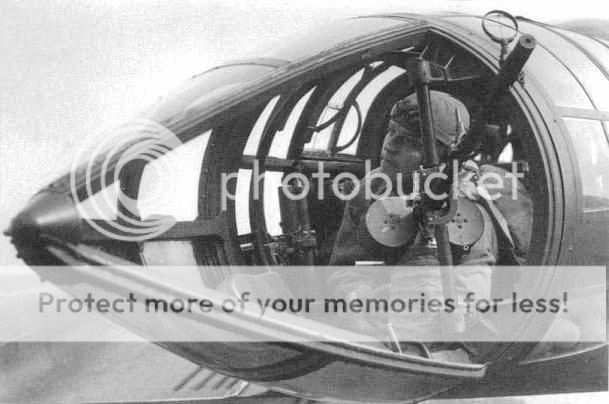
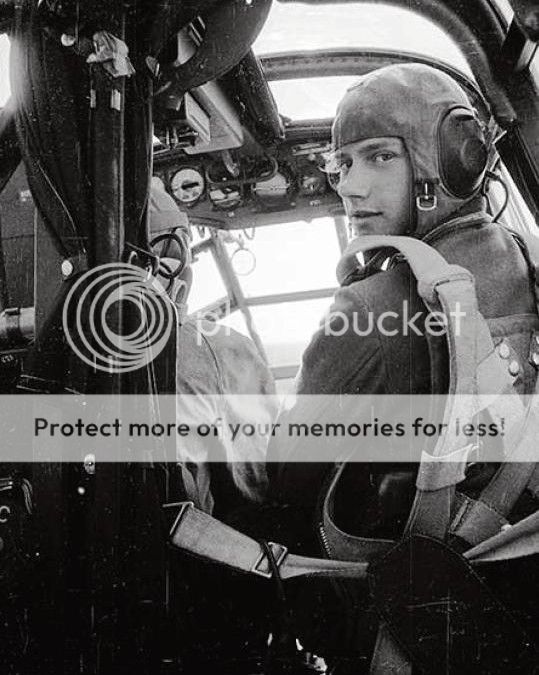
Not sure how I'd like to perch on the slab next to the pilot, though. Then again, this guy doesn't look like he minds too much!
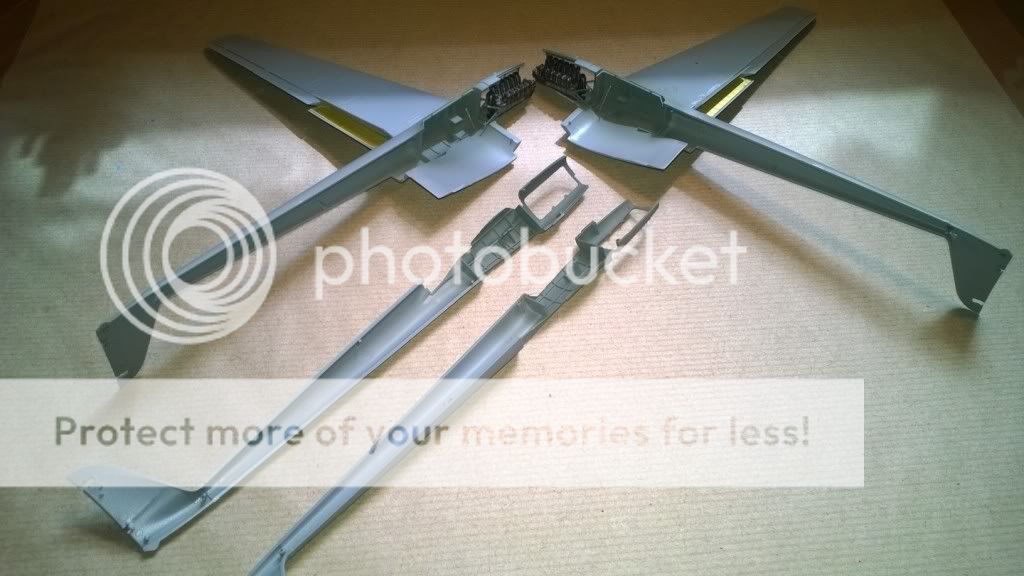
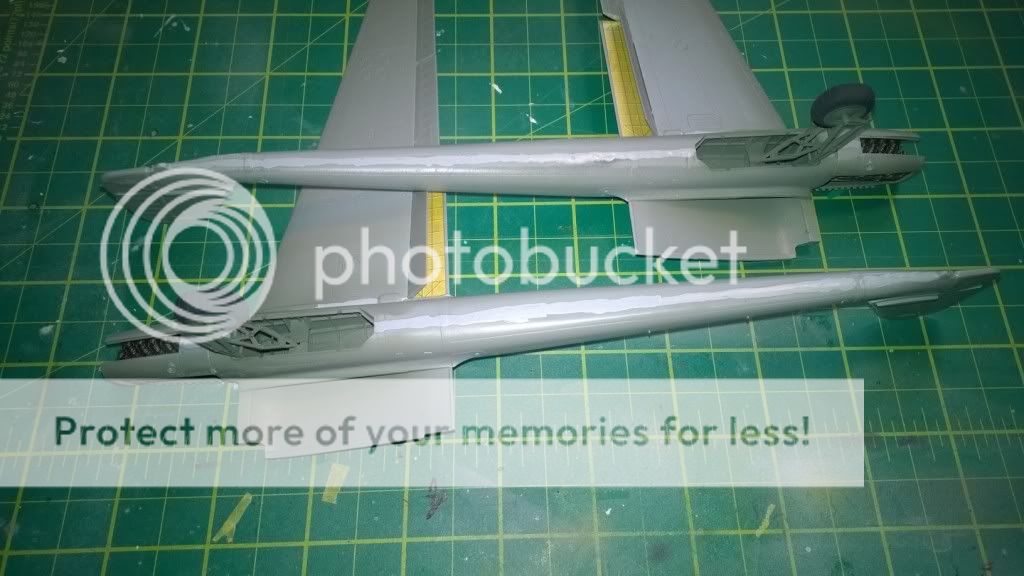
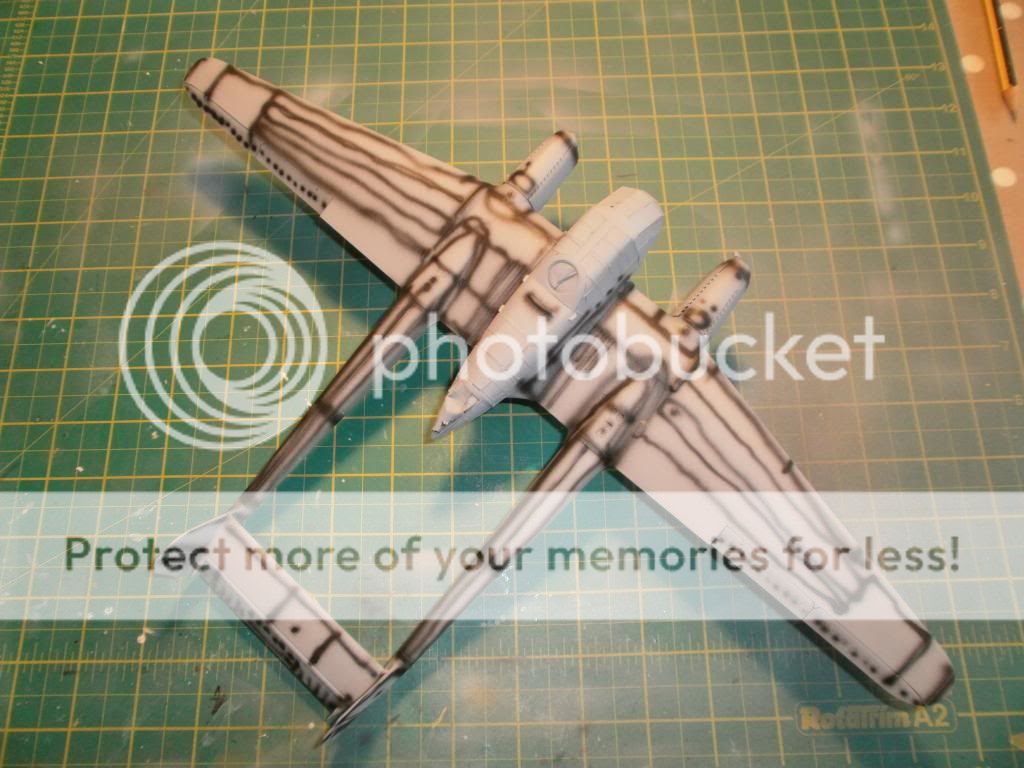
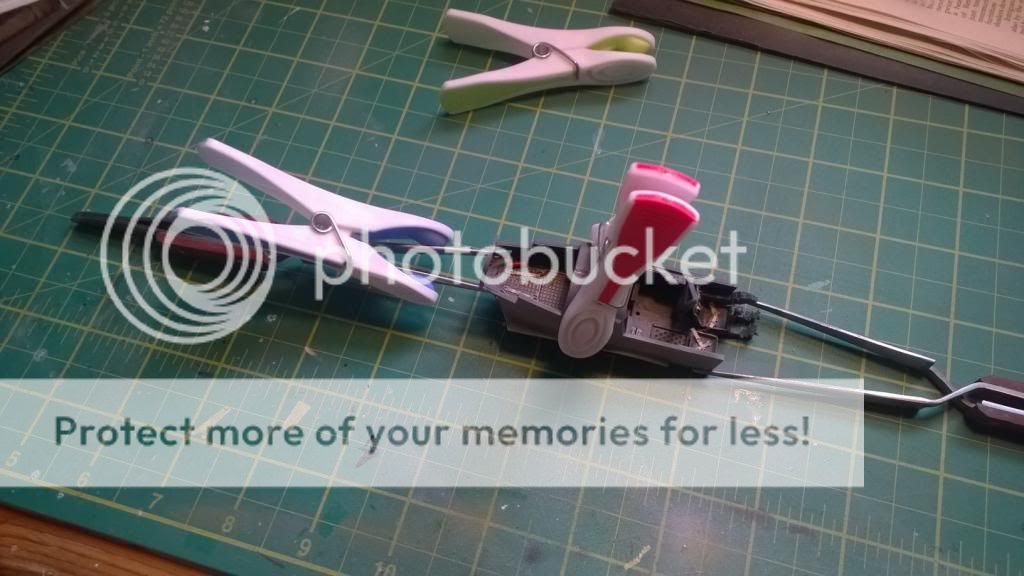
I then joined it together. This required some sanding and creative clamping, but this was entirely my fault for not joining the two halves together at the same time to ensure a perfect fit.
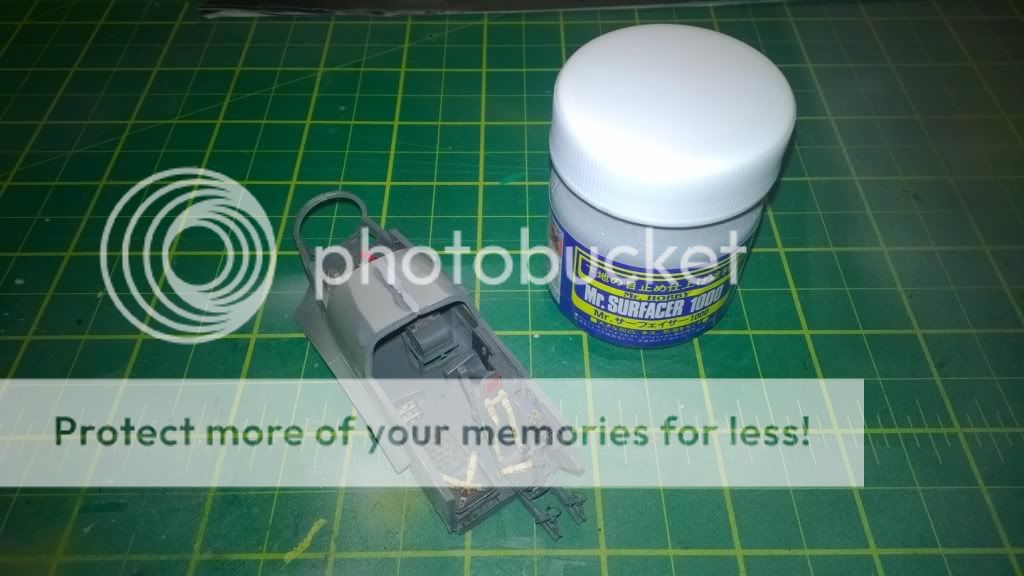
I filled the seam on top using Mr Surface 1000. This was the first time I'd used this, and it is brilliant. It dries back a lot, but does so quickly so you can keep adding layers. I used about four, let it dry then sanded it down and am pretty pleased with how it looks. Certainly better on fine seams than using Perfect Plastic putty and getting it absolutely everywhere. But then again, that could just be me! Either way, I'll be investing in the 500 and 1200 grades soon.
Anyway, thanks for checking out my progress. More updates soon