
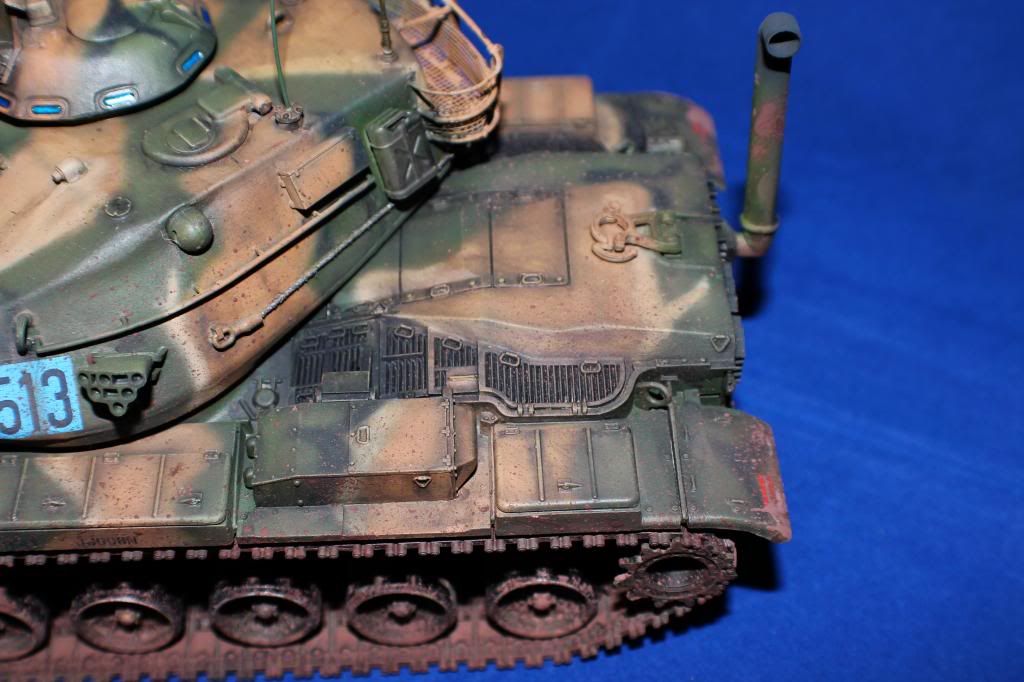
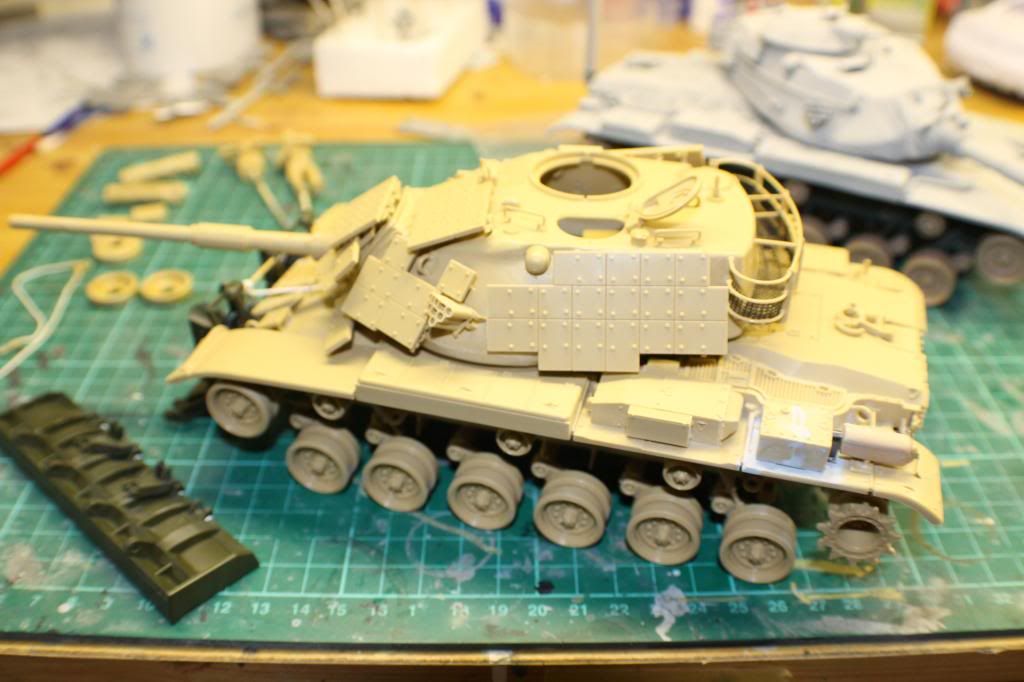
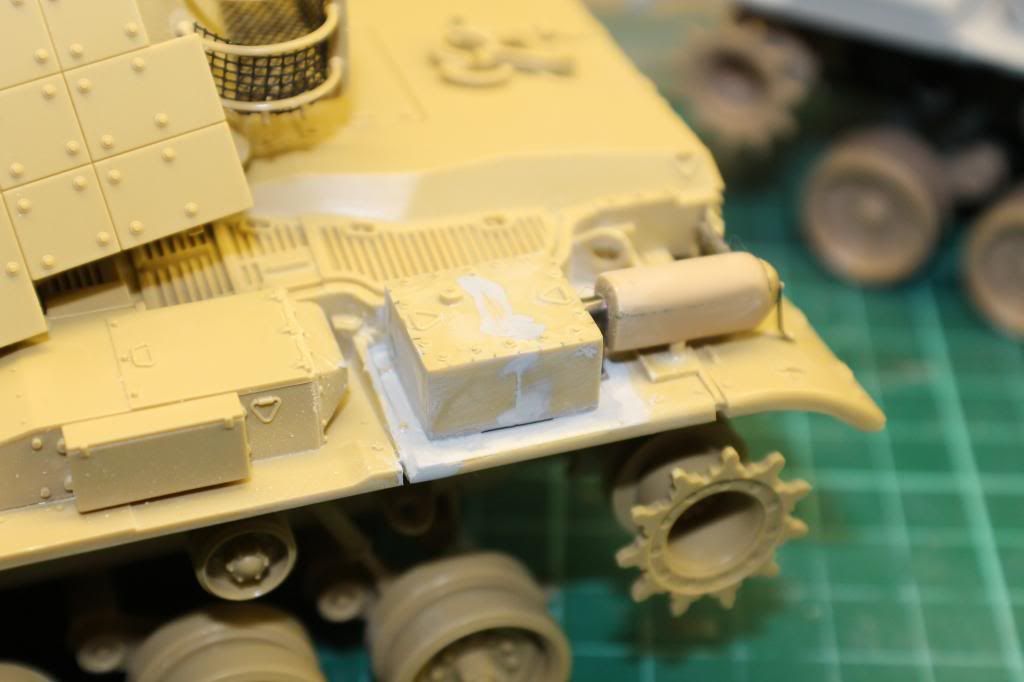
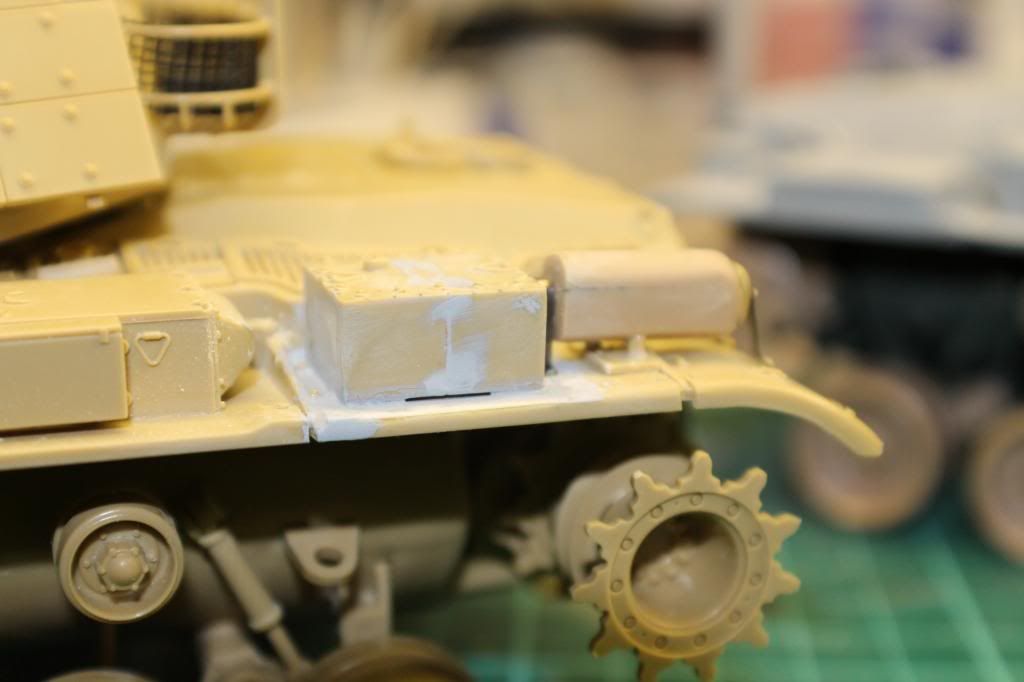
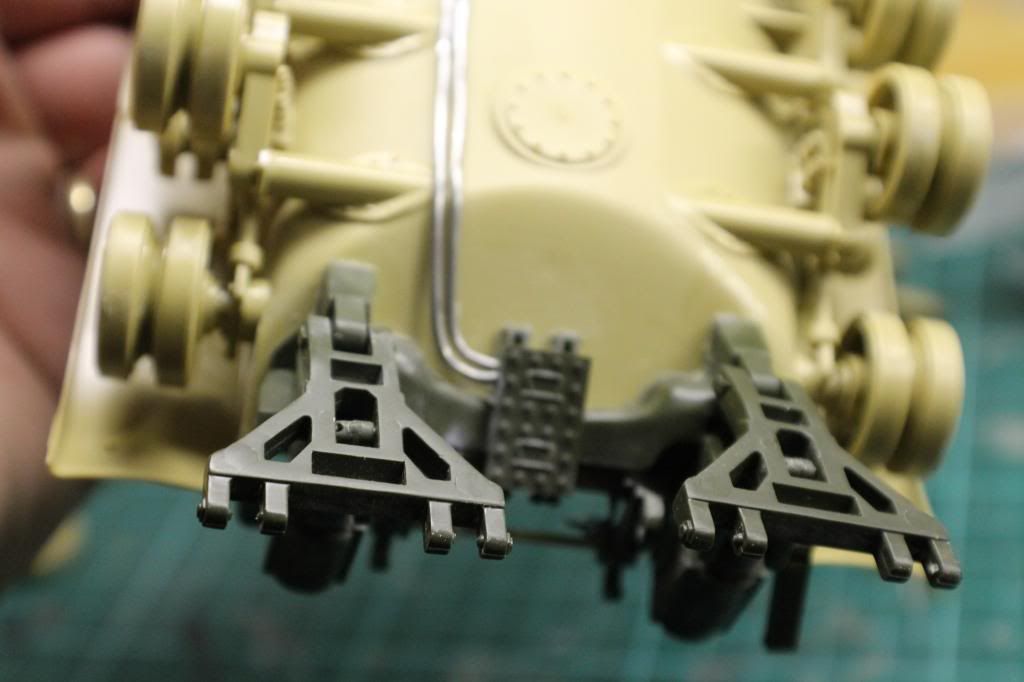
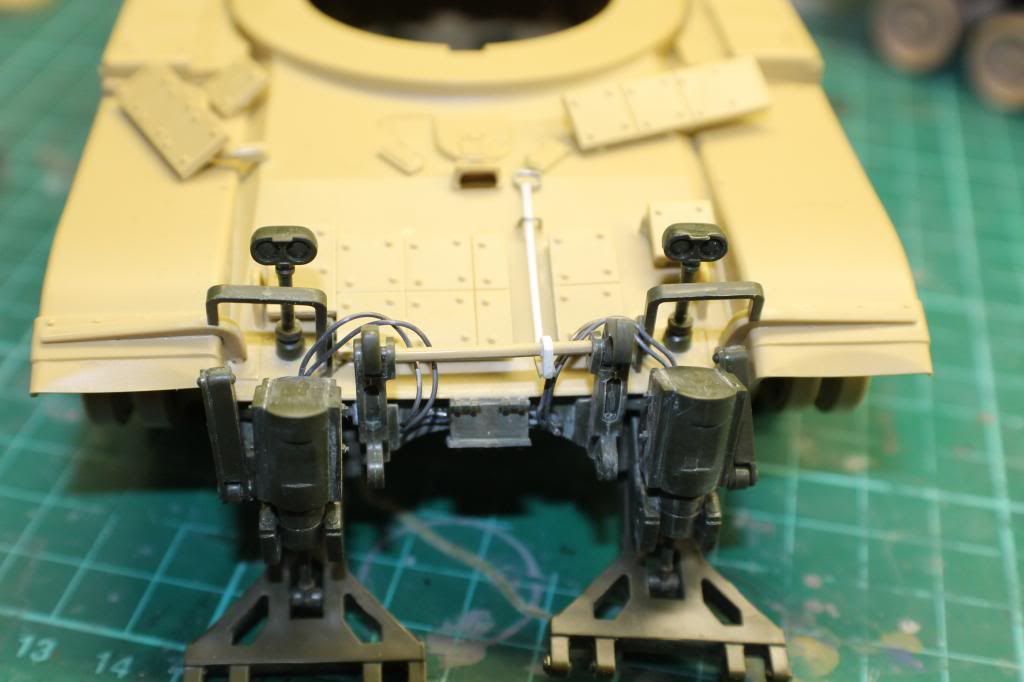
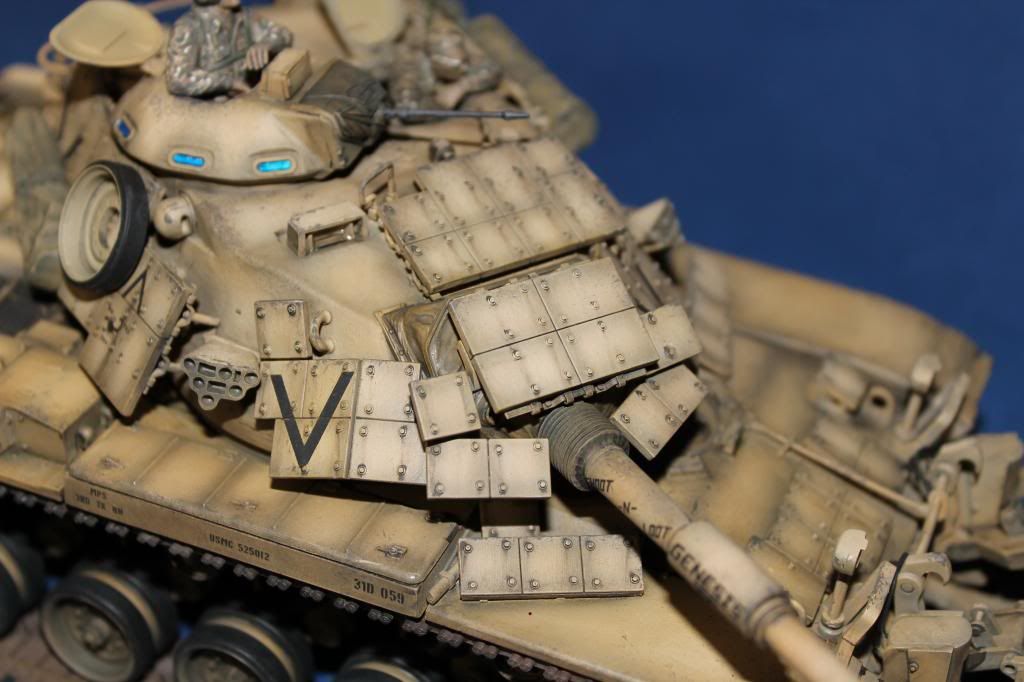
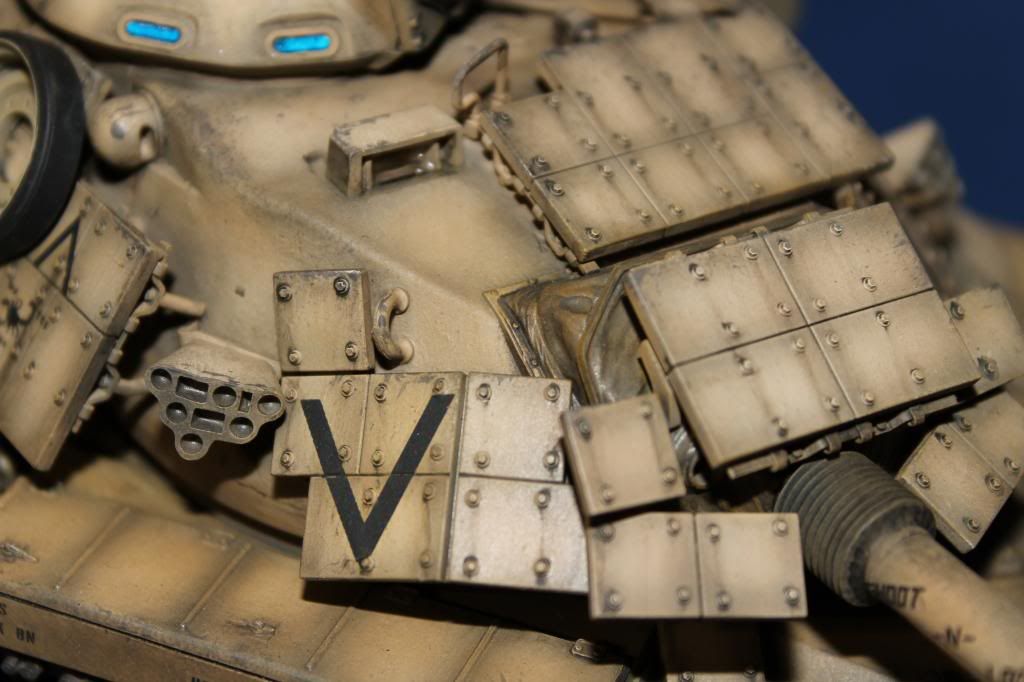
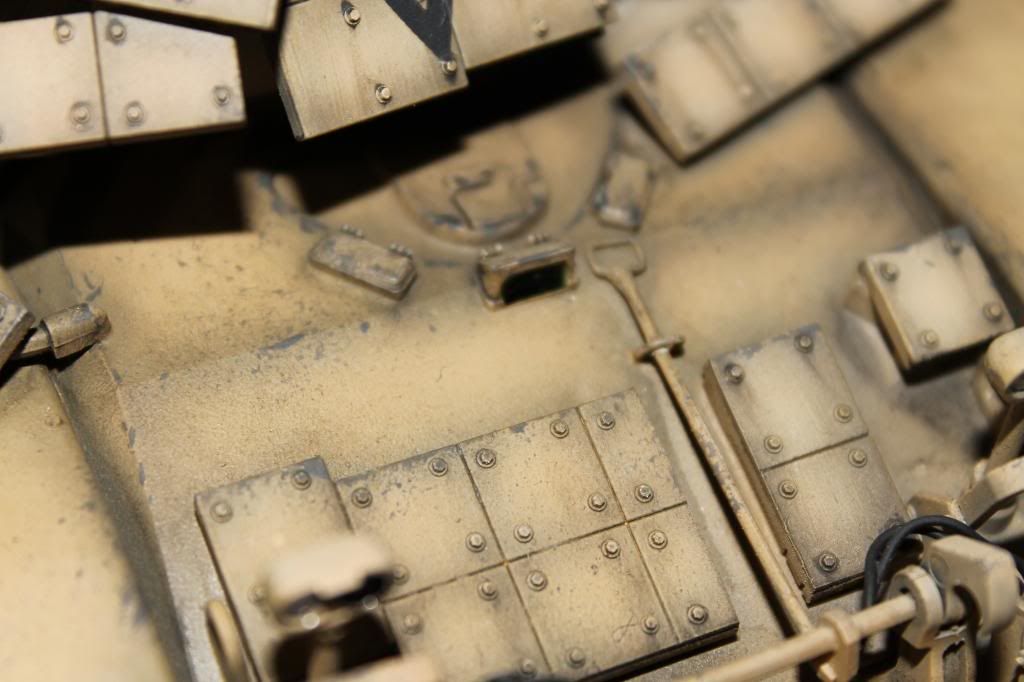
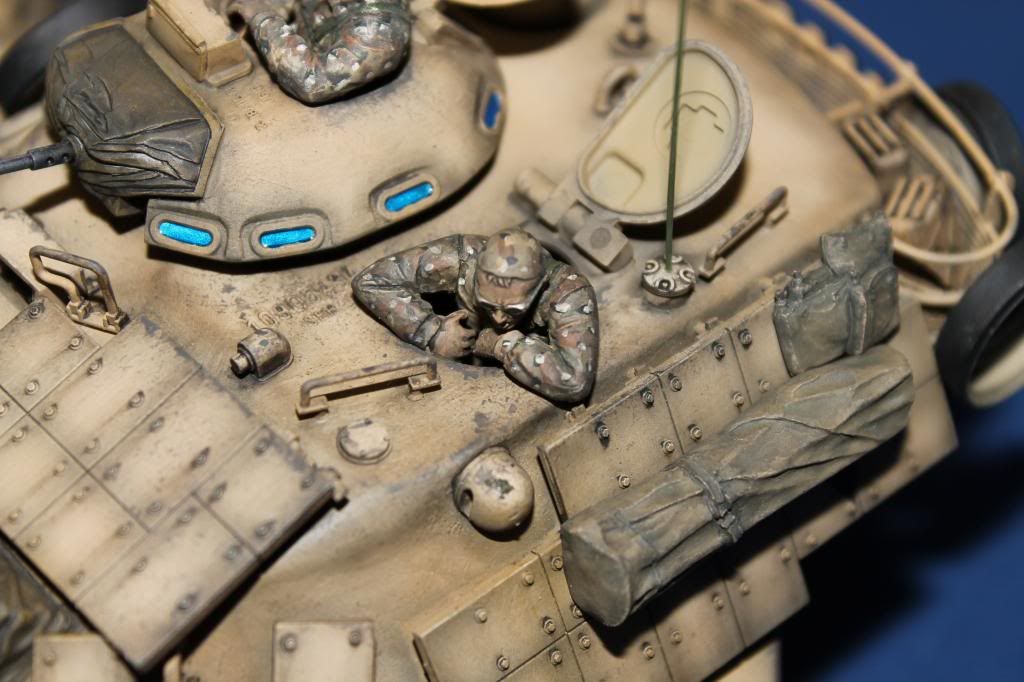
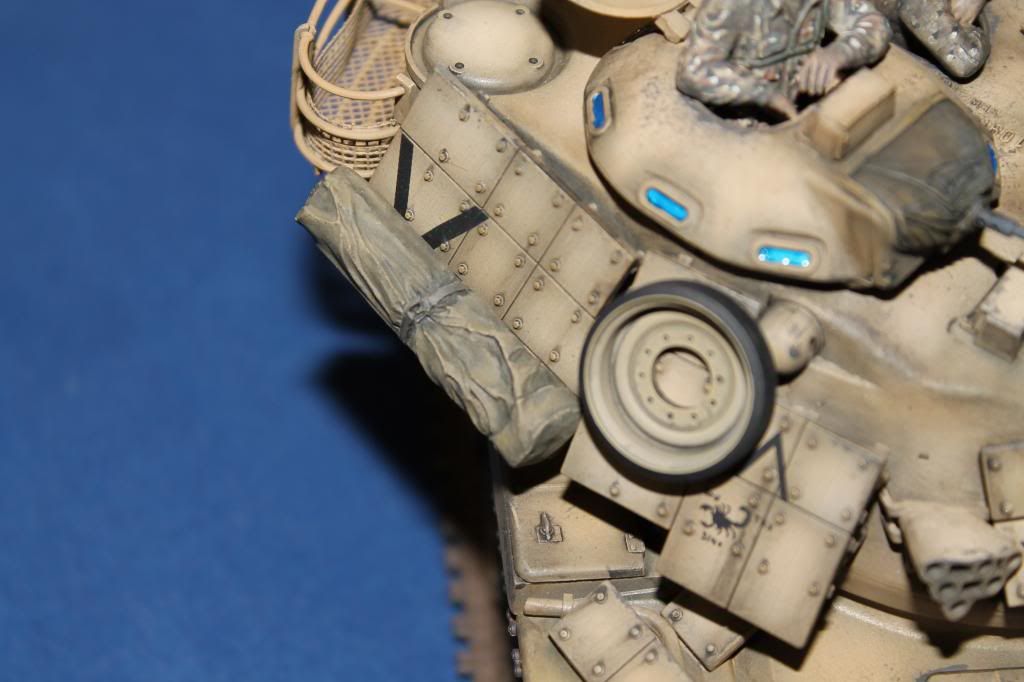
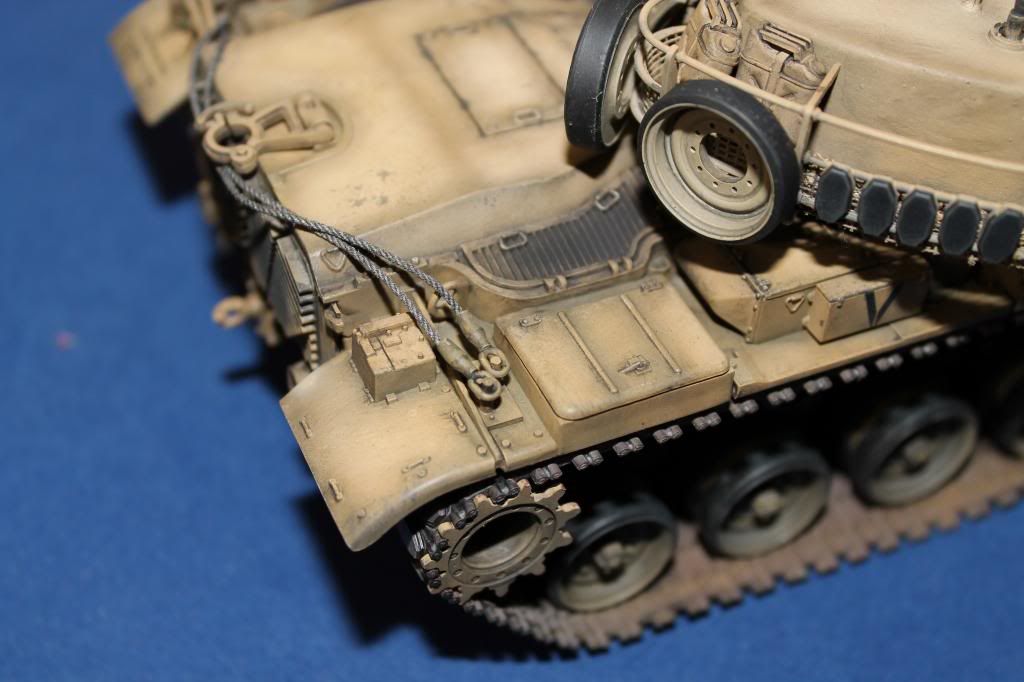
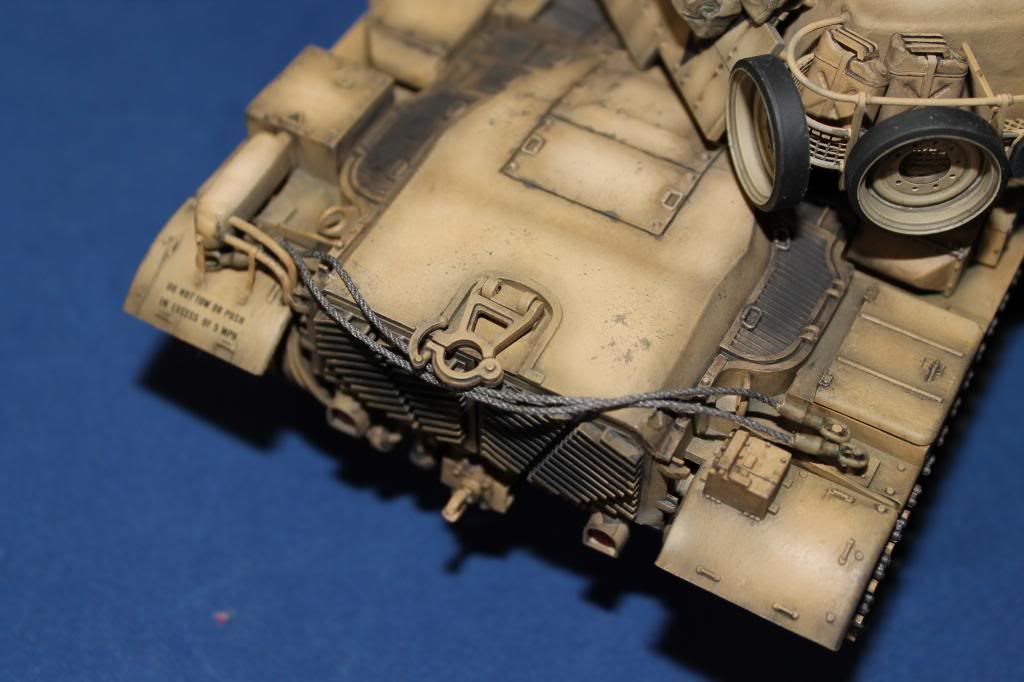
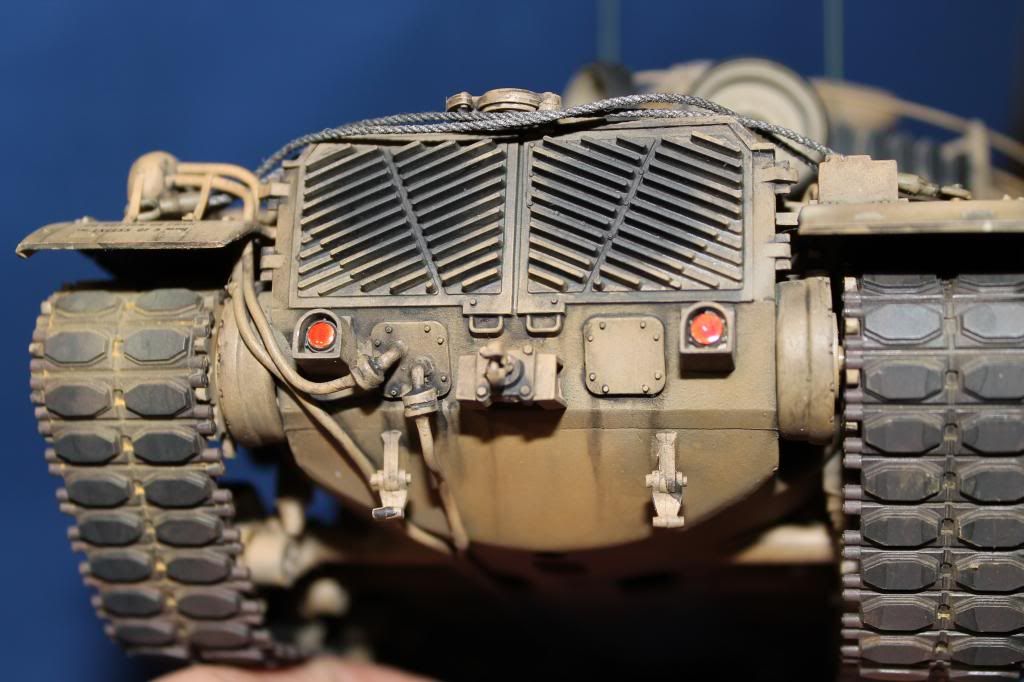
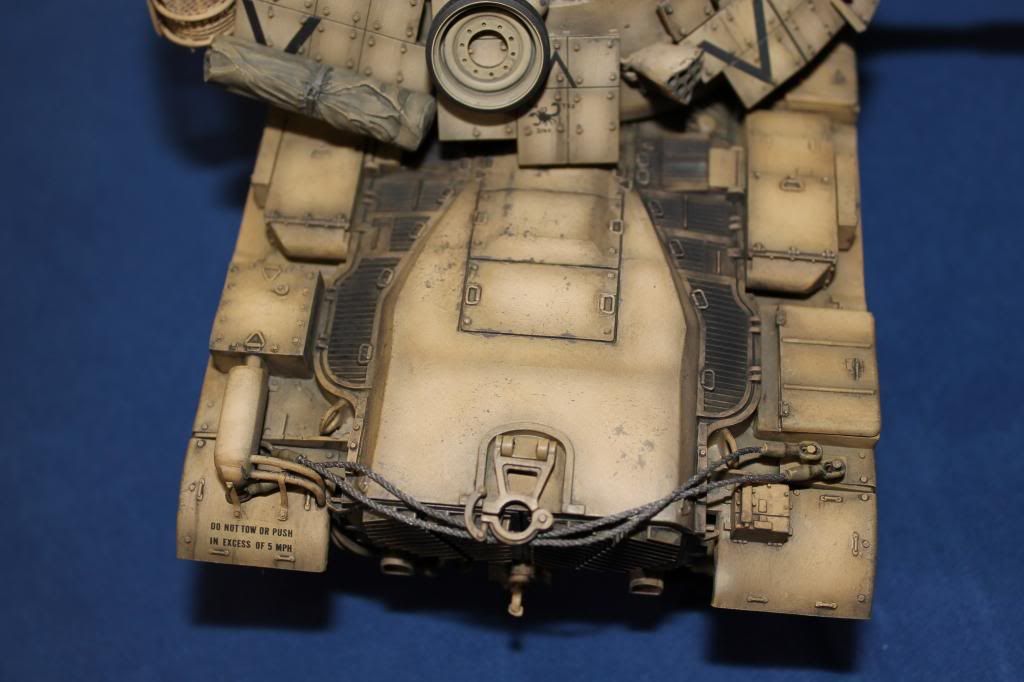
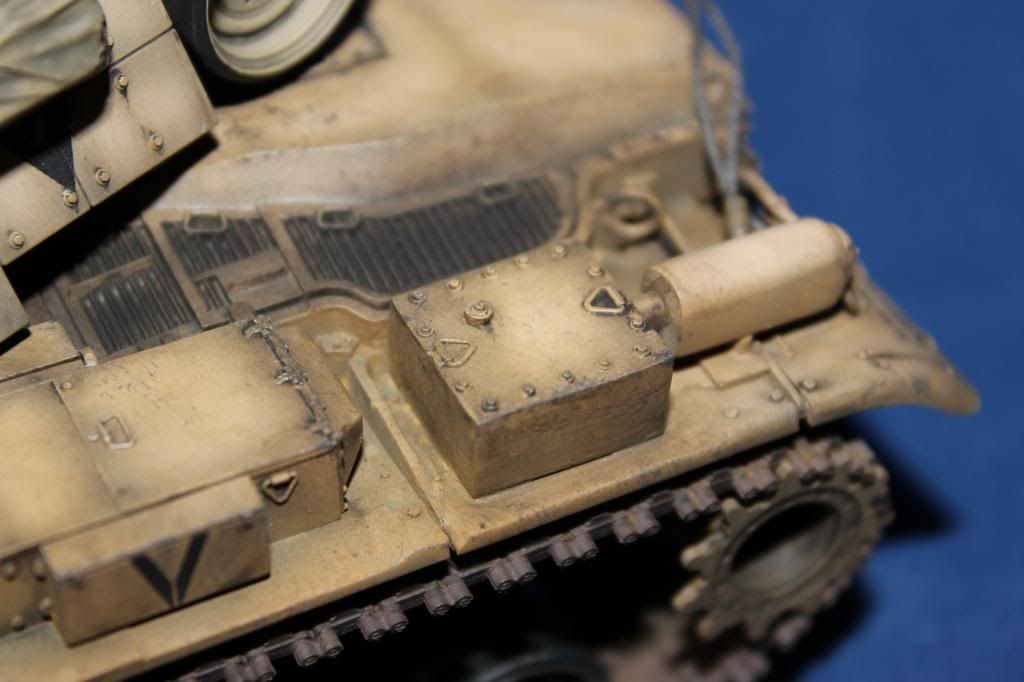
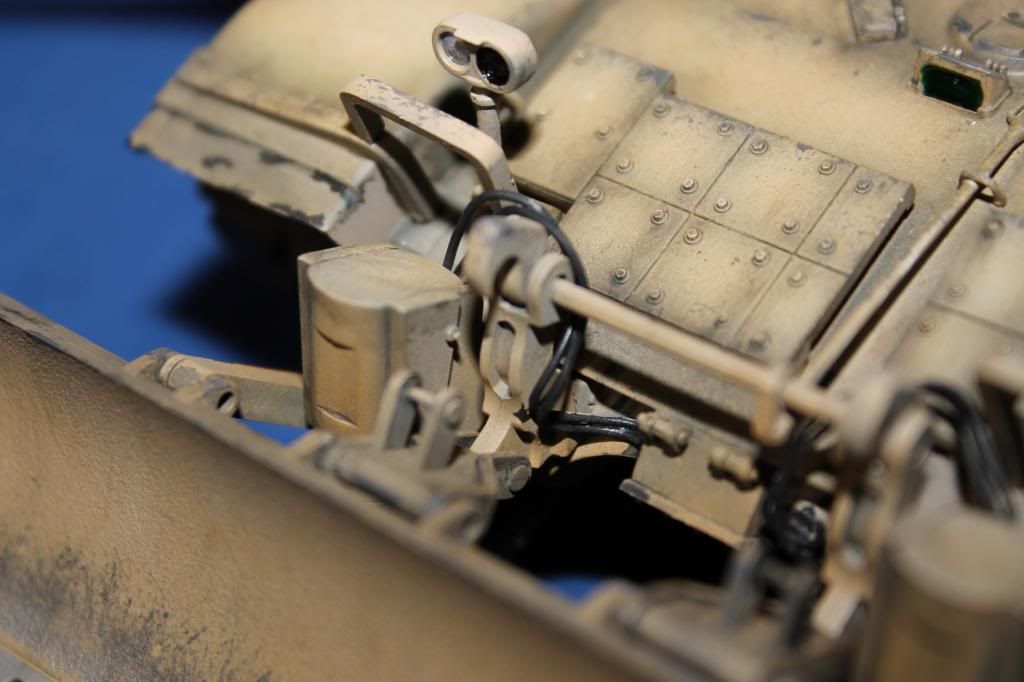
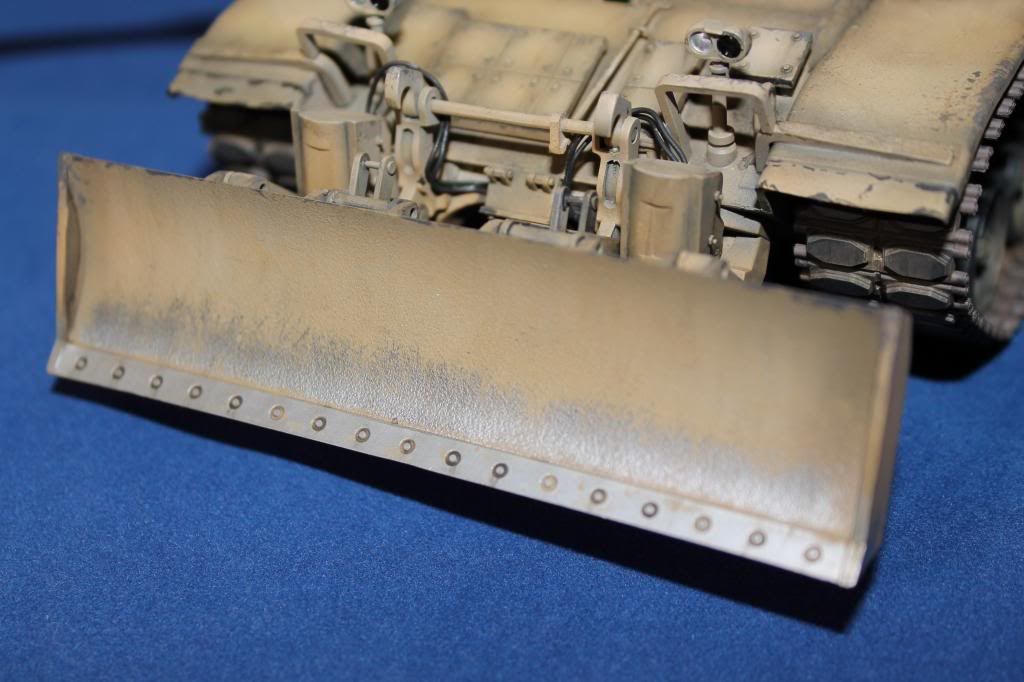
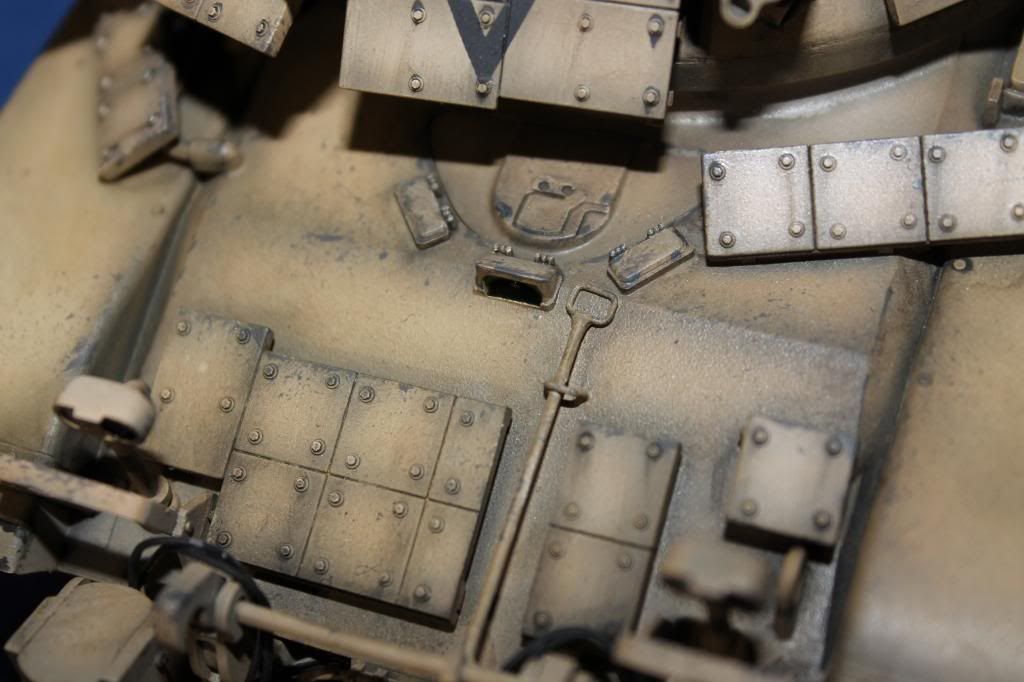
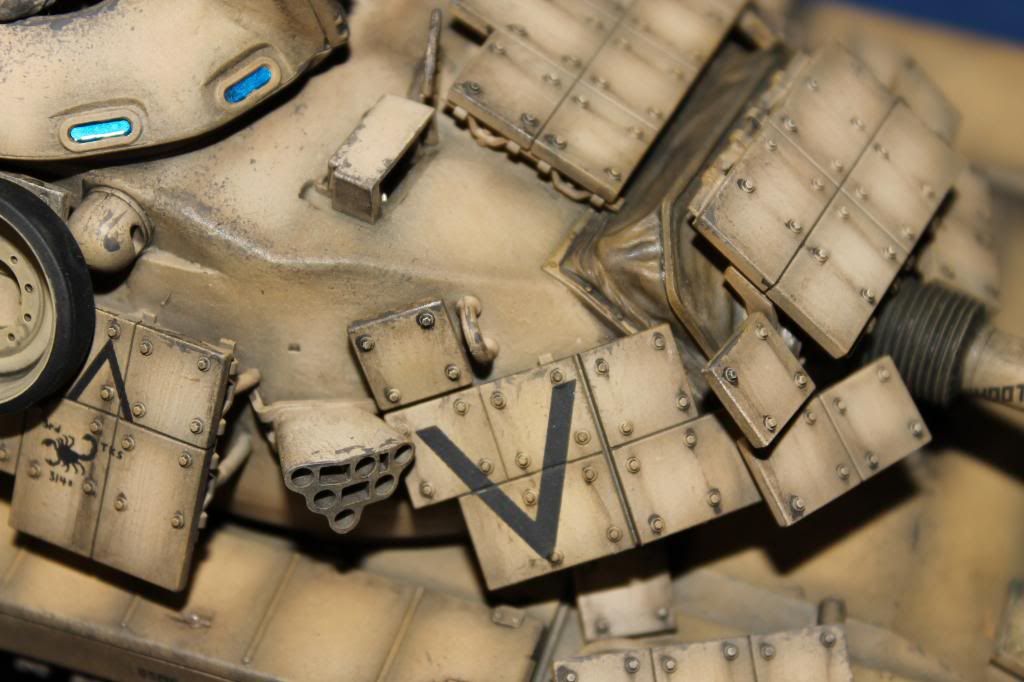
In my quest to push my building skills forward I have undertaken more scratch building in these two tanks. the M60A3 has required scratch work to repair the turret basket after 20 years in the loft being moved form pillar to post. the M60A1 has required significant scratch work to graft the academy dozer blade assembly to the front of the tank as well as adding the missing detail to the rear of the tank mainly the hydraulic, reservoir, pump and piping.
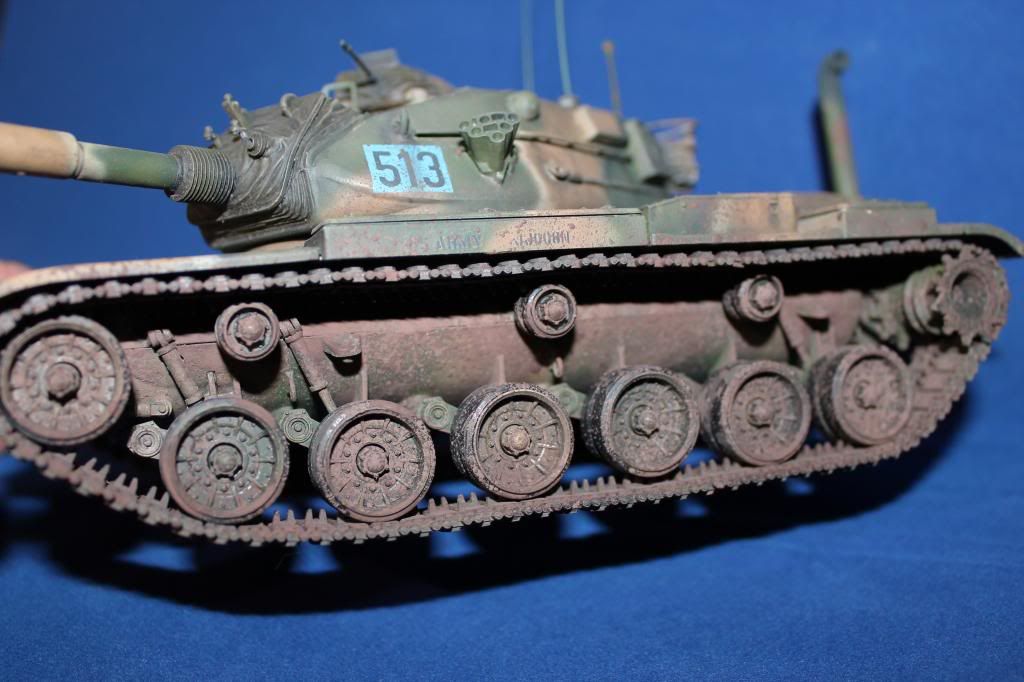
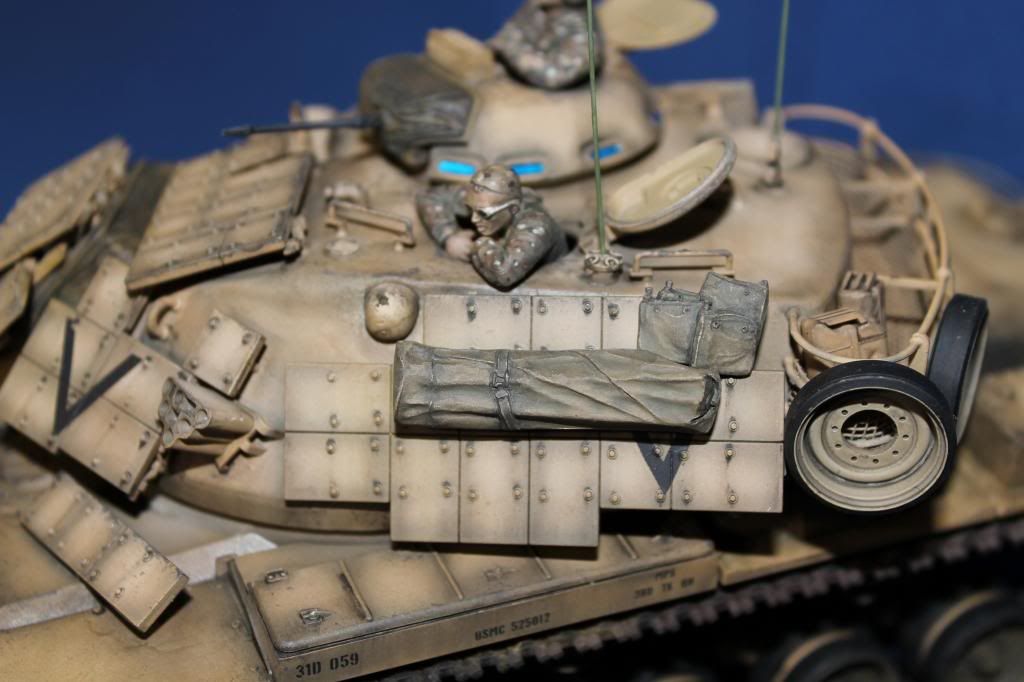
I also used pigments for the weathering process a swell as enamel washes, together with pigment/acrylic mix for the mud spatters on the M60A3.
so on to the usual info;
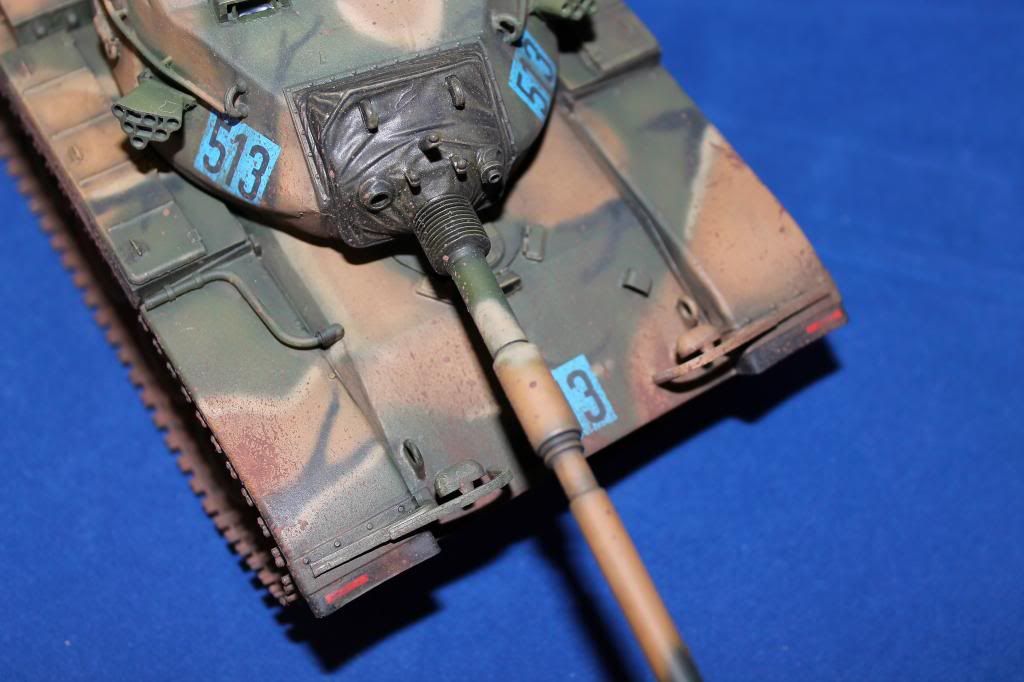
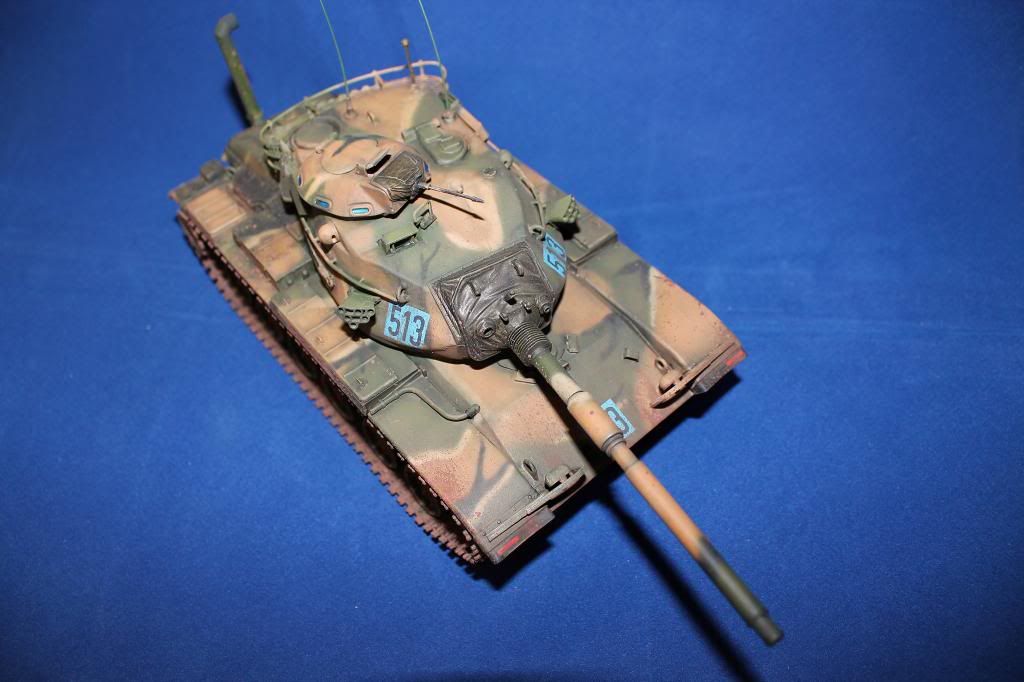
•Kit manufacture: Tamiya
•Scale: 1/35
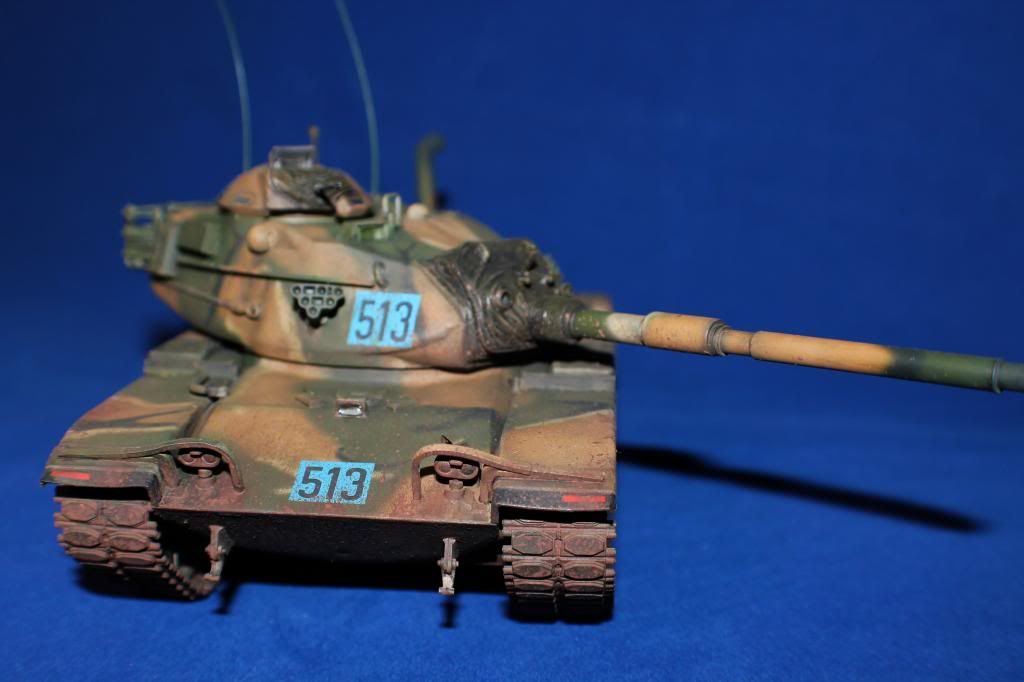
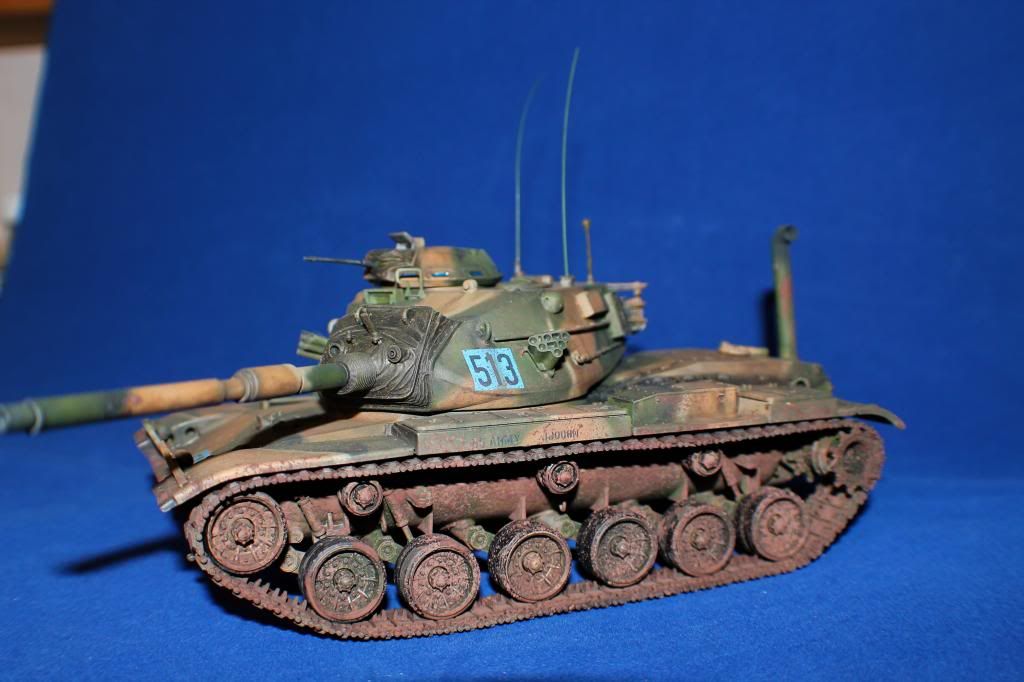
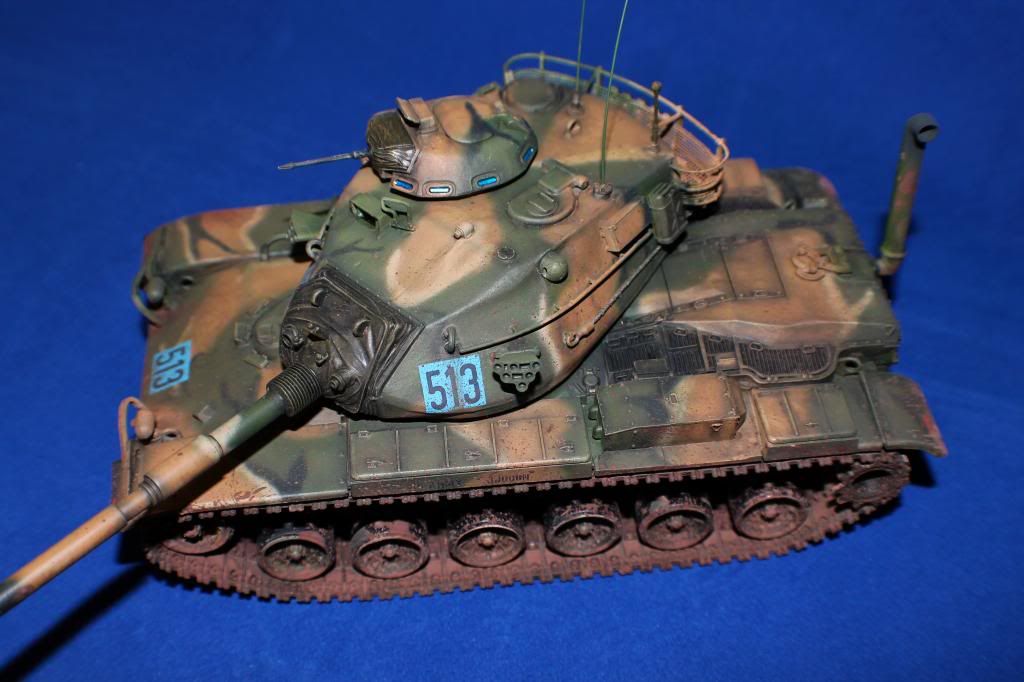
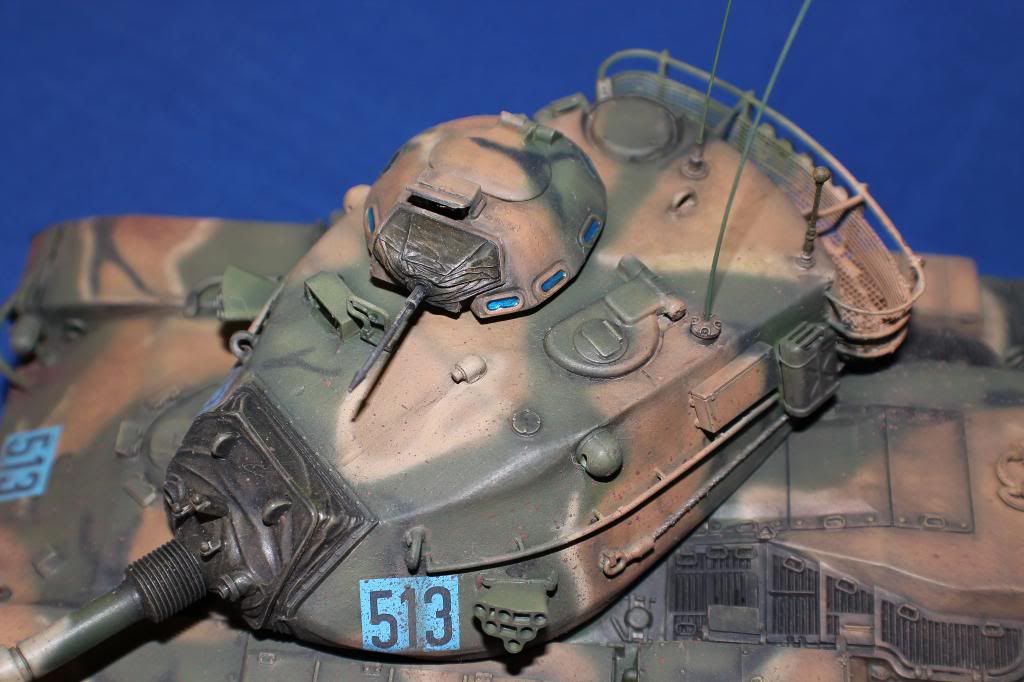
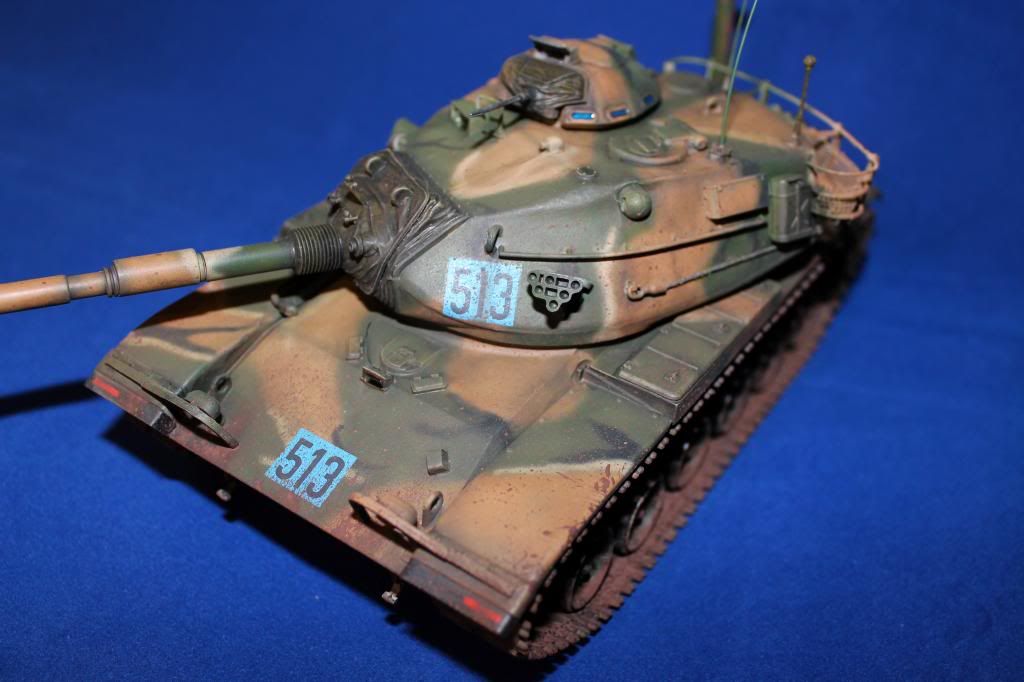
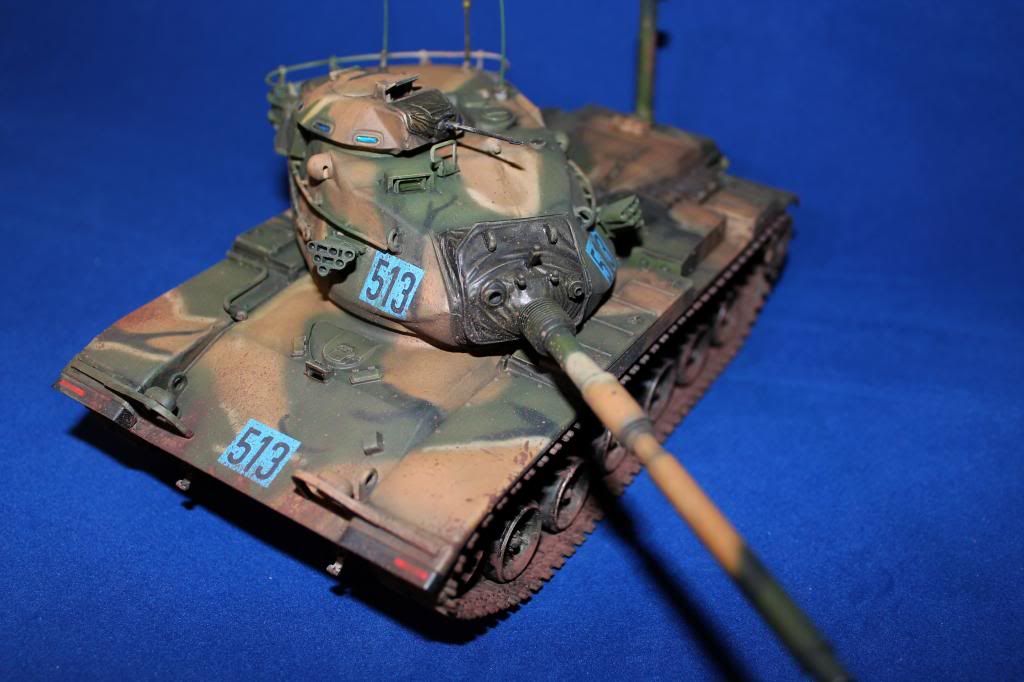
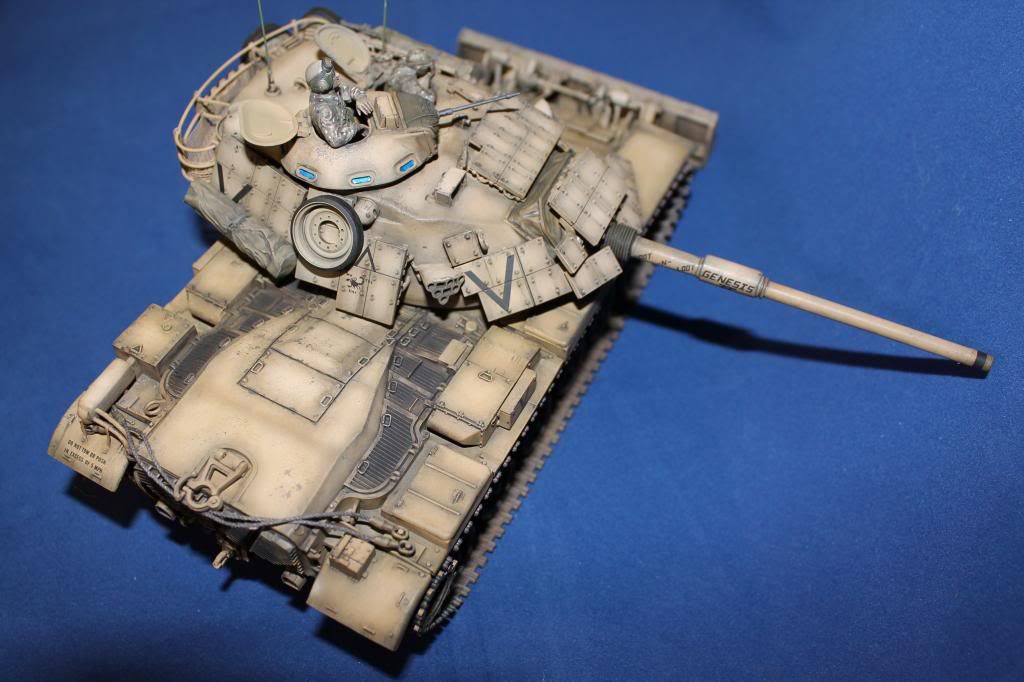
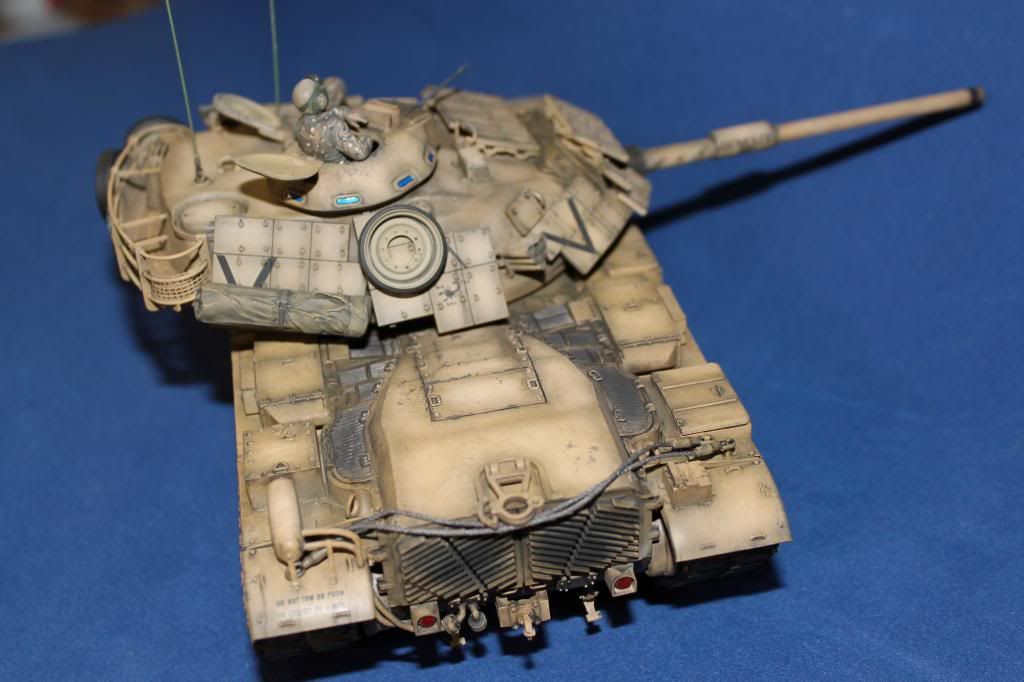
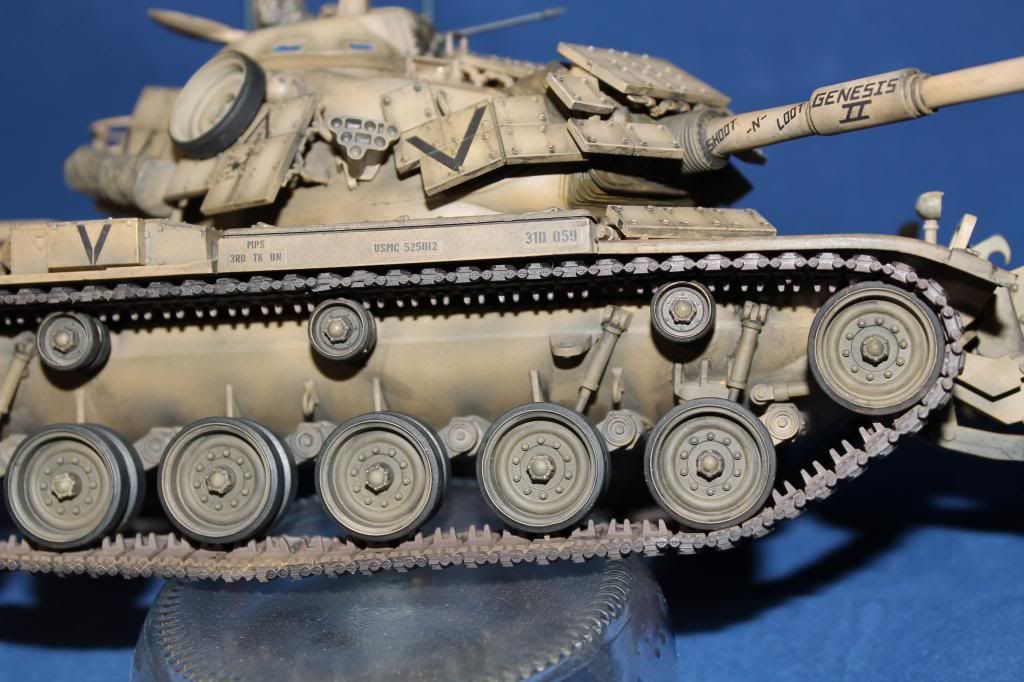
•Type: American M60A3
•Extras used: evergreen styrene for repair works
•Paints and colours used: Tamiya Acrylic's mixed as per instructions and free hand sprayed, plus enamel turpentine wash
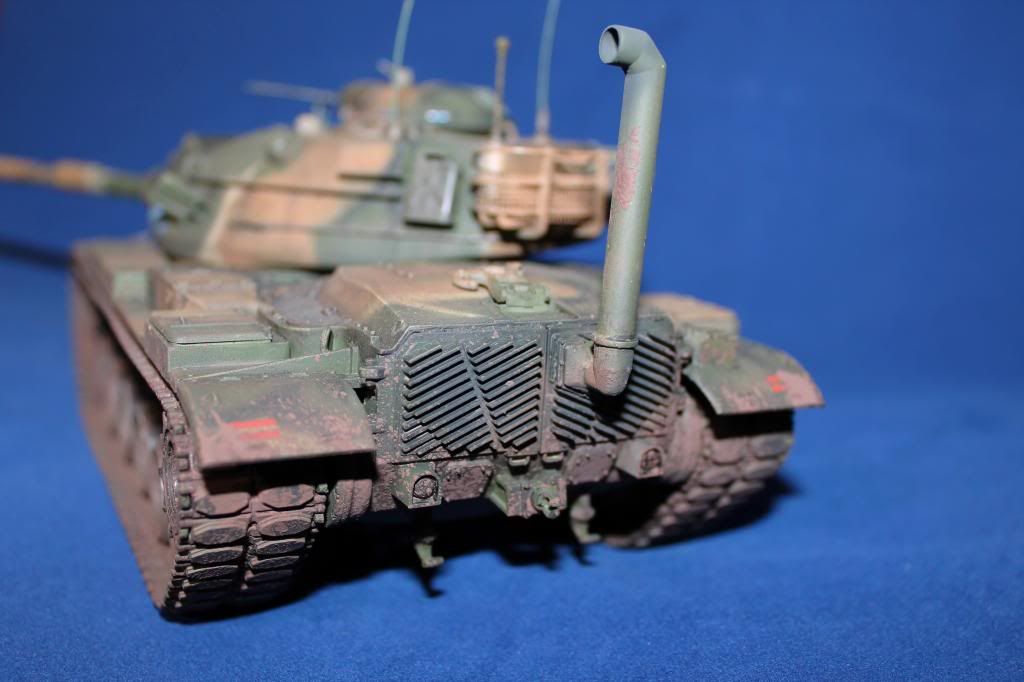
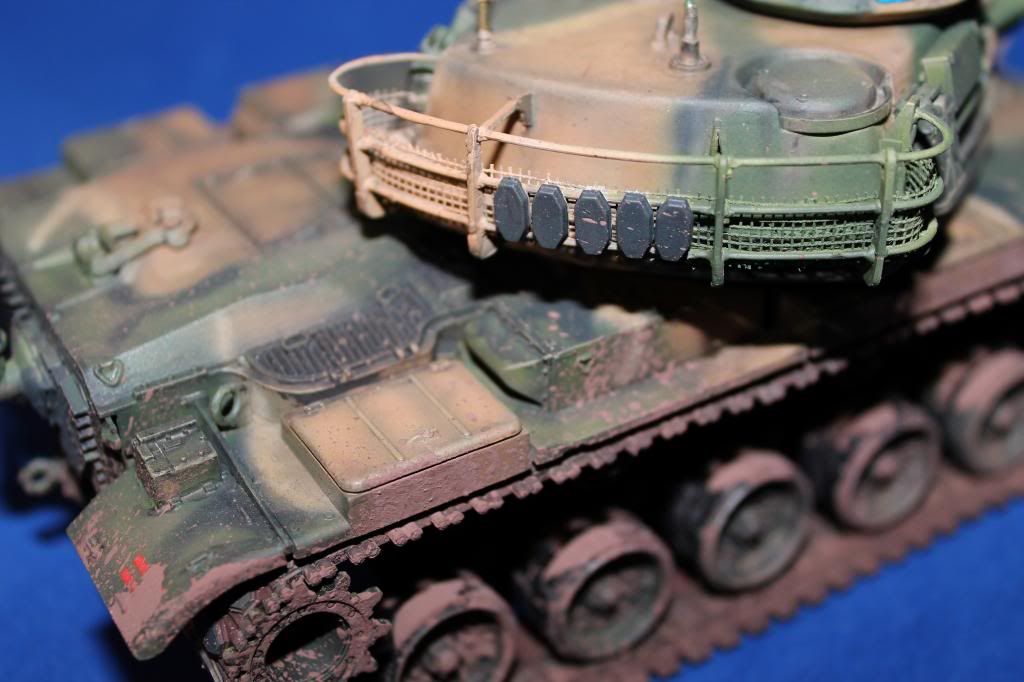
Then we have the M60a1+Dozer Blade.
•Kit manufacture: Tamiya/Academy
•Scale: 1/35
•Type: American M60A1+Dozer
•Extras used: Evergreen Styrene, lead wire, lead solder.
•Paints and colours used: Tamiya Acrylic's mixed as per instructions, plus enamel turpentine wash
First a couple of picture of the finished scratch work before paint, most of the parts used were from the spares box, plus super glue and filler. I must say that the extra detail was only possible as I found a build thread on another form where the builder gave detail of how they sourced the parts and showed detail images of the construction, this I must admit gave me the impetus to get on a do this build.

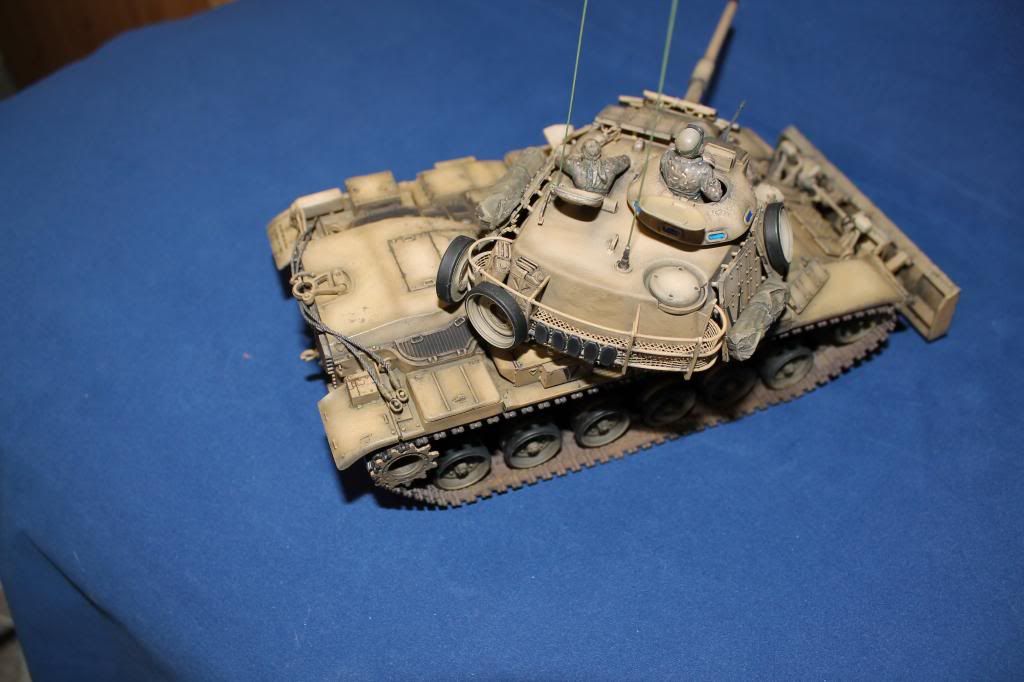
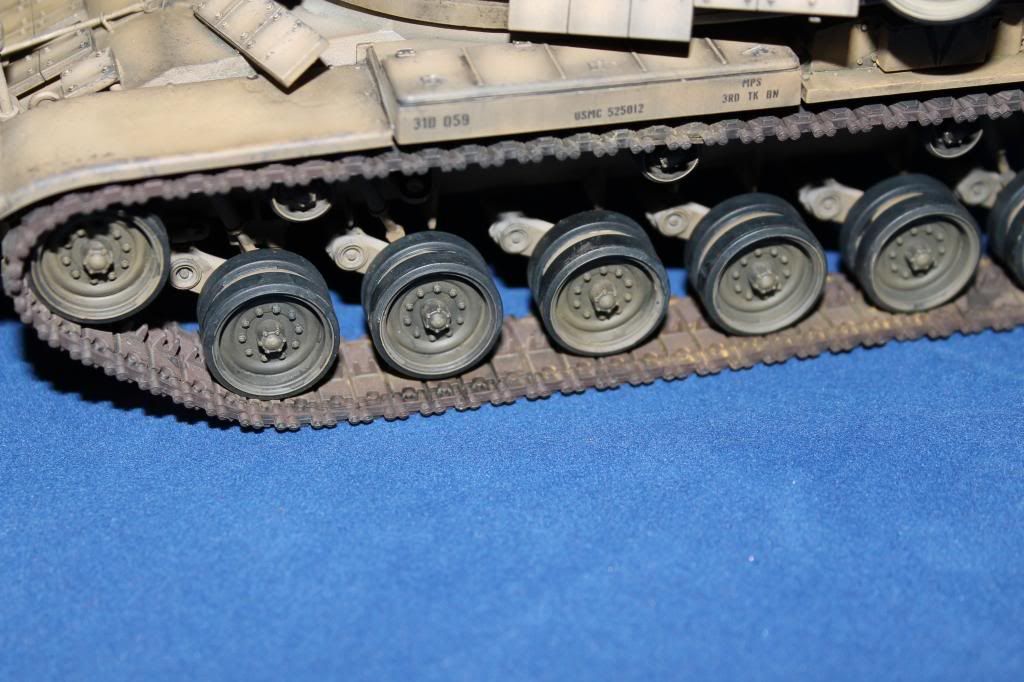
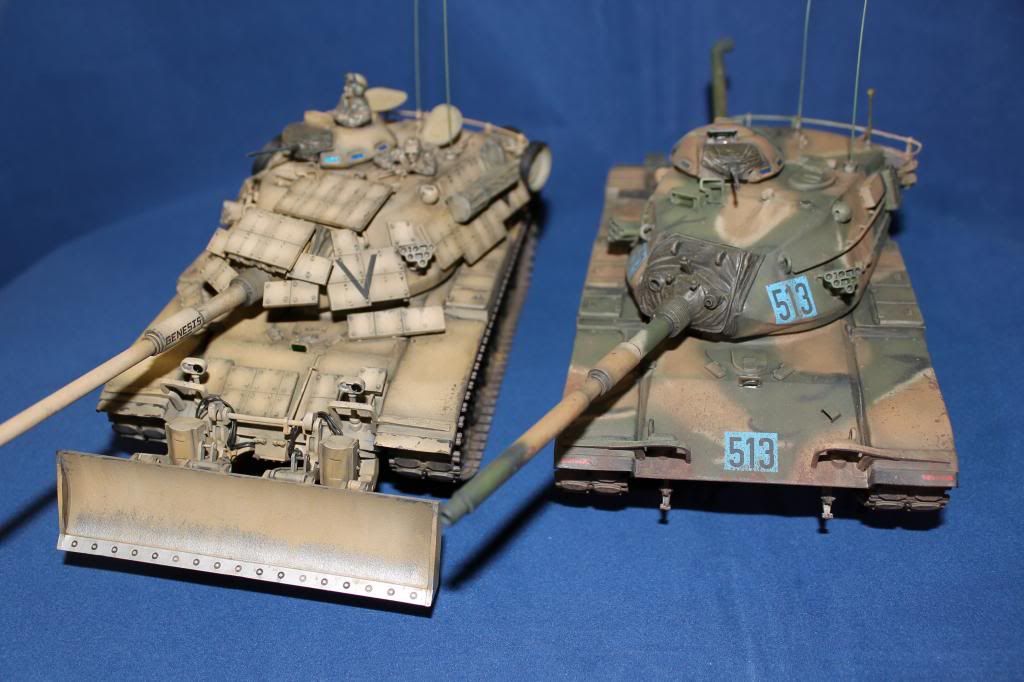
Now onto the finished tank
[img/]http://i1178.photobucket.com/albums/x36 ... f95b5a.jpg[/img]


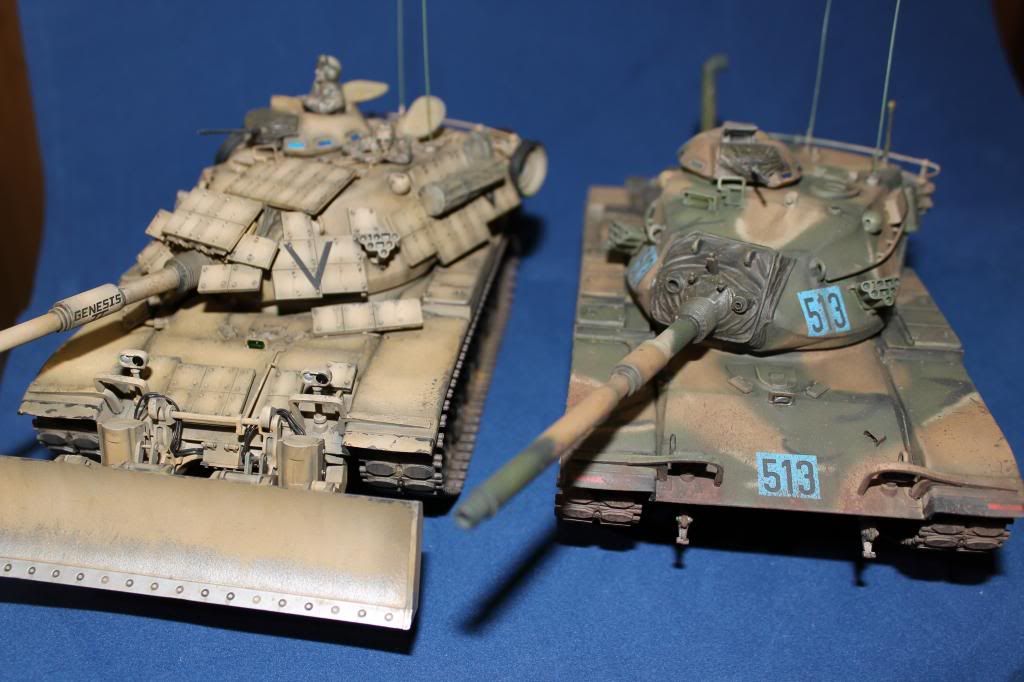
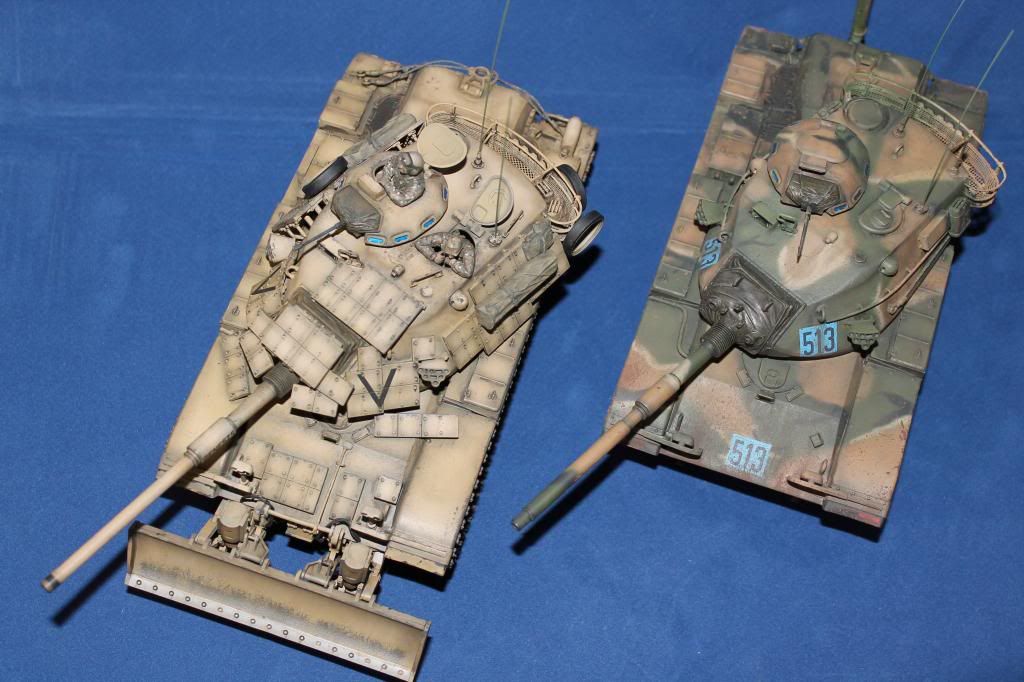
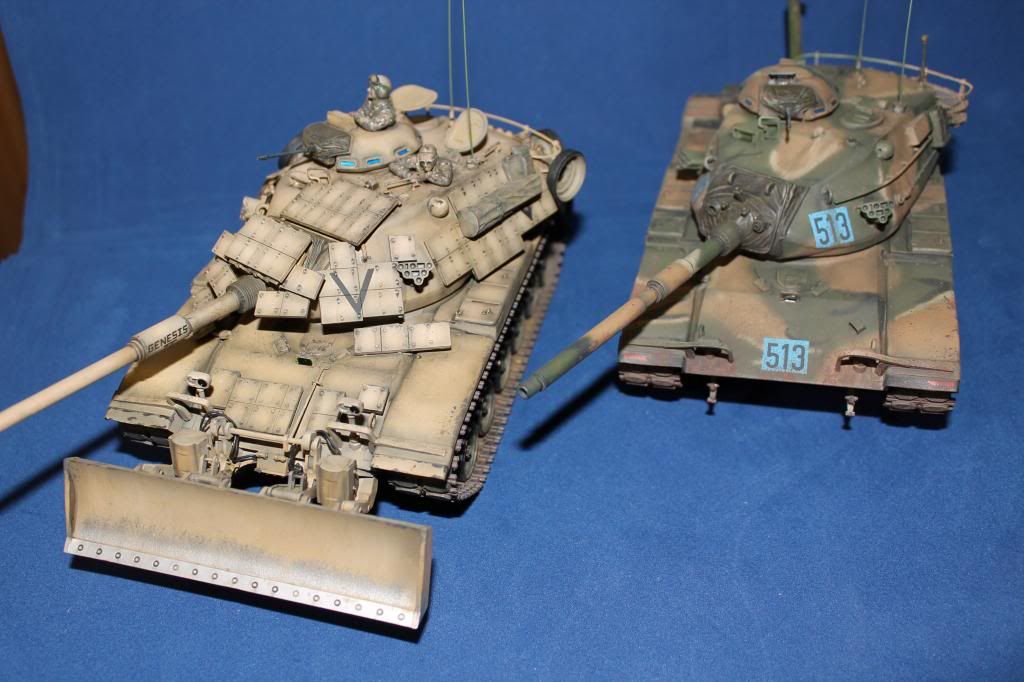
And then the two together
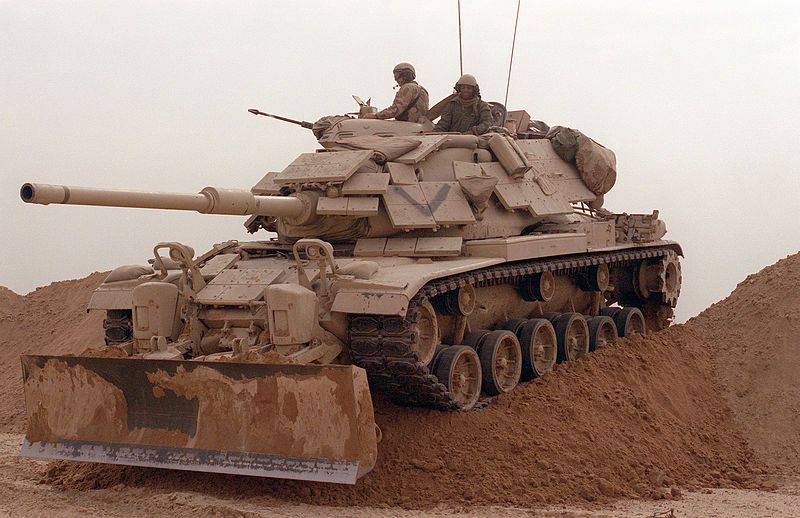
As a side from the completed models here's a picture from Wikipedia of the real thing fresh in to action.
So there they are, great fun to build great fun to weather, As always comments and critique welcome. till next happy modelling.


