Update 1
First off, I wont be posting a write up of the history of the Corsair, because Nige and others have done such a fantastic job, I don't feel I could add anything of value that has not already been stated. So thanks guys for taking the time and doing such a great job


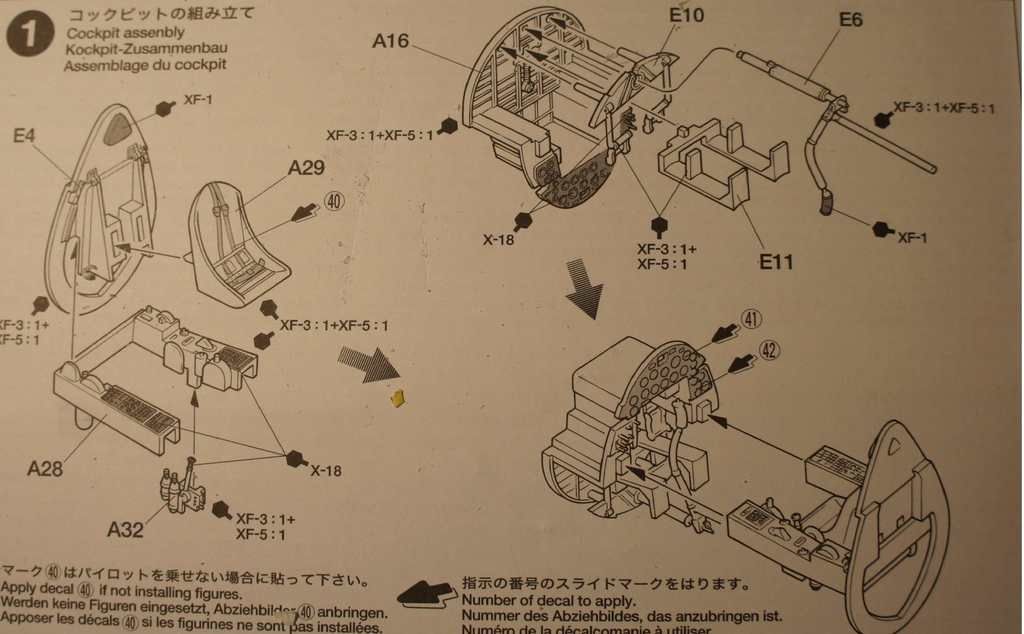
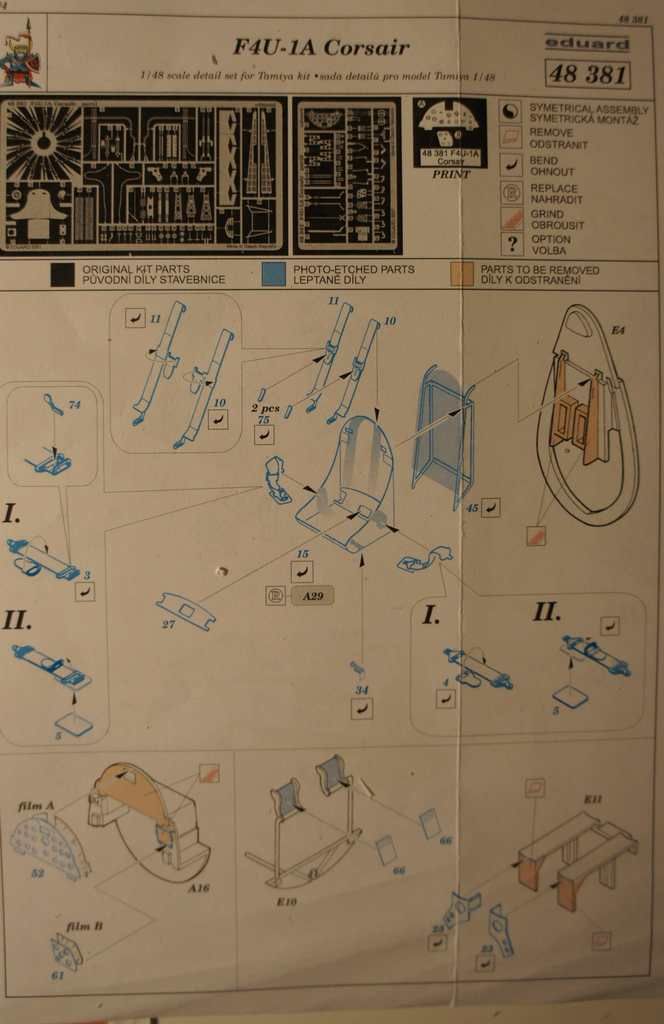
My instructions call for the cockpit to be completed first as per usual. The Tamiya cockpit is well detailed on its own but the additional Eduard PE really makes it stand out.
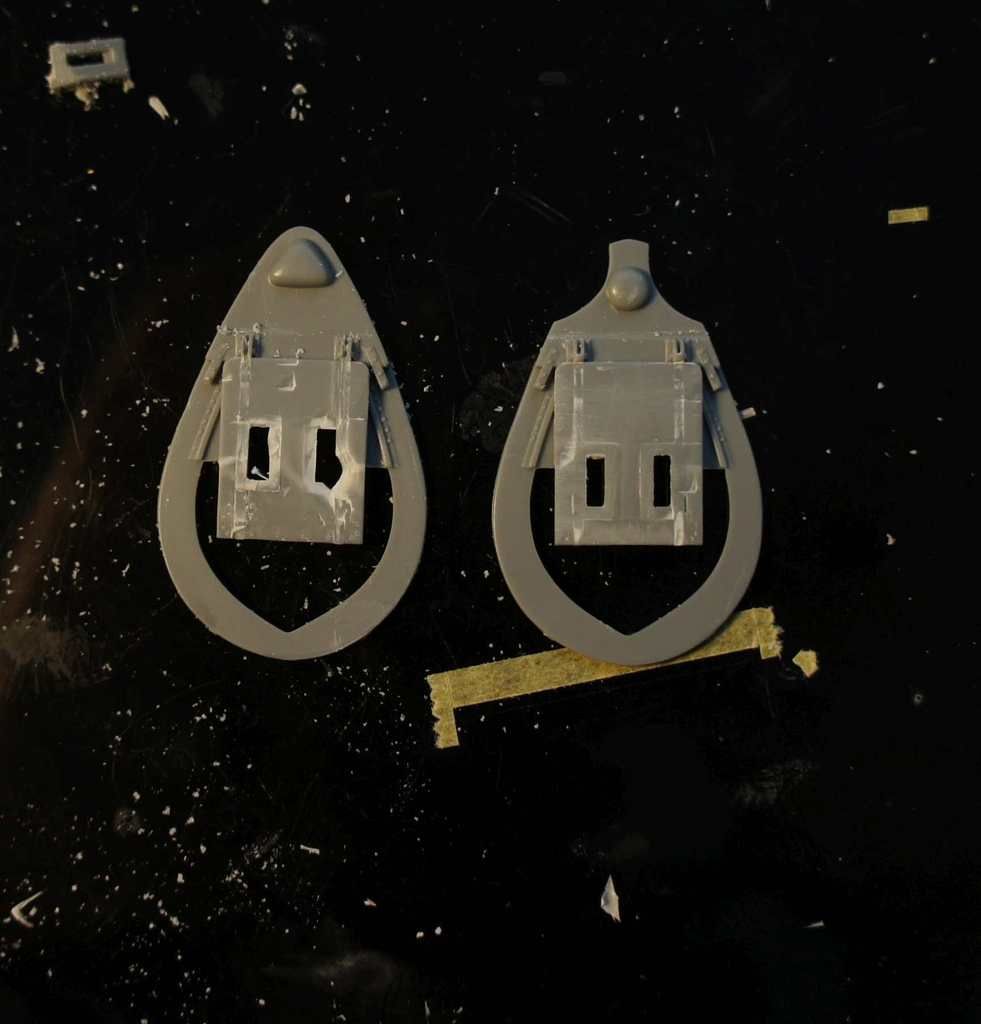
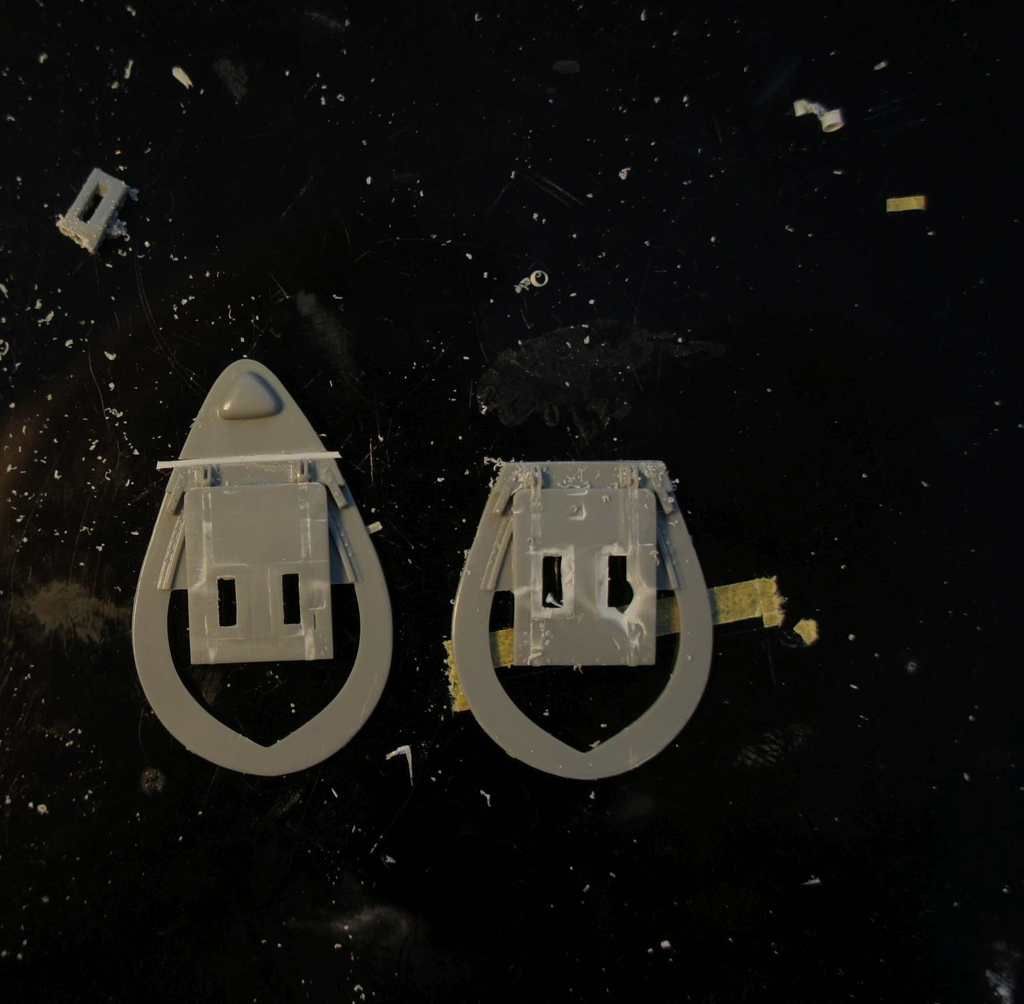
I started by removing the supporting frame for the seat on the rear bulkhead and things went badly almost immediately. Using my trusty Olfa blade I accidentally cut way too deep into the bulkhead. Thankfully, this kit includes a second bulkhead from a different variant. The headrest and upper frame do not match but for the most part it is the same. I, therefore, removed the mounting point much much more carefully this time. The result was much better and I was then able to graft the correct upper bulkhead from the original piece onto the new one. I cut the bulkhead with a tamiya saw but was concerned that the blade might be too wide causing fit issues down the line. So I glued a piece of styrene between the main body of the bulkhead and the headrest, thus (hopefully) ensuring correct fit.
The two bulkheads side by side:
And the completed piece here:
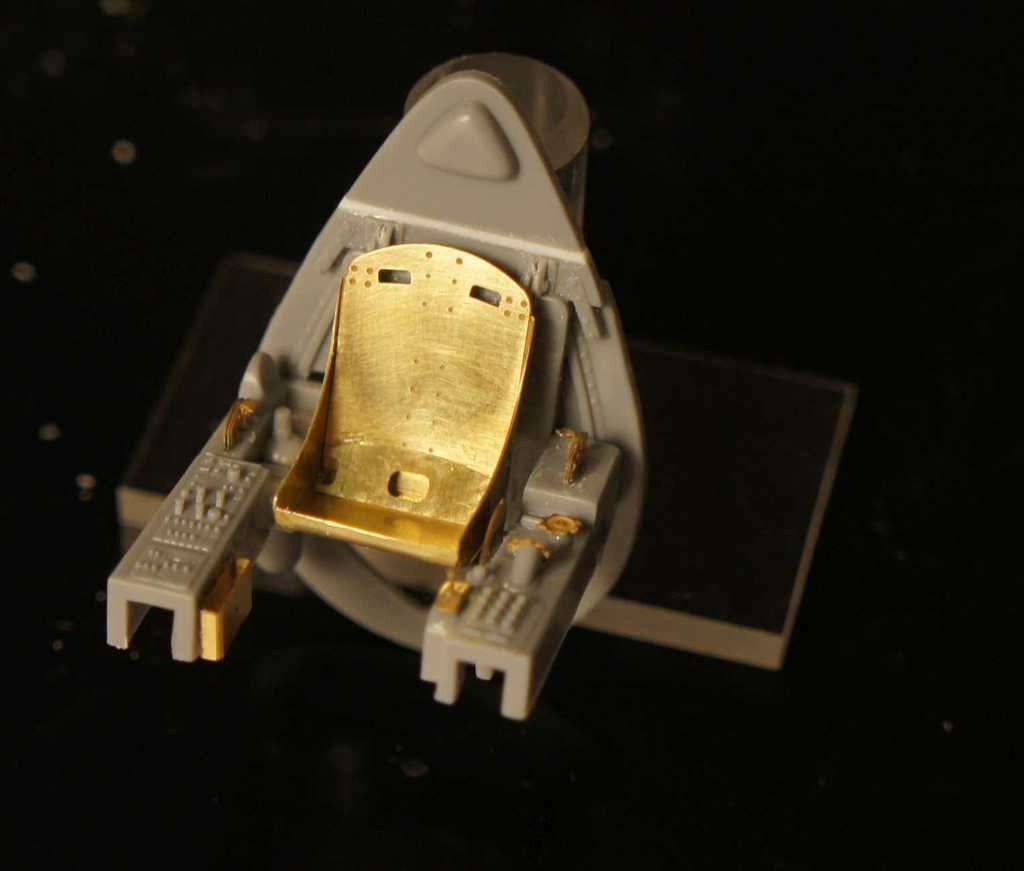
With this disaster hopefully averted, I moved on to some more fiddly PE on the controls as well as the replacement seat. I think the seat does look much better than the original kit one. Looking at the completed bulkhead I realized I could as well have kept the original piece even with the cut in it... Oh well.
Here the completed rear bulkhead including seat bracket, seat and side consoles:
Next up were the main instrument panel and pedals and footrests. Here Eduard provides a replacement panel, which means that the instruments must be filed off the kit part before attaching the PE version. The PE version is much nicer again, especially with the lovely little detail around the dials. The instrument faces are to on as separate black piece of paper which is to be glued in between the PE and the kit part. I left these off for now until the part is painted, at which point they will be put in place with a bit of superglue.

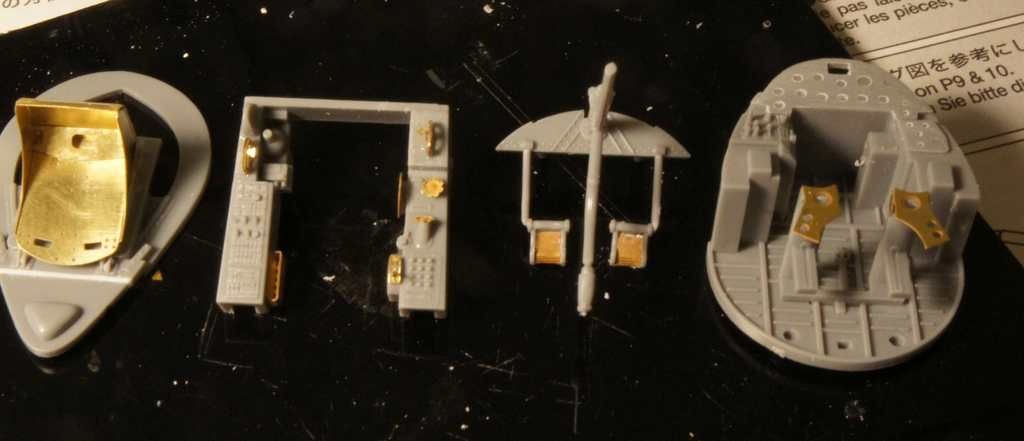
And finally all the pieces ready for painting:
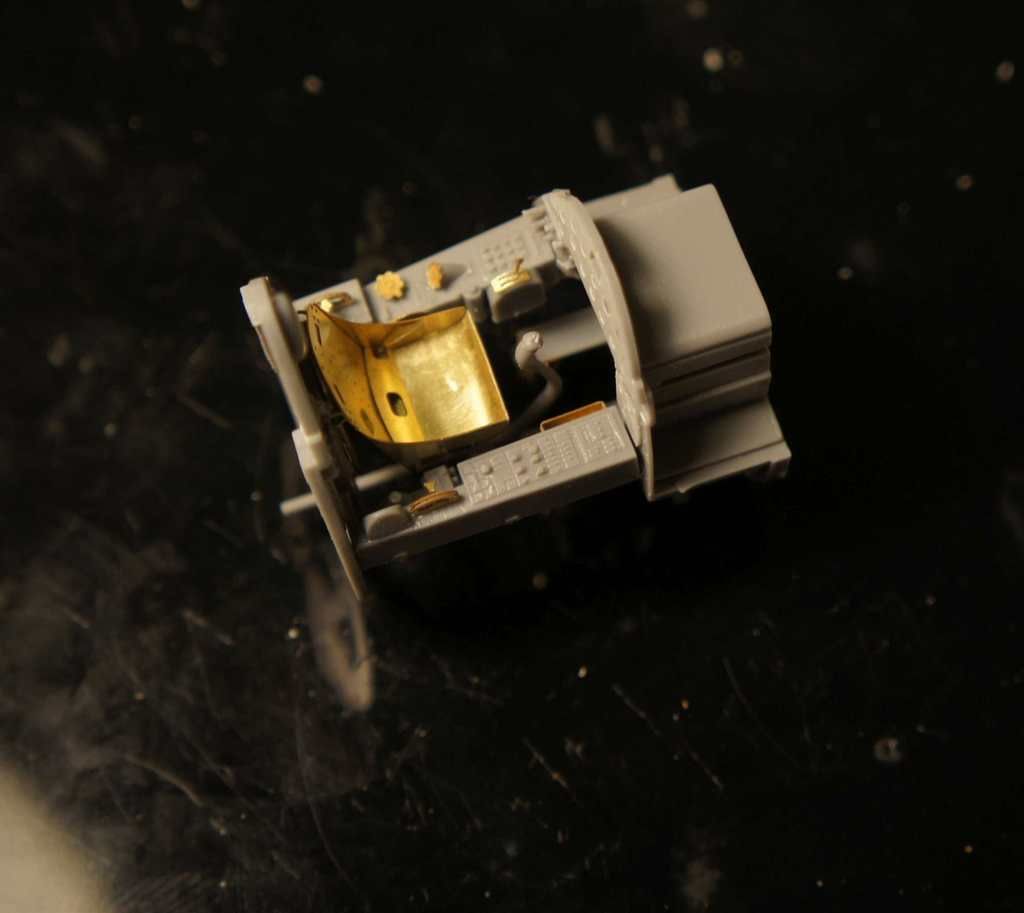
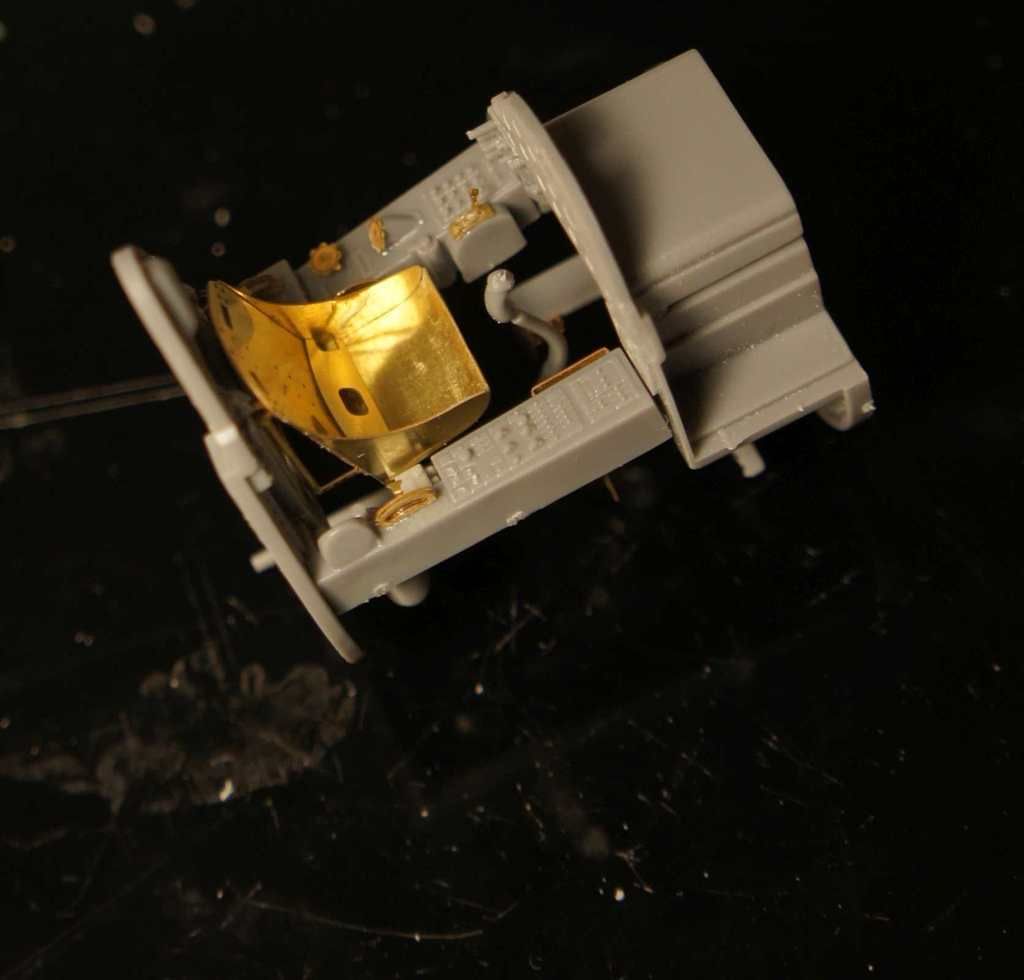
Test fit:
So after one near disaster that's it for update no. 1. I have to say I am really enjoying this kit so far and I am glad I opted for the PE, it does add another dimension of detail esp. around the cockpit area. We will see if this hopefully extends to the rest of the build. I am planning to get started on the engine next before moving over to the spay area with both sub-assemblies.
Thanks for watching!!!


