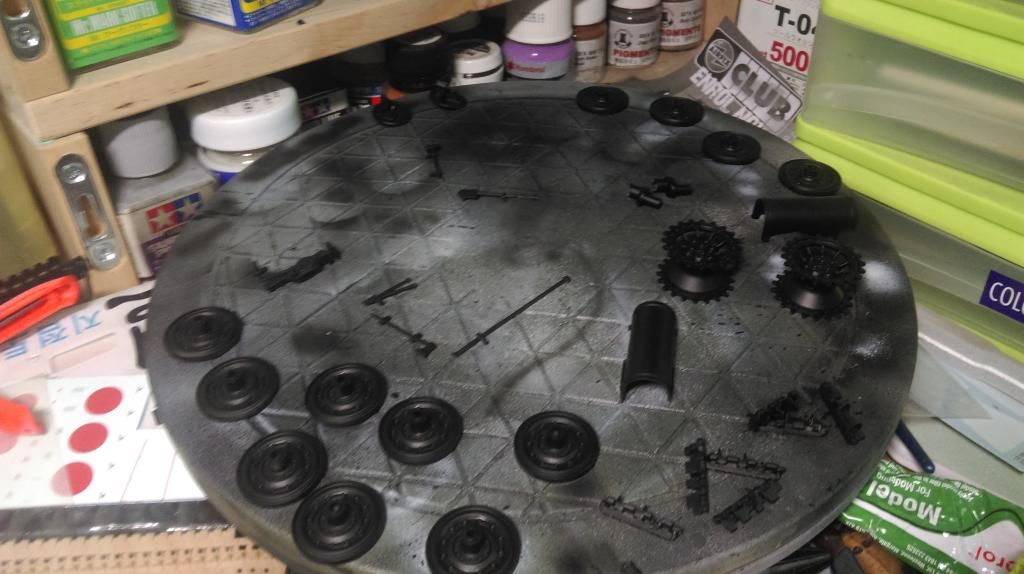
I've already did some progress on it will upload the photos later.


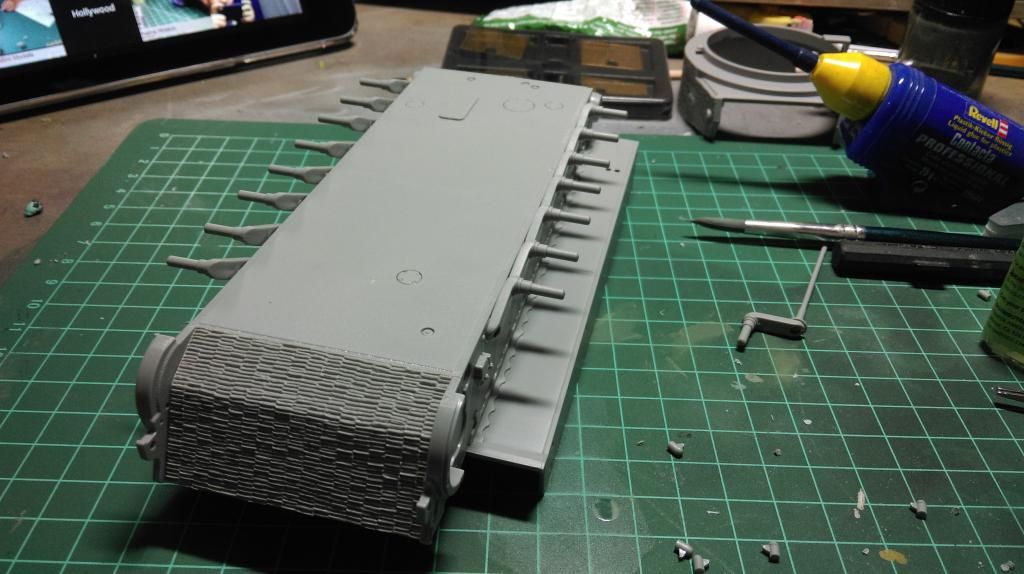
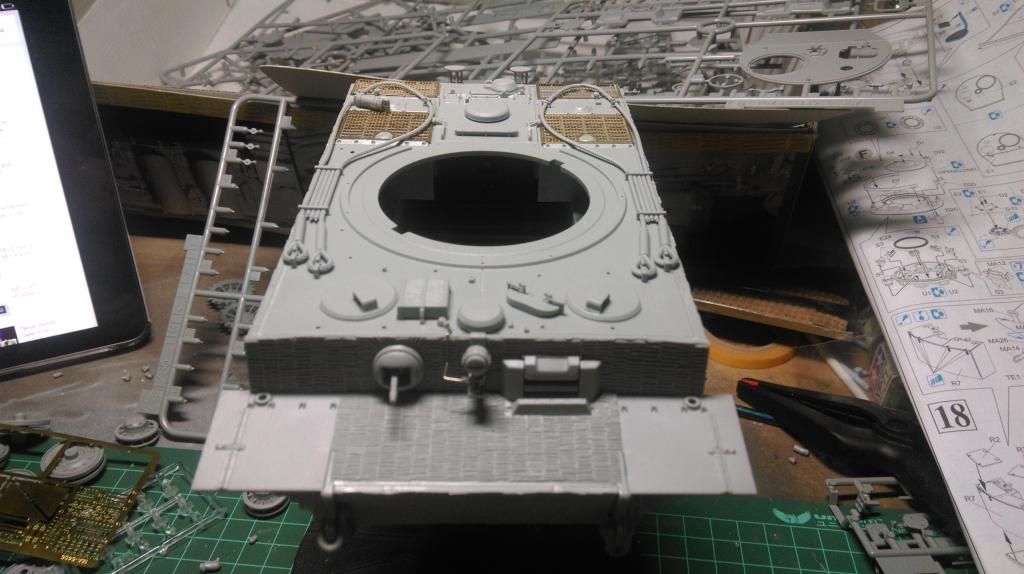
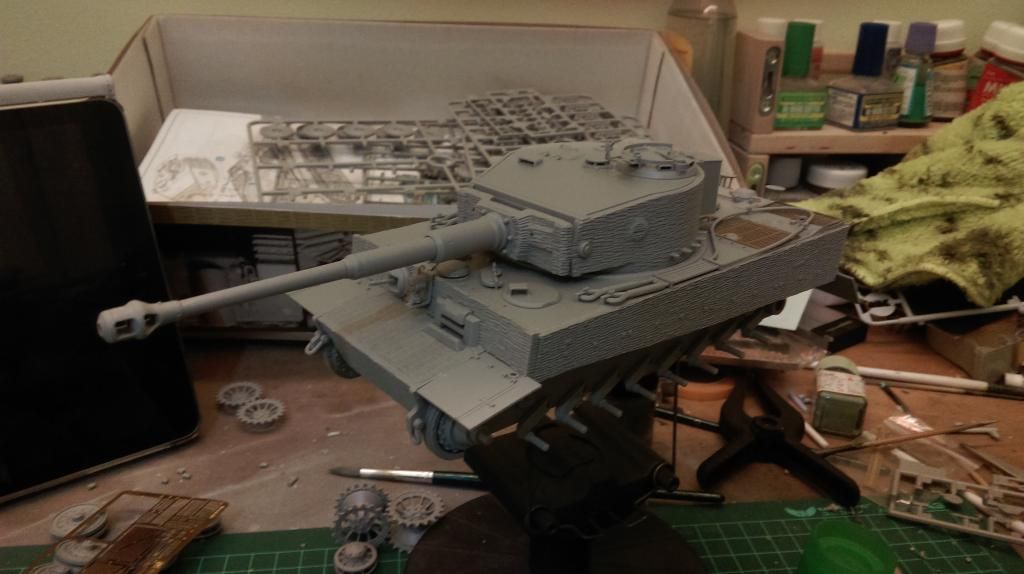
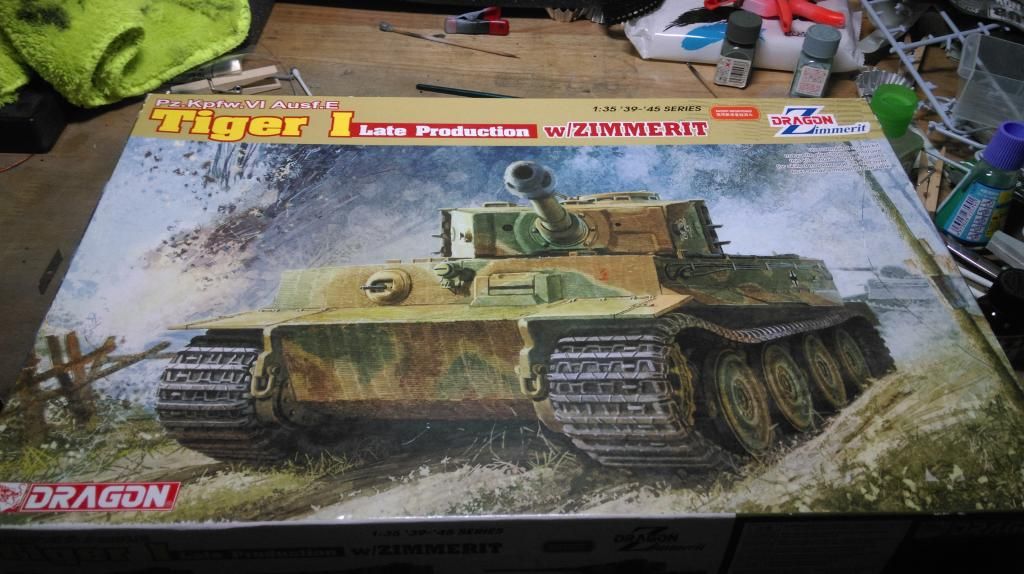
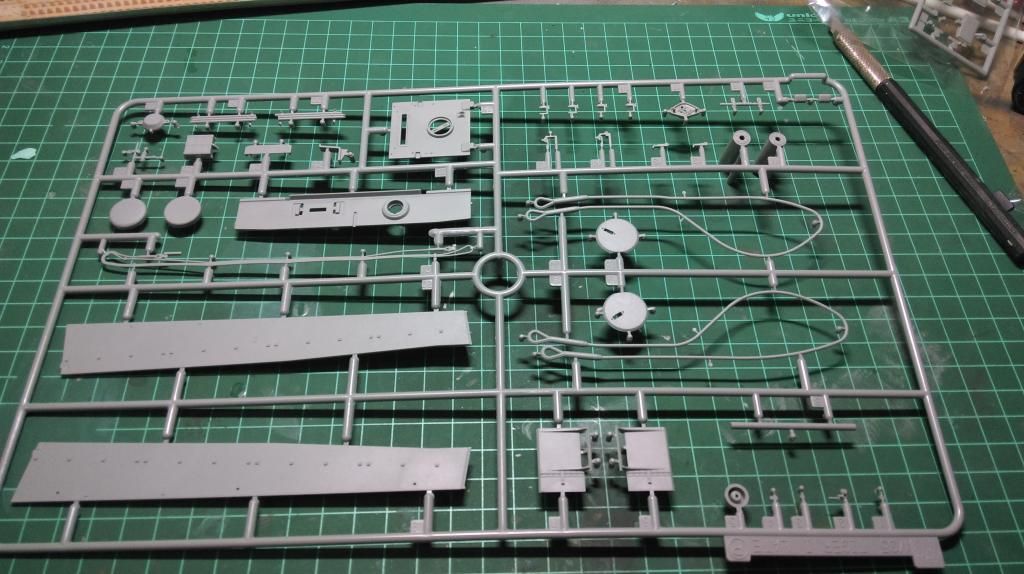
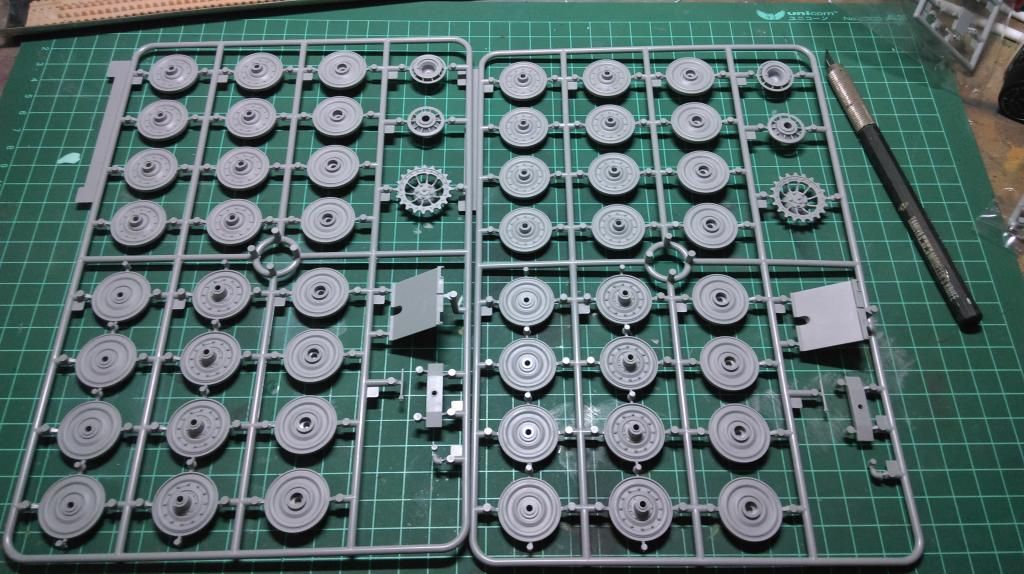
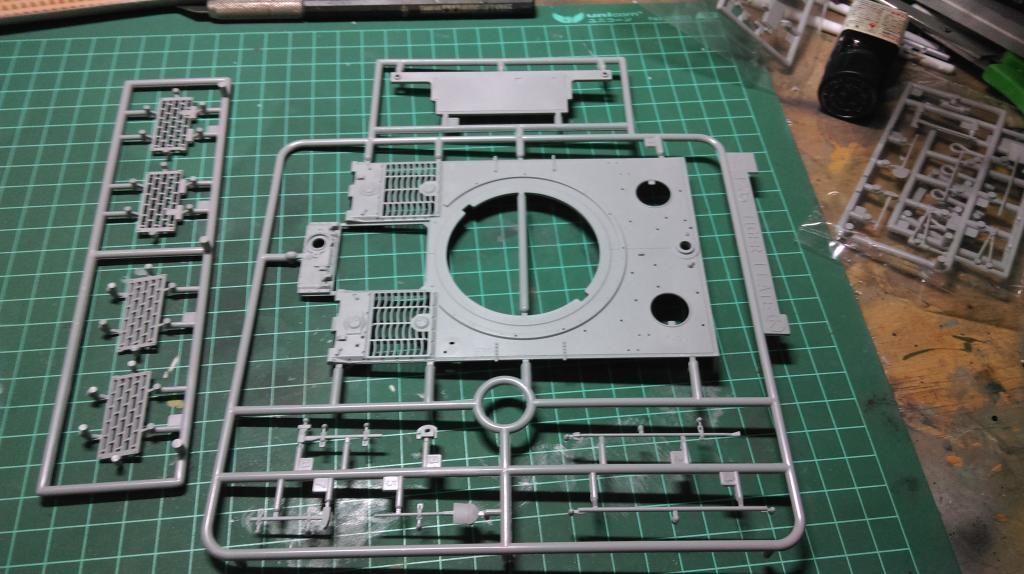
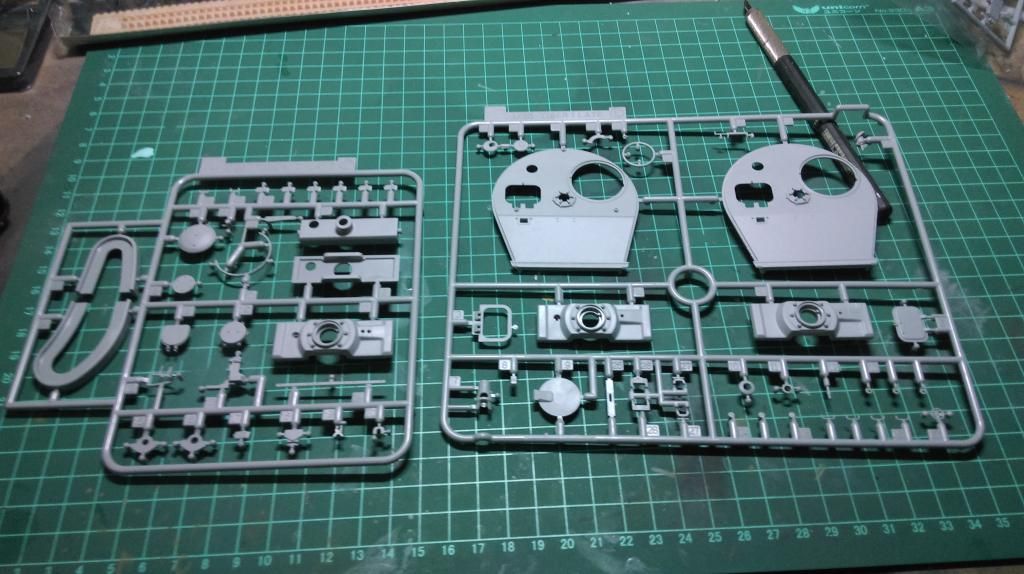
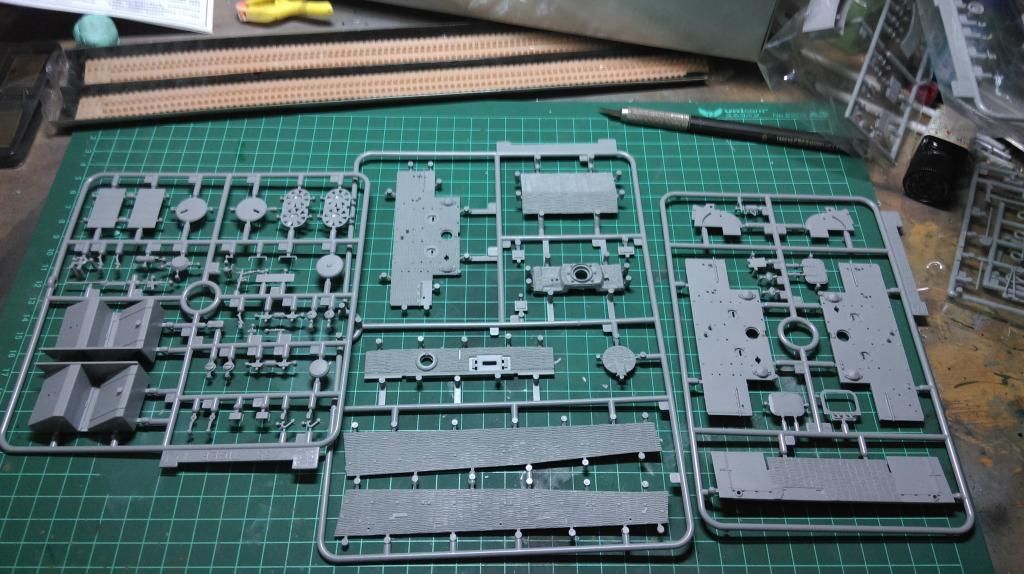
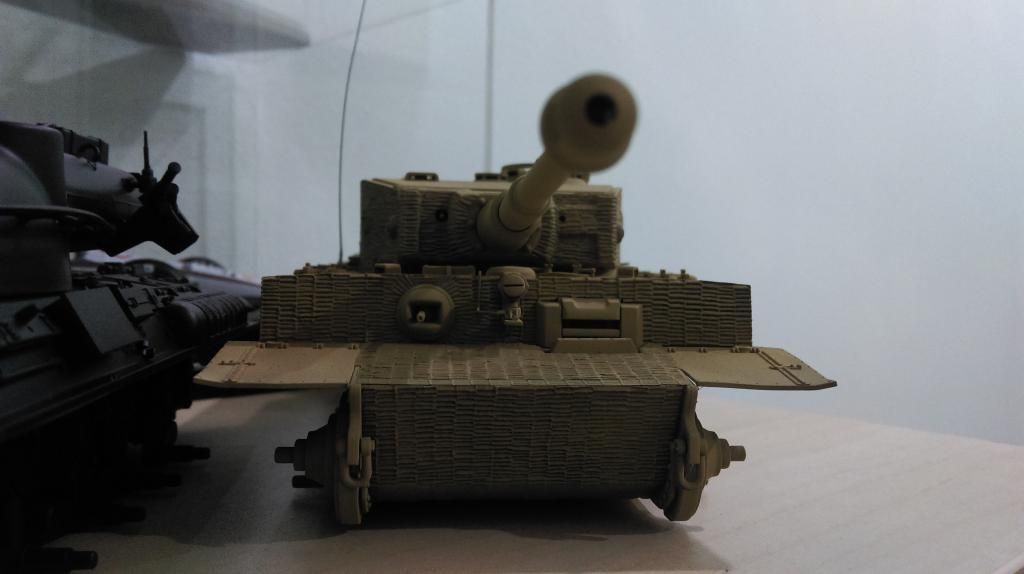
thank you bellos. It's a very nice kit and yes a lot of parts compare to a tamiya.jbellos1 wrote:You kitty is coming along nicely. I want this kit for the stash, looks like it has plenty to do too! Great start on it
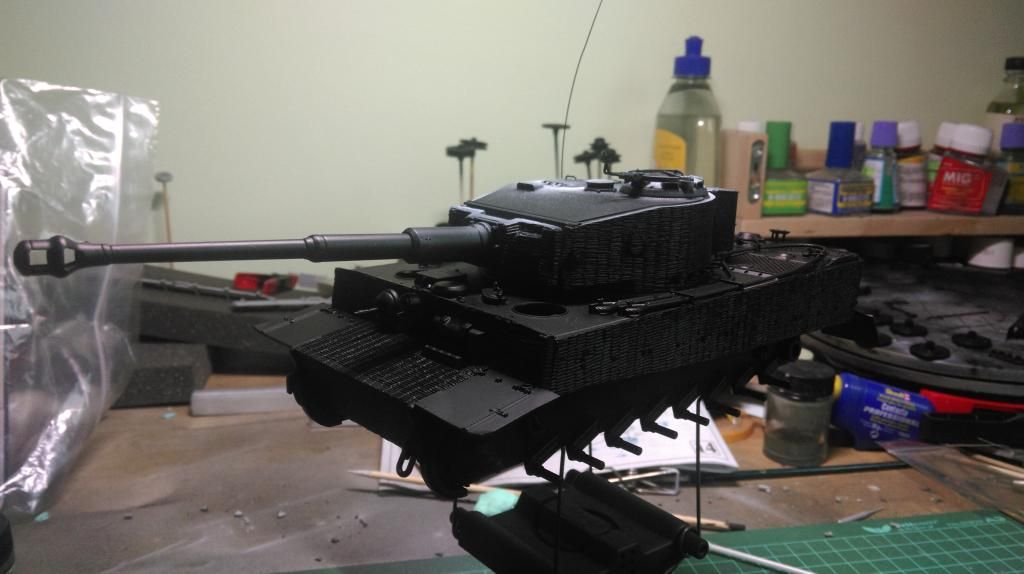


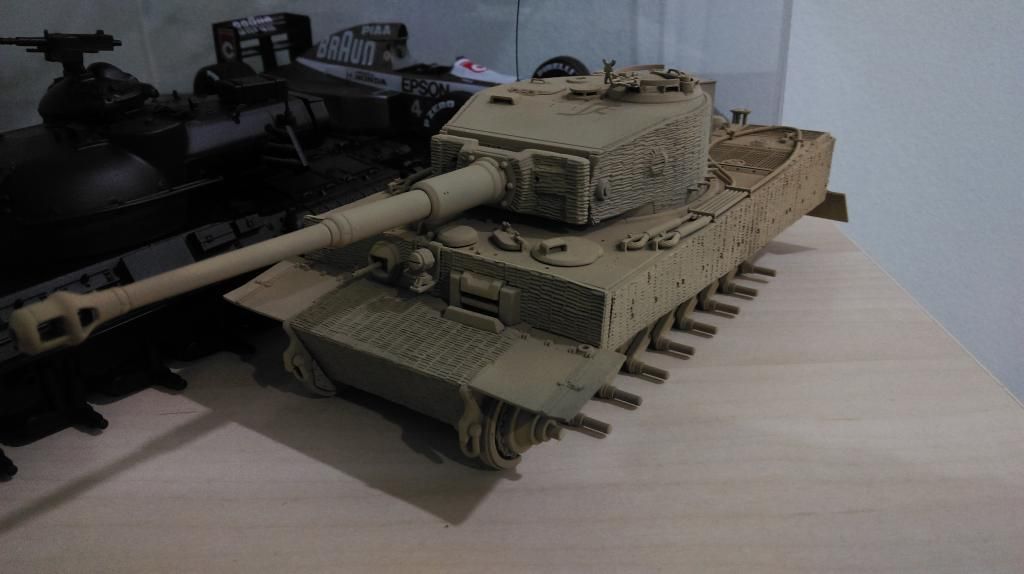
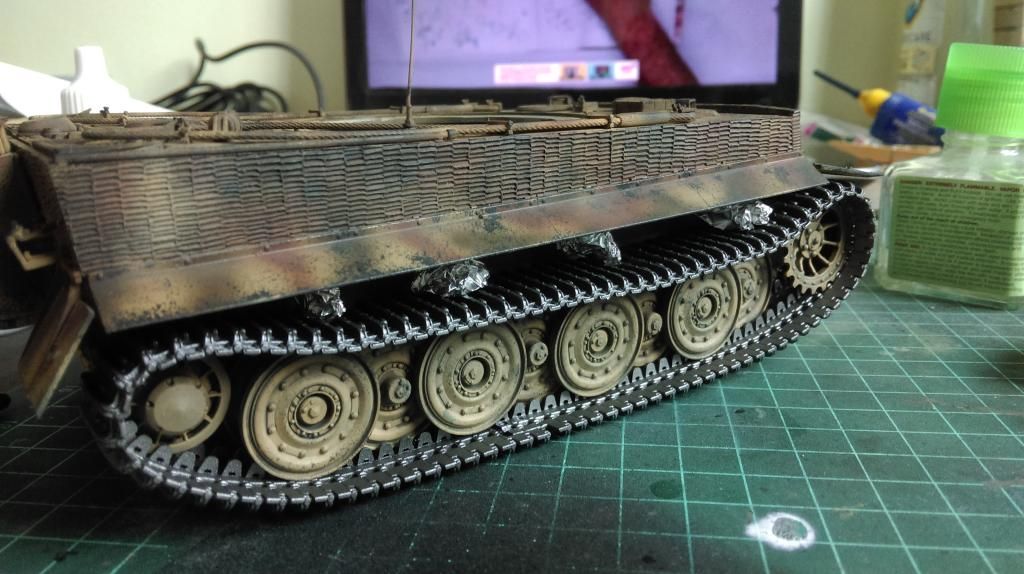
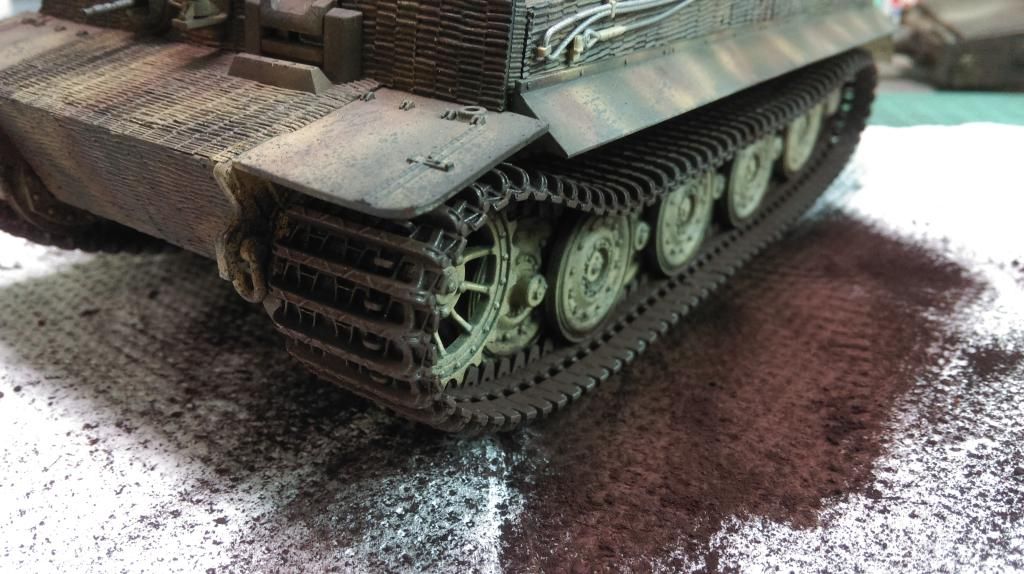
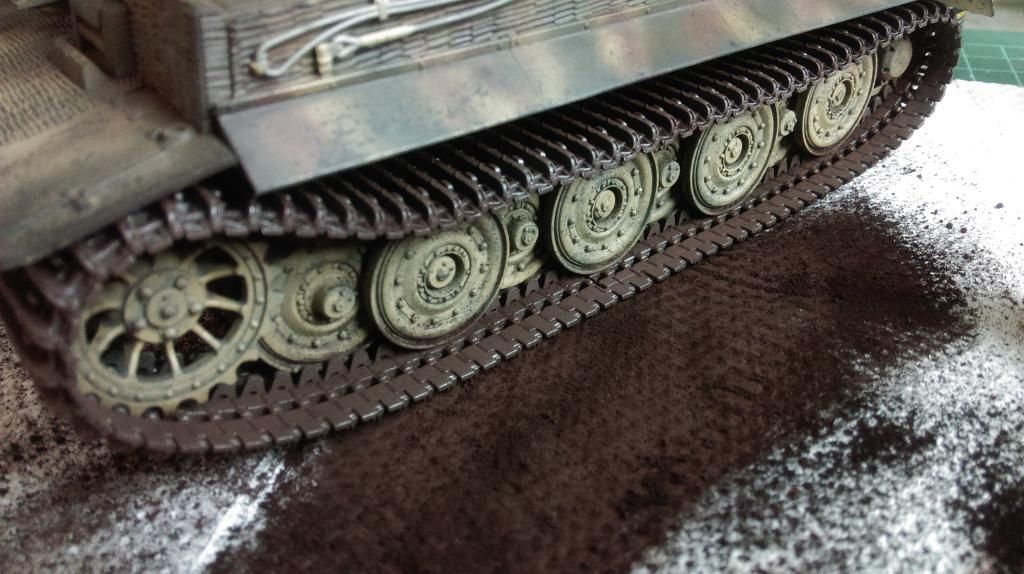
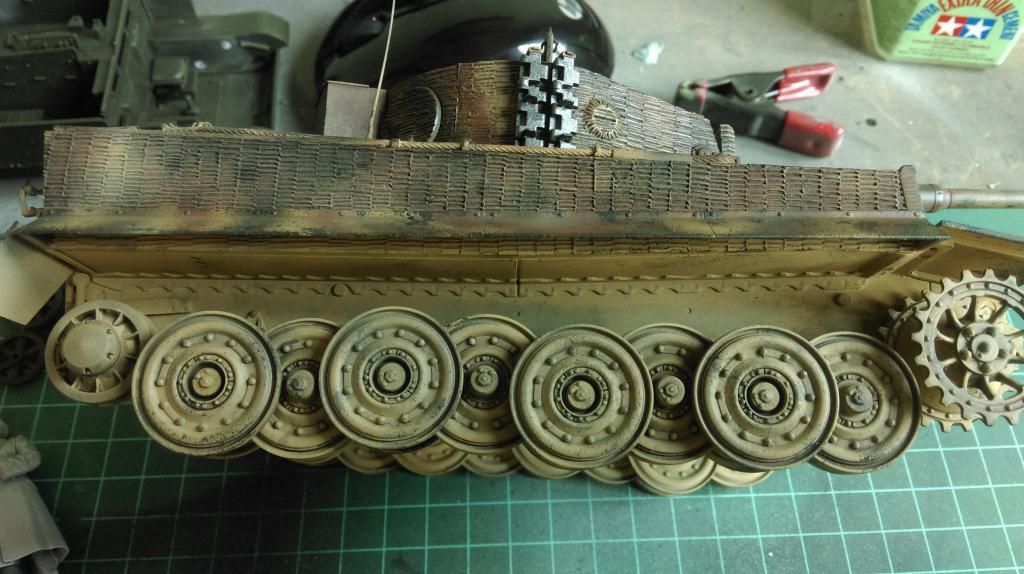
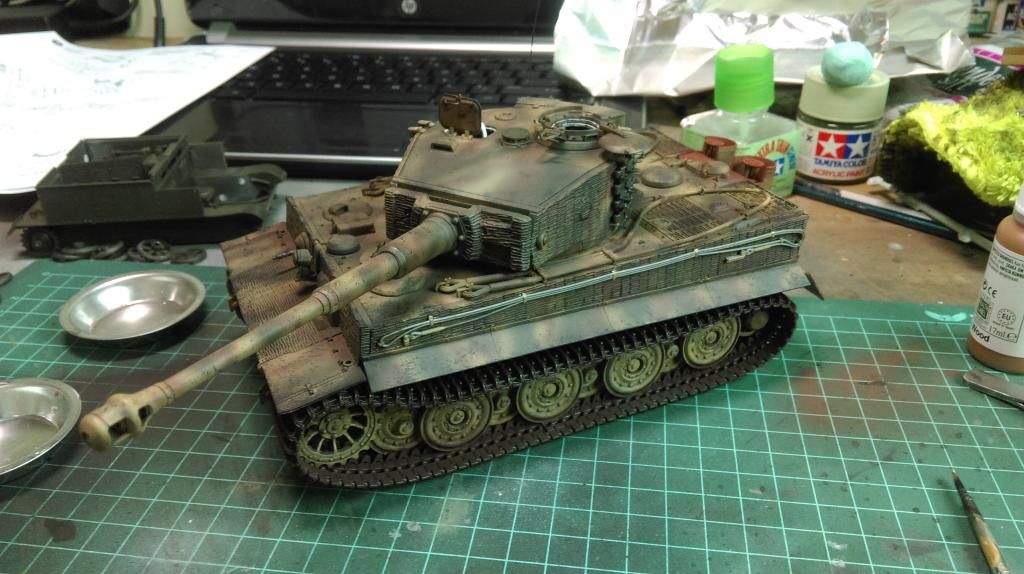
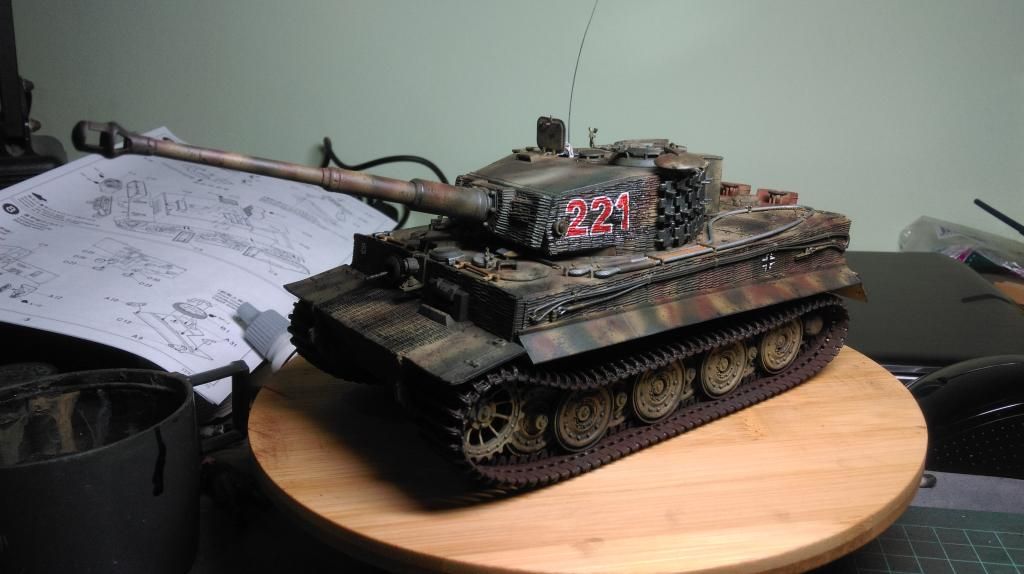
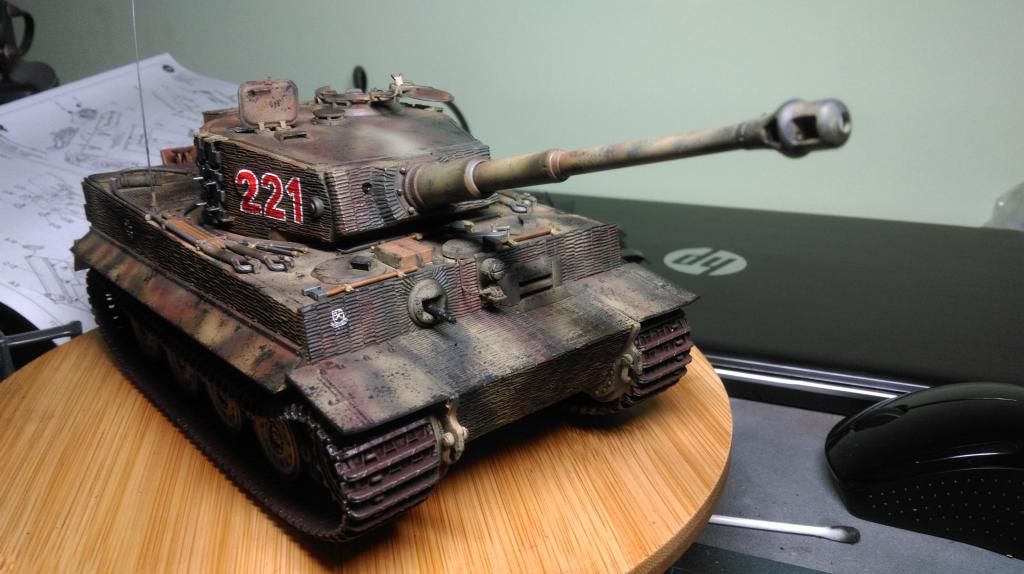
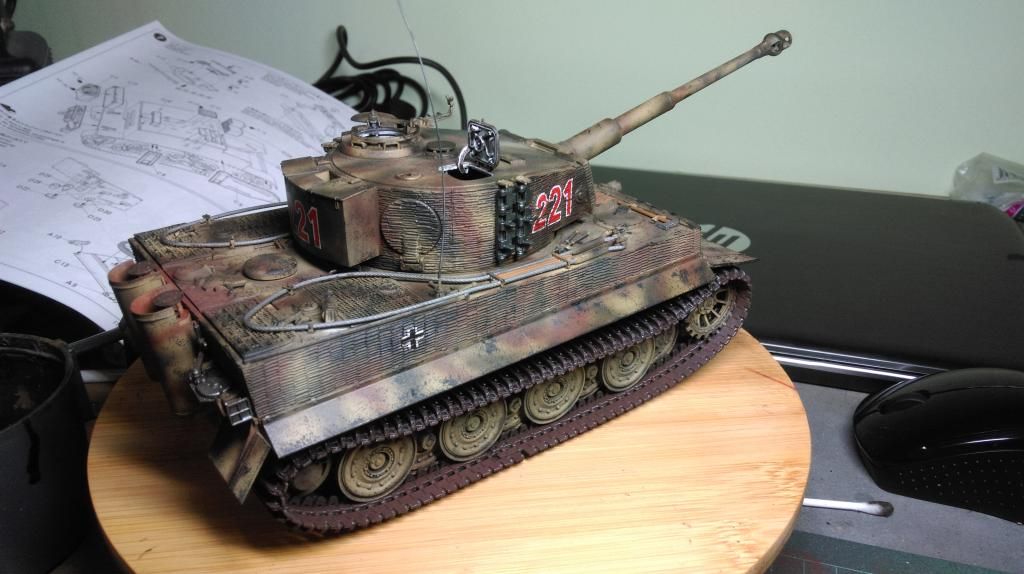
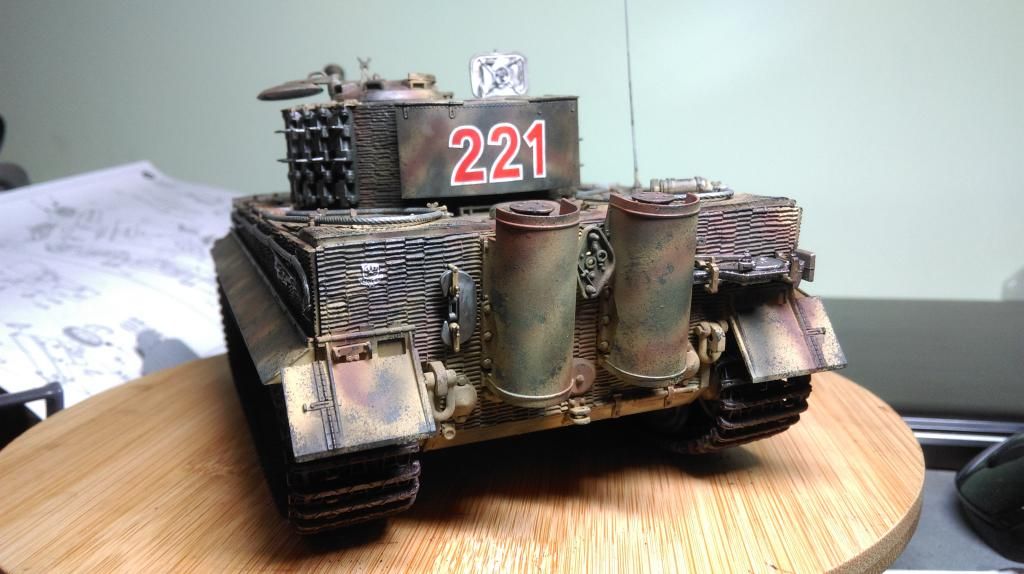
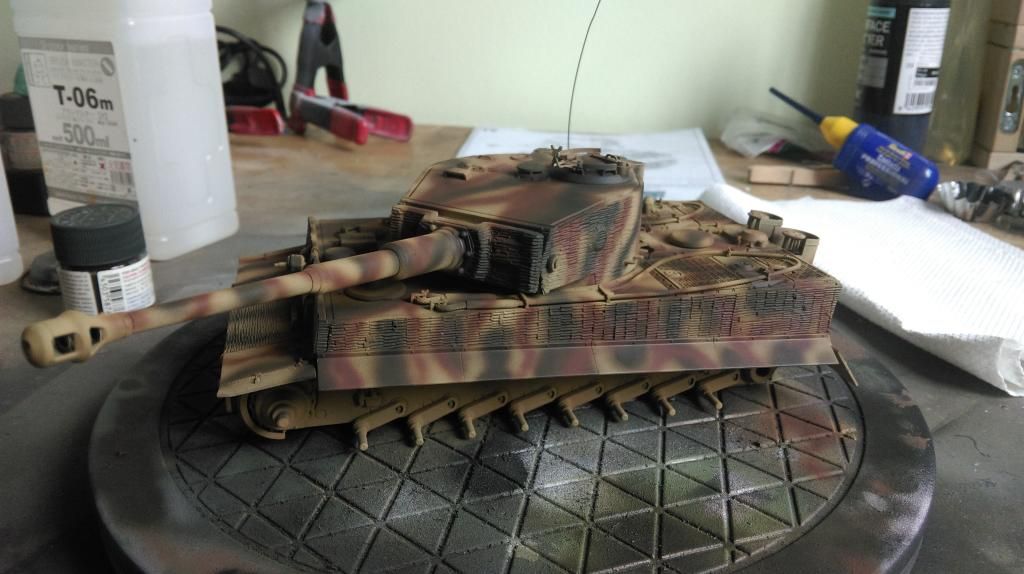
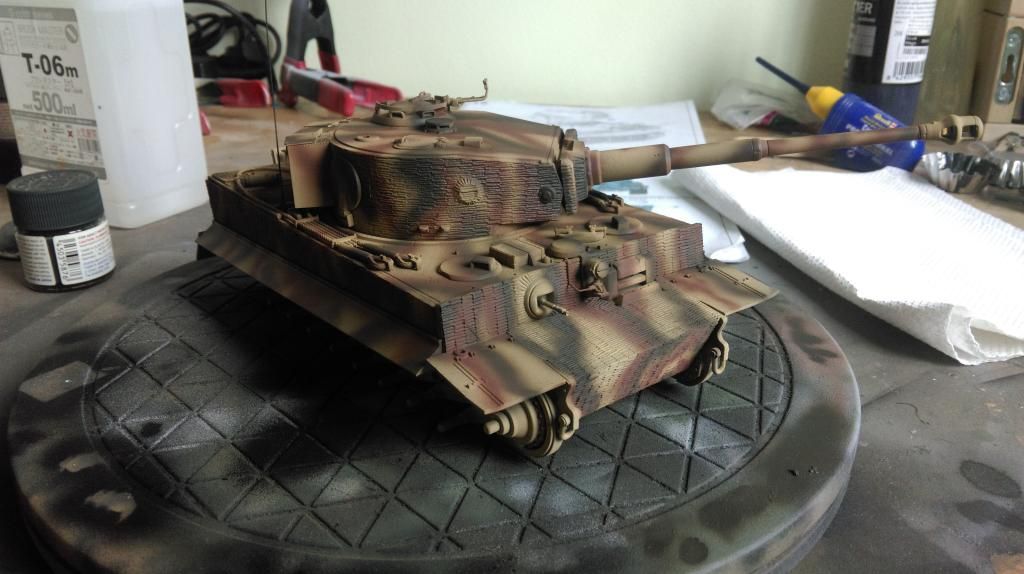
Thanks bud. Yesterday I've finally added the camo schme on it I'm sorry if it does not even look like the real thingCoen wrote:
Cool colour bud

Thanks Nige I'm trying to finish it off before I go back to college in two weeks timeNige99 wrote:Well done, you are lightning quick in getting this done.


Coen wrote:I beg to differ... I think that it's pretty close to what it should look like. Normandy tigers were a very dark dense camo pattern in the LASSH. So you did a pretty good job of it.
Thanks BillyHillbilly wrote:That camo looks great to my eyes
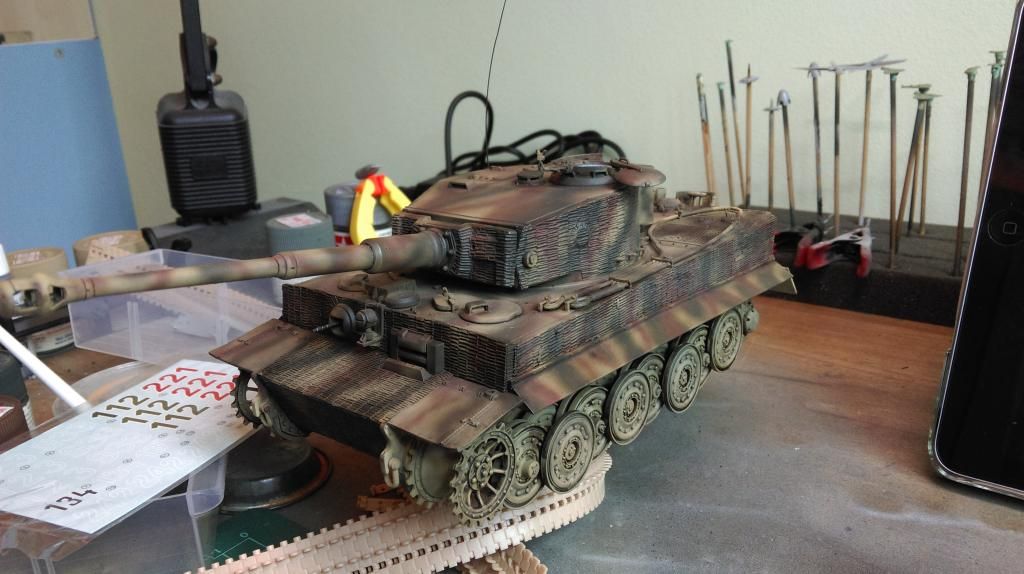
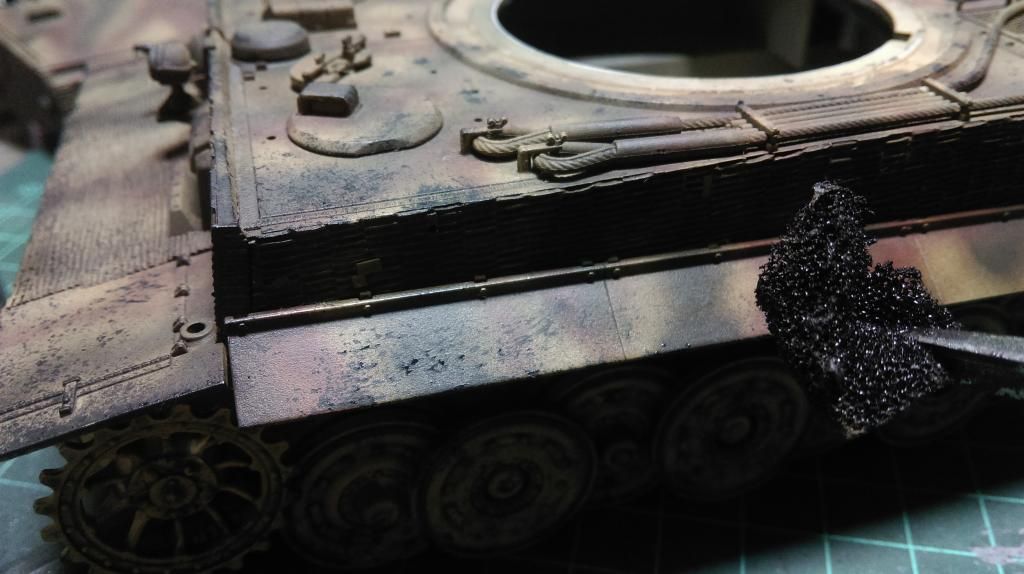
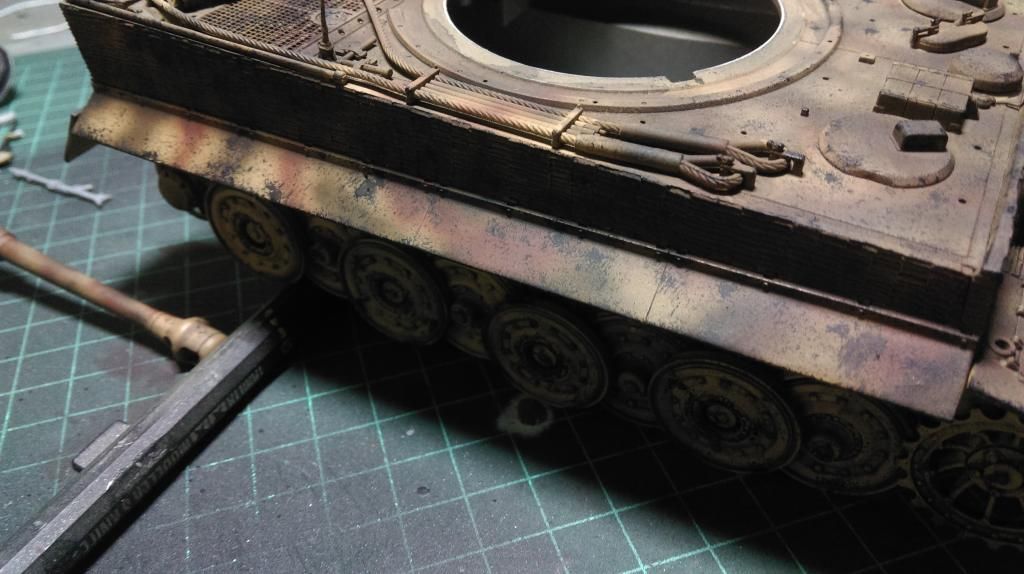
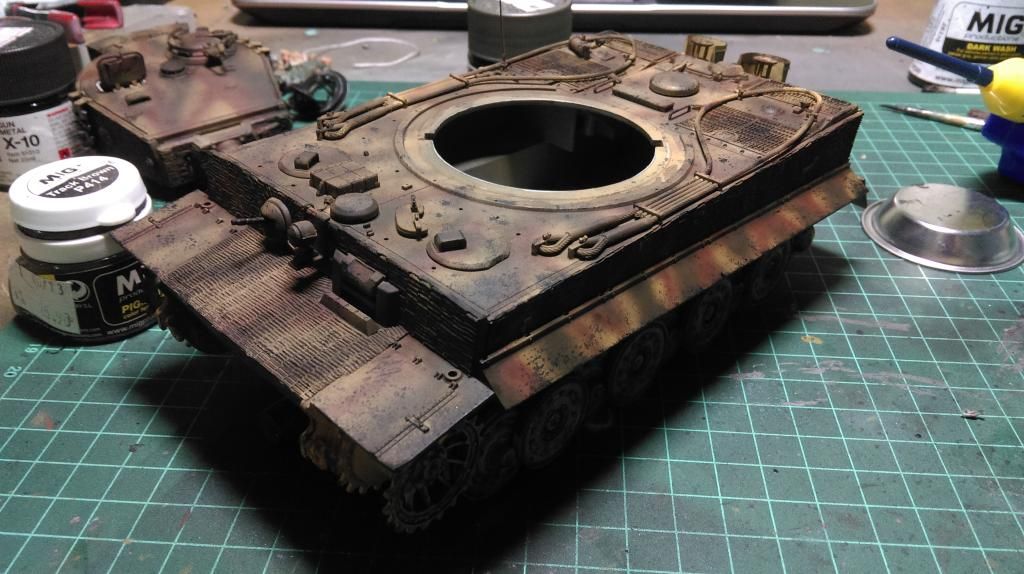
Nige99 wrote:Looking good! Love the camo pattern you've done and the colours a are spot on! Can't fault it at all.
ThanksCoen wrote:That camo work is astounding Mr. M!!! Wonderfully done buddy.
I really loved the look of that, you pulled that off perfectly.
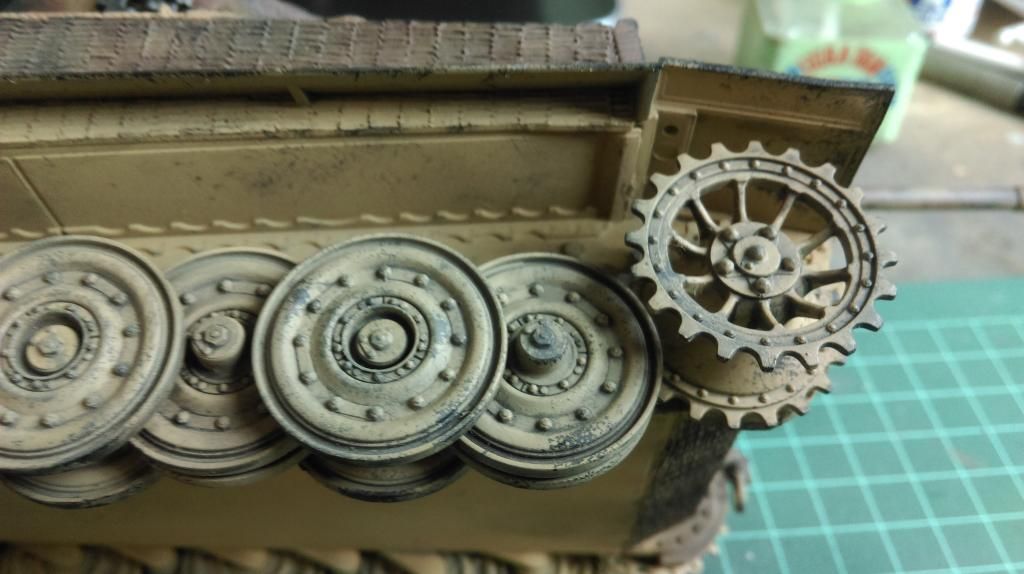
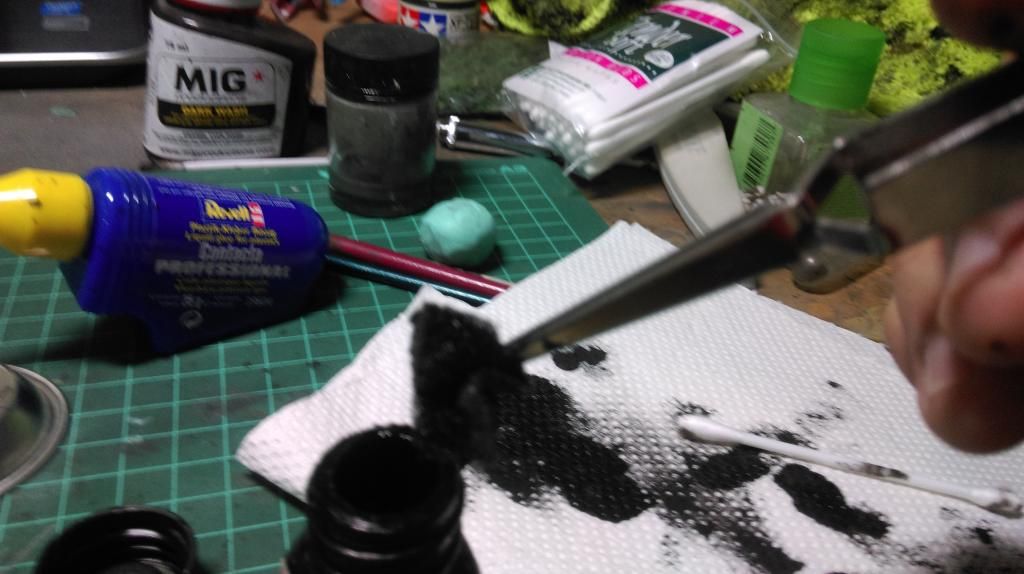
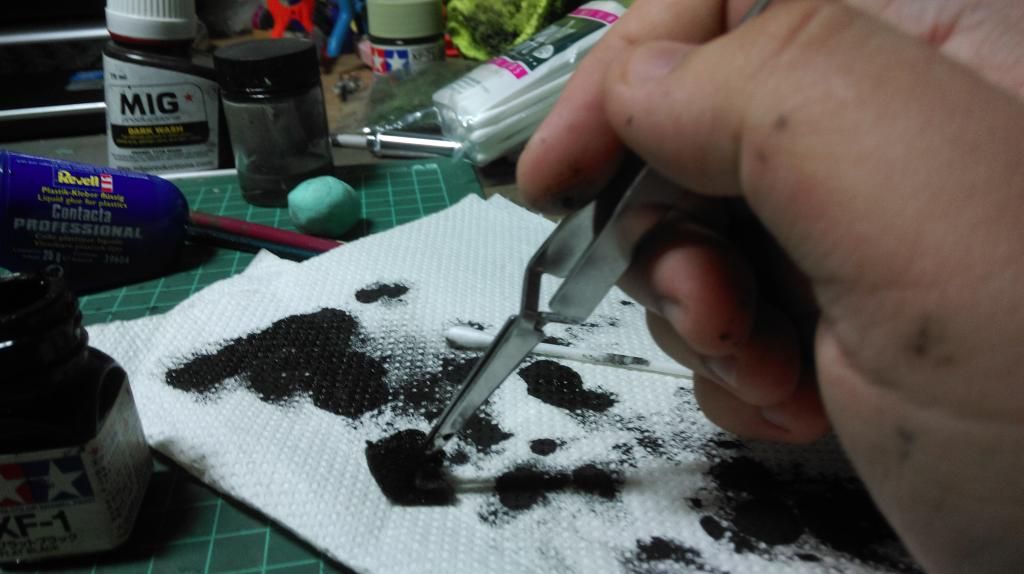
Interesting chipping work as well.