Page 2 of 2
Re: Tims 300sl gull-wing
Posted: Mon Mar 07, 2016 11:56 pm
by Timplastic
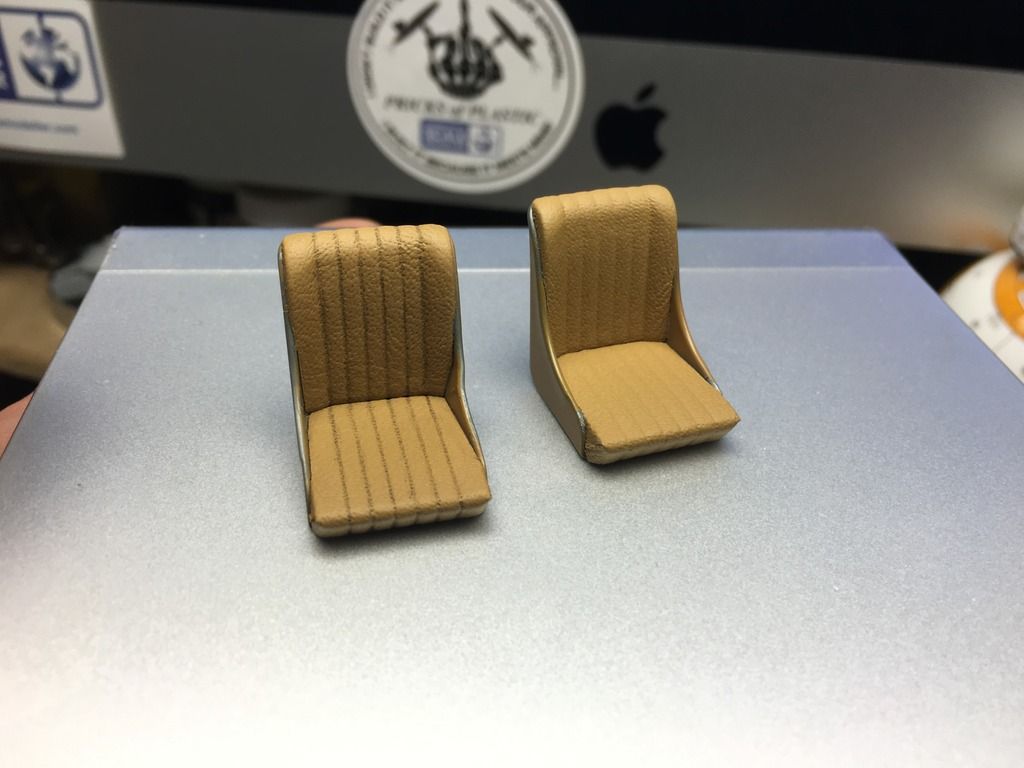
While having a sit down and a chat on the pop hang out I decided that the seats looked too clean and new. So I tried to work out the best way to get the seats looking a little worn. The best way I could think of this was darkening down the recesses. I tried masking but it was not sitting right.
I turned too one of the best products I got, Ultimate dark dirt

This stuff has so many uses
I carefully brushed it in to the recesses let it dry then used a wet brush and paper towel to remove the excess
Left seat done right as standard
Let me know what you please, the picture has made them stand out more than when looked at in by the eye
Re: Tims 300sl gull-wing
Posted: Tue Mar 08, 2016 12:40 am
by Twokidsnosleep
Absolutely, that looks even greater
A little buffing with a polishing stick (very little grit) in the bum area of the seat can give it a sat in look as well
Oh and those dashboard dials look incredibly realistic
Devil is in the details

Re: Tims 300sl gull-wing
Posted: Fri Mar 11, 2016 12:10 am
by Timplastic
Thank you Scott
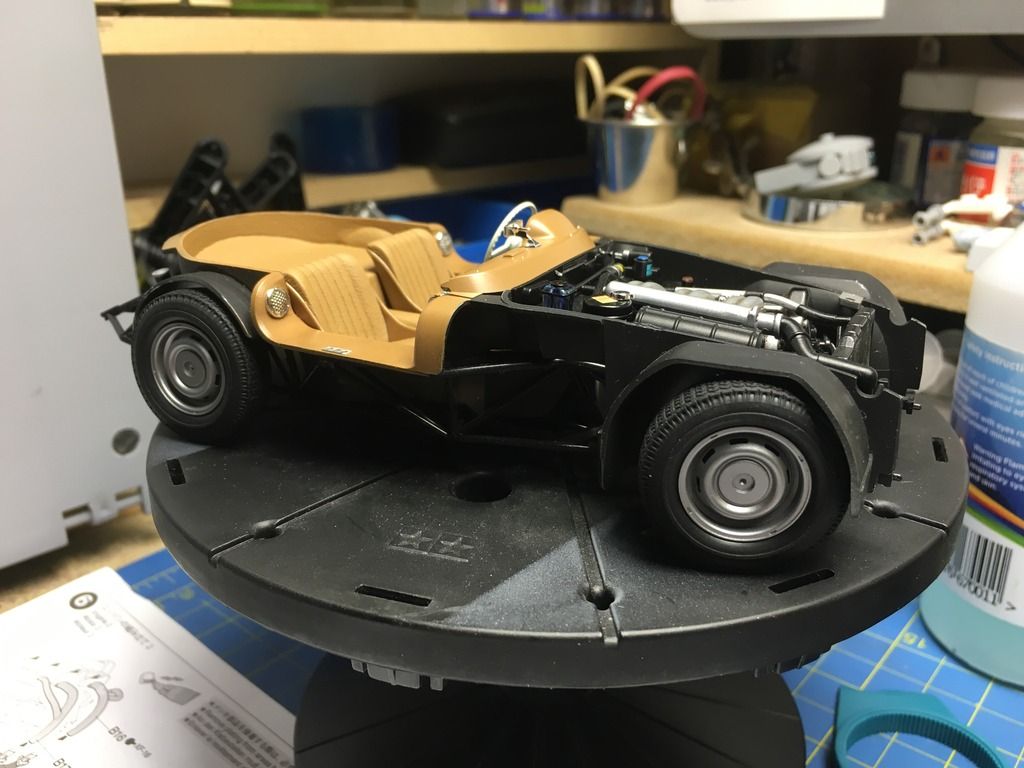
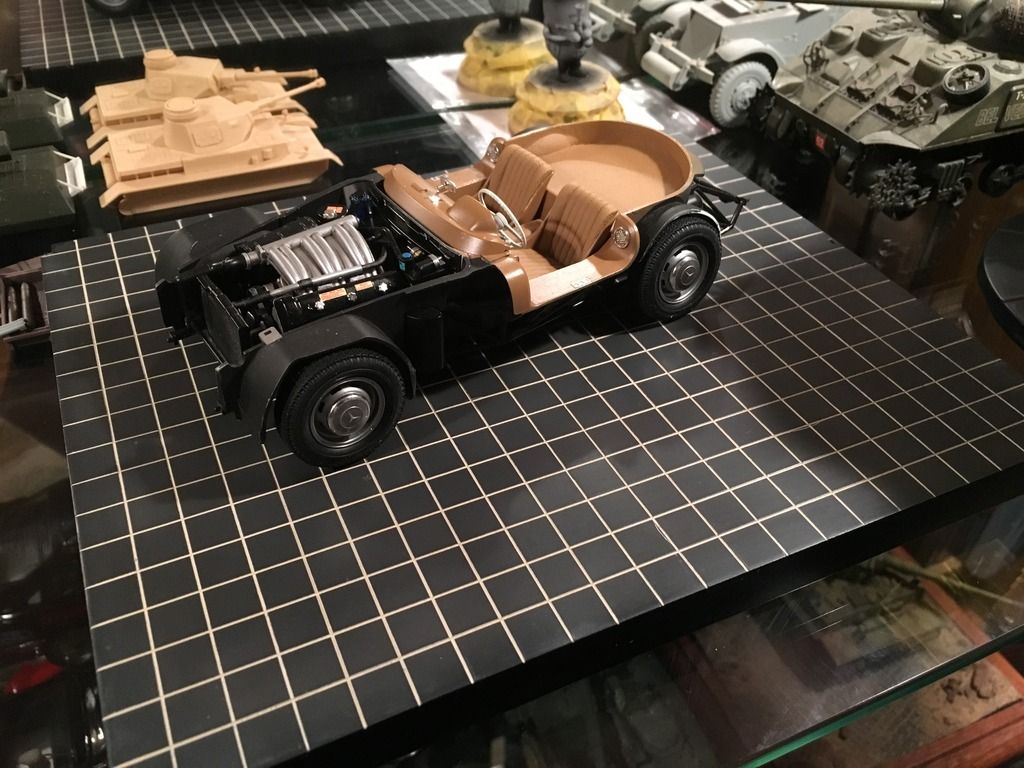
So that's the interior finished
I'm very happy with how it's turned out.
Next up the main body and the wheels.
I did change the build order so I could lay the carpet down. The instructions call for the interior to be fixed to the body then dropped on the chassis. They way I have done it has proven to make the body hard to fit on and off
So this is the only test fit it will have until after the paint.
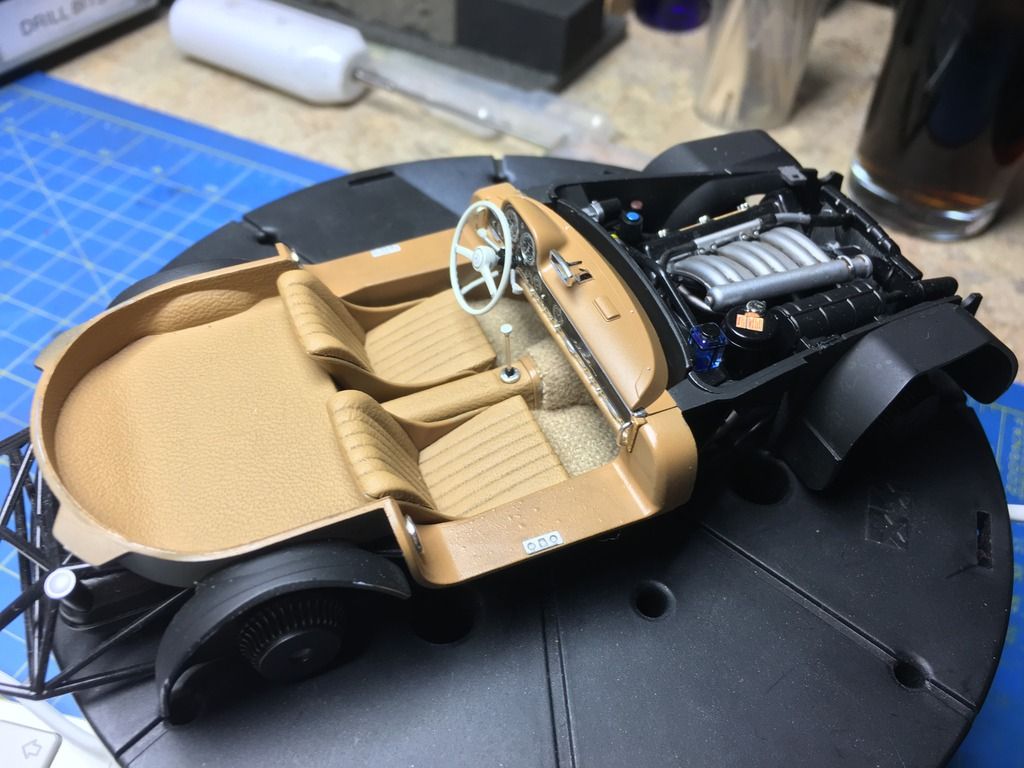
I used oil from my skin to try and give the leather a more worn look, it works but the leather likes to absorb it. I tried to buff it but did not really make much difference
I really like the shape of this car
First wheel colour on. Going too mess around with the wheels caps tomorrow
Re: Tims 300sl gull-wing
Posted: Fri Mar 11, 2016 1:30 am
by Twokidsnosleep
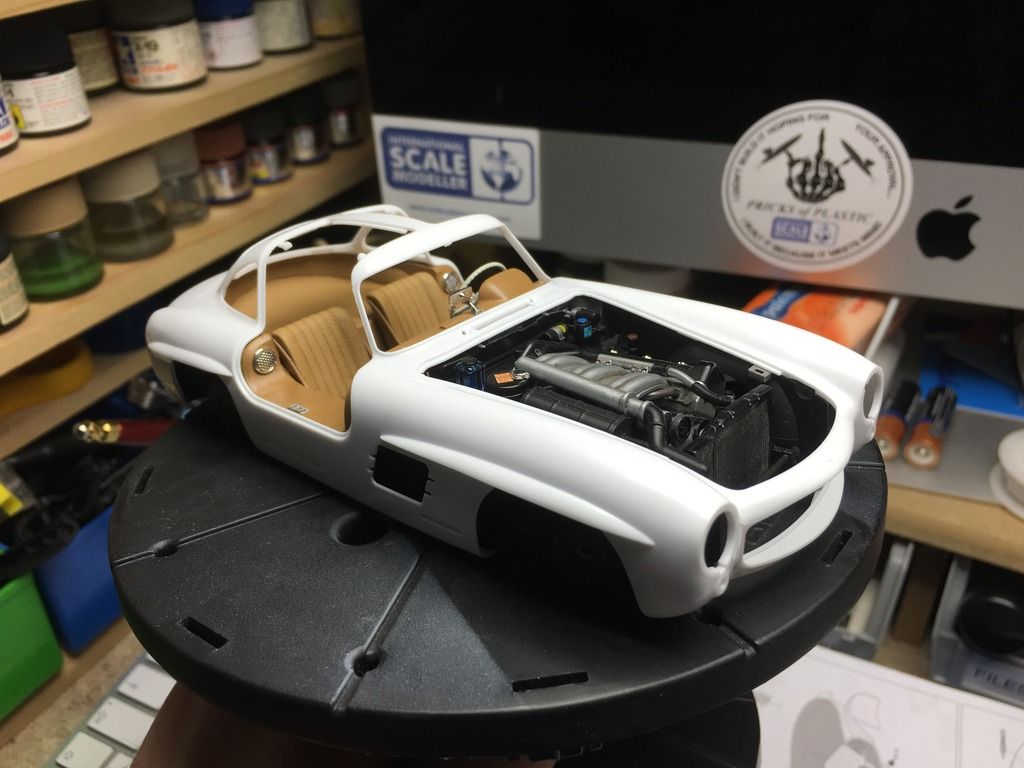
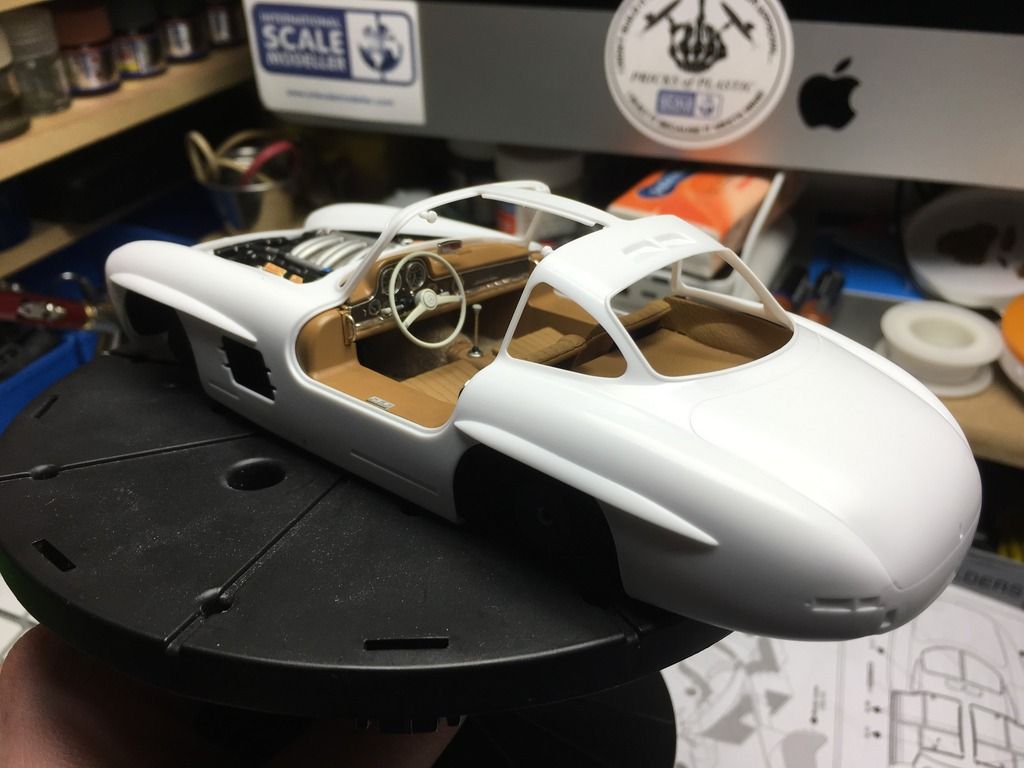
Looking amazing Tim
With the body popped on, the interior resembles the photo of the real one above
You are doing great

Re: Tims 300sl gull-wing
Posted: Fri Mar 11, 2016 3:57 am
by HIghAltitudeScale
Very nice Tim, looks like your work on 1:1 cars has paid off in the model world too.
Re: Tims 300sl gull-wing
Posted: Fri Mar 11, 2016 9:31 am
by Goose
Hello Tim,
Very good job,
loved your second try with the leather really nice!!
Will follow u
Goose
Re: Tims 300sl gull-wing
Posted: Fri Mar 11, 2016 9:32 am
by Kingdan
Freakin awesome Timmy
Dan
Re: Tims 300sl gull-wing
Posted: Sat Mar 12, 2016 7:36 pm
by Timplastic
Cheers guys !
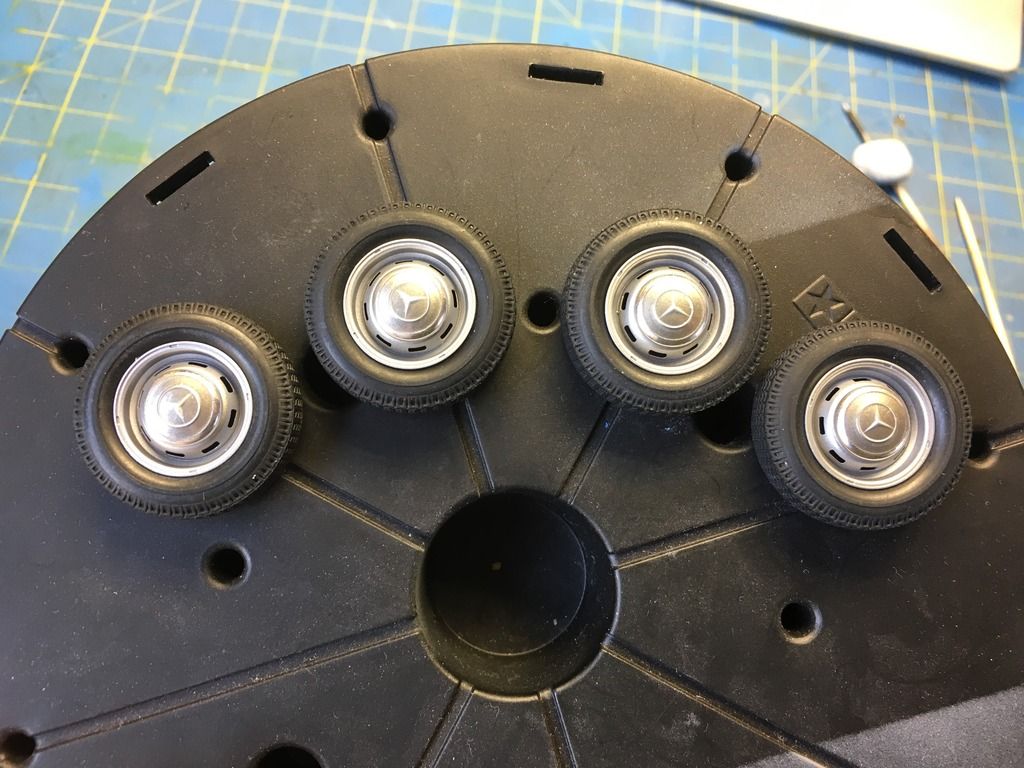
Just a little pic, the wheels are finished hub caps glued on.
Tamiya idea of putting both the star and the out ring has not worked out too well. One of the caps was perfect, 2 ok the last one ended a little wonky. It was all down to how the decal decided to settle as once the solution was applied they do become very fragile
The centre of the cap was painted the body colour
Re: Tims 300sl gull-wing
Posted: Sun Mar 13, 2016 4:06 am
by MNO
Well your build is amazing. Well done buddy!!!
Re: Tims 300sl gull-wing
Posted: Tue Mar 15, 2016 12:14 am
by Timplastic
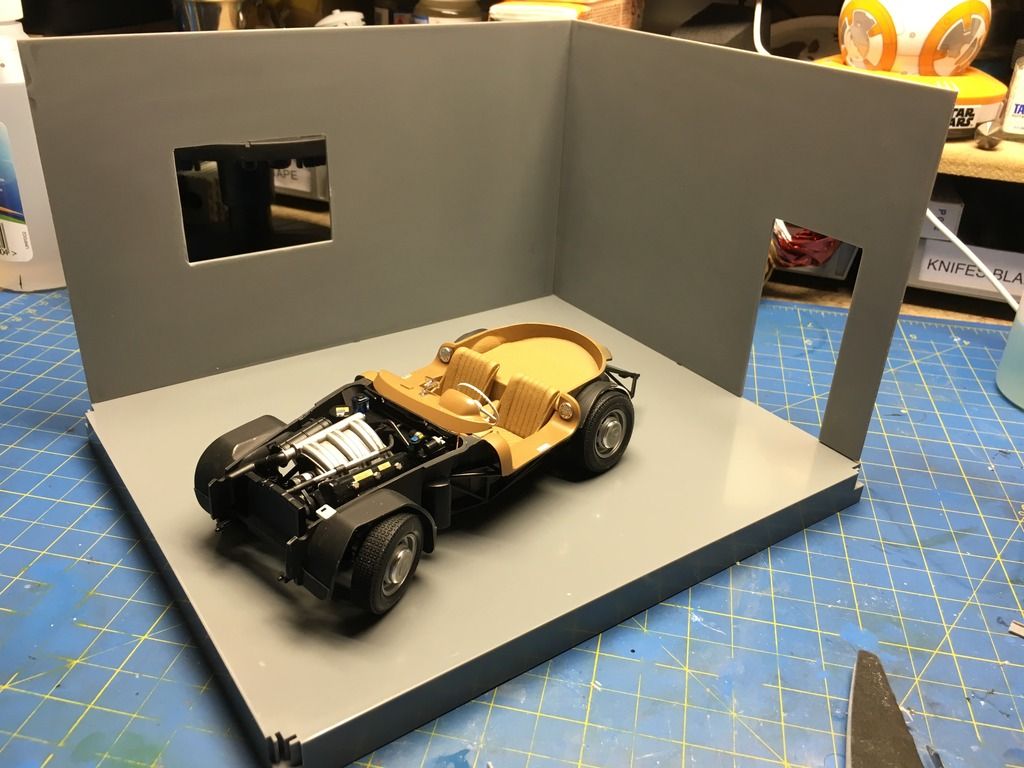
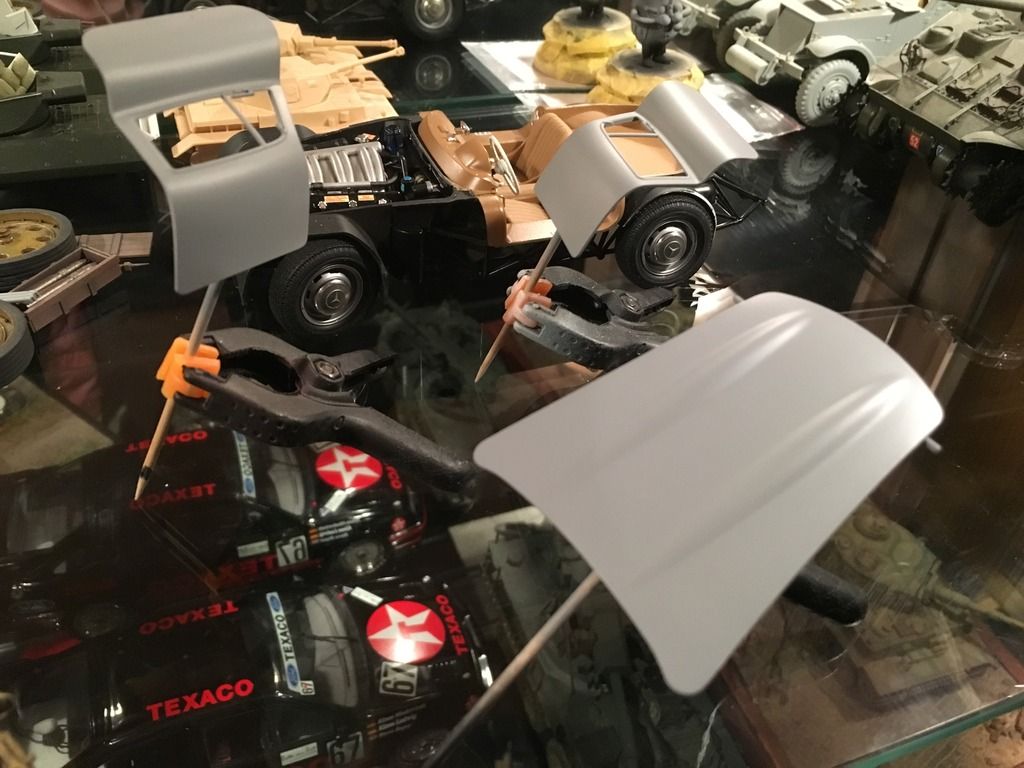
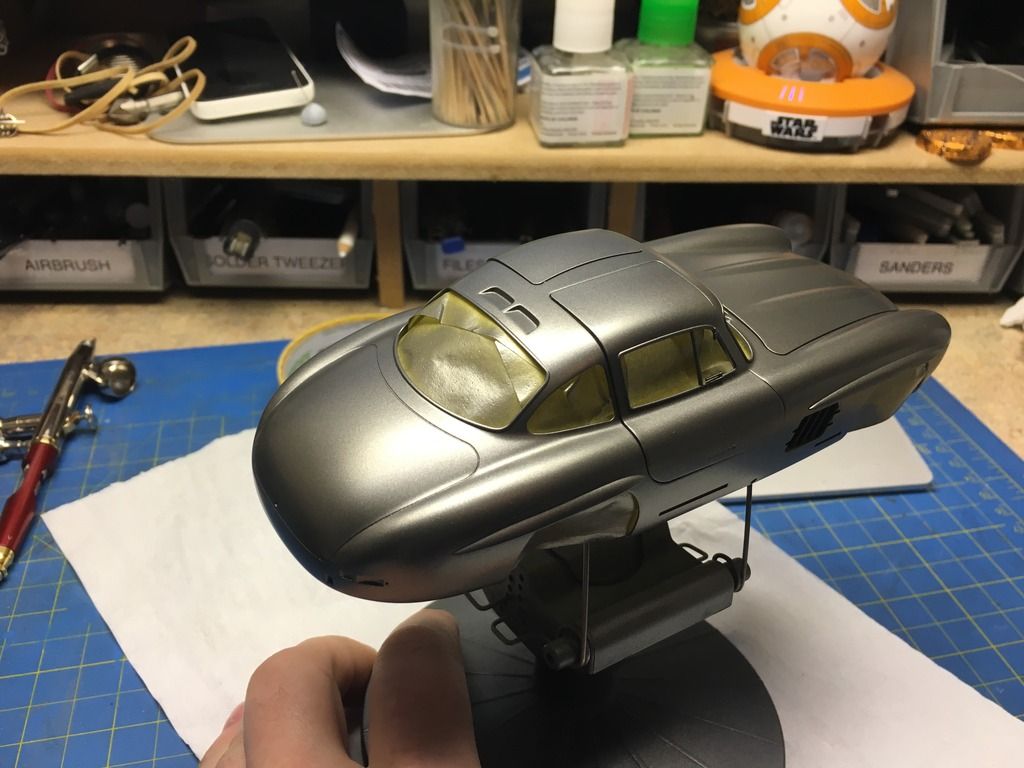
I have primed and painted the inside of the body. Ultimate grey then black around the edges deck tan for the interior roof.
The out side had been sanded and check for mould seems. There was seem front too back but was very easily removed with the grey Ultimate sponge sander. Only the driver side had a slight step to fill. I used Ultimate primer brushed on, I use too use gunze filler/primer liquid but it stunk too high heaven. Ultimate primer works just as well and does not smell

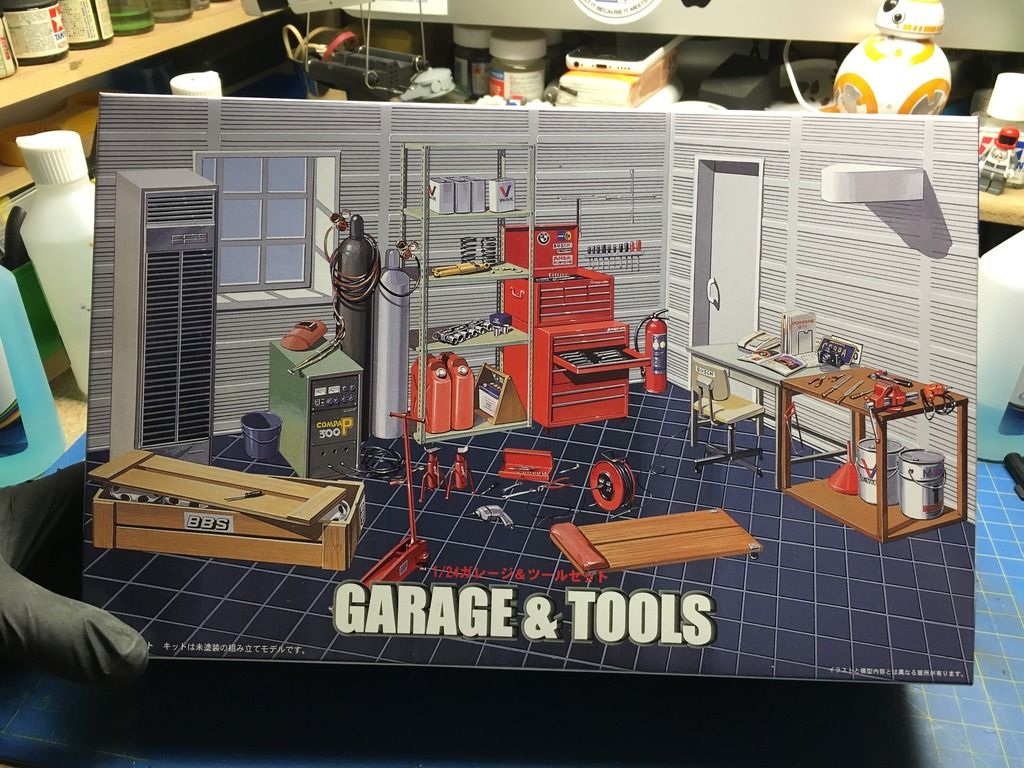
So while I wait for the new ain't cup for my air brush I need some where for the merc to sit.
I got the garage and tool set from a friend at Christmas (secret Santa)
This should make a perfect back drop.
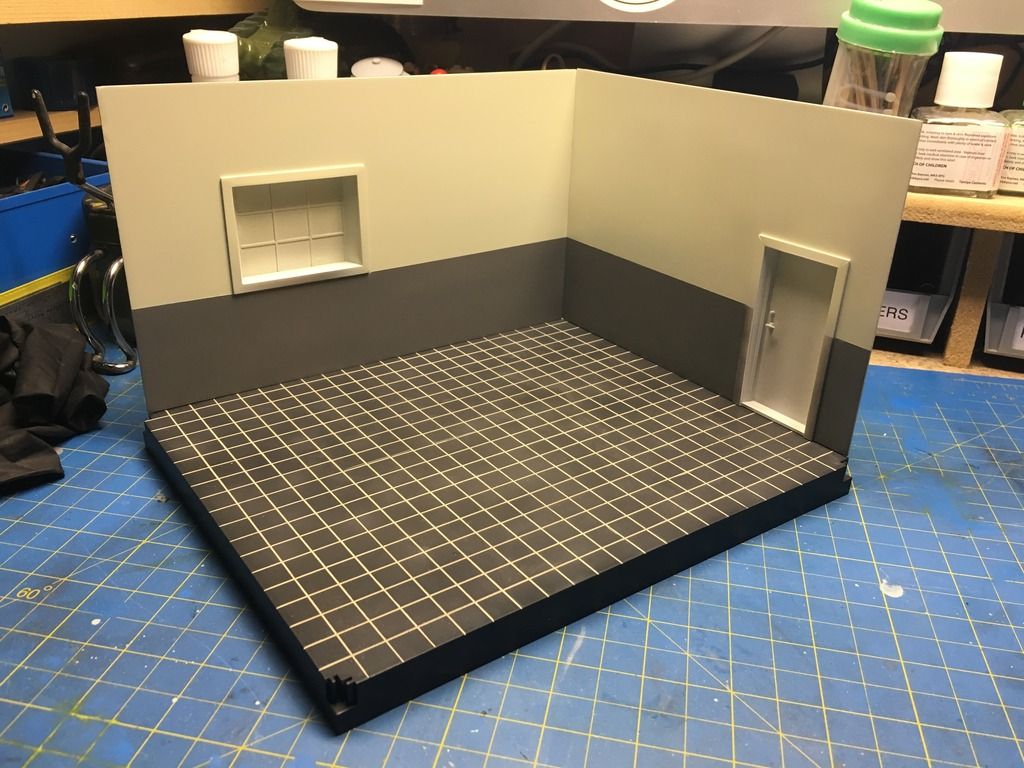
I have had a go threw the kit and the tools wil be great to film the garage space. There is a desk and other items which I will most likely replace with items I would have in my own garage, big work bench and speakers. The door in the kit is crap so I will scratch a new one. The window is useable a new edge, frame and window sill will be added
Also the kit comes with cardboard floor and walls. Planning to replace these items, can't help my self


Re: Tims 300sl gull-wing
Posted: Wed Mar 16, 2016 6:42 pm
by stellamonster
This is going to be awesome Tim, when that dio comes together

Re: Tims 300sl gull-wing
Posted: Fri Mar 18, 2016 12:31 am
by Timplastic
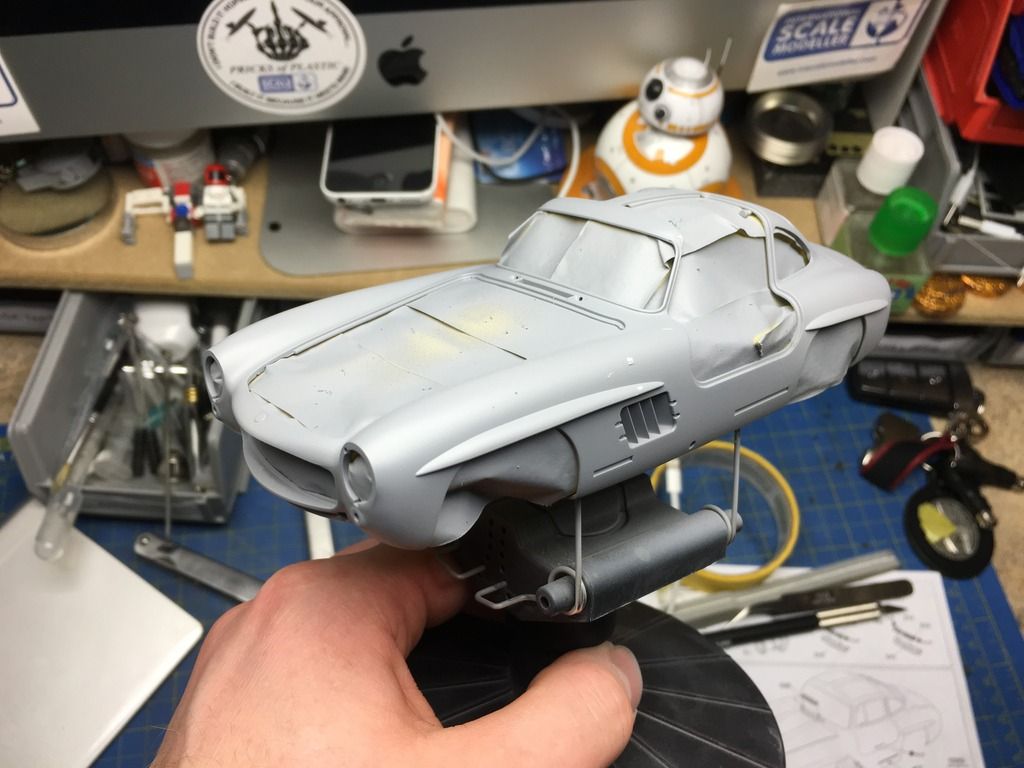
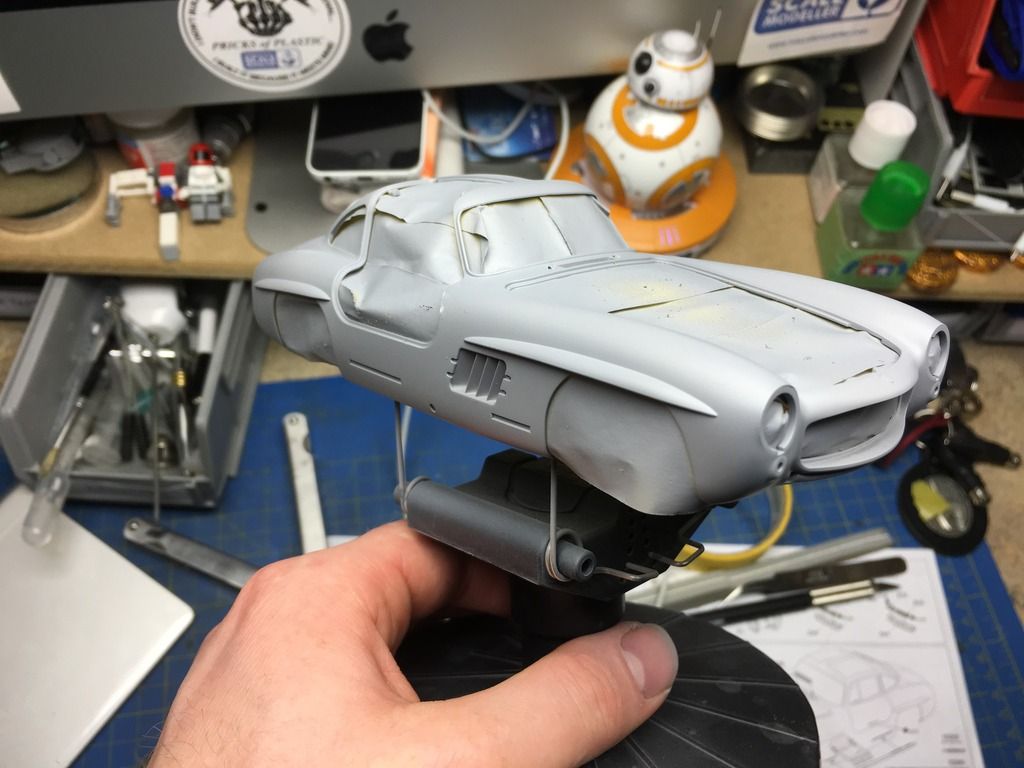
So tonight was the first outing with the iwata RG3, what a wonderful piece of kit too use. I sprayed the garage floor base, the car body and the panels.
The base was sprayed Ultimate black primer, it will later get the tiles painted different colour and then grout painted in.
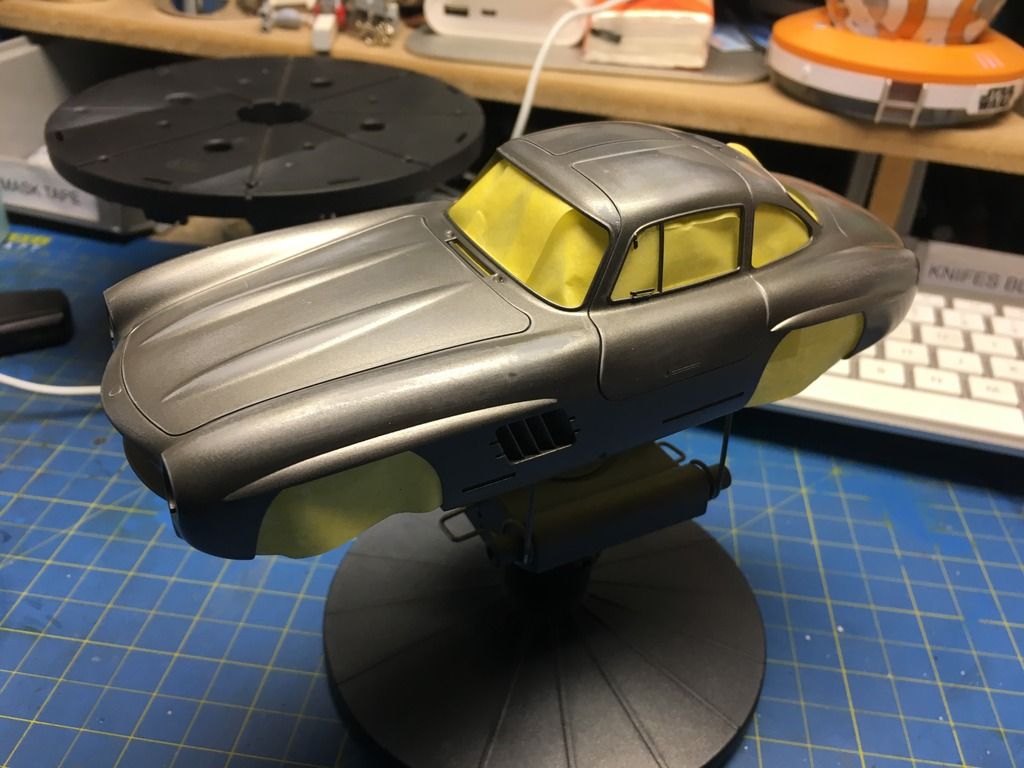
The car body was painted with alclad grey, the reason for this is the type of pants I will be using on top of the prime. They are known as hot paints meaning they can atack plastic. As I have not tried these paints on top of the Ultimate primer i did not want this being a test piece.
All was going well until the Tamiya paint stand separated. The car body hit the side and damaged the fresh primer. So now I need to smouth and sort out some problem areas.
Re: Tims 300sl gull-wing
Posted: Fri Mar 18, 2016 3:42 am
by HIghAltitudeScale
Love it Tim, you're turning out an exceptional car

Re: Tims 300sl gull-wing
Posted: Tue Mar 22, 2016 11:21 am
by Timplastic
Re done the floor of the garage
Engraved the floor tiles into it. Painted it with Ultimate primer then painted the tiles a slate colour. For the gloss x22 and leveling thinner. Then the grout is Ultimate light dirt.
It will get a dull coat over the top to remove some of the shine.
Tonight is another layer of primer and if I have the time the colour can be sprayed

Re: Tims 300sl gull-wing
Posted: Thu Mar 24, 2016 11:12 am
by Timplastic
Re: Tims 300sl gull-wing
Posted: Thu Mar 24, 2016 11:42 am
by Homerlovesbeer
Looks fantastic! What flaws do you see?
Re: Tims 300sl gull-wing
Posted: Thu Mar 24, 2016 2:59 pm
by Twokidsnosleep
smmmmooooth
Real nice, Tim

Re: Tims 300sl gull-wing
Posted: Fri Mar 25, 2016 2:13 am
by Timplastic
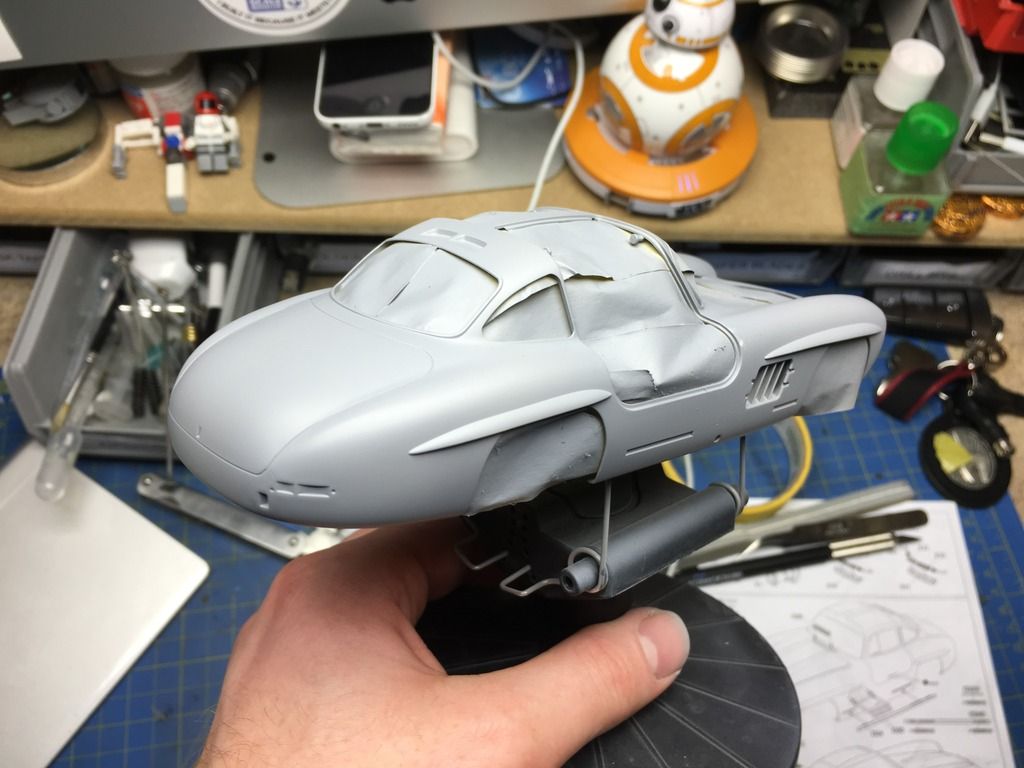
There was a couple of hairs and some mould seams still visible.
So I sanded back the first layer of colour
And applied another layer of paint. This time putting the doors and bonnet on the car.
First coat on
This will be left too dry and then a second coat will be applied

Got to try and stop the dust


Re: Tims 300sl gull-wing
Posted: Tue Apr 12, 2016 7:13 am
by Timplastic
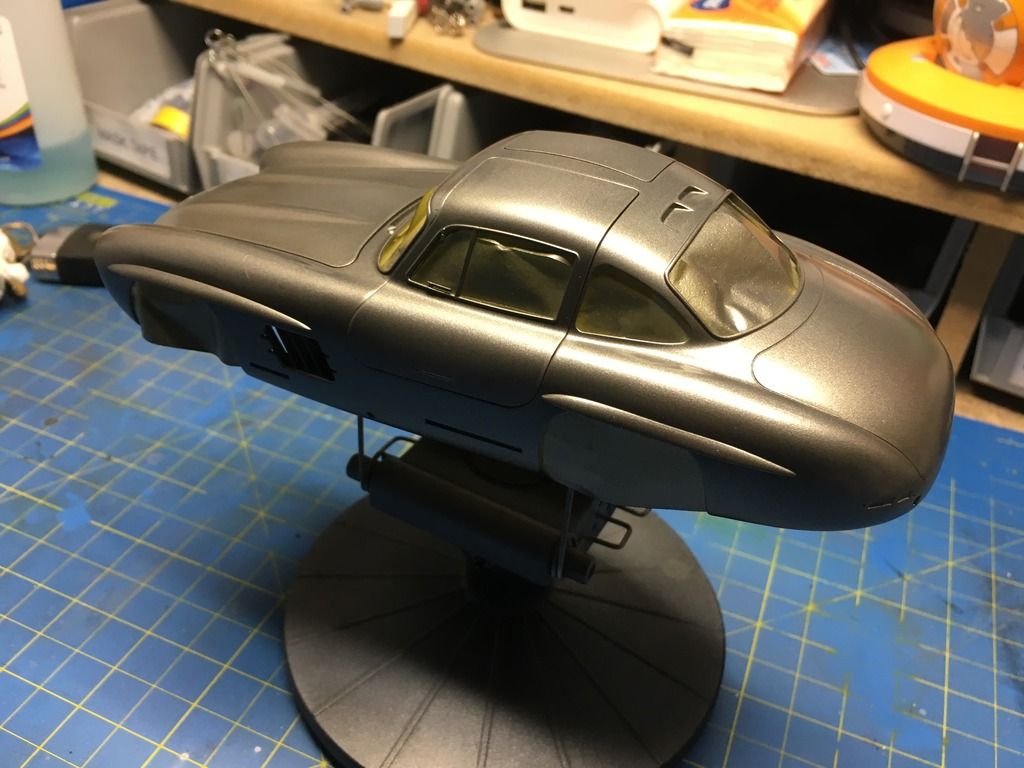
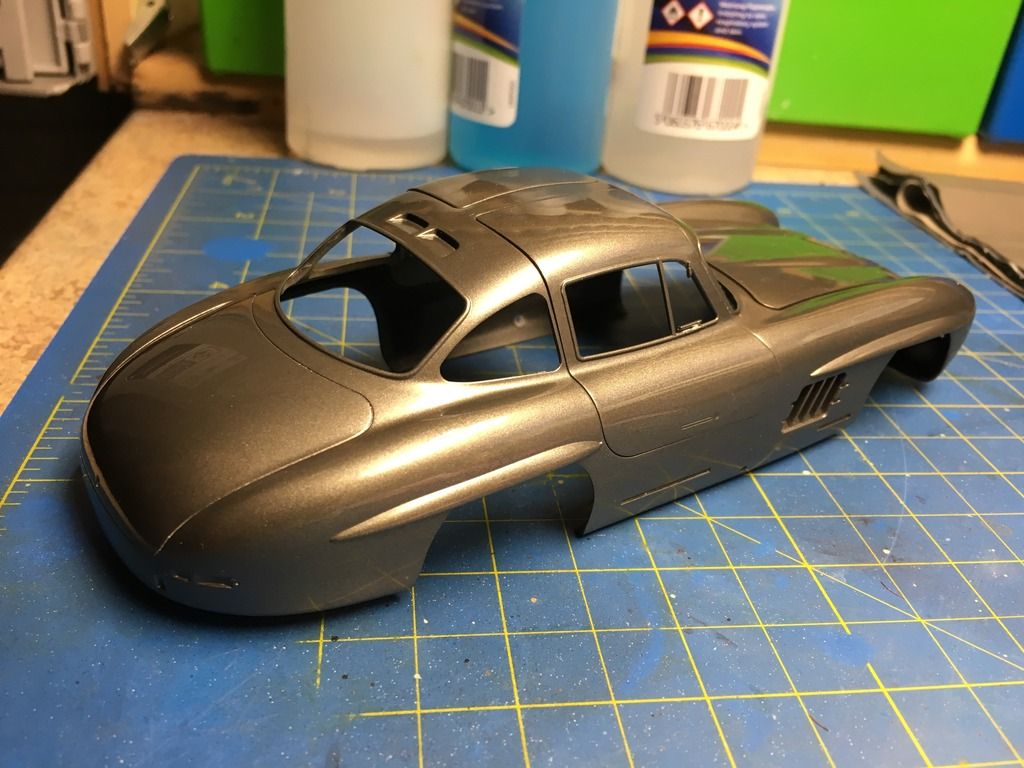
So there has been quiet a learning curve doing car body painting.
Being too heavy and blooming mould lines.
After respray no3 I got it where I want
Also got the walls done, going to do some wood effect on the doors and windows. Then add some fittings and tools
Re: Tims 300sl gull-wing
Posted: Tue Apr 12, 2016 7:20 am
by Twokidsnosleep
It is all looking great
Re: Tims 300sl gull-wing
Posted: Tue Apr 12, 2016 8:33 am
by Lysus
Re: Tims 300sl gull-wing
Posted: Sat May 07, 2016 10:16 am
by Timplastic
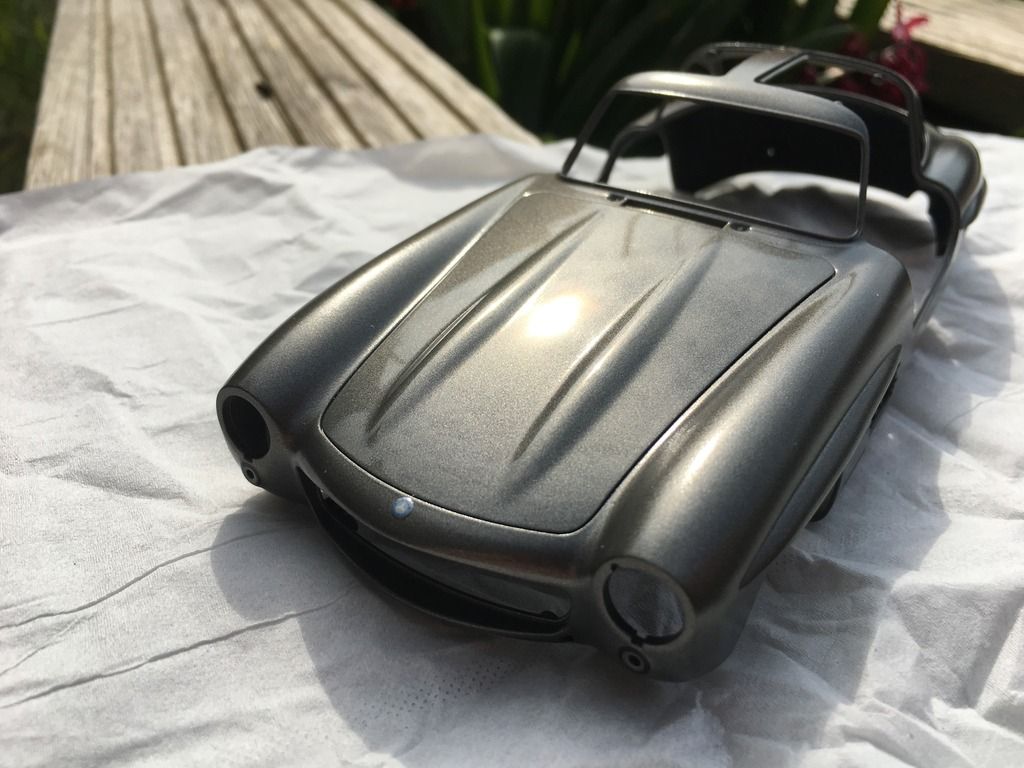
With the gloss totally dry the delicate work of polishing it starts. I had not given it the best gloss coat, this is still very much a learning curve.
Lucky enough I had put enough 1k down to flat and polish it. Also the 1k being strong really helps.
To start I used 3600 to get rid of any rough patches then slowly went lighter and lighter with the grades.
When I had done that I used 6000 with the coarse compound. Both used at once with a little water really works well. Thanks to Paul Bretland for giving me that tip. When I was happy with it all polished and shiny I sealed it with Tamiya modelling wax.
So far only done the bonnet, I will slowly be doing the rest of the body this weekend.
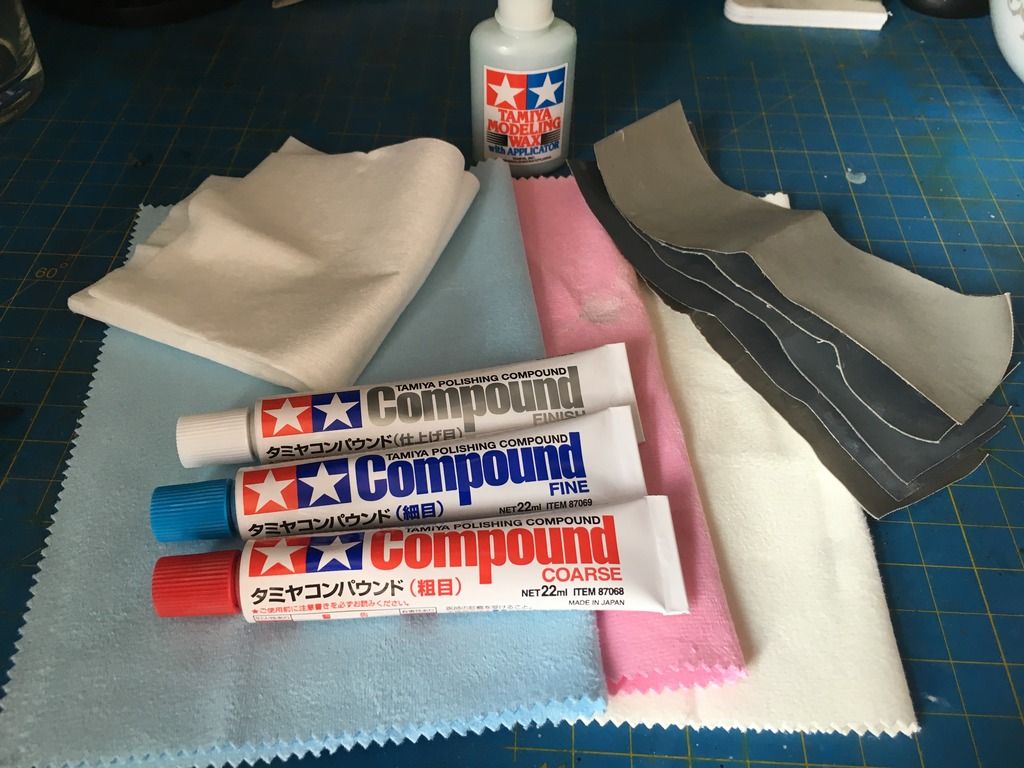
This is all the products used
Micro-mesh wet and dry polish set
Tamiya compounds coarse,fine and finish. The matching Tamiya clothes
Tamiya modelling wax
The bonnet looking good really looking forward to the rest of the body being finished

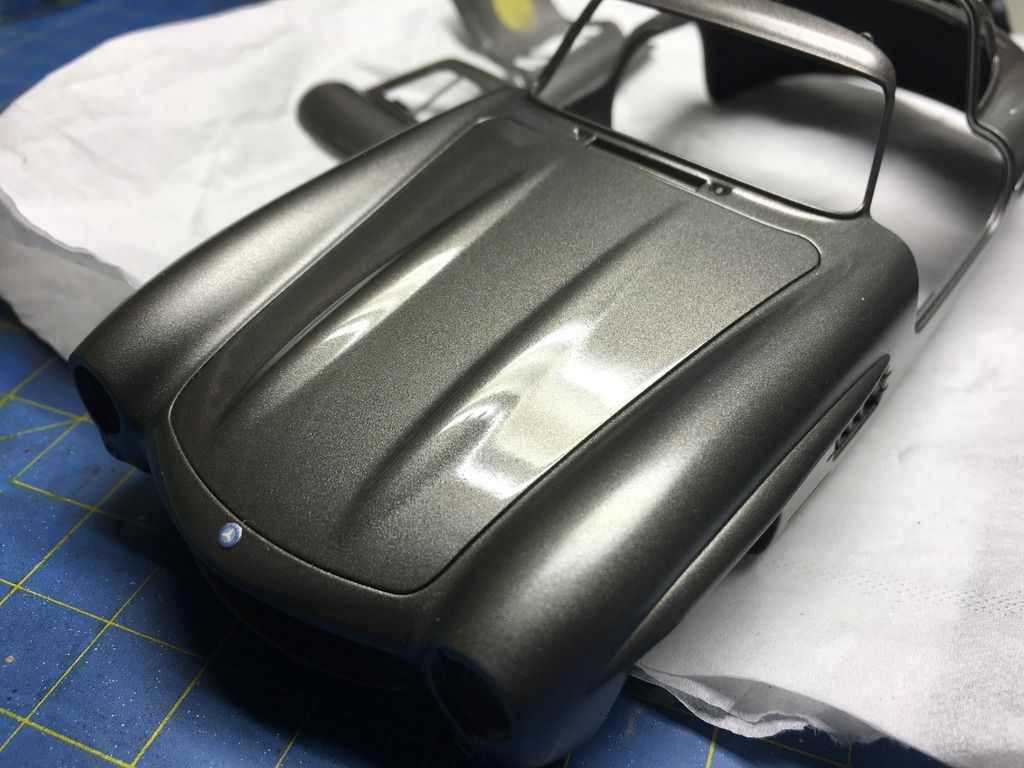
If your thinking the is some strange markings on the bonnet it's actually the reflection of the clouds
Re: Tims 300sl gull-wing
Posted: Sat May 07, 2016 10:24 am
by Vleugelmoer
Nice detailing job on the paint, do you also make house calls for 1:1 examples

Re: Tims 300sl gull-wing
Posted: Thu May 12, 2016 11:08 am
by Timplastic
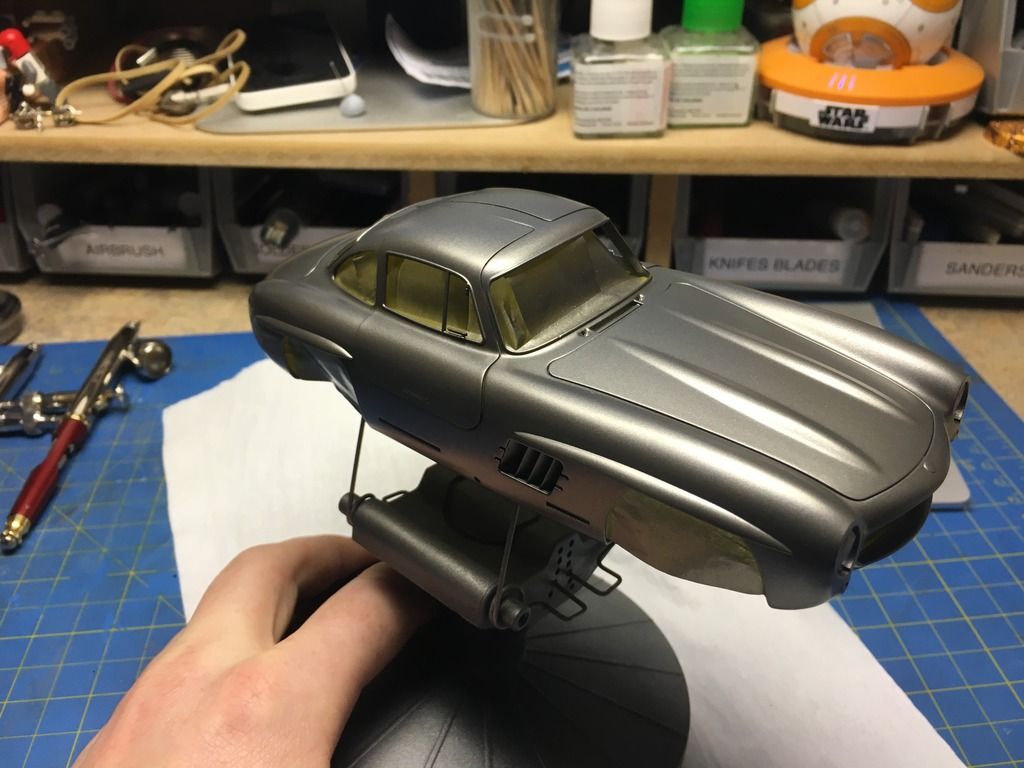
So the rest of the body has been given its first flat and polish
I will go over the whole car looking for any orange peel and polish it out

Re: Tims 300sl gull-wing
Posted: Thu May 12, 2016 3:57 pm
by Twokidsnosleep
Solid work man, that is the best auto paint and polish job I have ever seen
Re: Tims 300sl gull-wing
Posted: Thu May 12, 2016 6:28 pm
by Lysus
Again,

I can only hope my finish looks half as good as this. Fantastic!
Re: Tims 300sl gull-wing
Posted: Fri May 13, 2016 1:08 am
by FuzzSquad
Tim I've just looked through your build and it's a cracker, what a finish on the body, I can only hope that I get somewhere near that when I spray my Ducati.
A couple of questions as my painting knowledge with Zero Paints is nil. Once you've done your final coat of Zero base coat, did you flatten it back before your first coat of 1k. Also what 1k laquer did you use. I've bought Tamiya's Clear TS spray is this the same.
Re: Tims 300sl gull-wing
Posted: Fri May 13, 2016 3:44 pm
by NorthernModeller
Stunning, great work on achieving such a shine
Re: Tims 300sl gull-wing
Posted: Thu Oct 13, 2016 8:16 am
by Timplastic
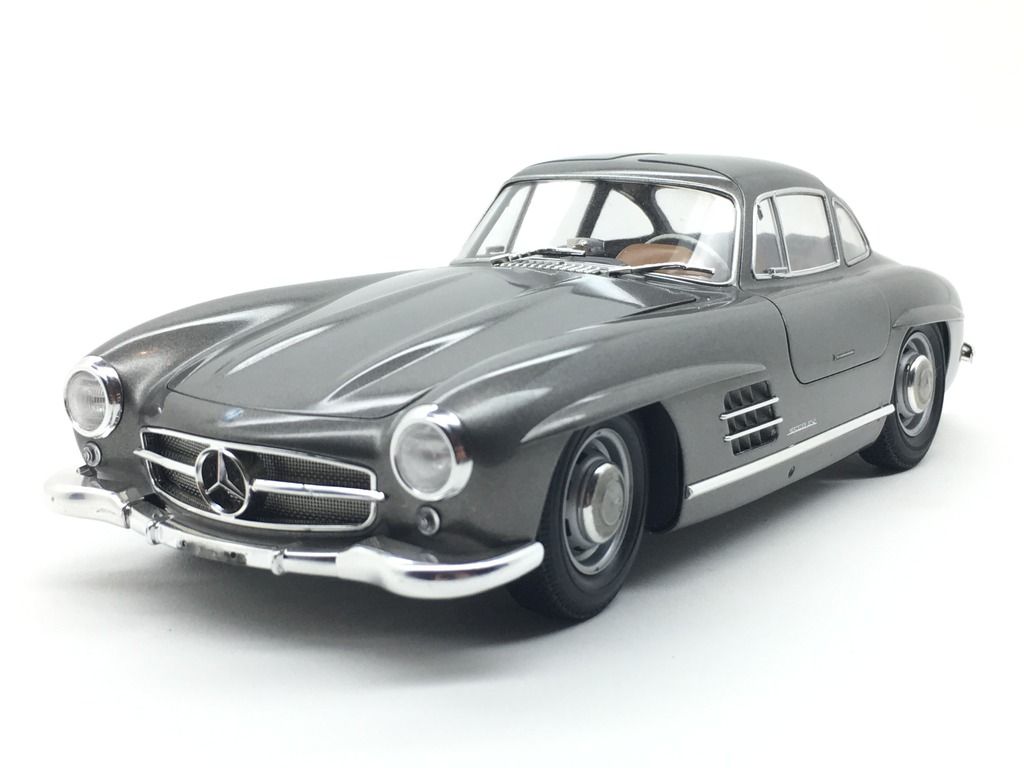
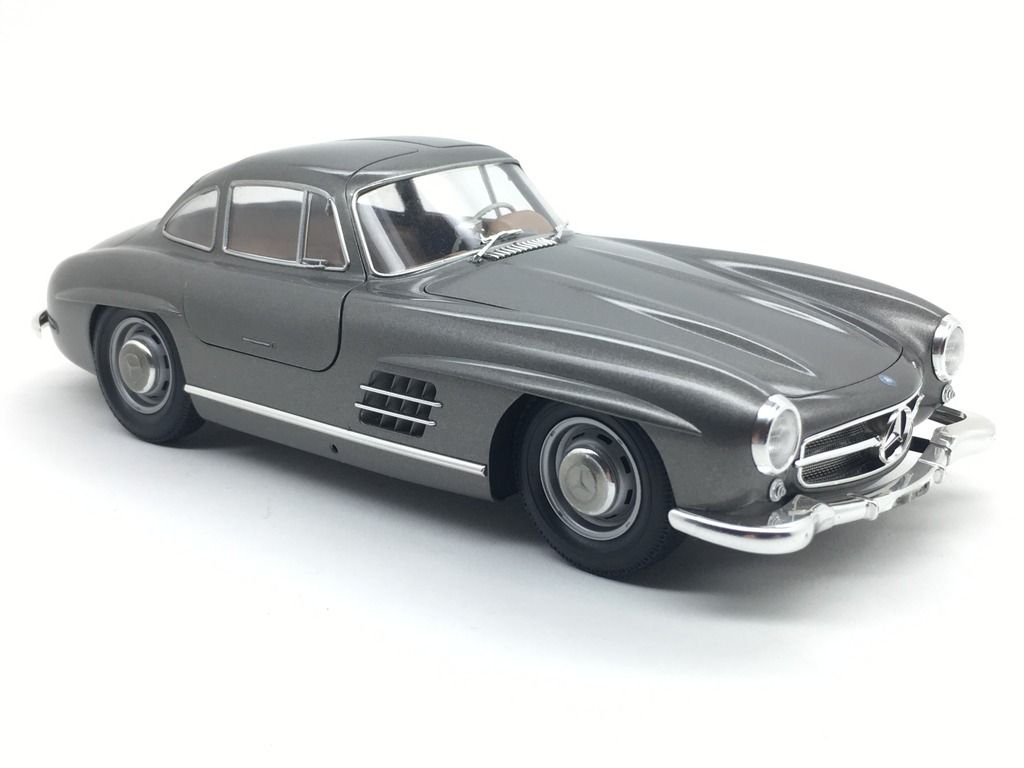
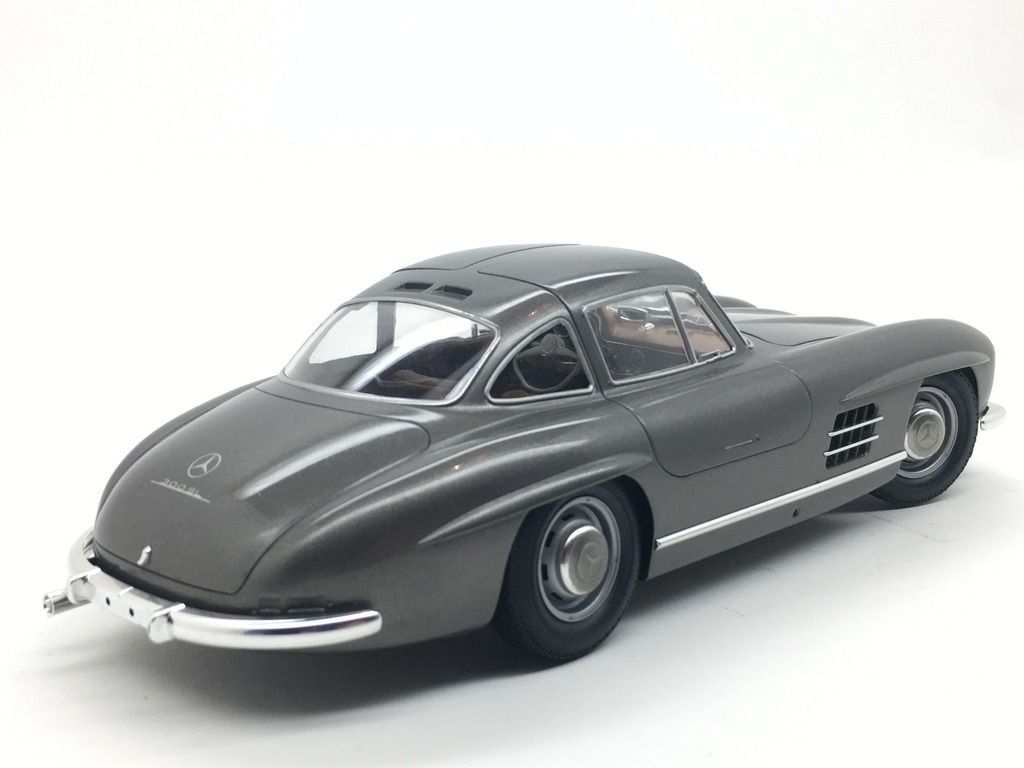
I had not realised how slack I had been by not posting up the finished shots of my gull wing.
As I have now completed my photo booth it seemed the perfect Time too get the shots posted up.
Enjoy
Re: Tims 300sl gull-wing
Posted: Thu Oct 13, 2016 8:19 am
by Timplastic
Re: Tims 300sl gull-wing
Posted: Thu Oct 13, 2016 2:46 pm
by Lysus

...that's a beautiful build.

Re: Tims 300sl gull-wing
Posted: Thu Oct 13, 2016 2:49 pm
by Twokidsnosleep
Gorgeous

Re: Tims 300sl gull-wing
Posted: Fri Oct 14, 2016 10:03 am
by RicRodrigues
Re: Tims 300sl gull-wing
Posted: Thu Oct 20, 2016 5:32 pm
by Davethepitch
That is a show room paint job.


