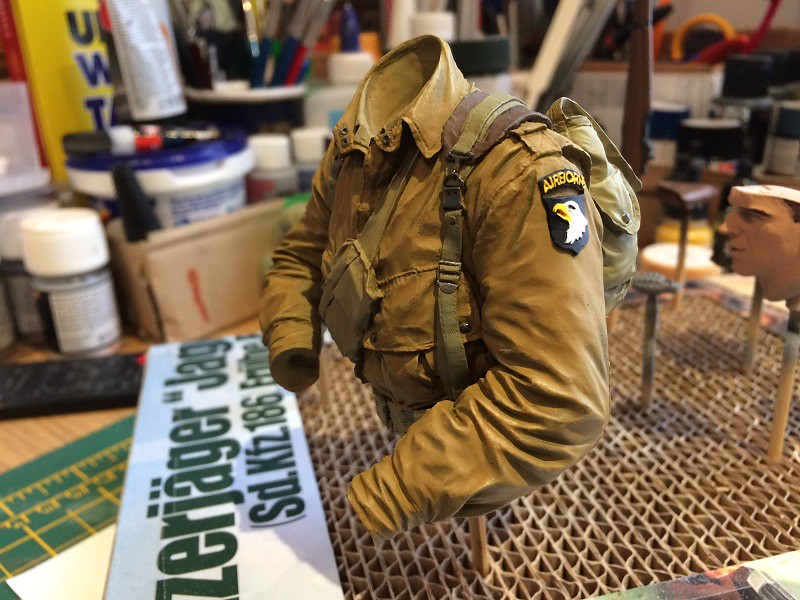
Didn't get to priming today but I did sort out most of the extra bits of kit.
The model comes with a length of wire and I couldn't work out what it was for. At the same time I couldn't figure out how to hang the pouches, water bottle and holster on the webbing. You can see where this is going

Started on the canteen first.
 IMG_5554
 by
David Stokes, on Flickr
Drilled out the relevant holes on the webbing belt
 IMG_5557
 by
David Stokes, on Flickr
 IMG_5558
 by
David Stokes, on Flickr
There's a location hole for the rear pouch so that went on just with some CA
 IMG_5559
 by
David Stokes,
Wire method for the small pouch at the front
 IMG_5555
 by
David Stokes, on Flickr
And the same for the holster
 IMG_5560
 by
David Stokes, on Flickr
 IMG_5561
 by
David Stokes, on Flickr
The wired pieces are not glued in place yet so they can be removed for painting.
I also test fitted the hands and rifle again, this time working out the right way to attach them. Once painted, the left hand will go on the arm, the right hand will be attached to the rifle. I can then just slide the gun into place and fix the right hand to the arm with CA glue. Mystery solved. It also means I can paint everything separately. Nice and simple. Tried it with Blu-Tac.
 IMG_5564
 by
David Stokes, on Flickr
 IMG_5565
 by
David Stokes, on Flickr
None of this is down to any skill on my part (yet - but here's hoping

) but holy smokes this thing looks the absolute Nuts!
 IMG_5563
 by
David Stokes, on Flickr

 IMG_5539 by David Stokes, on Flickr
 IMG_5540 by David Stokes, on Flickr
 IMG_5541 by David Stokes, on Flickr


