Further work on the back tail section including the back wing
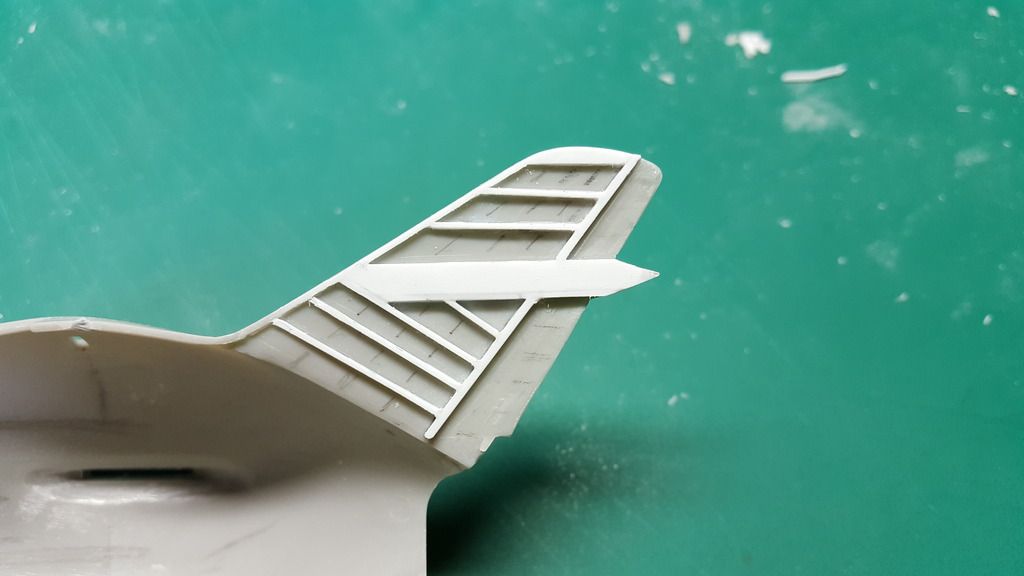
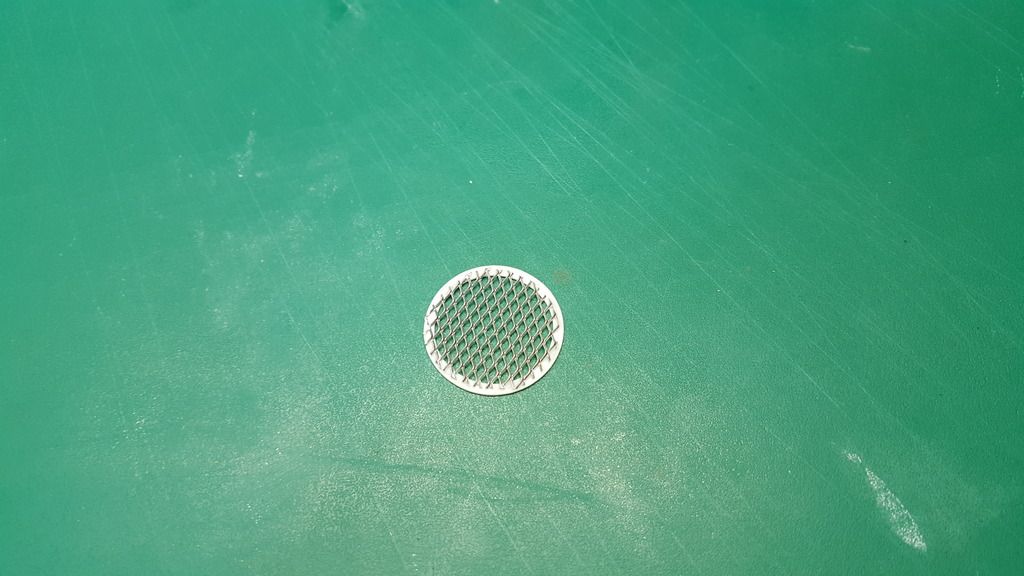
In the image below you can see that i have started to insert all the smaller more detailed sections into the main internal structure. I was rather pleased at this stage as the detail was starting to mount in this section and was looking rather nice.
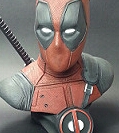
As above i then started to include the finer details and ribbage on the rear fin to further increase the cutaway detail in this section as shown.
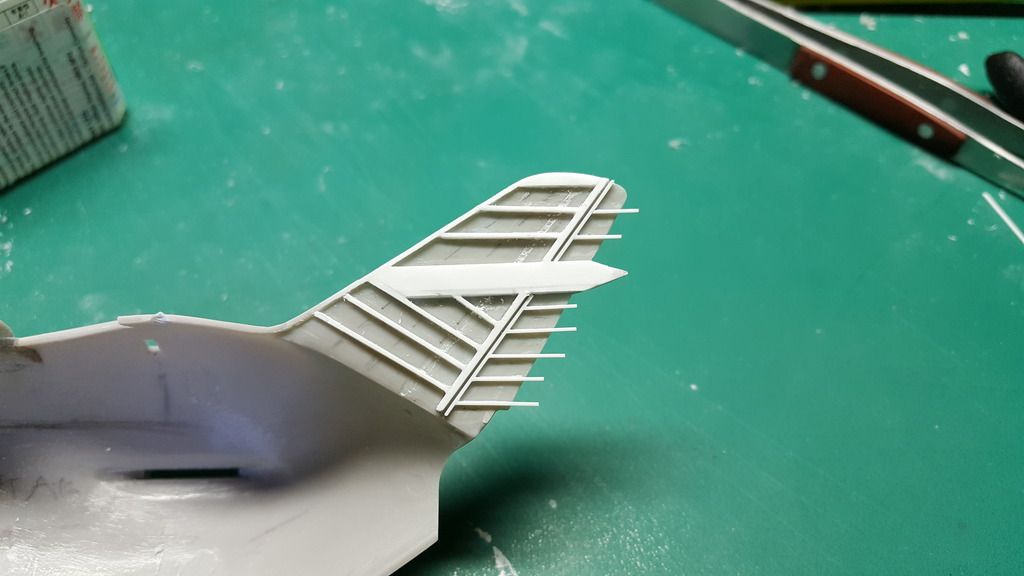
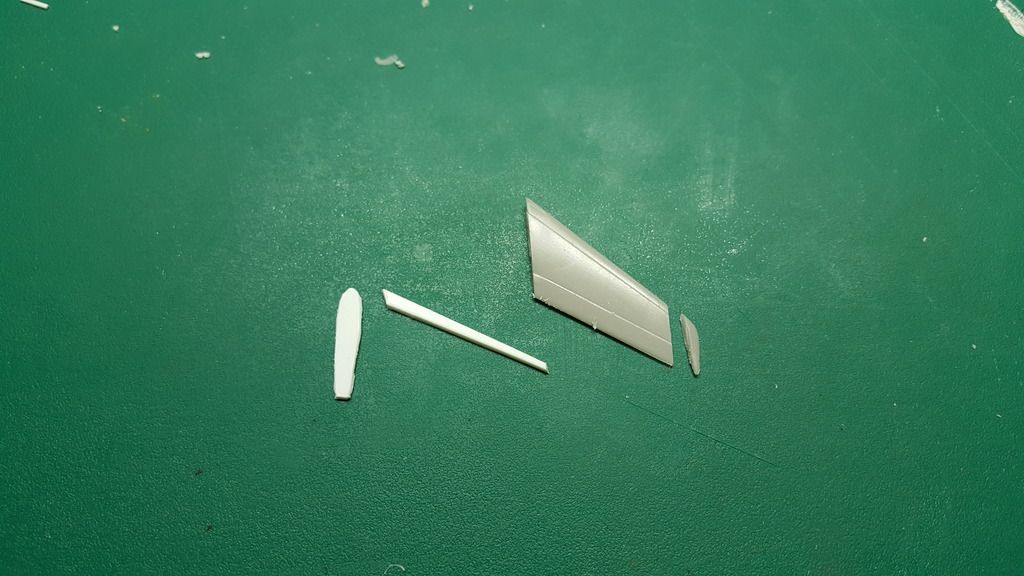
It was now time to start producing the rear wing ... As seen in the image i cut away the end of the kit part and used that section as the end tip ... i then cut myself some pieces of plasticard and assembled them together so they where the same shape as the opposite intact kit wing


 [/URL]
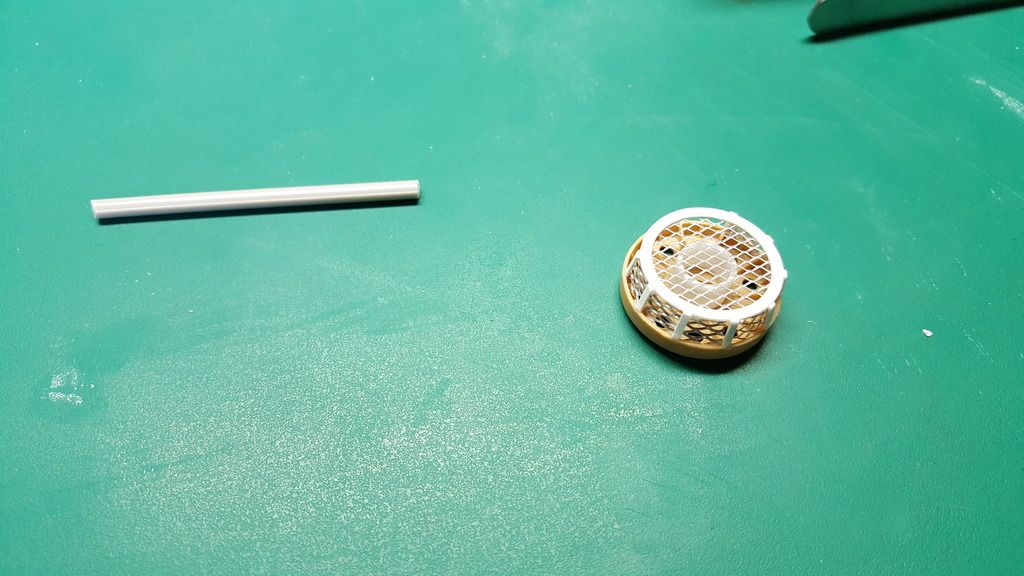 [/URL]