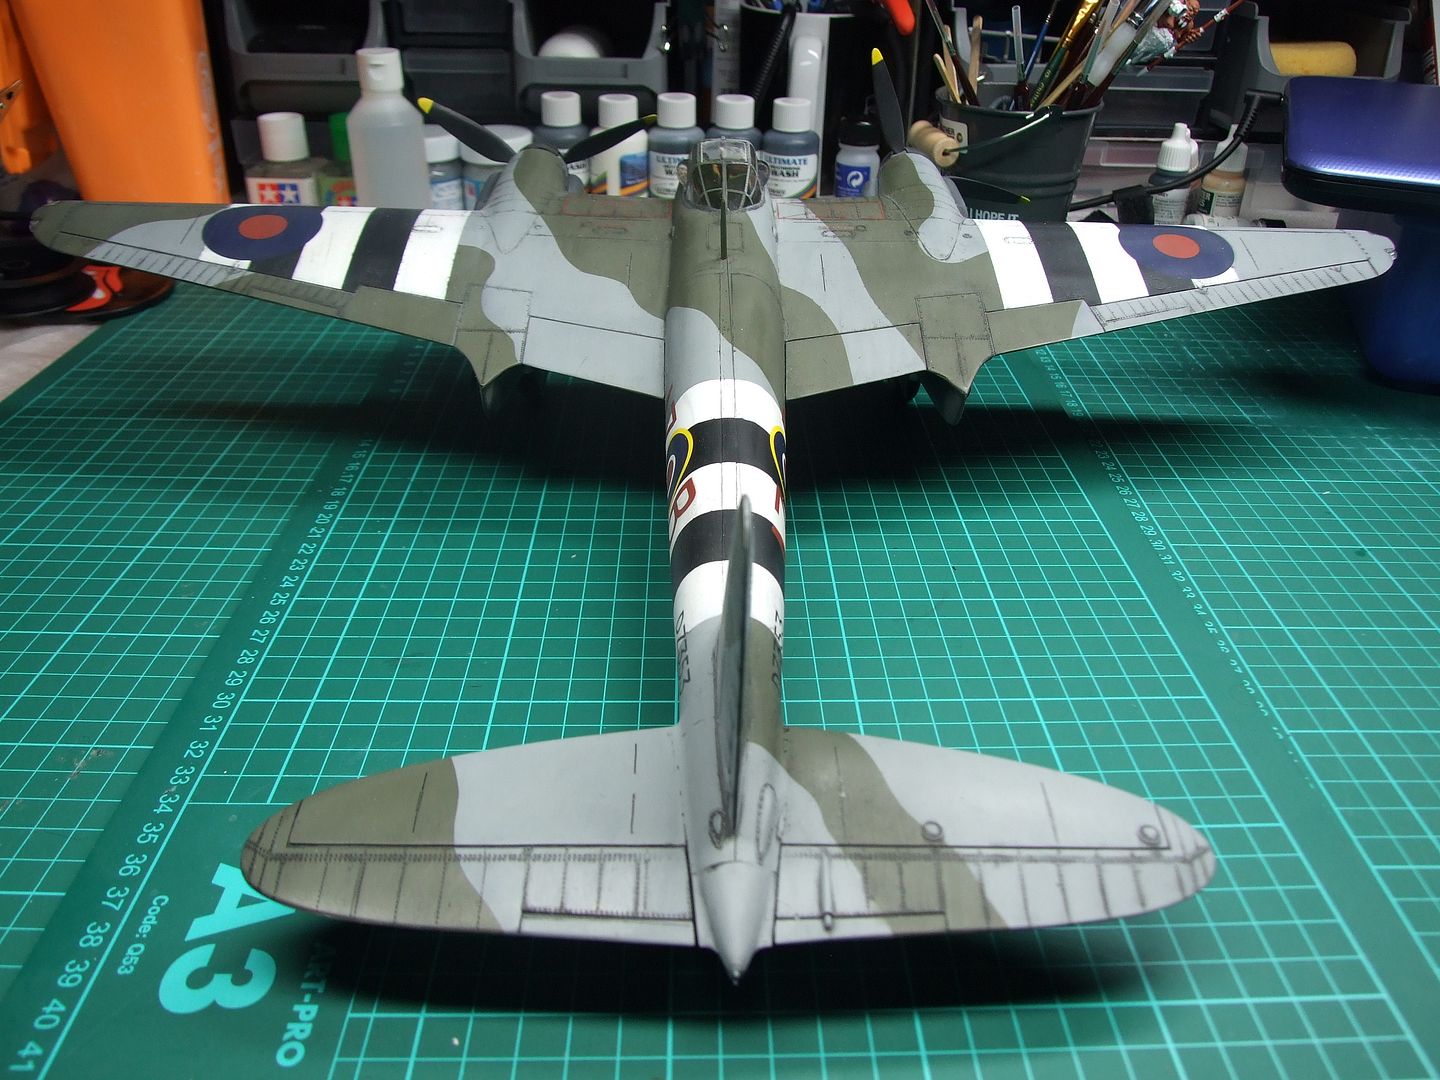
Revelling in my Revell Mossie: Skullfish

Post Reply
User avatar
Skullfish
First Sergeant
First Sergeant
Posts: 536
Joined: Thu Apr 16, 2015 2:49 pm
Location: Clydebank, Scotland.
Contact:
Scotland

Revelling in my Revell Mossie: Skullfish

Post by Skullfish »

Update #1

as free time seems to be in short supply in my house at the moment this is going to be a slow build. Just as well we've got a few months to do it :tongue:
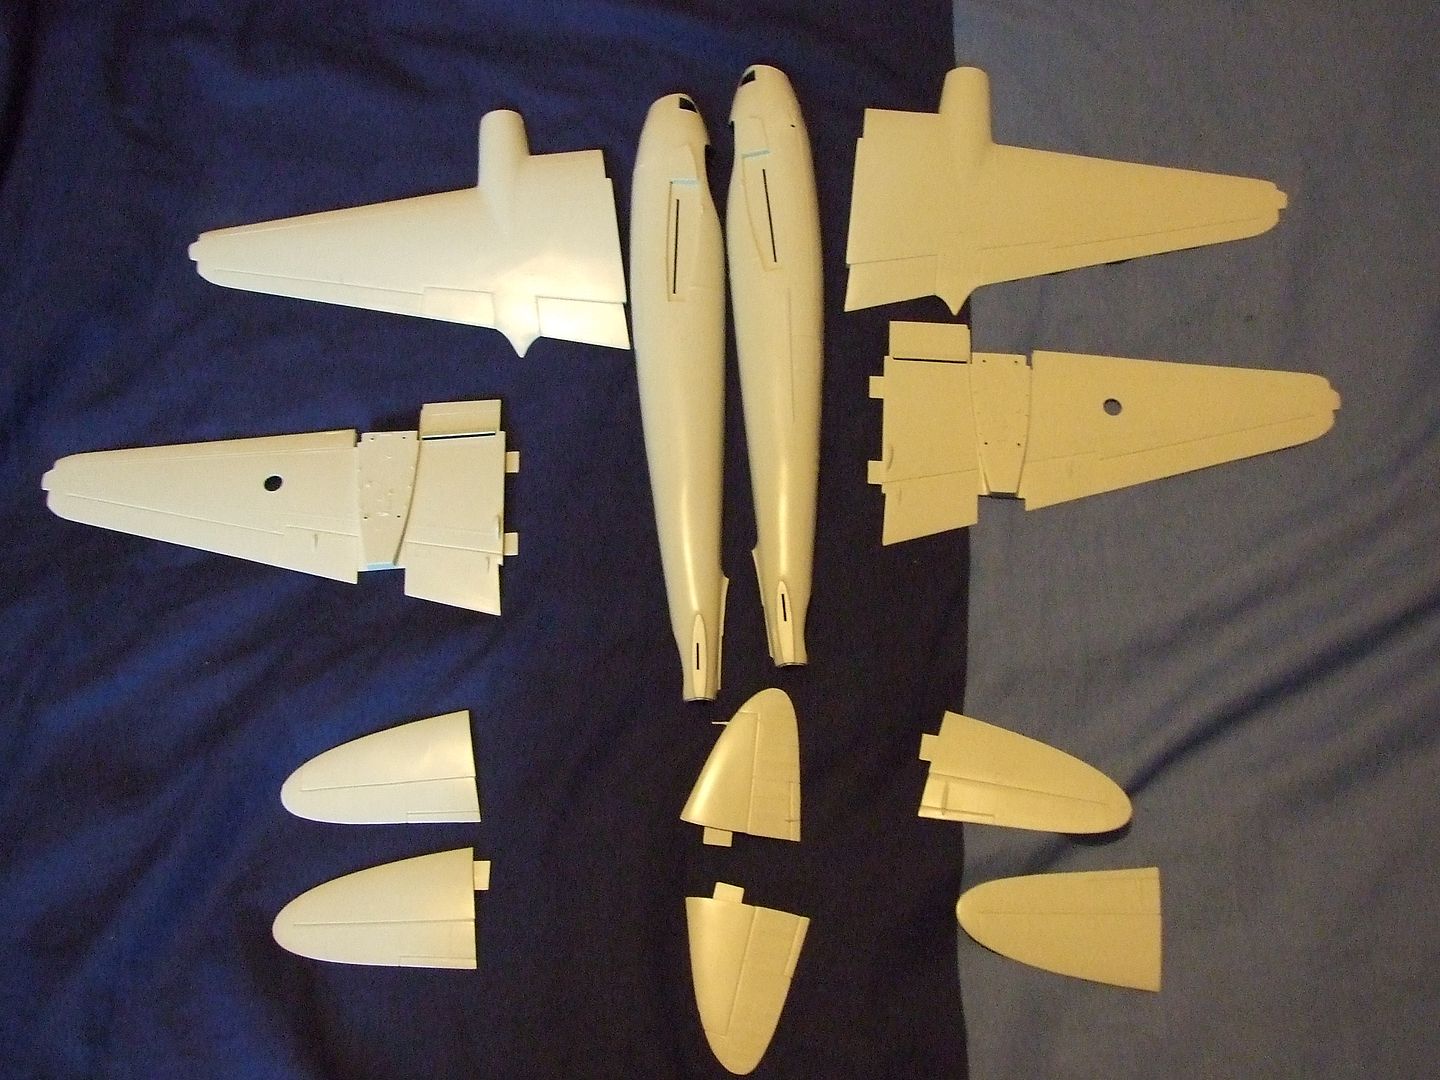
Anyway seeing as Nige has already put up oodles of info that means i can be lazy and just get stuck in to my kit : The Mosquito Mk IV by Revell @1/32
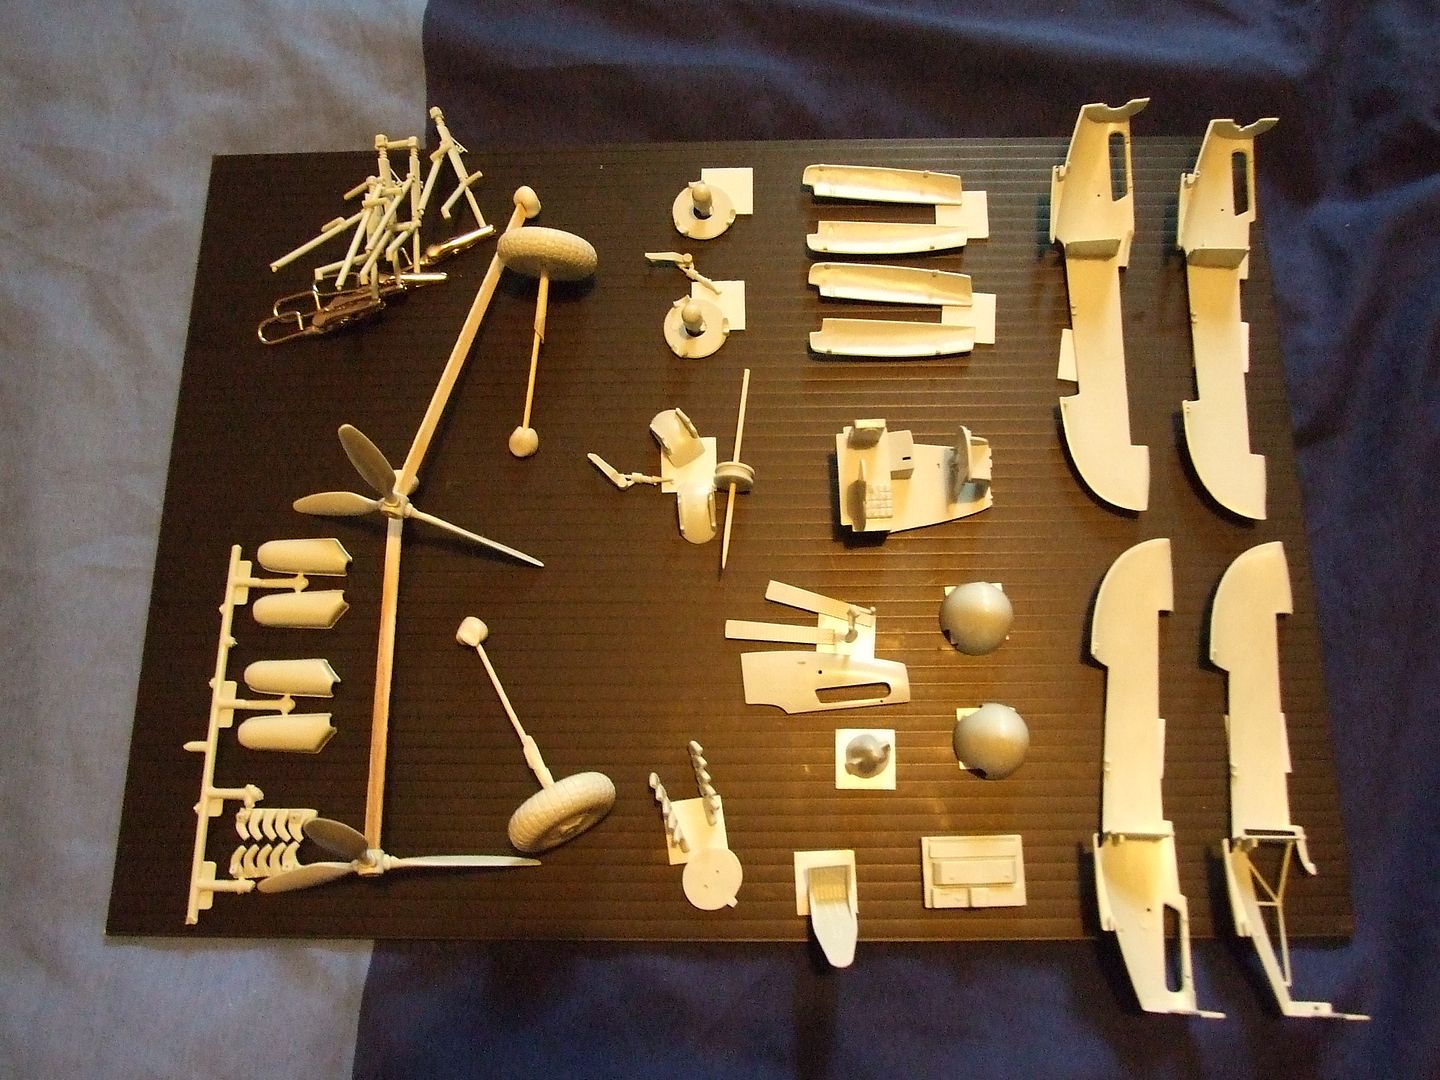
Now the kit molding itself is from the late 1990's (It said so on a couple of the wing pieces which i had to sand off :wall: ) and it seems pretty basic from first looking at it. Not much detail to any of the parts considering the size this things gonna be, probably lots of stuff a competent modeler could do to her but am just sticking to "out of box" for now. I did have a look to see if there was any aftermarket parts for this kit but there aint any i could find.
The major fuselage components are huge but need quite a bit of cleanup, which looks like it will be a common theme throughout the initial stages, flash here and there in fiddly places, sink marks showing where there are locating pins internally, ejector pin marks are few and far between tho but when they do appear they are a bugger to get rid of. Anyway enough moaning, i do find it nice and relaxing just sniping and sanding while watching a movie or car crash telly.

First up i freed the crew from the sprue thinking they must have used twins to model for the figures, and they are awful for the size they are
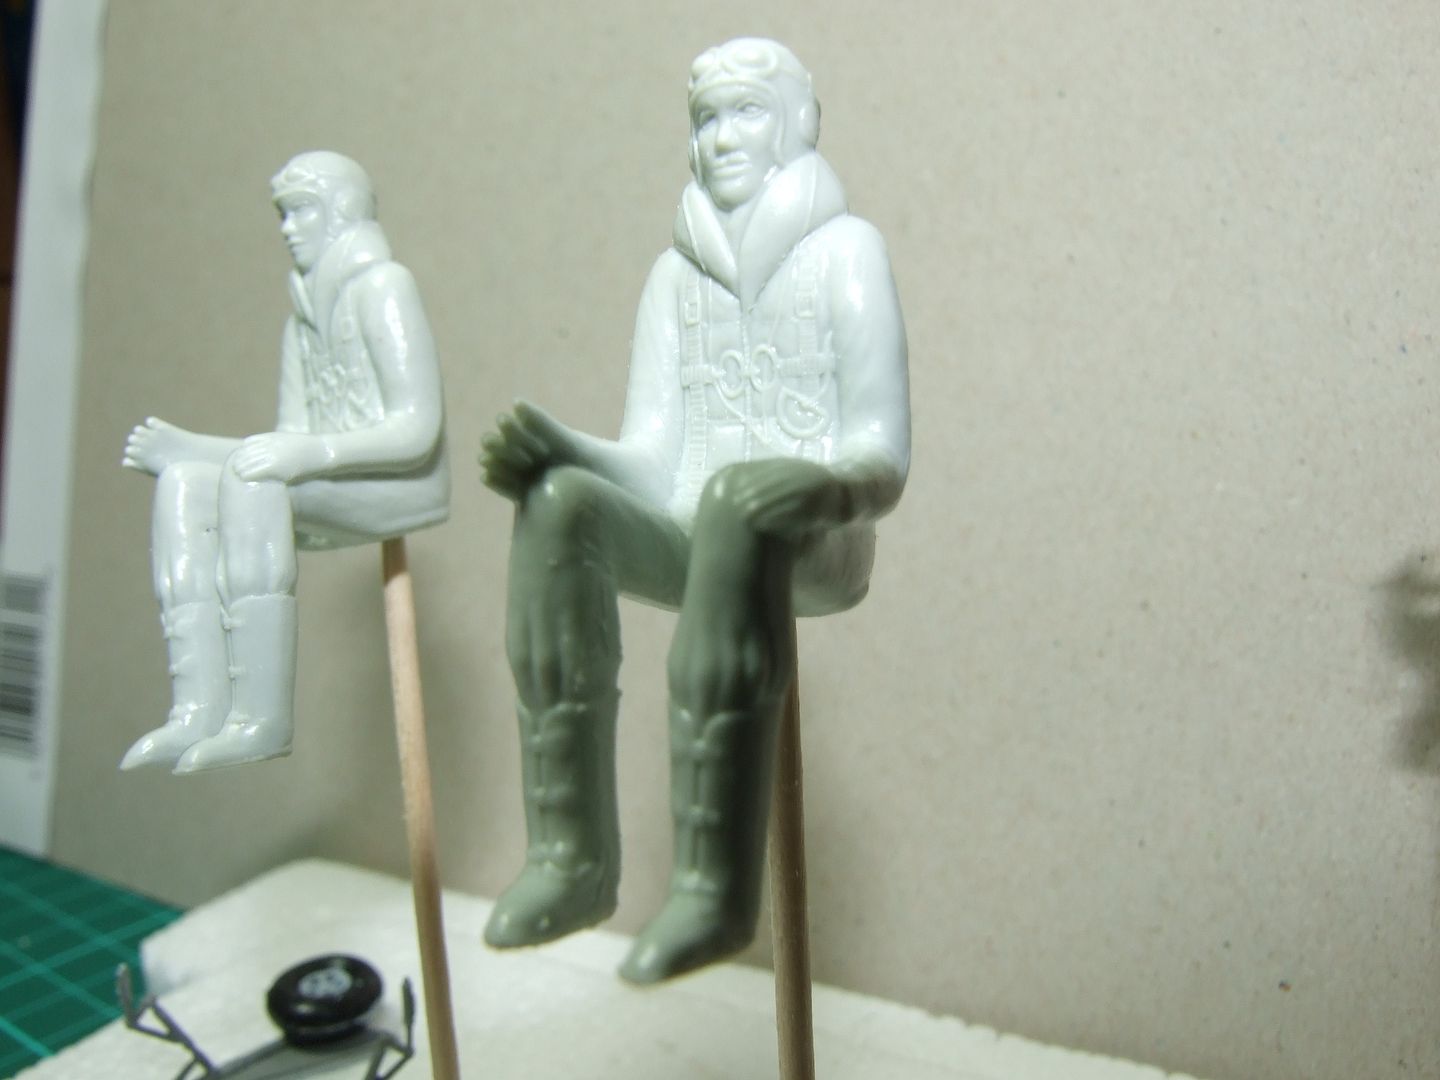
Image

they come in just two pieces, front and back which leaves a horrible seam line that needed to be taken care of then they were mounted on cocktail sticks ready for primer and base coats.
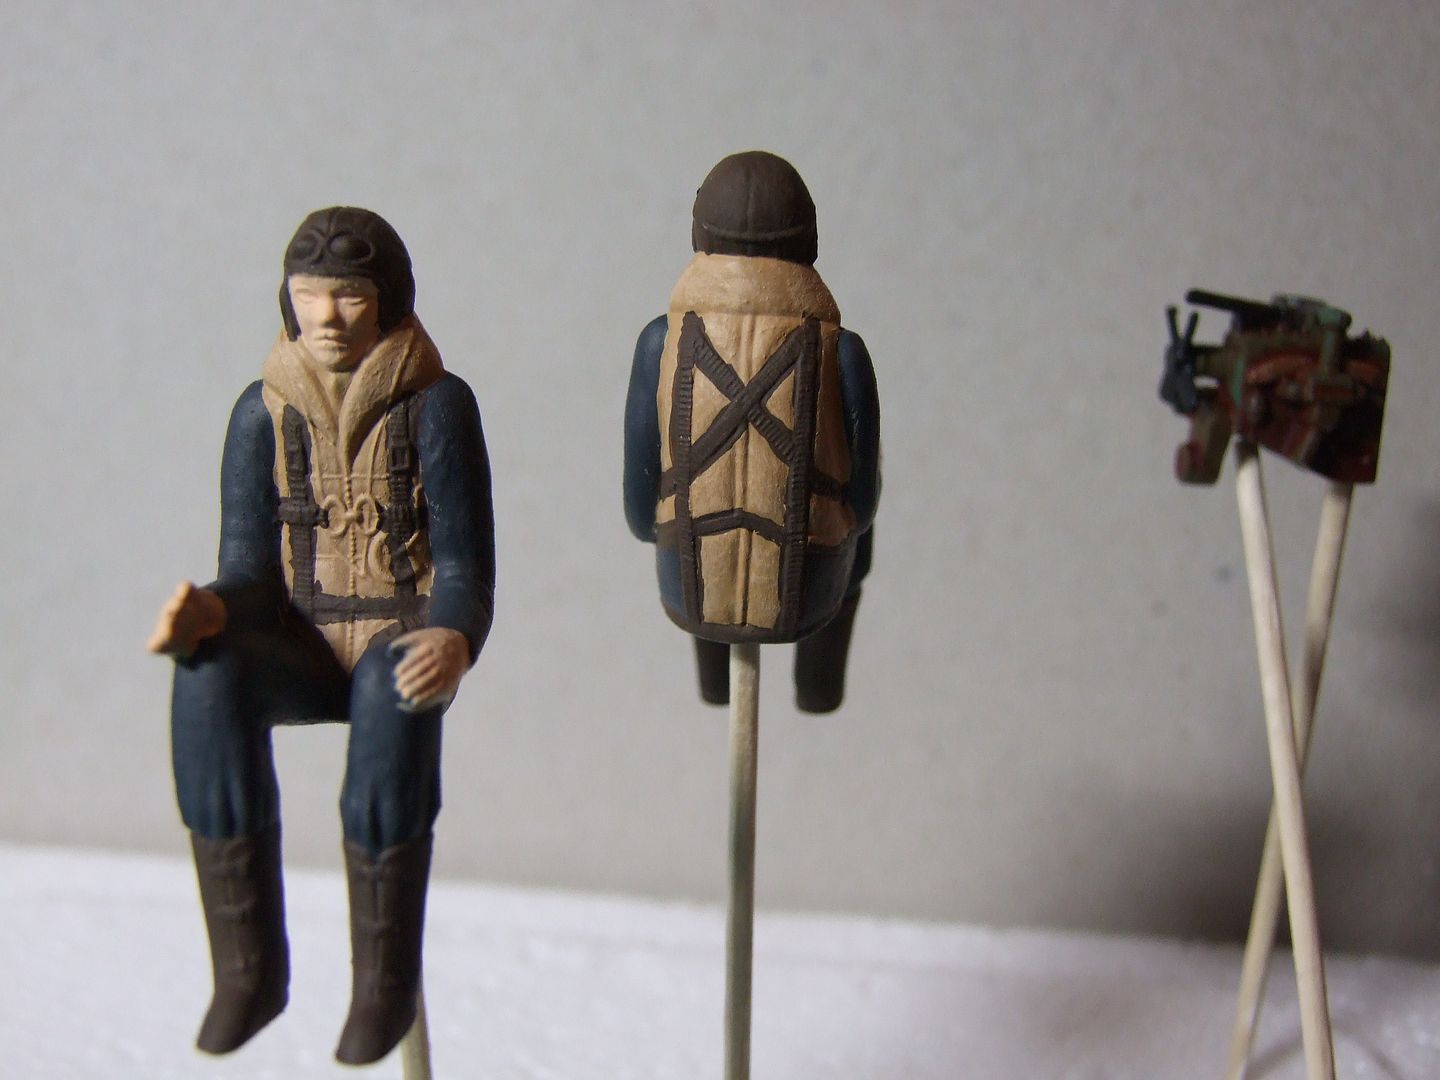
Image

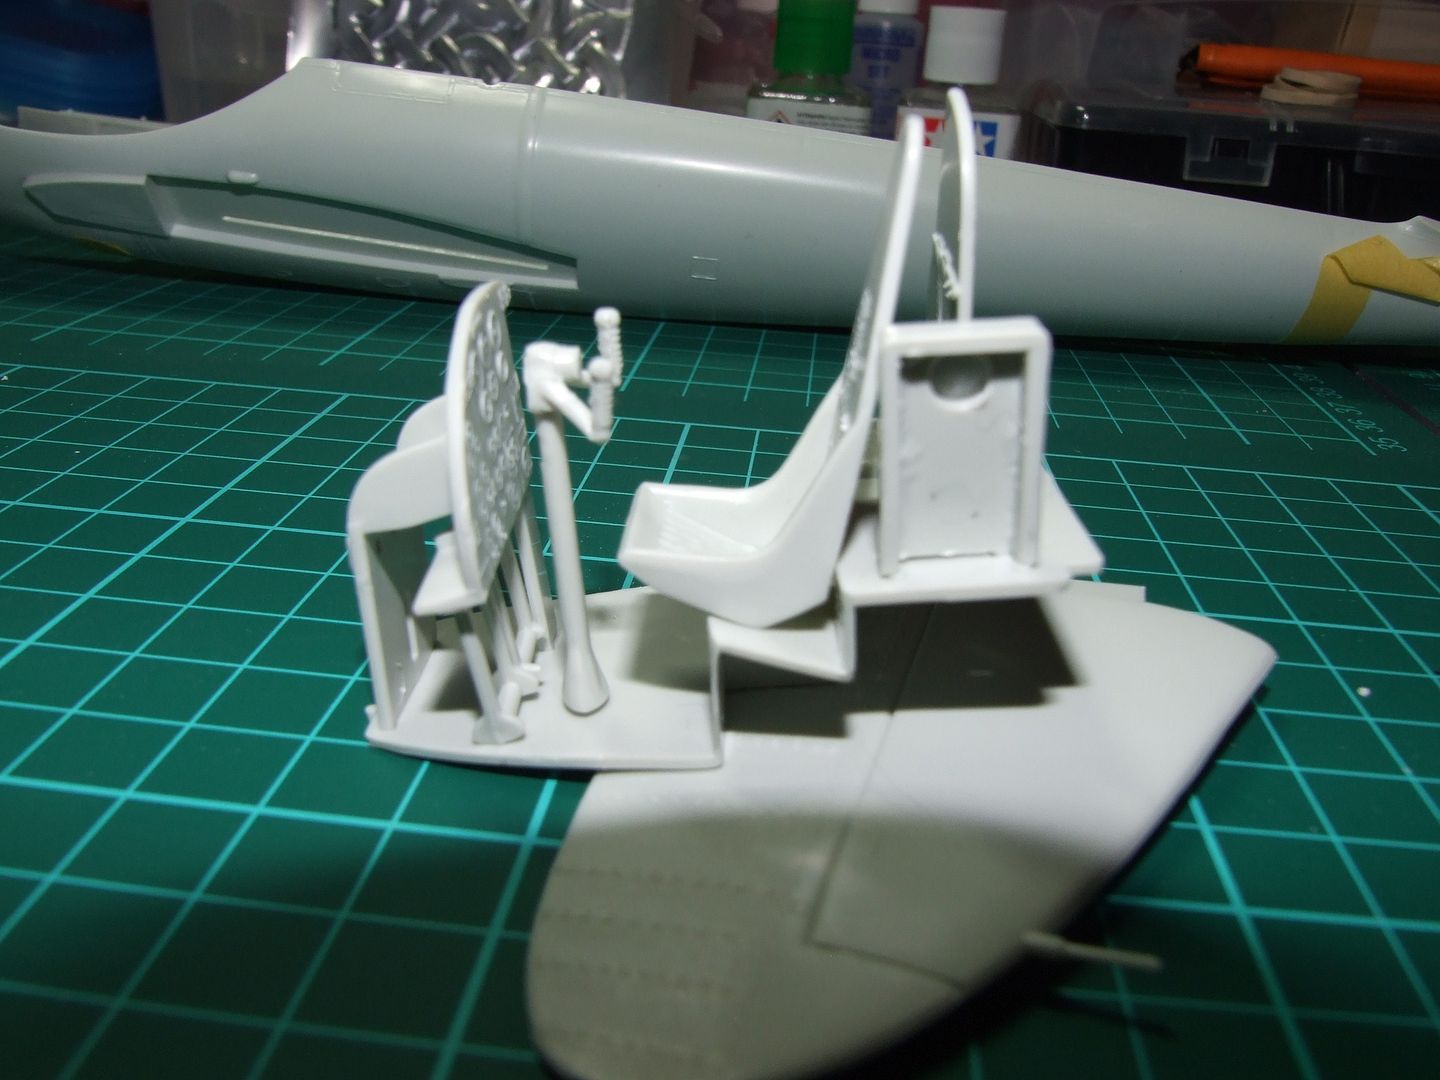
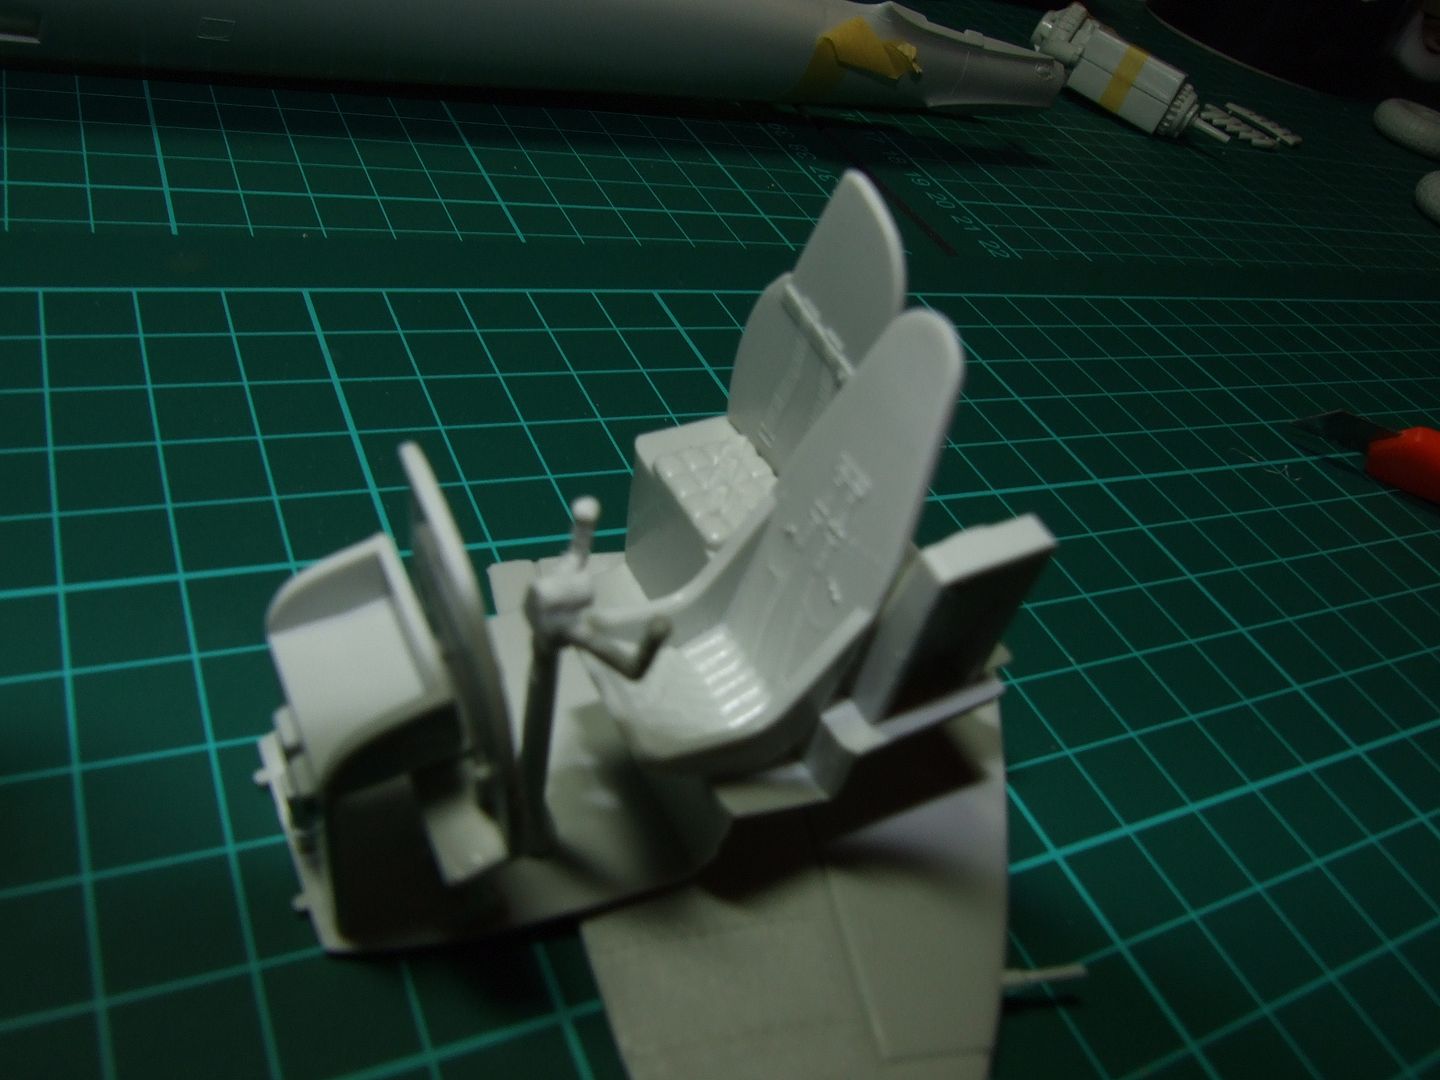
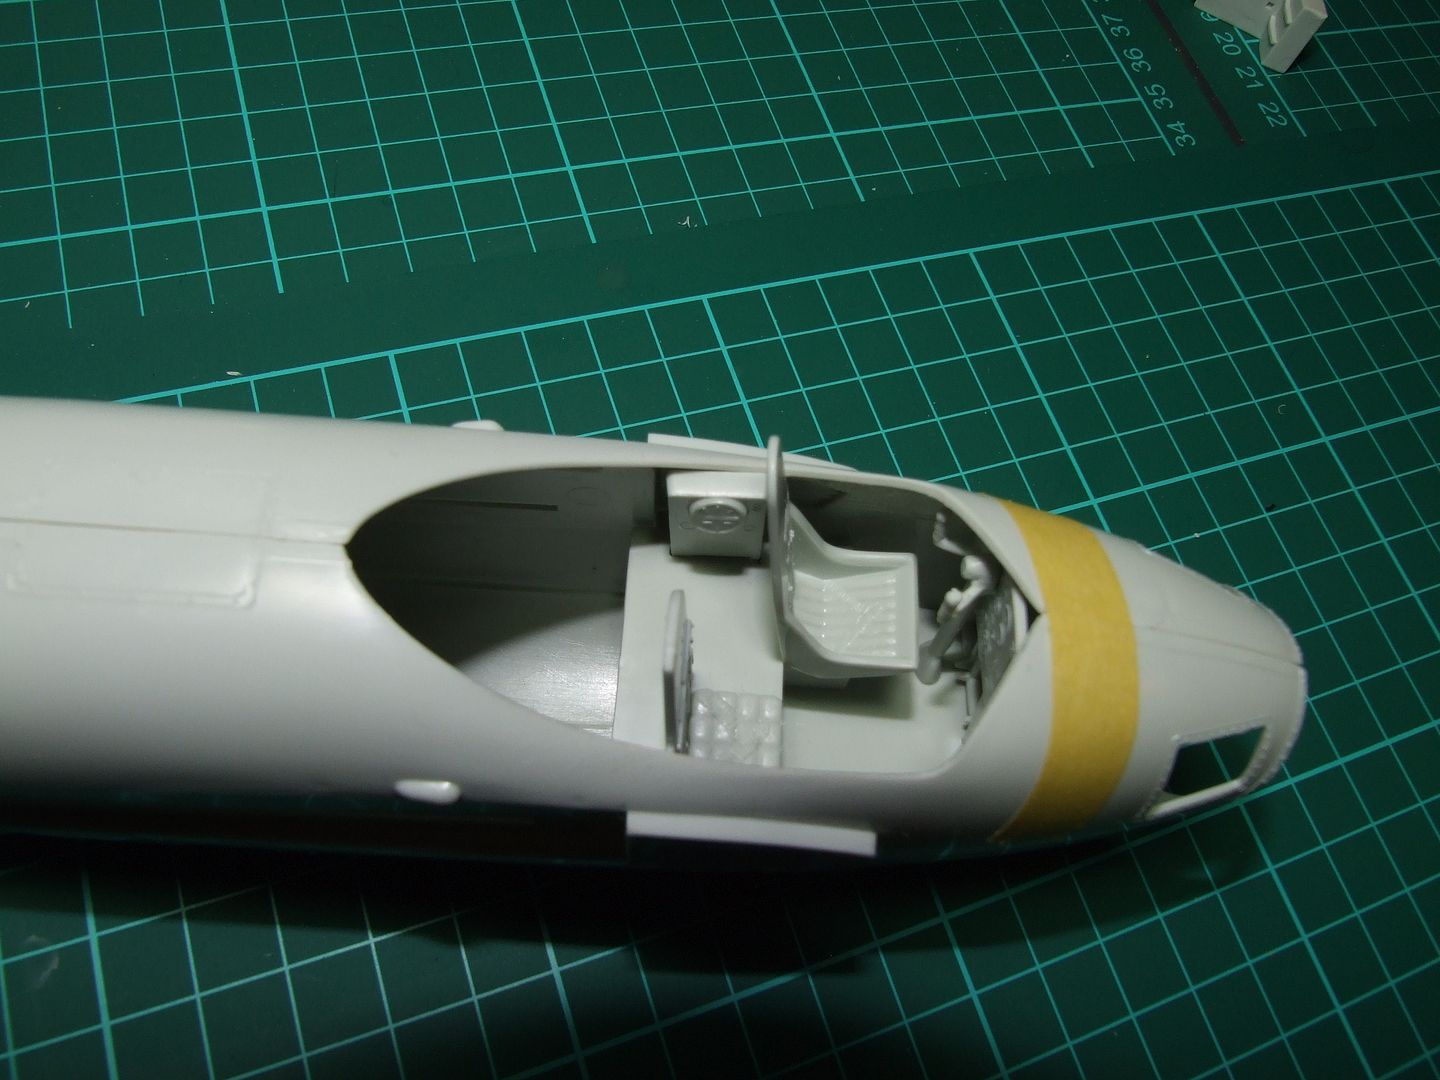
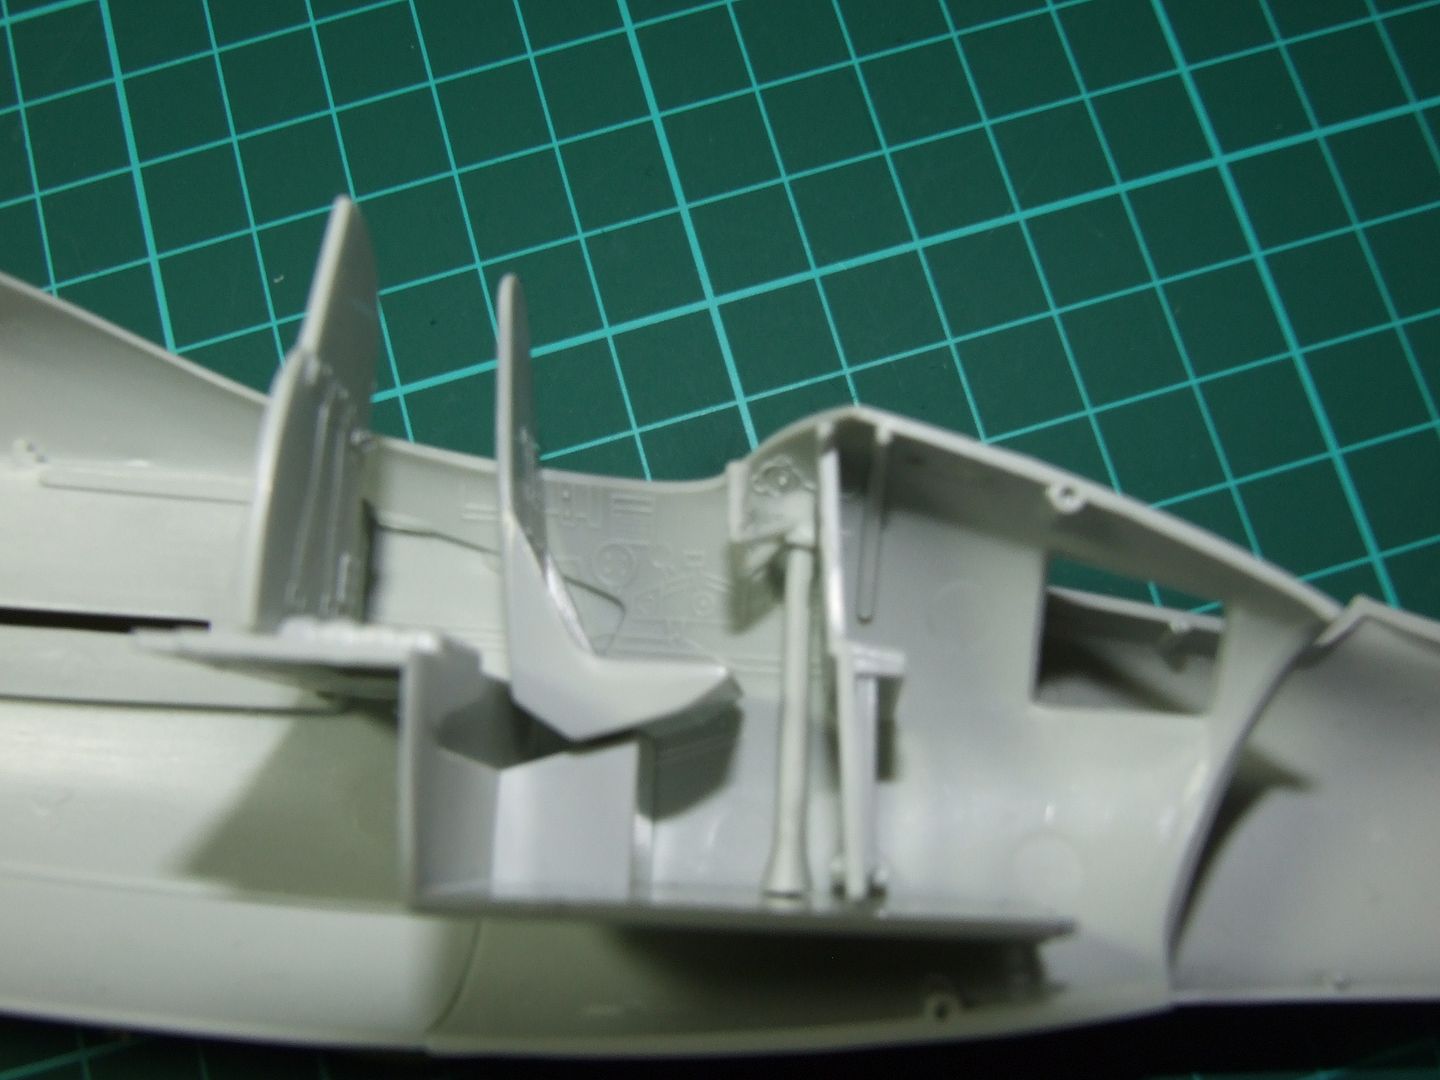
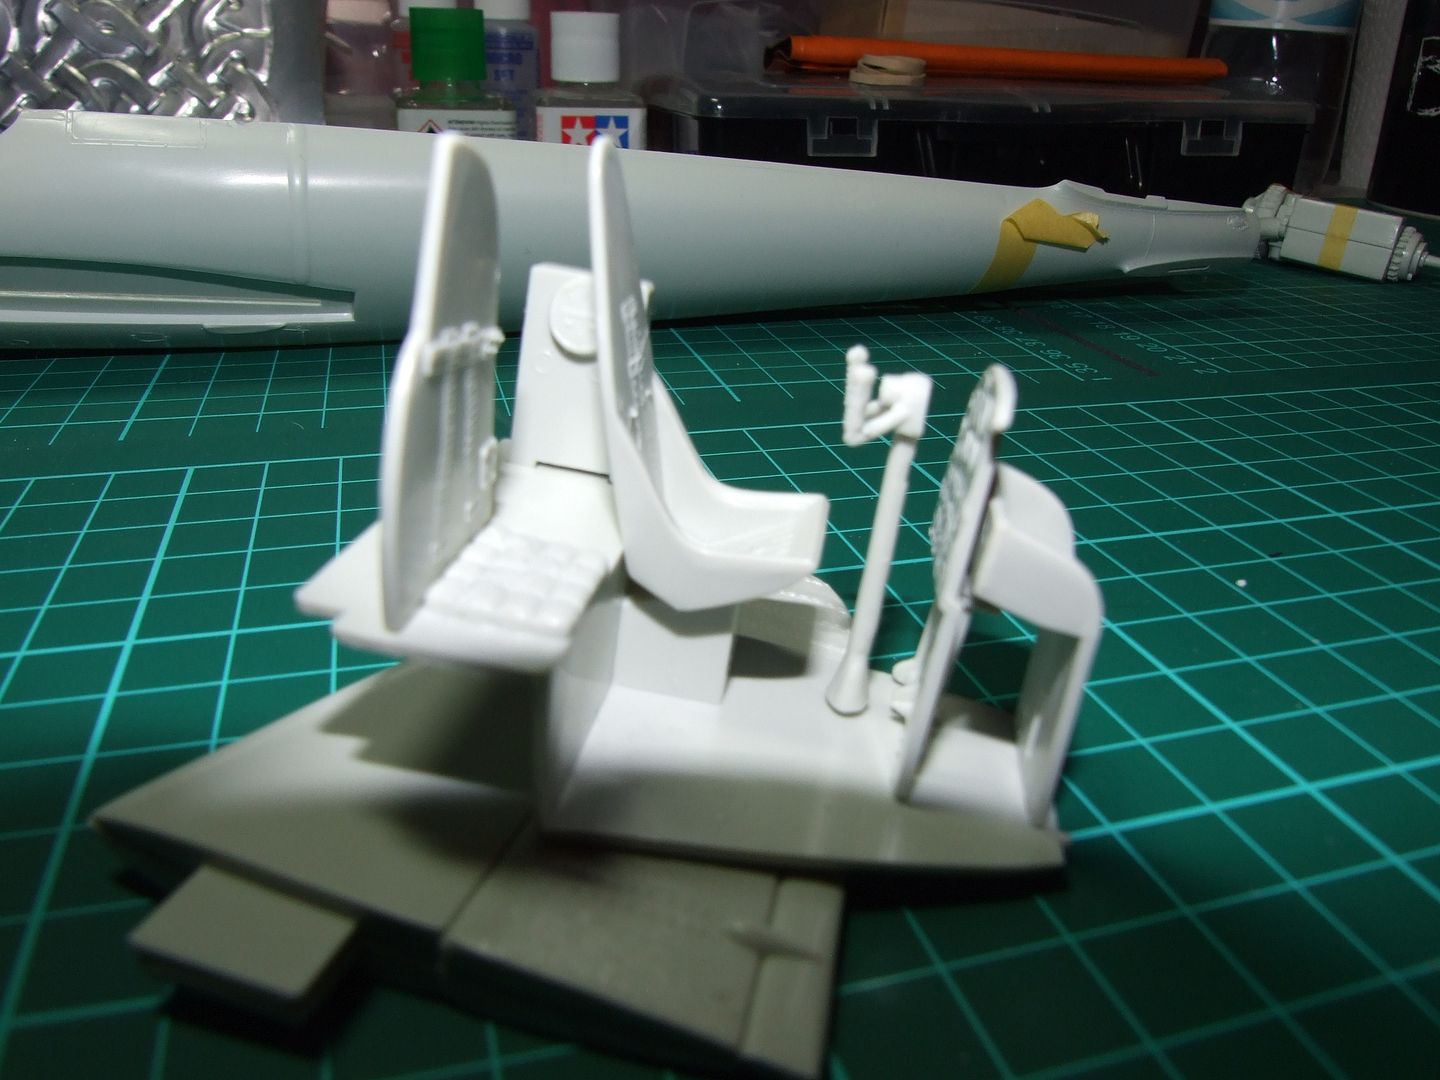
the cockpit pieces fit together ok but leave a range of movement in them that doesnt resolve itself when offered up to the fuselage.
all neat and tidy for dry fit
Image
Image
Image

then it goes wobbly when offered up to the fuselage
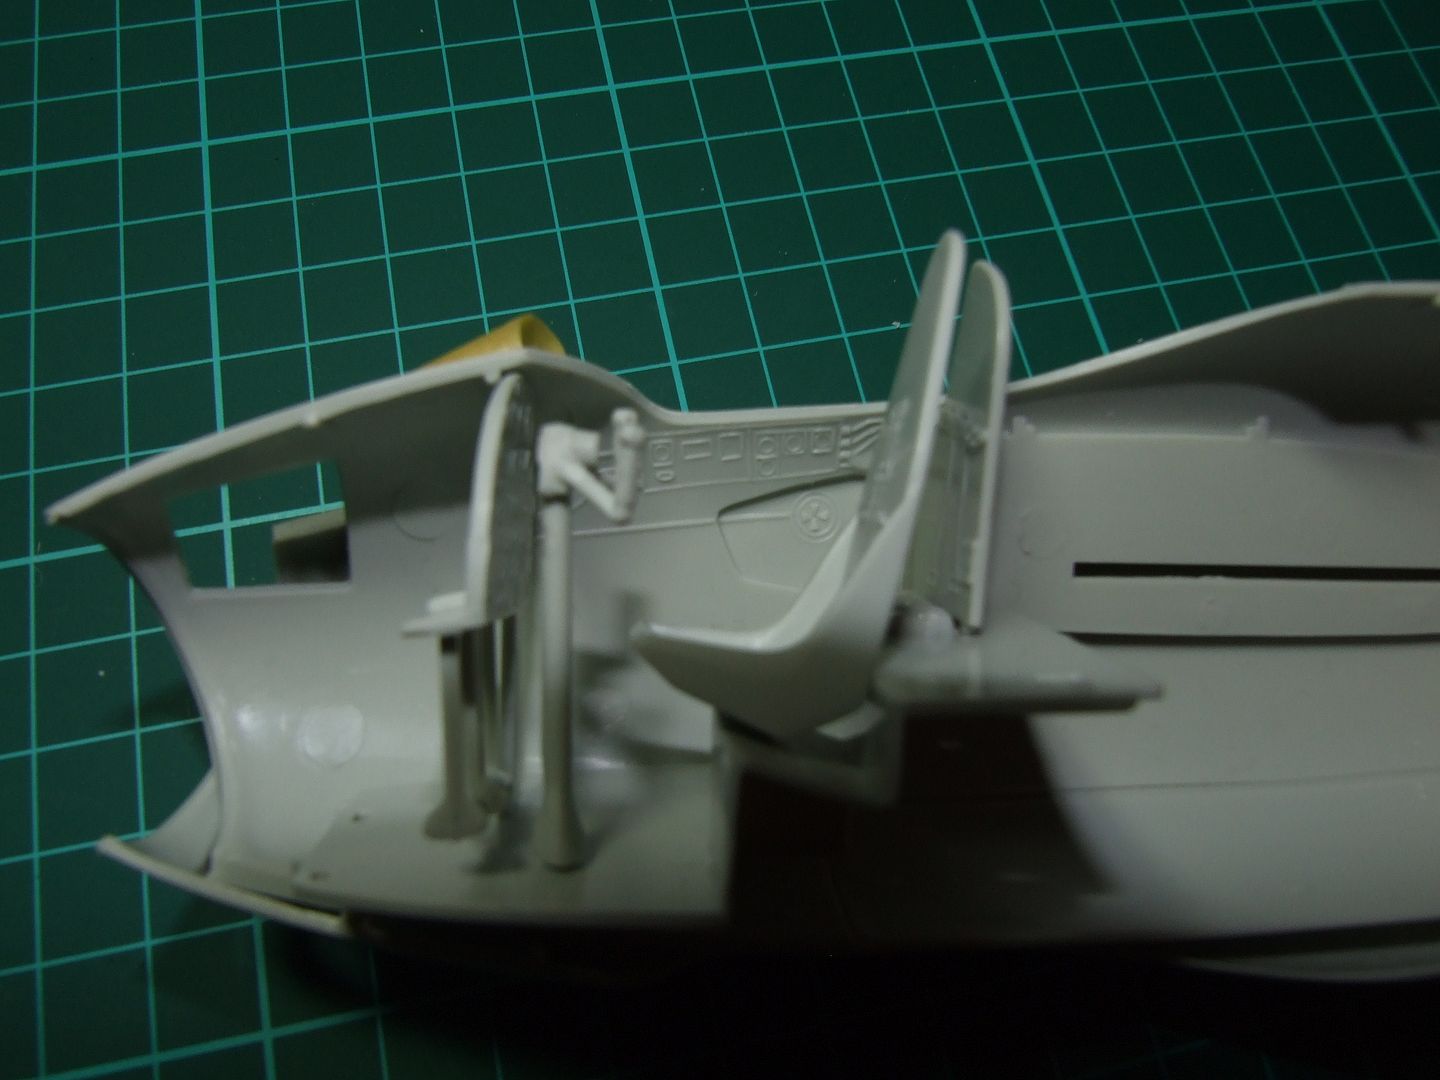
Image
Image
Image
so i removed the pilots seat to give me a bit of room to manuevre and glued the cockpit parts together while still dry fitted to the fuselage. this would let me remove the cockpit assembly ready for painting and i would know it fits for final assembly.
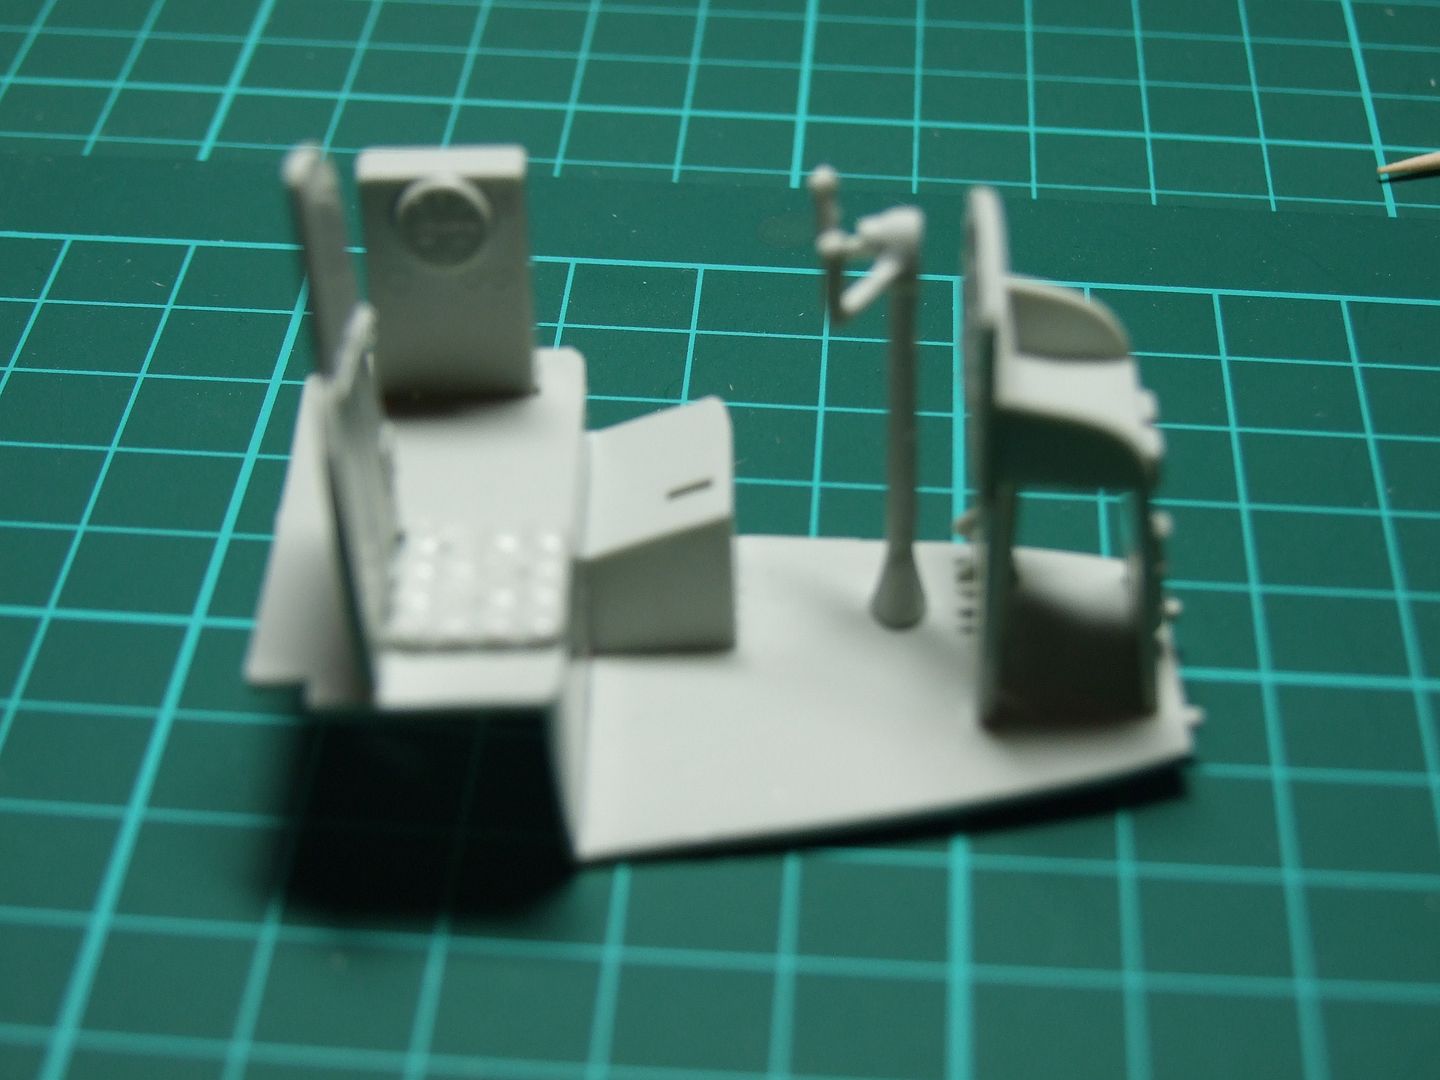
Image
all set and ready for paint, the control stick isnt glued at this point, just didnt want to try and remove it and knock everything outa place while the glue was curing.

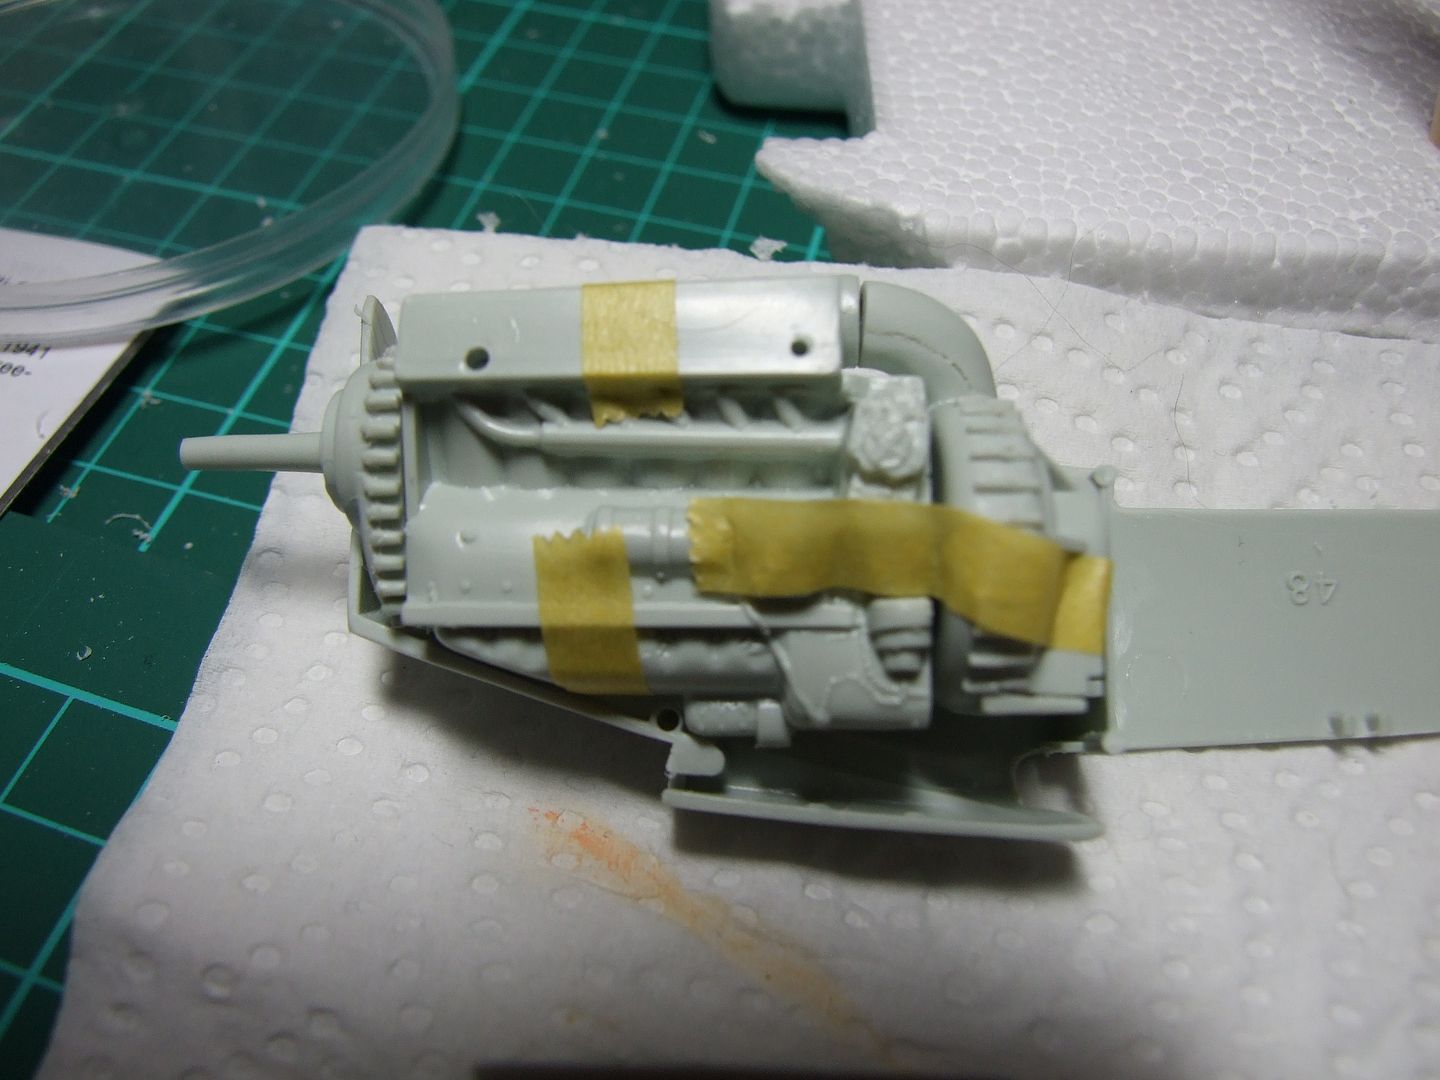
next i assembled and taped the engine block together and dry mounted it it the engine bay/nacelle?? tight fit but ok, will test the whole fit on the wing later.
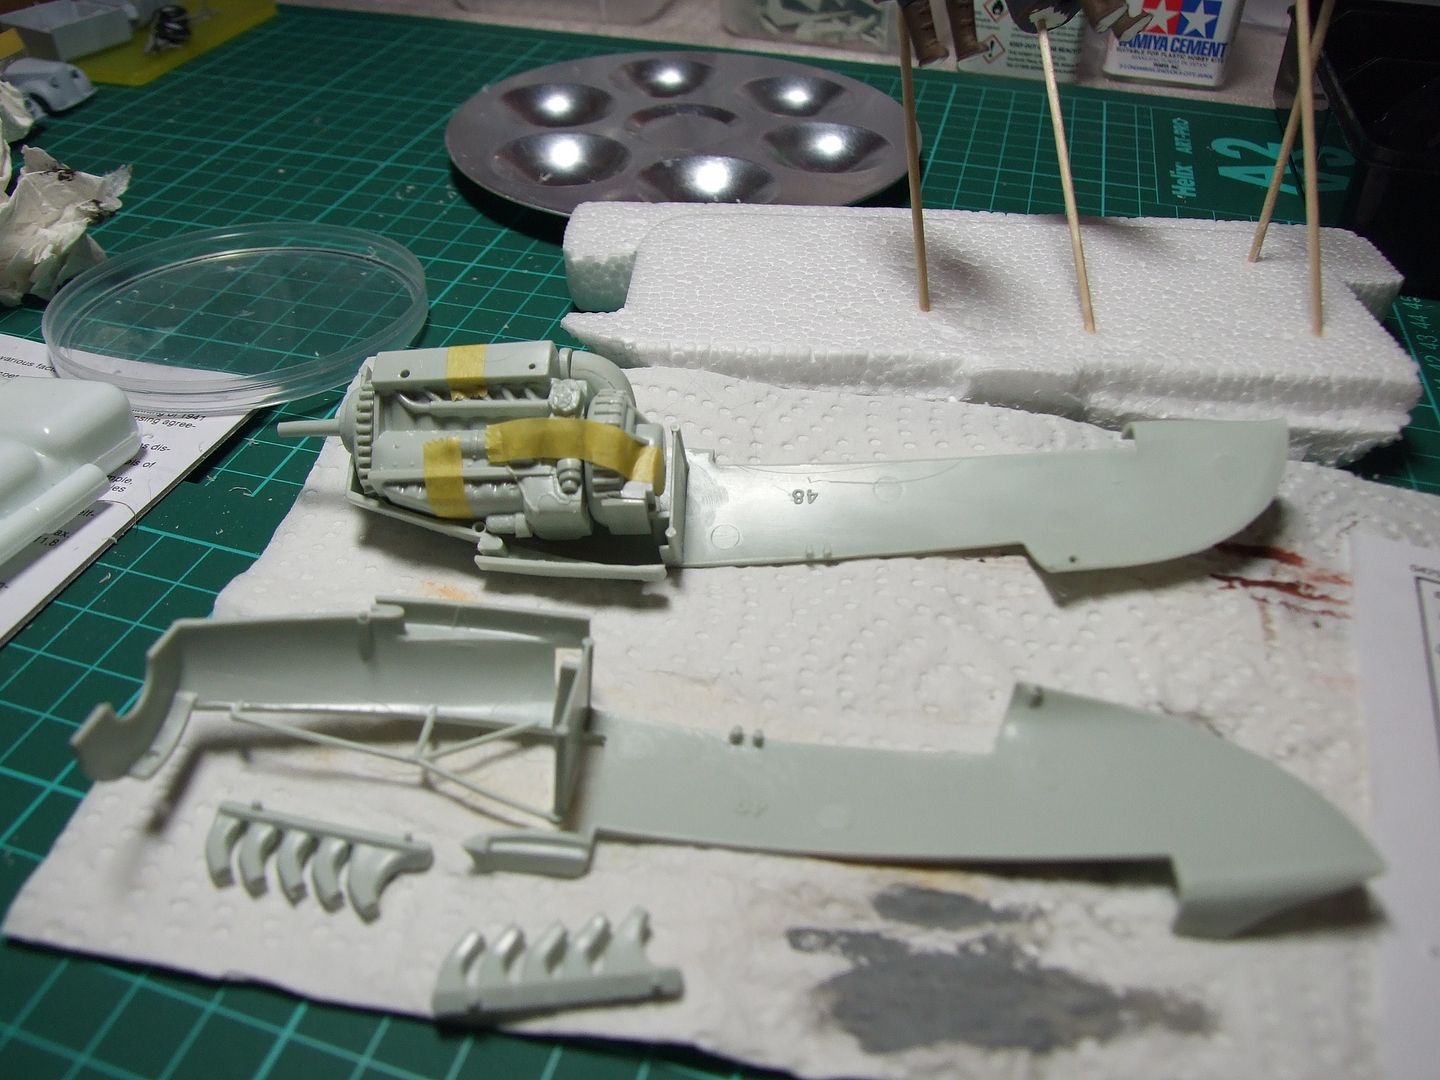
Image
Image

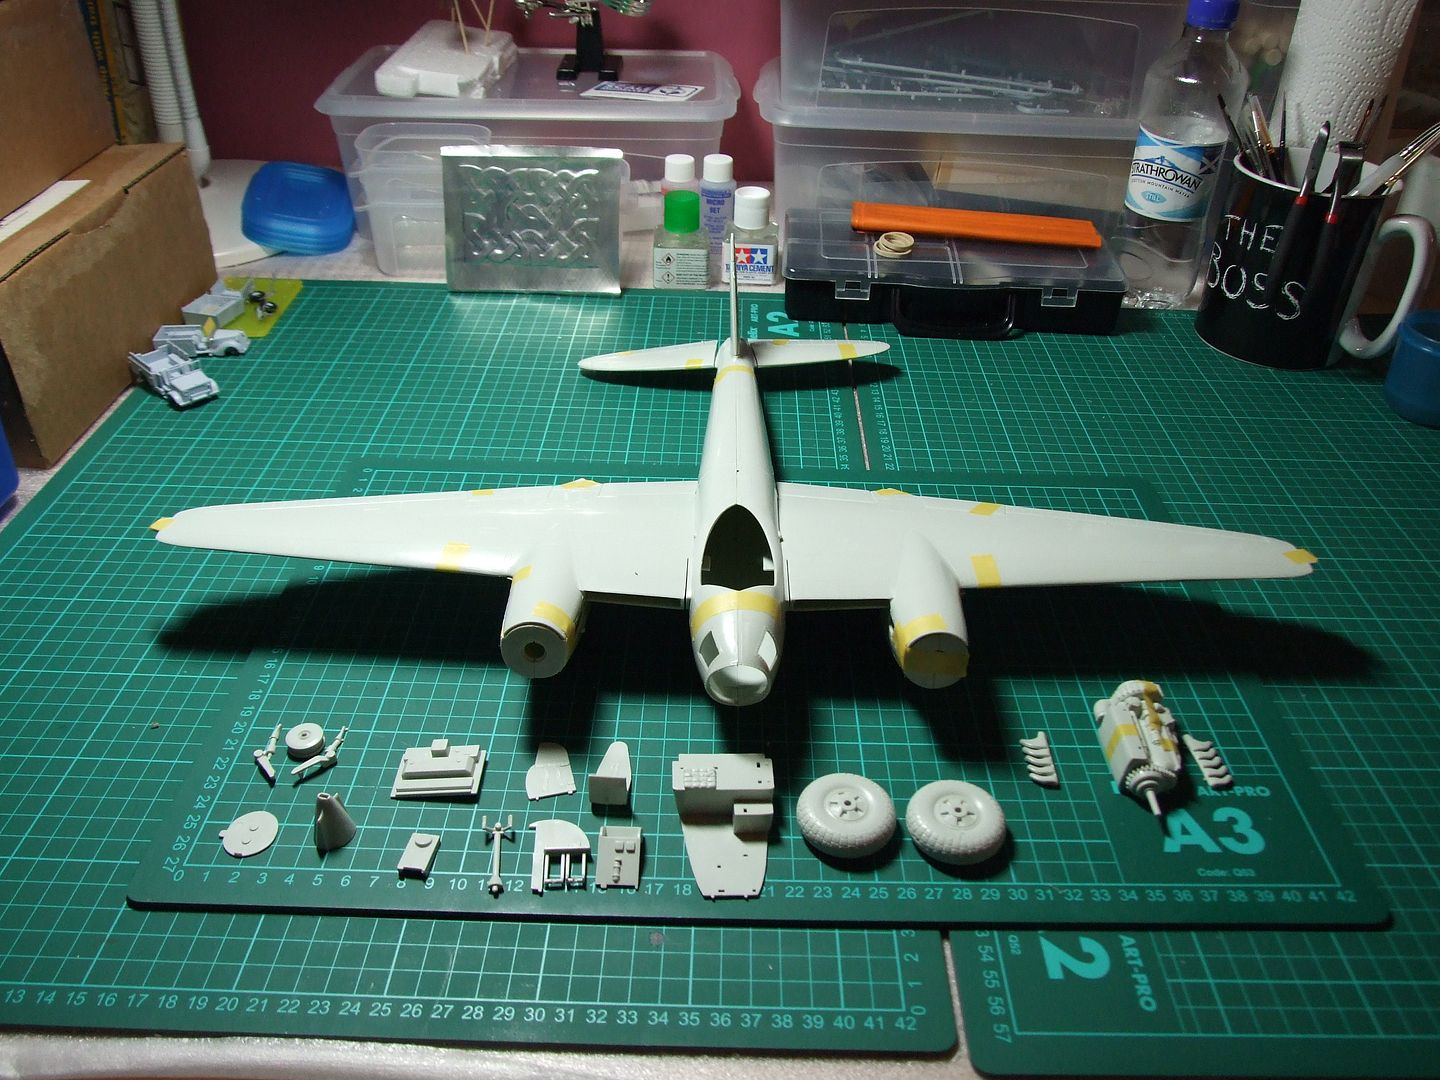
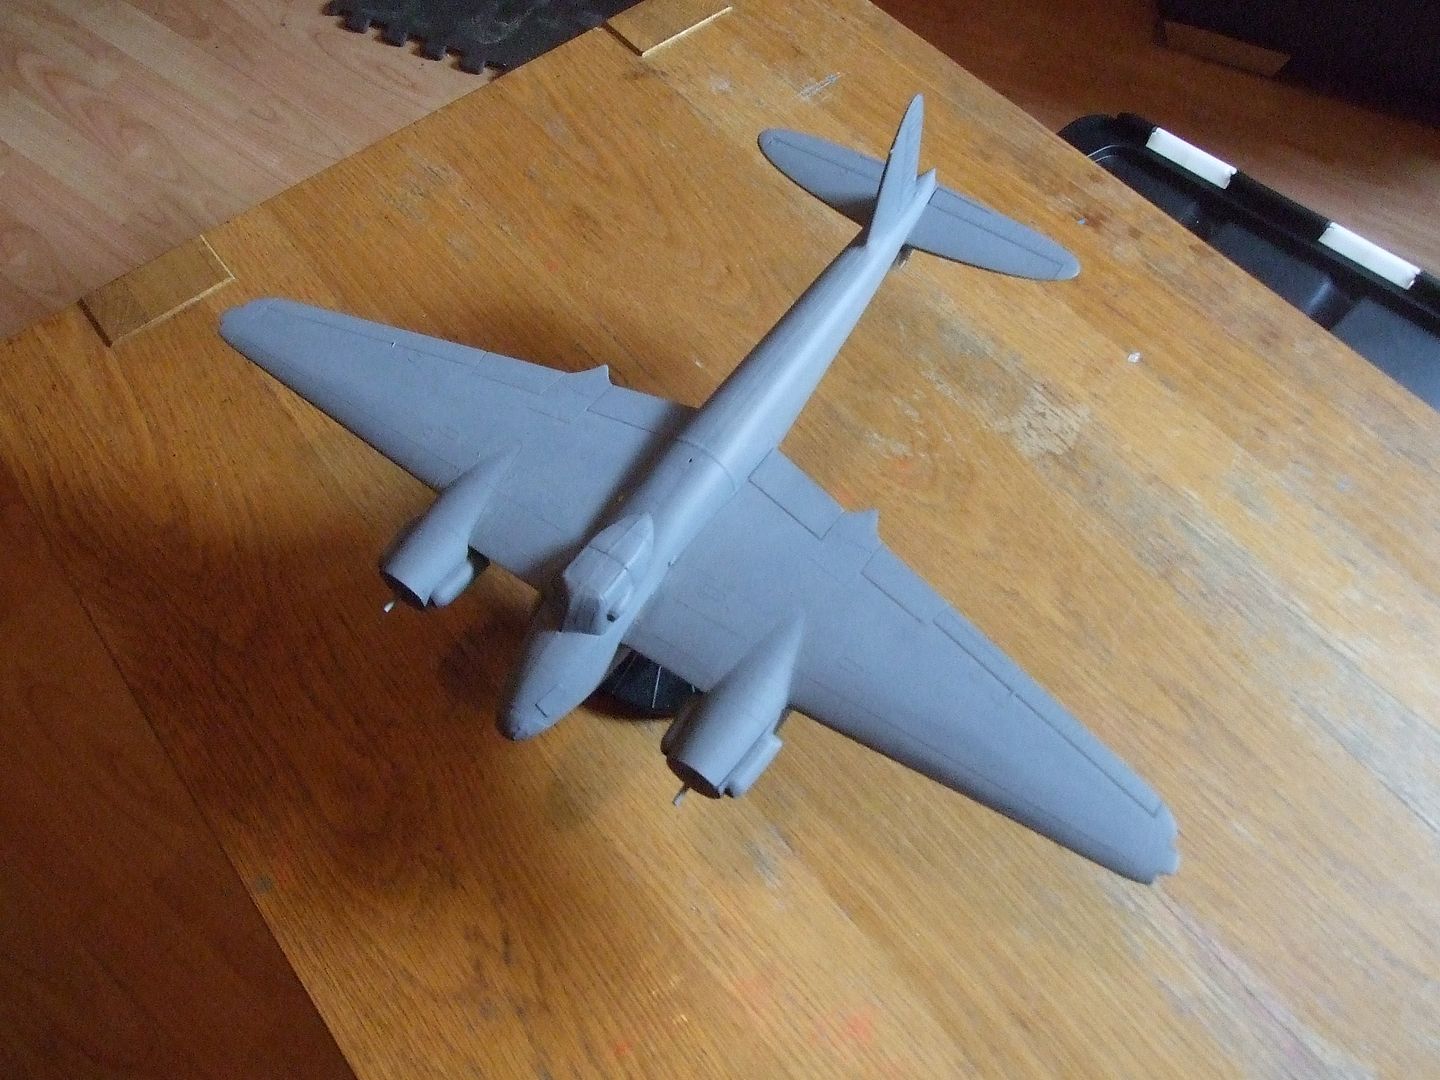
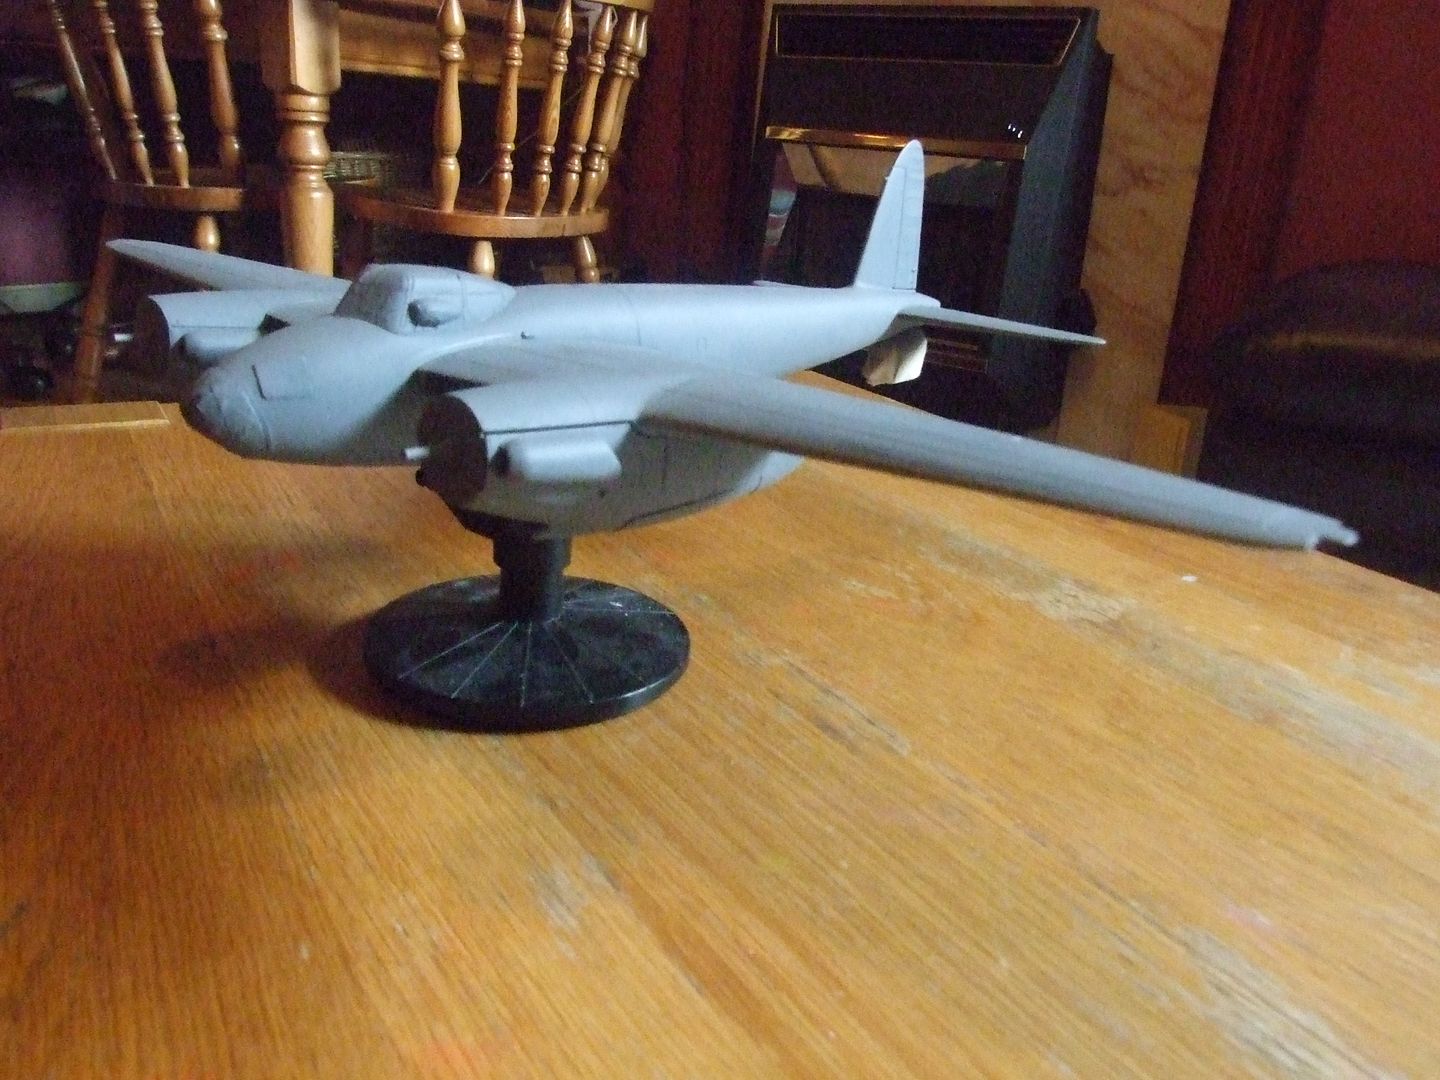
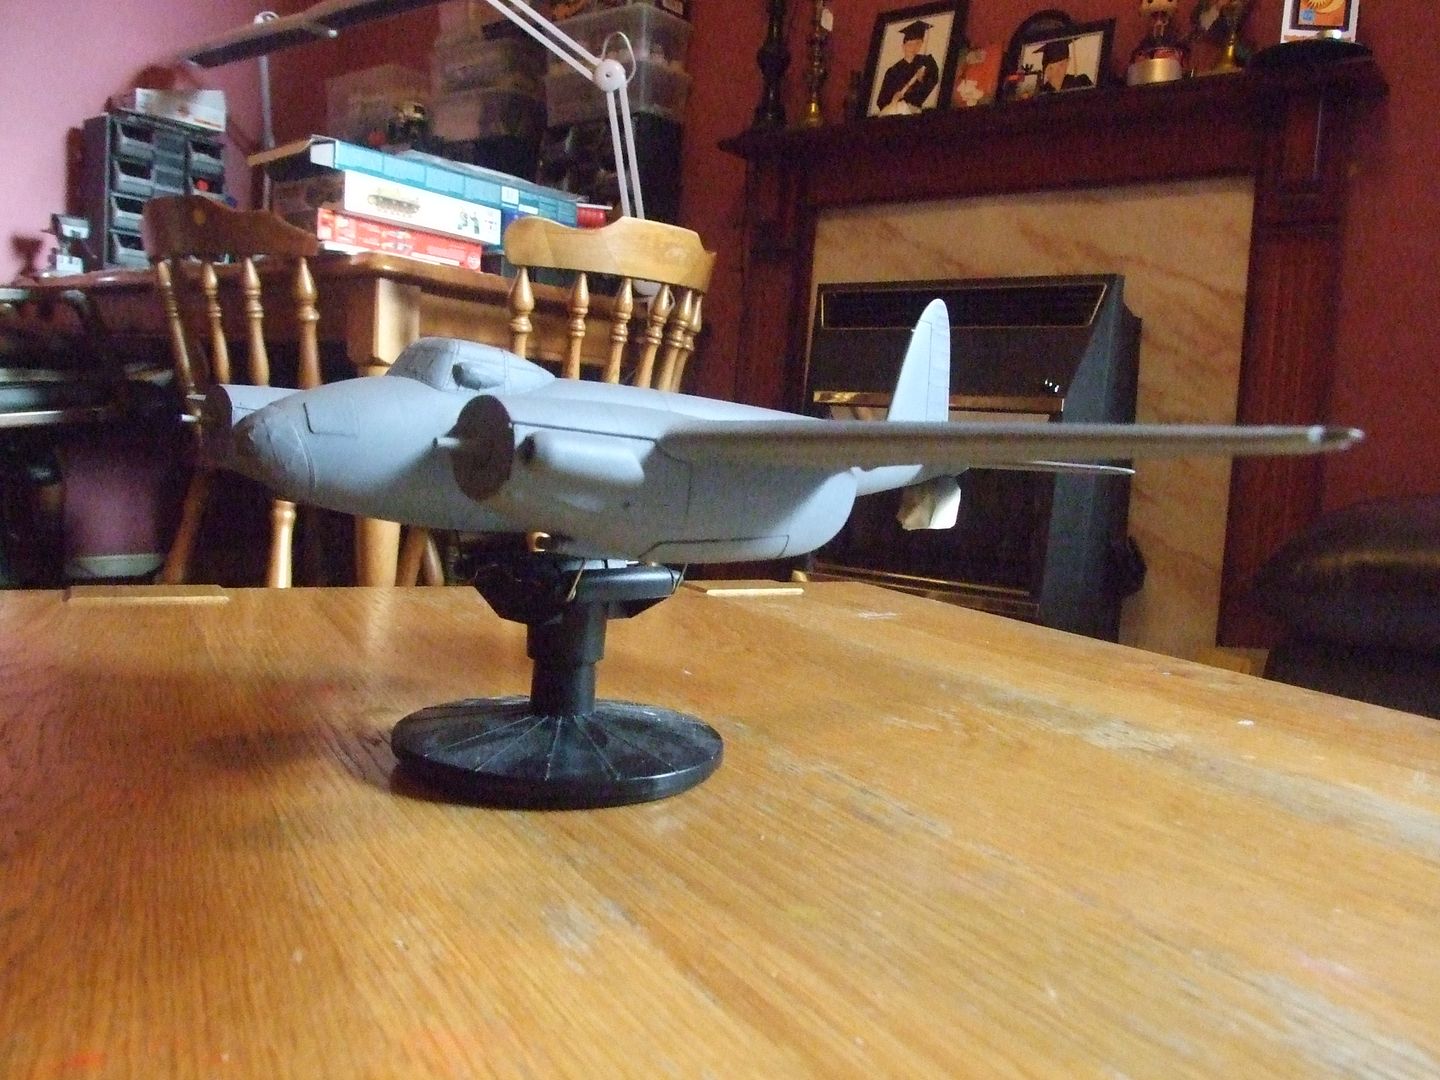
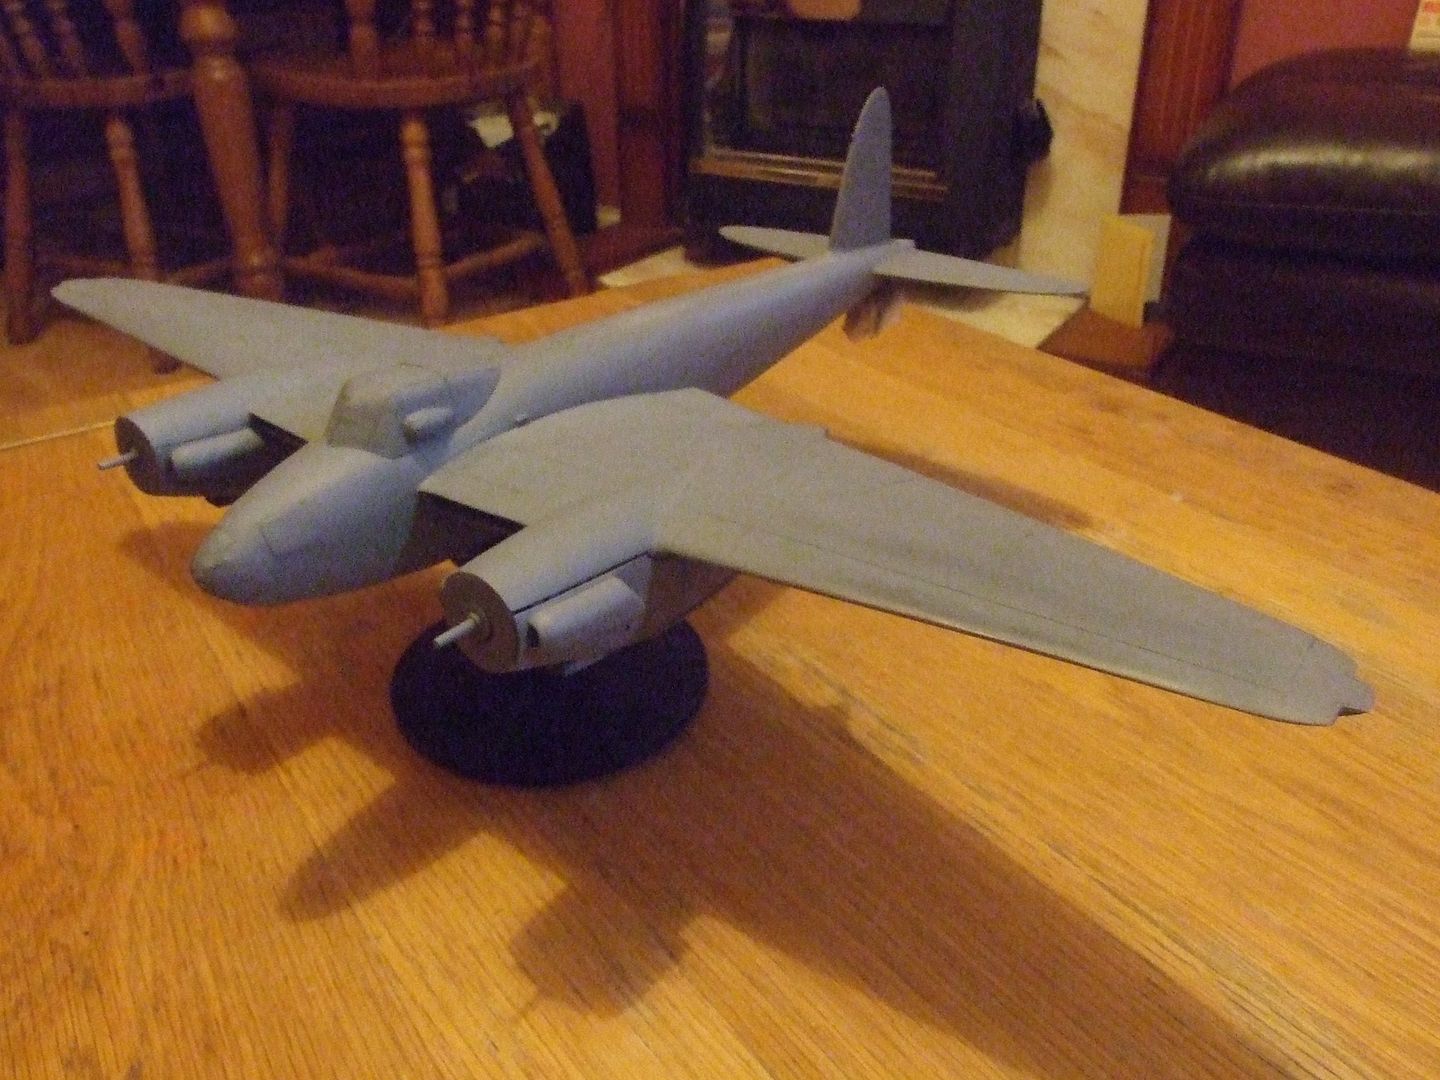
and finally for this long winded way of saying "i done stuff really" i snipped and trimmed all the major fusalage parts ready for dry fitting. Minor miracle....erm milestone for me seeing it like this.
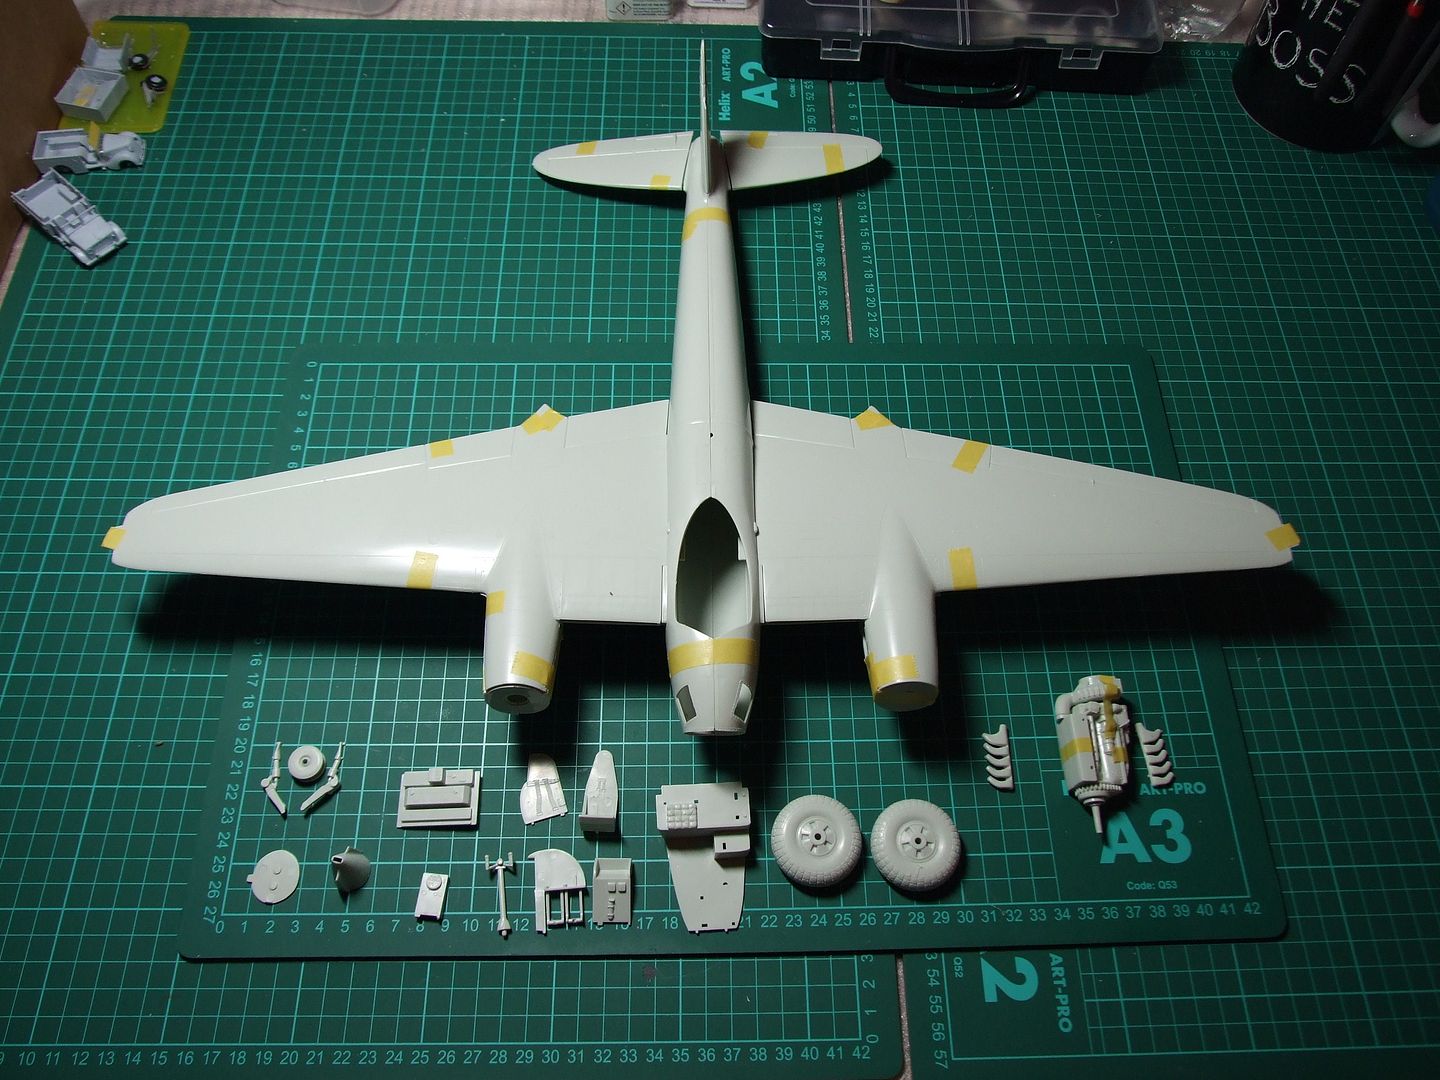
Image
Image

Ya Beauty!

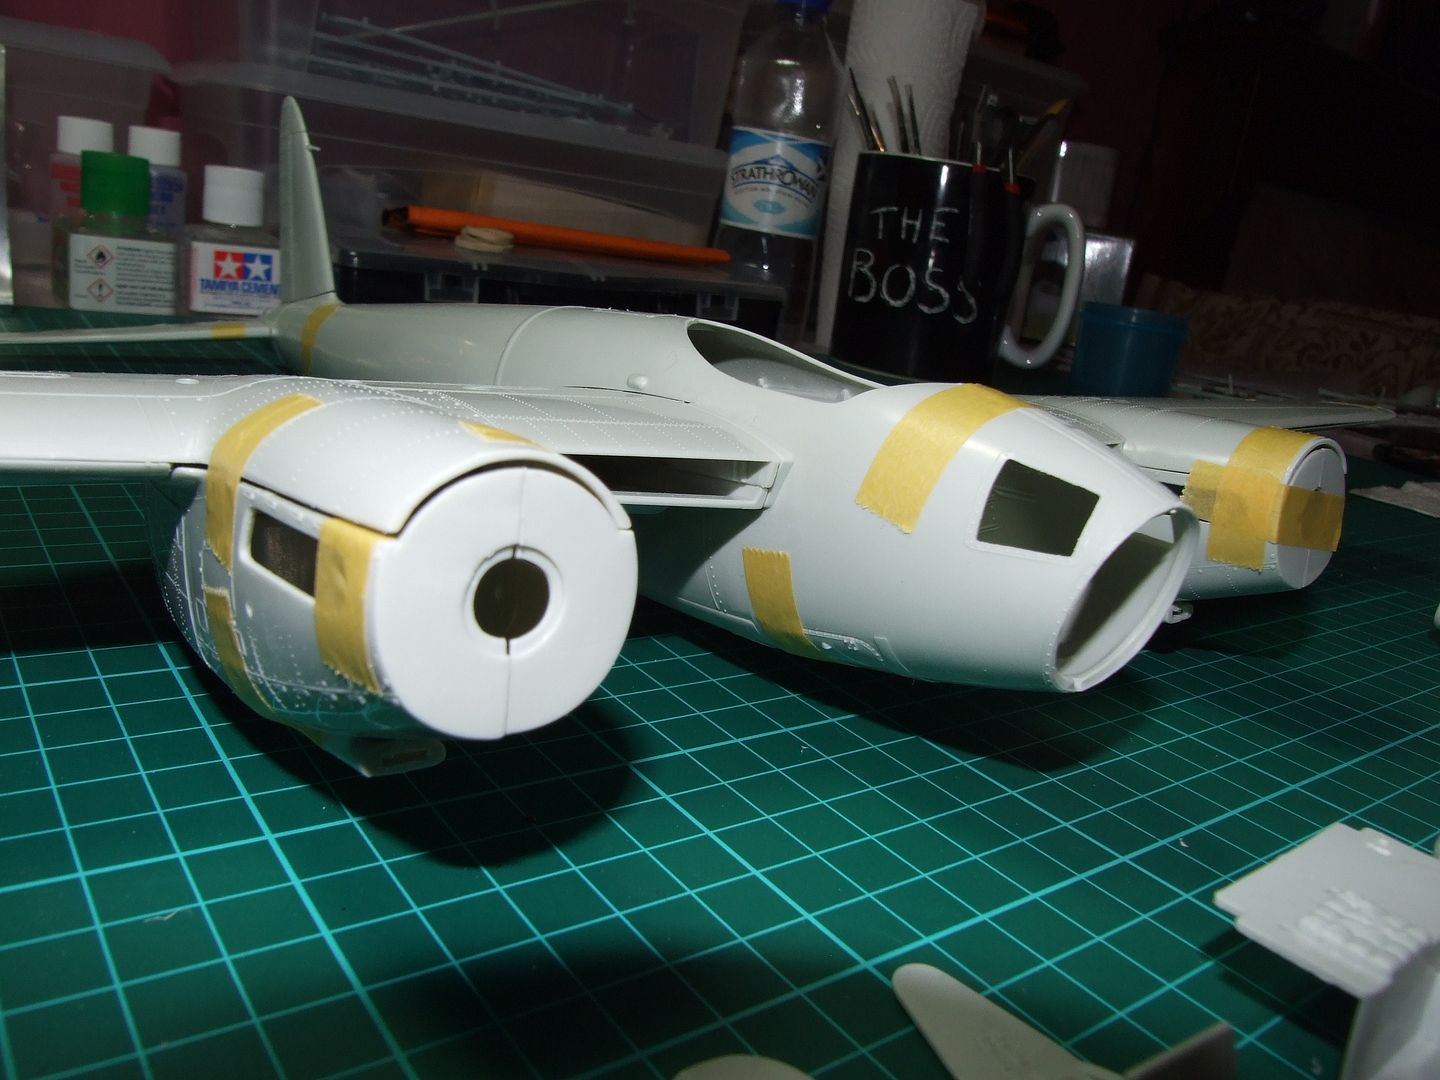
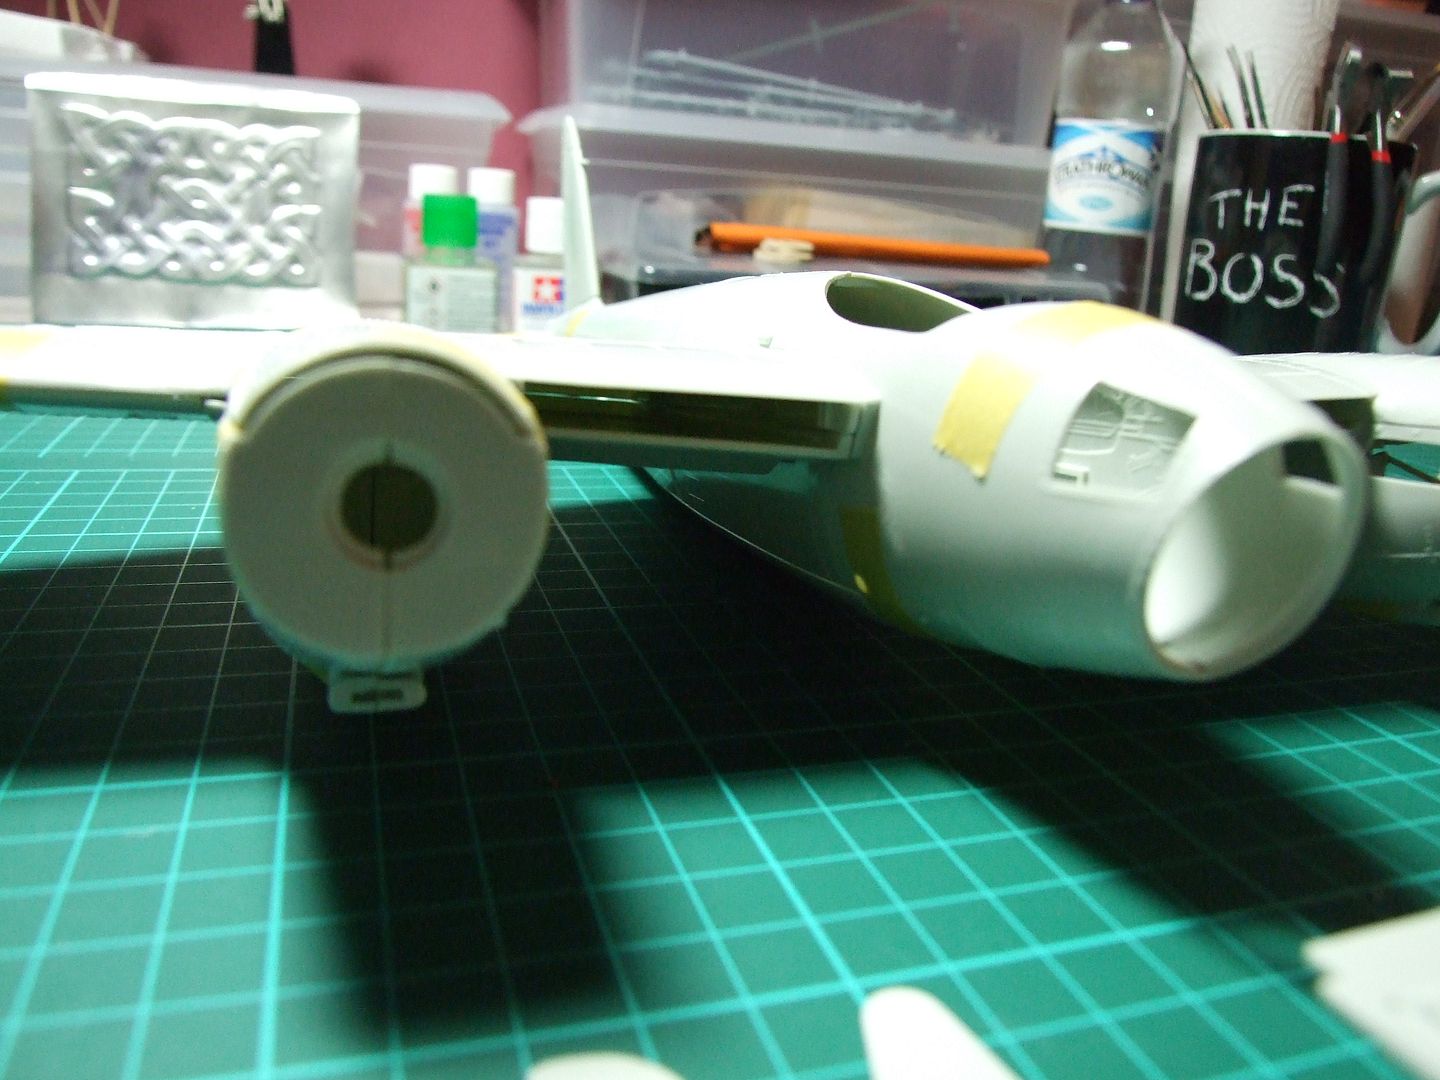
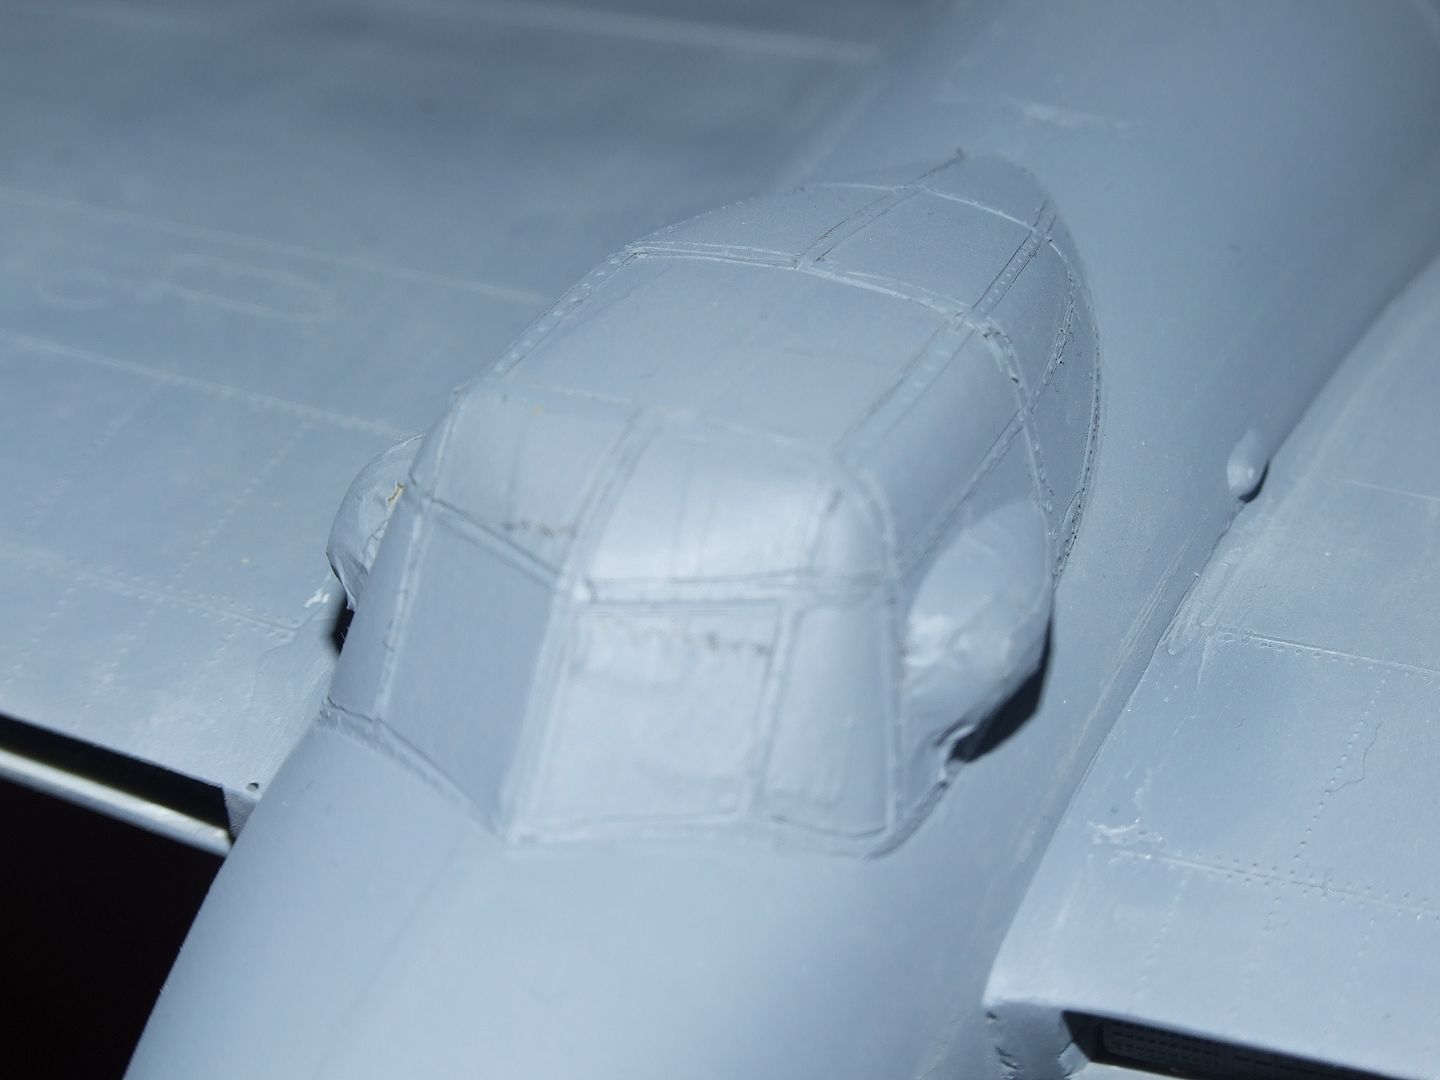
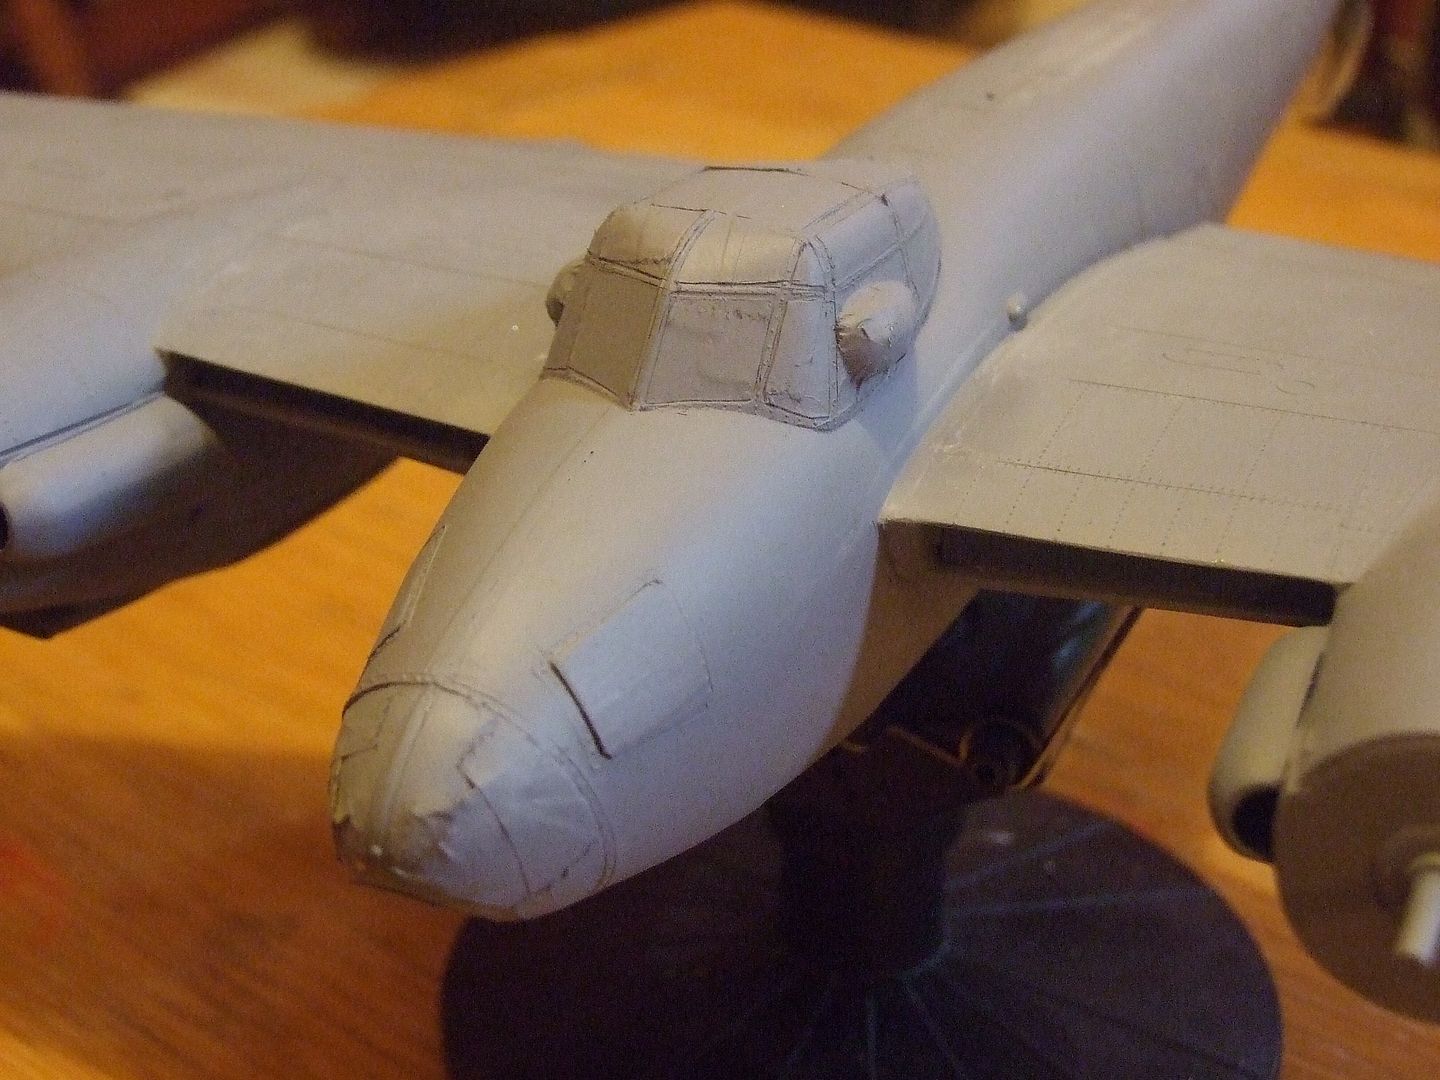
and finally a few closeups (hopefully not too blurry) of some of the seams and joins ill have to tackle later. Happy Modelling
Jase
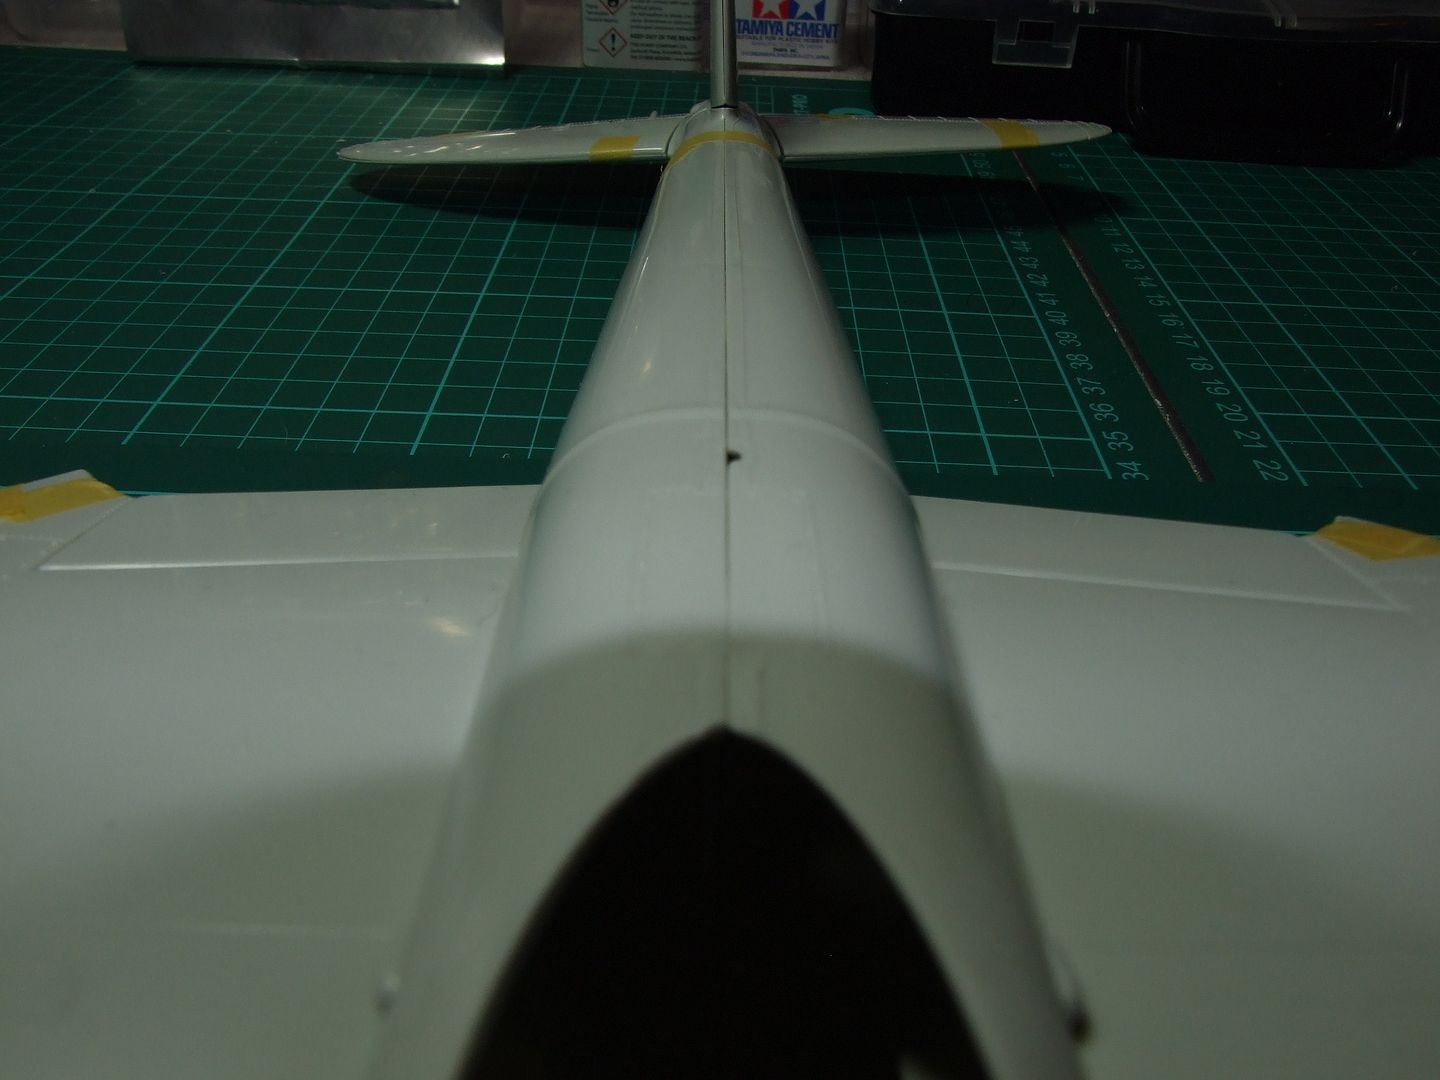
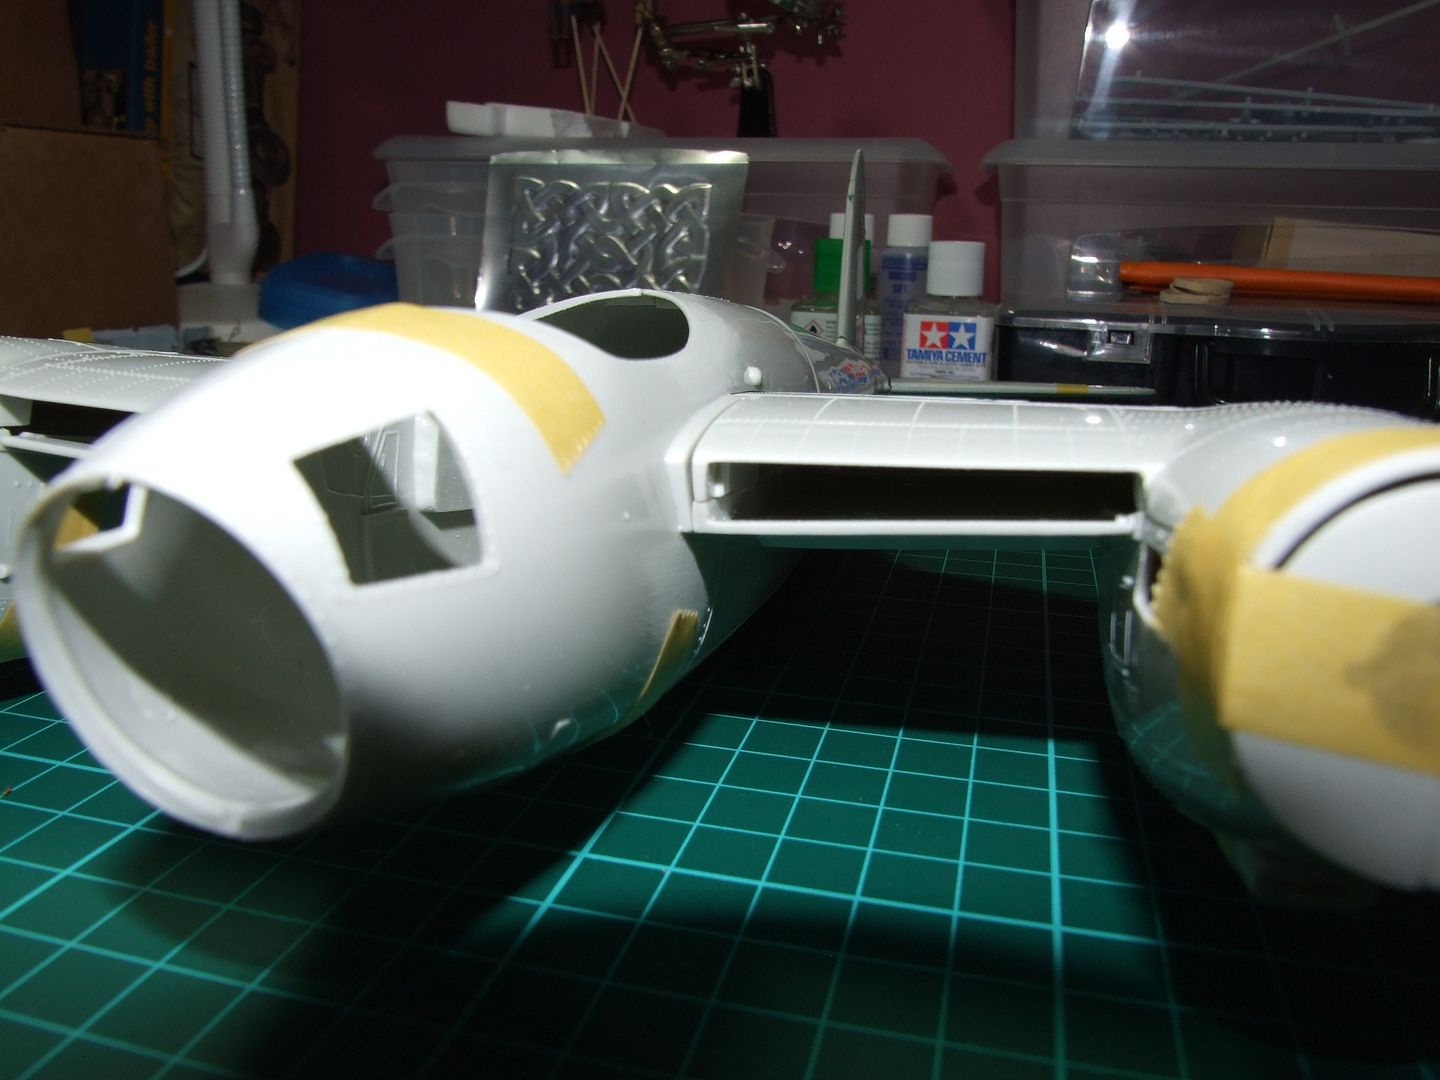
Image
Image
Image
Image
On the bench.
stuff i forget to update here.
User avatar
Nige201980
Captain
Captain
Posts: 4095
Joined: Wed Jun 05, 2013 9:30 am
Location: Doncaster South Yorkshire UK
Contact:

Re: Revelling in my Revell Mossie: Skullfish

Post by Nige201980 »

Thanks for joining mate she a big one that's for sure and your doing a great job.
http://www.youtube.com/channel/UCy-TGcs5u_ZXSZ9kObNfsPg


On the go at the Mo

Quite a few :banana:
User avatar
Skullfish
First Sergeant
First Sergeant
Posts: 536
Joined: Thu Apr 16, 2015 2:49 pm
Location: Clydebank, Scotland.
Contact:
Scotland

Re: Revelling in my Revell Mossie: Skullfish

Post by Skullfish »

Update II

now its been a while and i am running outta time. but there is hope..honest. 8-) (insert excuses here as you see fit)
Last time i had got to the mockup stage so i'll start there.
Image
seam lines galore.
I stripped her all down...ooh er
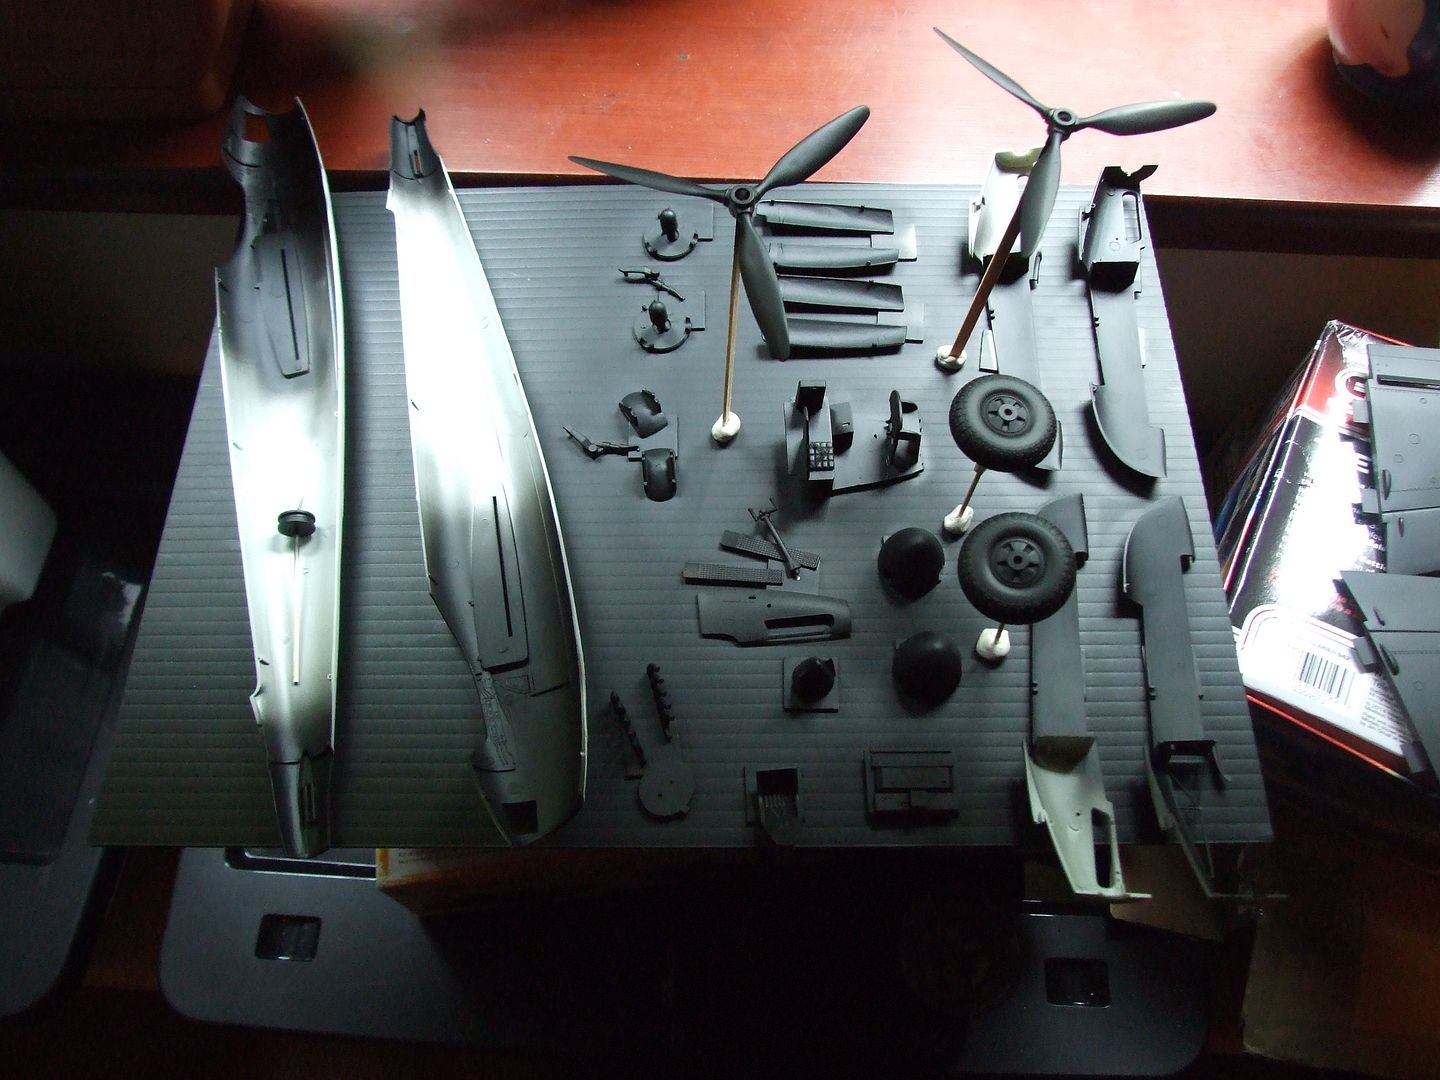
Image
Image
handy piece of black double walled sheet plastic to stick everything to using tacky pads. cocktail sticks, crockodile clips and a special thankyou to Ronald McDonald for his coffee stirrers :tongue:

Now dont ask me why but i chose Vallejo Black Primer for the task. I will add that this was before the Badger Stynalrez came to my attention. Yes that is how long ago i last [posted.
Image
oh i remember! spraying grey primer on grey plastic seemed a bit silly, so black was used so i could see what i was doing. Remember this is my first build for 20+ years. :thumb2:
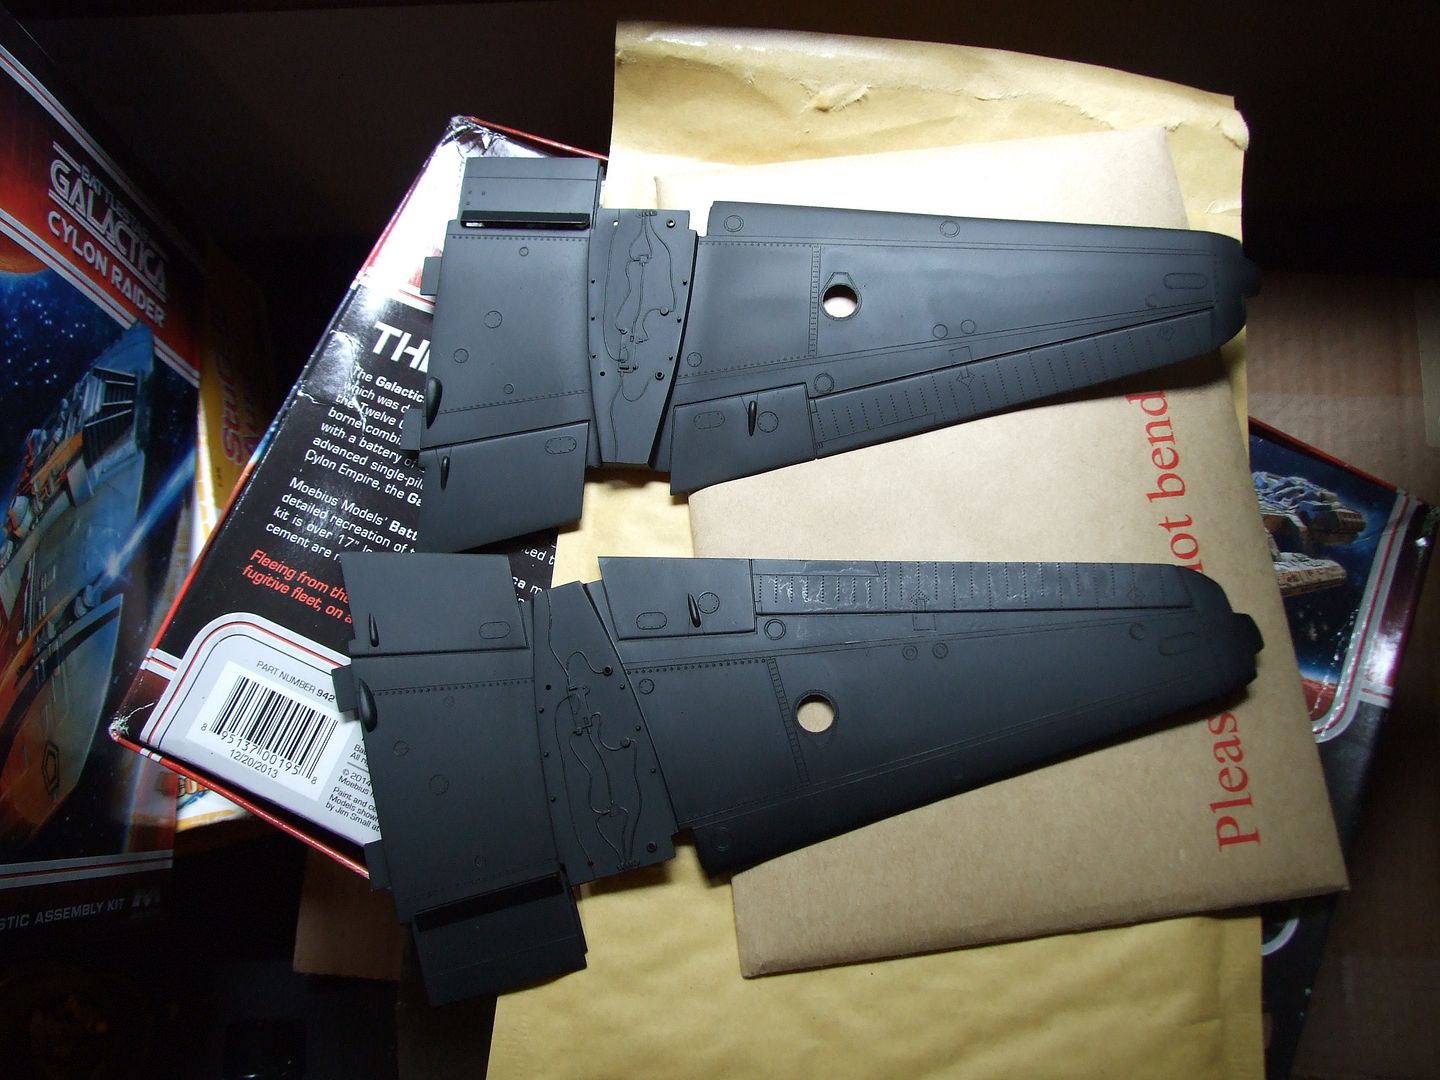
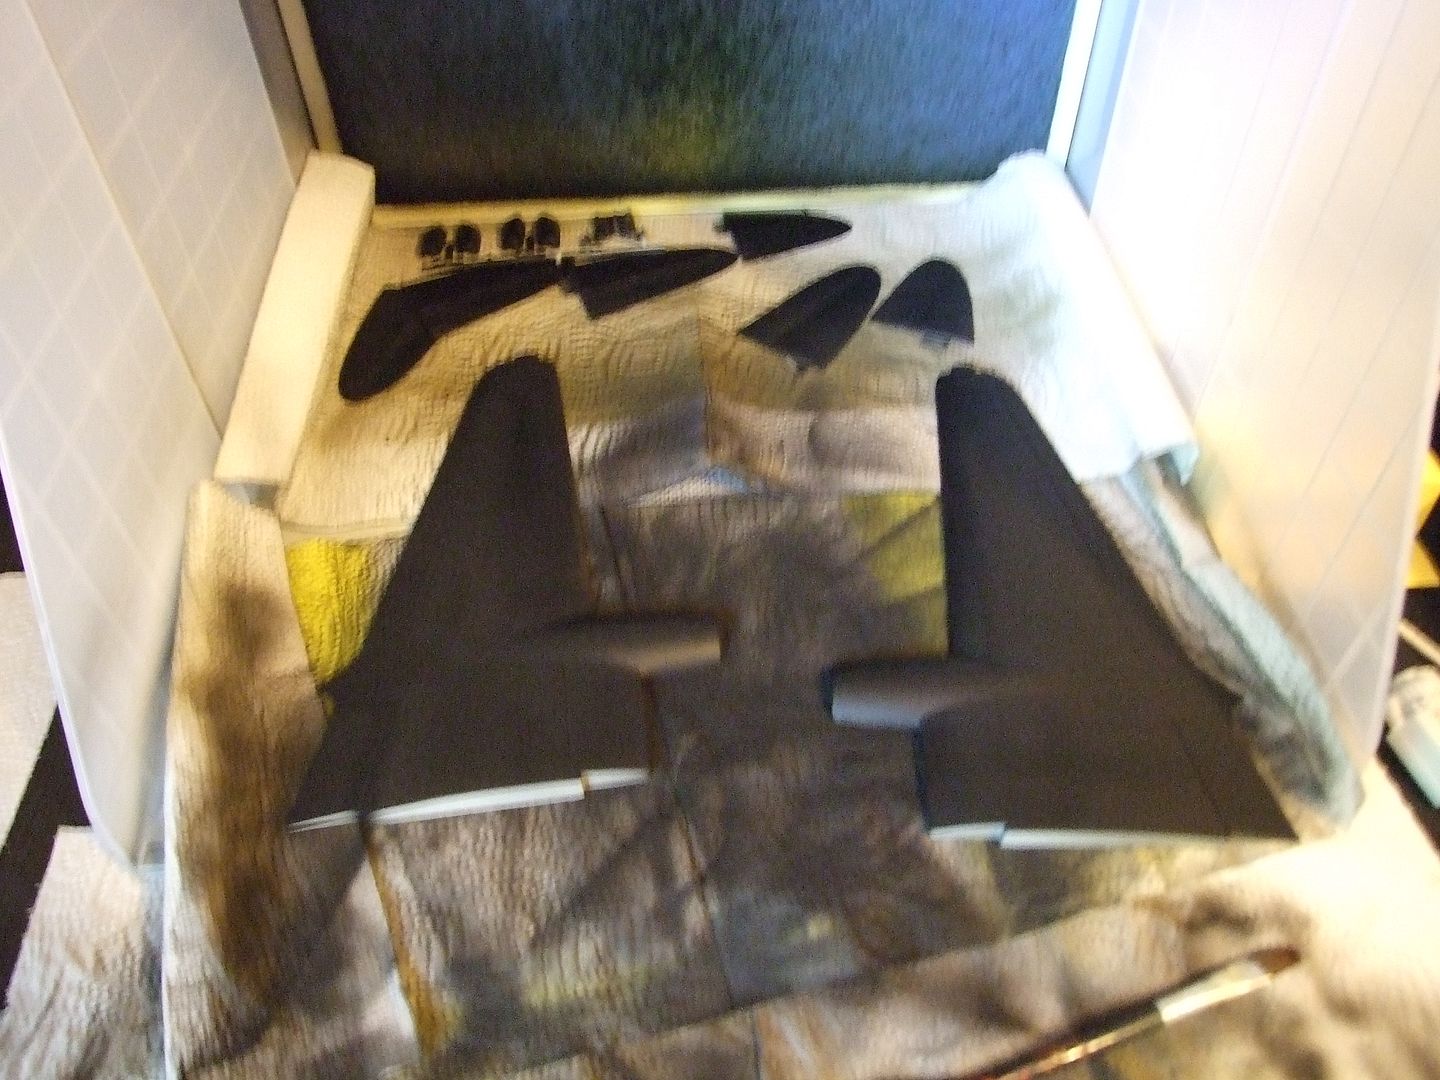
Image
photo shows just how large the wings are. thats them taking up most of the room in my spray booth.
Image
sorry bit blurry :roll:

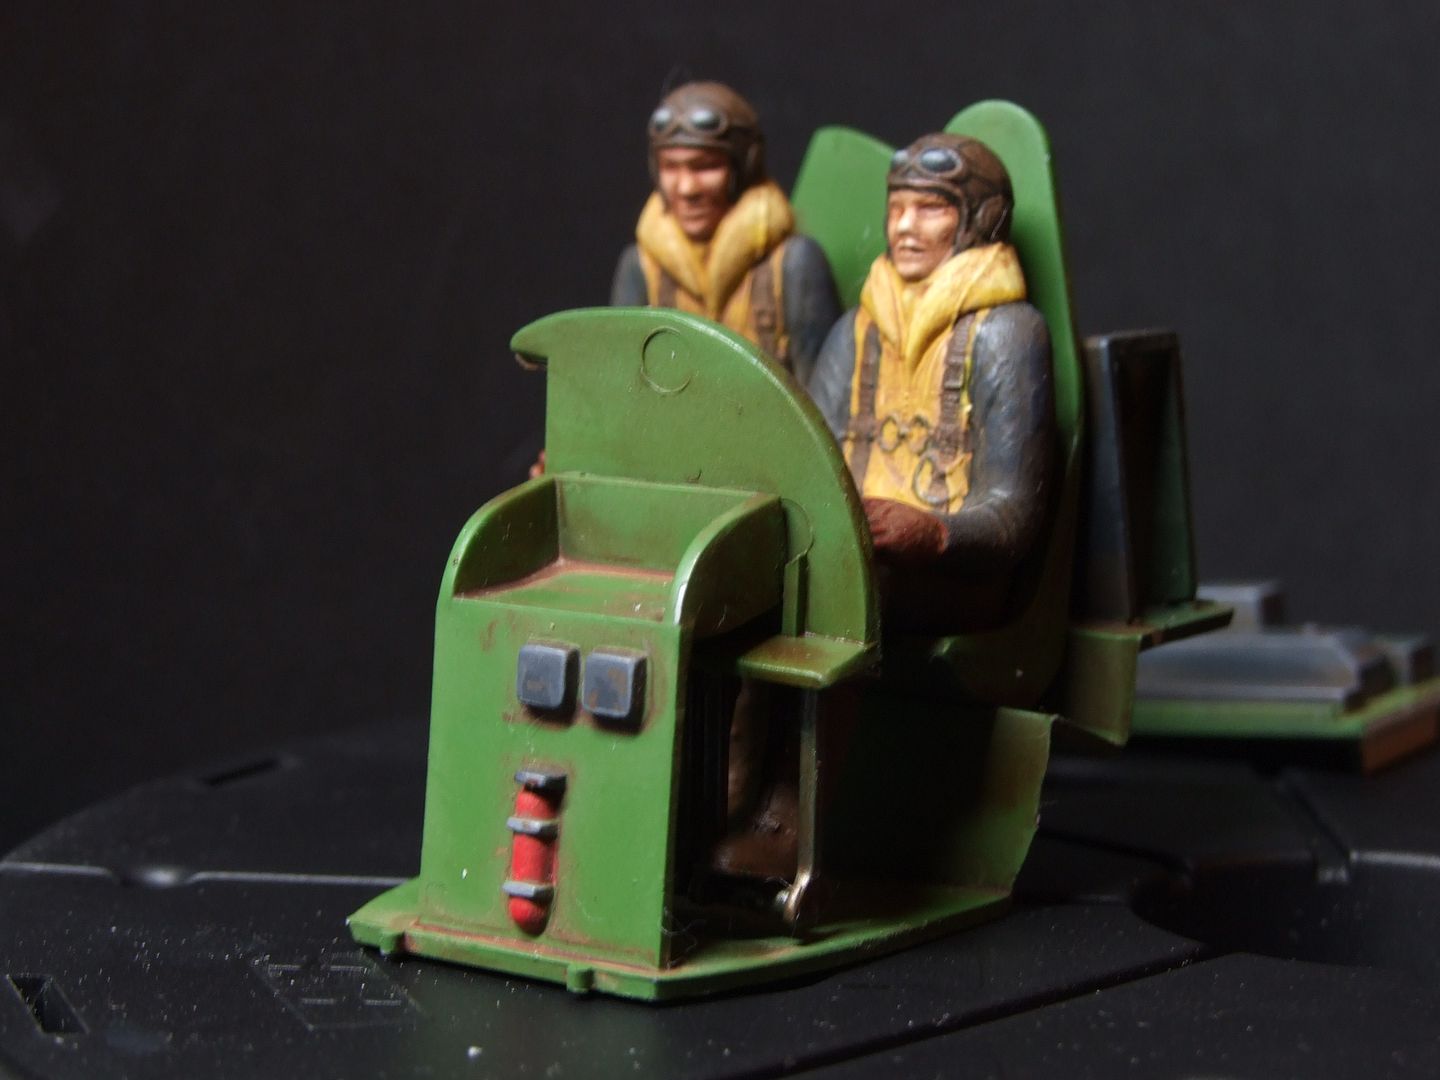
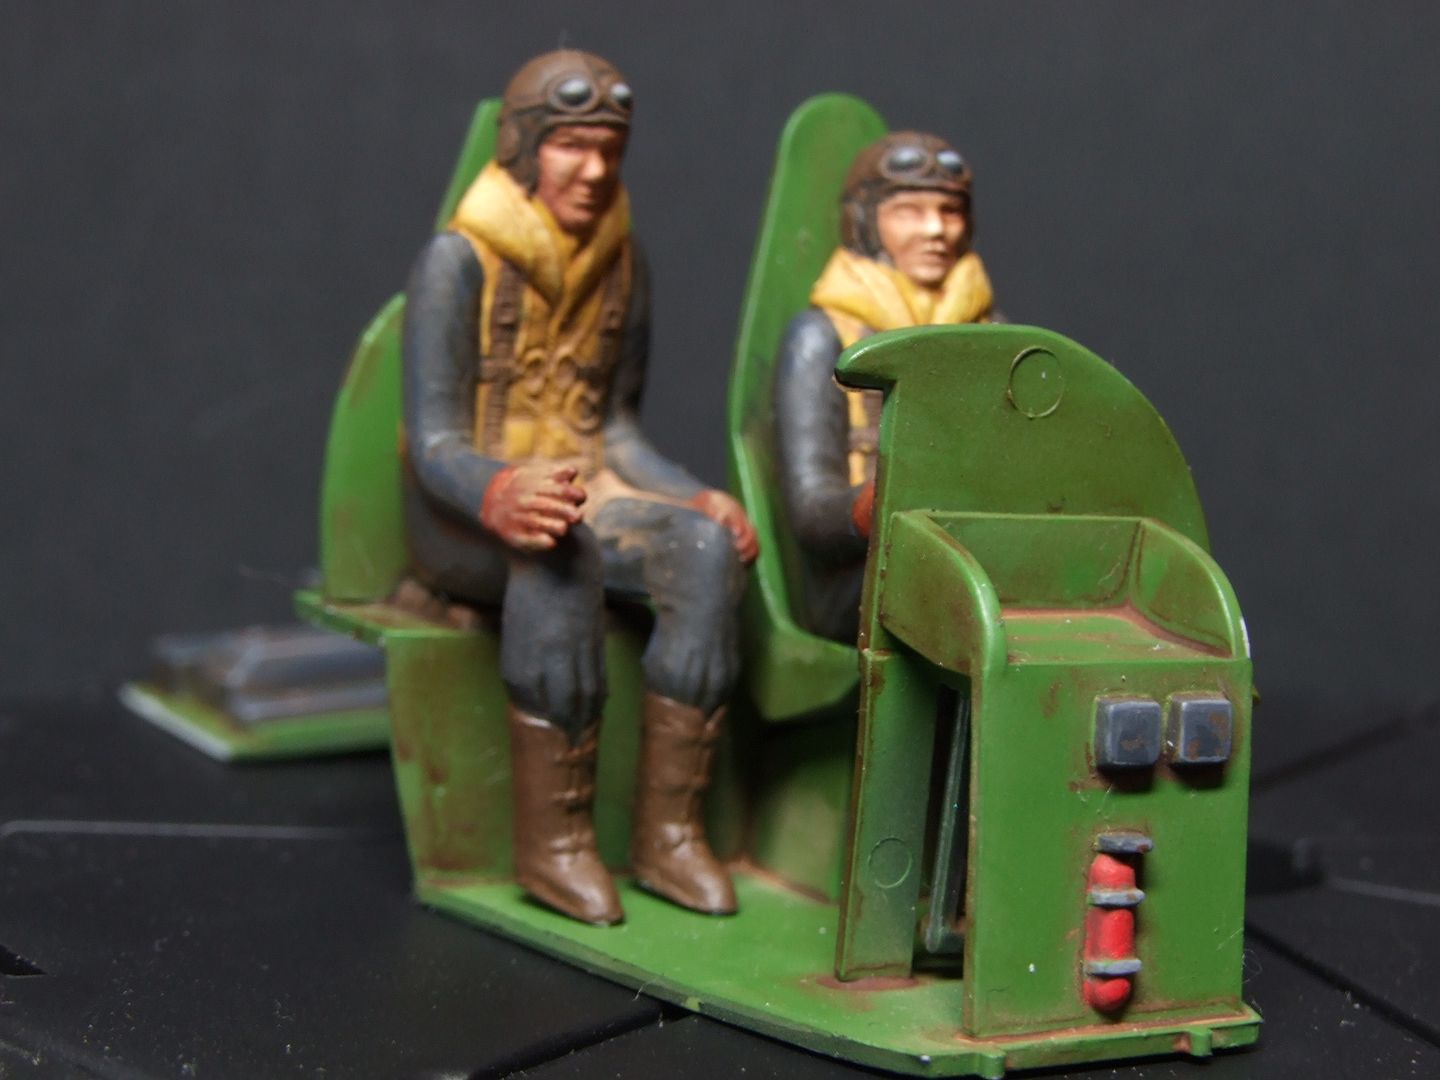
lost a few steps , as in didnt take any photos but heres the two pilots in the hot seats.
Image
Image
almost comical but hey its been a while. I did take a cotton bud to them to remove the excess oil wash after it had dried for a few days.

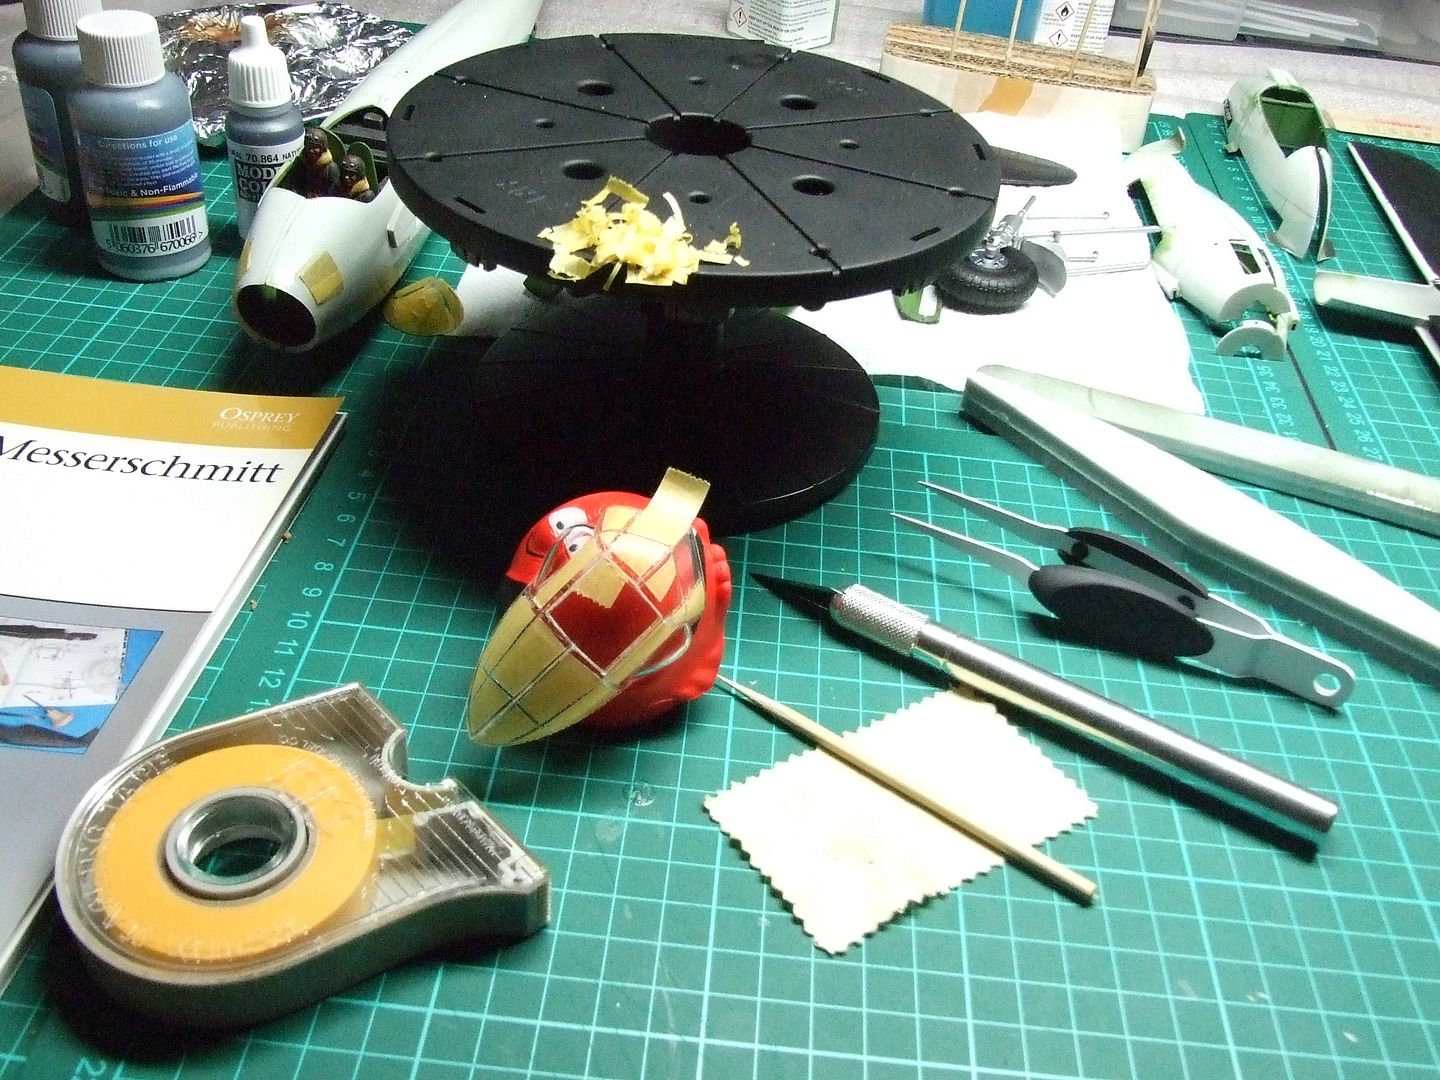
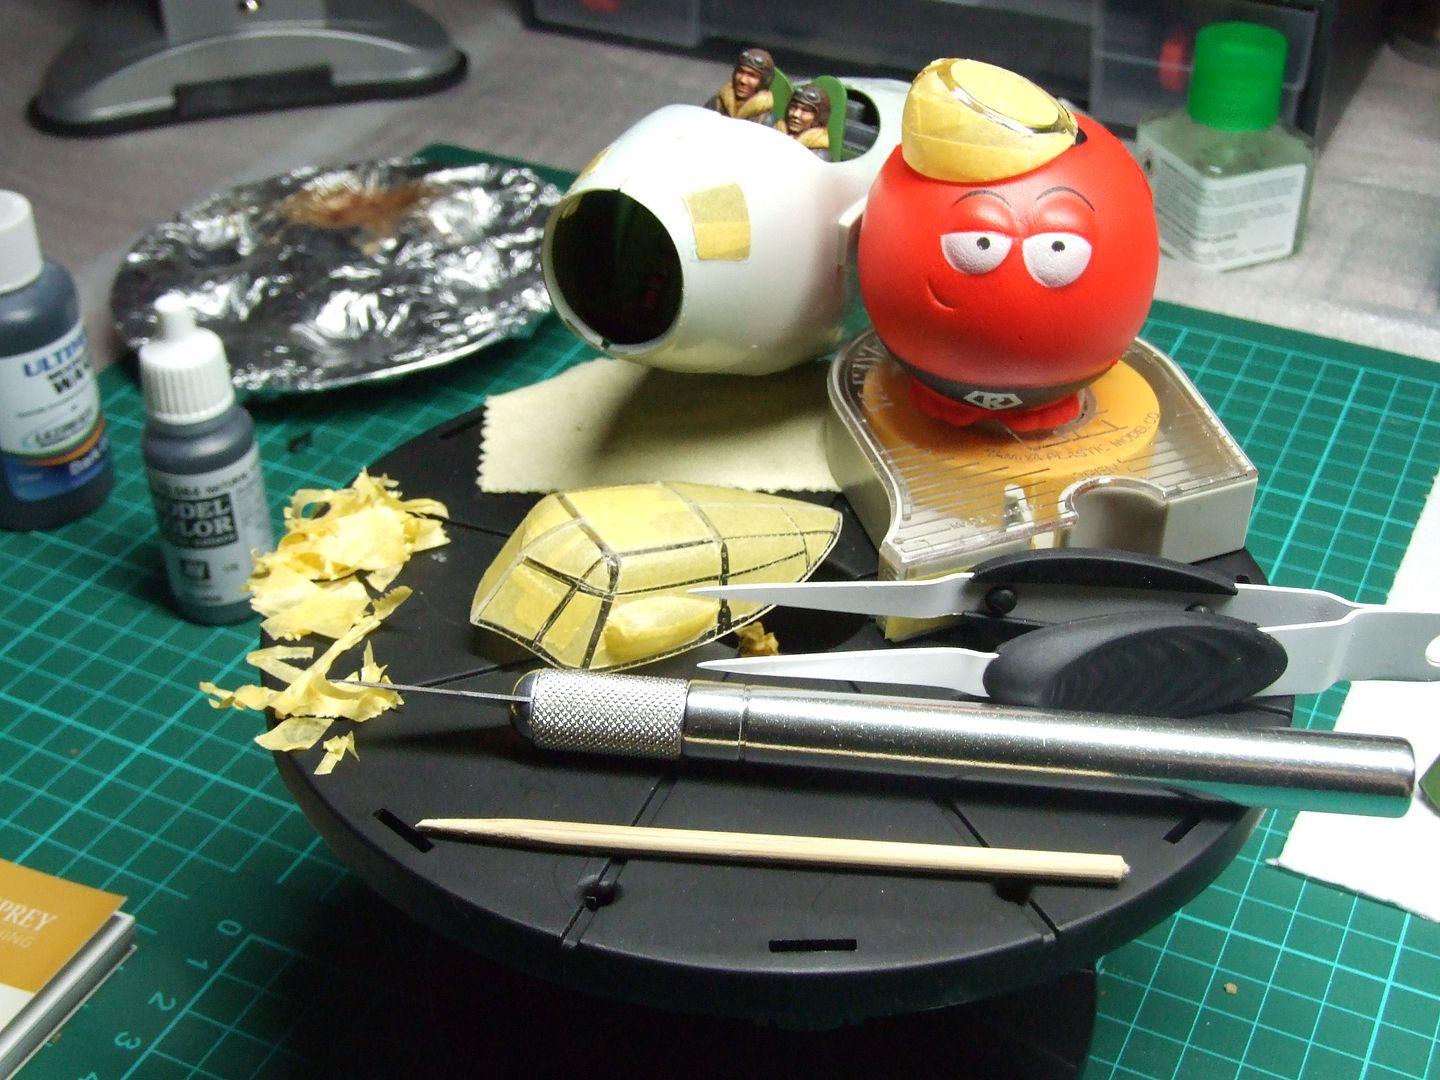
OK i need you to study this next one and contemplate whats actually happening and try and hopefully empathise with your fellow modelling chum.
Image
Now. in the background the cockpit has been glued into the fuselage and is curing. The landing gear has been base coated and the inside of the engine nacelles have been painted and given a Ultimate dark dirt wash(the old one) and are ready for mounting.
The focus of the photo is the red nose, tamiya tape, tweezers, xacto and polishing cloth in the foreground. Yes thats right, the pita that is "masking the canopy!" a minor chore if it was just a couple of panels but boy oh boy! :bash: :bash: :bash: :pistols: :violin:
This particular canopy comes in 3 pieces and doesnt want to sit/play nice so i used the red nose to help grip it so i wouldnt crush the thing while masking. Dont ask me how i came up with that idea but it worked a treat. You just squeeze the red nose into the canopy till it grips it naturally without it pinging out, i guess a normal sponge would do the same thing as long as it is quite firm.
Image
Also, youll have to forgive me here, im using the photos to jog my memory as i write this update. You can see the glass nose cone all masked up(on the red nose head as a hat, whimsical joke after the fact) there were no panel lines to follow so i just made it look the part. we'll see once we take off the tape. And, another thing the toothpick shown is actually a Bamboo BBQ skewer from the pound shop, easily cut to required shape and much harder wearing than normal toothpicks. :th:

Image
Image
Image
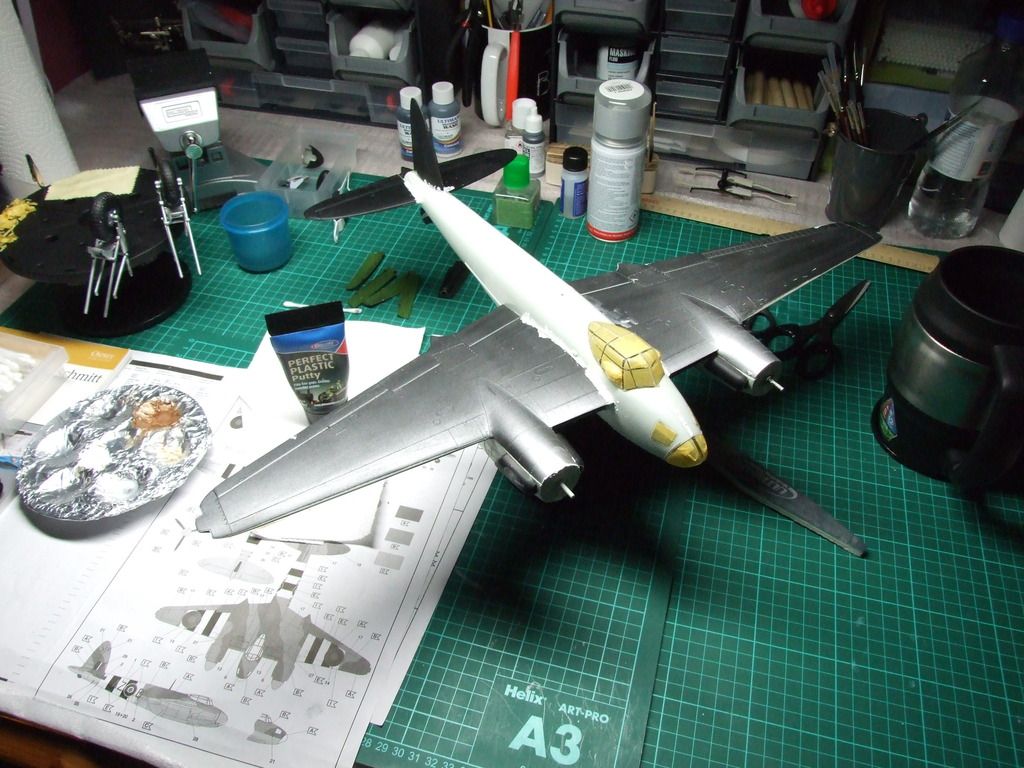
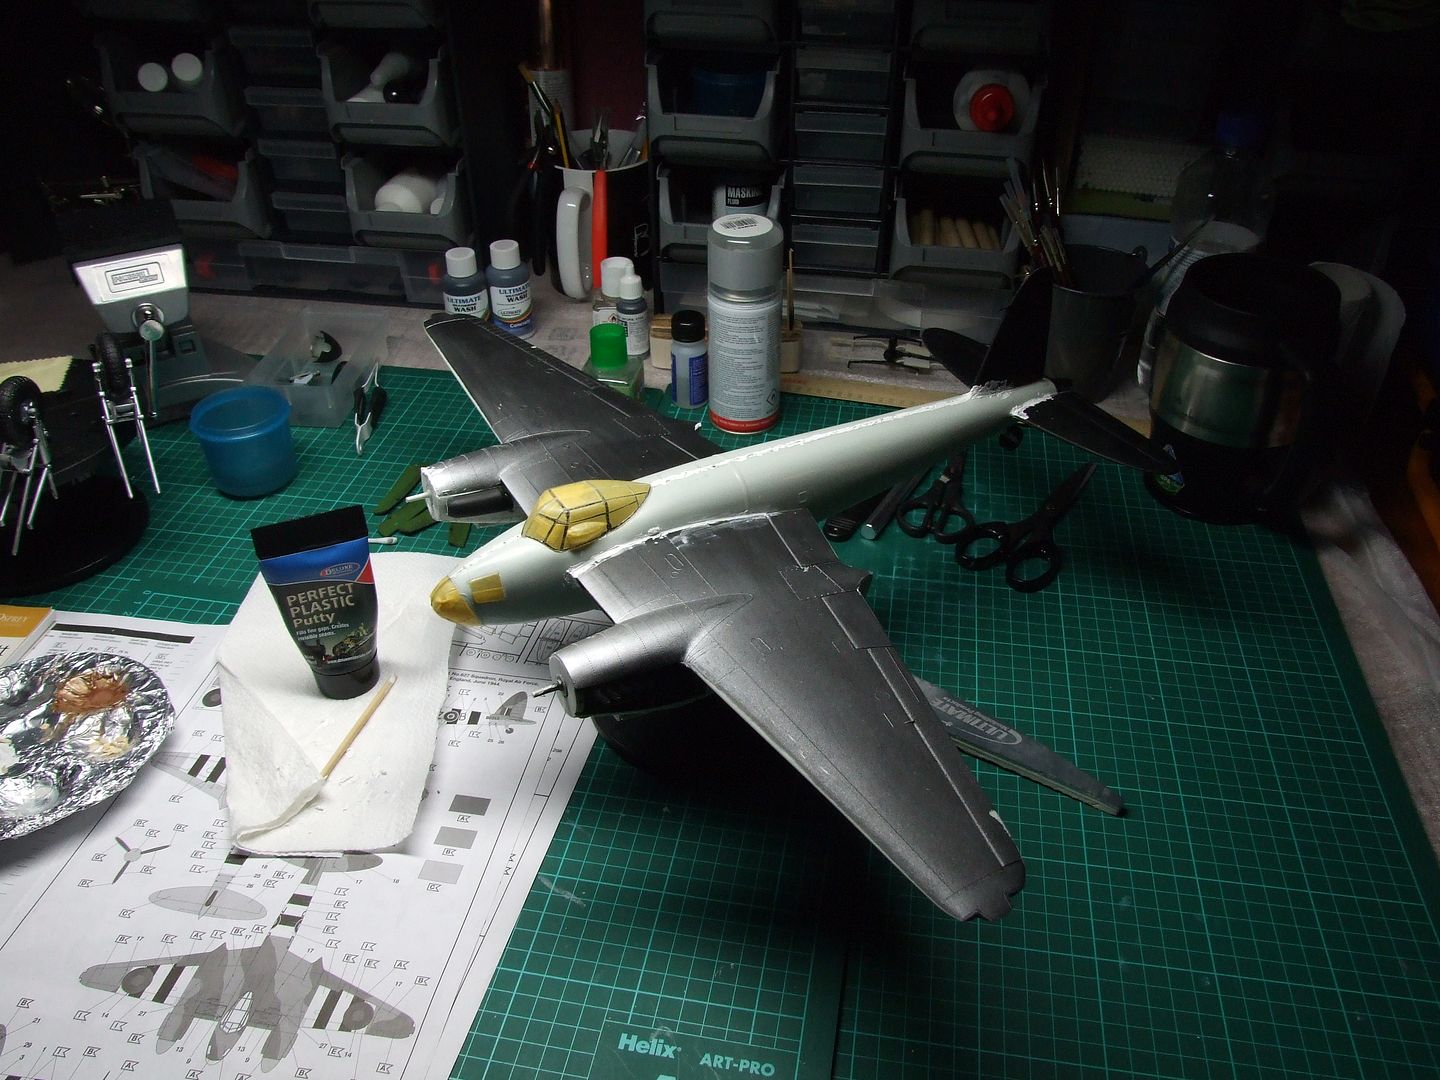
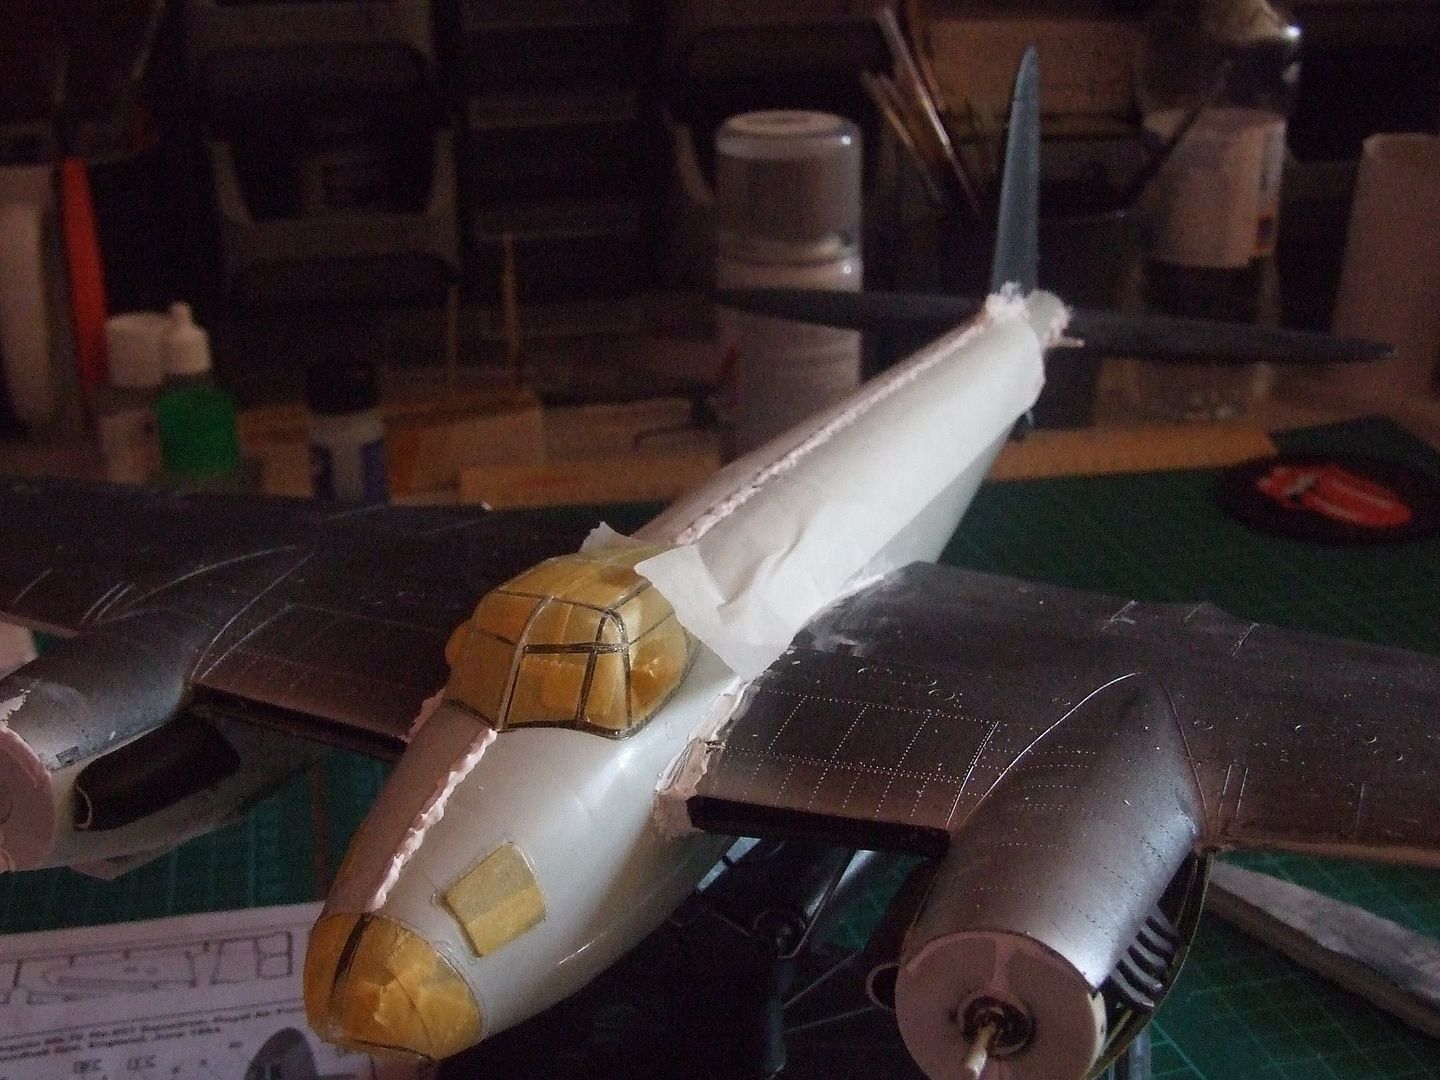
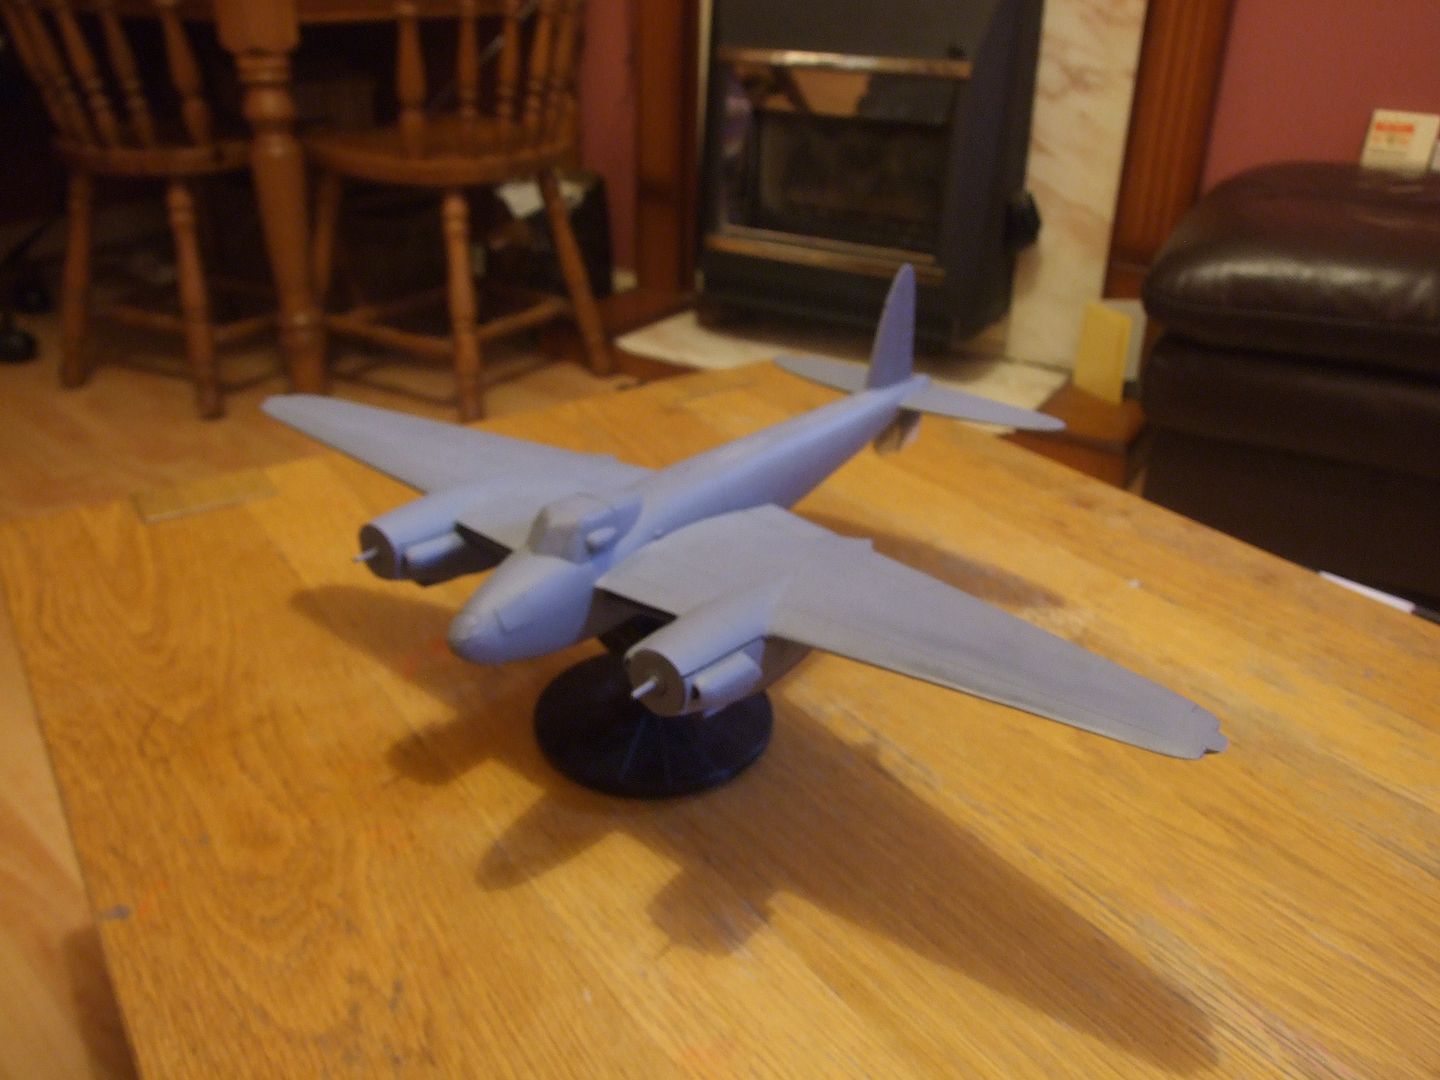
Main assemly with the gaps being attended to. lots of sanding and filling and more sanding..etc, etc.

Image
Grey Badger Stynalrez applied, shes looking almost presentable here.
Image
the panel line you see here on the nearest nacelle is the removable cover to see the engine.
Image
Image
Image
close ups of the canopy to shame the shoddy work.#
Image
Image

Righty oh, thats how she sits now, on my shelf beside the paint booth waiting for her party dress. Given that this week is a school holiday i may be able to snatch a few hours at the bench while the wee ones at grannies.
Only a few weeks left of this GB so ill push for a finish.

thanks for reading, comments and critisism always welcome. Happy modelling.

Jase :cheers2:
On the bench.
stuff i forget to update here.
User avatar
Nige201980
Captain
Captain
Posts: 4095
Joined: Wed Jun 05, 2013 9:30 am
Location: Doncaster South Yorkshire UK
Contact:

Re: Revelling in my Revell Mossie: Skullfish

Post by Nige201980 »

Looking great mate
http://www.youtube.com/channel/UCy-TGcs5u_ZXSZ9kObNfsPg


On the go at the Mo

Quite a few :banana:
User avatar
Skullfish
First Sergeant
First Sergeant
Posts: 536
Joined: Thu Apr 16, 2015 2:49 pm
Location: Clydebank, Scotland.
Contact:
Scotland

Re: Revelling in my Revell Mossie: Skullfish

Post by Skullfish »

Small Update III

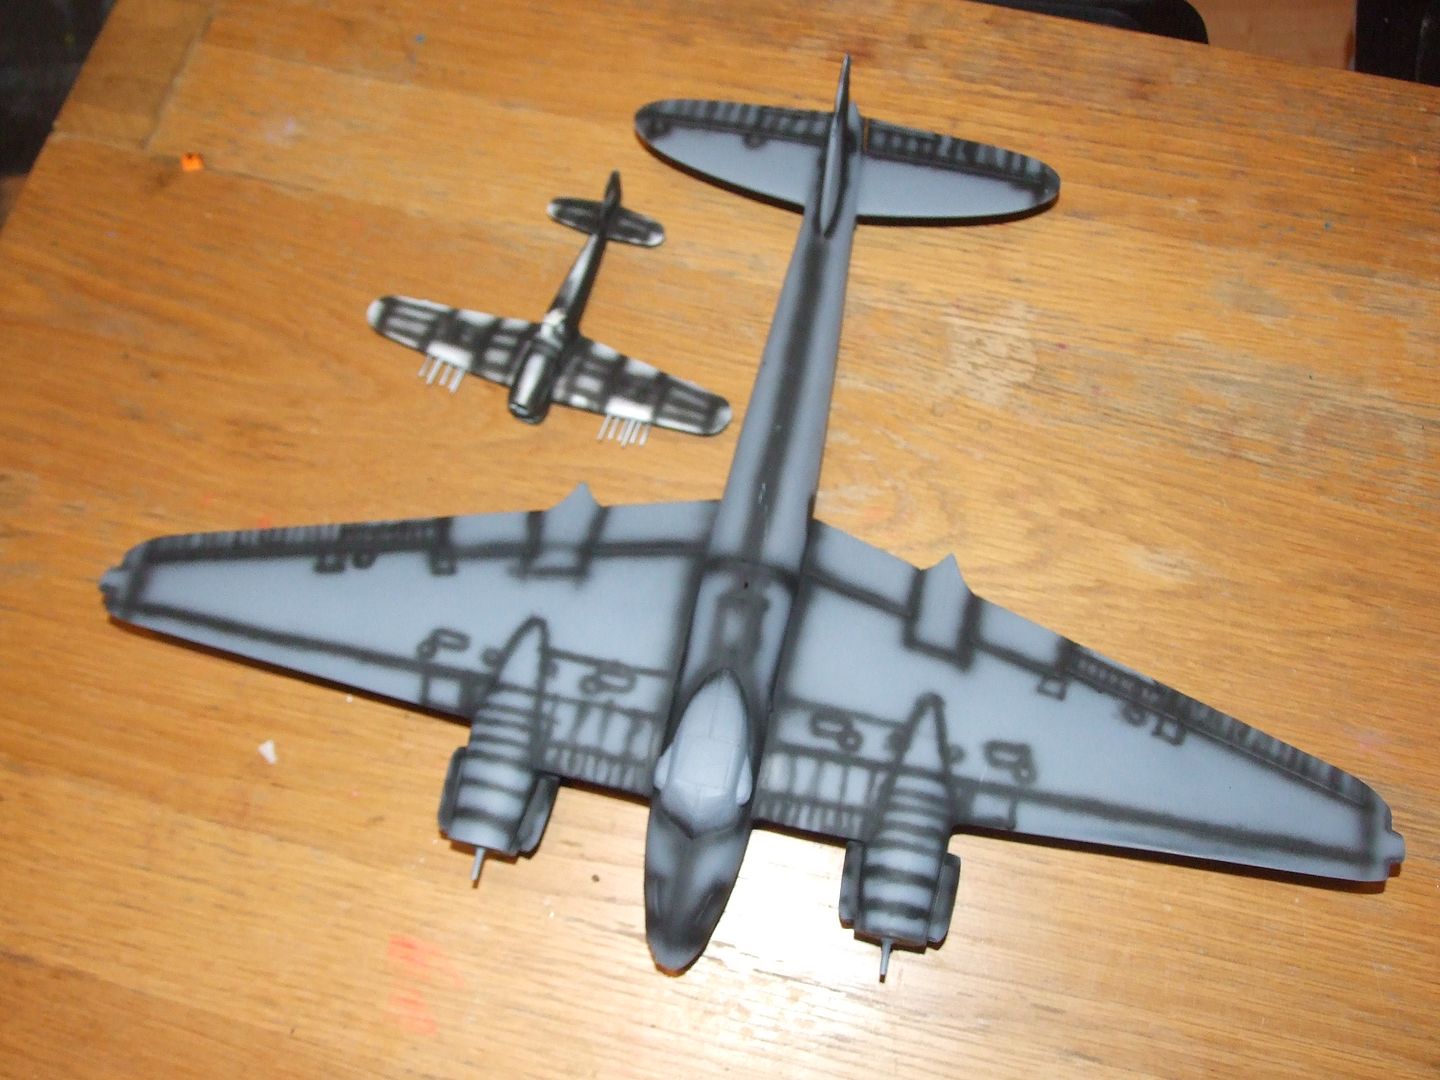
pre-shading. I practiced on the poor wee Airfix 1:72 Hawker Typhoon, might as well have painted her black :doh:
Image

small distraction
Image

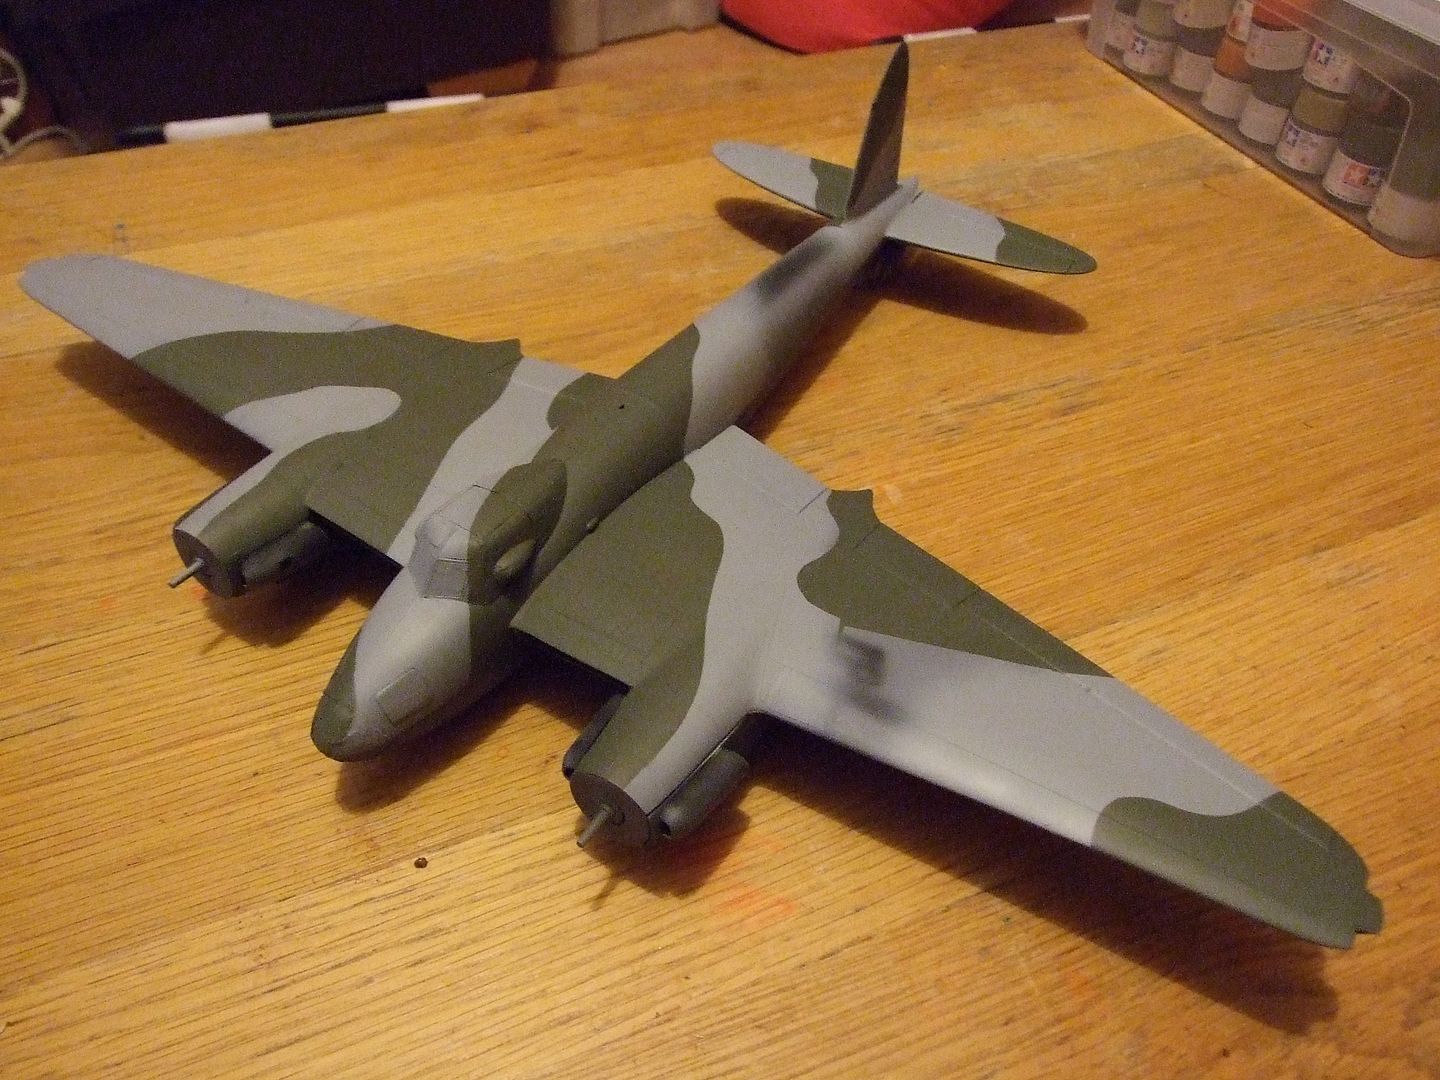
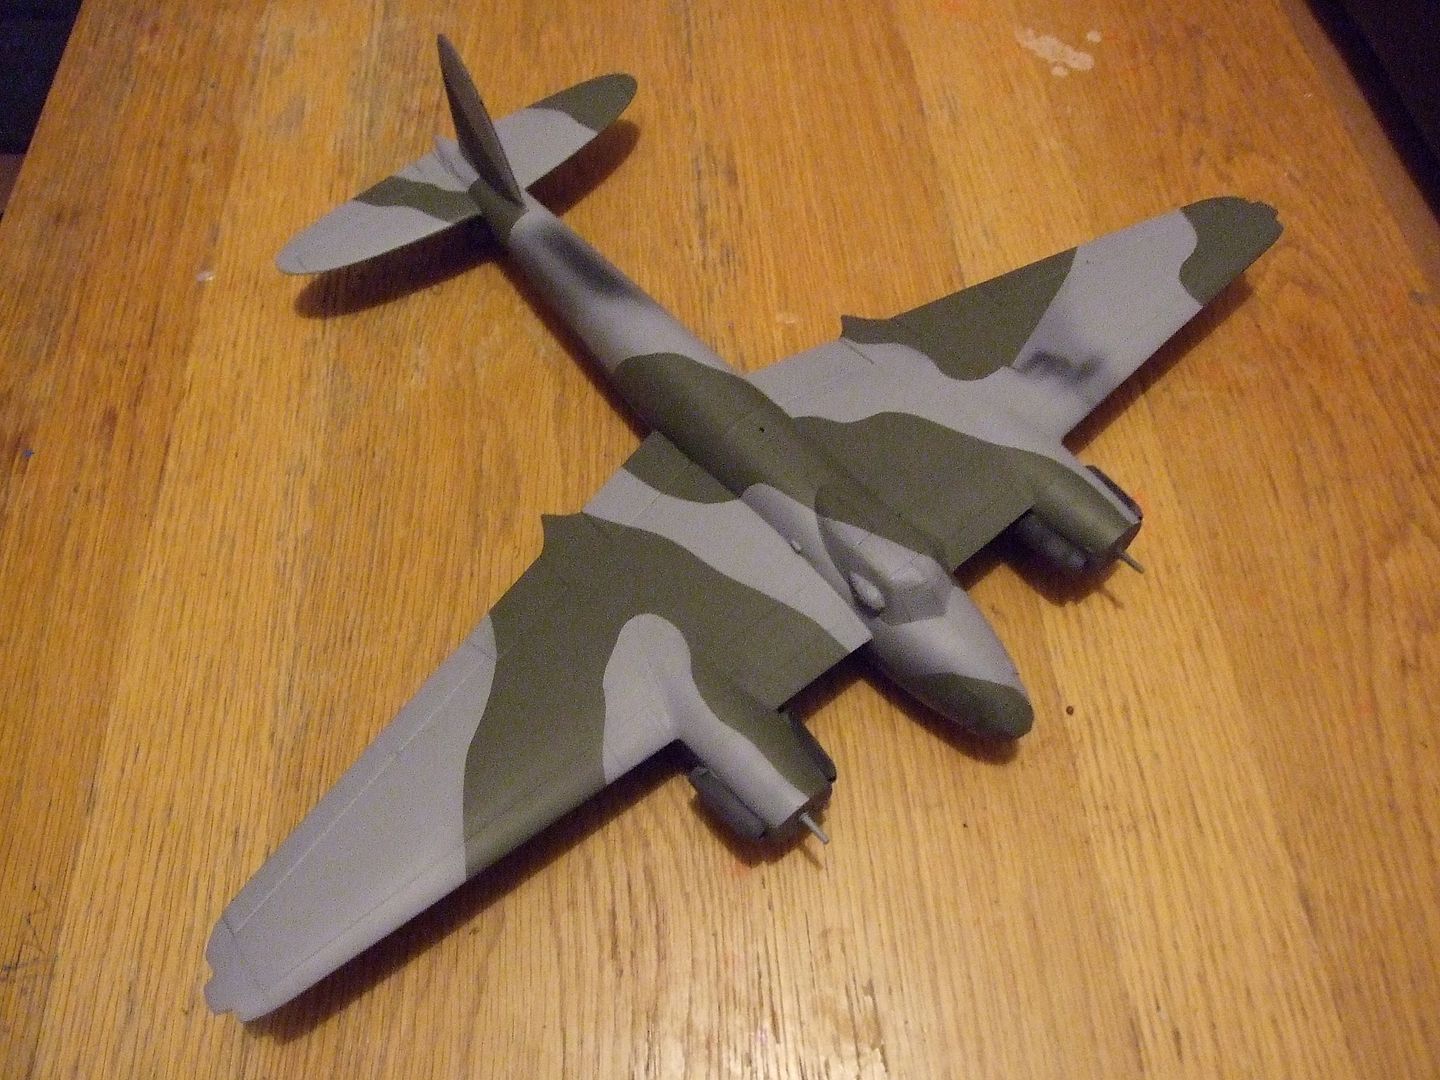
Belly medium grey done and first light grey colour laid down for the top surface camo pattern. Masking took me ages but was strangely therapeutic :tongue:
Image

a few nervous moments taking the tamiya tape off, i used the trouser method to de-tack the tape before applying. I couple of touchups required but all went well, i am very happy at the results. :th:
Image
Image

Invasion stripes next...to paint or to decal?? :? :doh: no decals...more masking it is then.

Jase
On the bench.
stuff i forget to update here.
User avatar
Nige201980
Captain
Captain
Posts: 4095
Joined: Wed Jun 05, 2013 9:30 am
Location: Doncaster South Yorkshire UK
Contact:

Re: Revelling in my Revell Mossie: Skullfish

Post by Nige201980 »

Cracking work mate. Love the paint work.
http://www.youtube.com/channel/UCy-TGcs5u_ZXSZ9kObNfsPg


On the go at the Mo

Quite a few :banana:
User avatar
Skullfish
First Sergeant
First Sergeant
Posts: 536
Joined: Thu Apr 16, 2015 2:49 pm
Location: Clydebank, Scotland.
Contact:
Scotland

Re: Revelling in my Revell Mossie: Skullfish

Post by Skullfish »

Update IV

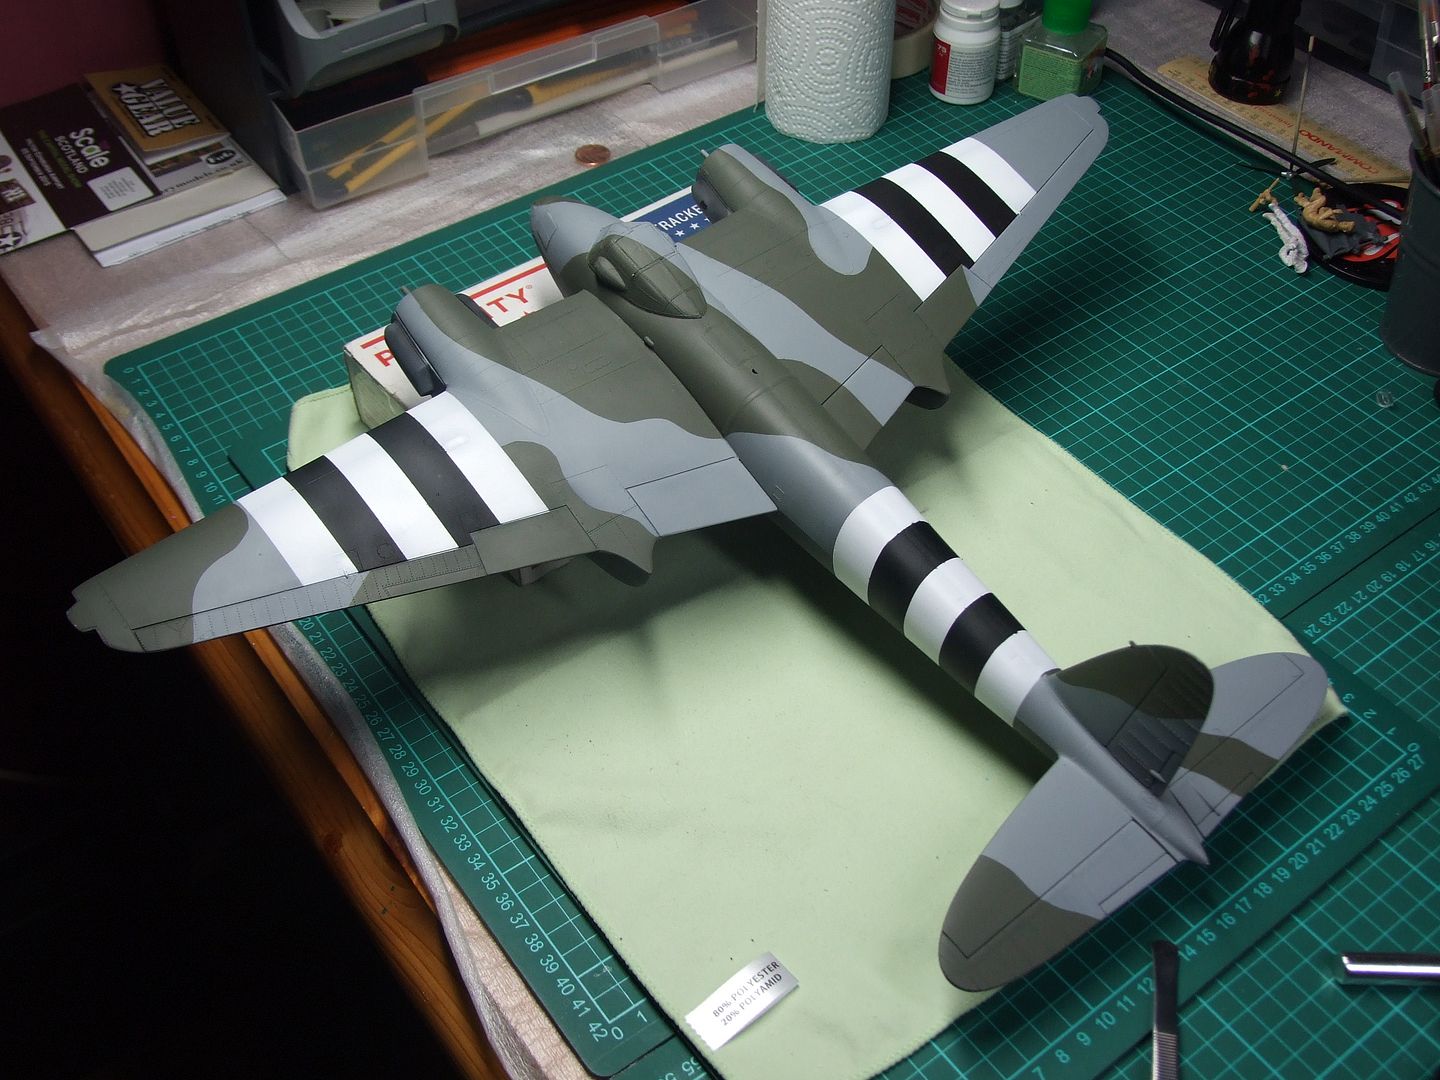
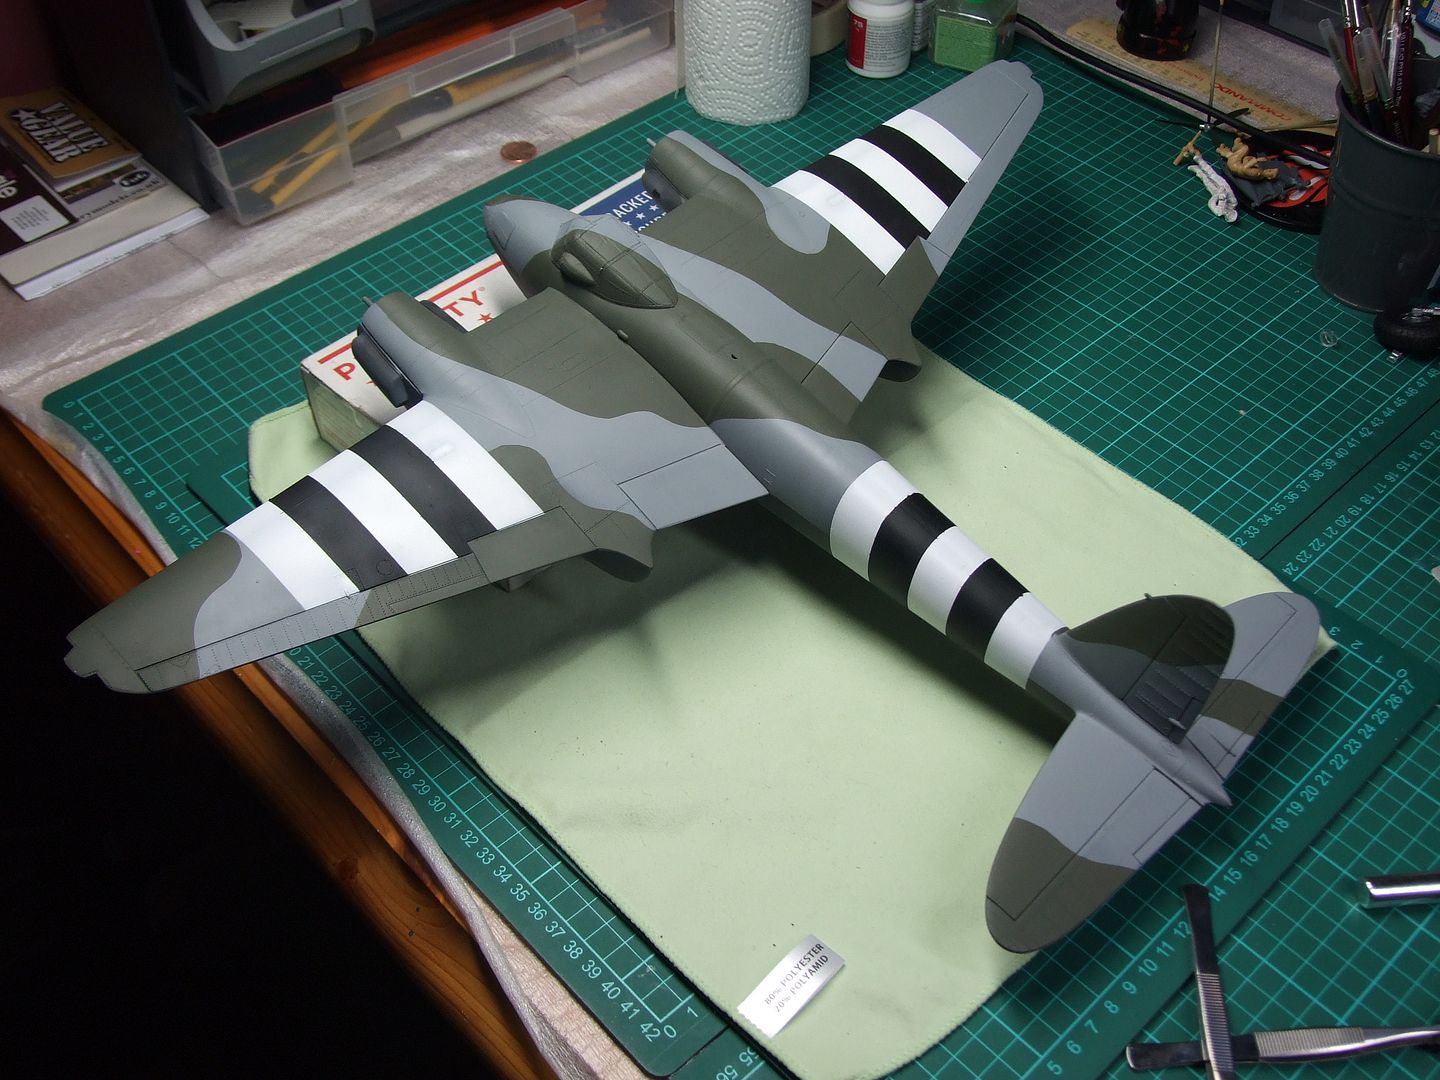
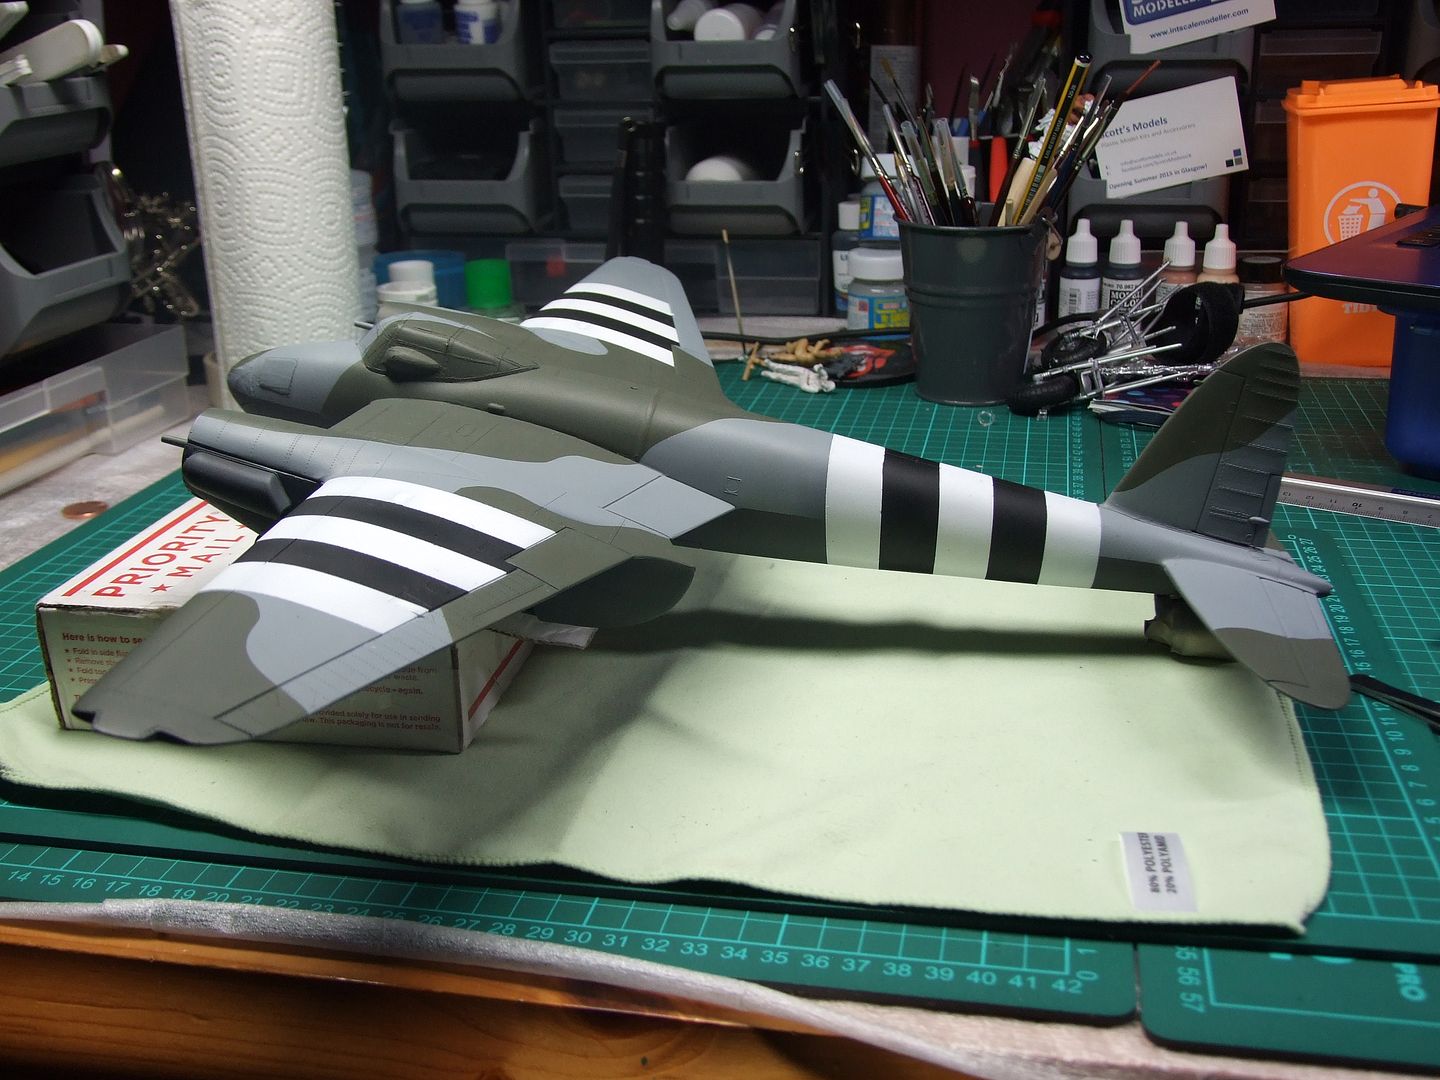
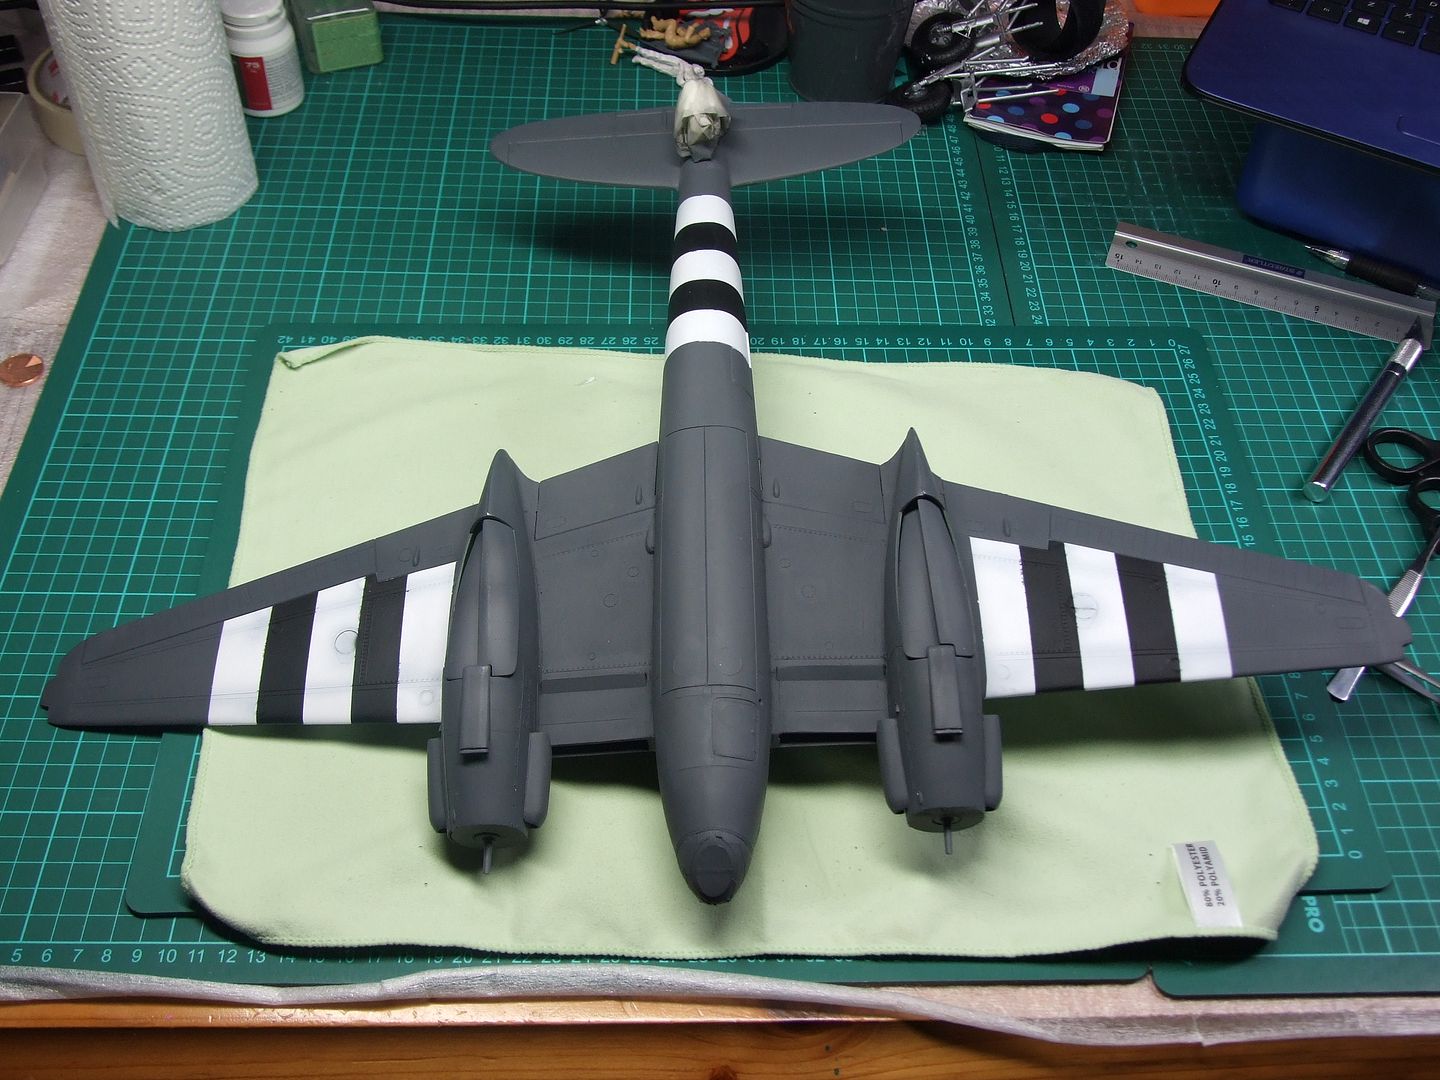
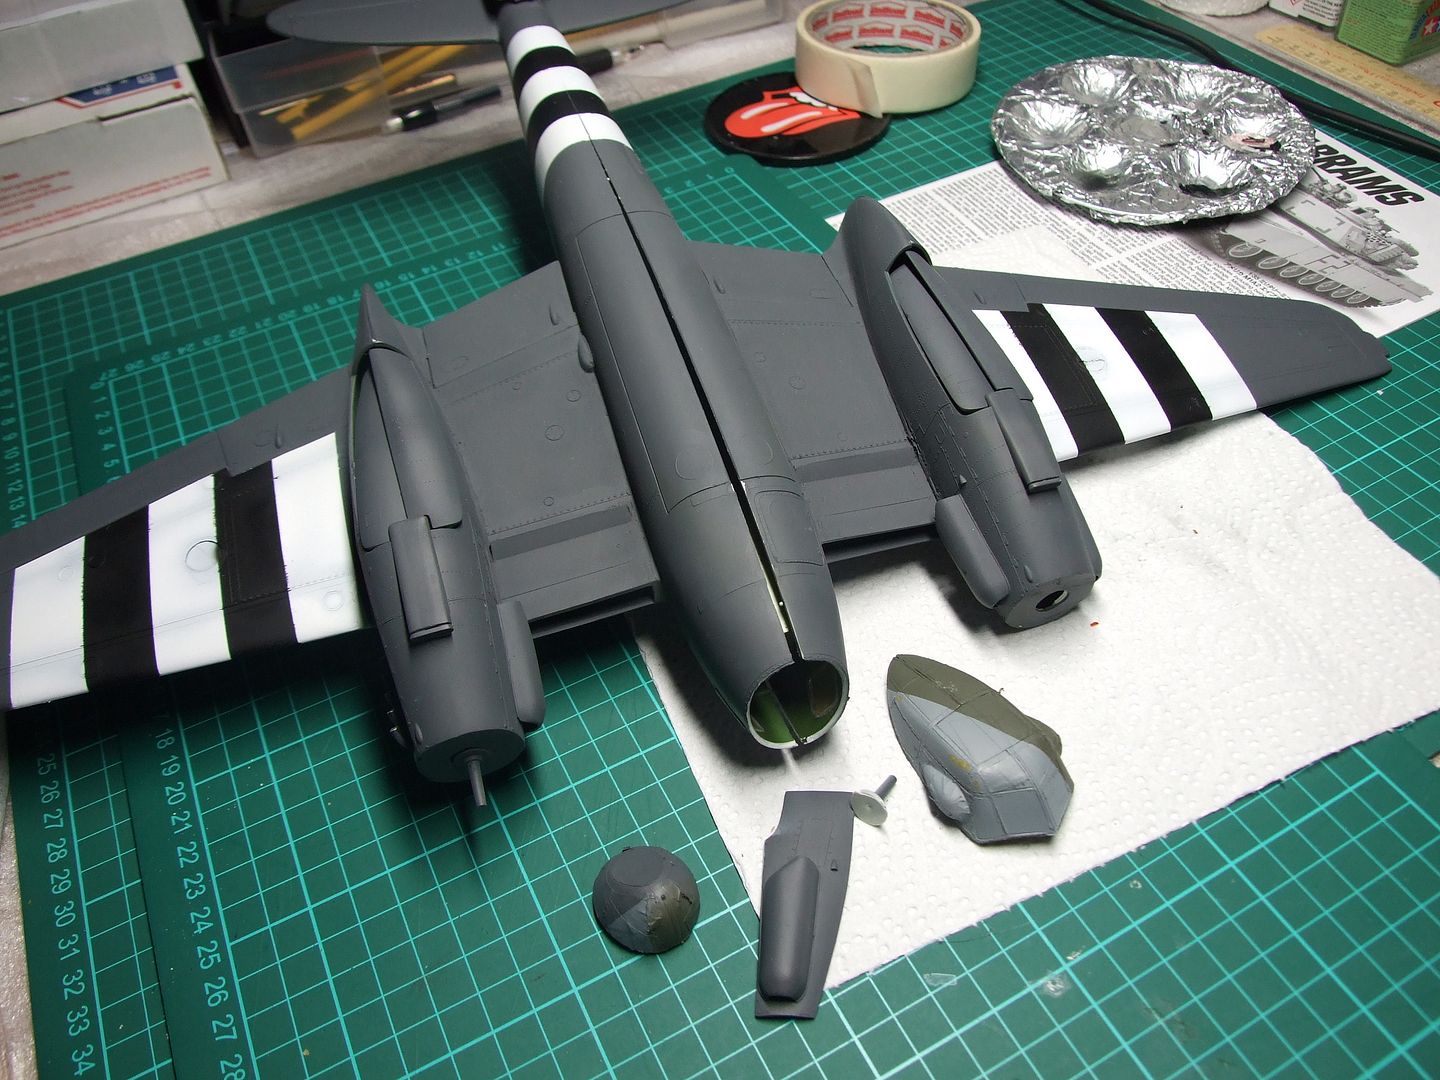
Another step closer, Operation "ohh bugger" Invasion stripes!! :wtf: :eeek: :crazy:

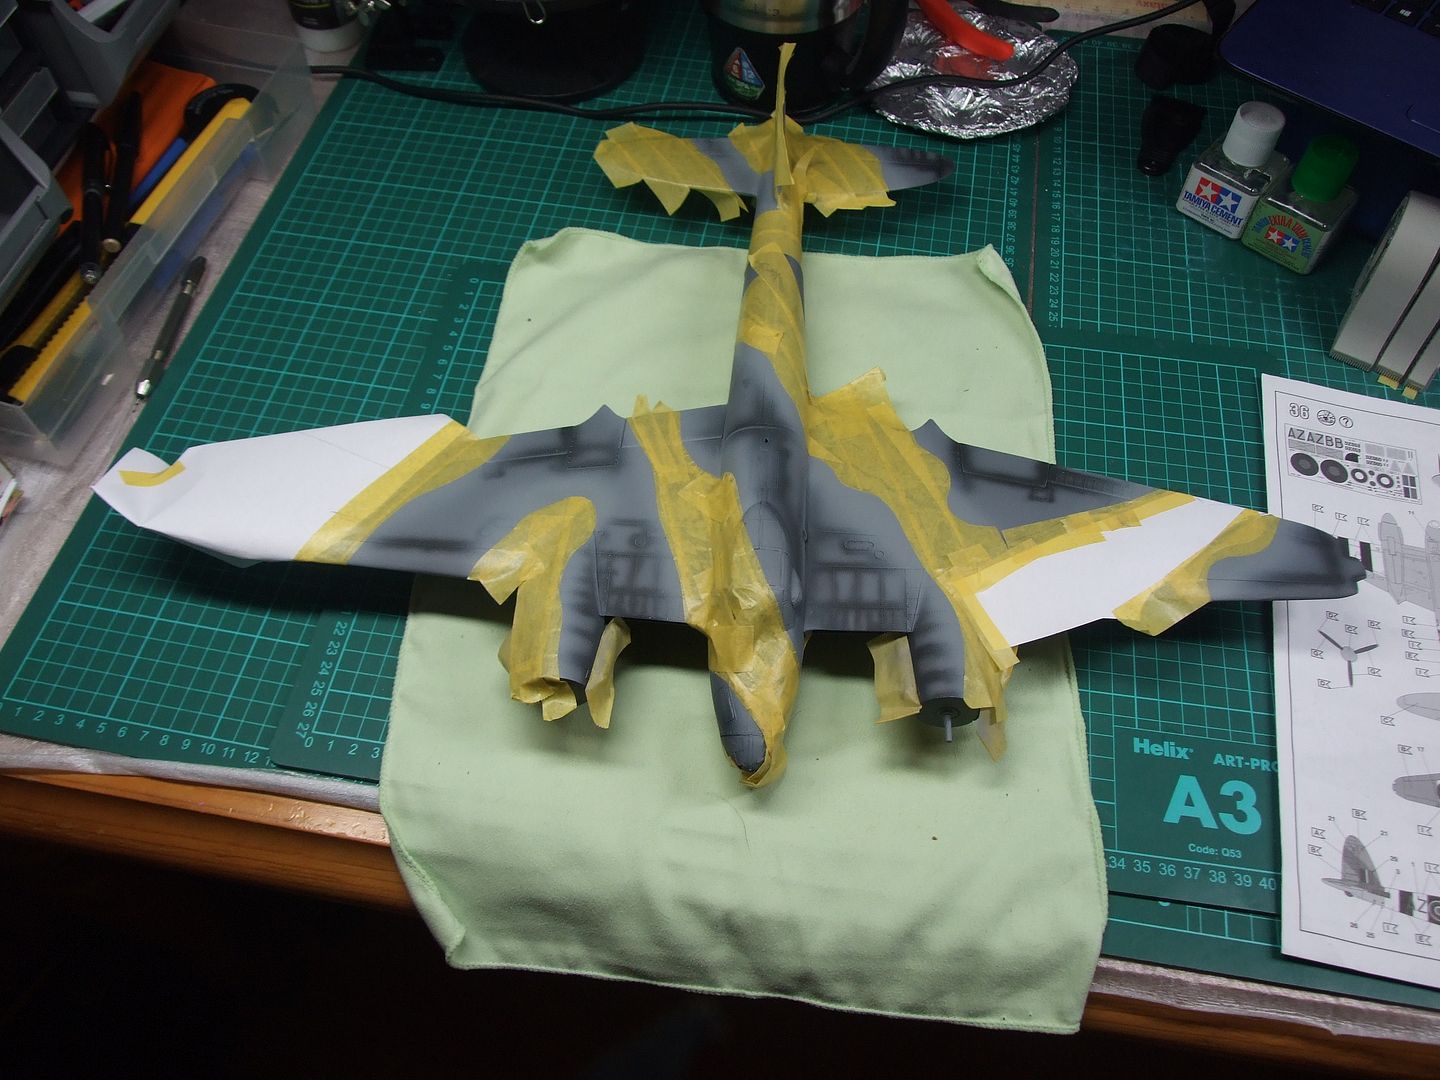
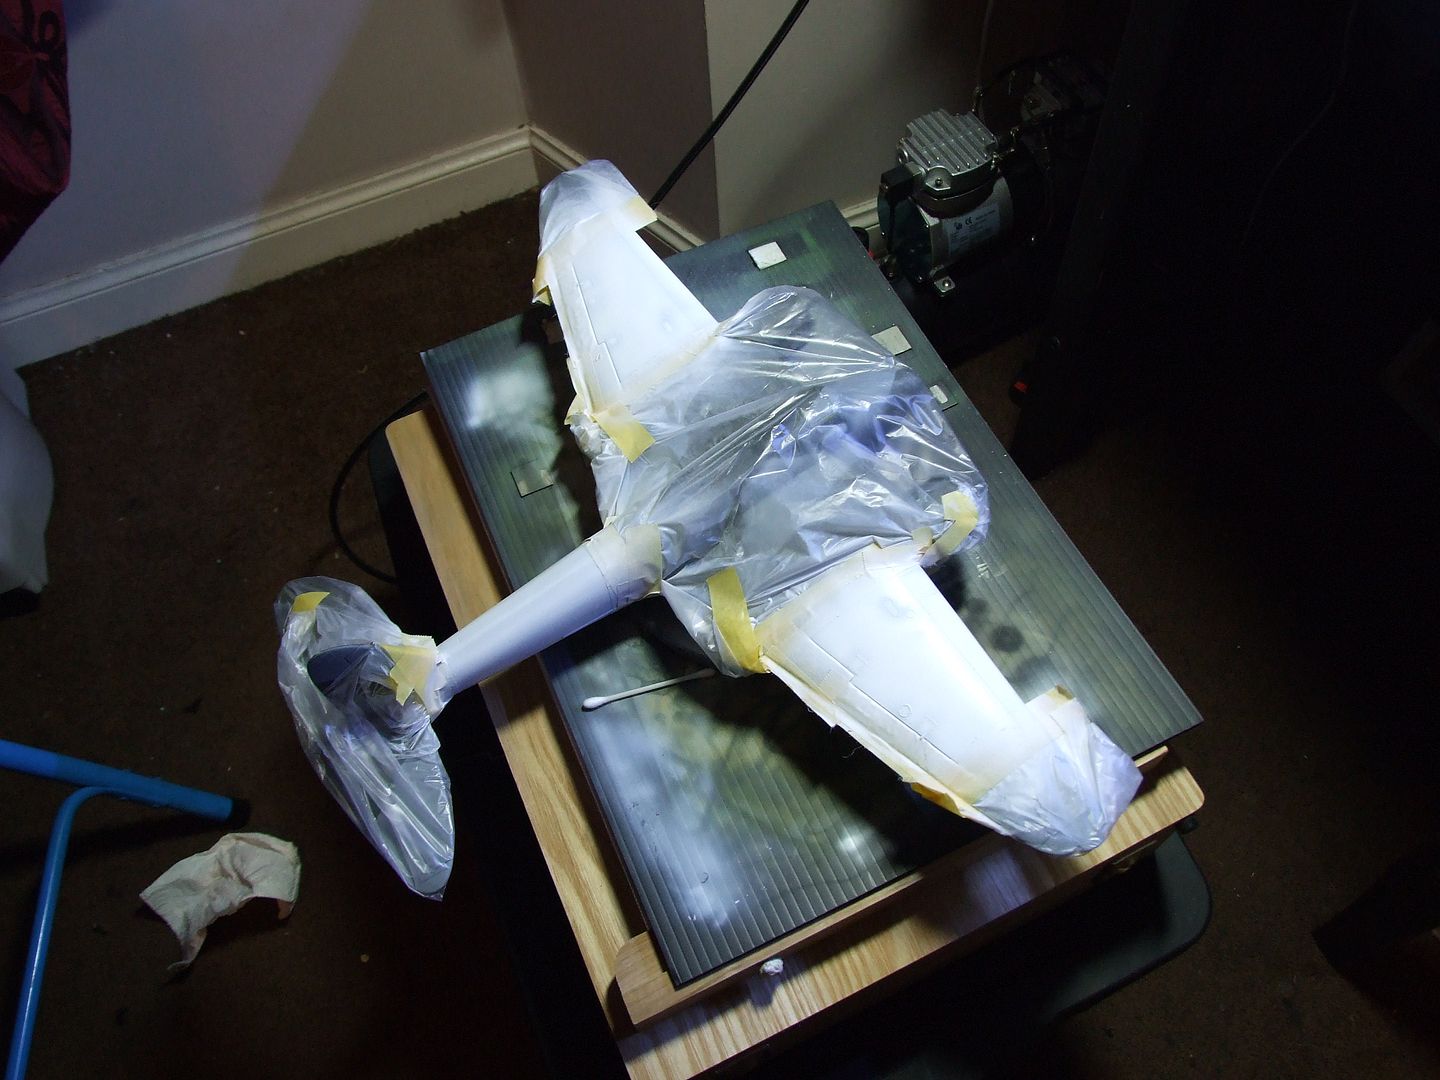
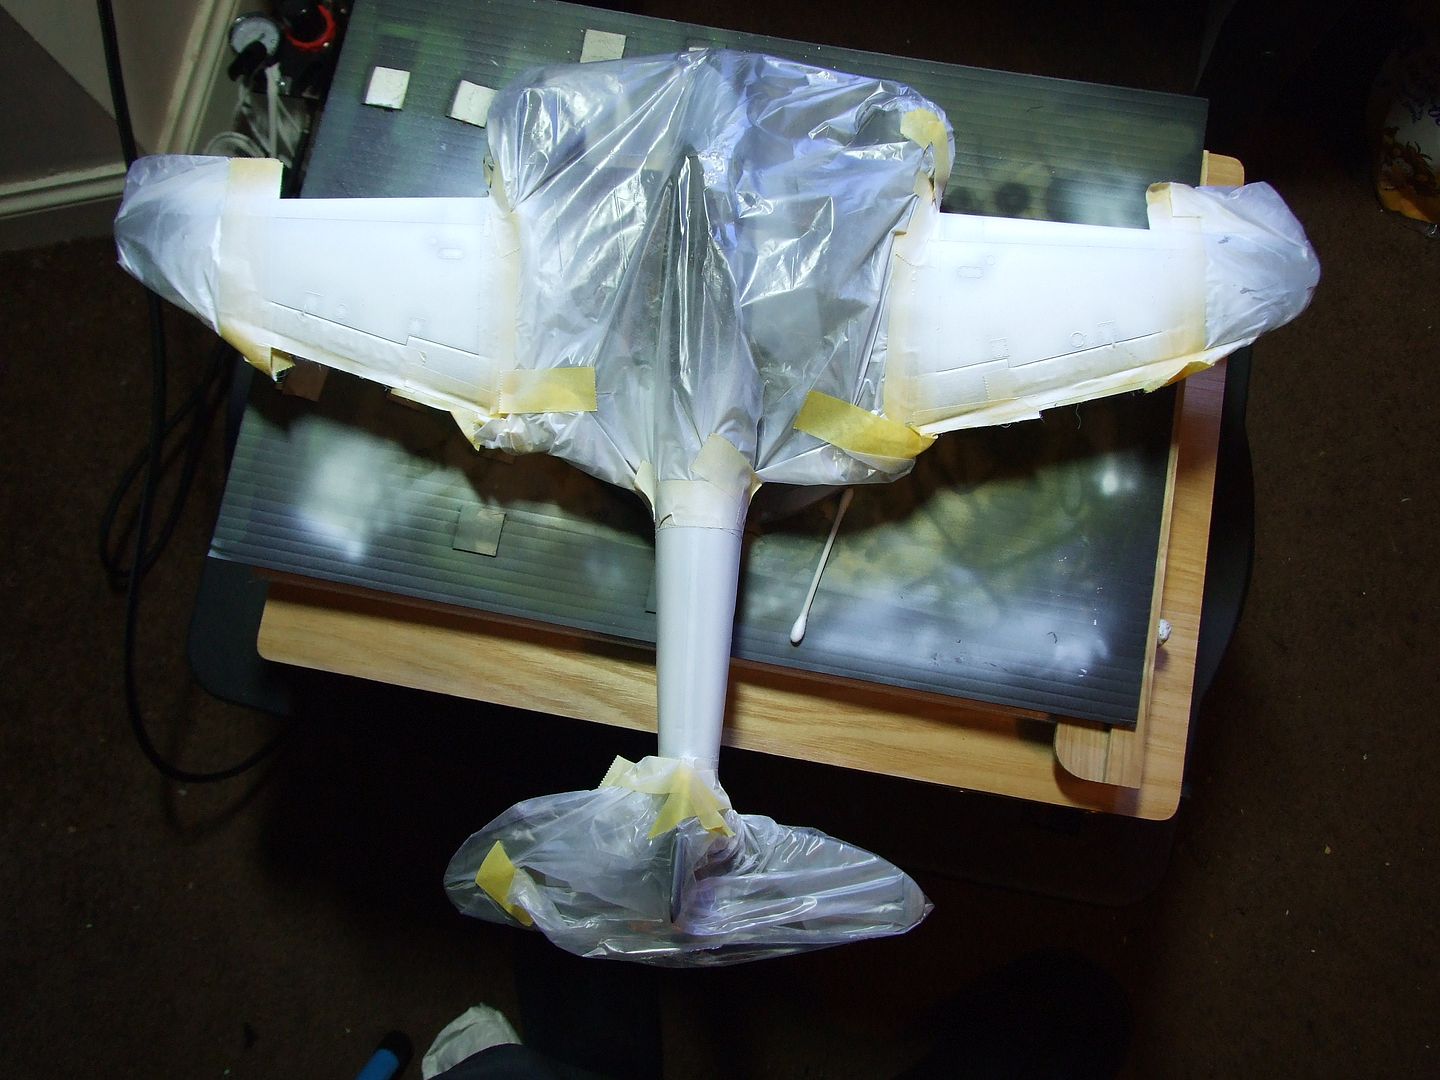
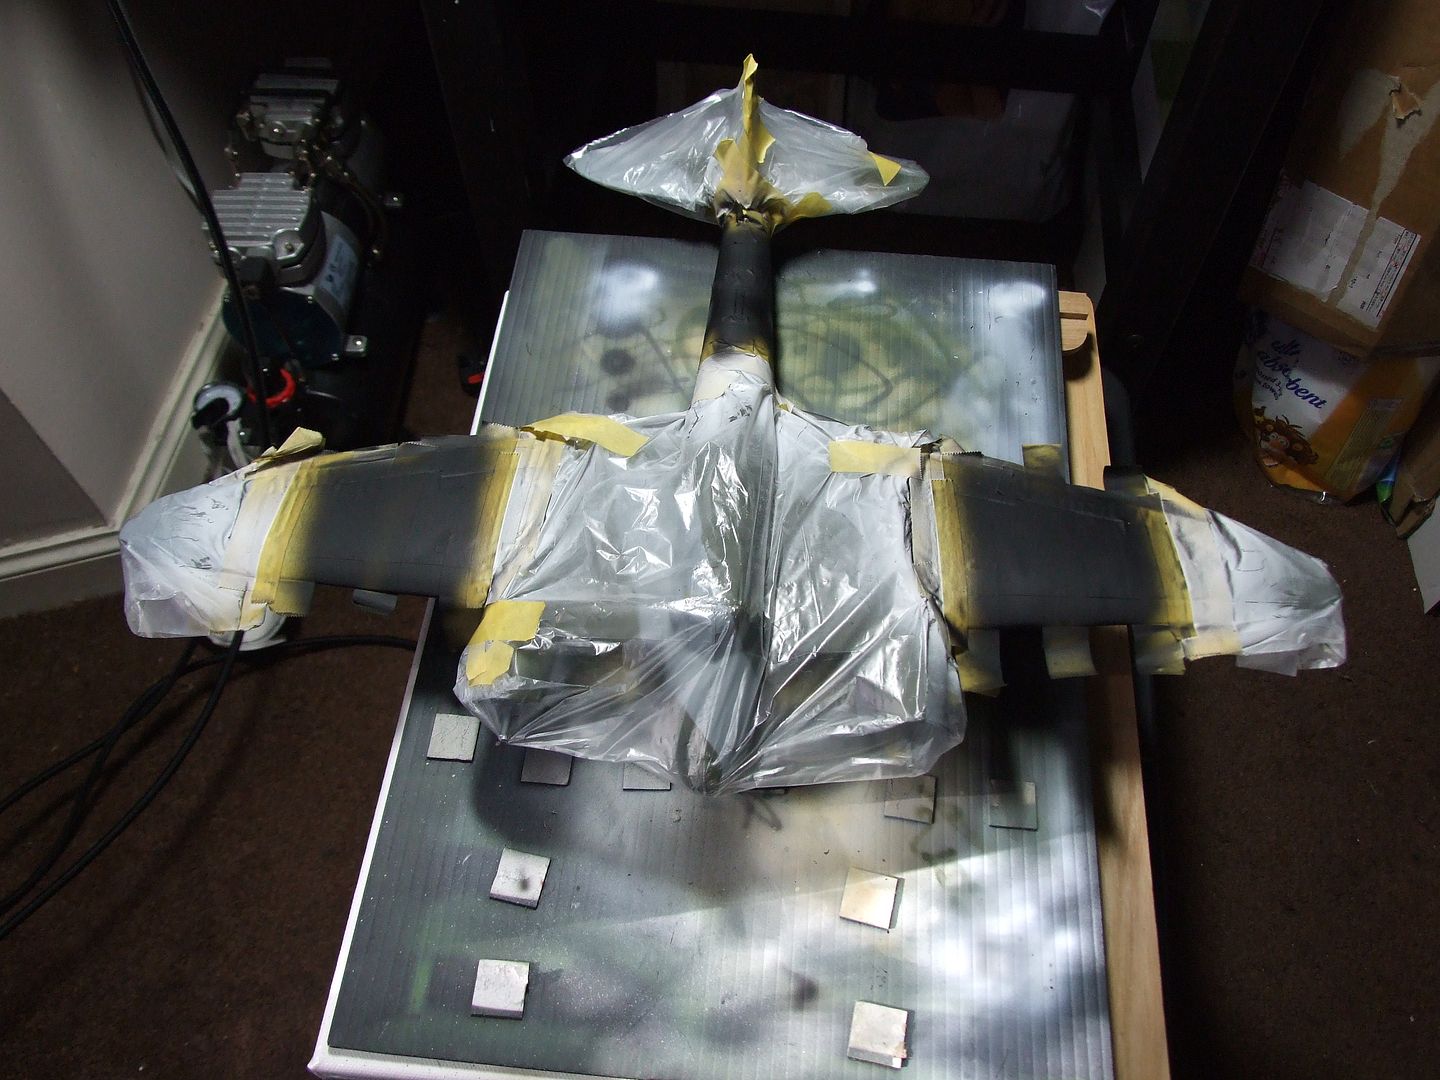
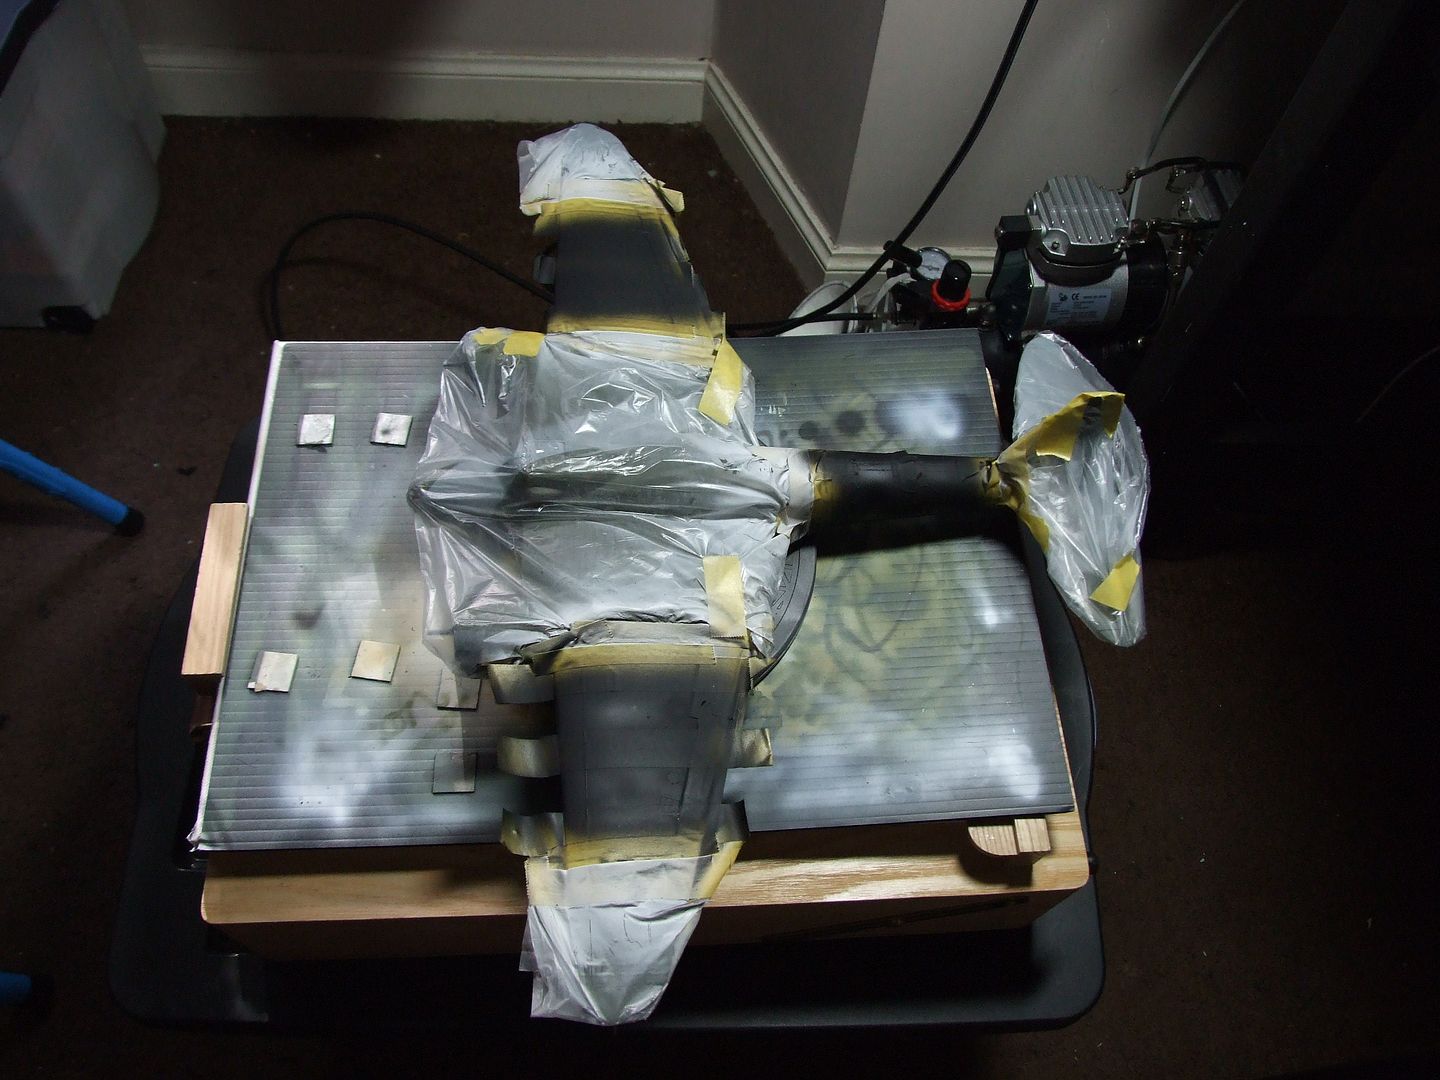
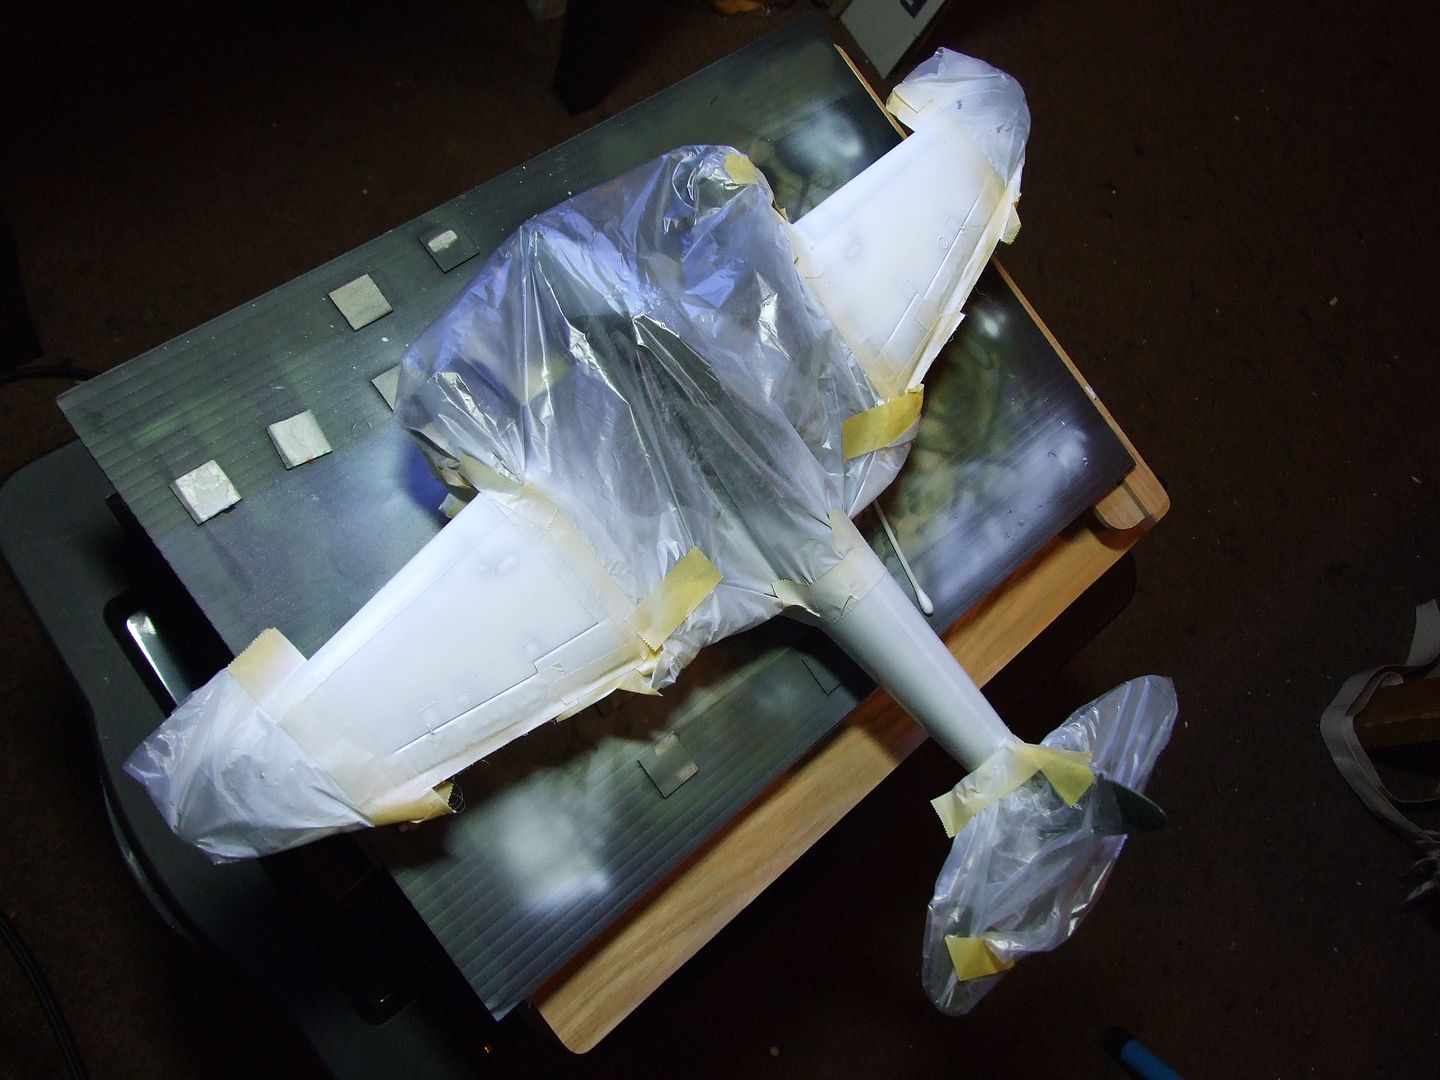
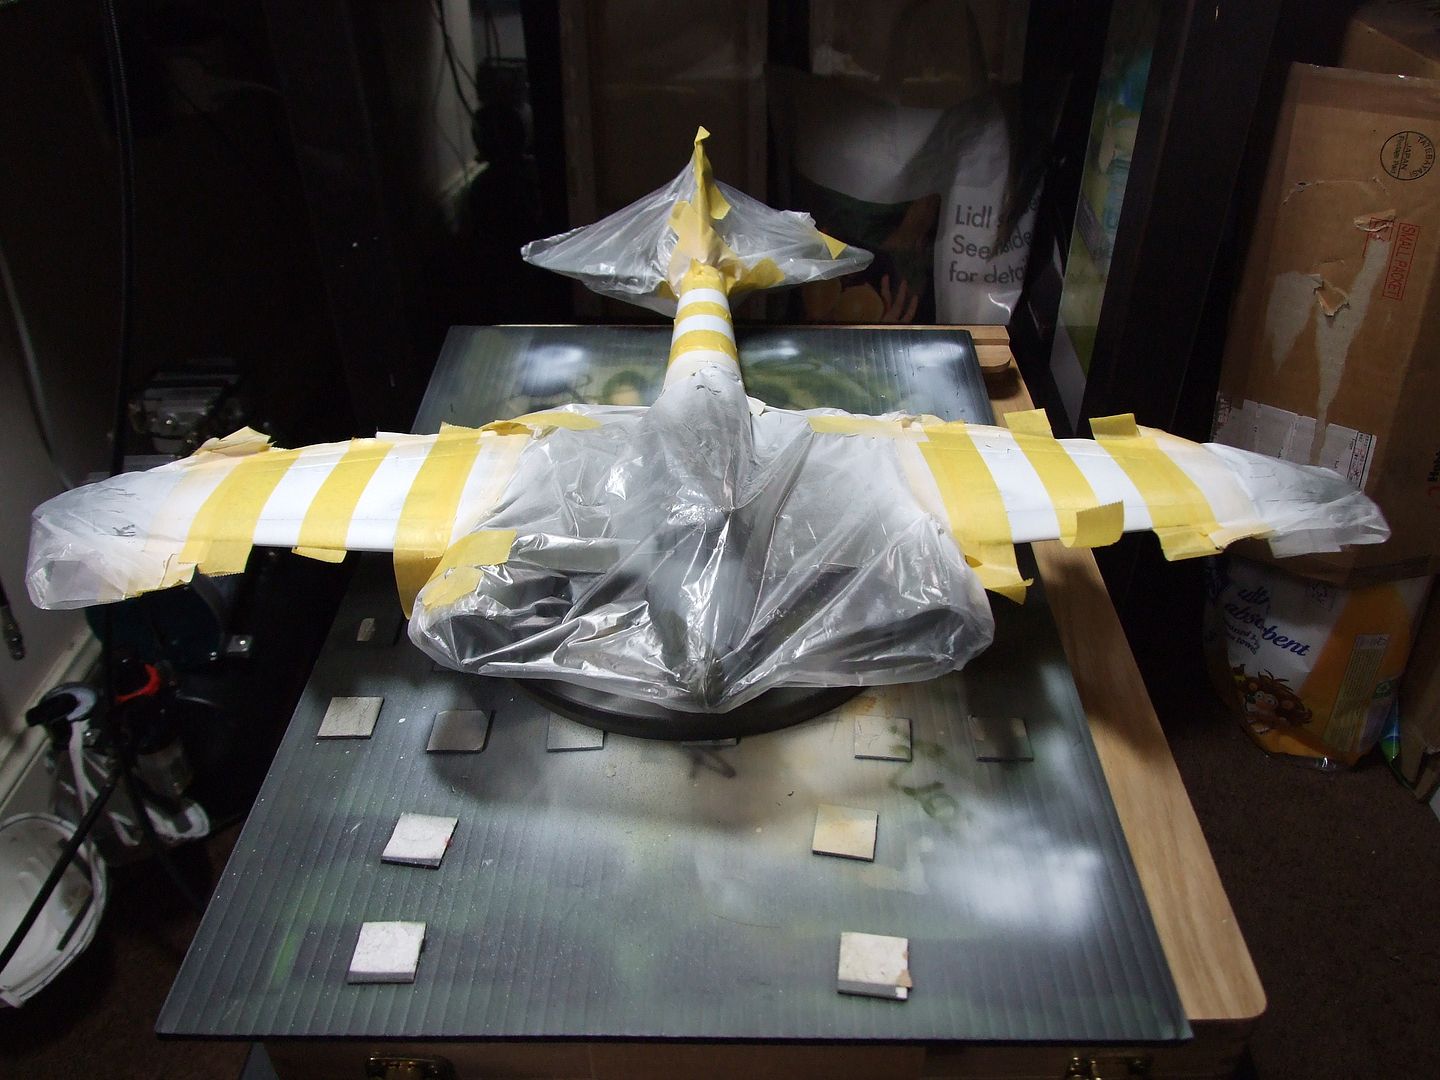
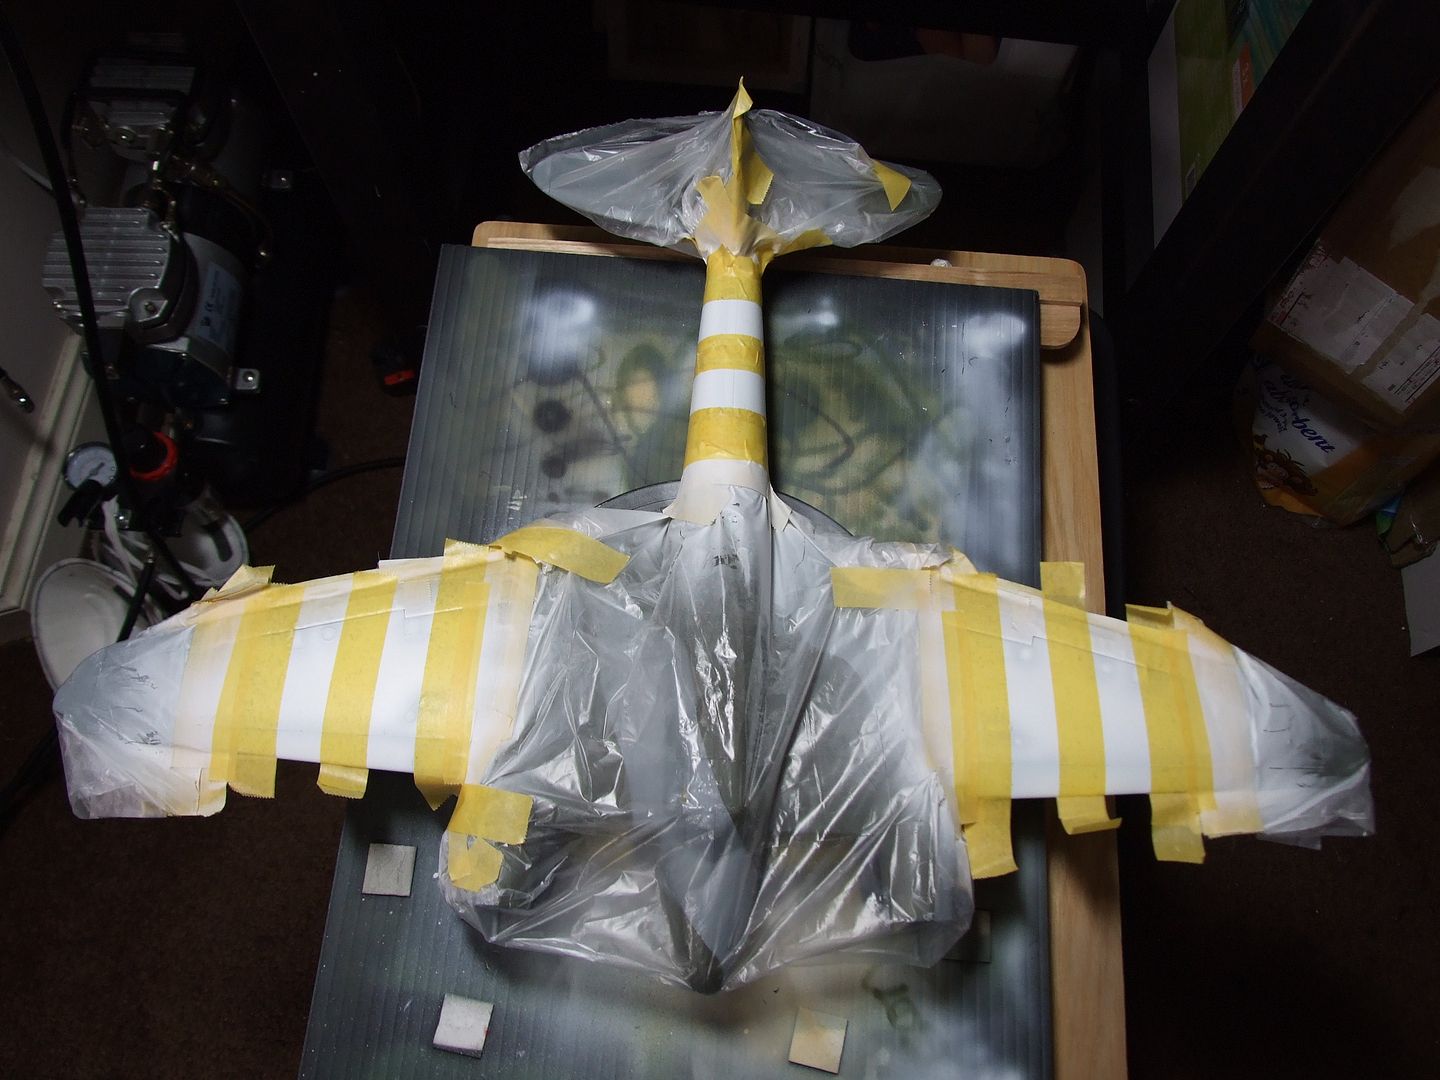
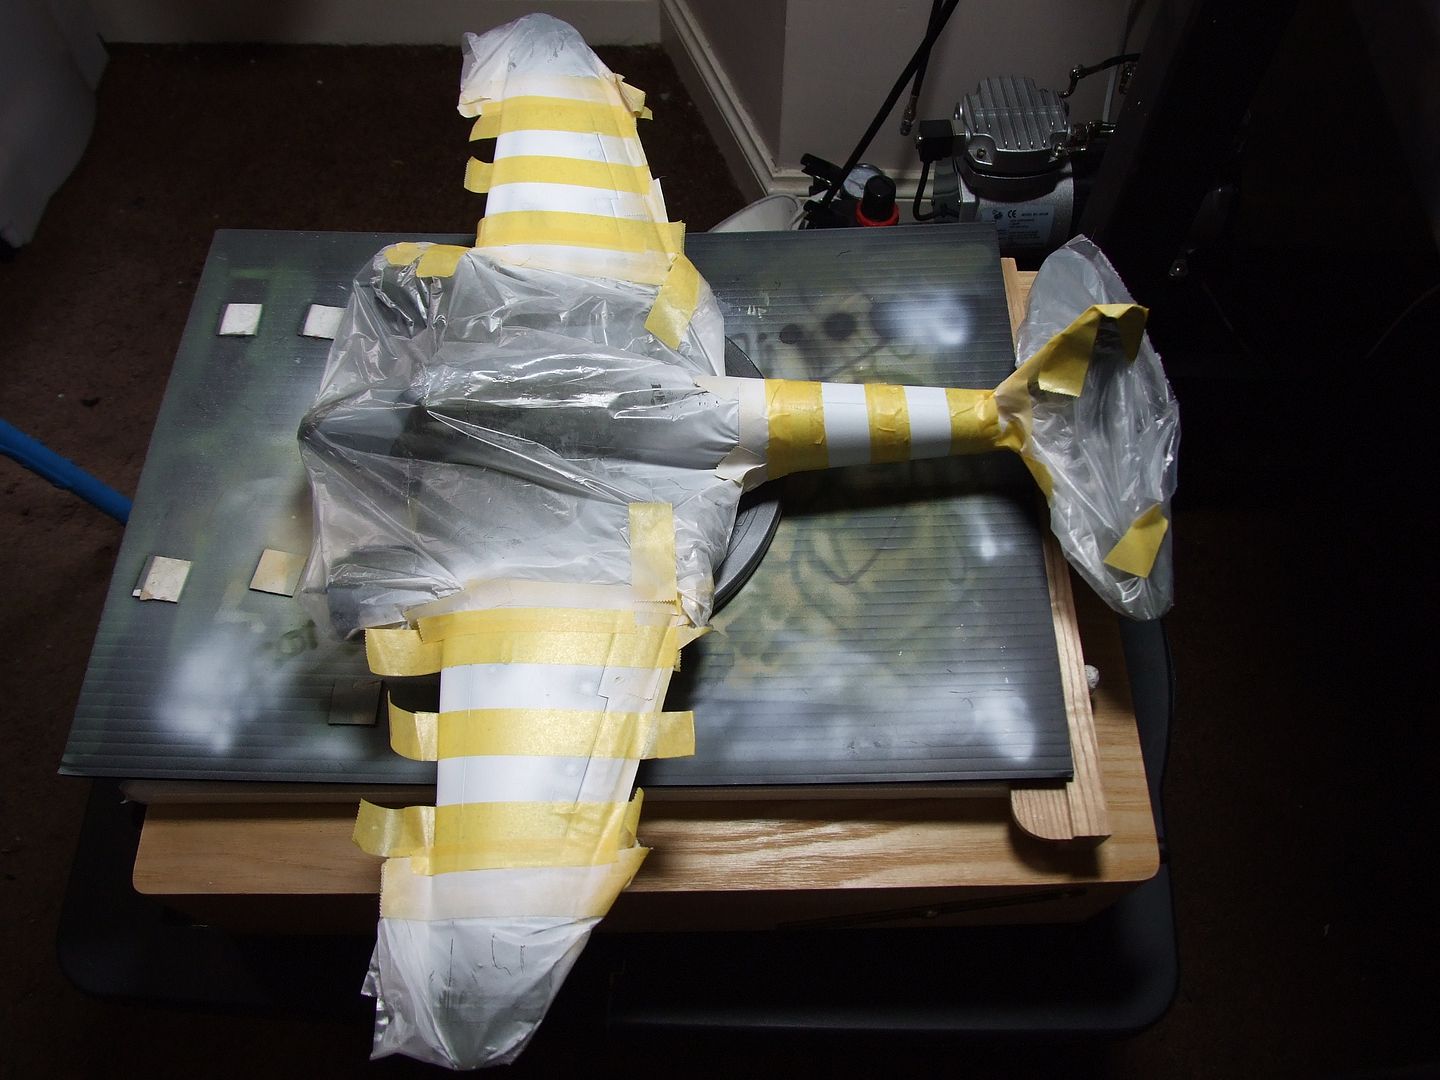
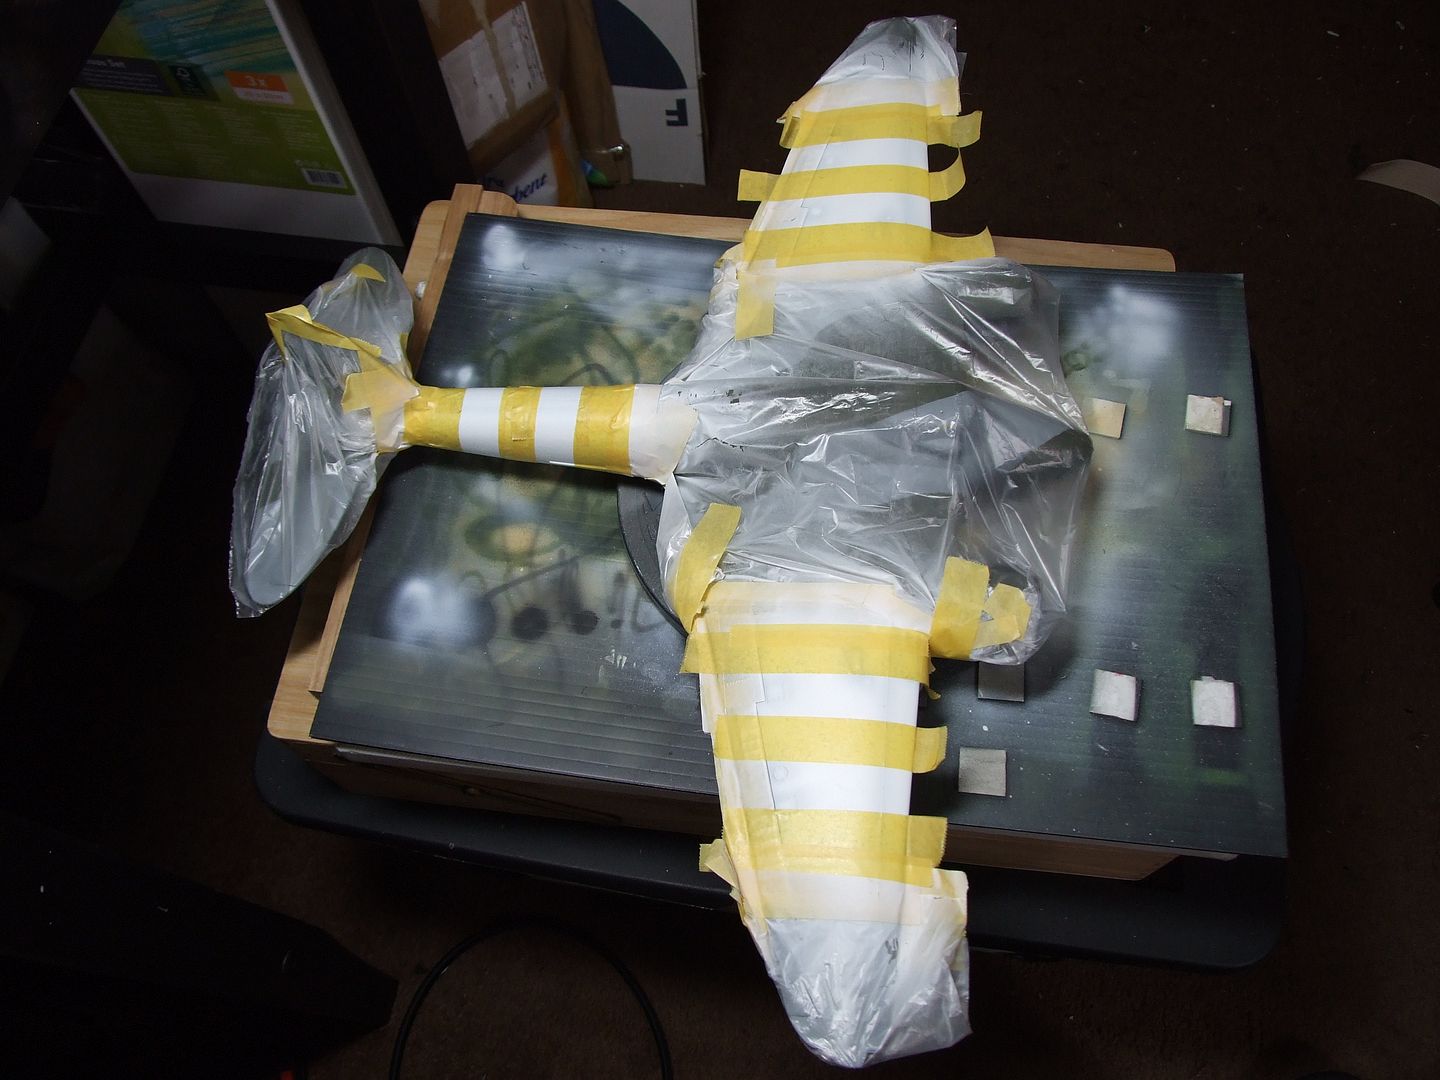
first up, masking everything bar the areas for the base coat of white, tough considering how large she is ( size reference- the black plastic card is A3 ). So i was filling my daughters play piece box the other day when i had an idea...use the food bags as masking film for the majority of it, thus saving time and tape. And, less tape to pull the paint off, as always detacking the tape before applying.:th:
Image
Image
Image

now, the invasion stripes background white area worked out to be 90mm wide, so 5 stripes (3 white and 2 black) at 18mm each worked out perfectly to match the tamiya tape. I initially thought i was going to have to use thinner tape to make up an odd size.
Image
Image
Image
Image
the only stripes i did have to cobble together were the white stripes on the fuselage, the middle white one being a total pita!! it being an odd shape fitting around a not quite circle of the fuselage.

Next blocking in the black.
Image
Image

Then after after Brad Pitt'ing it taking off the tape and masking film, there she was, all resplendant in her stripes!! for my first time, i think its not bad, quite proud of that one. :dance: :dance:
Image
Image
Image
Image

All in all a very enjoyable learning curve so far, There are a few places i could touch up the stripes, but i am going to leave them. I think they look good with a few imperfections, after all they would have been hastily painted prior to the big push.
Next up, let it all dry for 24 hours then Alclad Aqua Gloss, then the decals.

As ever, thanks for looking, tippers and critics most welcome.

Jase
On the bench.
stuff i forget to update here.
User avatar
Skullfish
First Sergeant
First Sergeant
Posts: 536
Joined: Thu Apr 16, 2015 2:49 pm
Location: Clydebank, Scotland.
Contact:
Scotland

Re: Revelling in my Revell Mossie: Skullfish

Post by Skullfish »

Update V: the finale!!

ok here we go...Last we saw her the invasion stripes were done, next up comes the Aqua Gloss right? Yeah funny thing happened...
Image
:jd: :eeek: :eeek: :bash: :eeek: :eeek: :jd:
Image

Hmm, i was trying to figure a way to hang her by the tail so i could gloss her front and back at the same sitting when all kinds of gravity happened around my spray booth. She took a nose dive straight to the floor from 5 foot in the air! Note to self: Dont experiment without thinking things thro first :doh: :doh: :wall:

Now, surprisingly my mojo wasnt outright kicked in the nads. I just took her thro for some reconstructive surgery..and within 24 hours she was pieced back together and all glossed up. That we detour put me a whole day behind my schedule.
Image
Image
couldnt resist putting the props on for a lookysee.

Decals next up, Handy things those big car sponges...pack of 3 out the pound shop. :th:
Image
Image
no hassles here thankfully tho they seemed a wee bit too thick, and only one of them didnt play ball. Plenty of Micro Sol and Set.

By this point the posty had delivered some Ultimate goodies and i was able to use the new improved version of the Dark Dirt Wash.
scarey but fun slapping it all over a nice clean model.
Image
Image

After an hour to dry i set to with damp cotton buds, then after 2 minutes realized that dampened kitchen towel was the answer to not going insane, she is 1:32 remember. :tongue: :tongue: :tongue: i would save the cotton buds for the hard to reach bits...anyways after hours of clean up and a couple of movies heres how she looked.
Image
Image
and ready with the props and the almost last step of removing the tamiya tape from all the glass.
Image

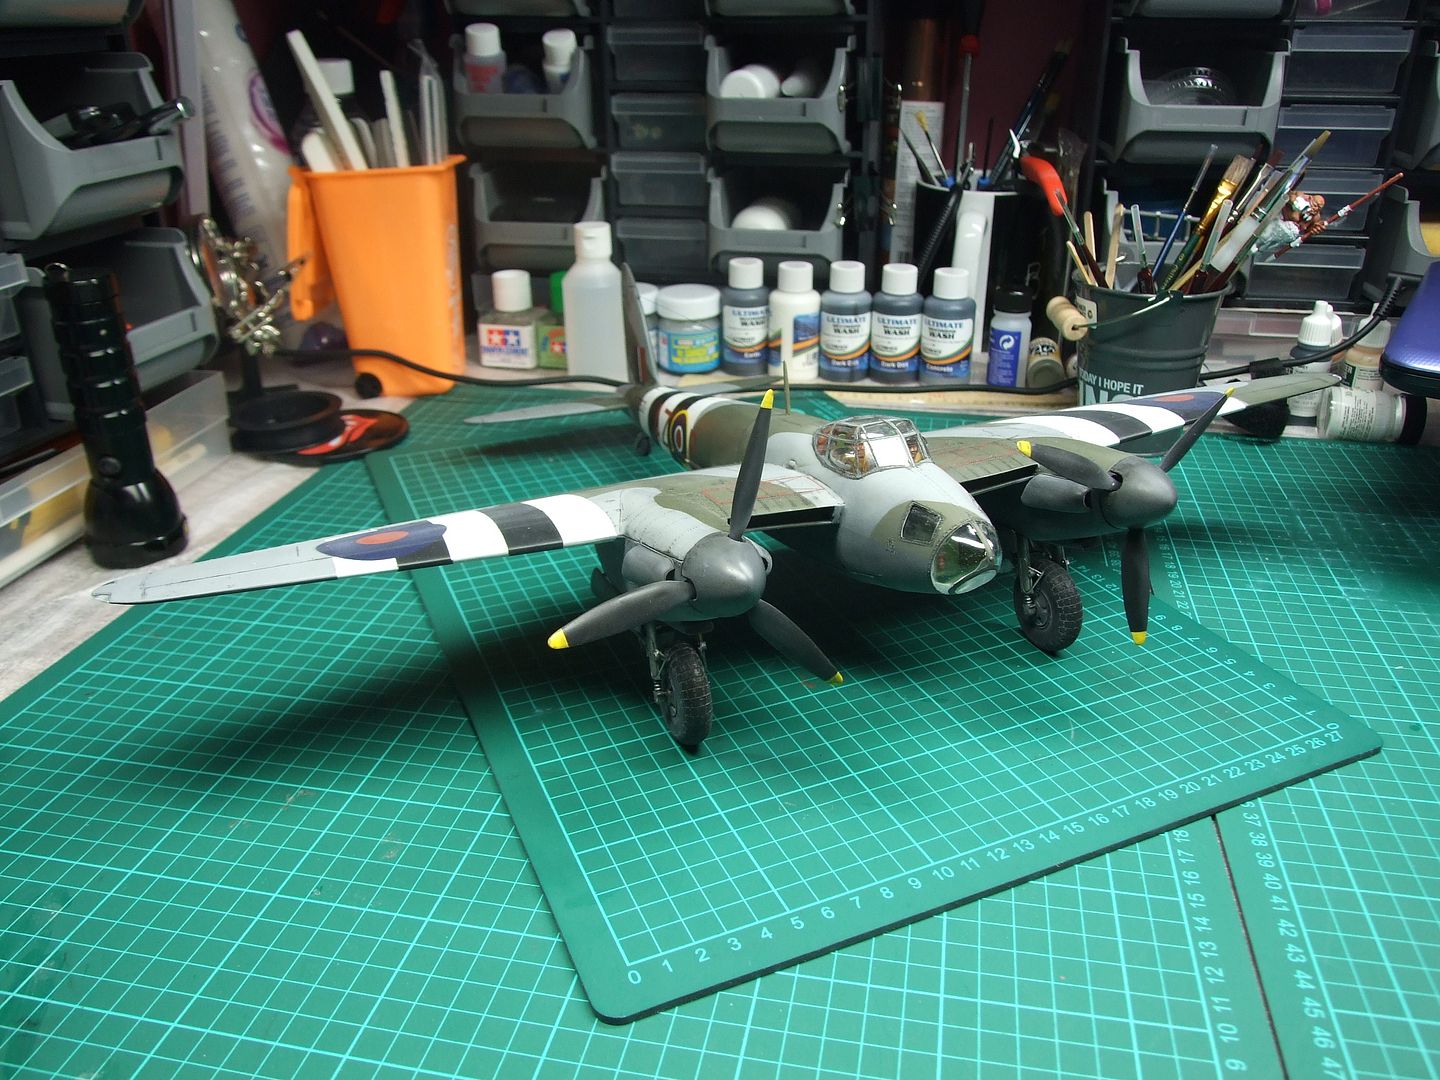
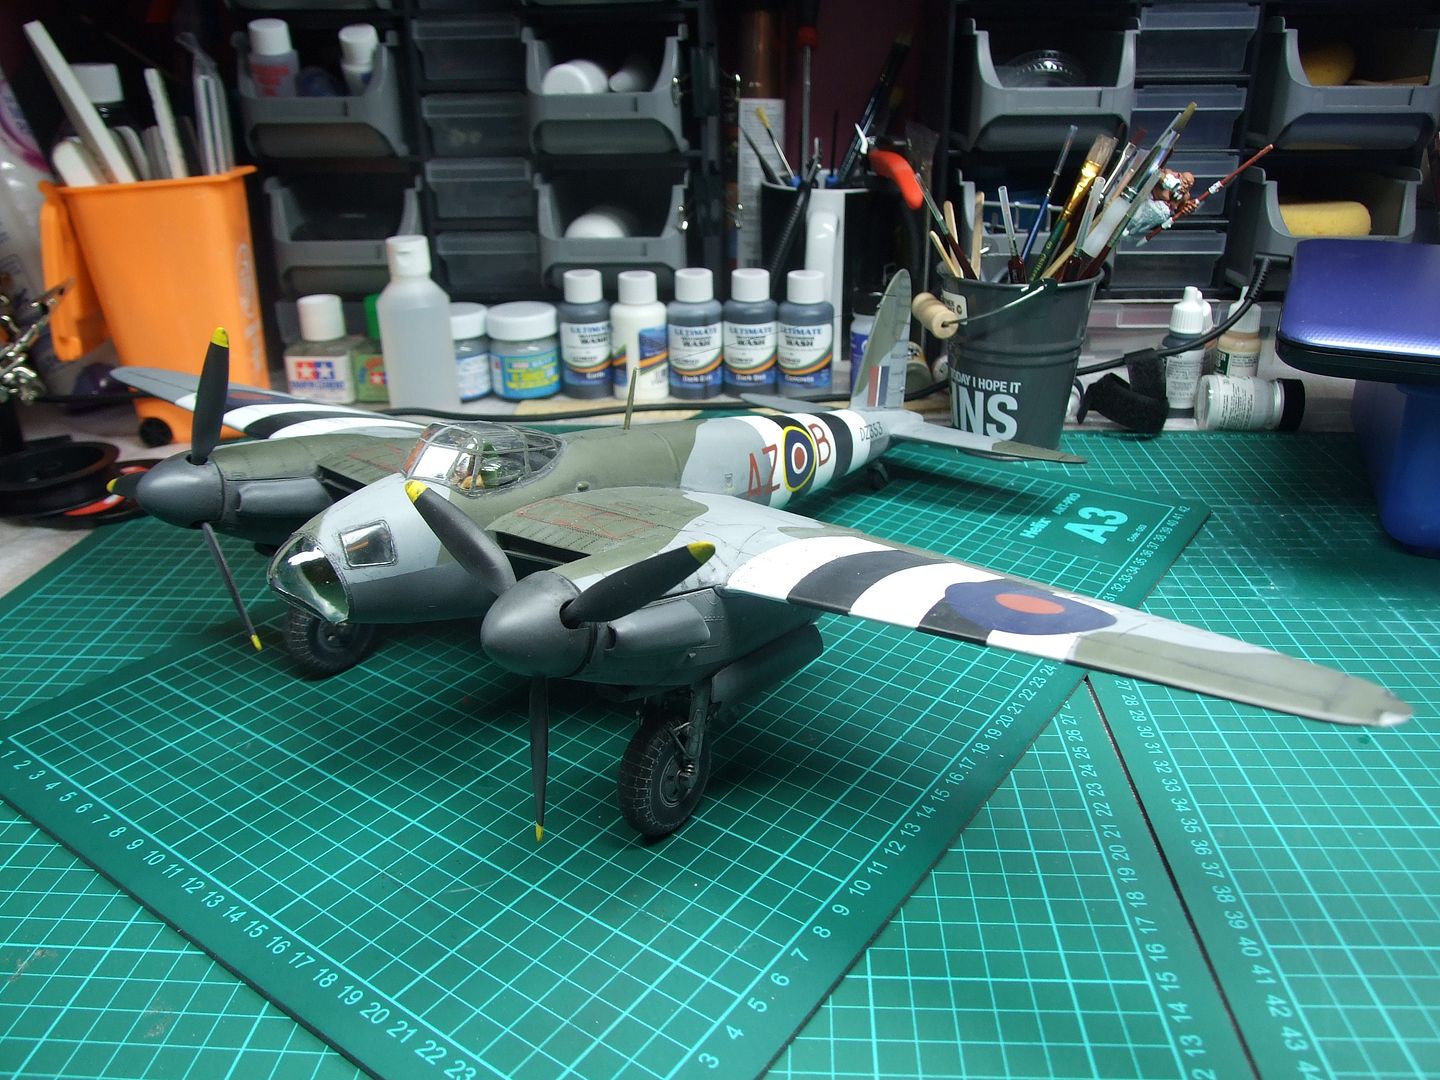
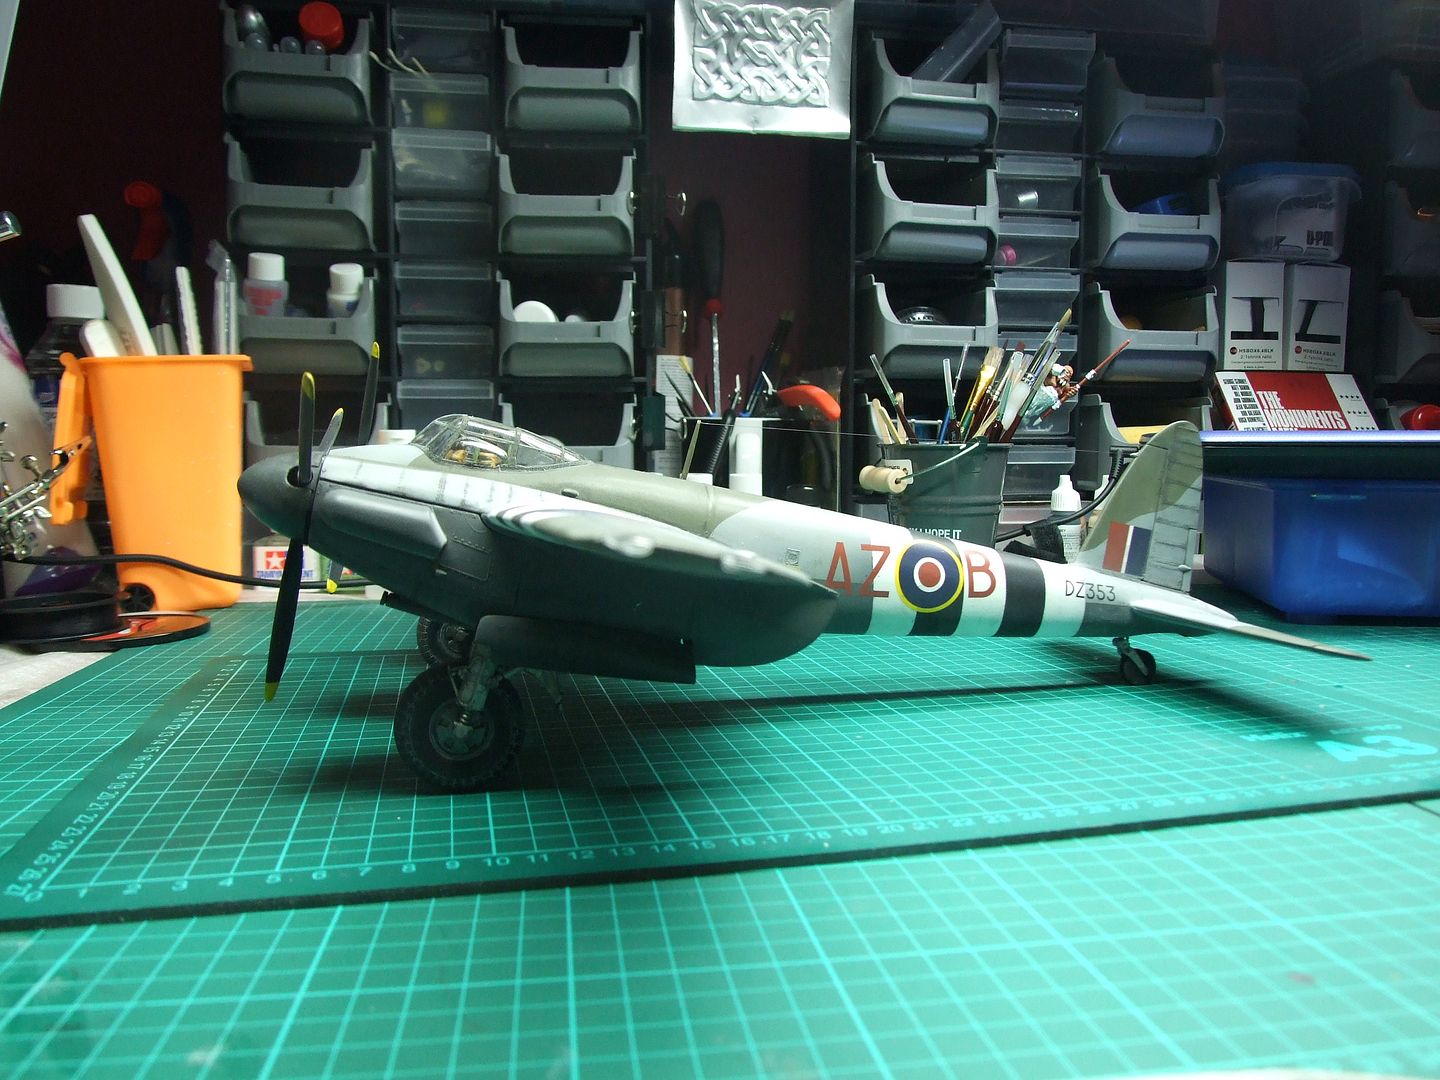
Now finished at last, heres how she turned out. Enjoy.
Image
Image
Image
Image
Image
Image
Image
Image
Image

and lastly thanks for letting me join this, my first sig, build etc. hope you liked it, ive certainly learned an awful lot, not least of which is that ive picked the right hobby and picked the right forum to join. You guys Rock!!
Image
Image
Image

Jase
On the bench.
stuff i forget to update here.
User avatar
Paul
Site Admin
Site Admin
Posts: 12622
Joined: Thu May 23, 2013 4:47 pm
Location: Merseyside, England, UK
Contact:
England

Re: Revelling in my Revell Mossie: Skullfish

Post by Paul »

Great work buddy, well done for bringing it back from its skydive, great result from an old kit :cheers2:
User avatar
Nige201980
Captain
Captain
Posts: 4095
Joined: Wed Jun 05, 2013 9:30 am
Location: Doncaster South Yorkshire UK
Contact:

Re: Revelling in my Revell Mossie: Skullfish

Post by Nige201980 »

Brilliant work mate. Great patch up job too. Thanks for taking part mate.
http://www.youtube.com/channel/UCy-TGcs5u_ZXSZ9kObNfsPg


On the go at the Mo

Quite a few :banana:
Post Reply

Return to “Builds”