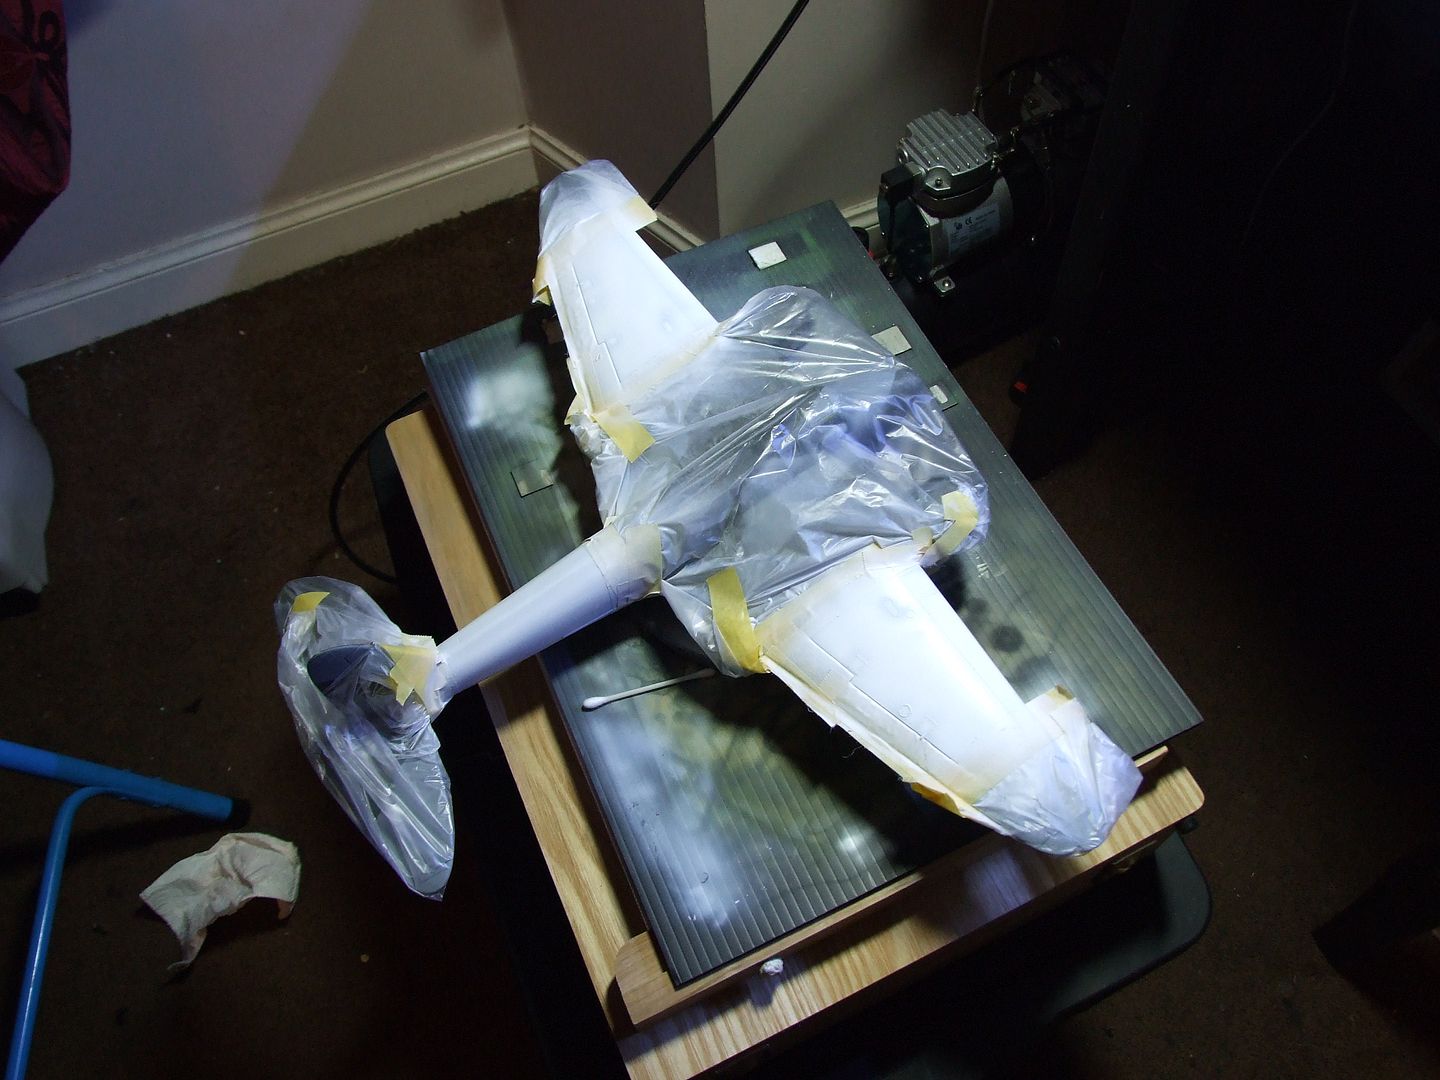
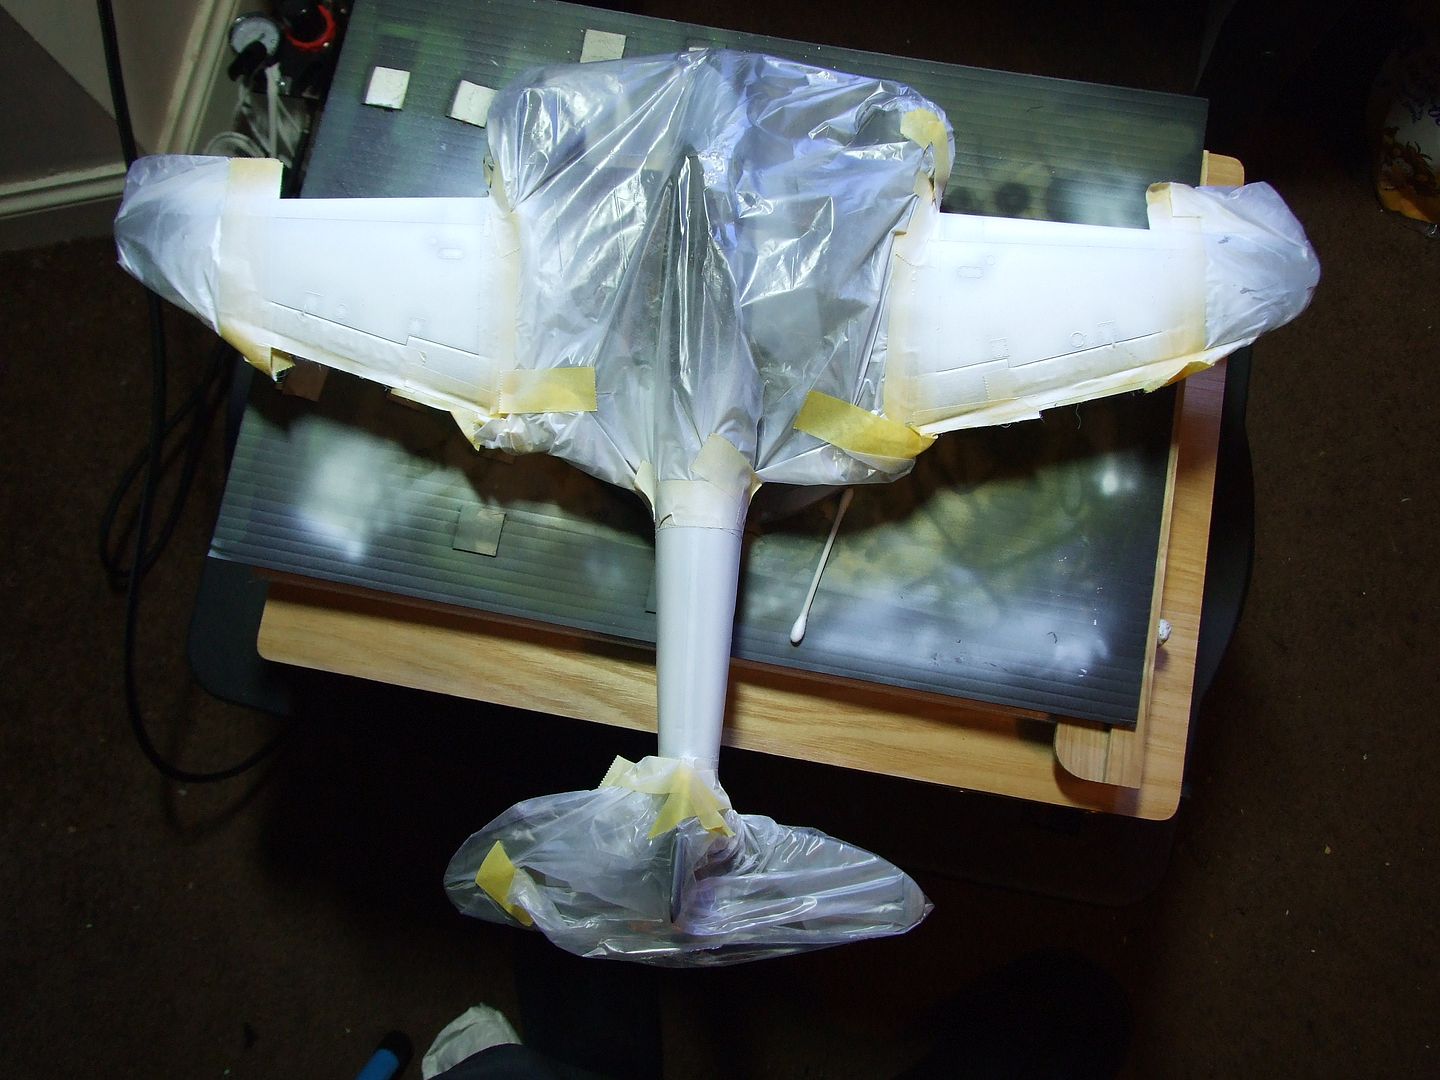
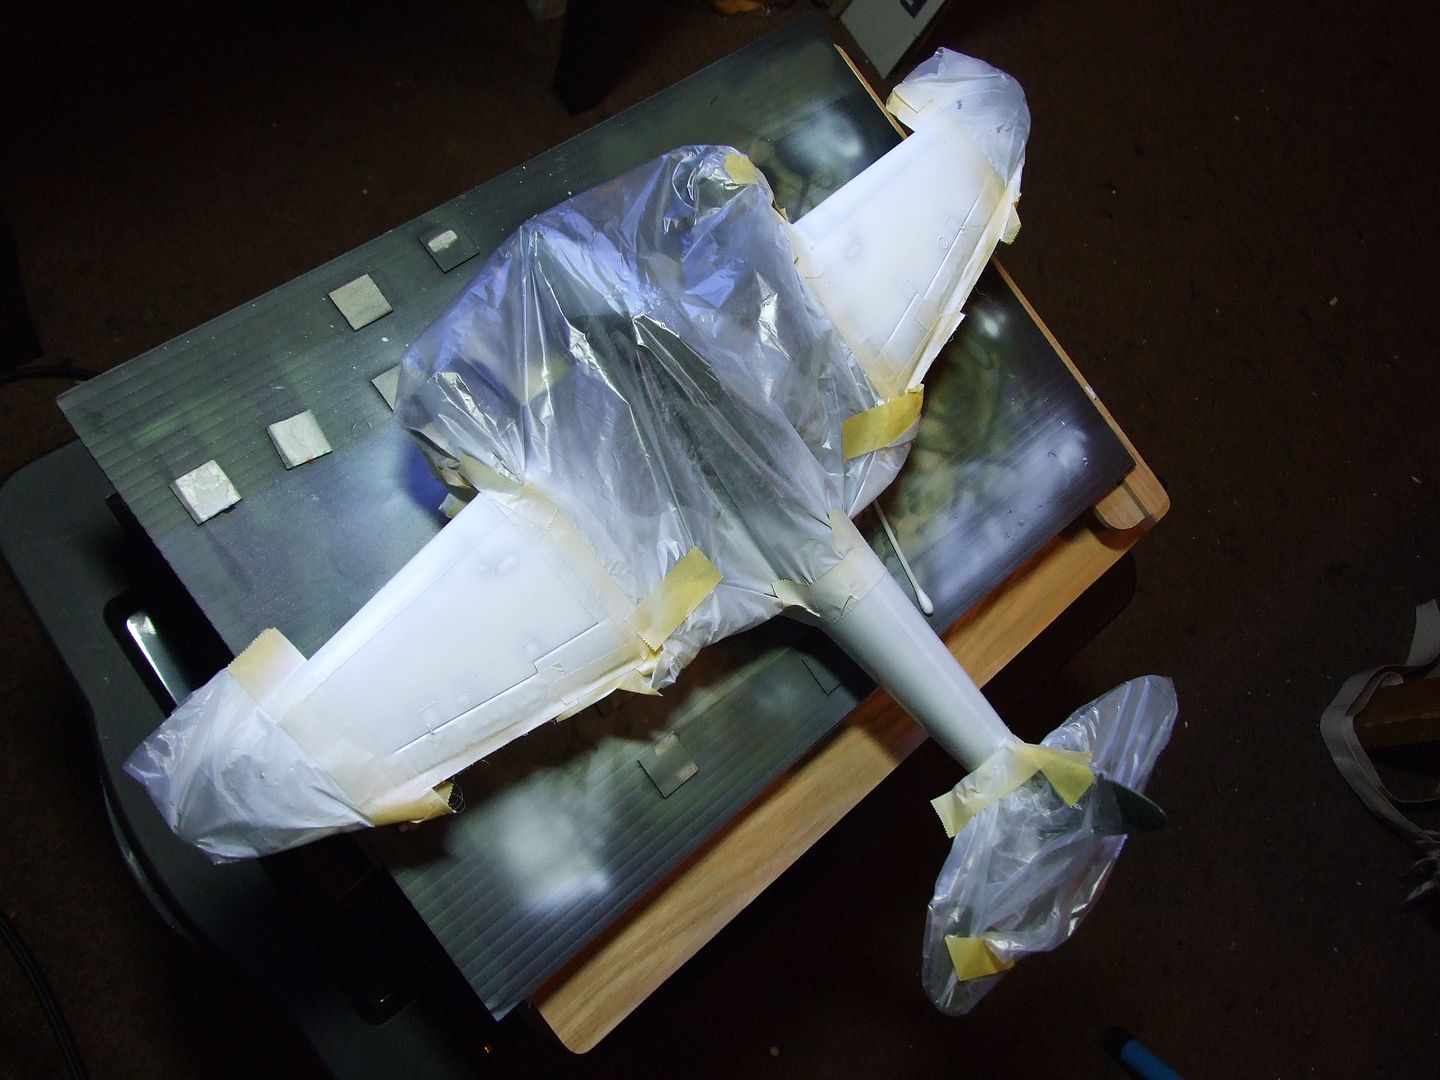
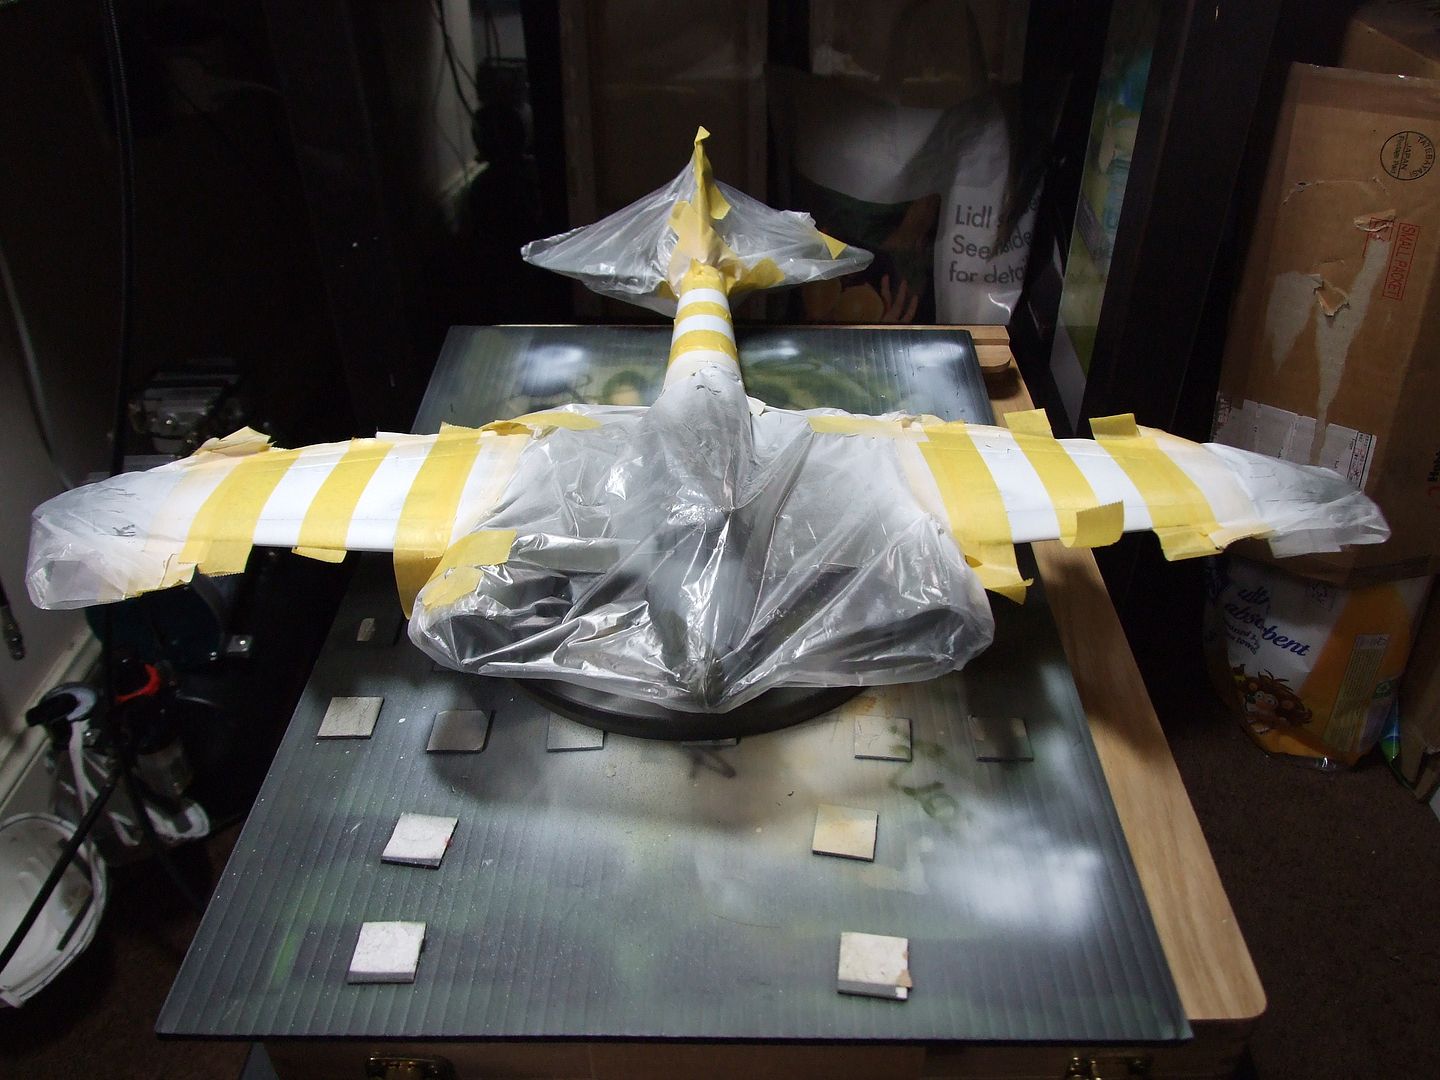
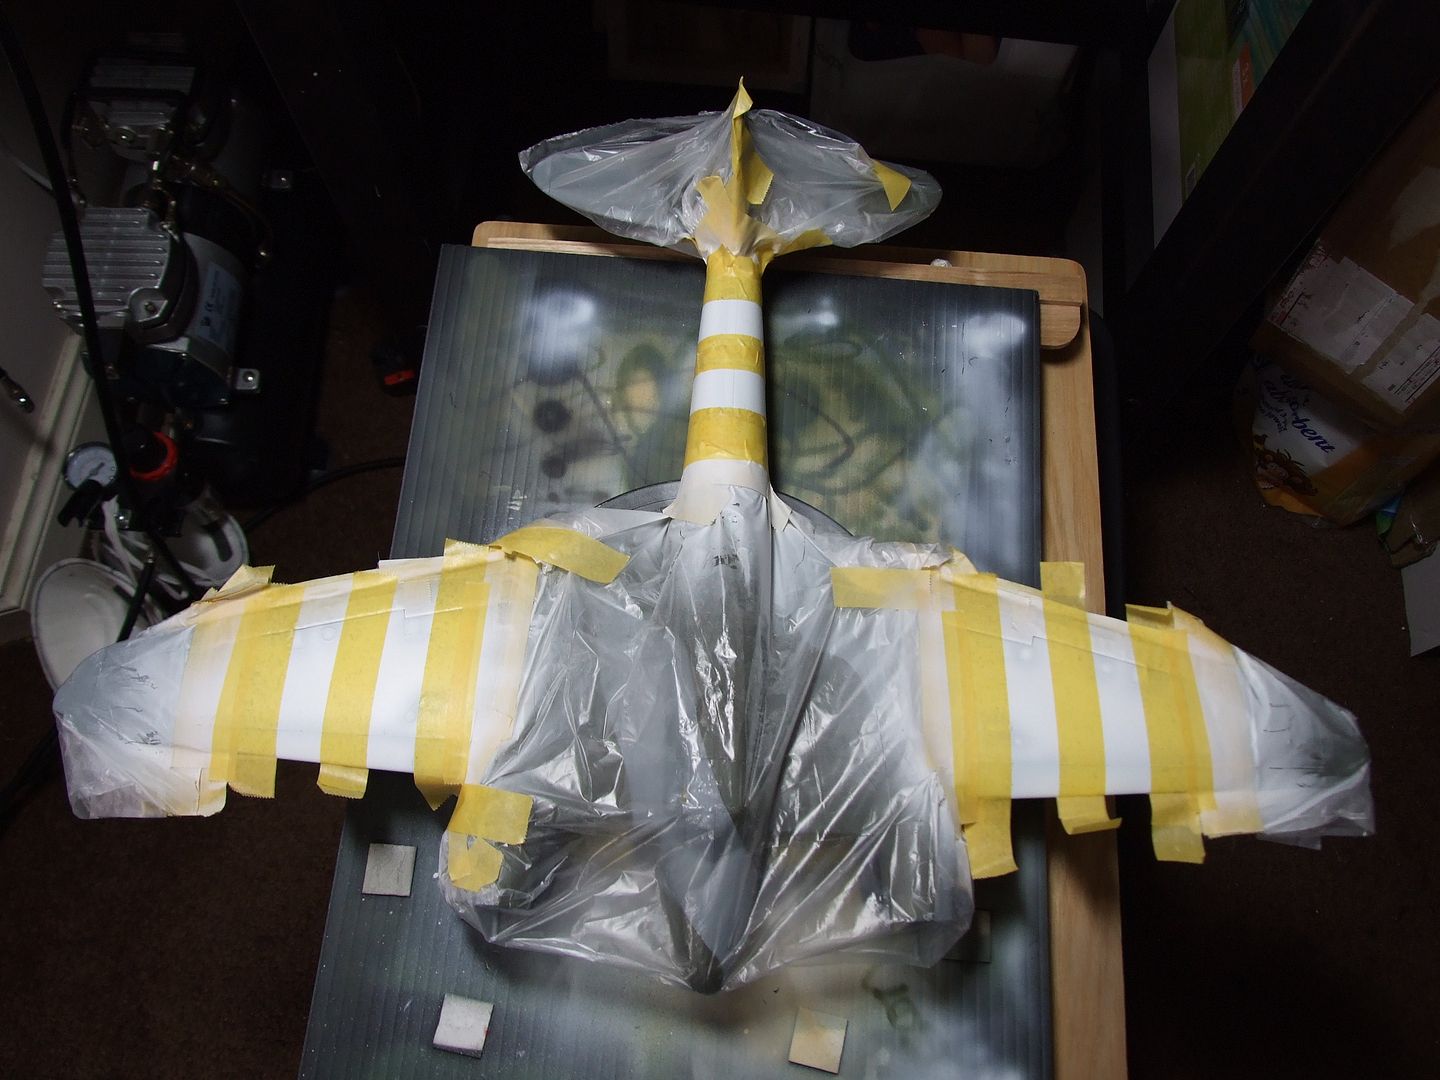
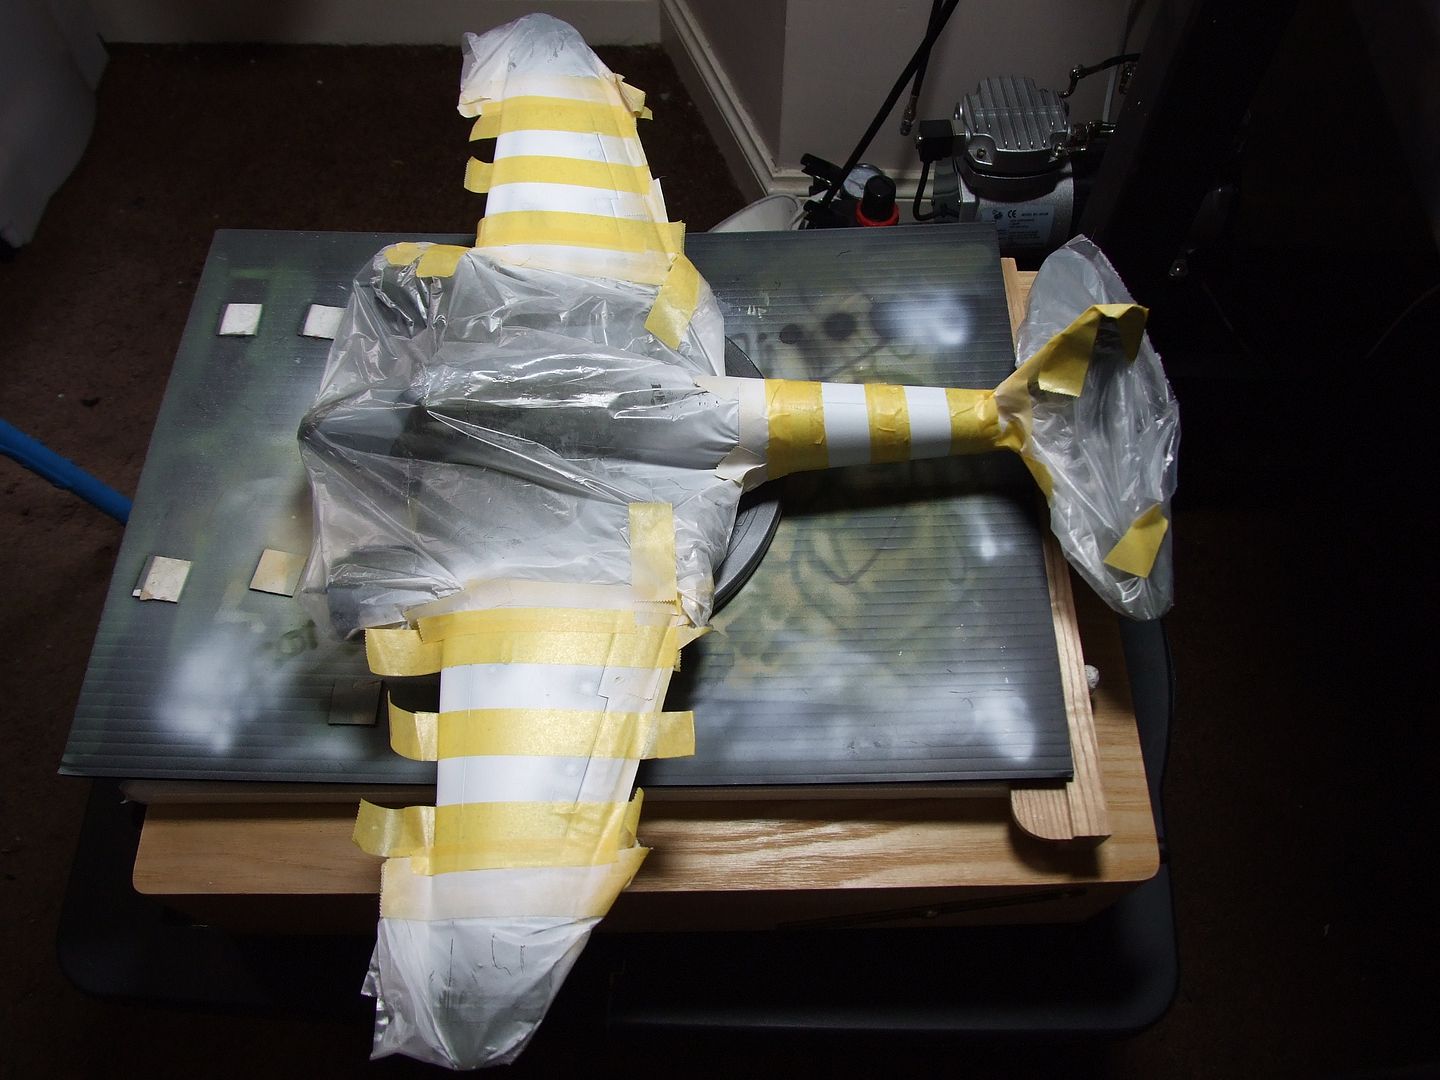
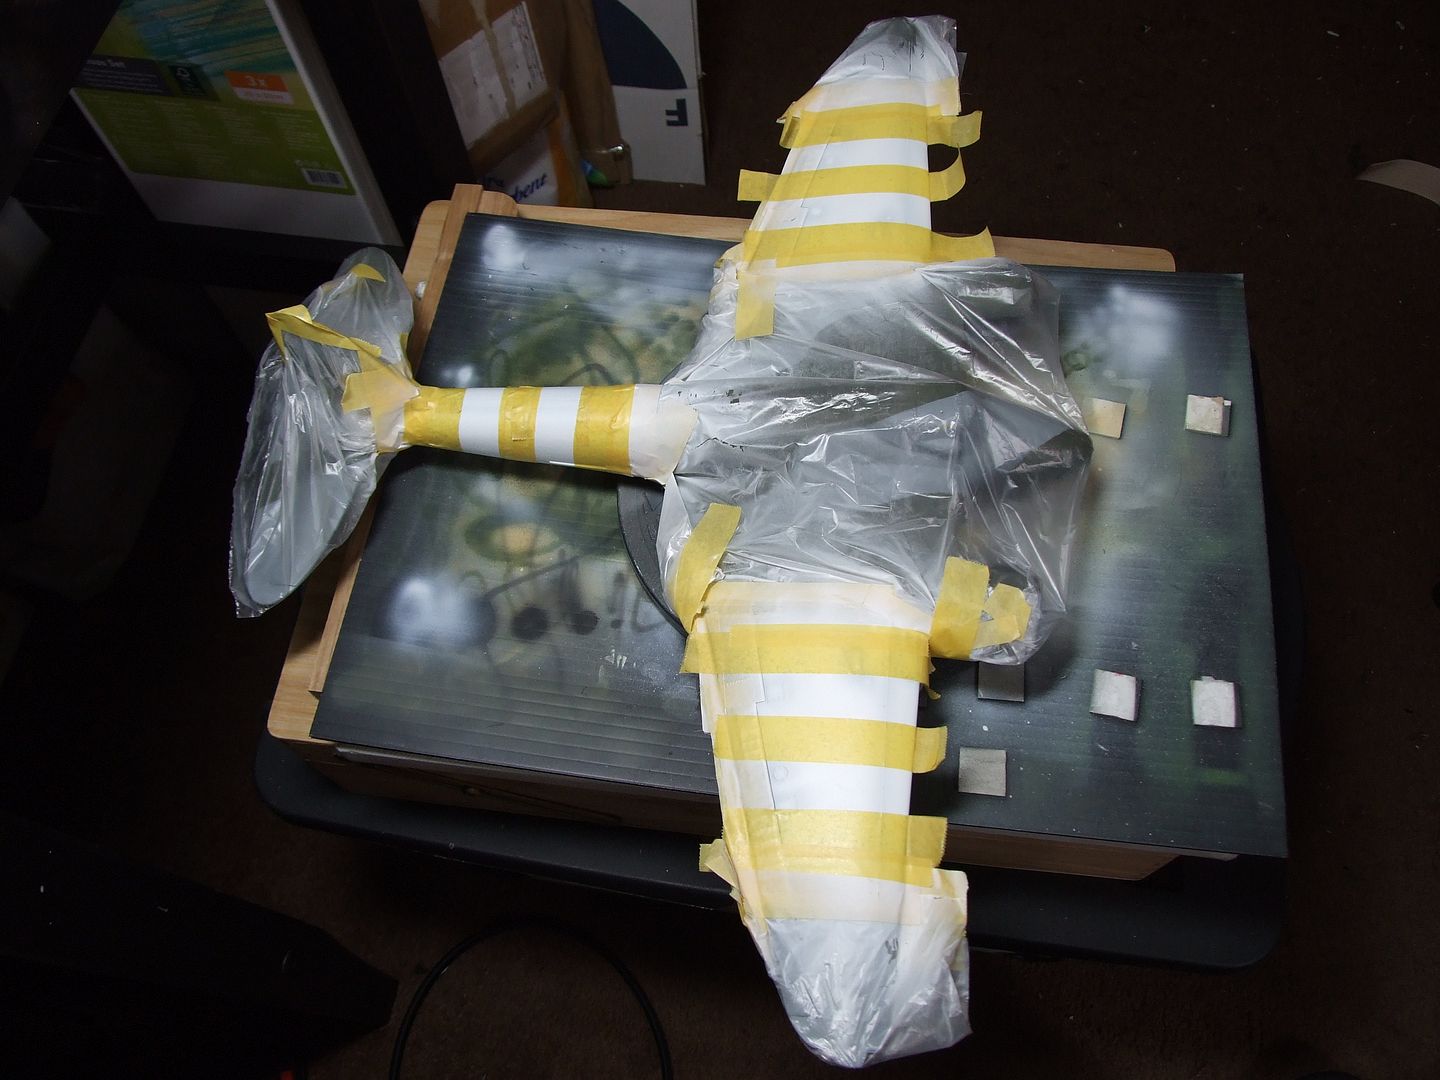
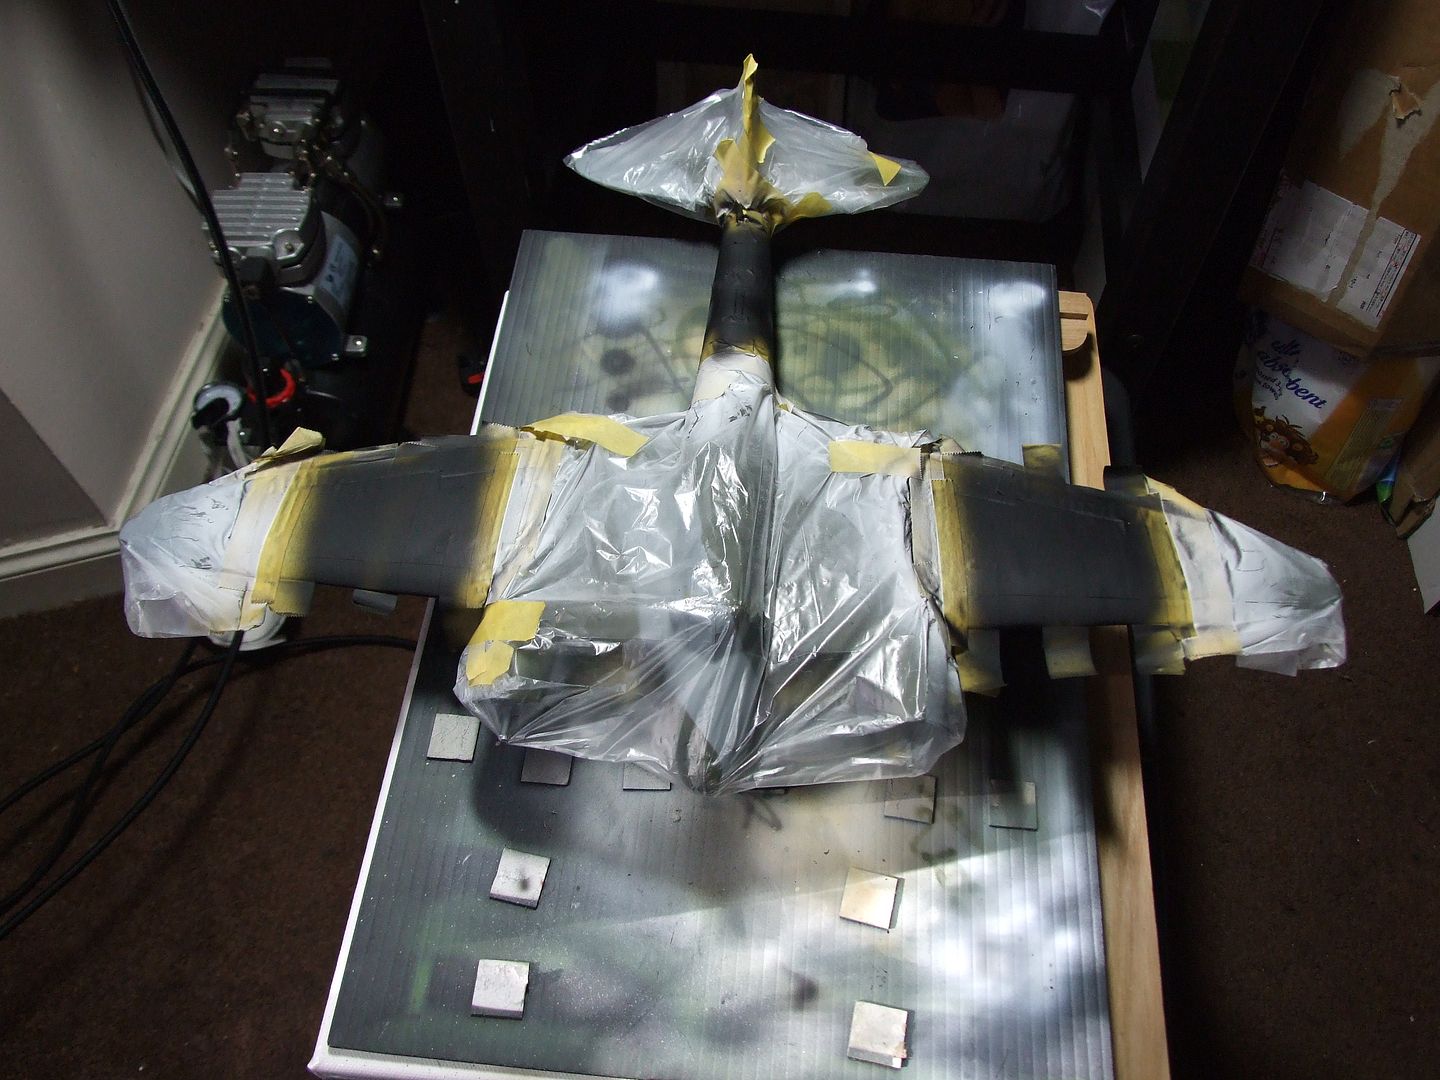
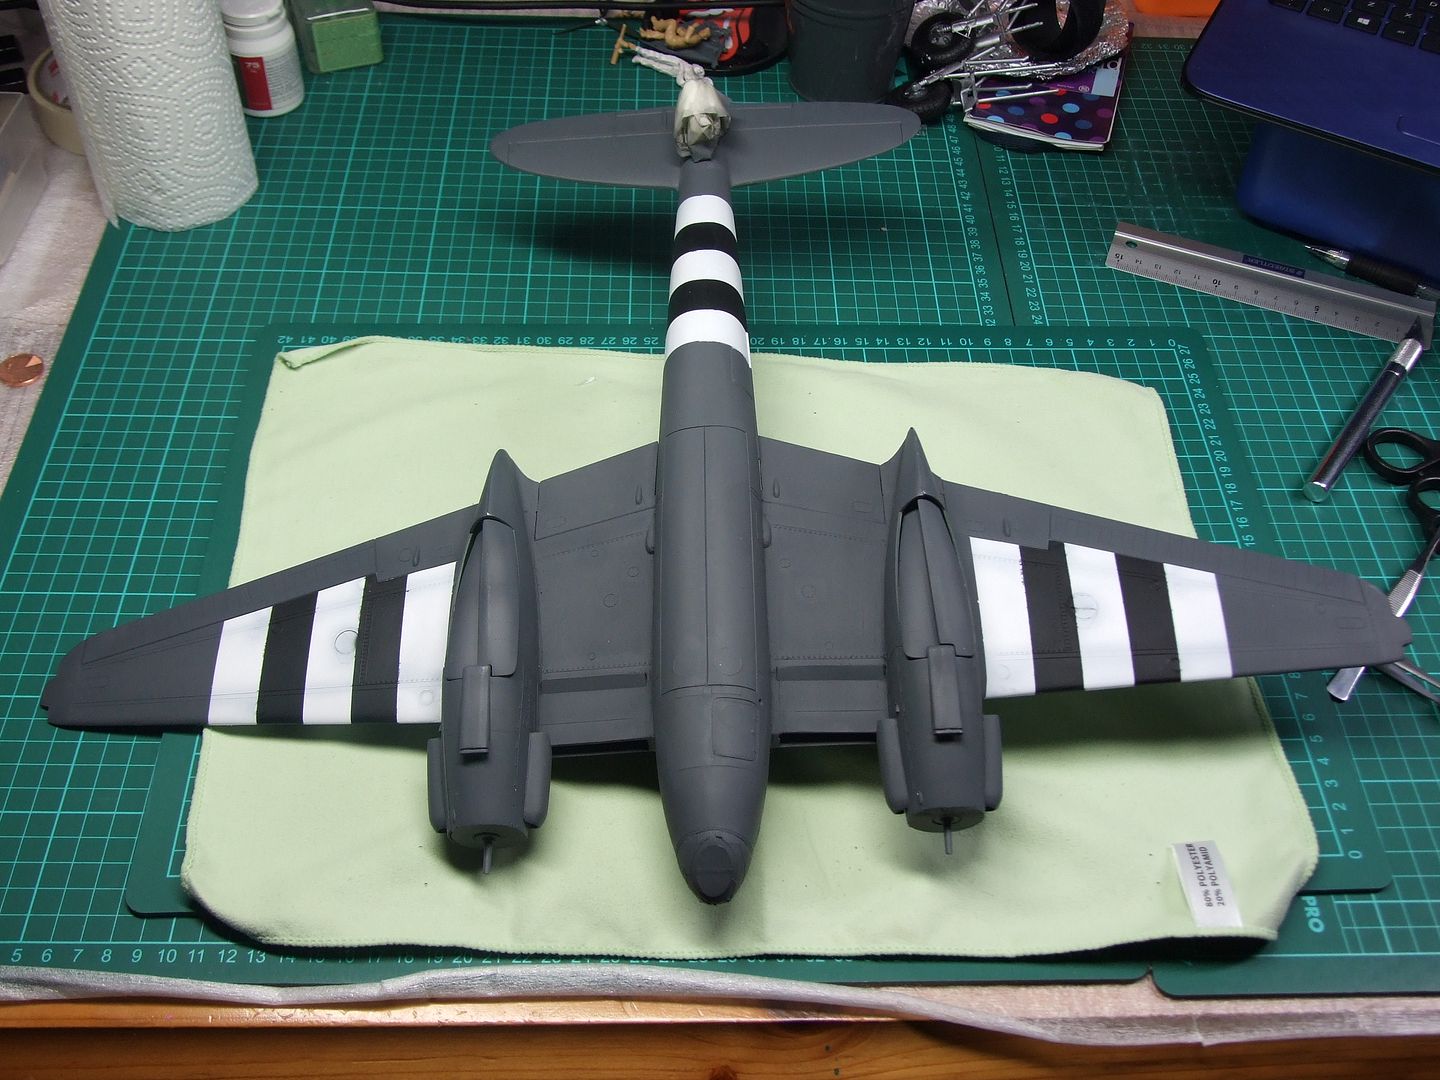
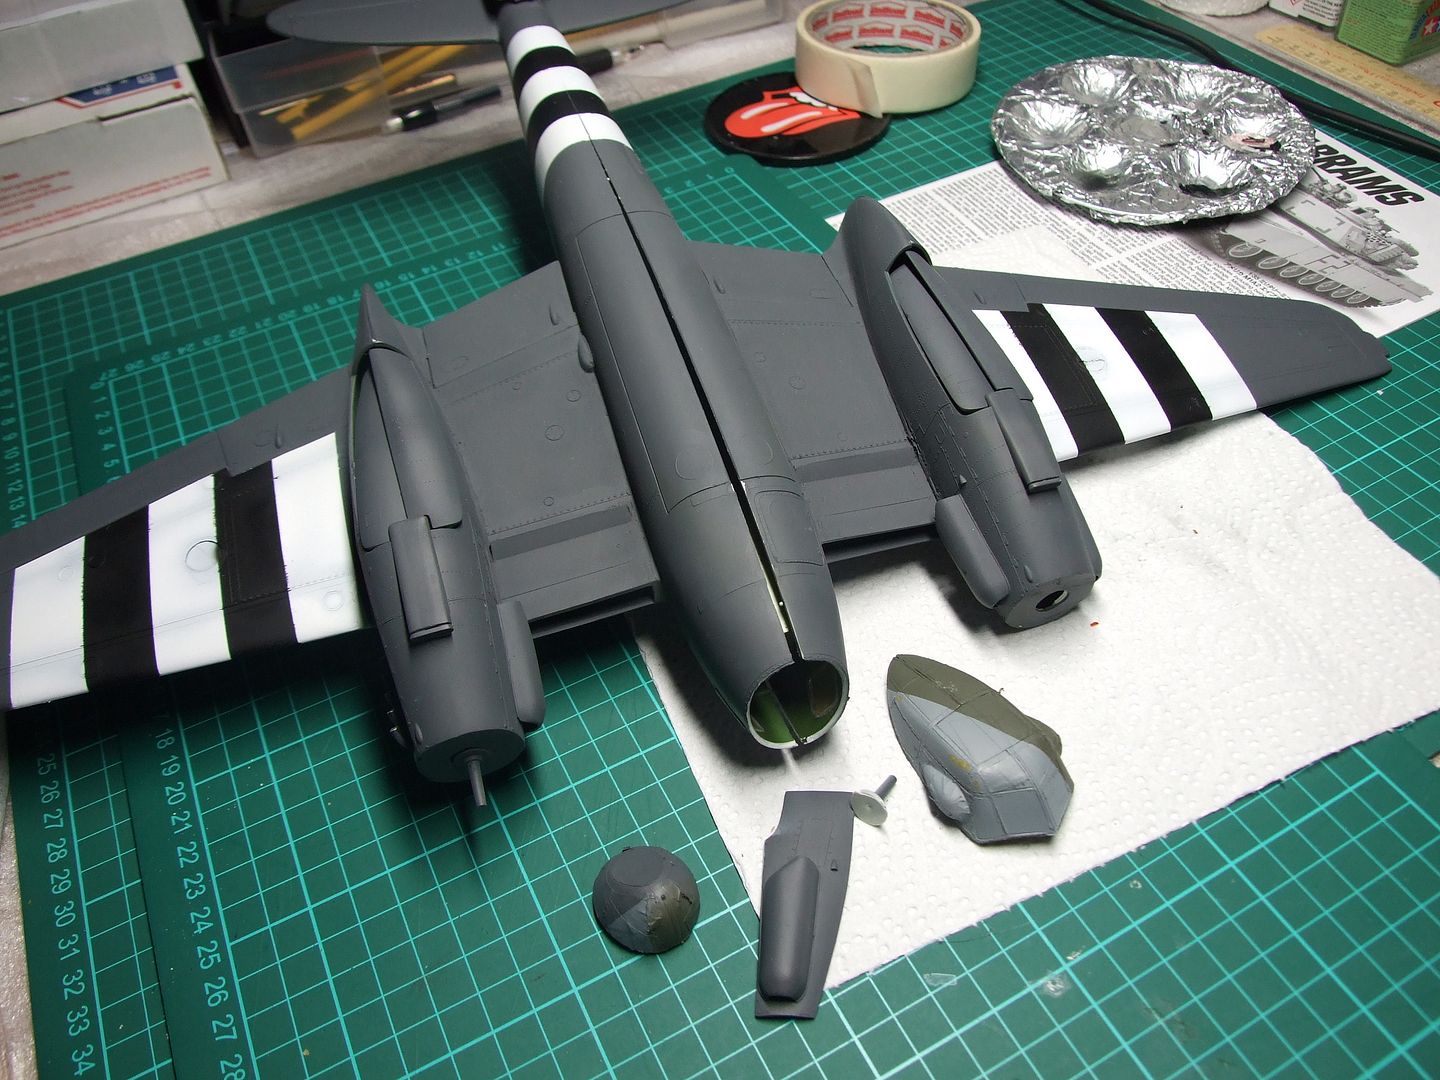
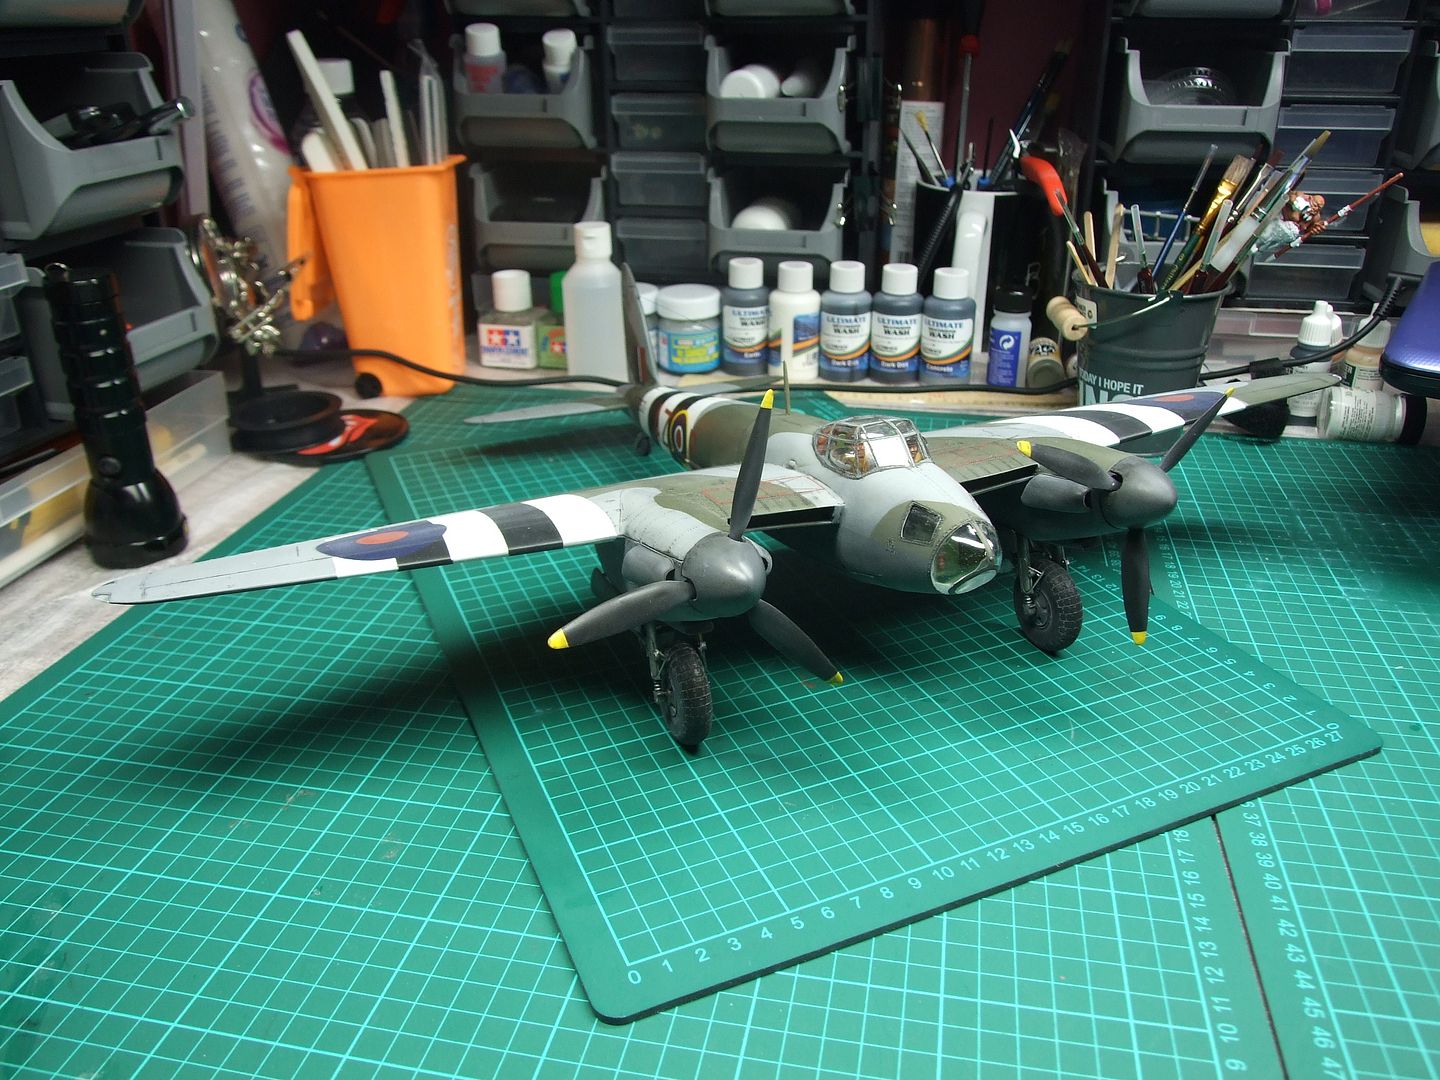
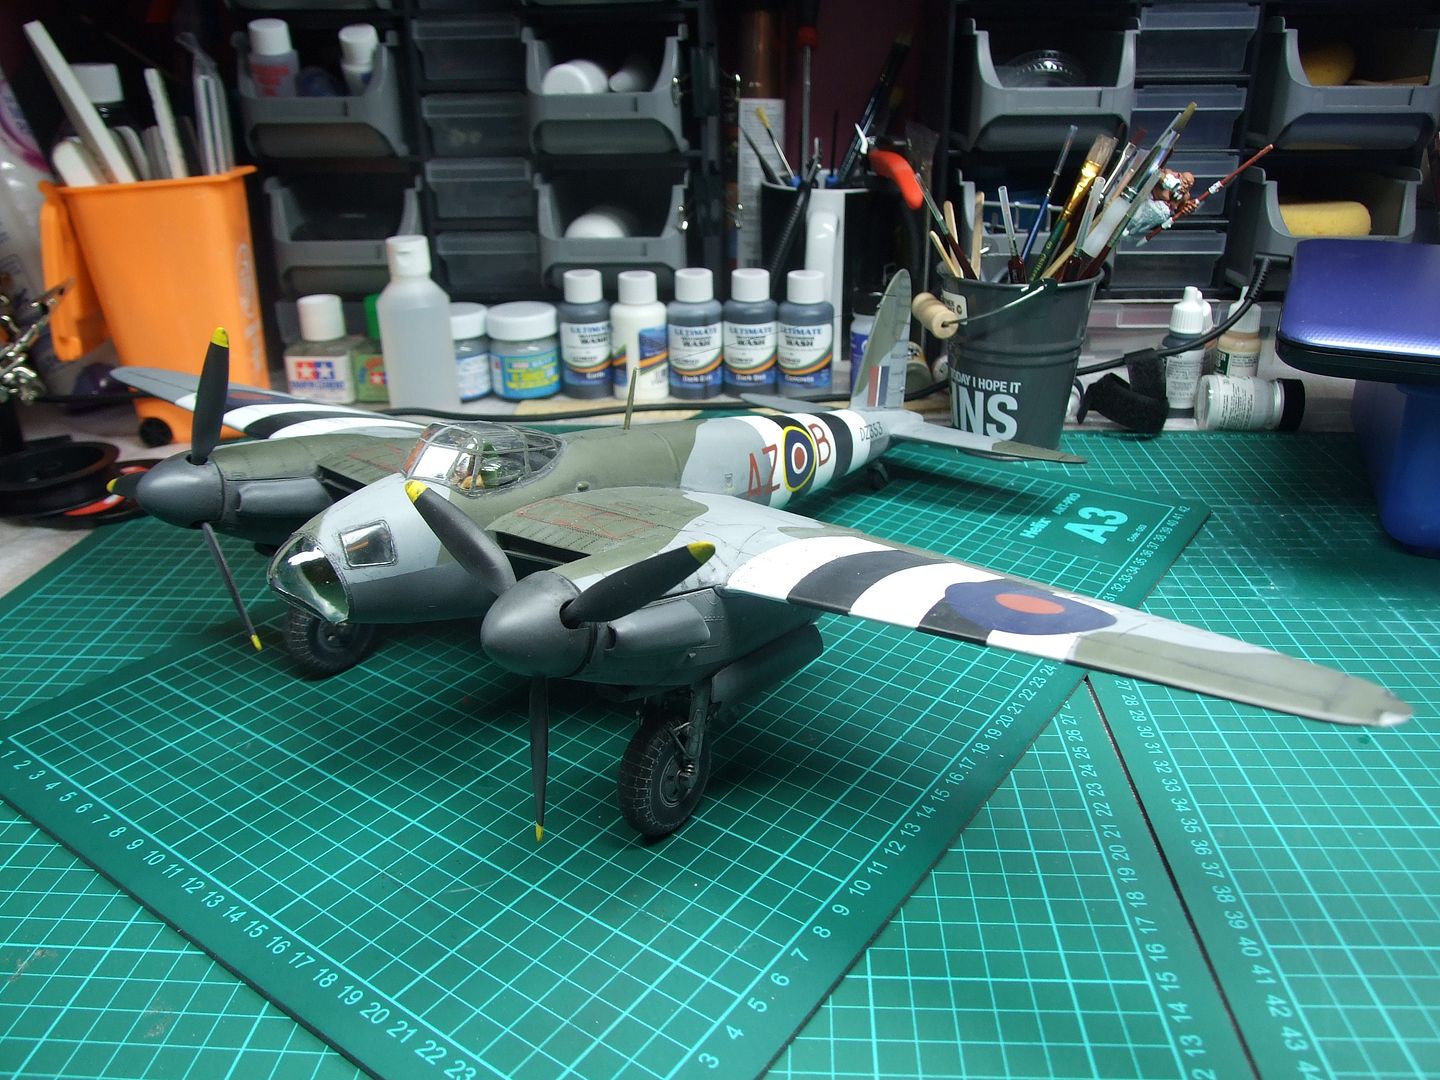
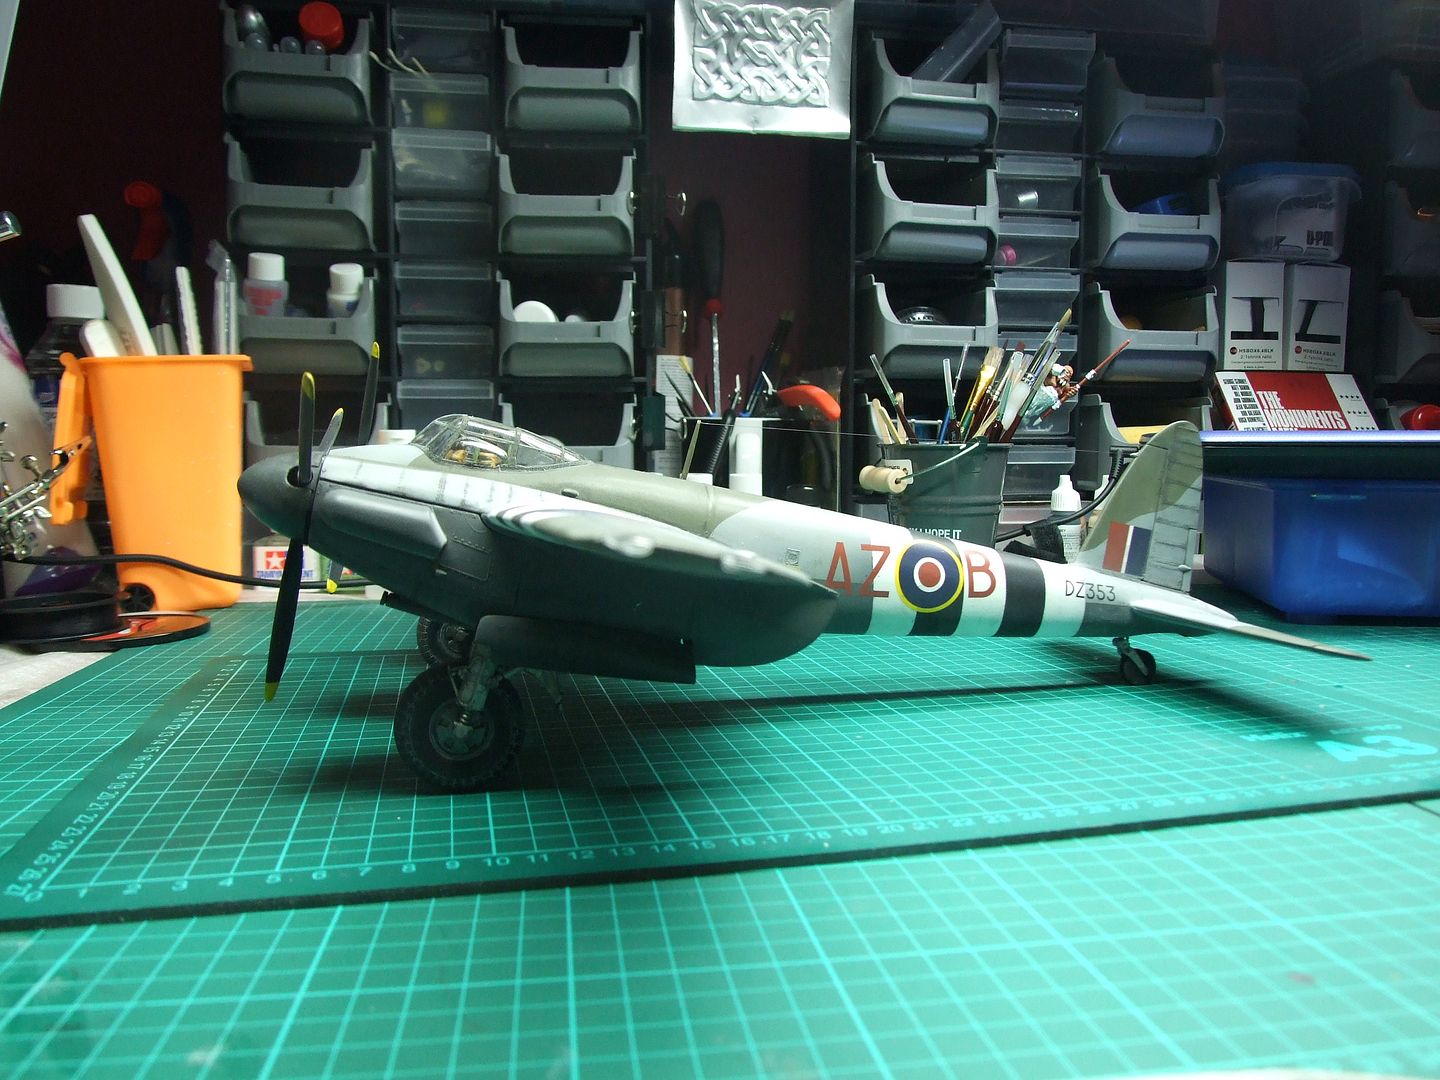
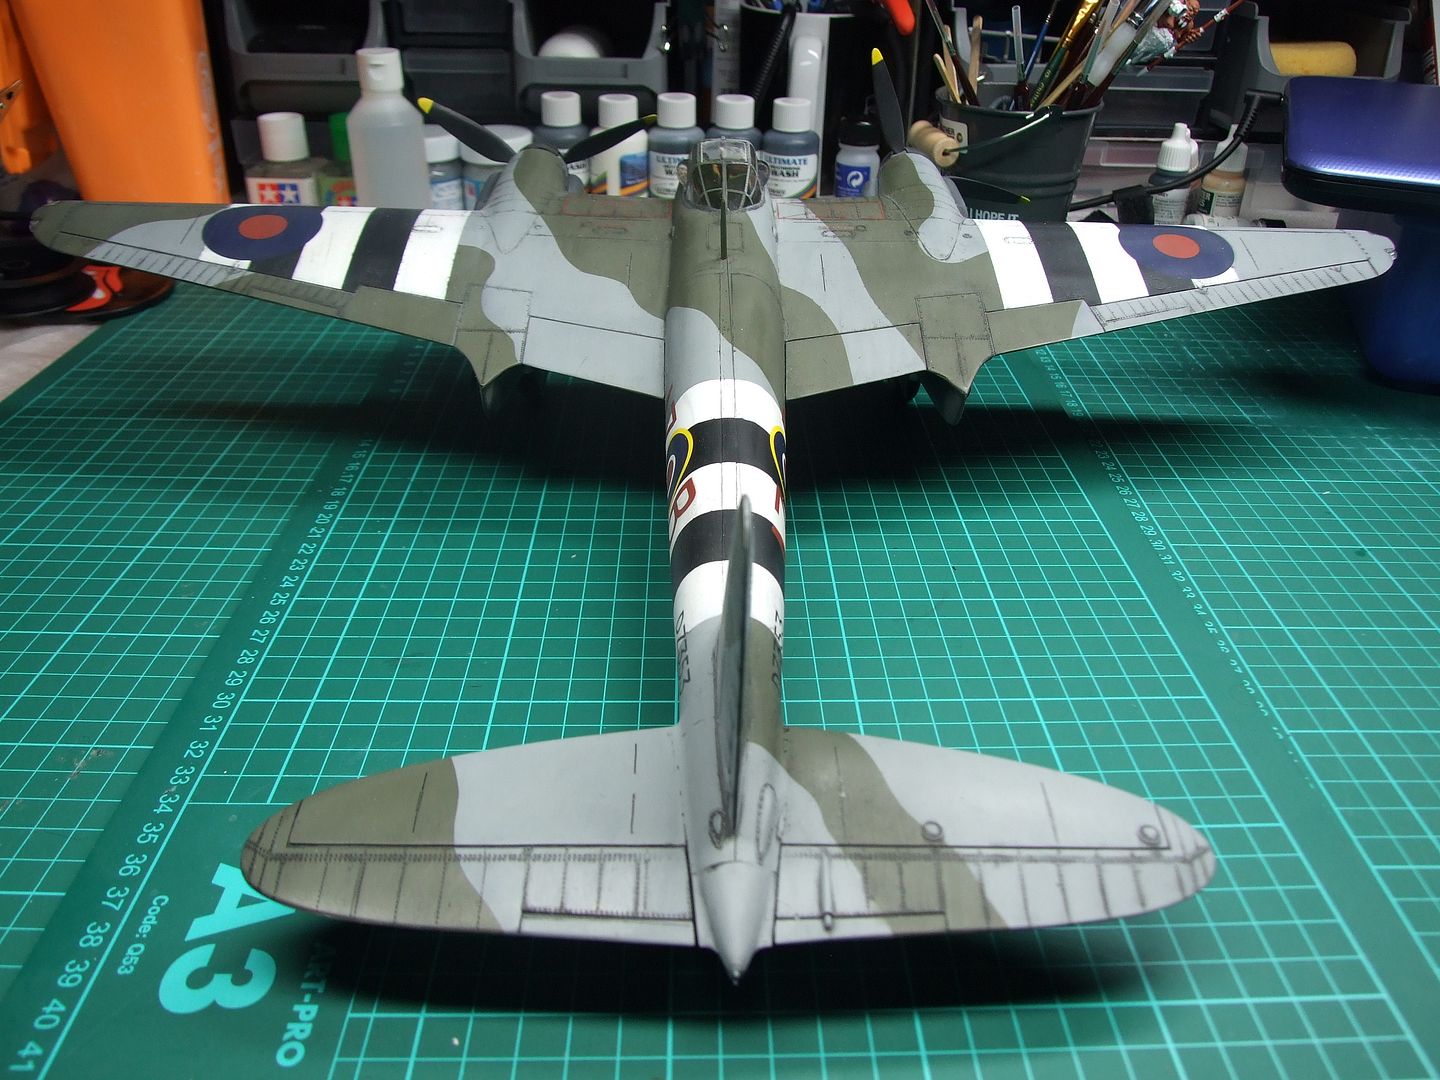
as free time seems to be in short supply in my house at the moment this is going to be a slow build. Just as well we've got a few months to do it
Anyway seeing as Nige has already put up oodles of info that means i can be lazy and just get stuck in to my kit : The Mosquito Mk IV by Revell @1/32
Now the kit molding itself is from the late 1990's (It said so on a couple of the wing pieces which i had to sand off
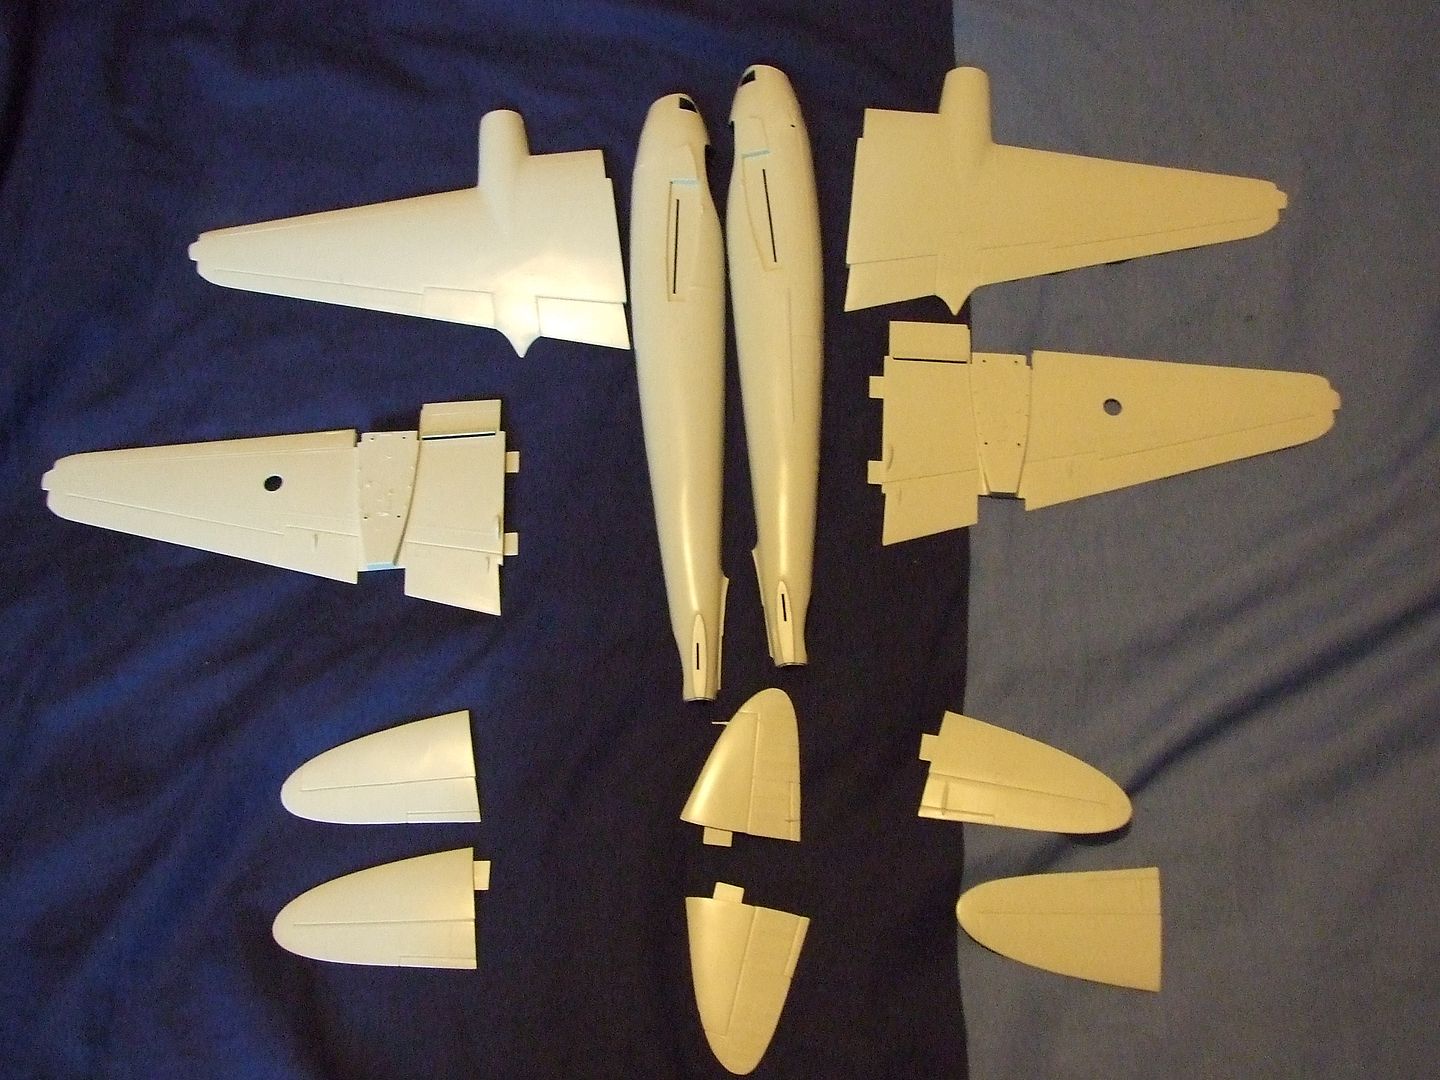
The major fuselage components are huge but need quite a bit of cleanup, which looks like it will be a common theme throughout the initial stages, flash here and there in fiddly places, sink marks showing where there are locating pins internally, ejector pin marks are few and far between tho but when they do appear they are a bugger to get rid of. Anyway enough moaning, i do find it nice and relaxing just sniping and sanding while watching a movie or car crash telly.
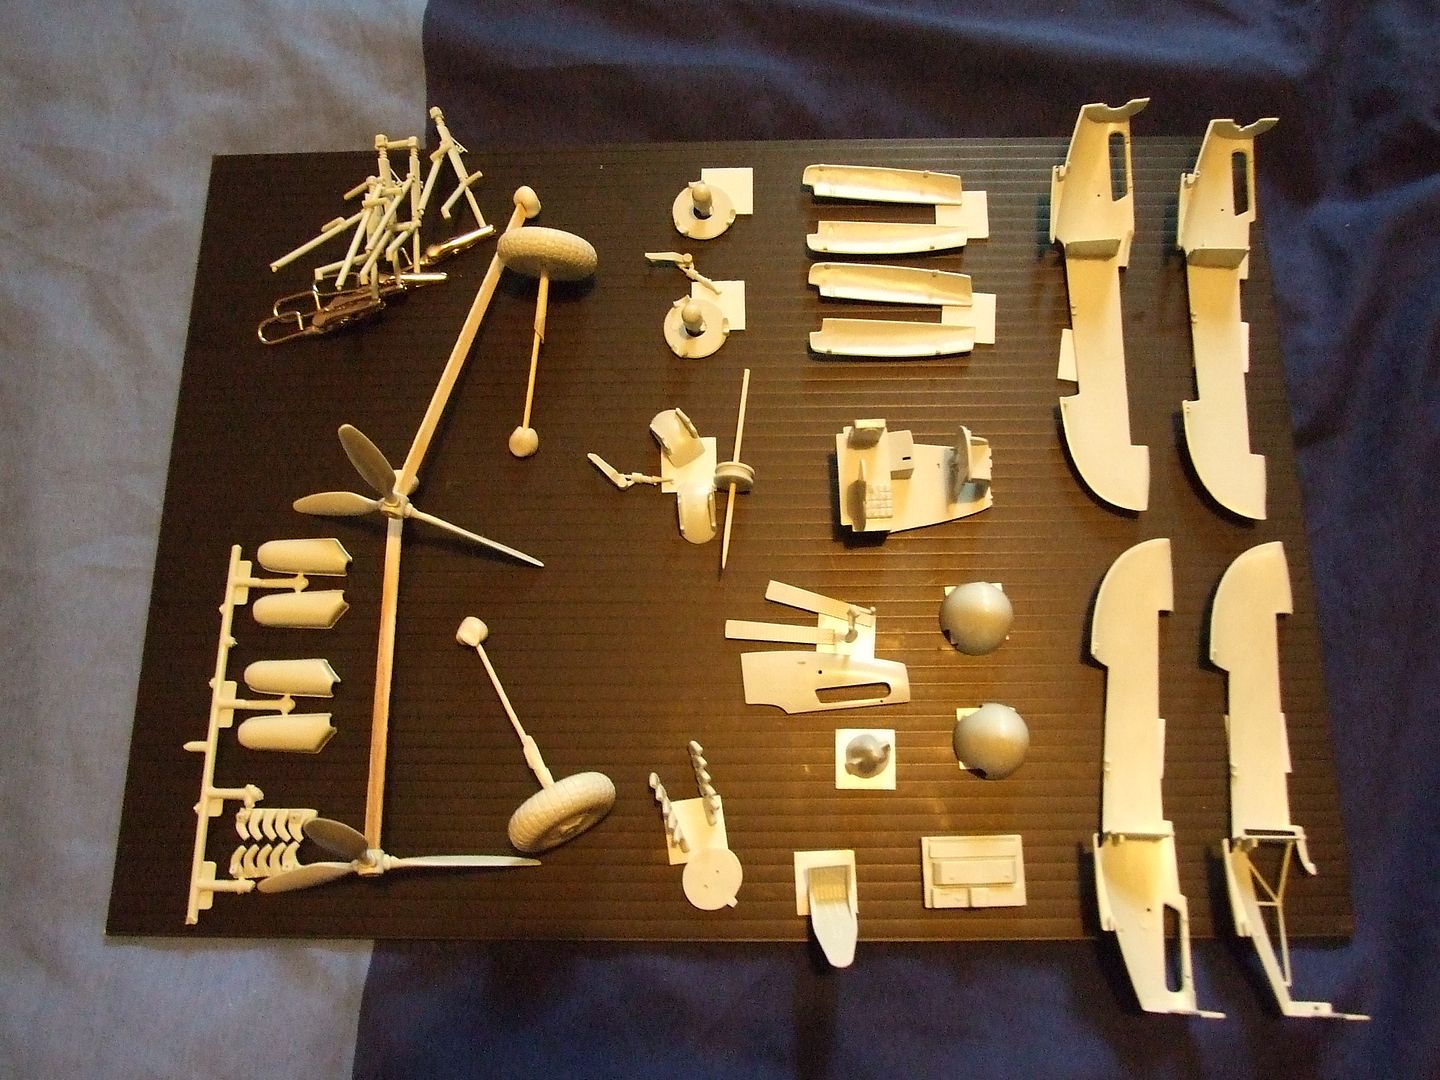
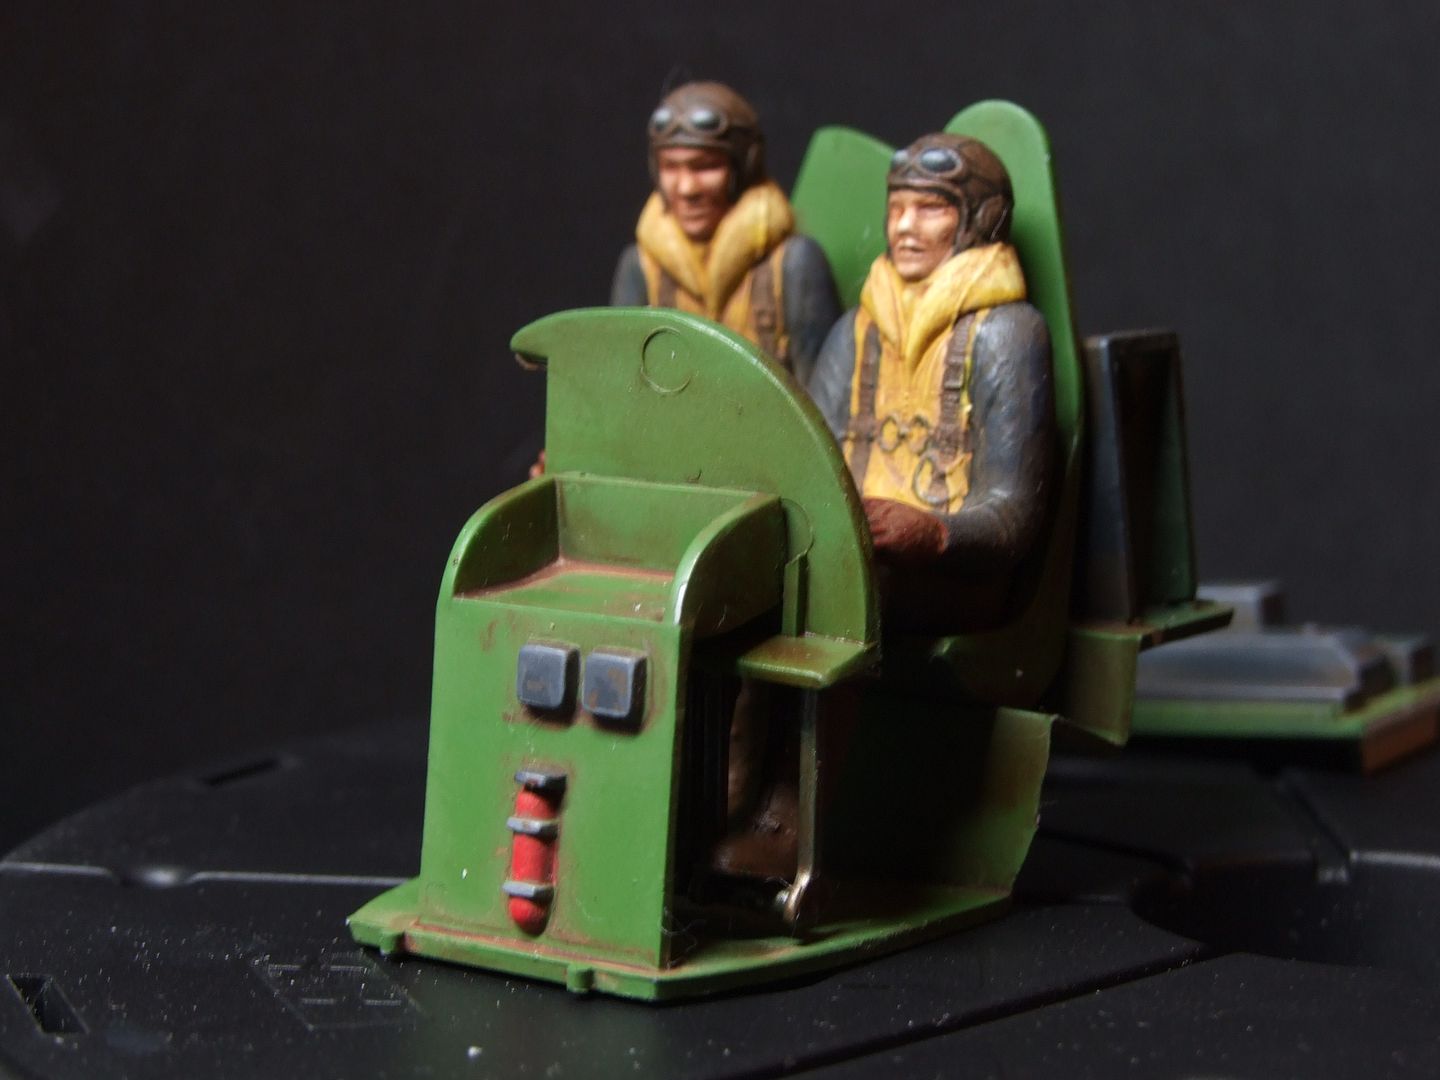
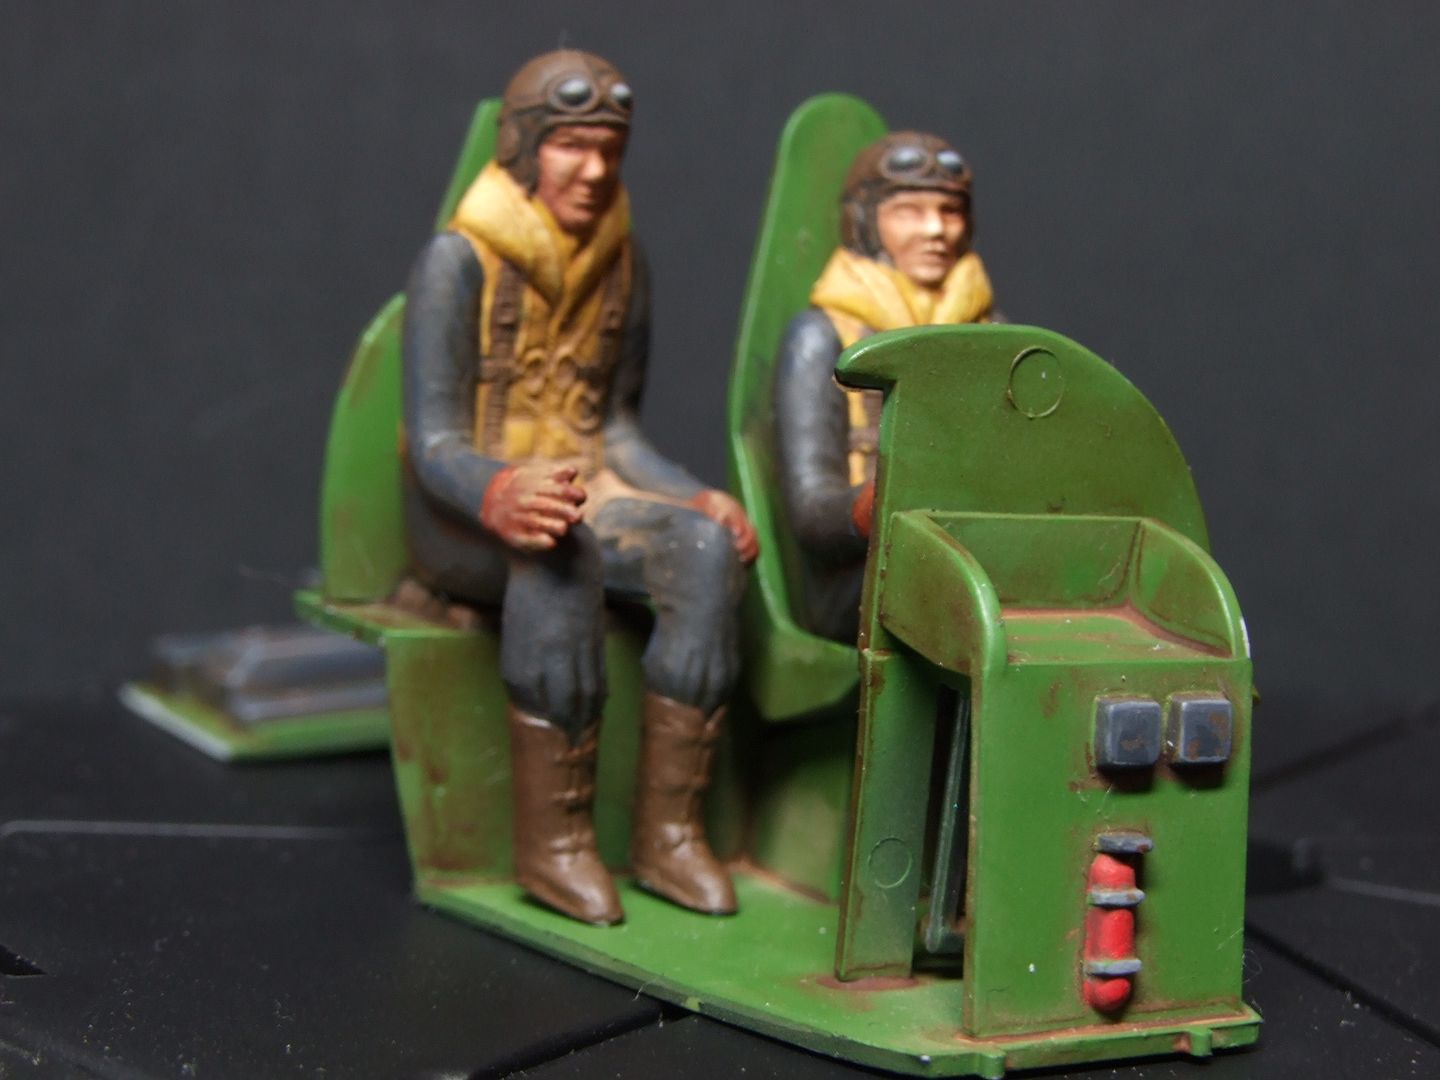
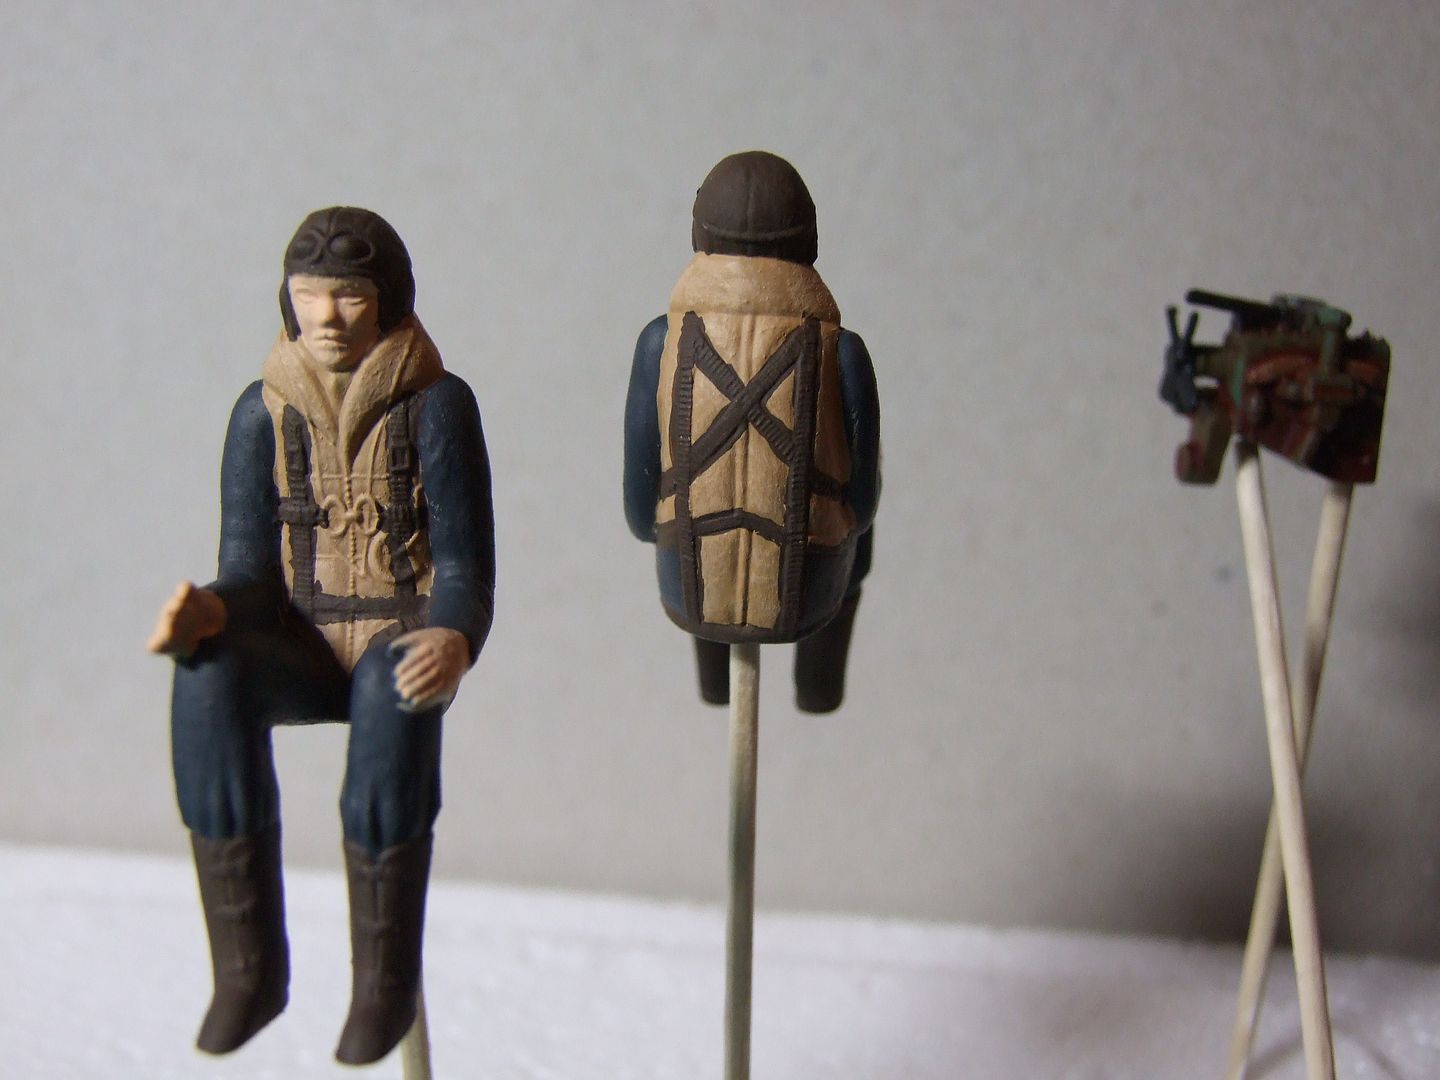
First up i freed the crew from the sprue thinking they must have used twins to model for the figures, and they are awful for the size they are
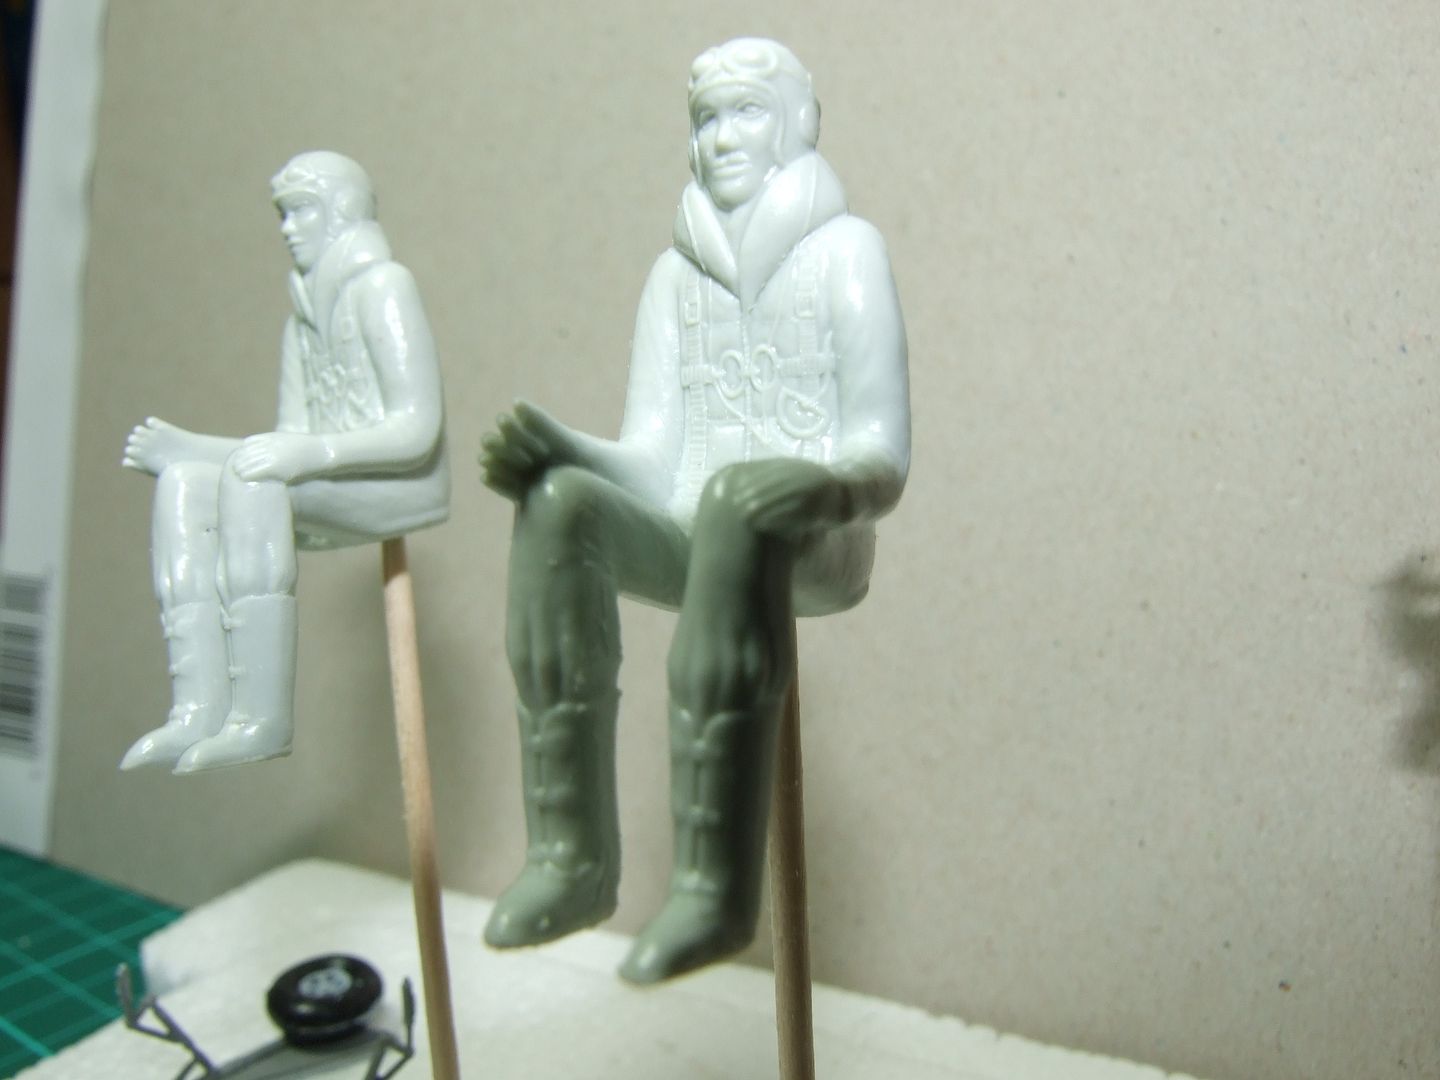
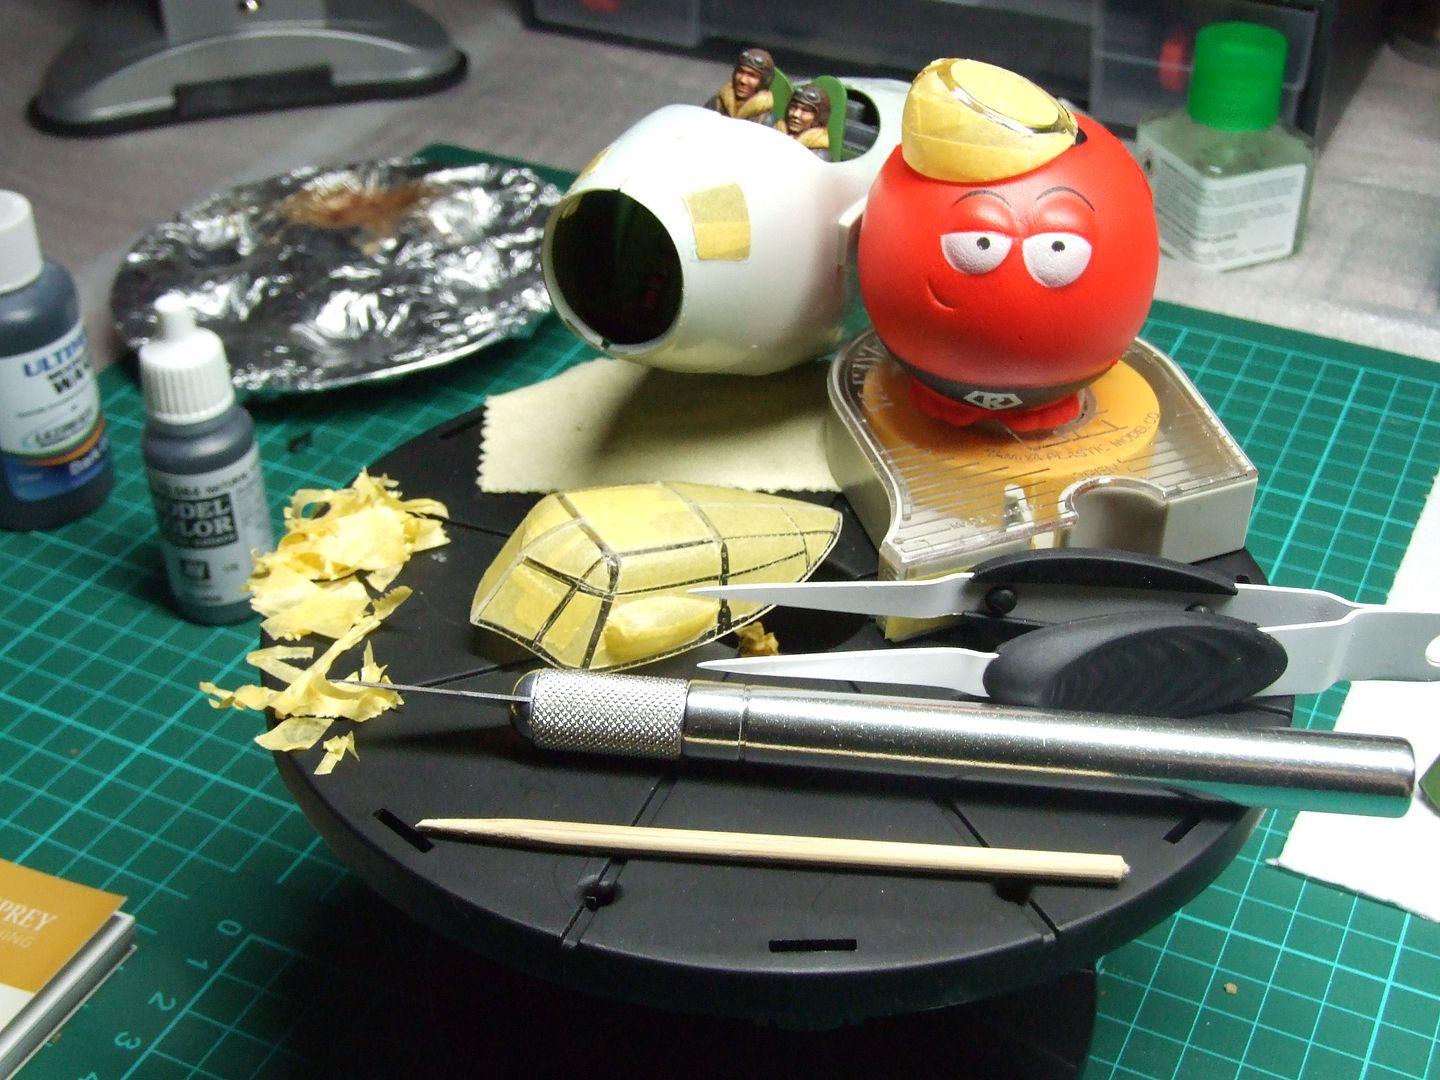
they come in just two pieces, front and back which leaves a horrible seam line that needed to be taken care of then they were mounted on cocktail sticks ready for primer and base coats.
the cockpit pieces fit together ok but leave a range of movement in them that doesnt resolve itself when offered up to the fuselage.
all neat and tidy for dry fit
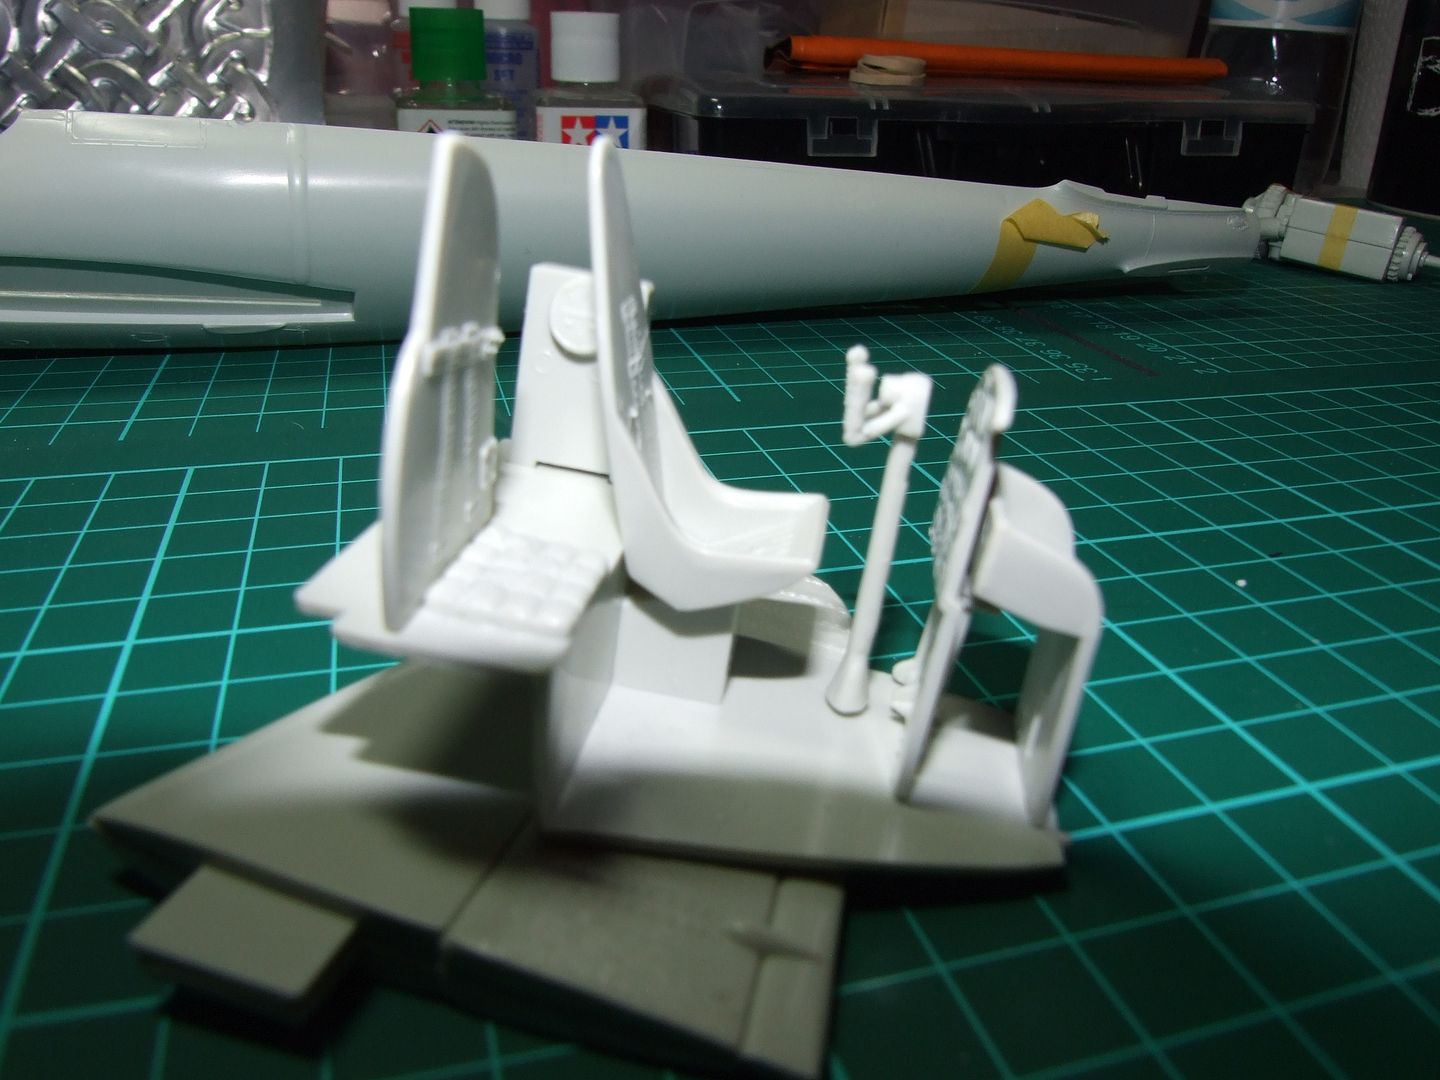
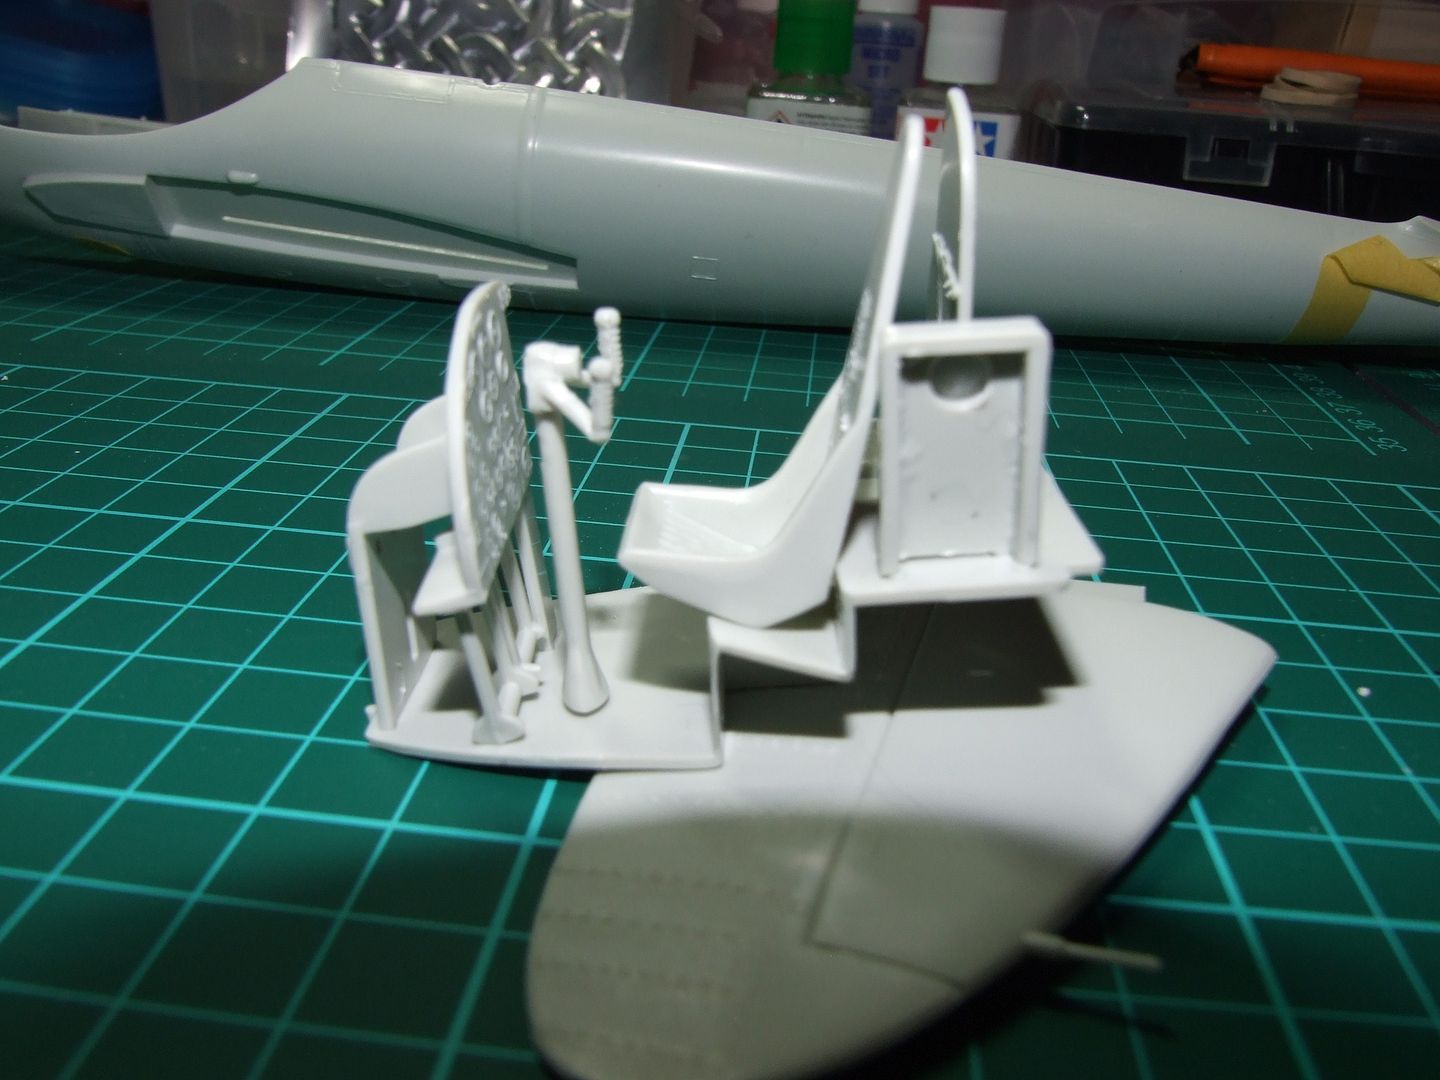
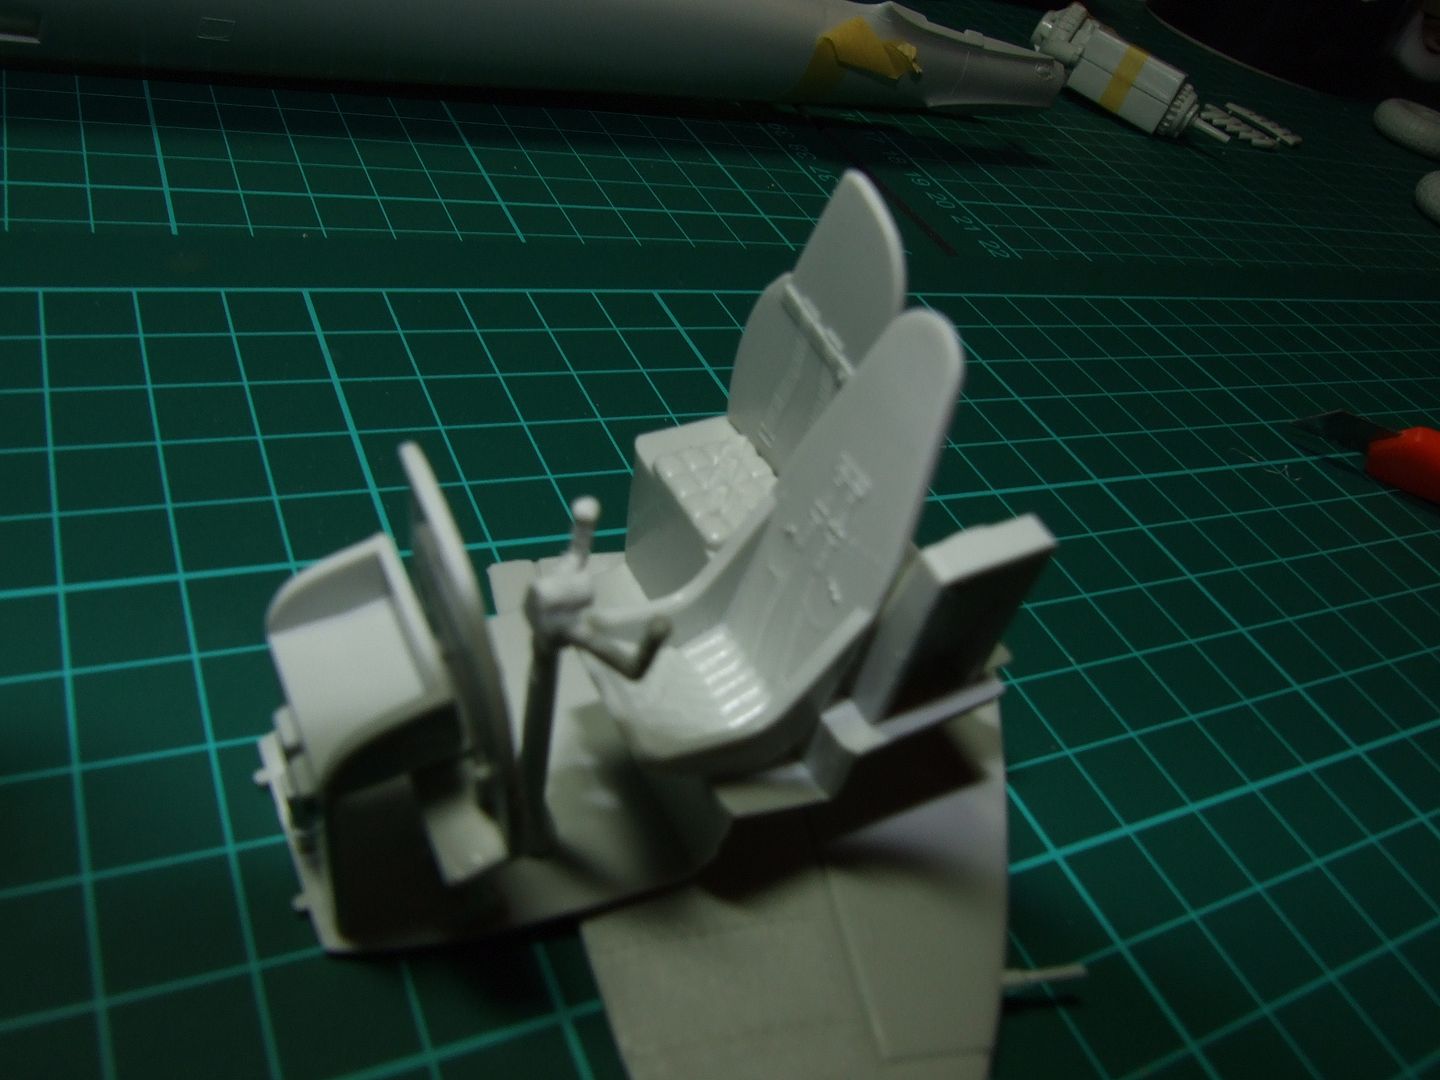
then it goes wobbly when offered up to the fuselage
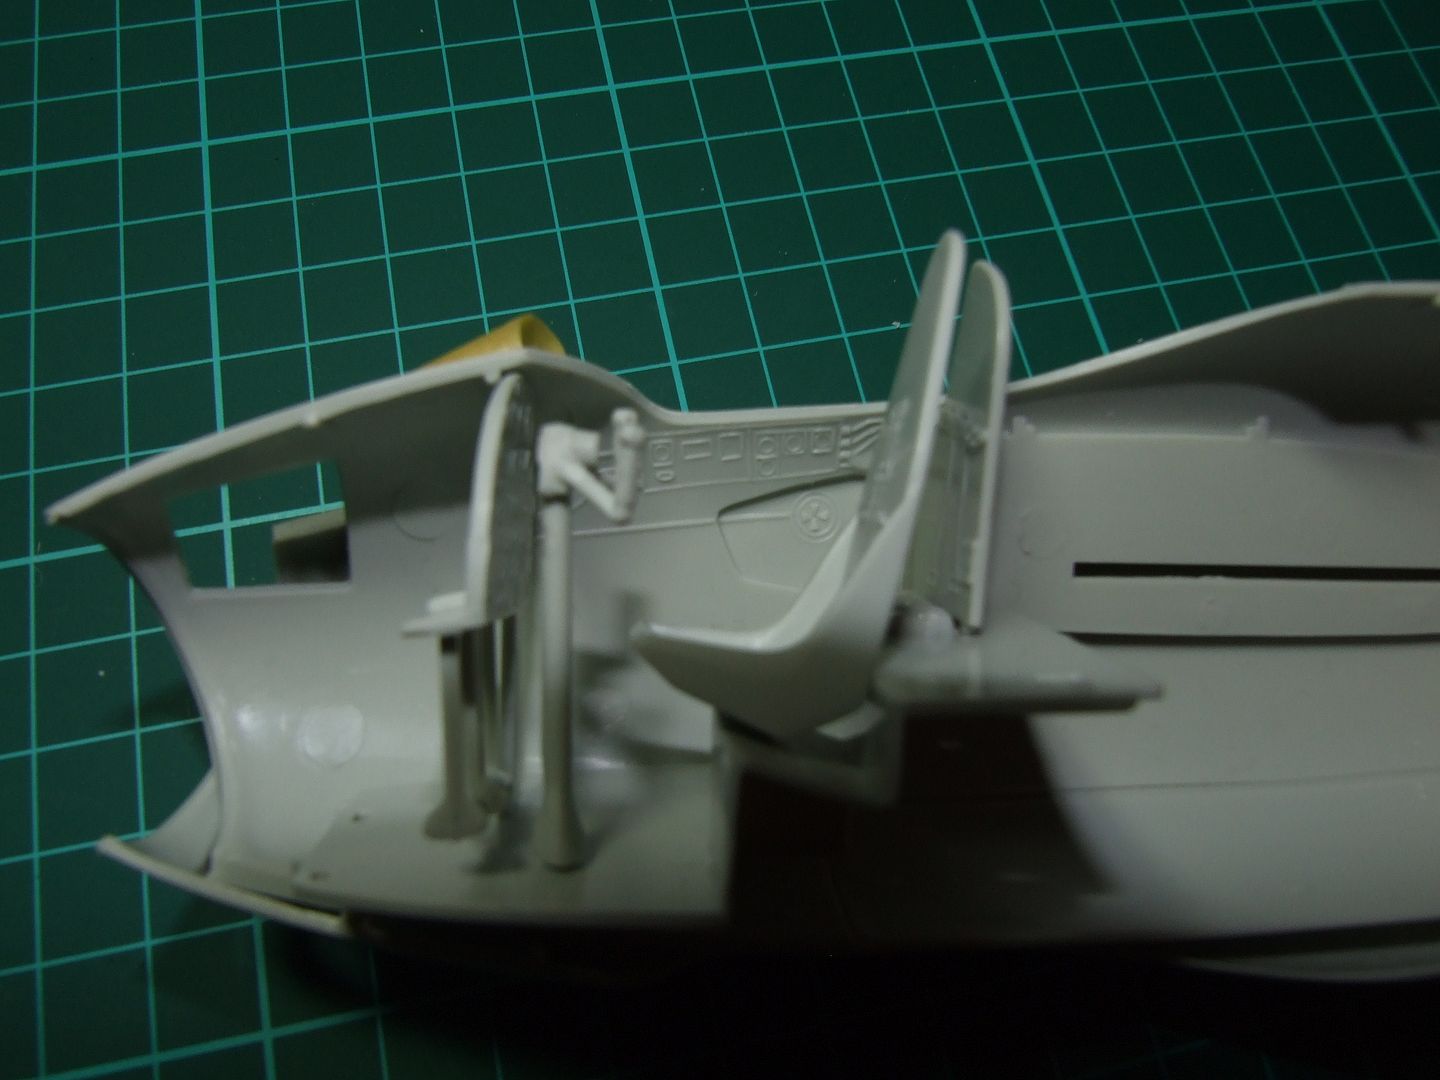
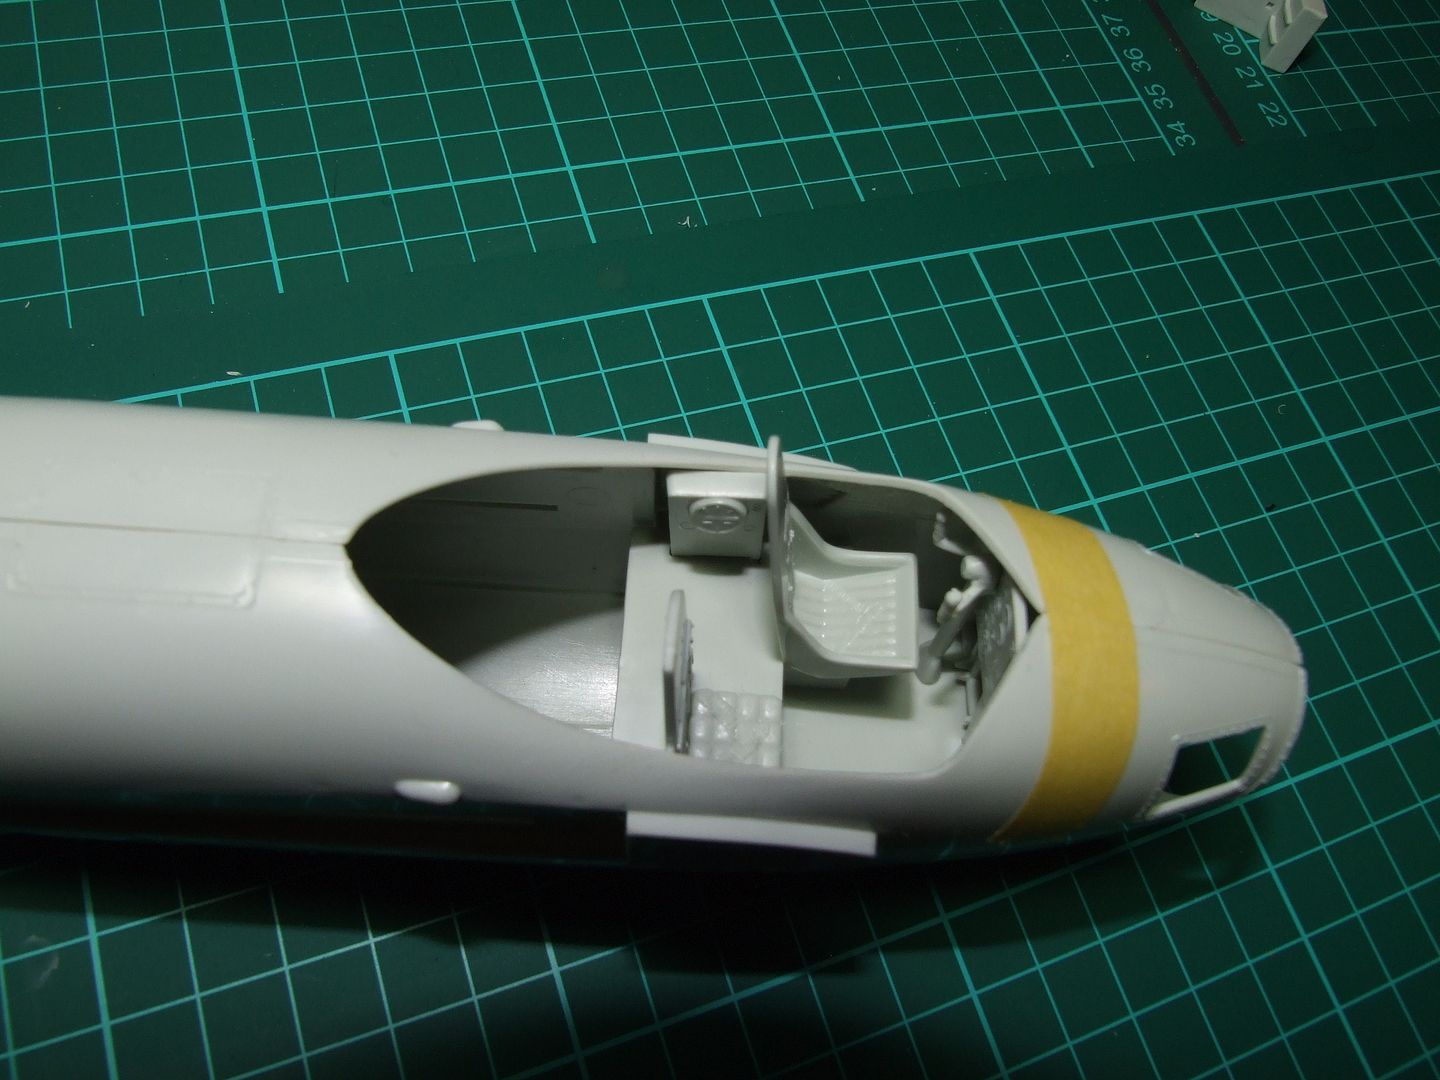
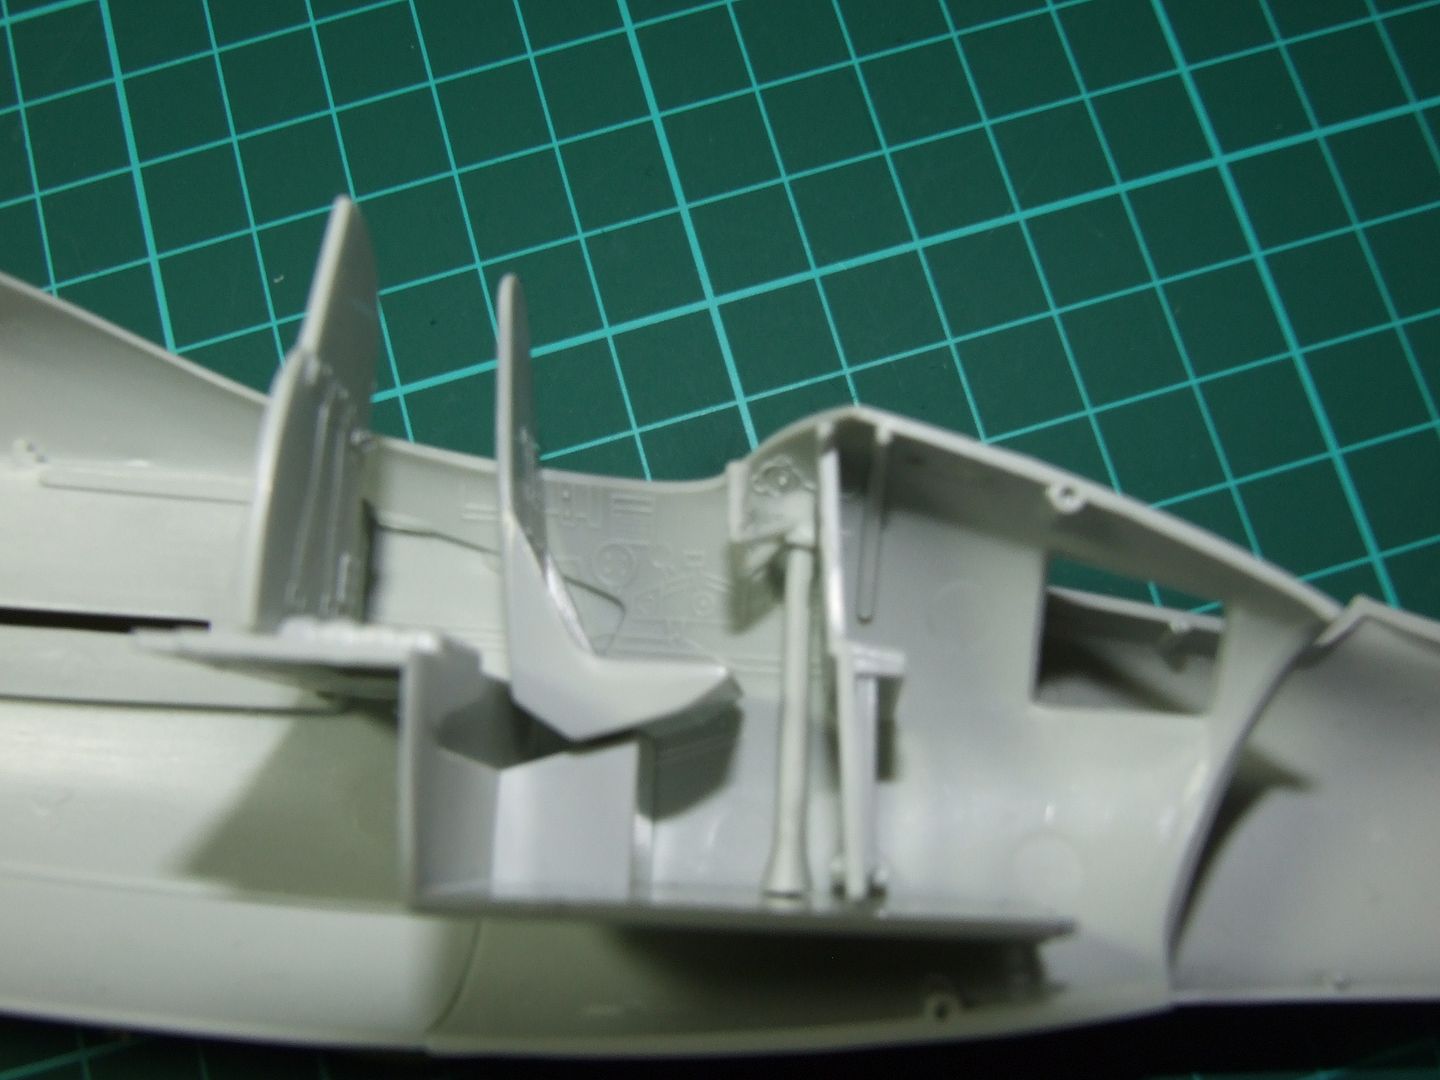
so i removed the pilots seat to give me a bit of room to manuevre and glued the cockpit parts together while still dry fitted to the fuselage. this would let me remove the cockpit assembly ready for painting and i would know it fits for final assembly.
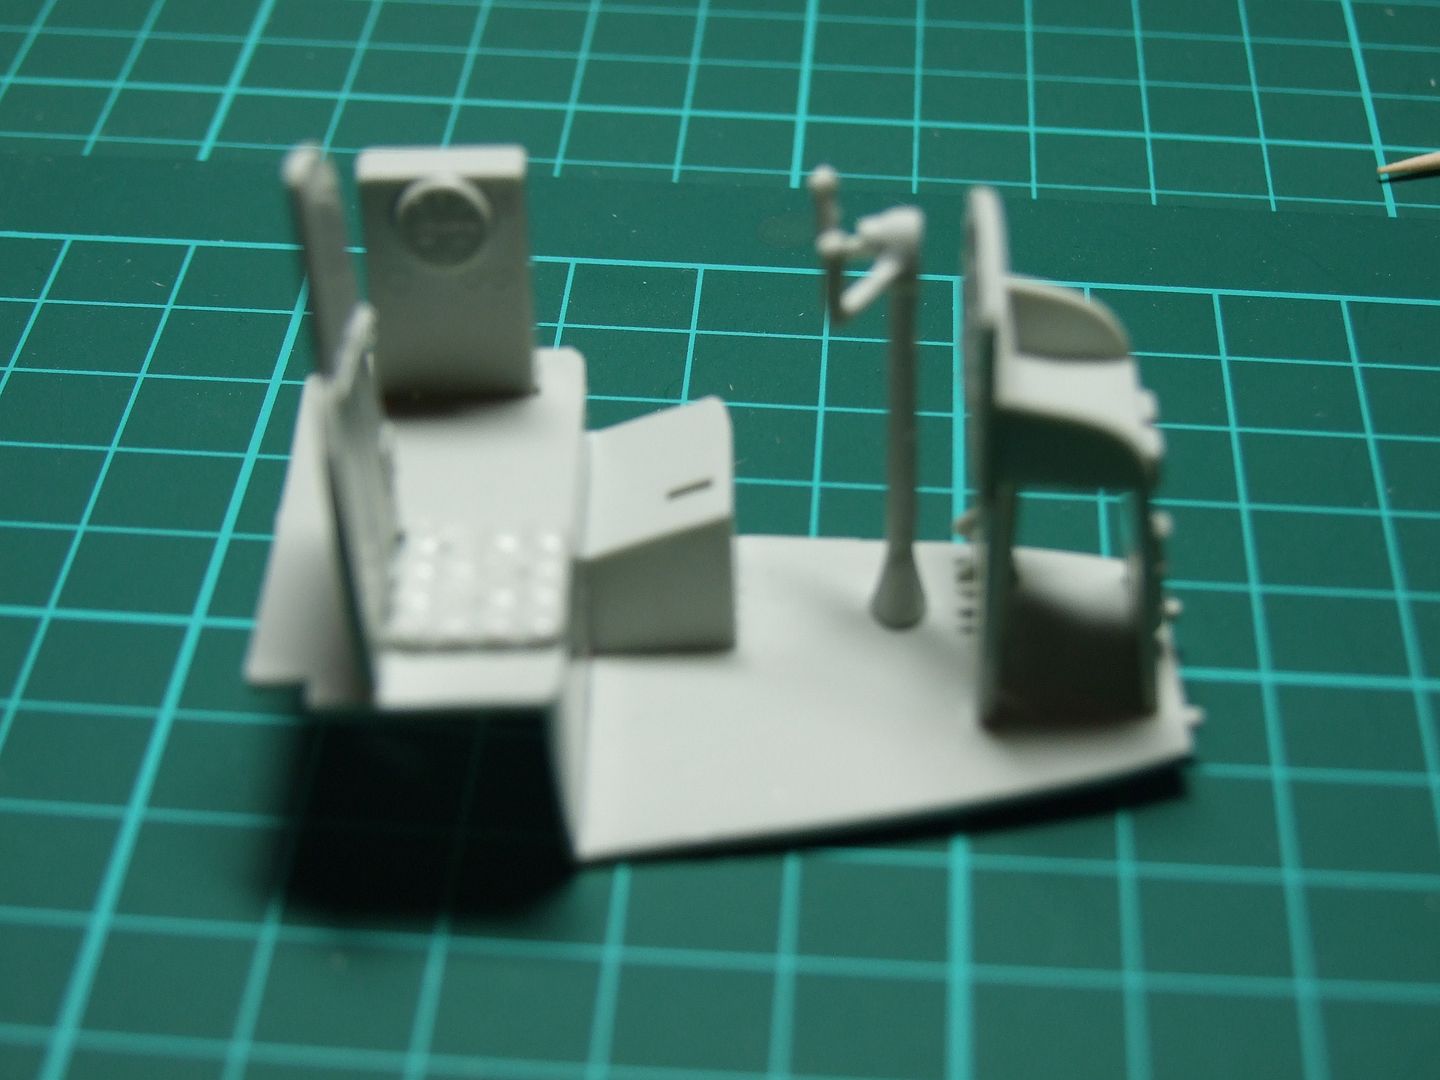
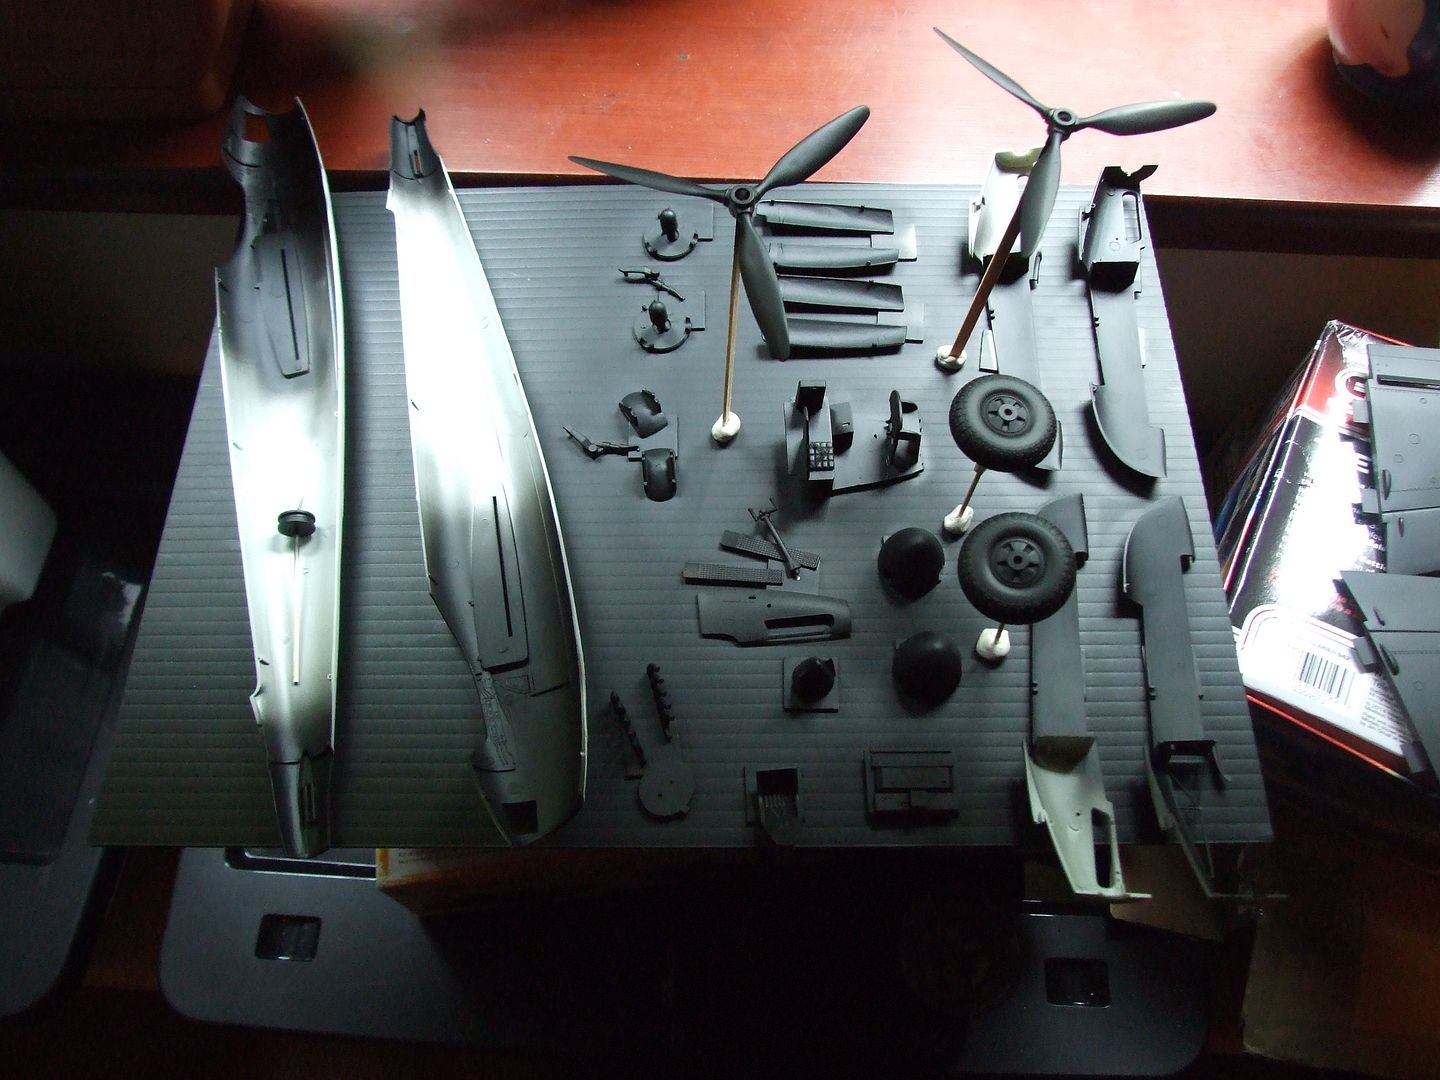
all set and ready for paint, the control stick isnt glued at this point, just didnt want to try and remove it and knock everything outa place while the glue was curing.
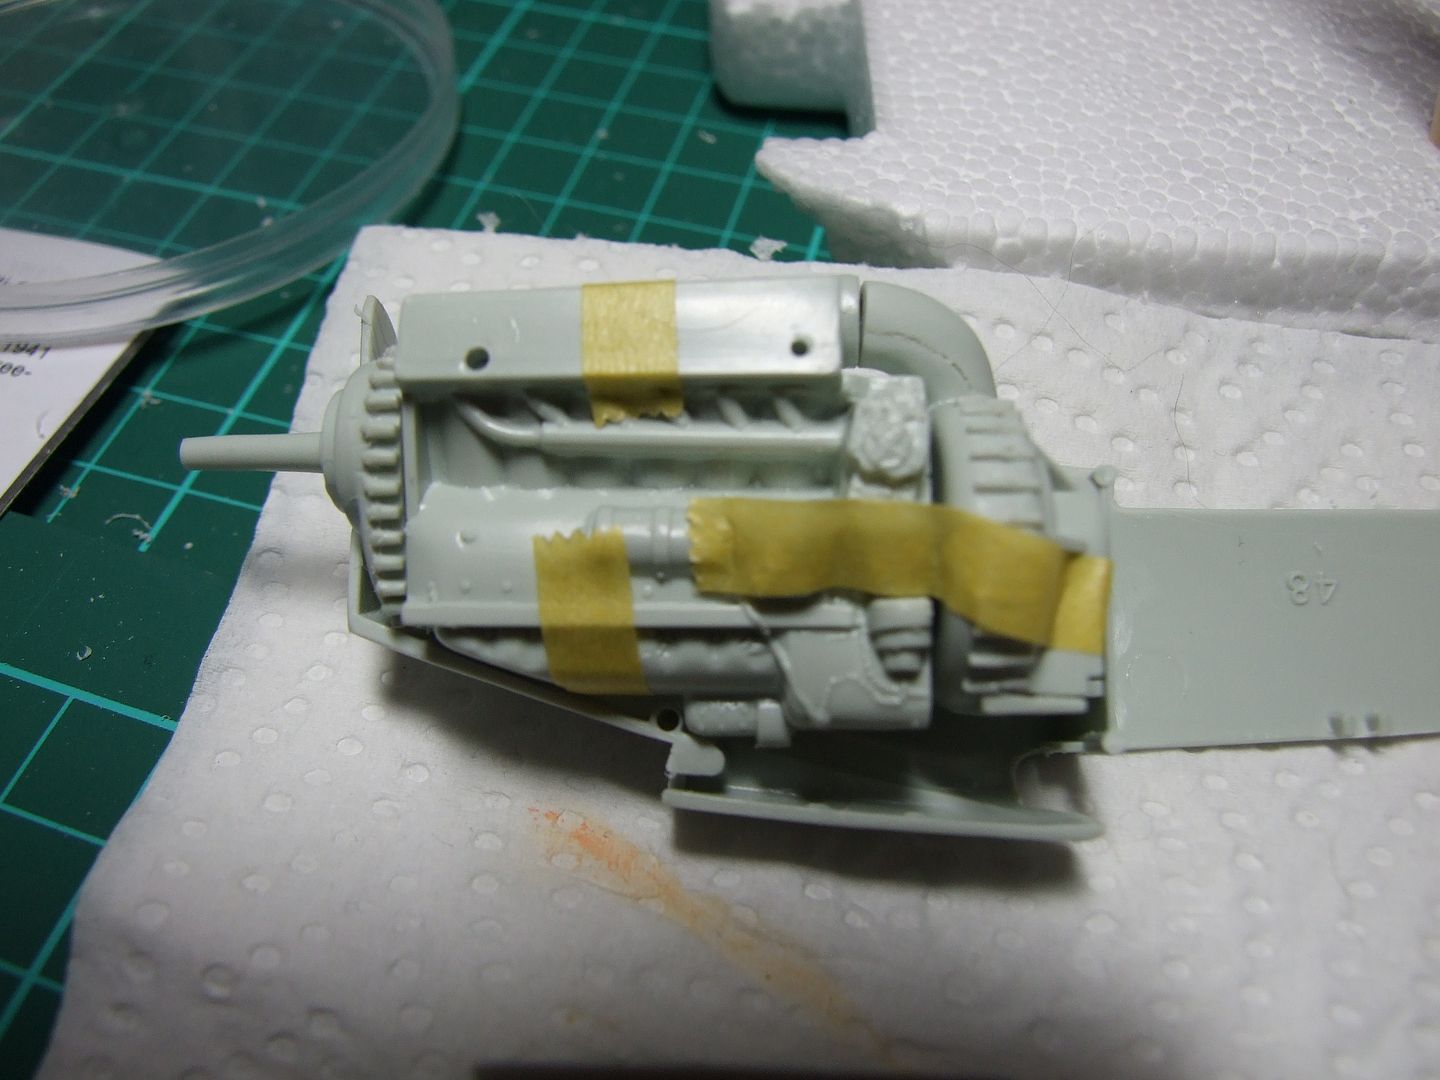
next i assembled and taped the engine block together and dry mounted it it the engine bay/nacelle?? tight fit but ok, will test the whole fit on the wing later.
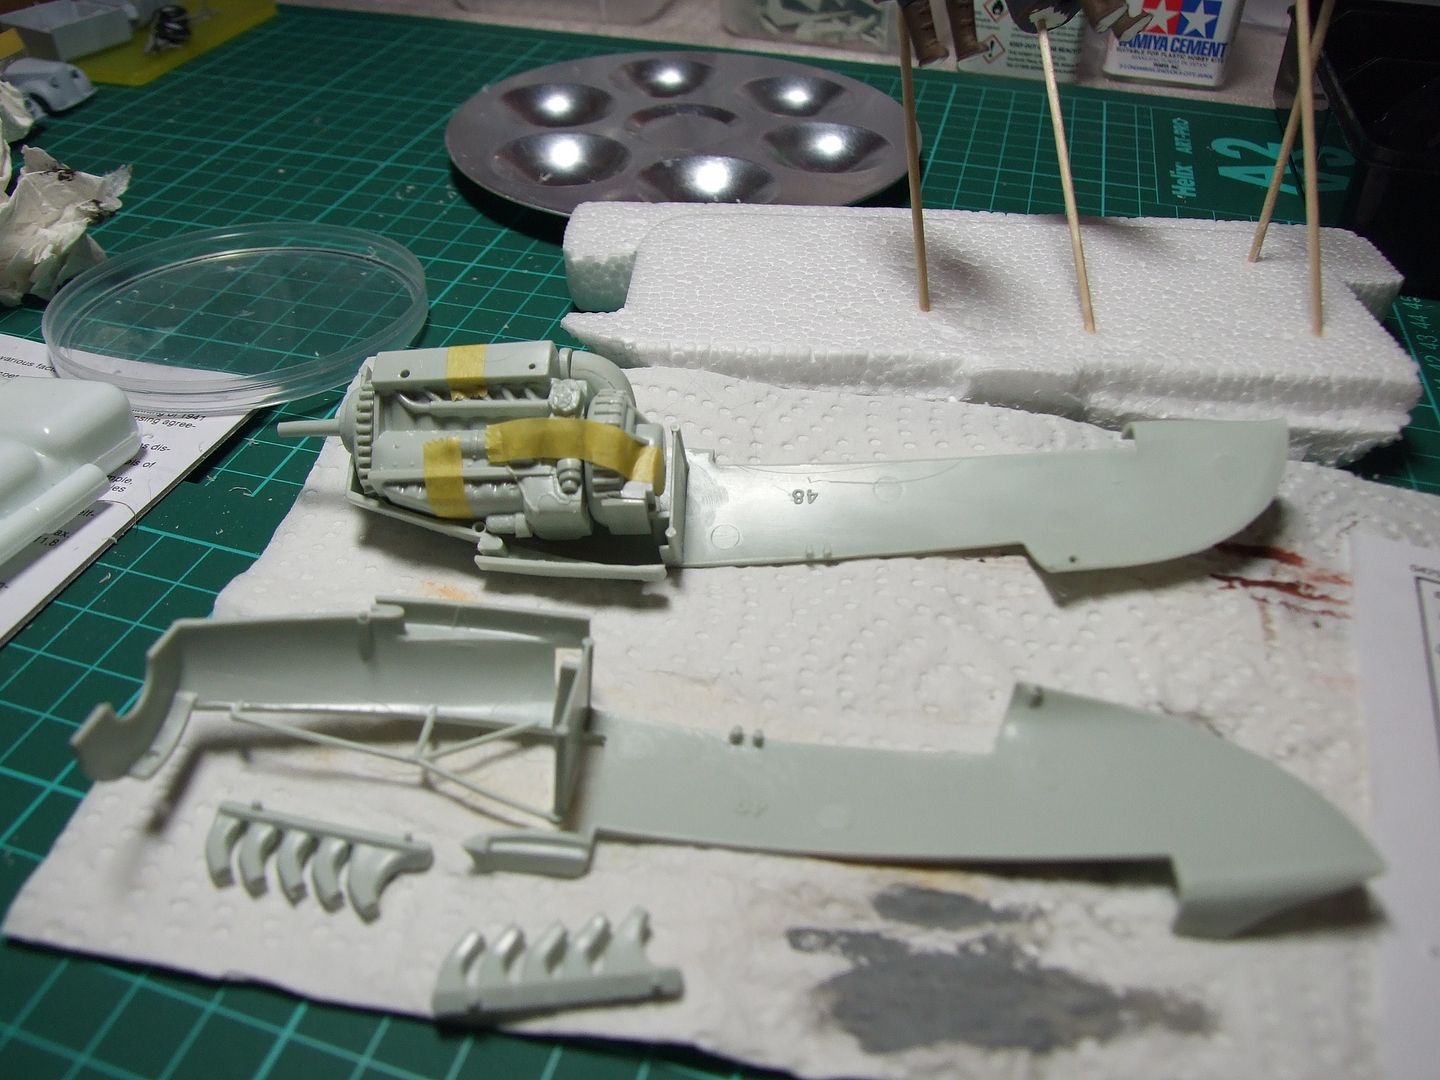
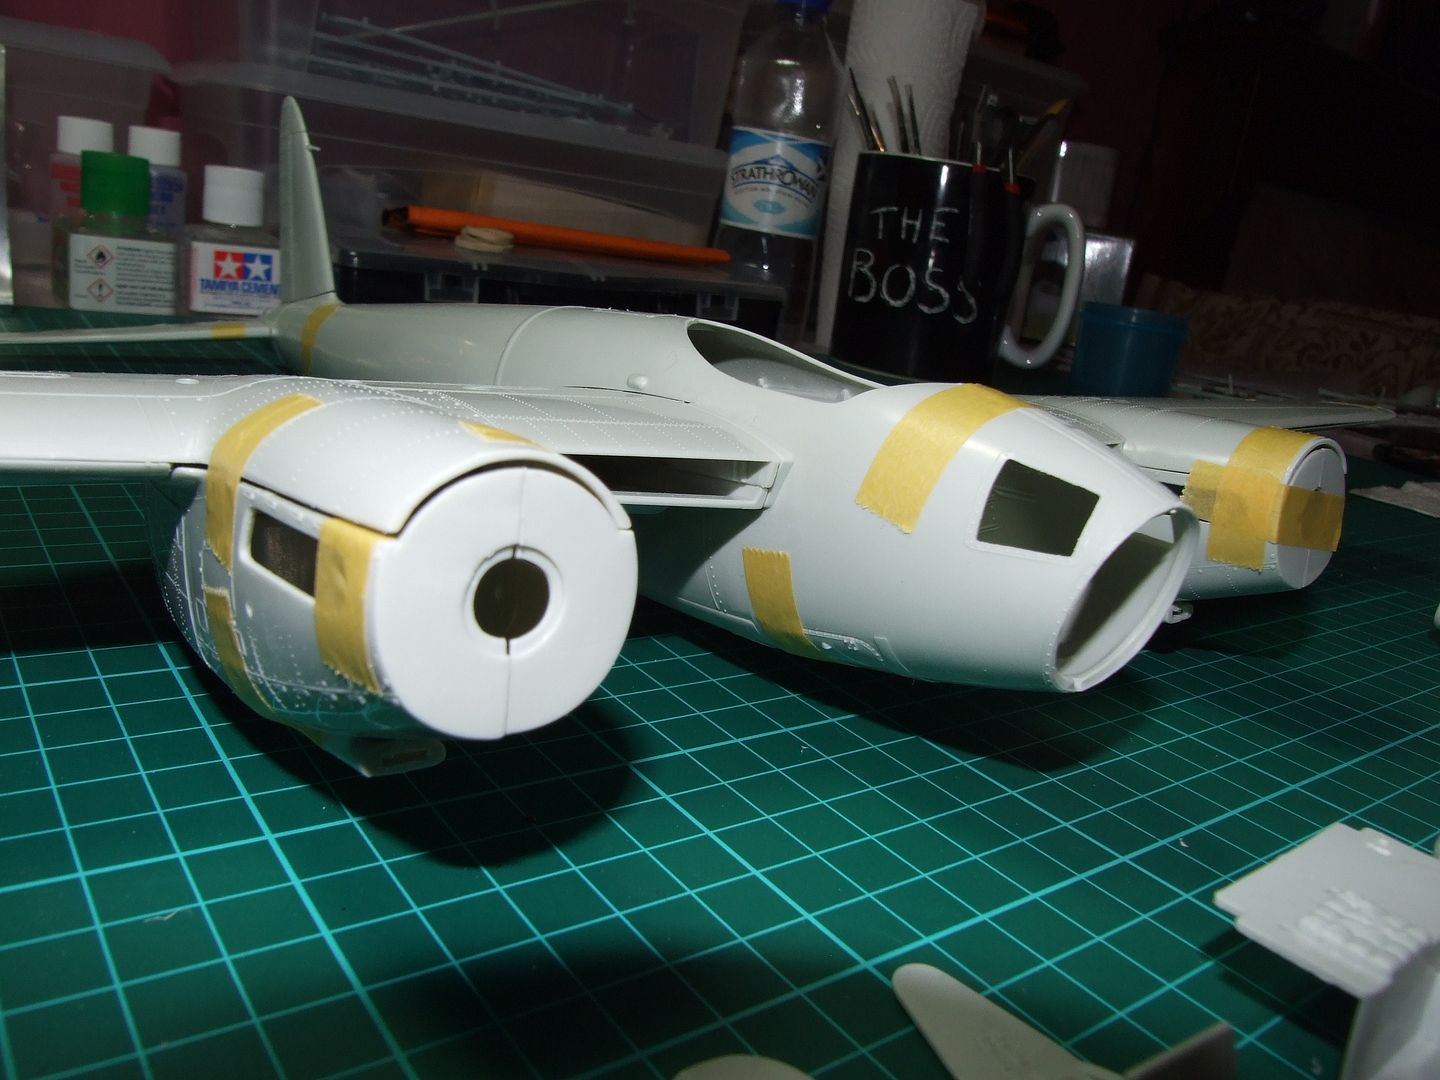
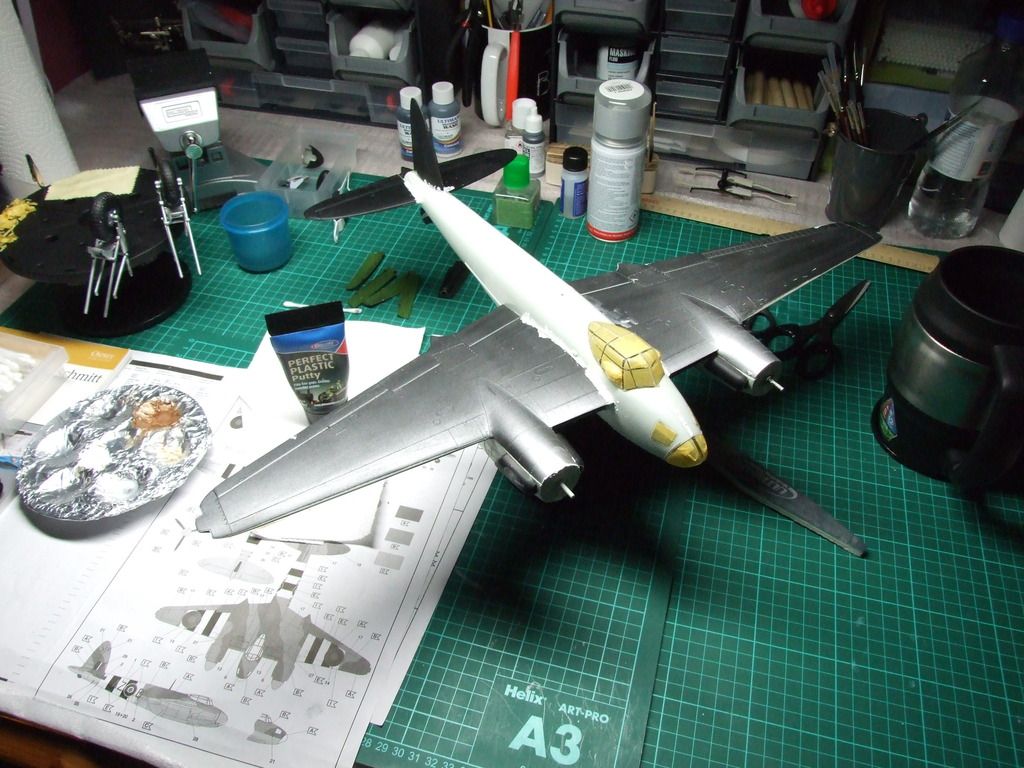
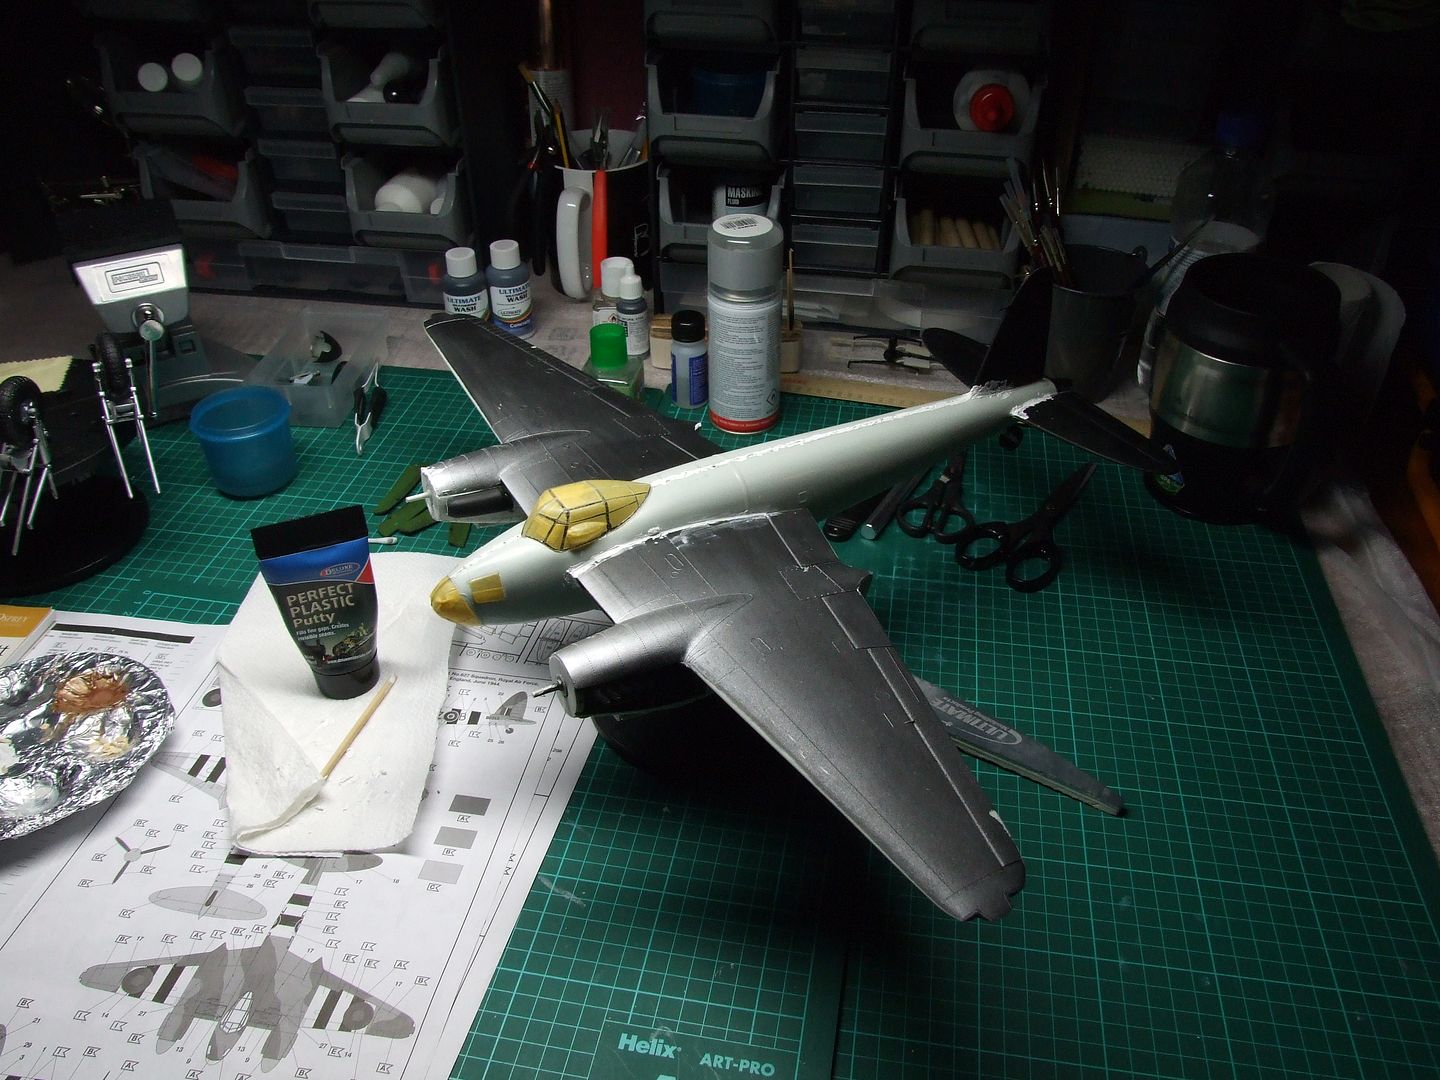
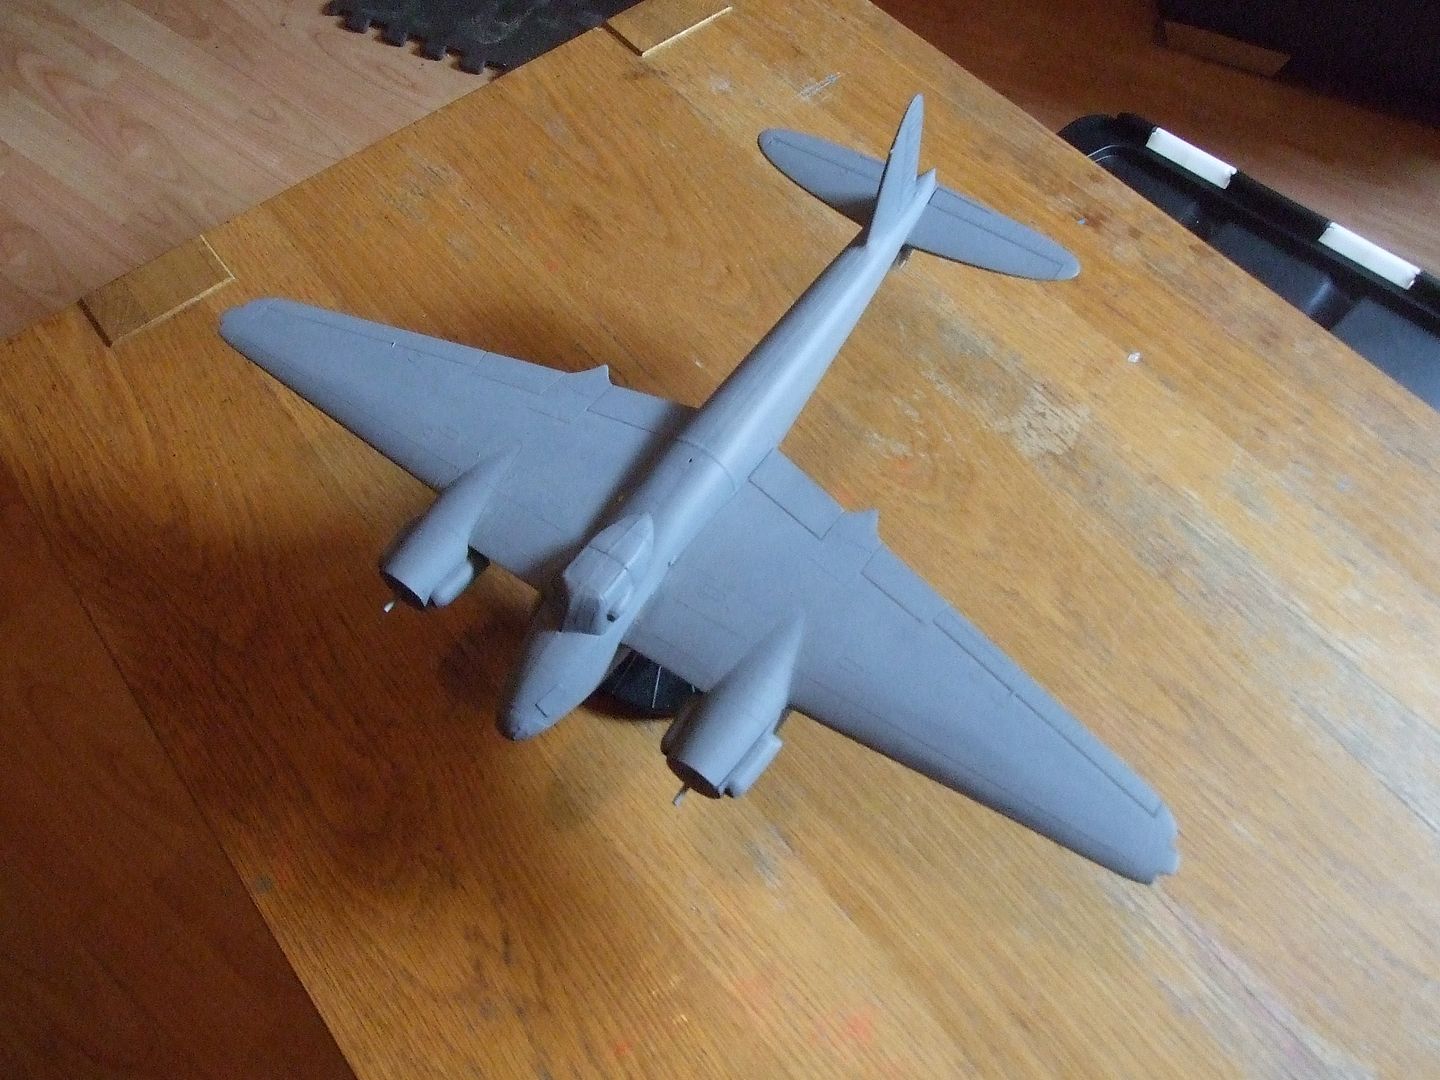
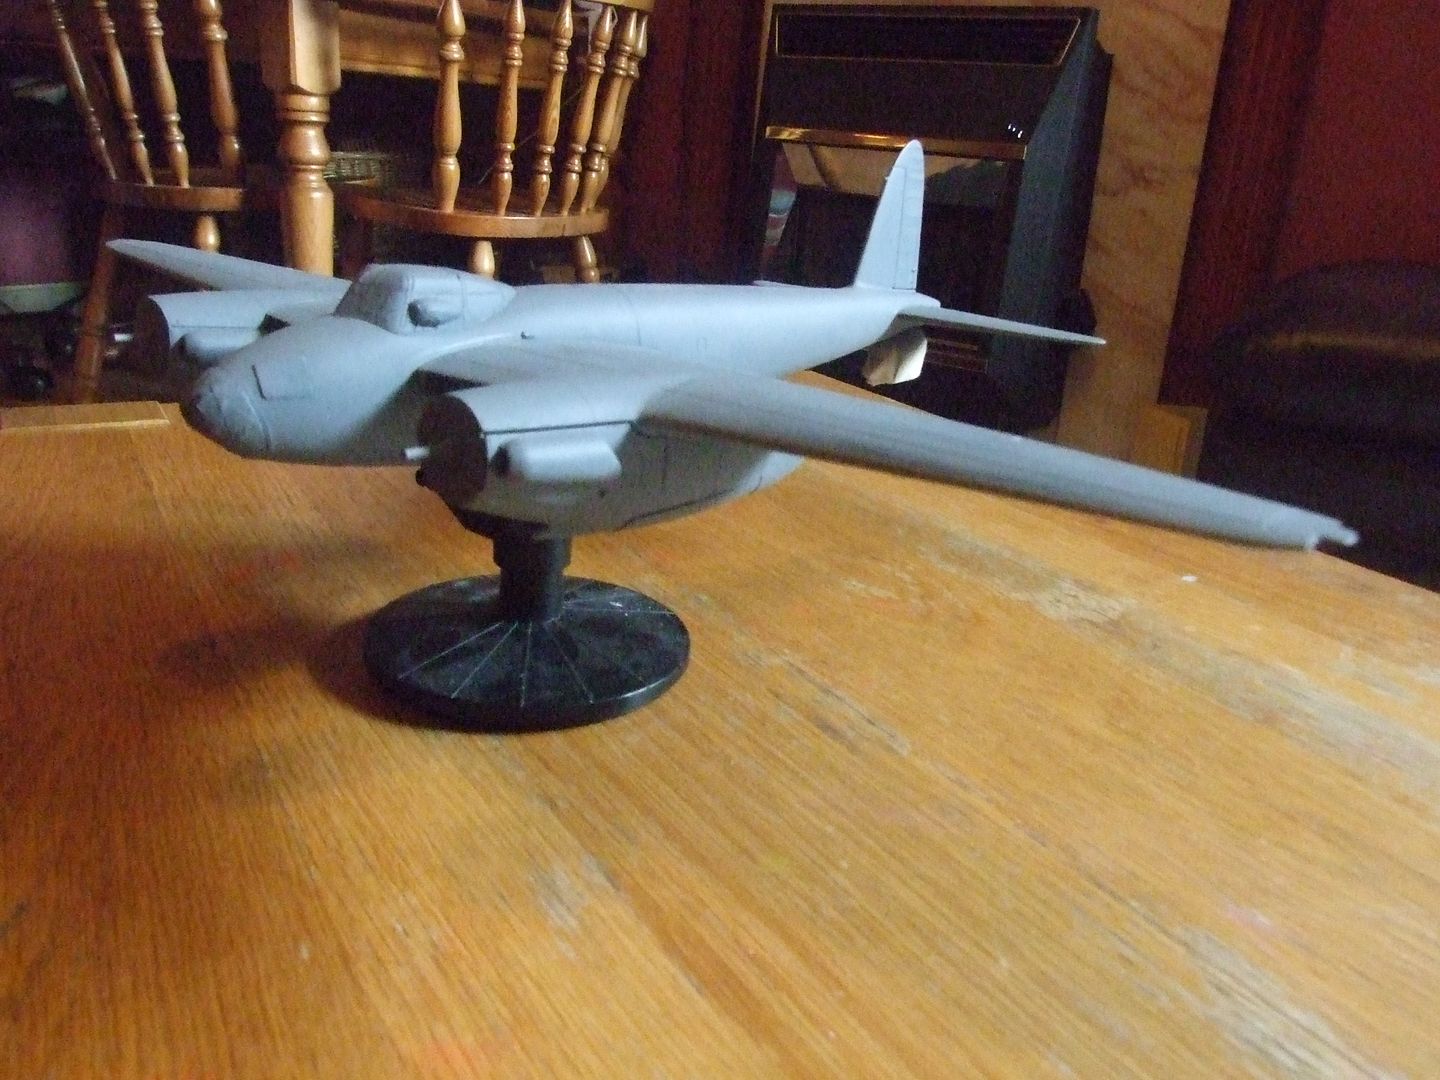
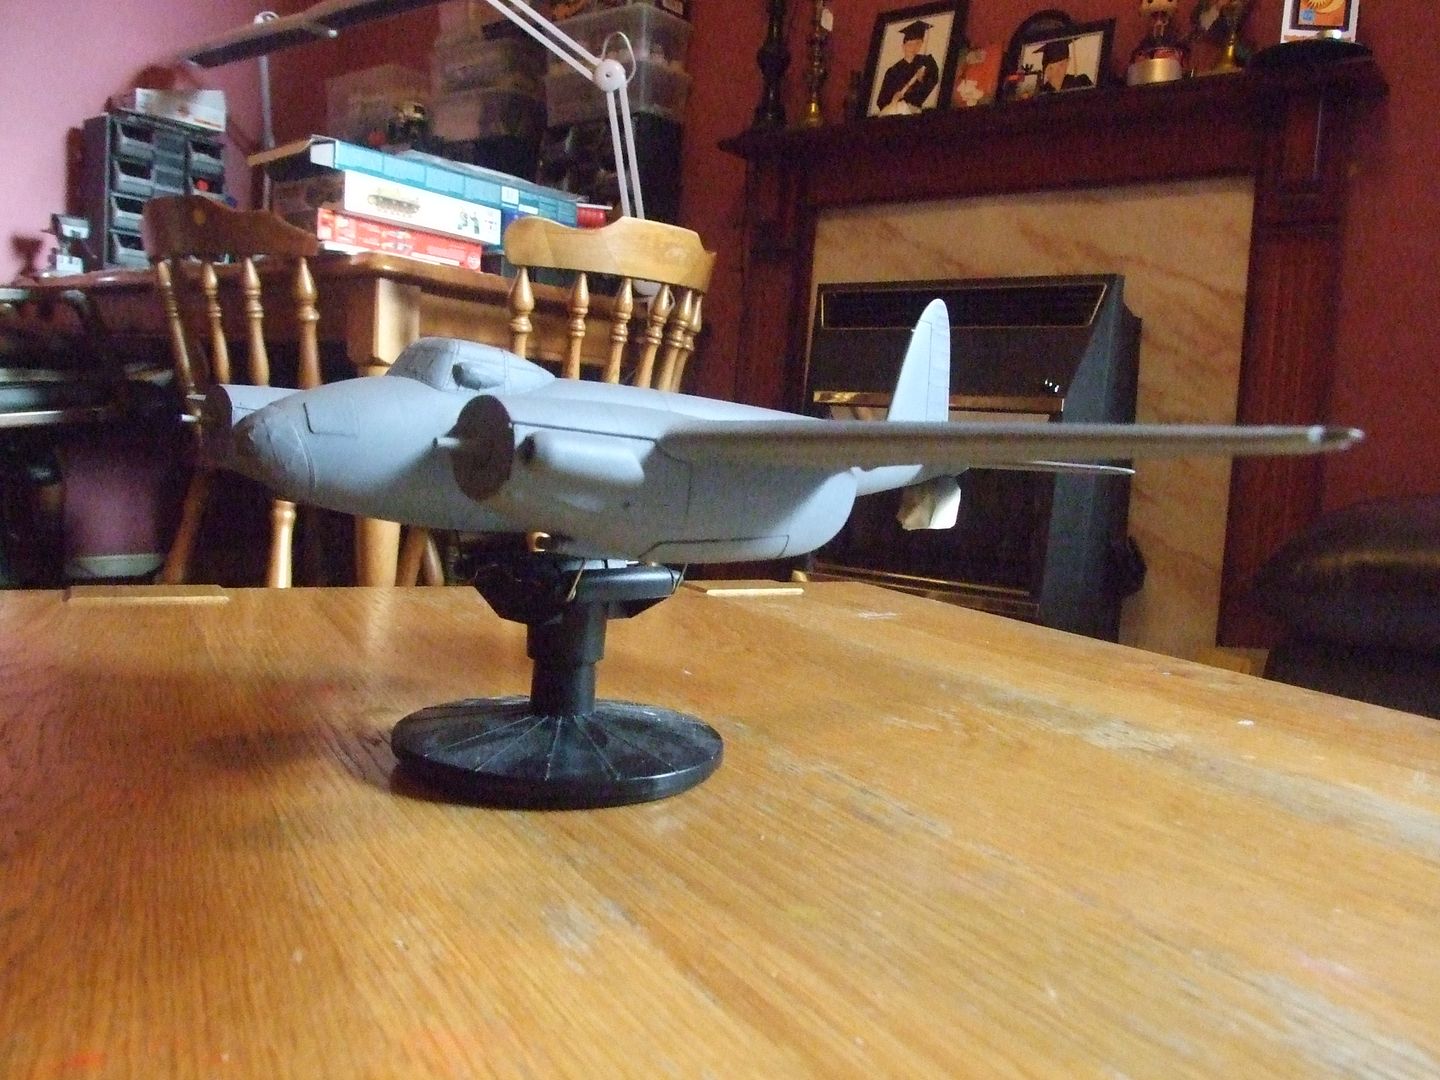
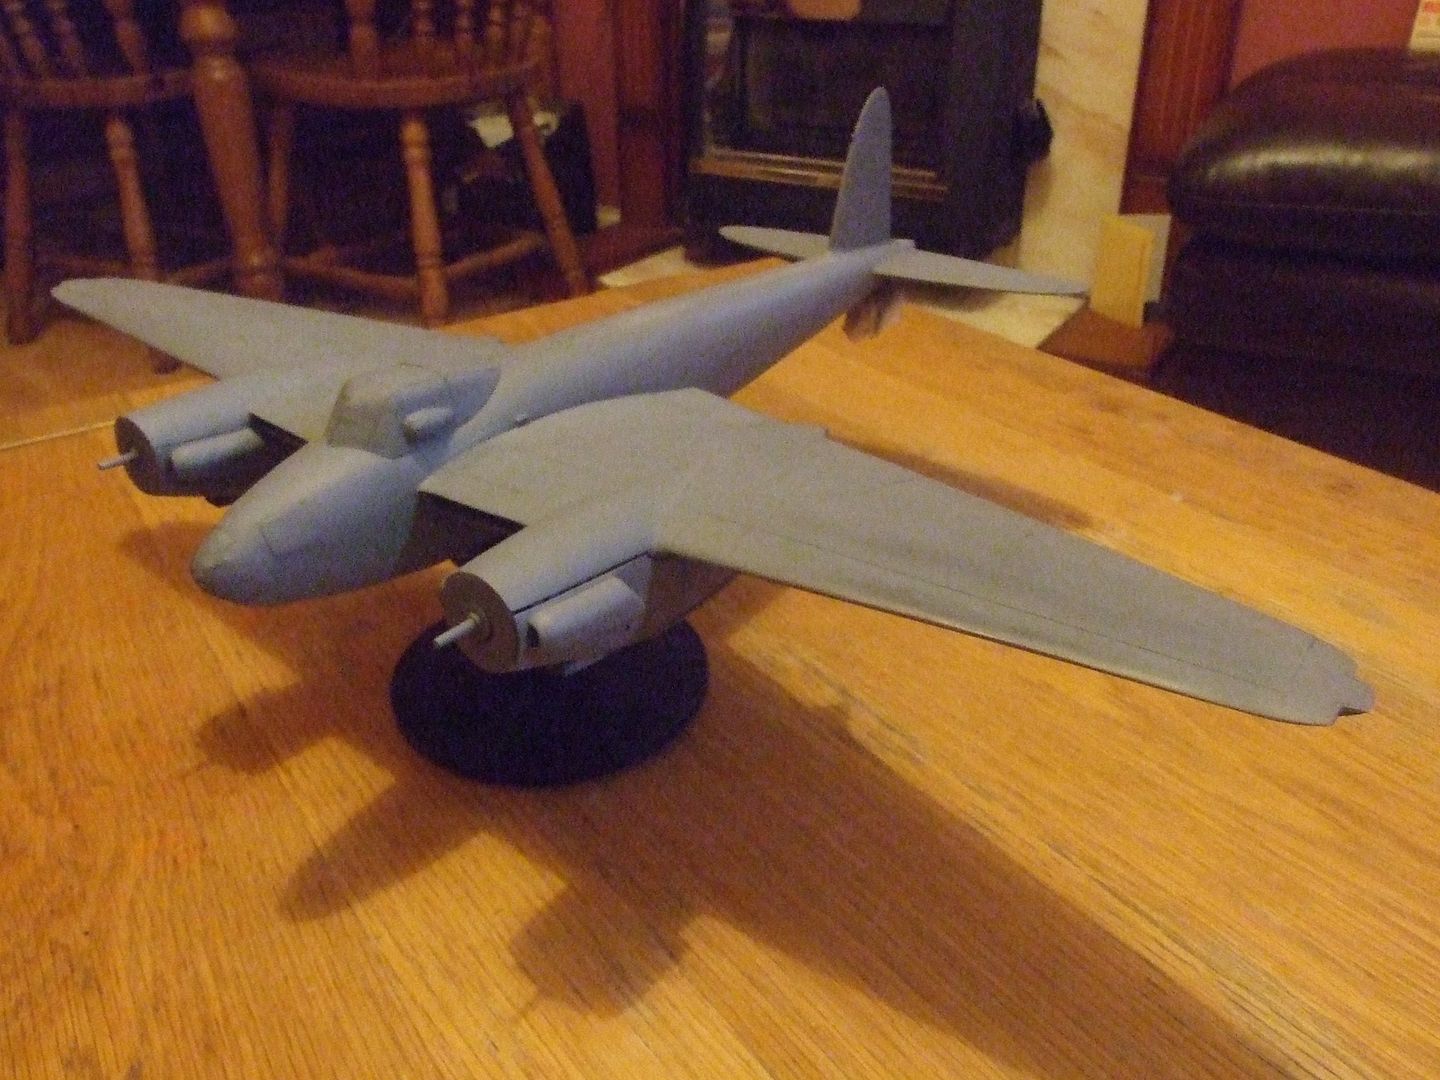
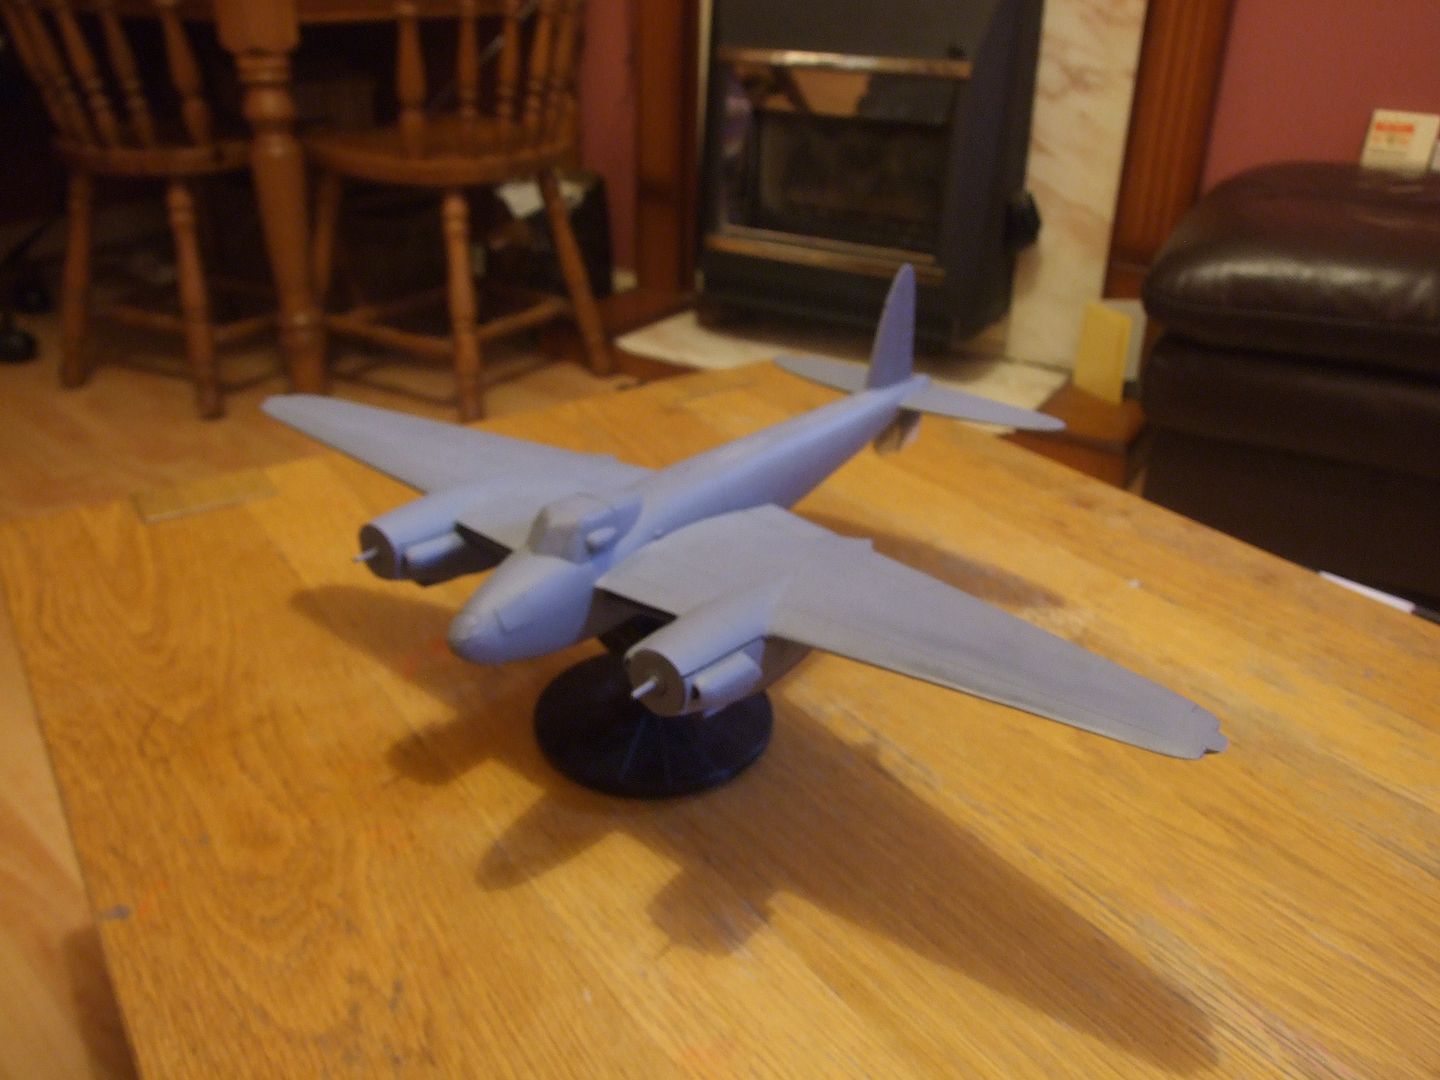
and finally for this long winded way of saying "i done stuff really" i snipped and trimmed all the major fusalage parts ready for dry fitting. Minor miracle....erm milestone for me seeing it like this.
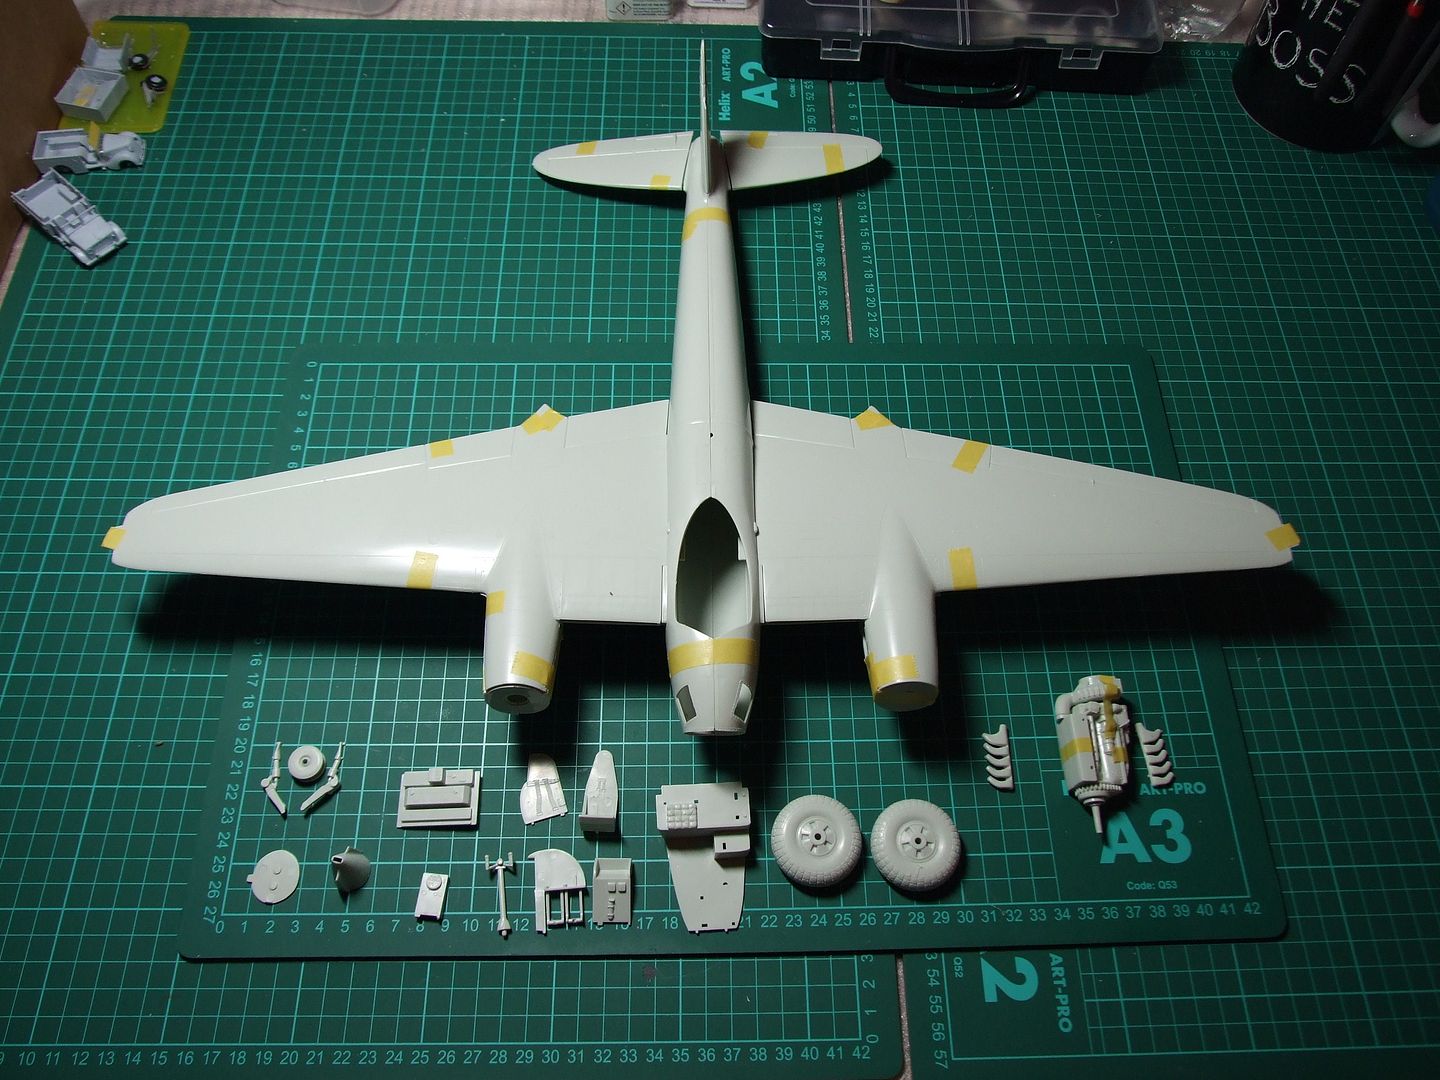
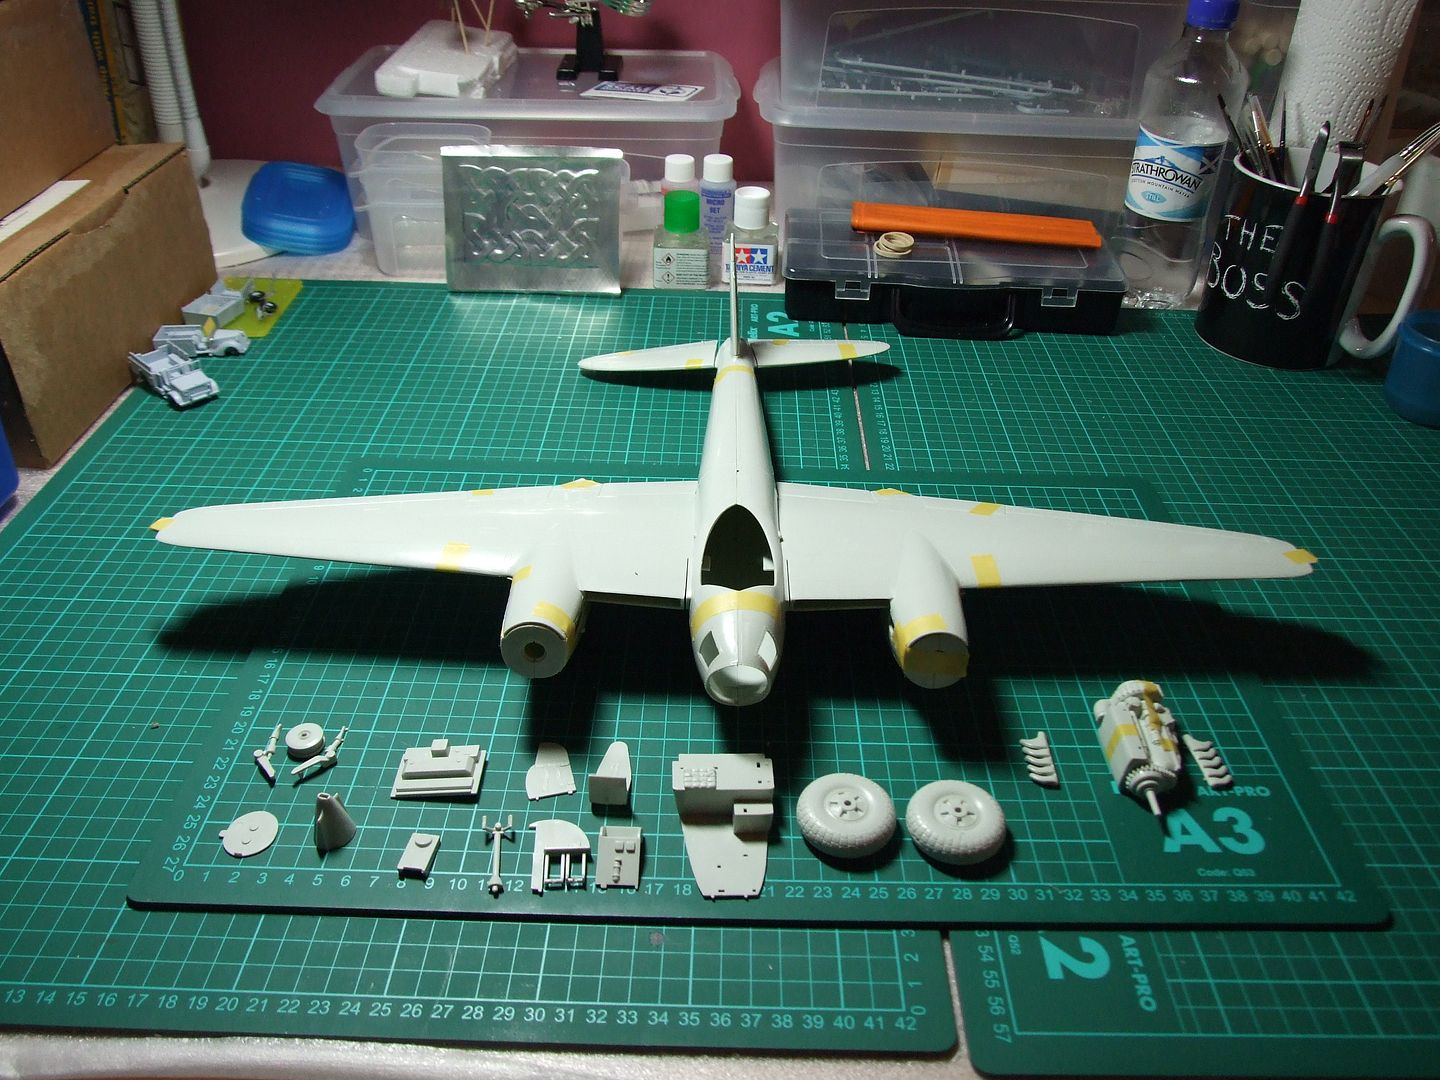
Ya Beauty!
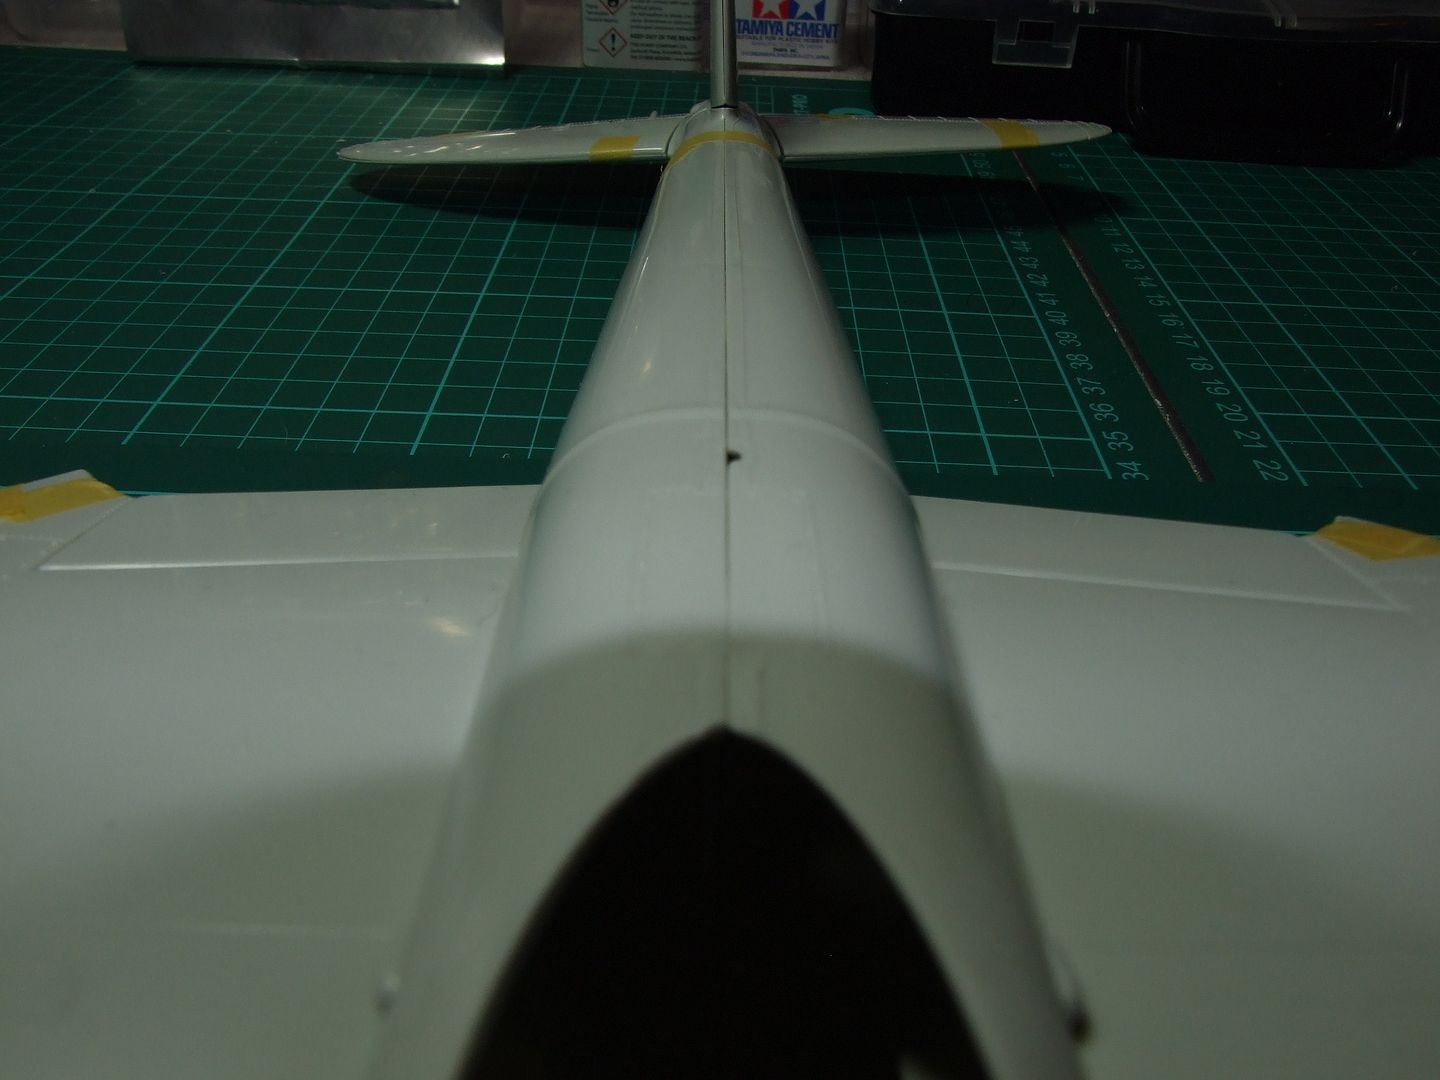
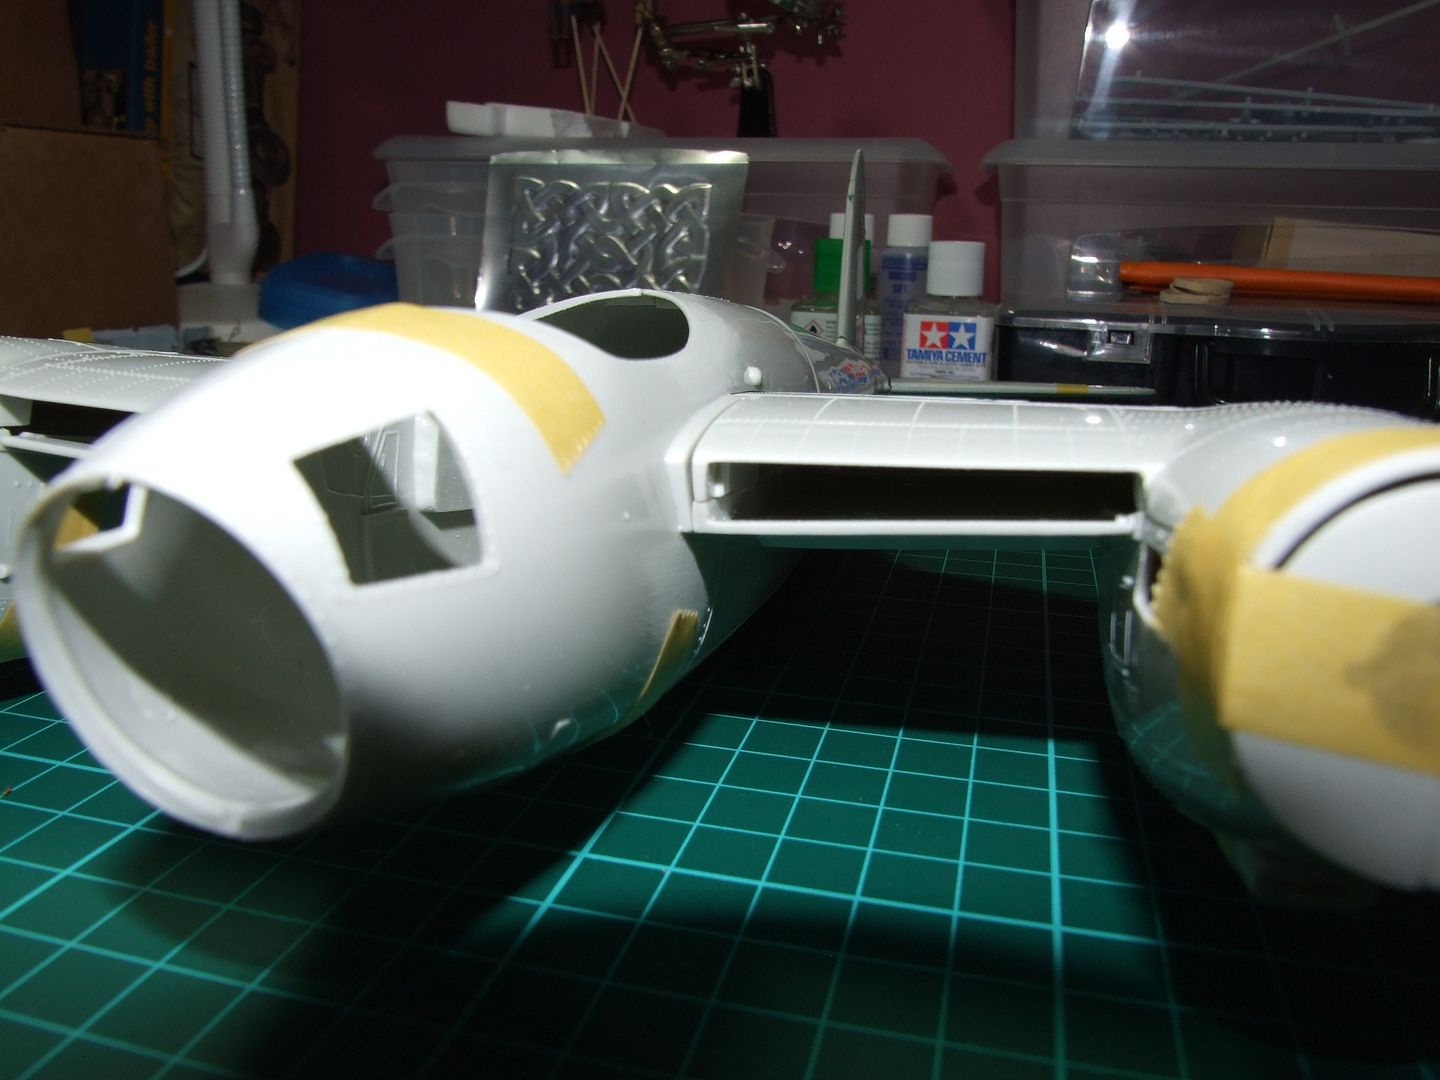
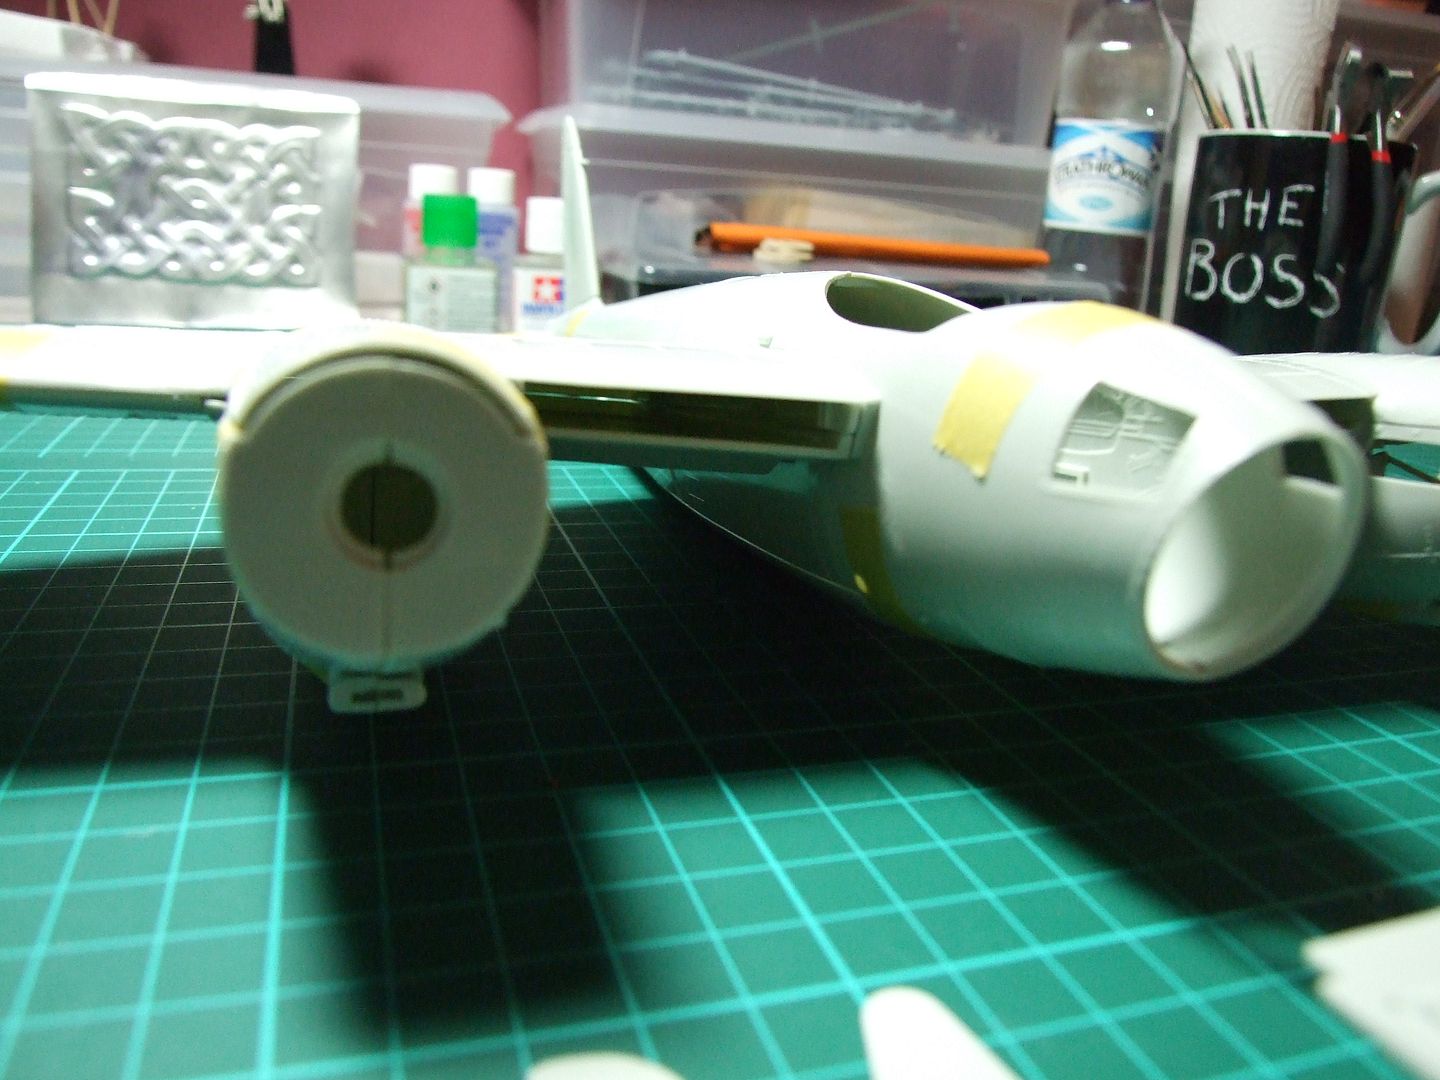
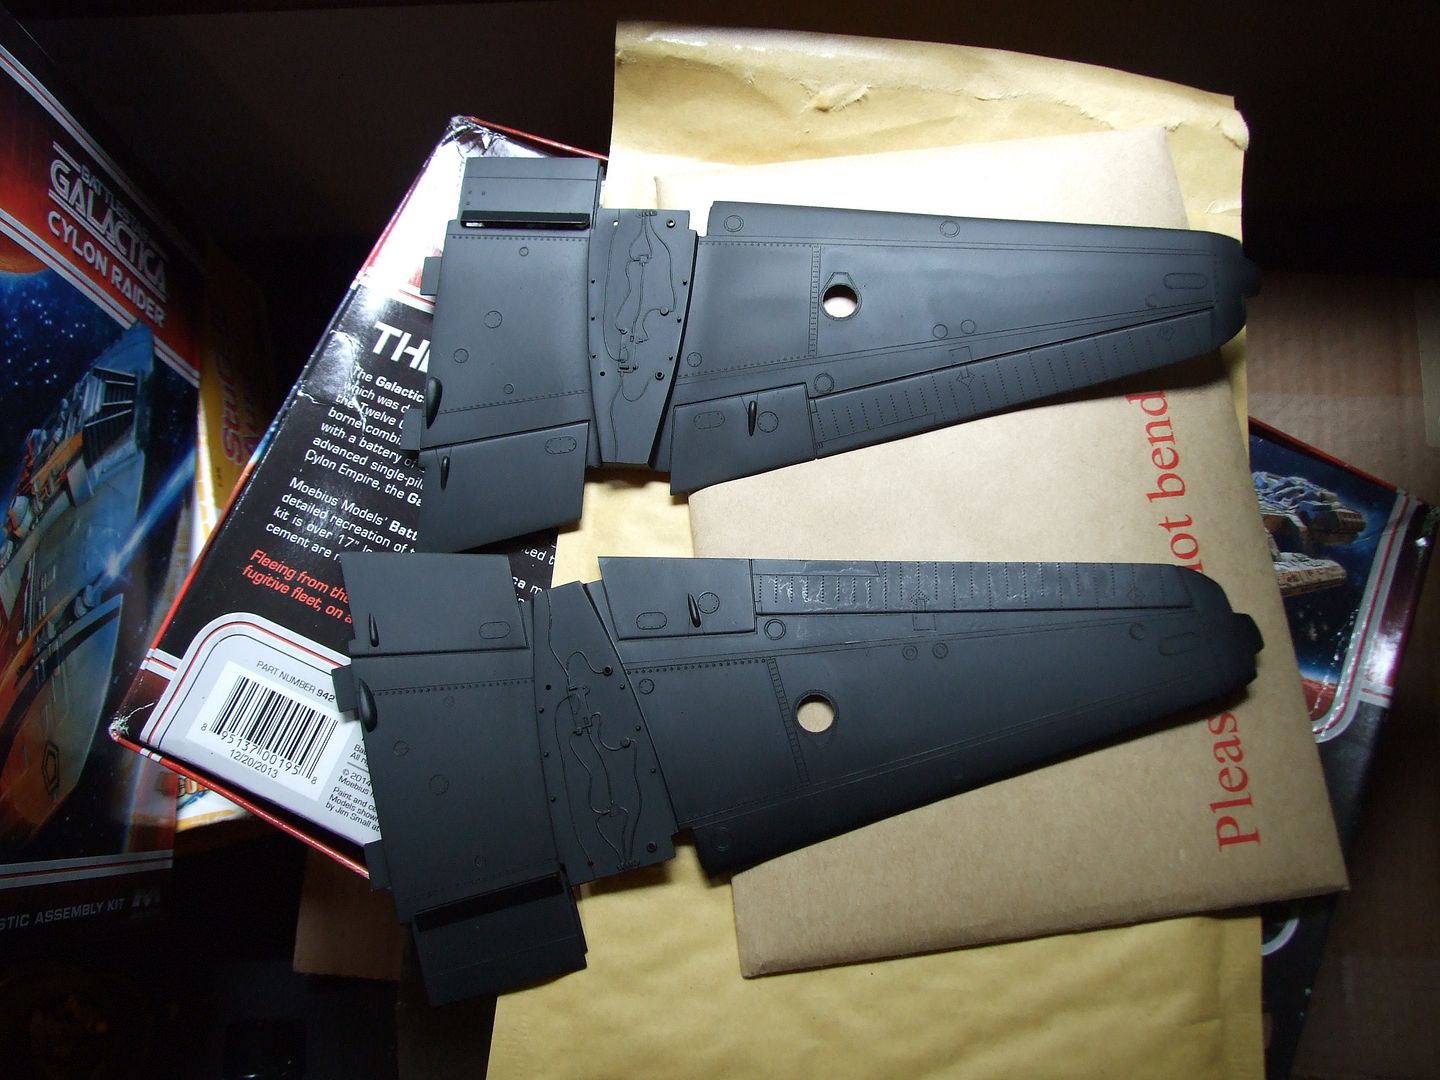
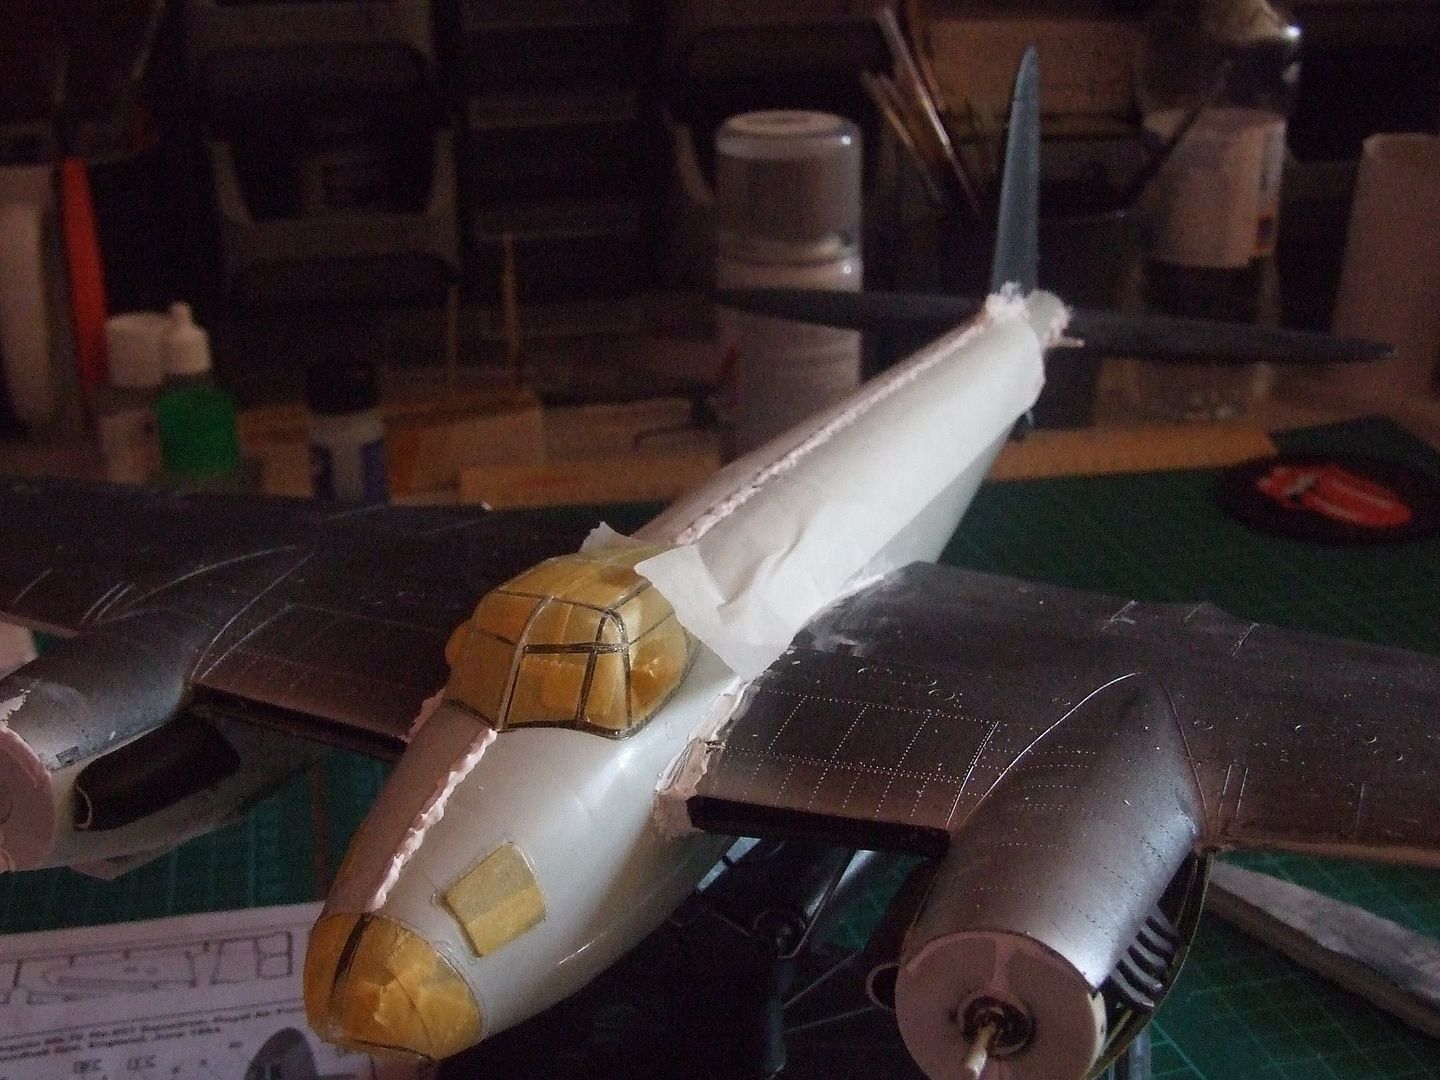
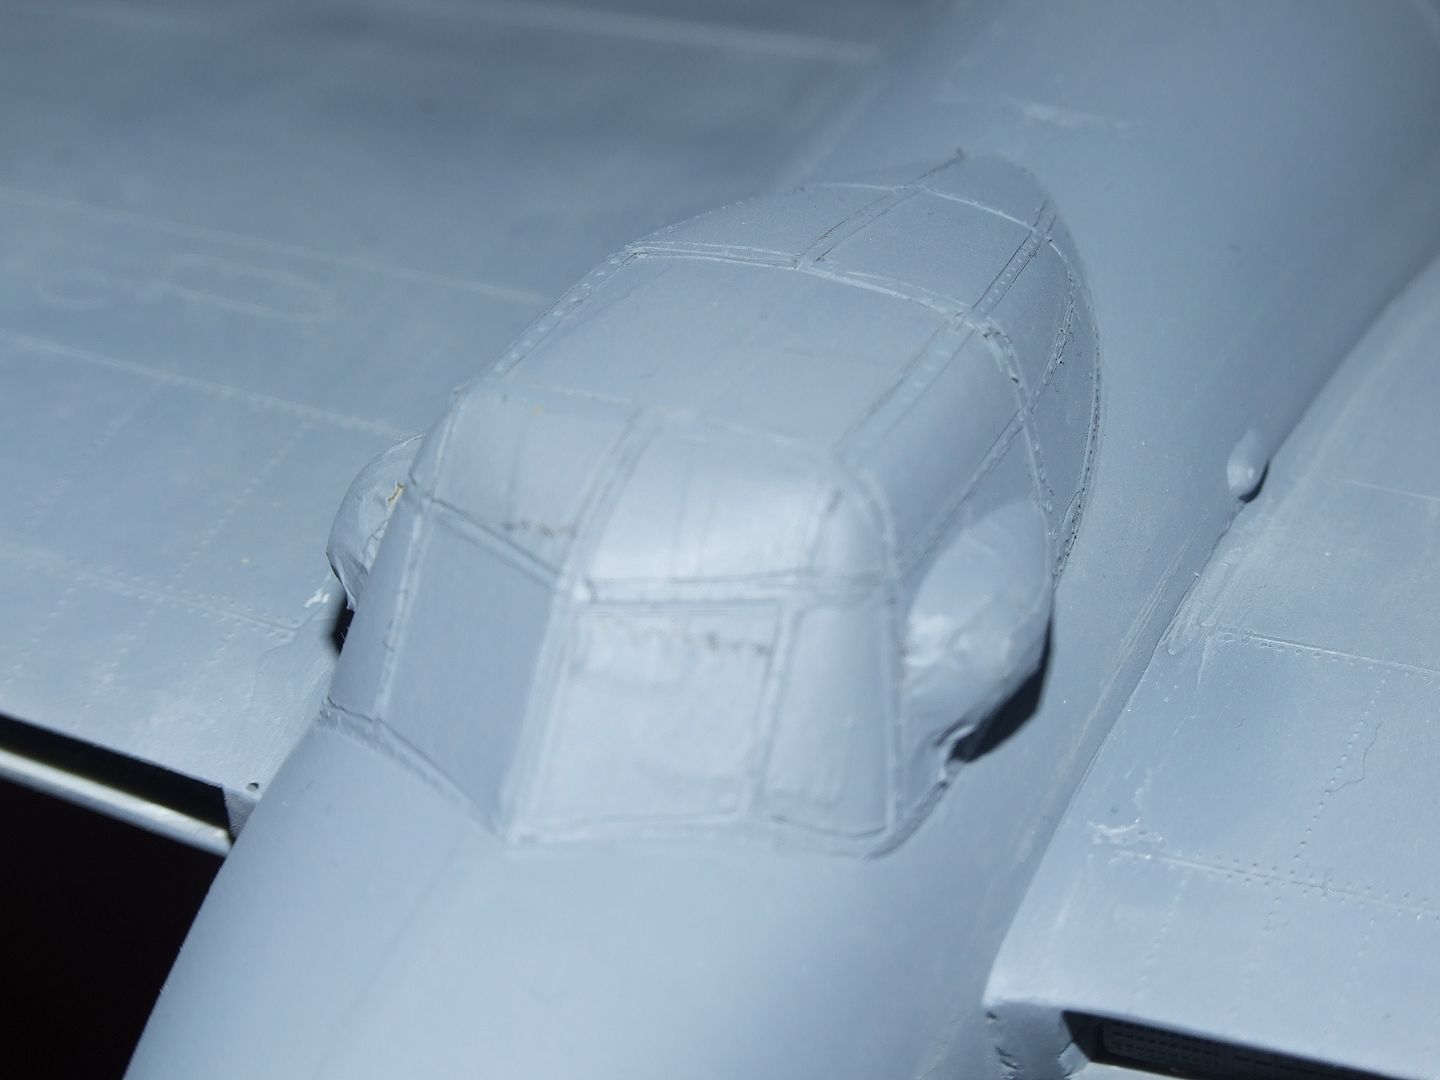
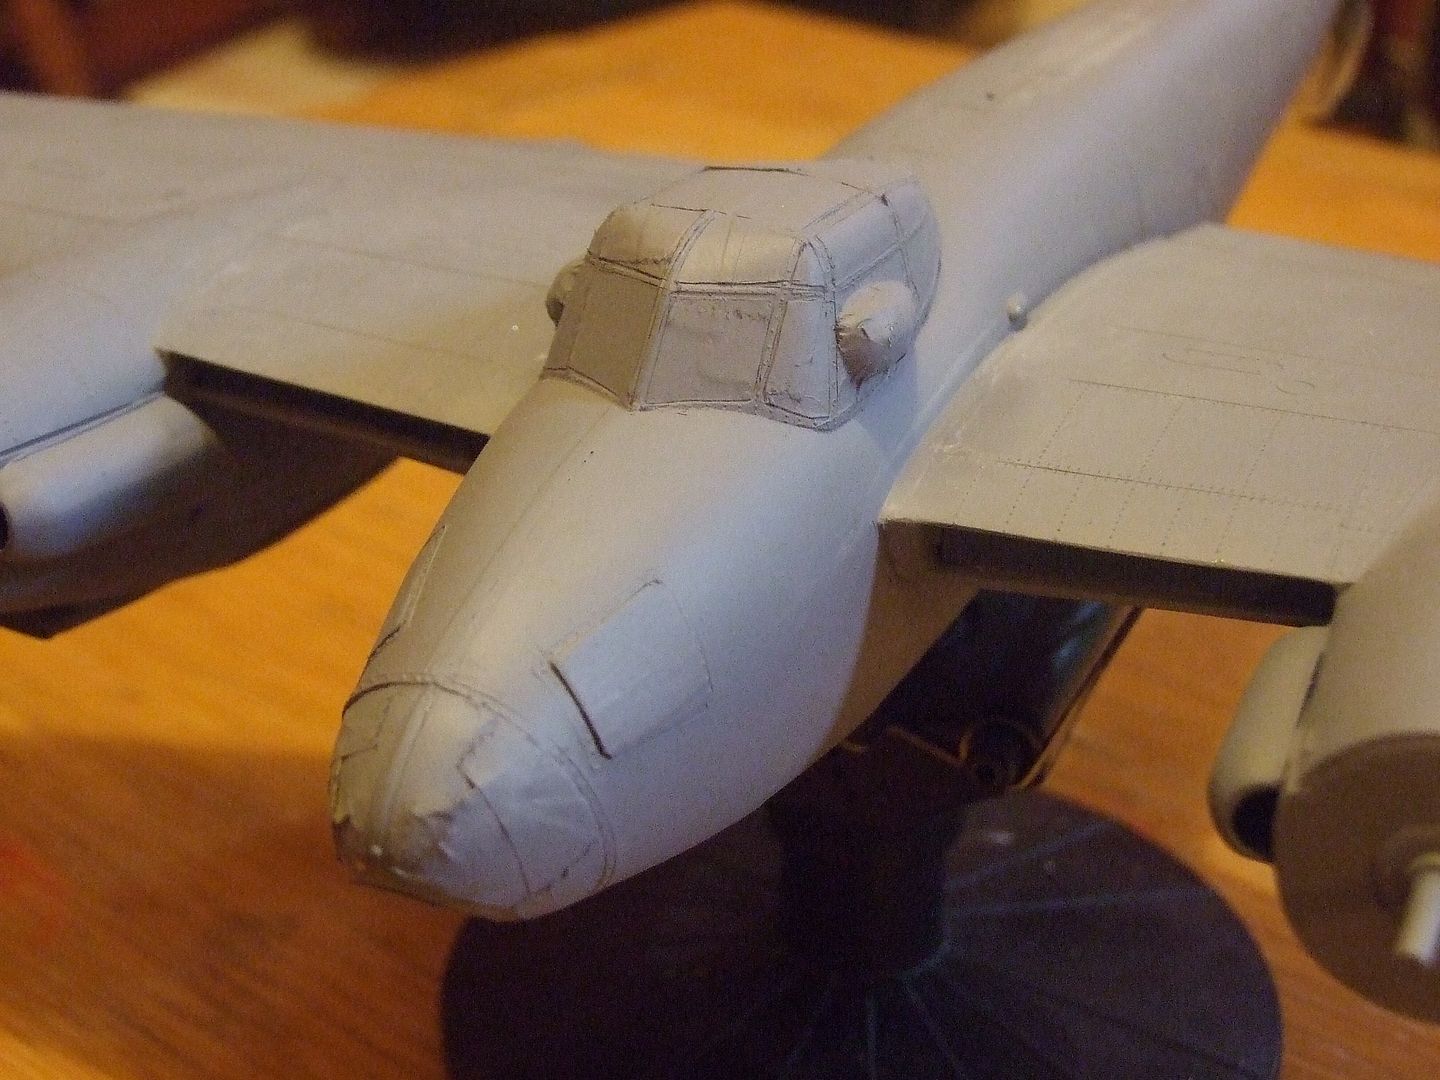
and finally a few closeups (hopefully not too blurry) of some of the seams and joins ill have to tackle later. Happy Modelling
Jase
