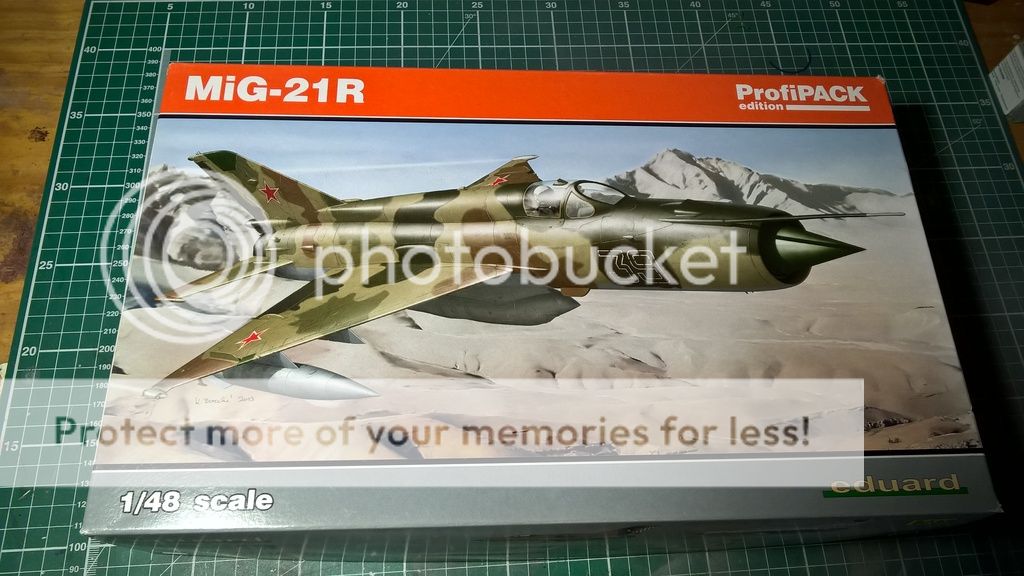
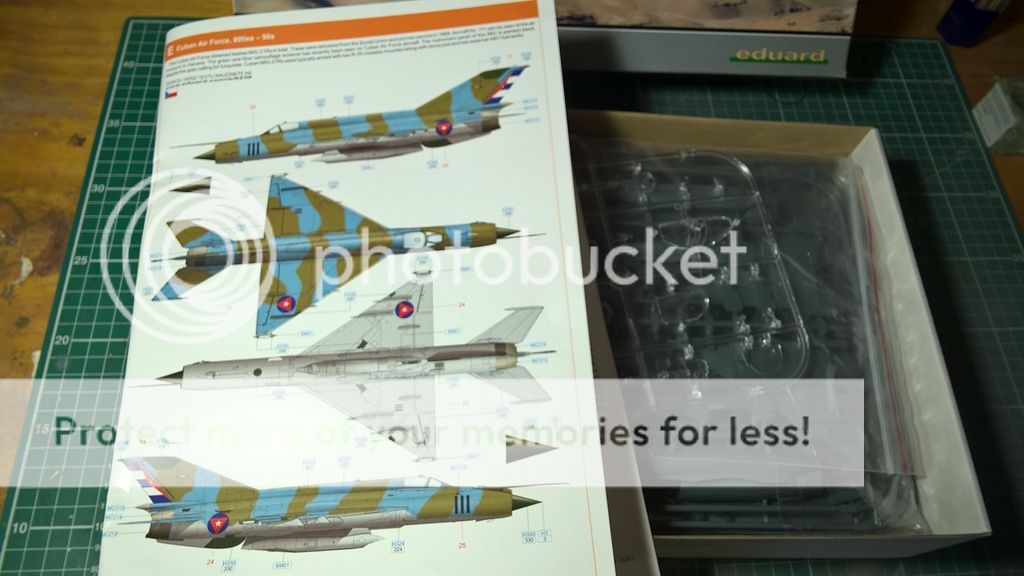
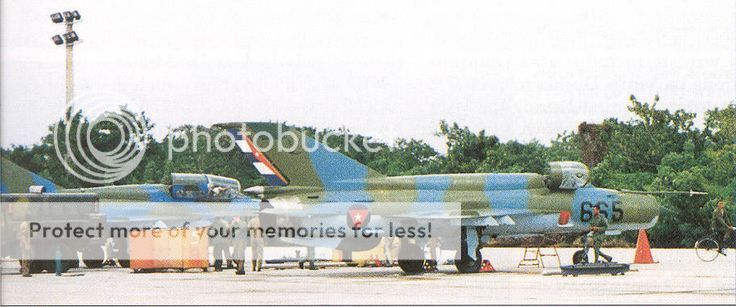
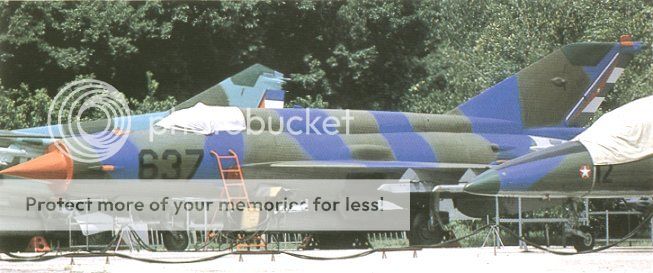
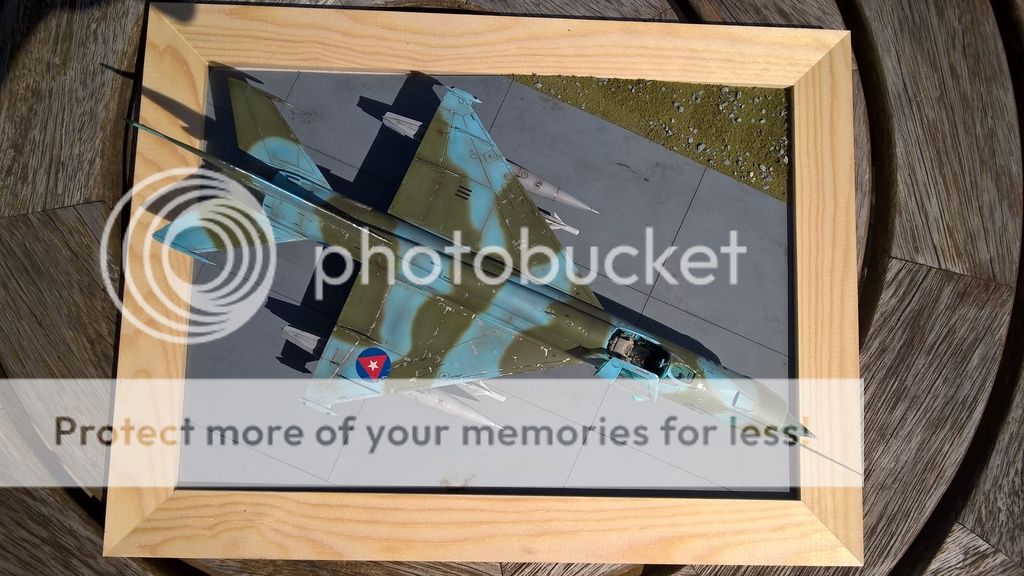
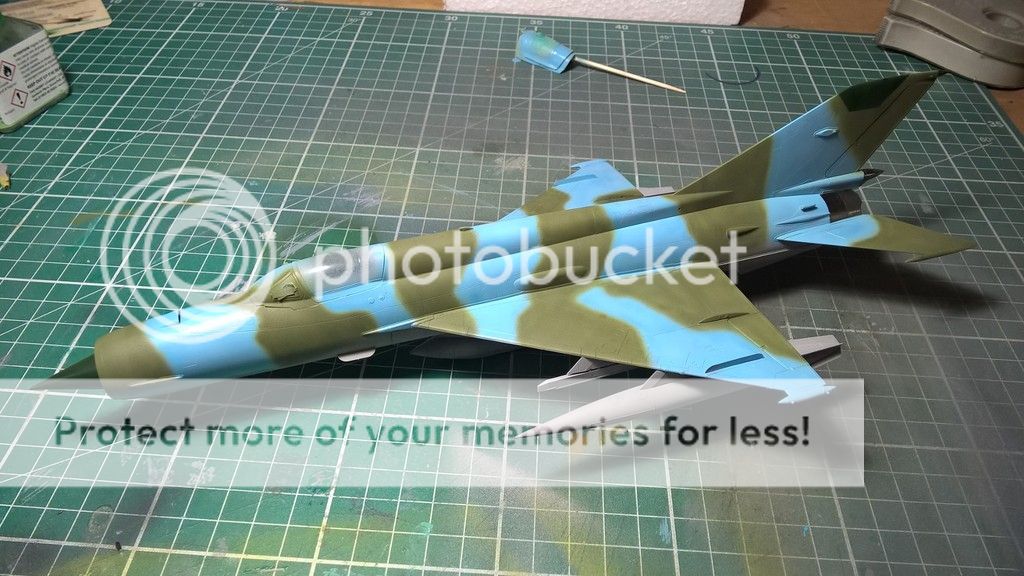
Got the painting done, and I'm pleased with the Cuban scheme I chose, but it has certainly tested my skills!
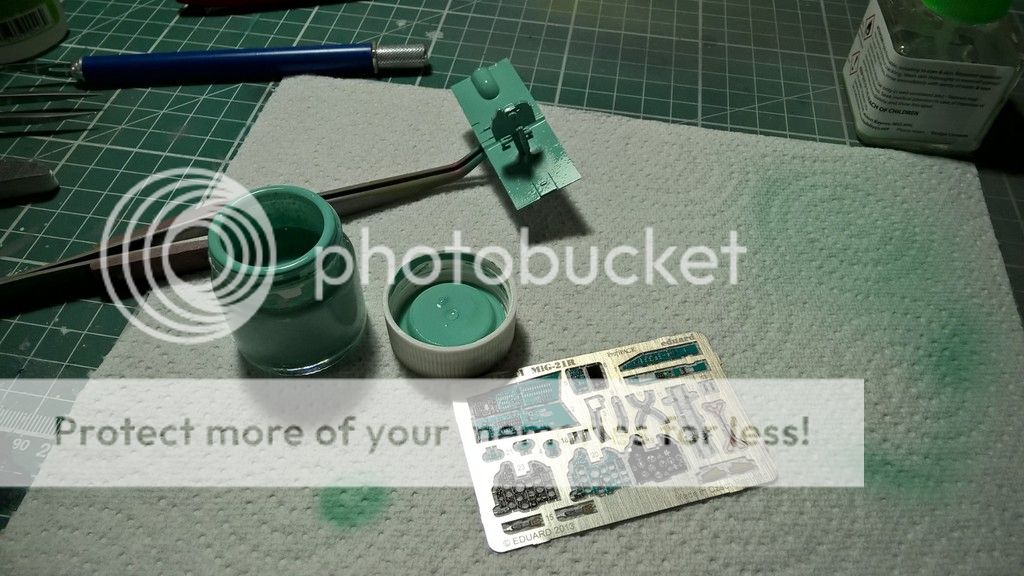
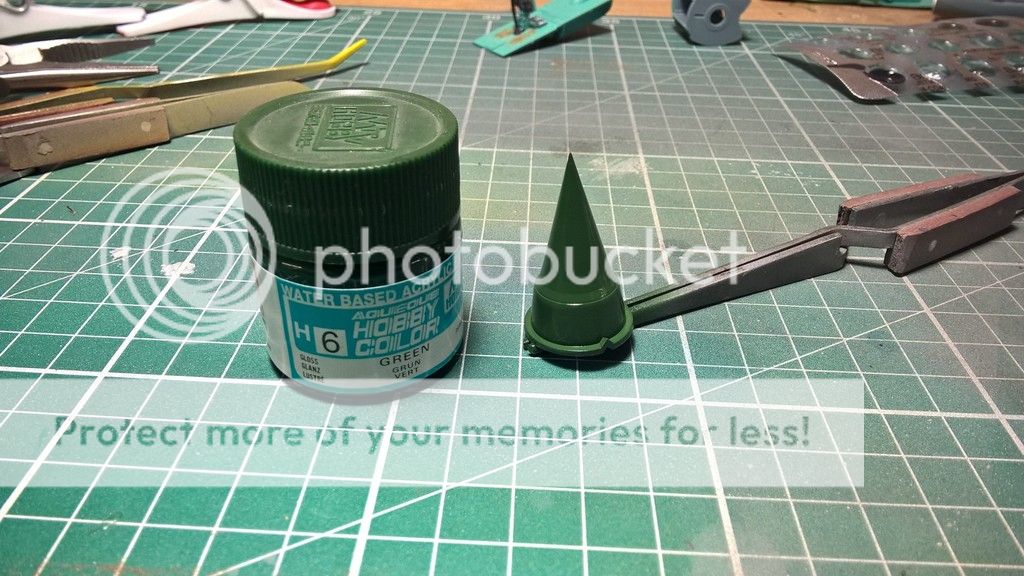
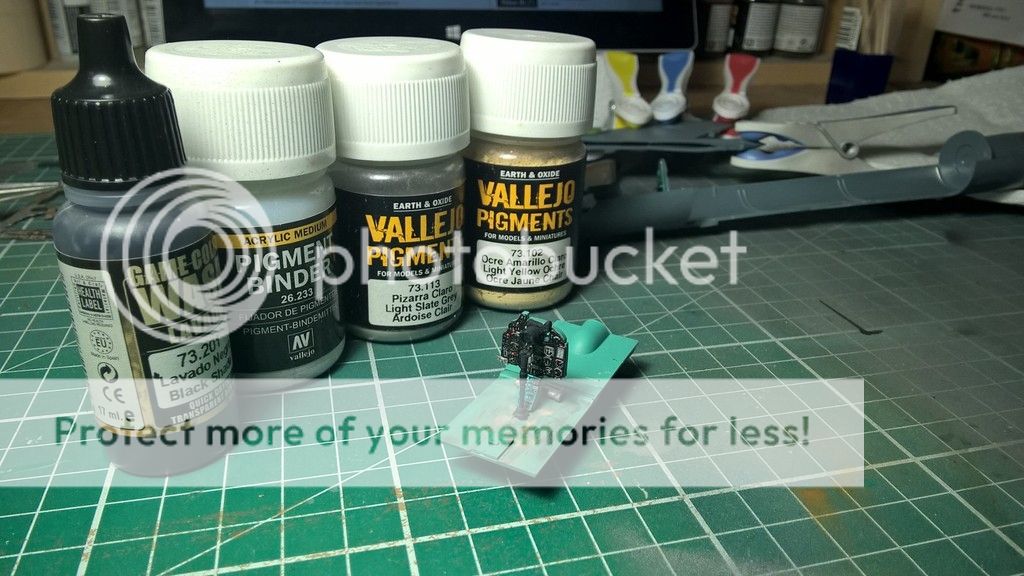
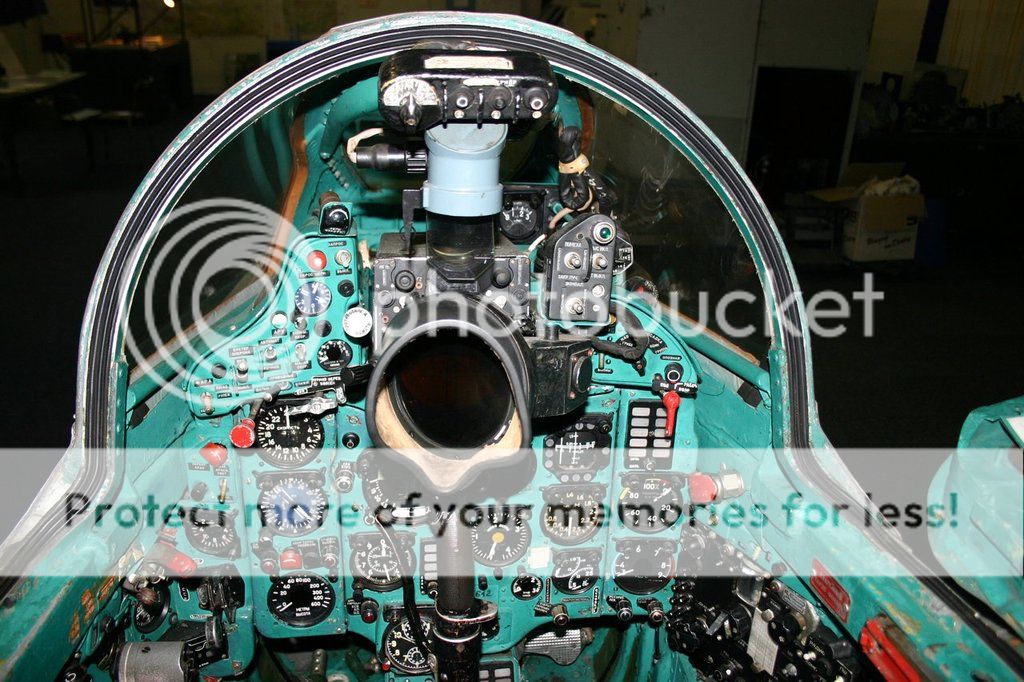
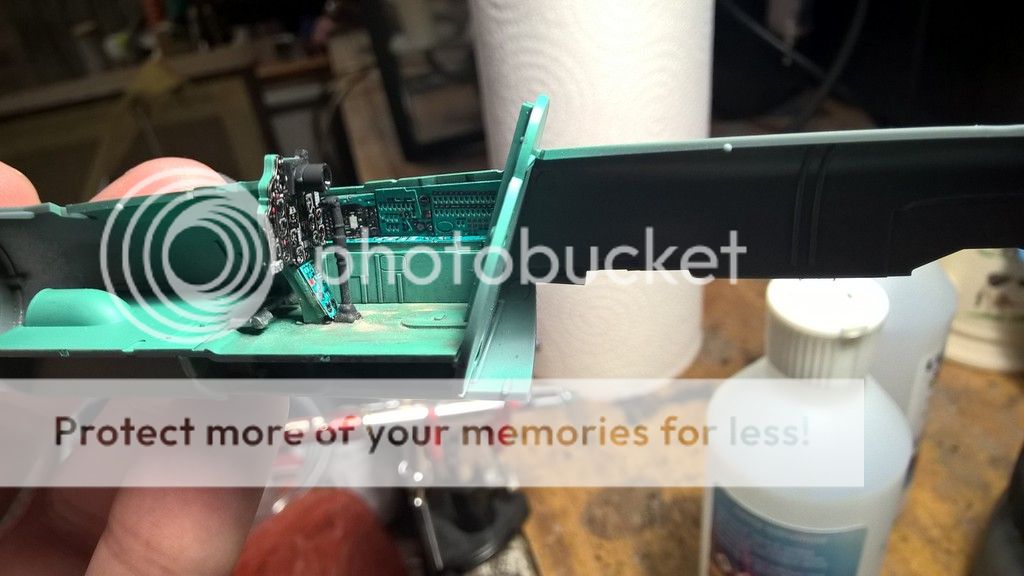
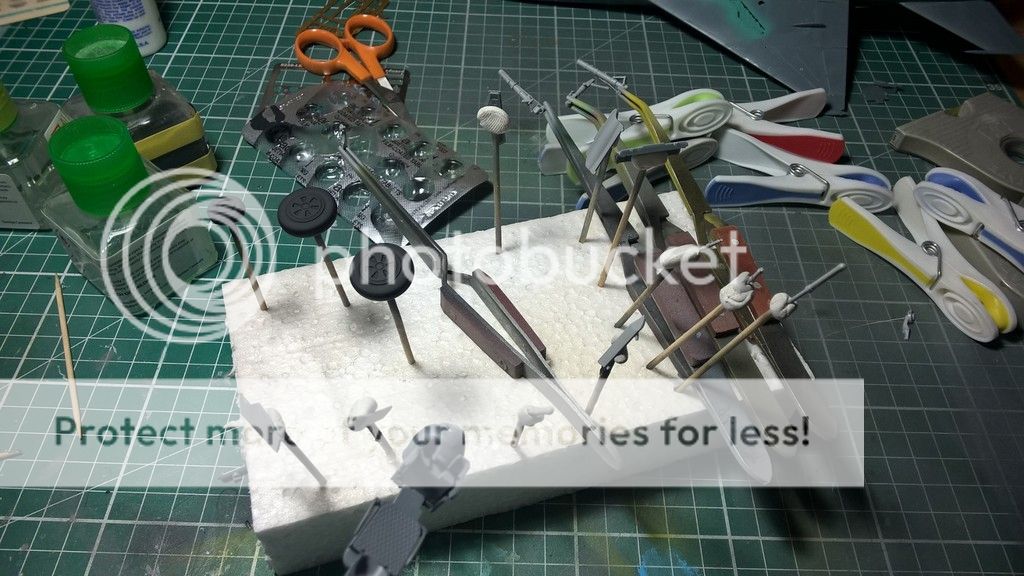
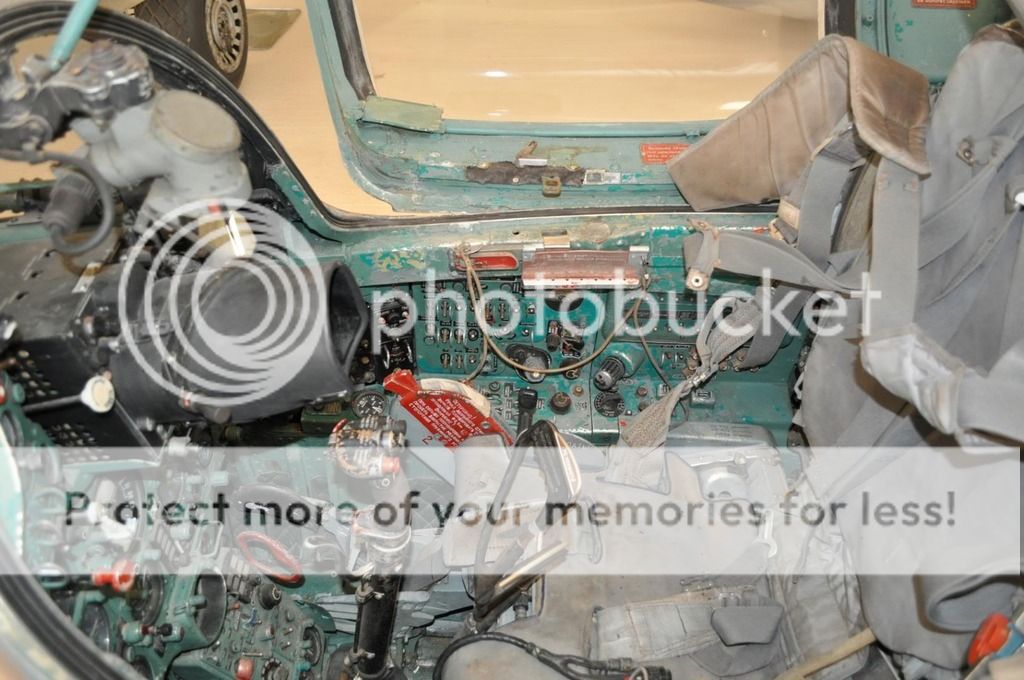
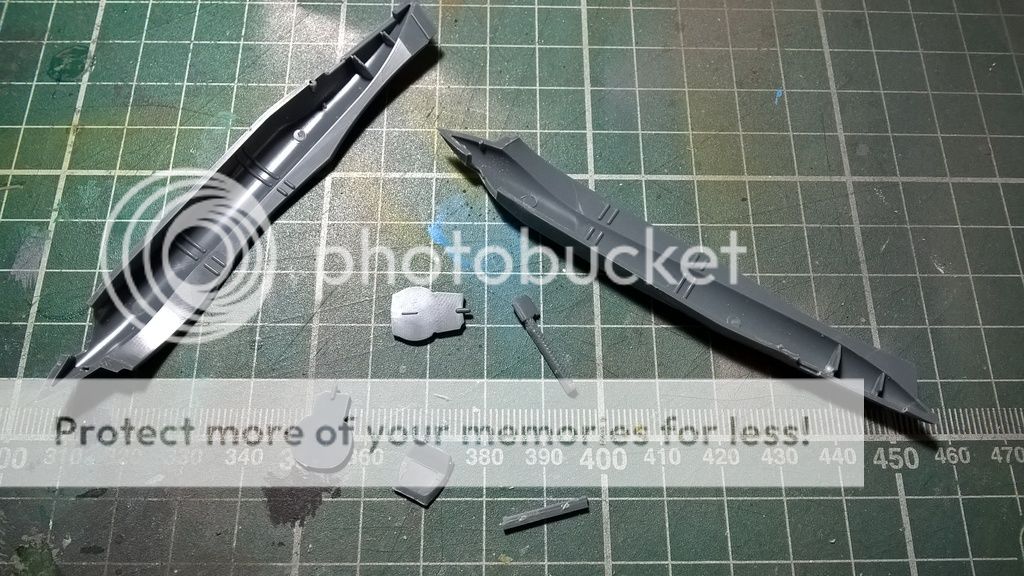
First up, something I fairly often forget to do - paint the outside of the clear parts with the interior colour so this shows through on the inside. Glad I remembered this time as the Russian cockpit interior colour is so striking, and I plan to have the cockpit open.
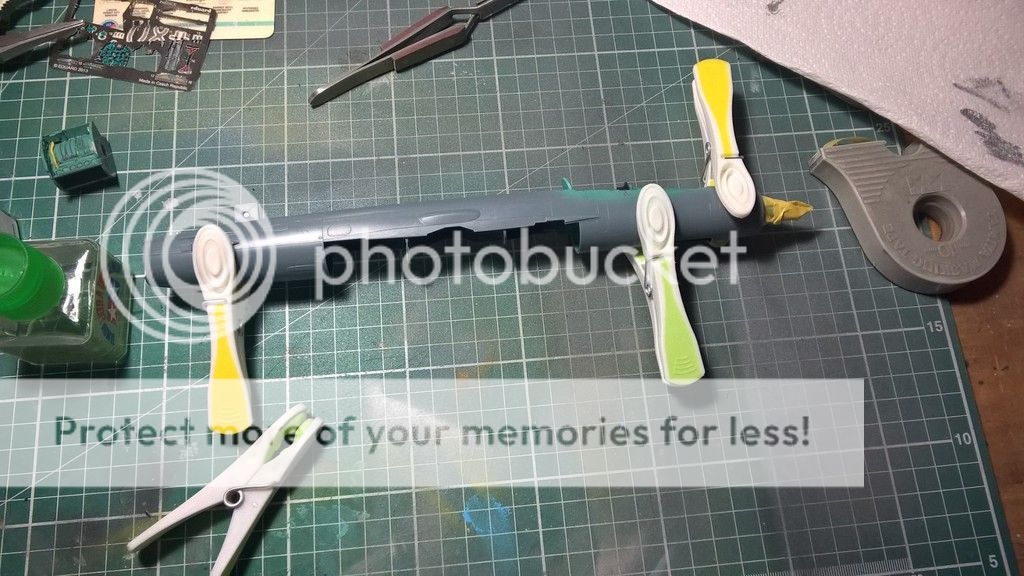
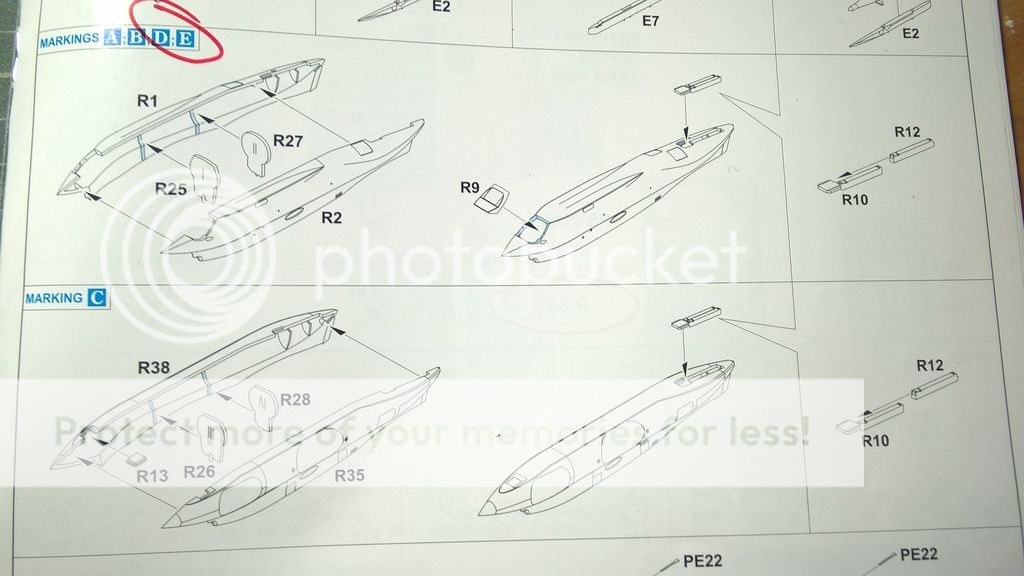
You get several canopies in the kit, so I've chosen to loosely tack one on for painting, and paint the actual one I'm going to use separately. The key difference between versions of the canopy is whether they have a periscope on top. This was a standard feature on all MiG-21 planes from 1969.
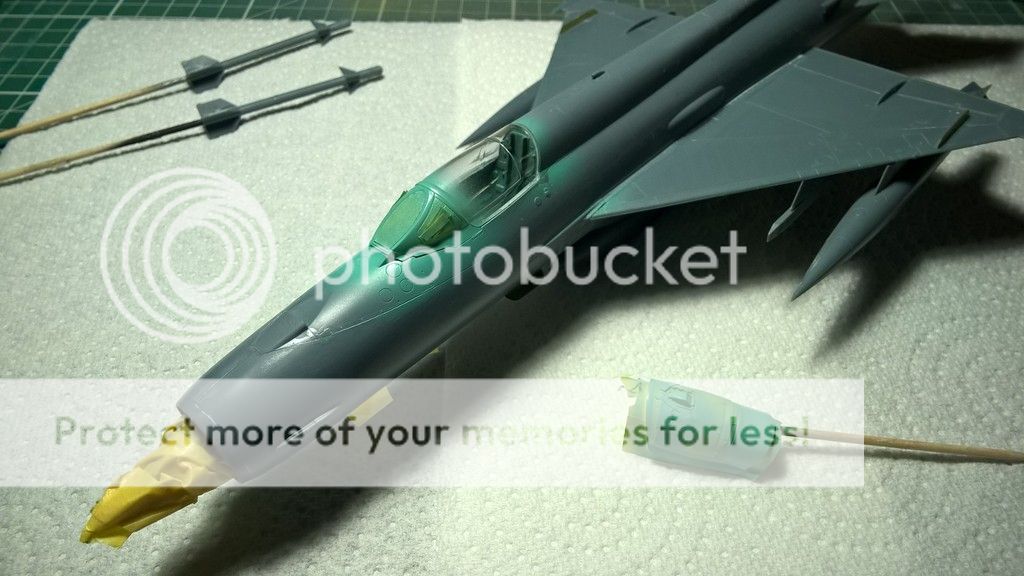
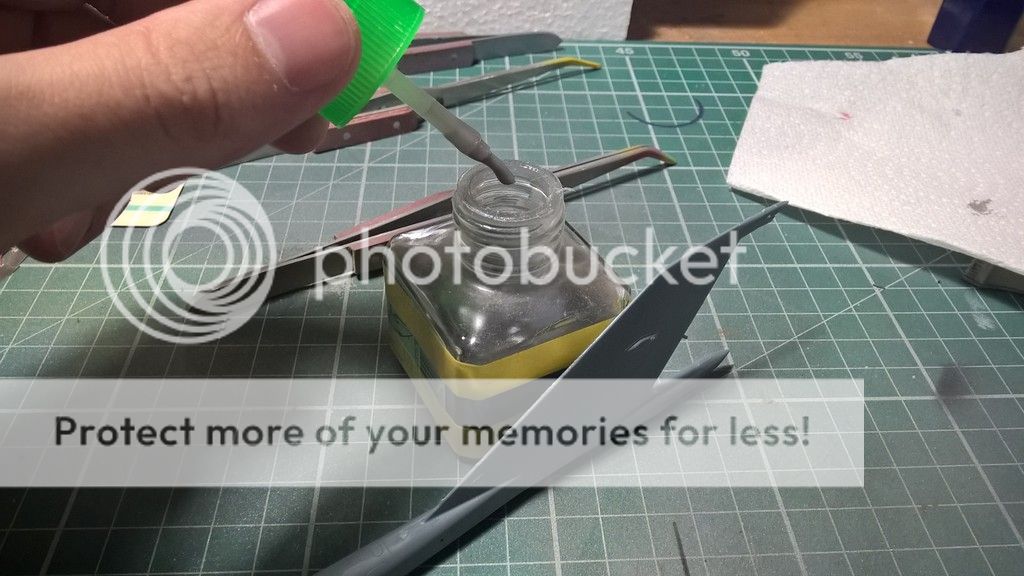
Next everything was primed with Ammo primer. This stuff is quite hard to use I find, as you have to be really careful to build it up in incredibly thin coats, otherwise it pools and gives a horrible uneven finish. I have Badger's new primer on order, so expect that will supersede Ammo as my primer of choice. Having said this, though, as long as you take your time, the Ammo stuff can give a lovely smooth finish.
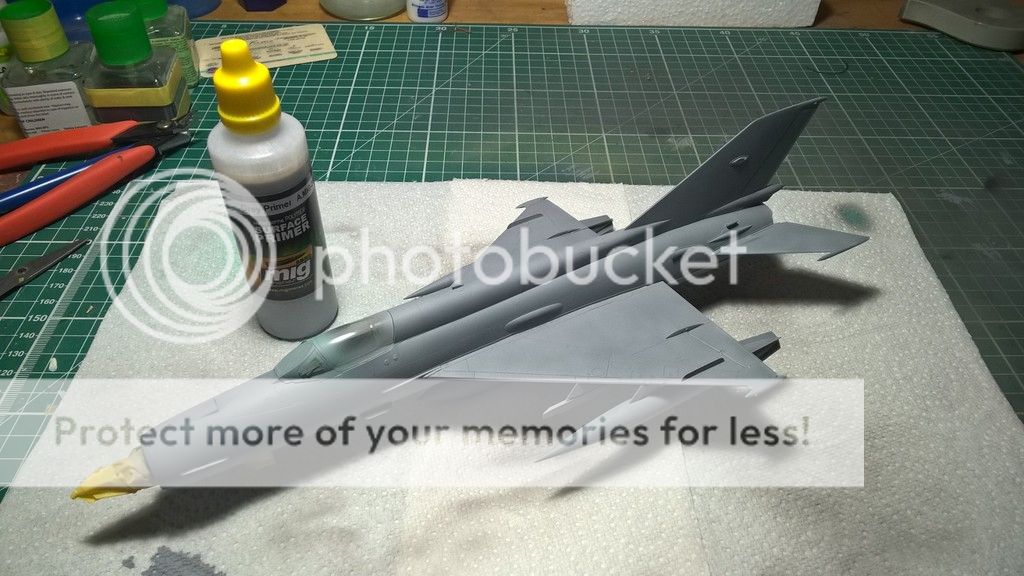
The panel lines were pre-shaded black.
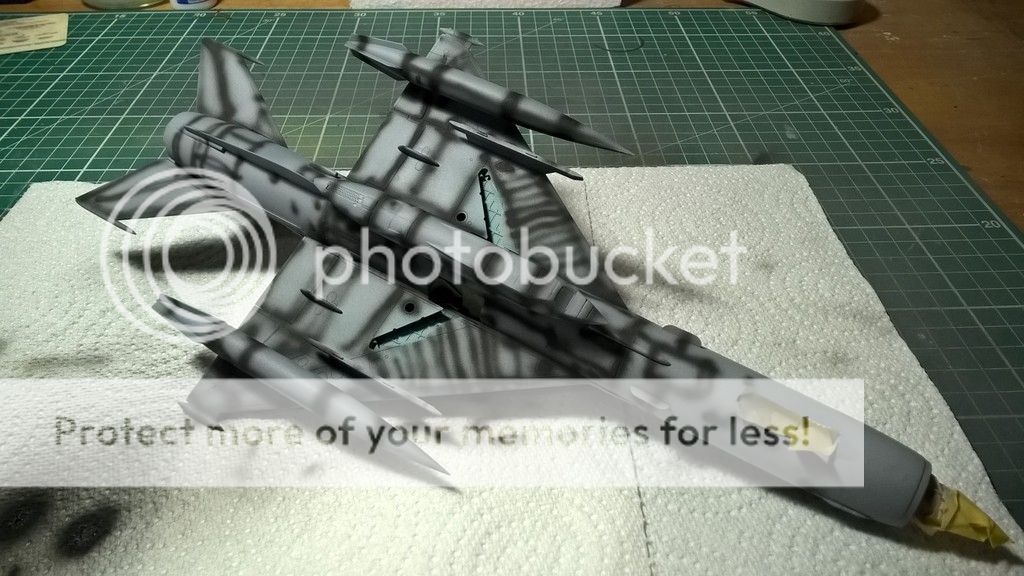
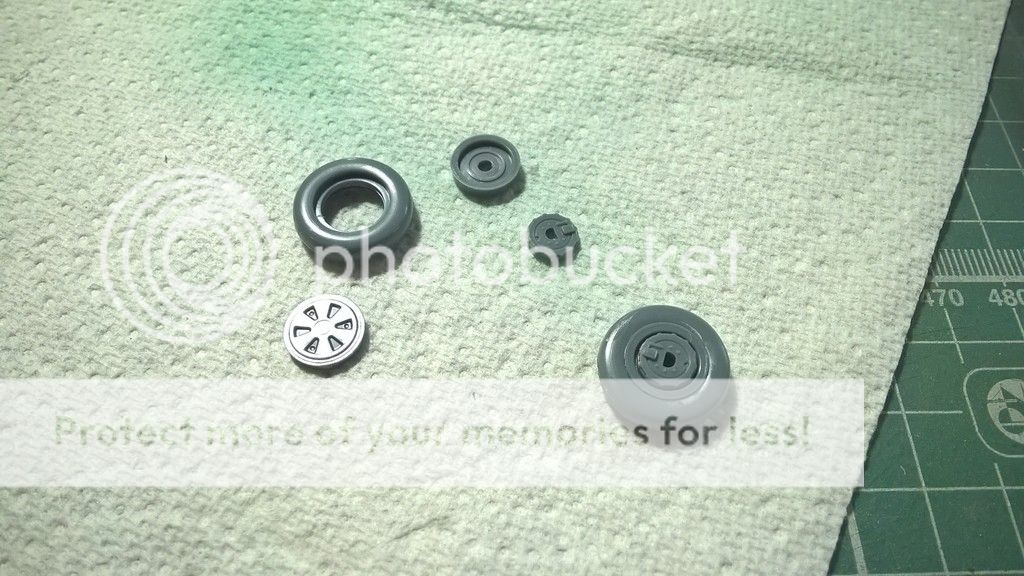
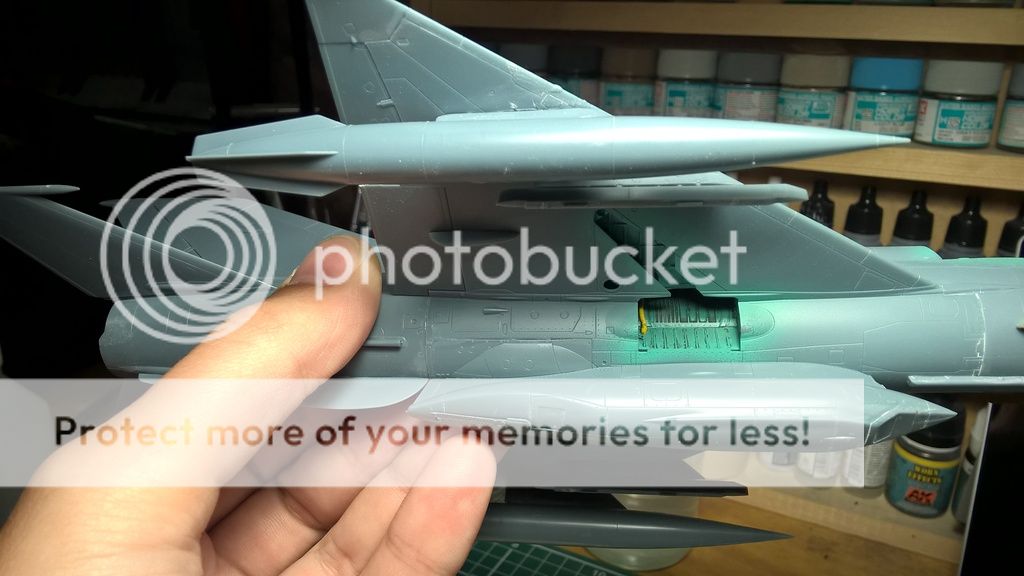
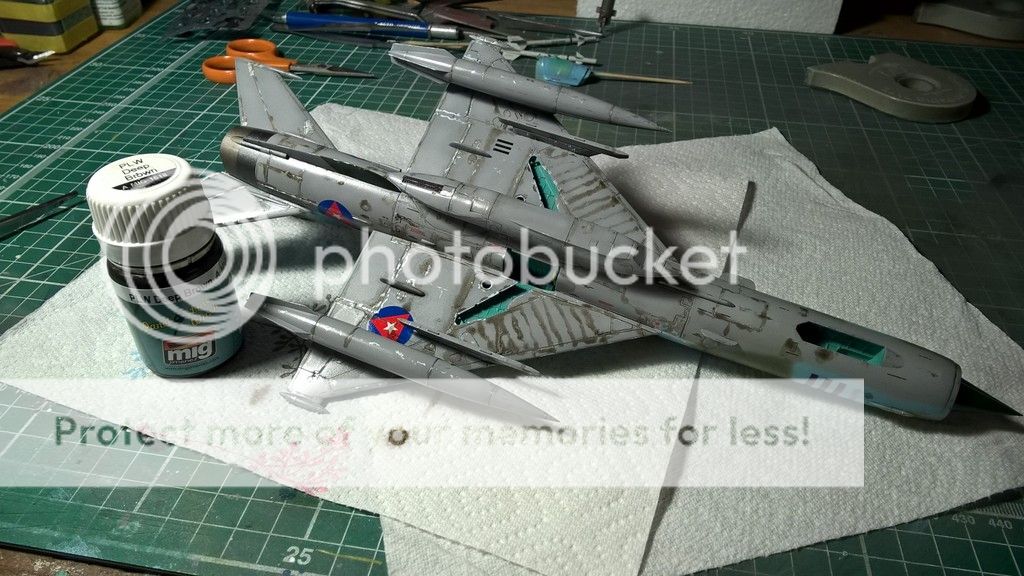
The underside was painted with Tamiya XF-19 Sky Grey. This was lightened with some white to bleach the centres of panels to give some tonal variation. I'm not worried about over-spray in the wheel-wells, that can be easily touched in later.
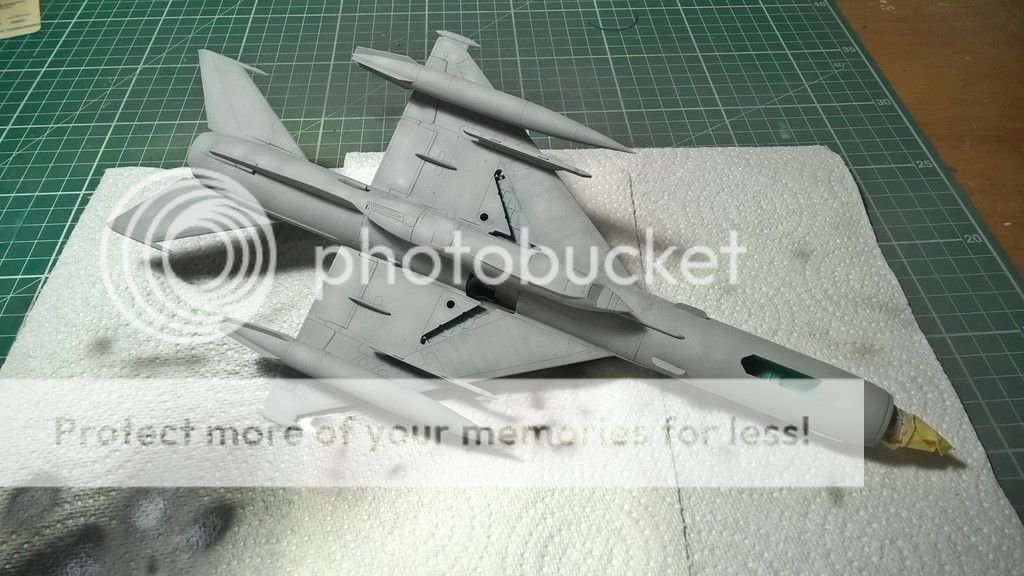
The underside was protected with clever putty. This is identical to Panzer putty, but much cheaper on eBay.
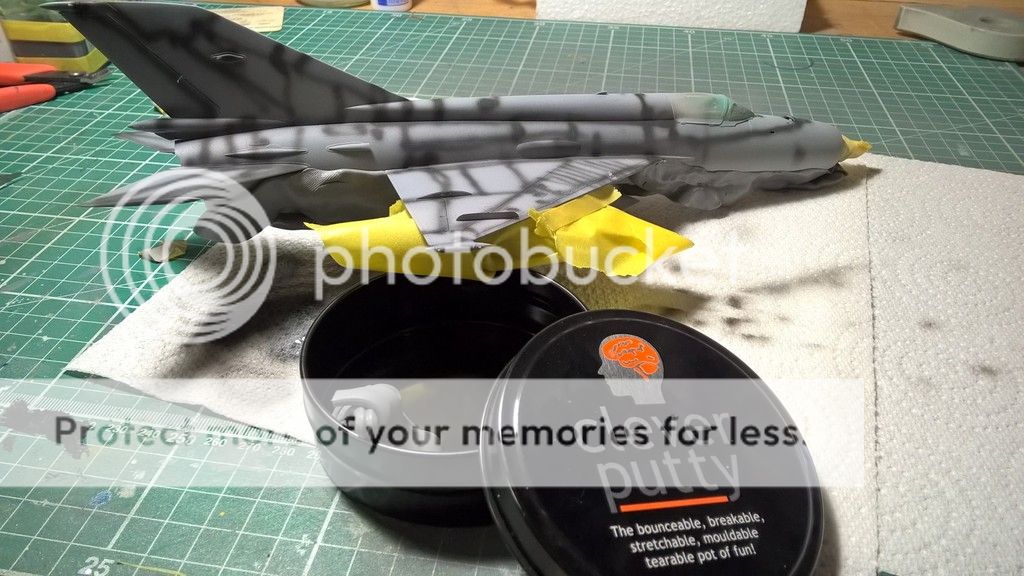
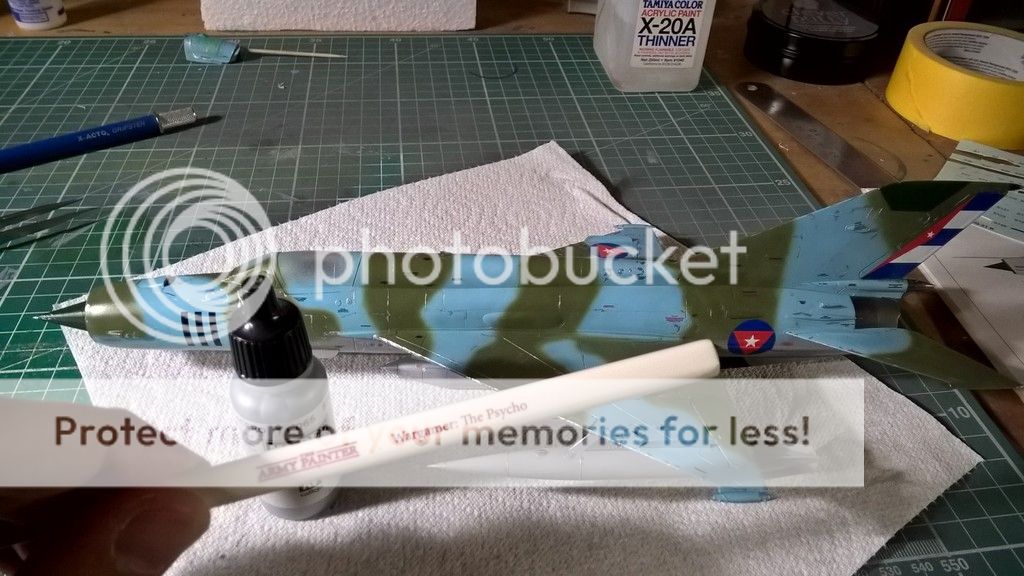
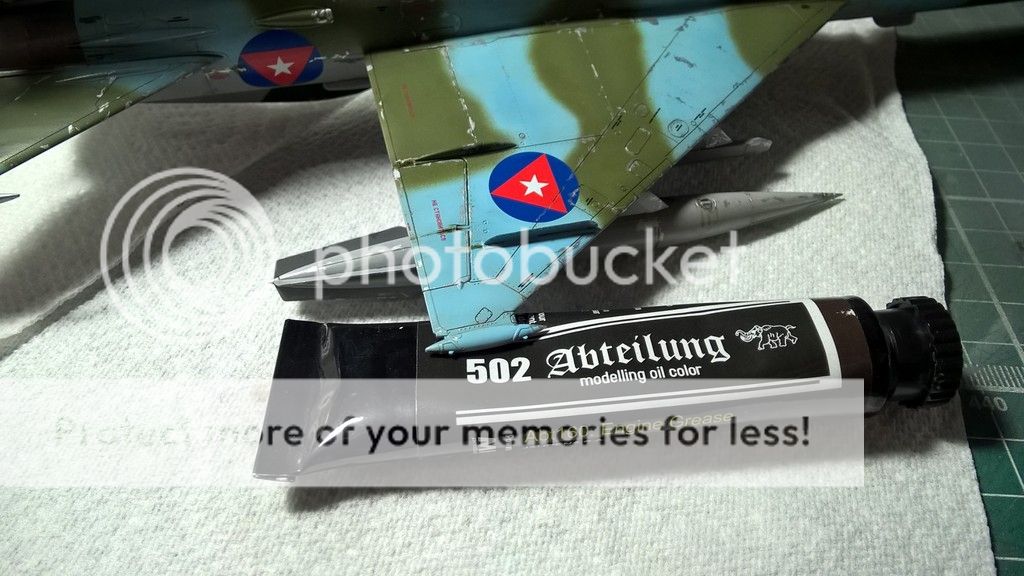
For the top side camo, I used Mr Hobby aqueous, starting with the lighter blue colour.
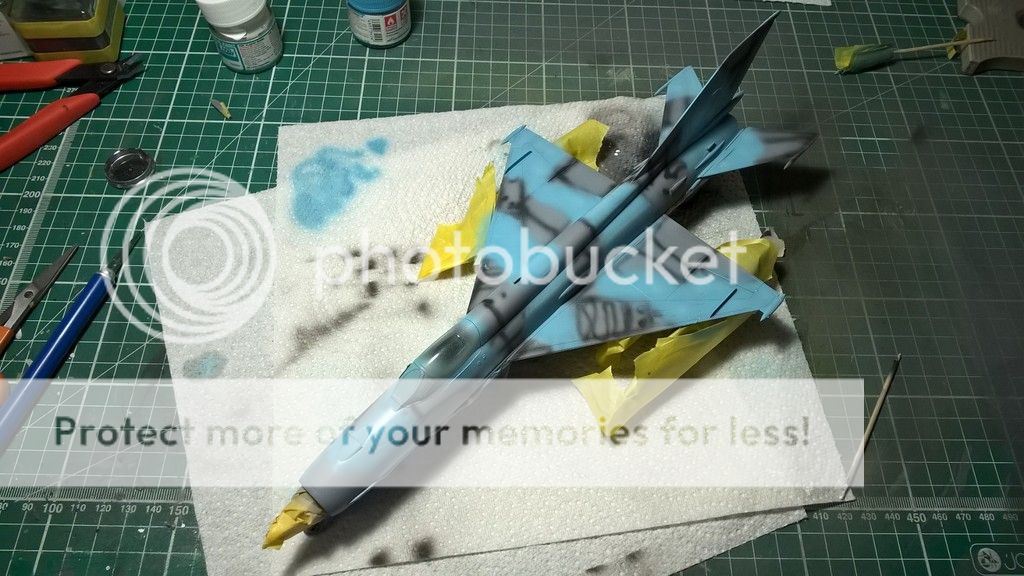
Removing the putty revealed a nasty line, showing this clearly wasn't such a great idea! I tried to paint over it, but still wasn't happy, so sanded it back and started again.
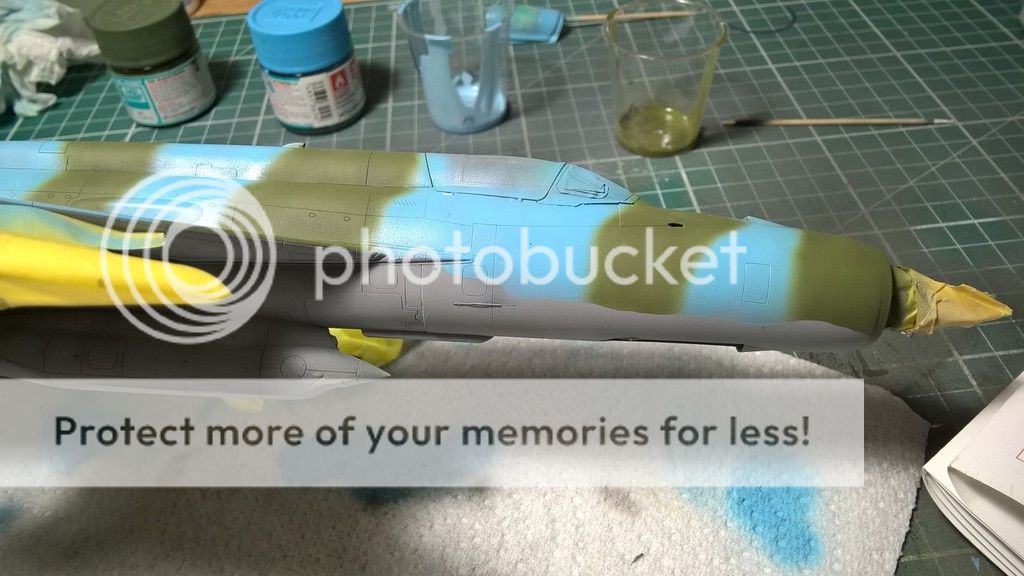
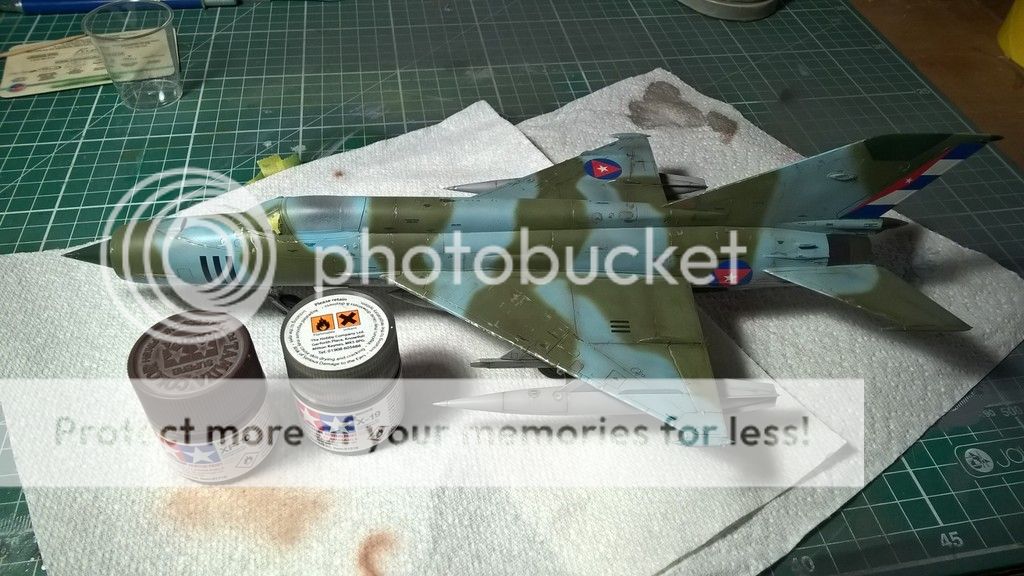
This is the first time I've tried to do the camo freehand, and it took several attempts as I just couldn't get a clear enough line and struggled with spitting and over-spray. What I should have done is check ISM first, as there is some great advice. The key things I found were:
- Use a low air pressure - for me I found around 15psi worked
Thin paint at least 50/50
Get in as close as possible with the airbrush
Be super gentle on the trigger, and if you have one, make use of the quick fix function to set how far back the needle will go.
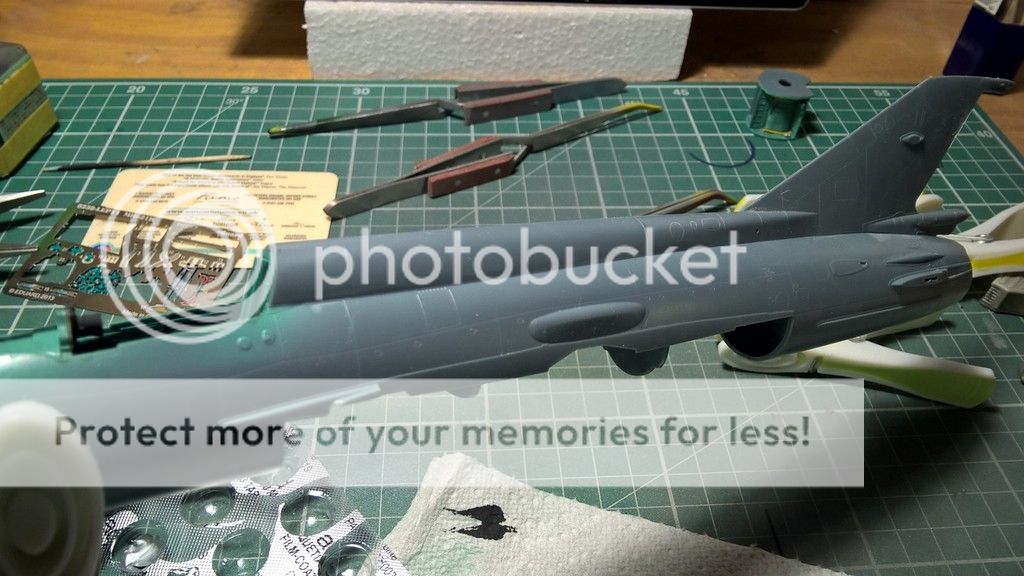
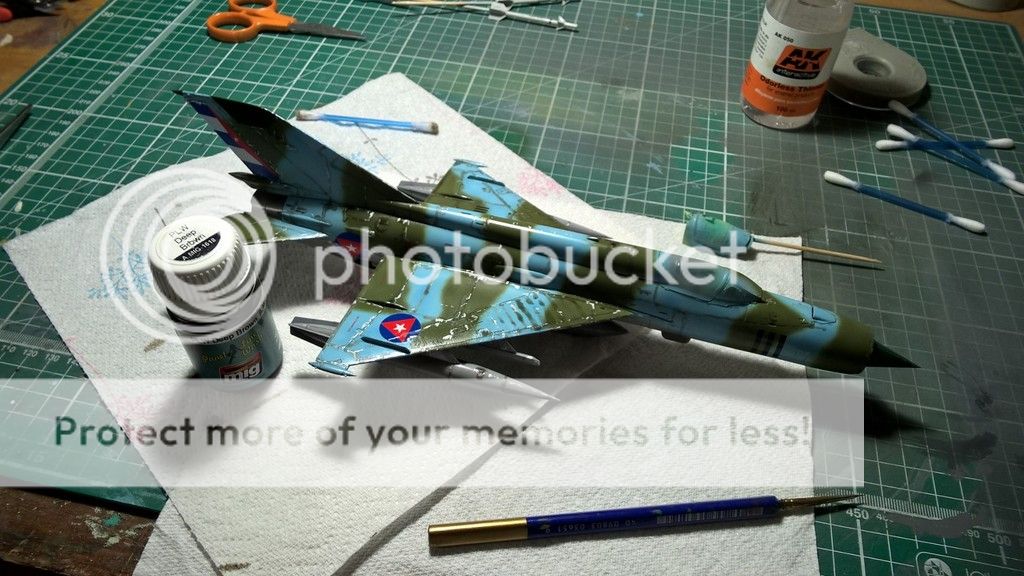
Anyway, here is where I'm up to. I could keep going over the lines endlessly to keep sharpening them up, but eventually I decided to call it a day.
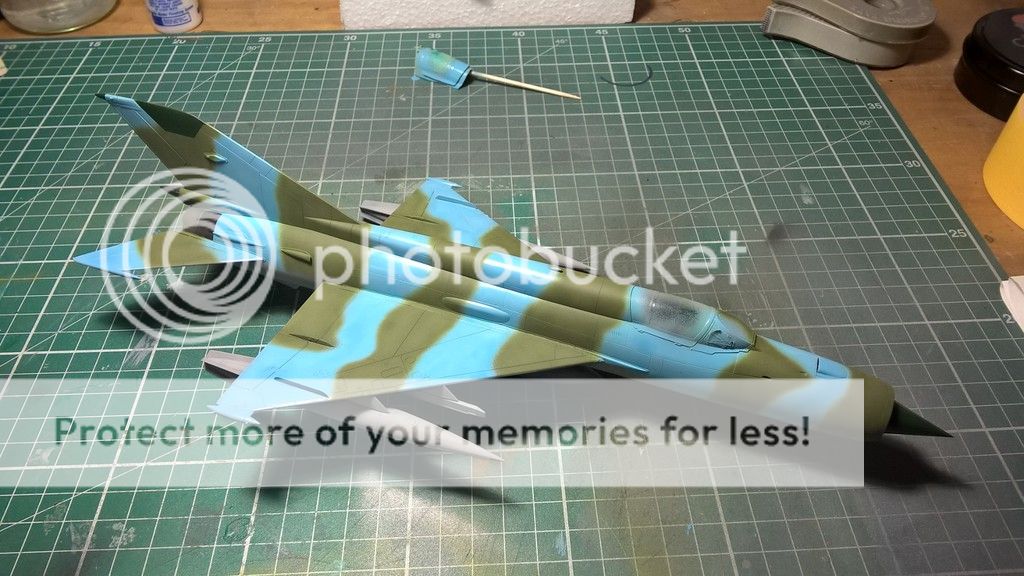
Next I'll clear coat it ready for decaling. As ever, thanks for checking out my progress

