Thank you for your comments !

New update , it was my yesterday work (holliday here in Portugal , it was our National Day ...) , some stuff done , and the plane starting to come toghether ...
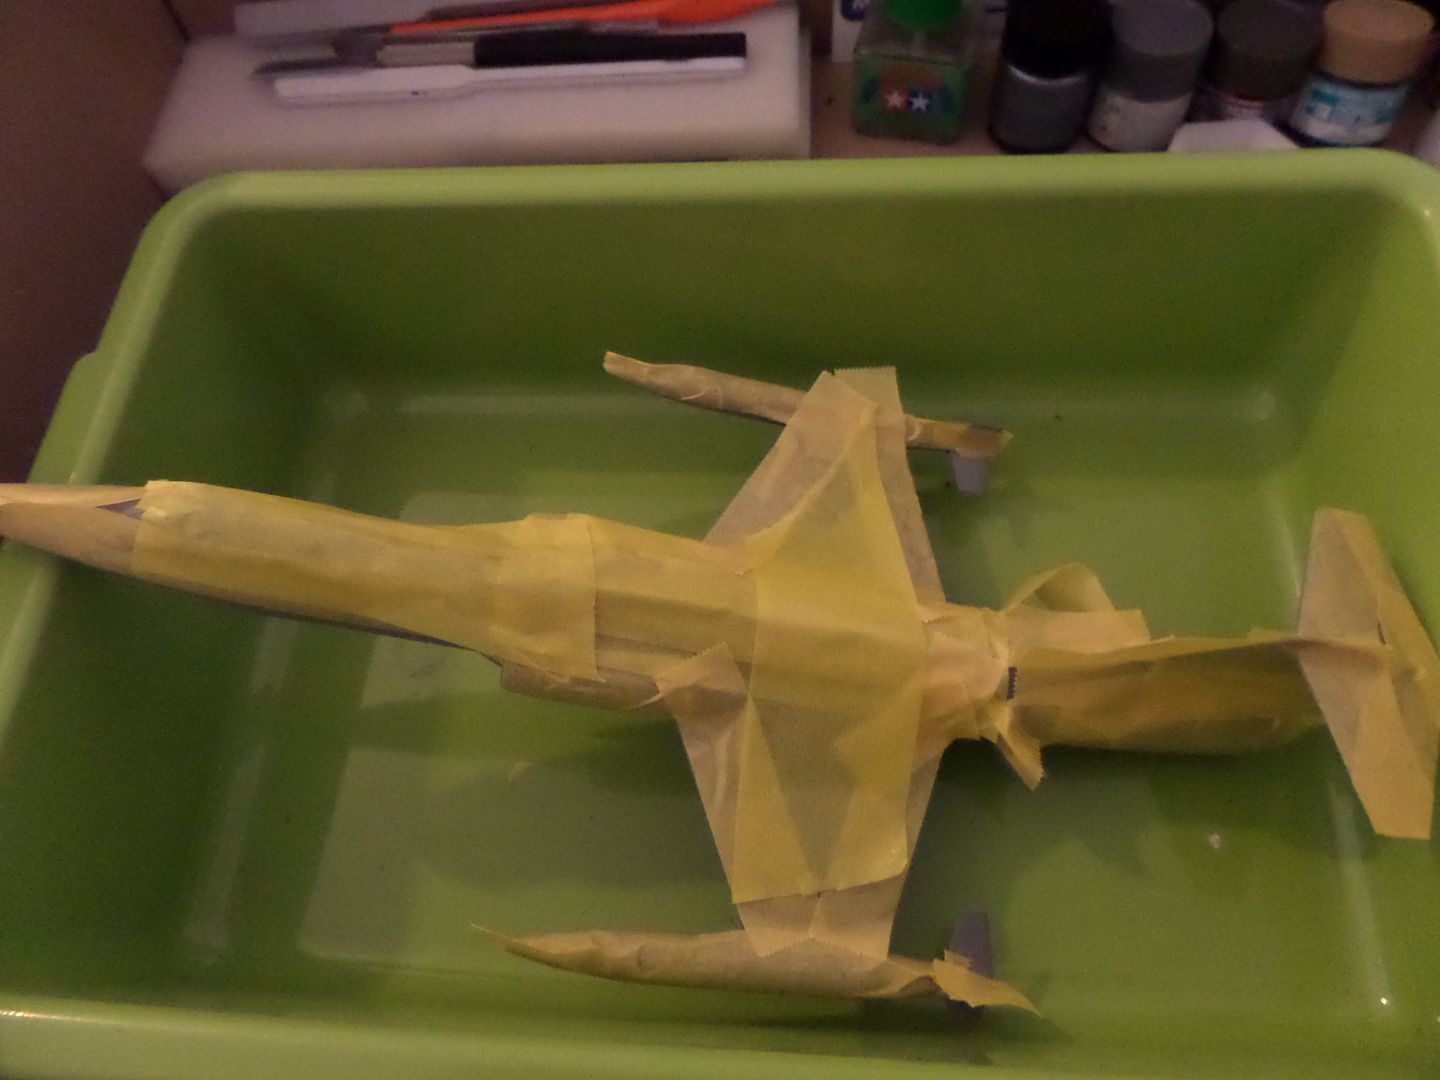
The kit come with some canopy masks (always good ...) , but I must use some Maskol to completly cover all canopies , speacially the mid and rear one ..
Then Primer ...used Tamiya Grey Primer , my favourite !
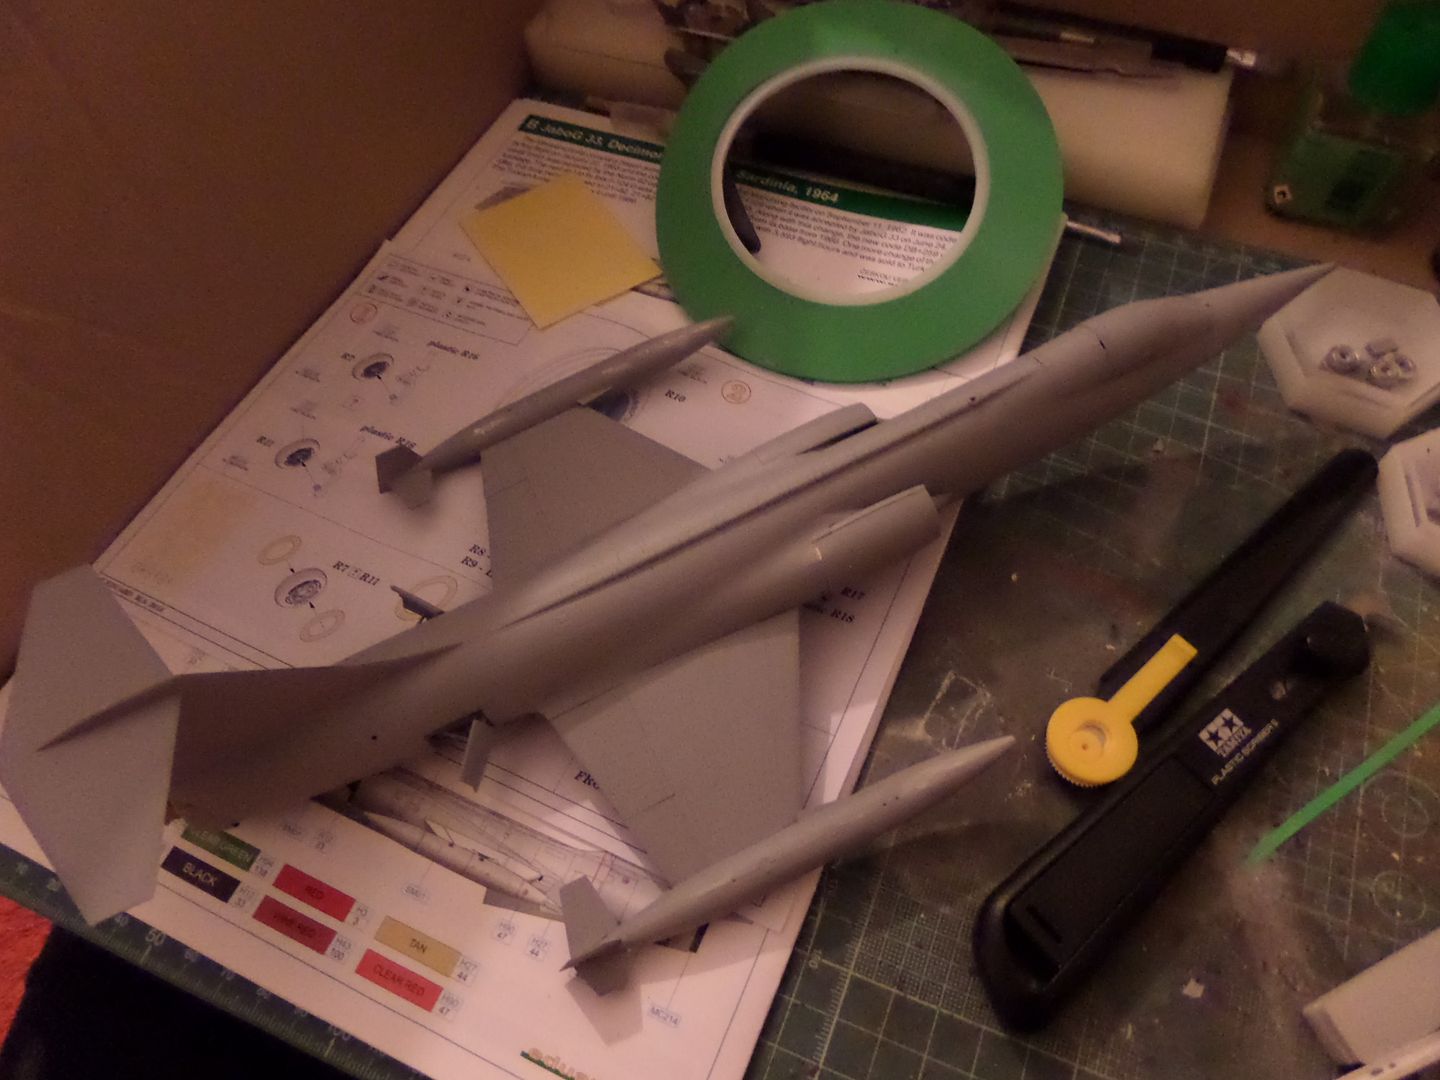
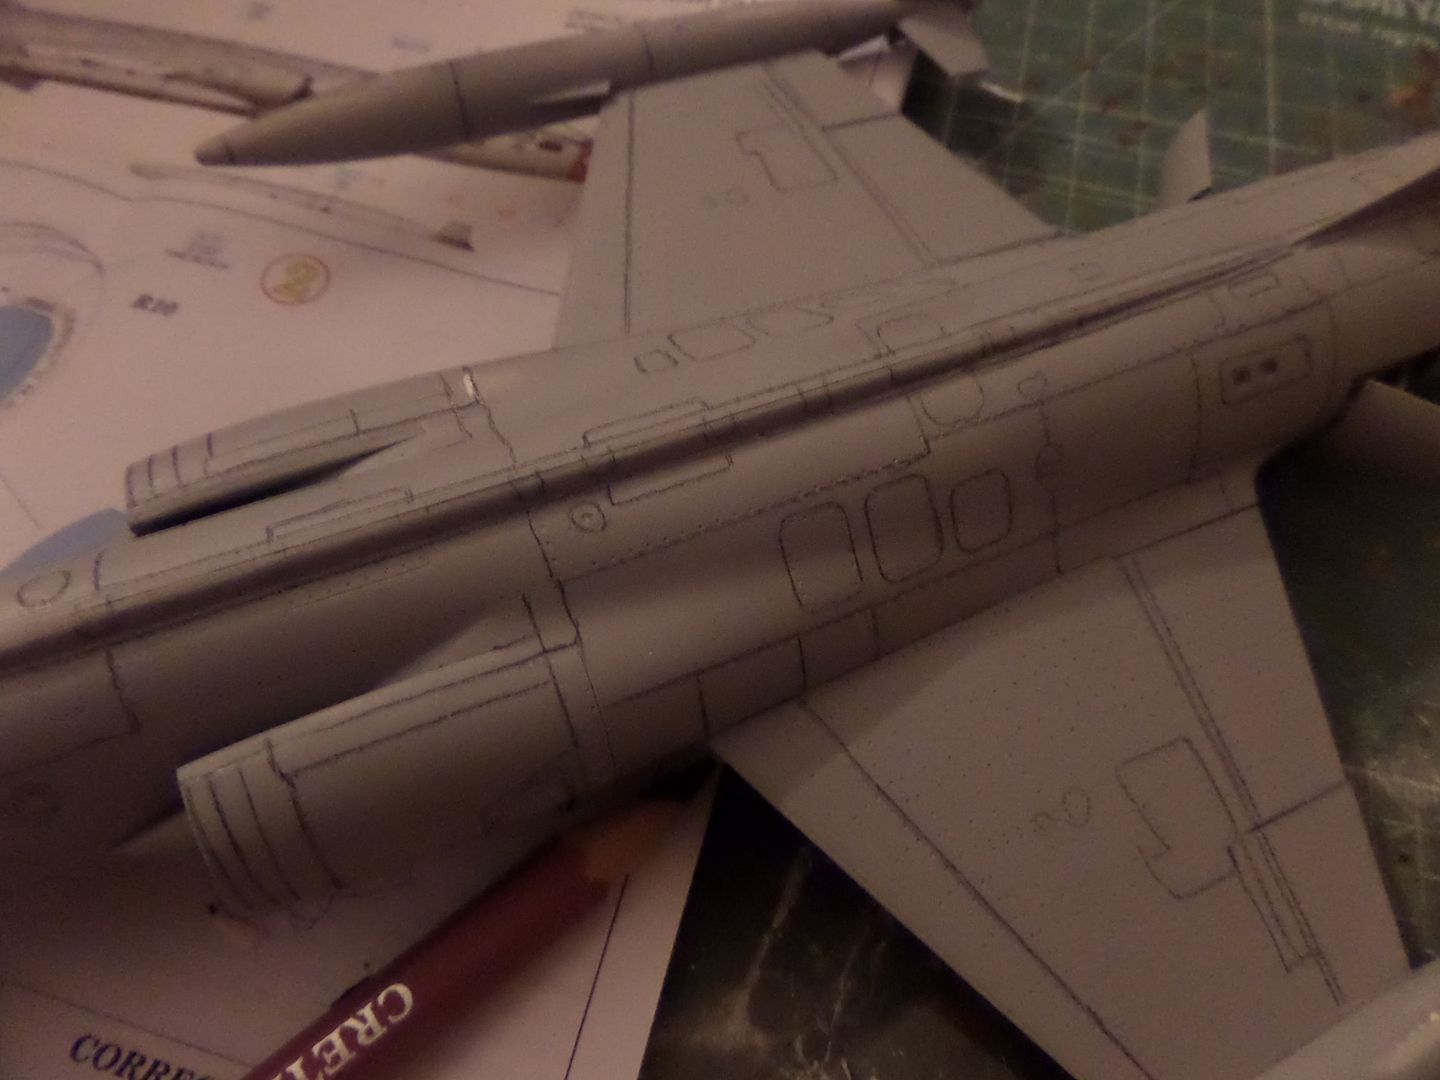
Still some scribing and riviting and some small gaps to fill , mainly some rivets disapear because of my 'hard' sanding ...
Now some experiment in using Creatcolor pencil (ivory Black) in doing some Pre-shading...if you can call it that ...)

, well guess that all disapear when the paint enters ..but it was some minutes time to think not dto do this again ...maybe it is good to do after the paint ...
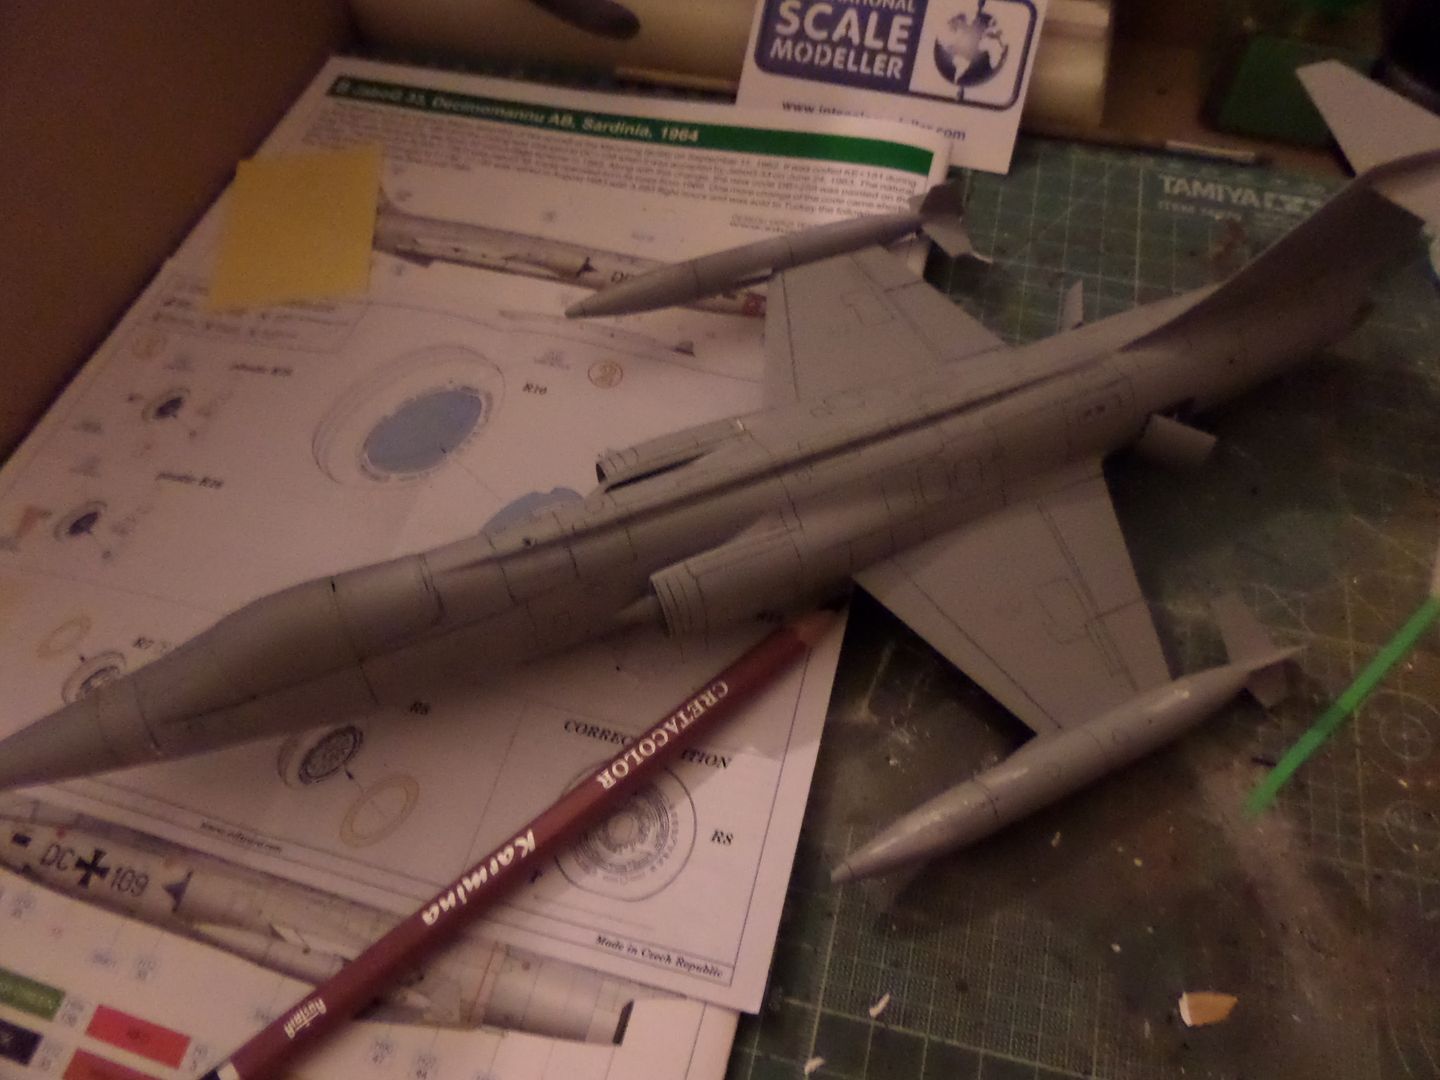
But looks nice ...cartoon style

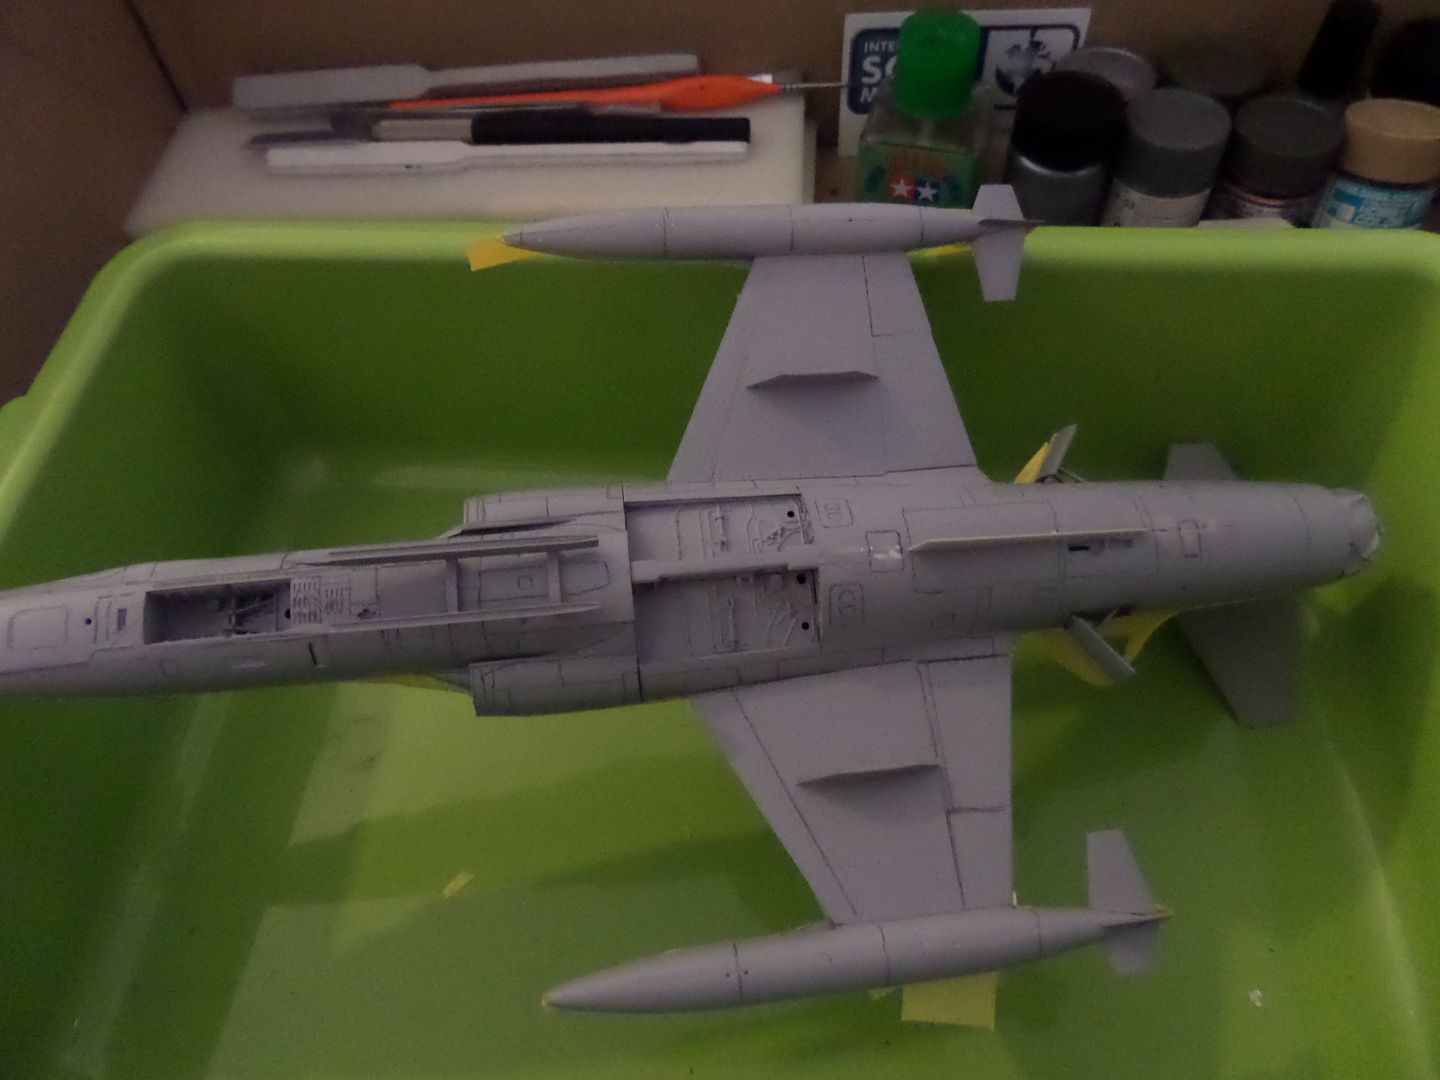
Paint...Gunze Sangyo Neutral Grey H53 on Top
Nice paint to airbrush ..used Mr Collor Rapid Thinner this time ...just to try ...

some pre-shade detail visible ...try to imagine it
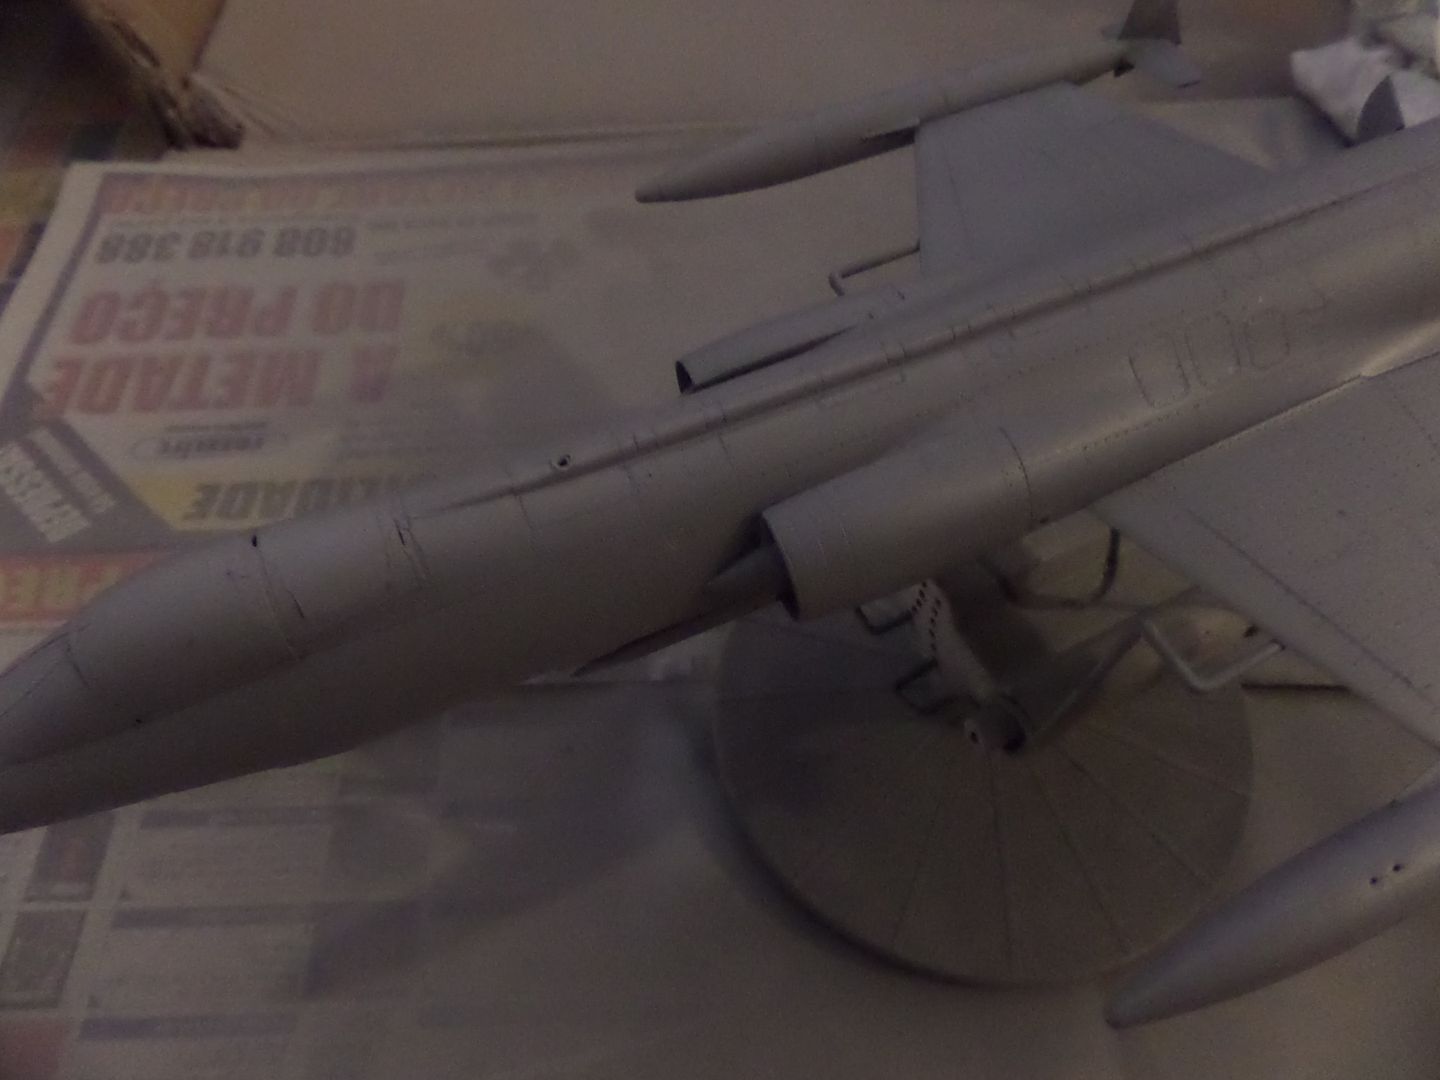
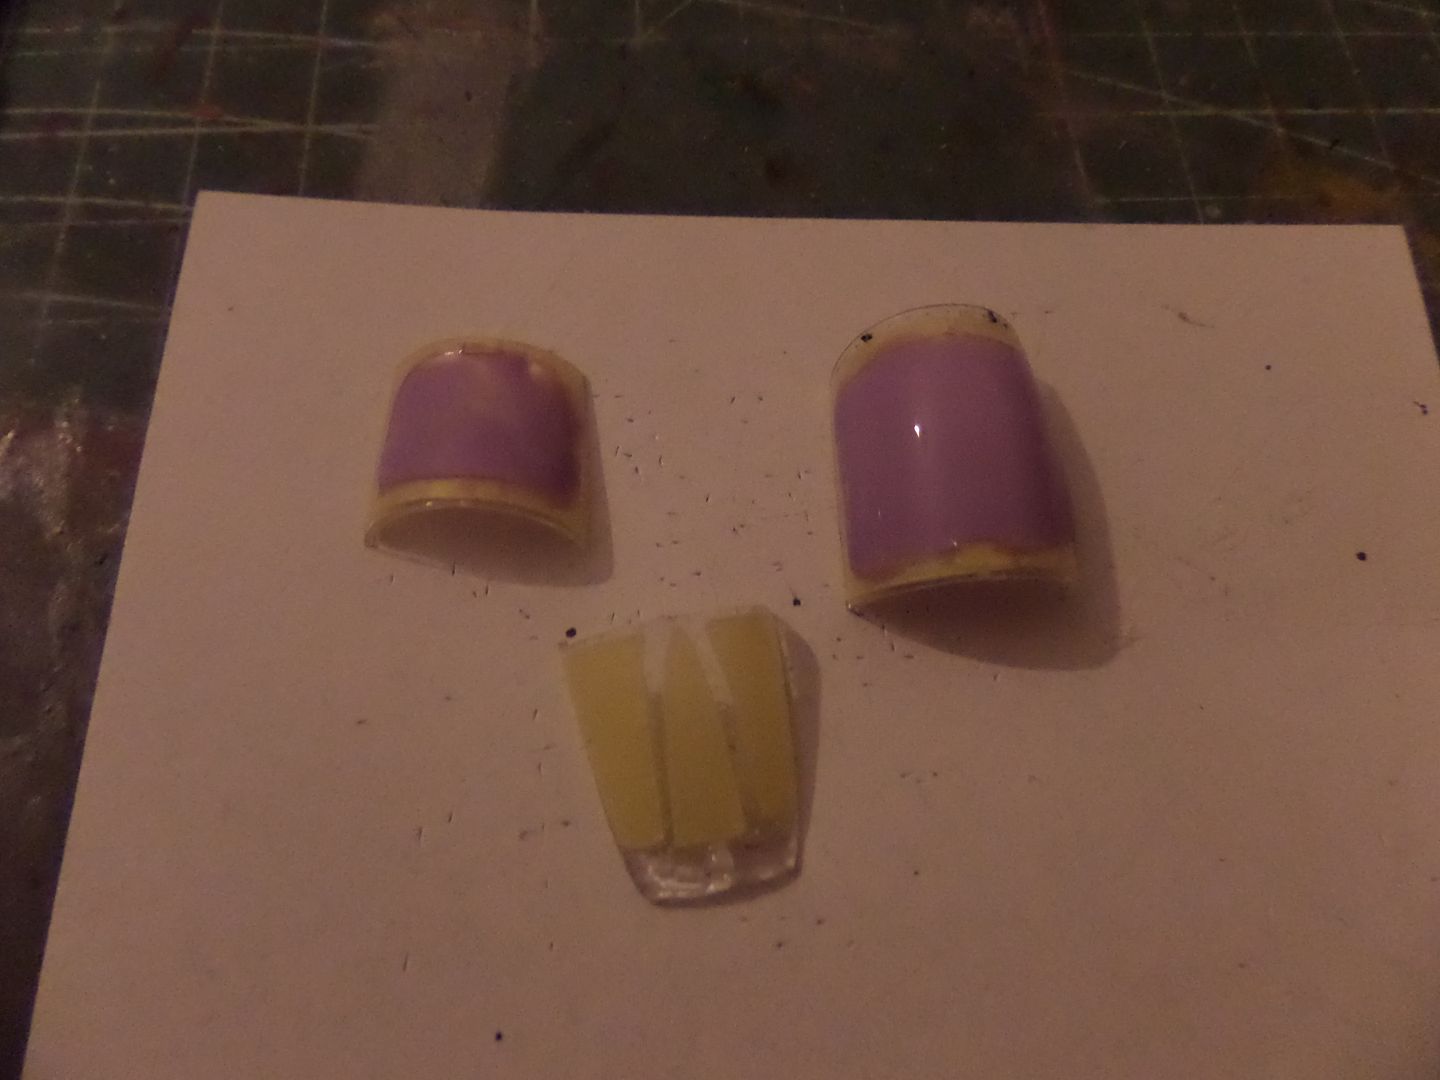
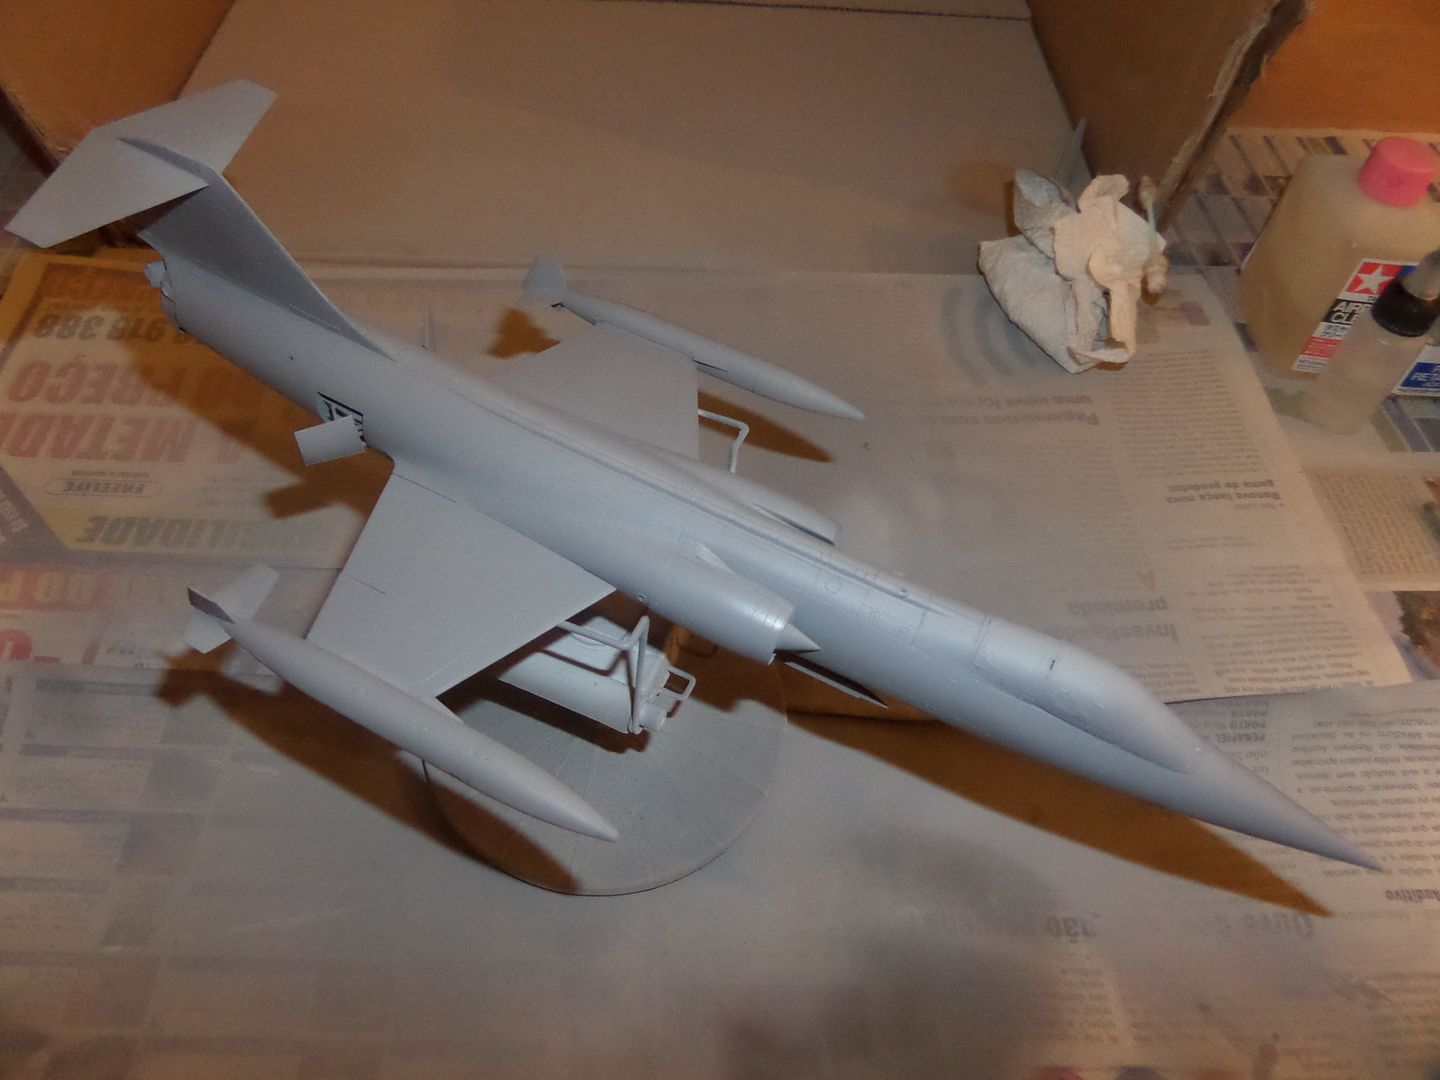
All small pieces ready to add after paint and decals ...

Wheels are on Resin ...forgot to take the pictures

They had some nice deformation weight detail ...
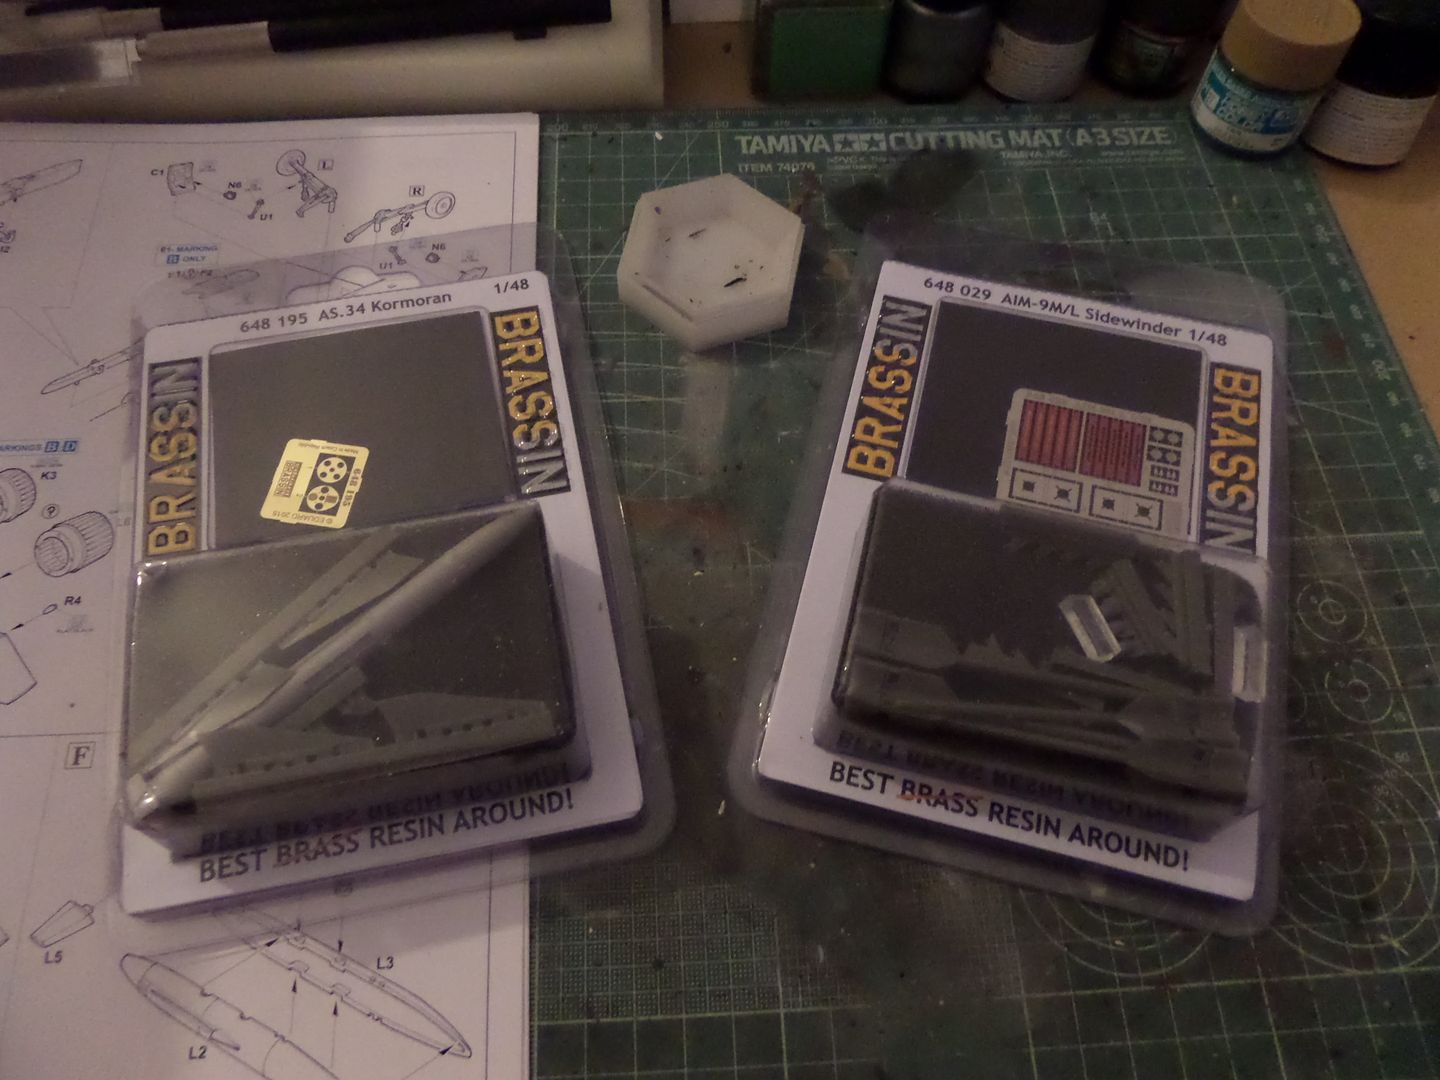
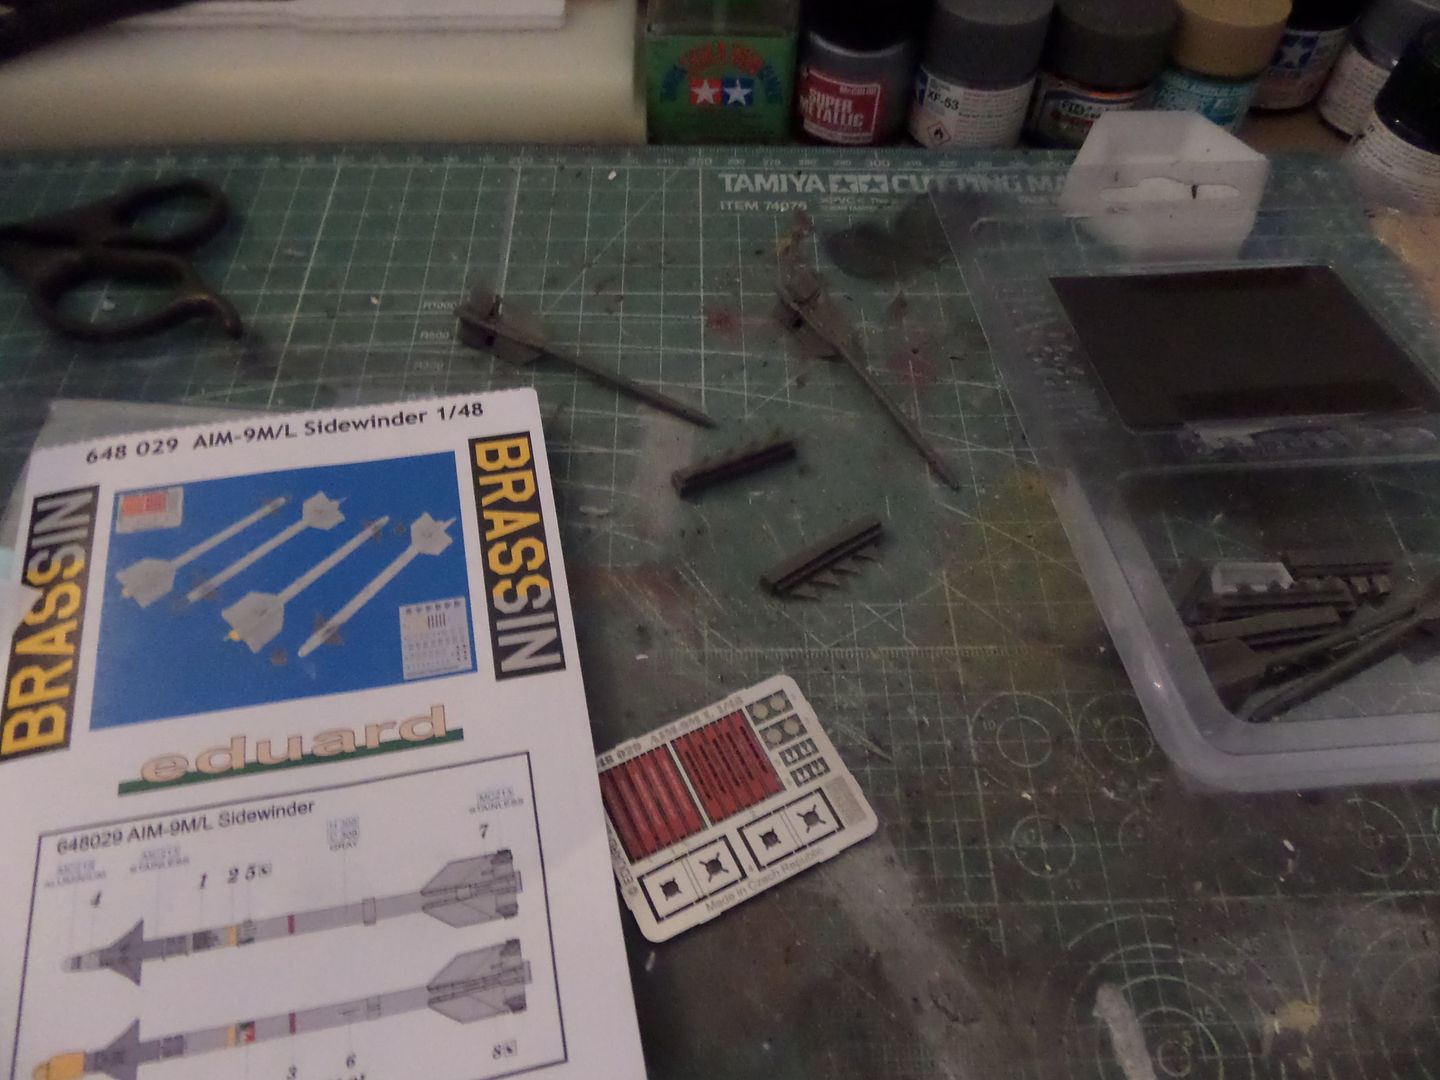
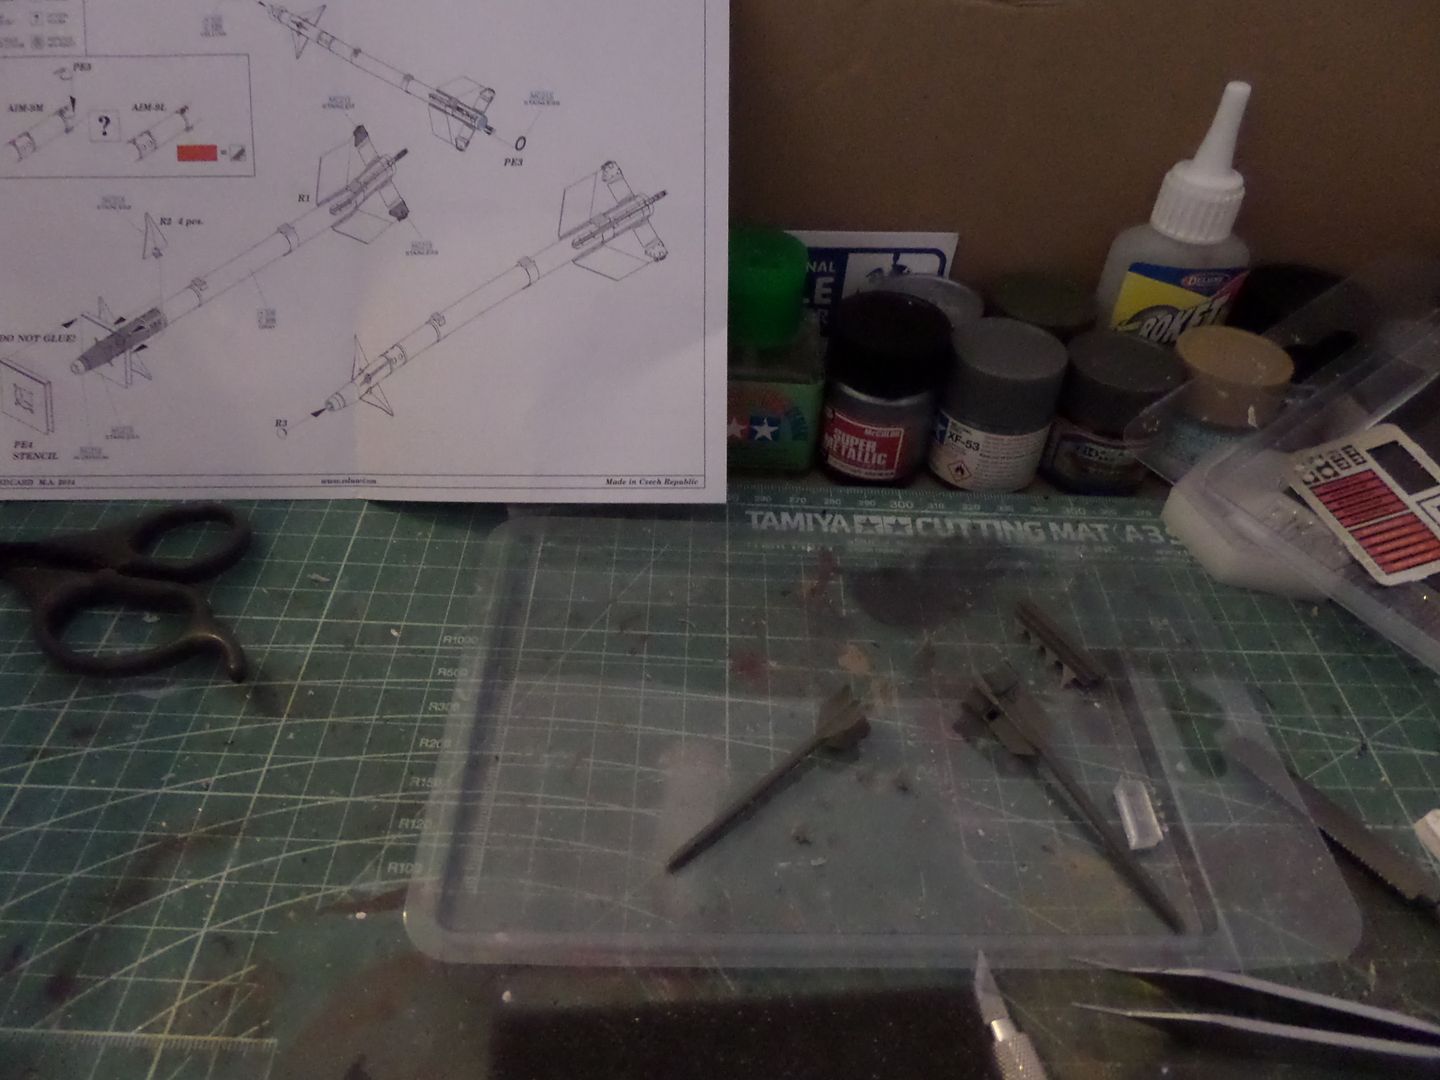
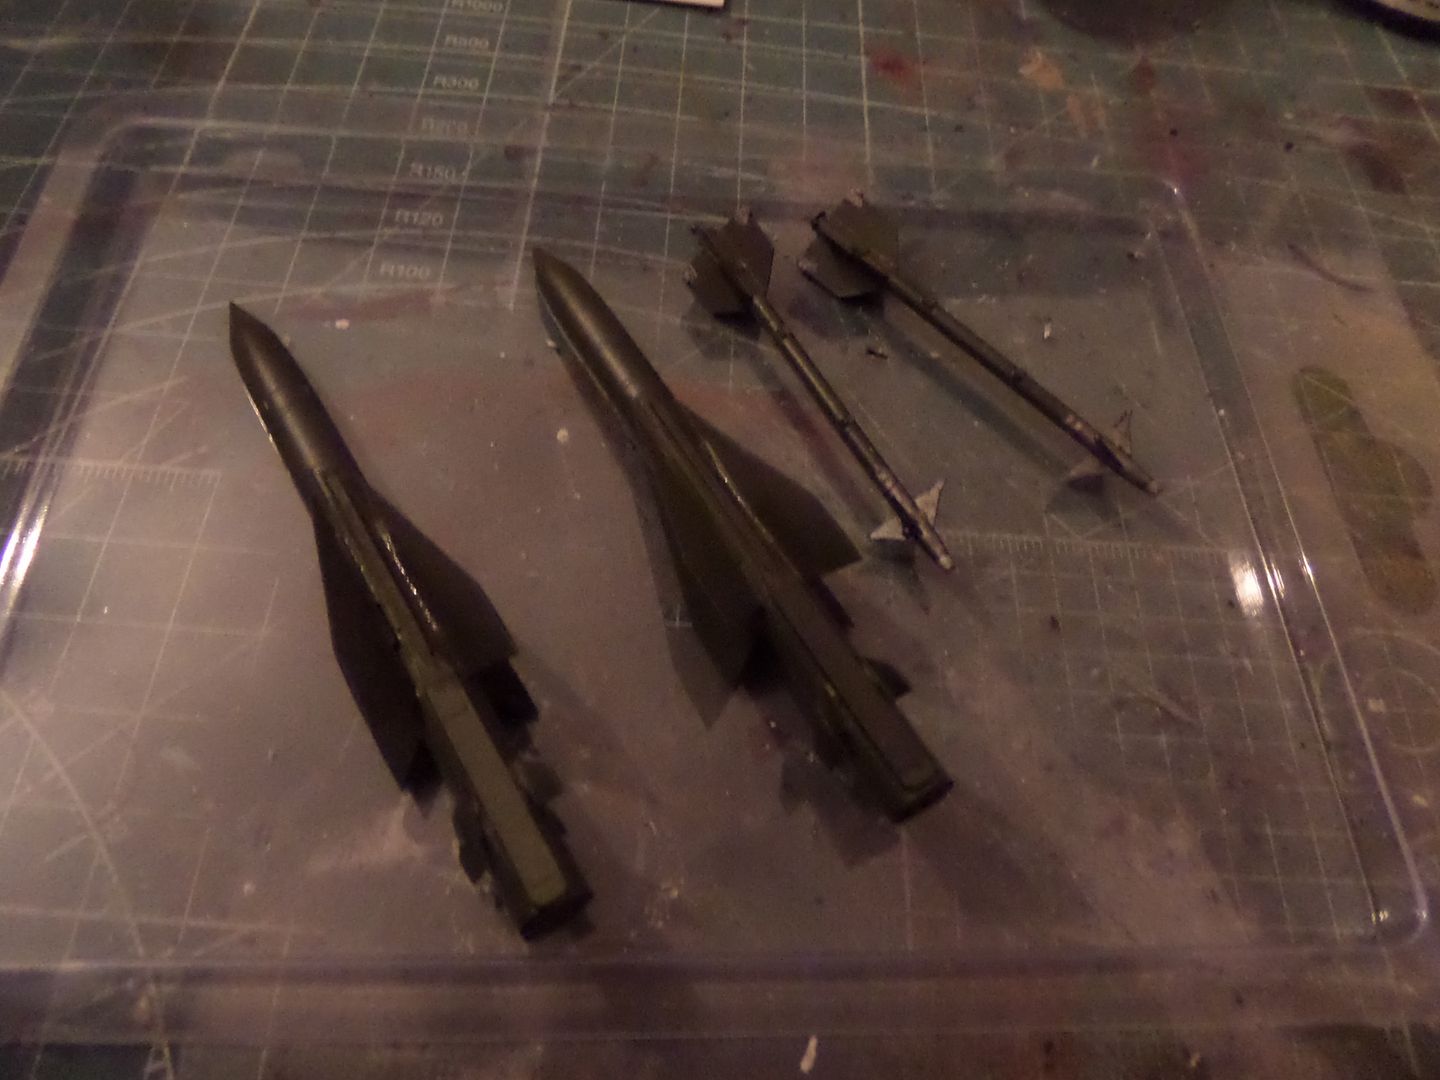
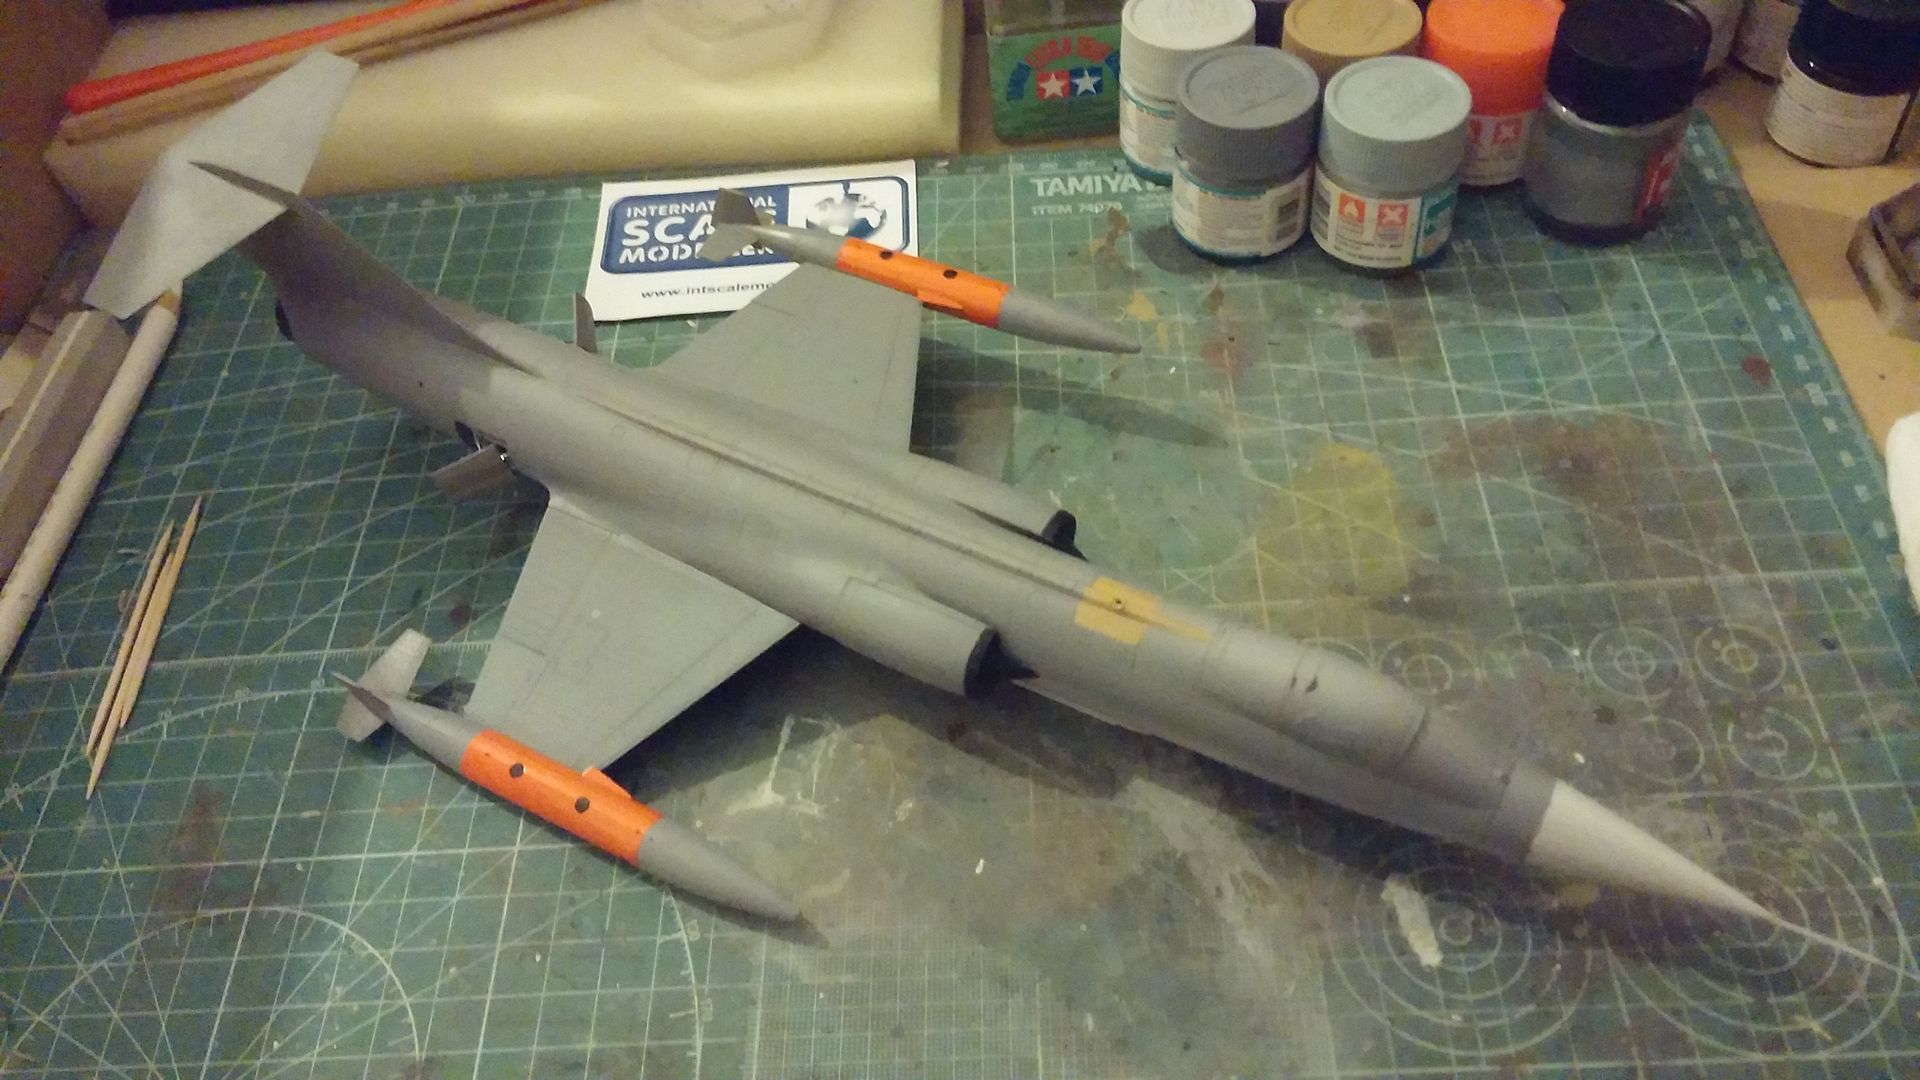
Start to thinking on the payload ...Two Kormoran Missiles and two sidewinders AIM 9L ...still get to check the missiles rails somewhere in the kit ..on the parts not to be used ...
The Kormoran anti.Ship missile
Details on this Missile in wiki :
http://en.wikipedia.org/wiki/AS.34_Kormoran
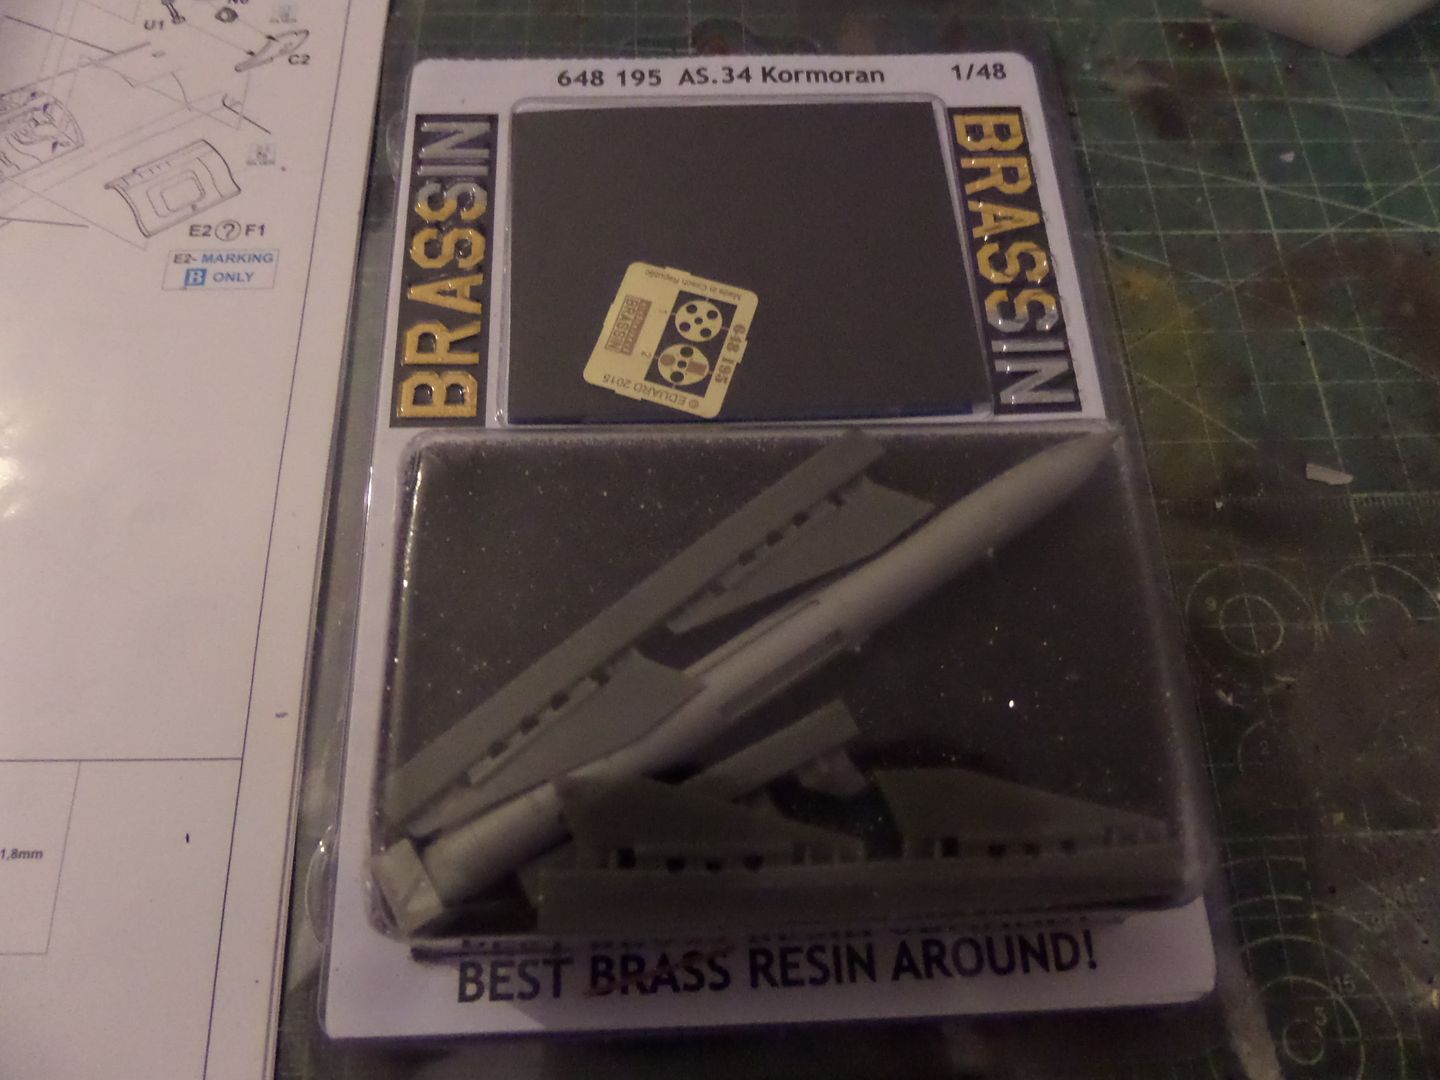
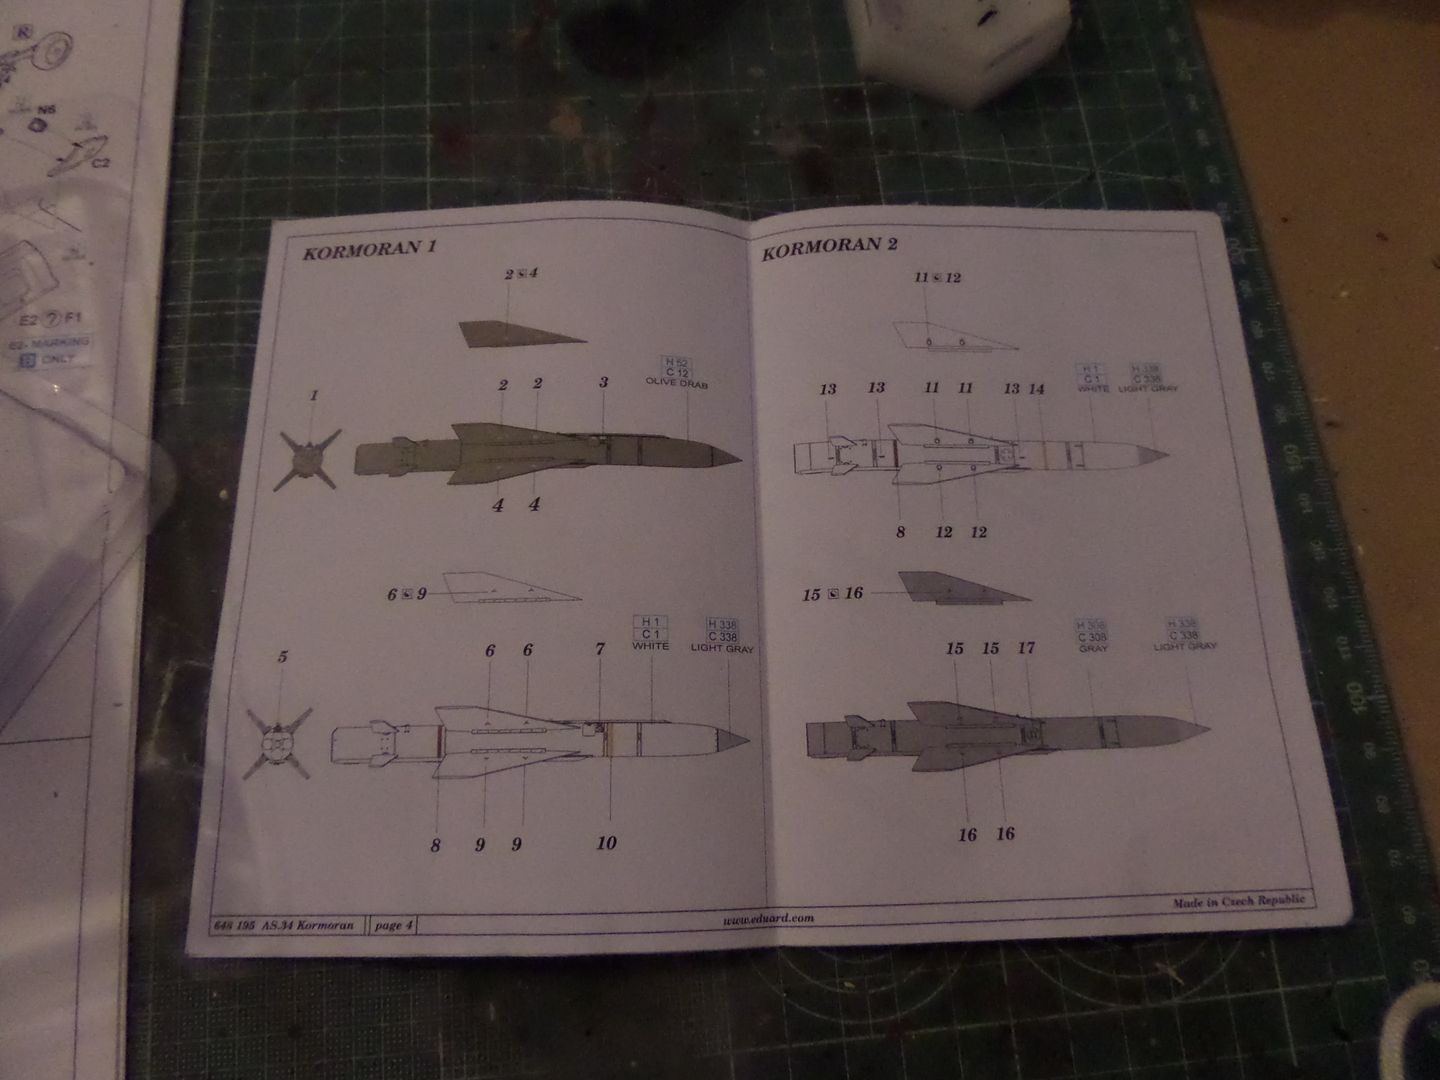
Instructions and another issue ..this set comes with two Kormoran Missiles , but two different versions ..Kormoran 1 and Kormoran 2 , as I need two missiles I will place one each ing , no Big Differences , and I'm not going to buy another set ...only if you look hard you noticed the differences ...it is in the back , and version 2 has some round hatch in the middle between the wings ...also the fixing on the rail seems different ...again not very well explained in Eduard Shop ...check instructions always to see what's inside of this AfterMArket kits (at least Eduard has this possibility ...1 poit to favour them ) , also the quality of this Resin kits is very good ..
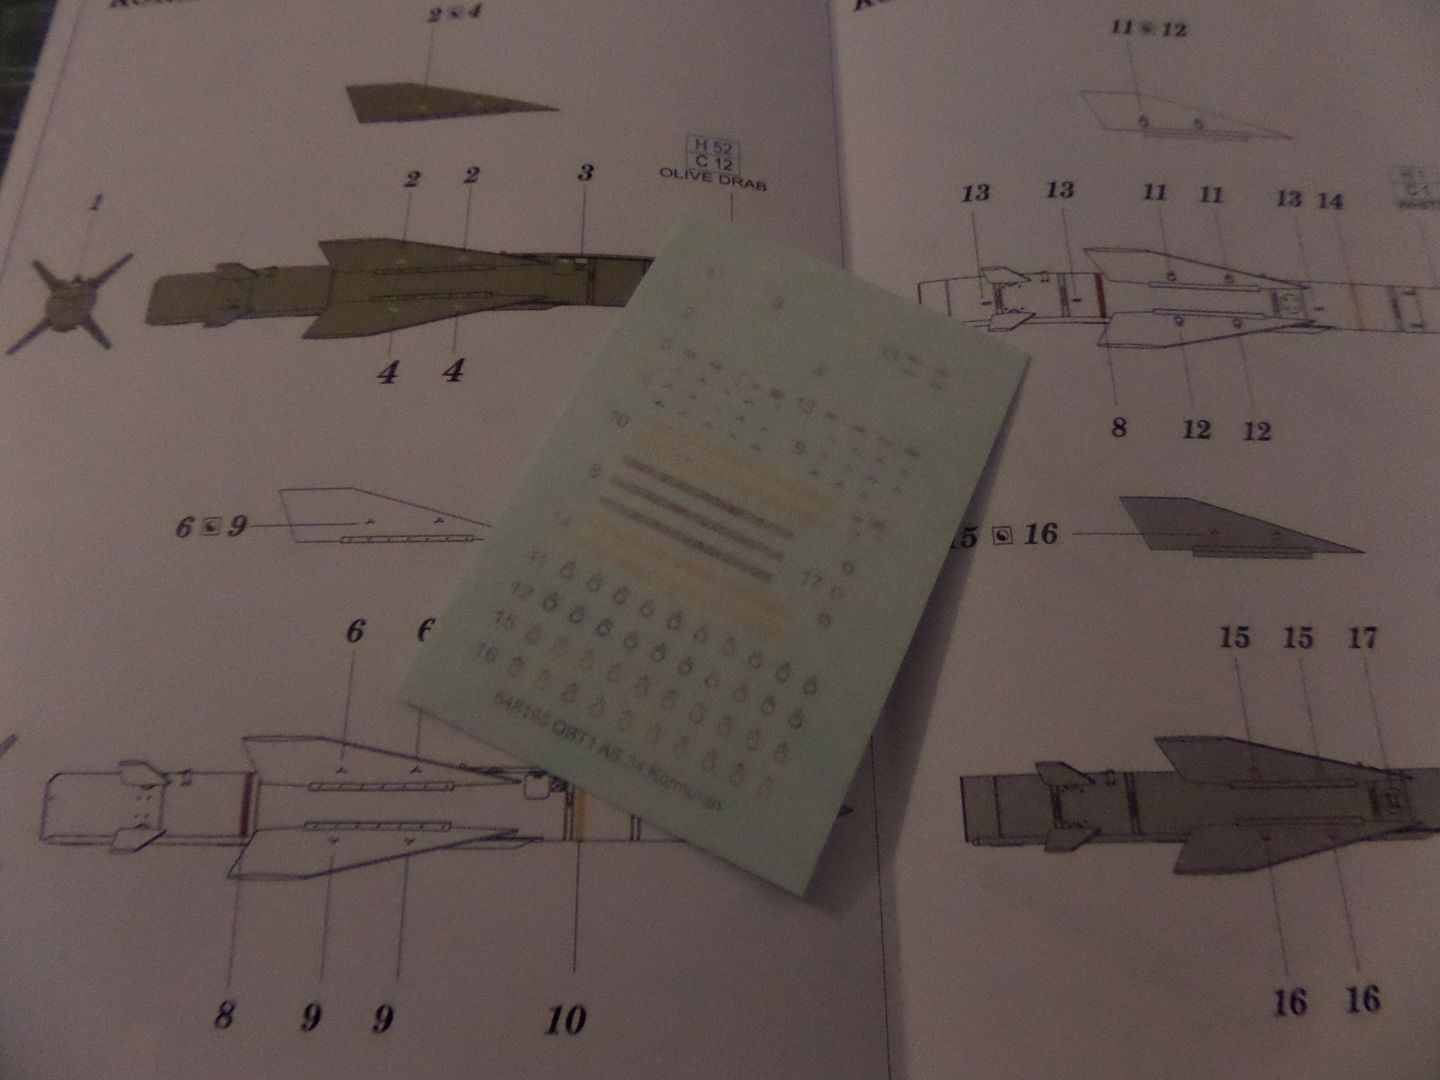
Some decal sheet also
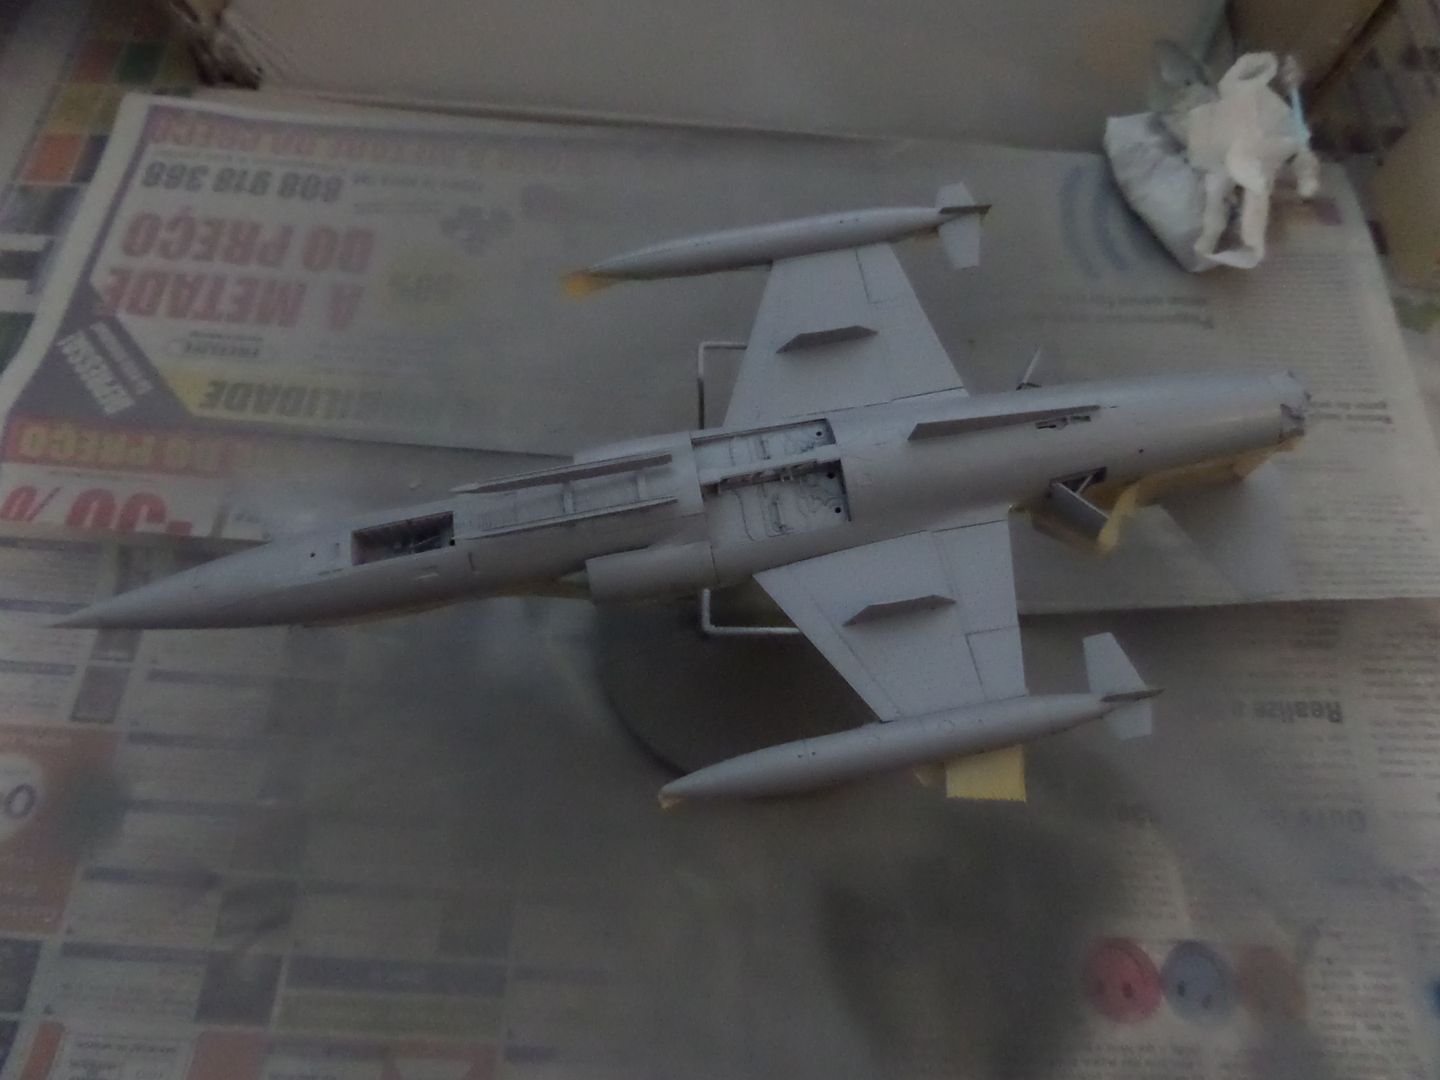
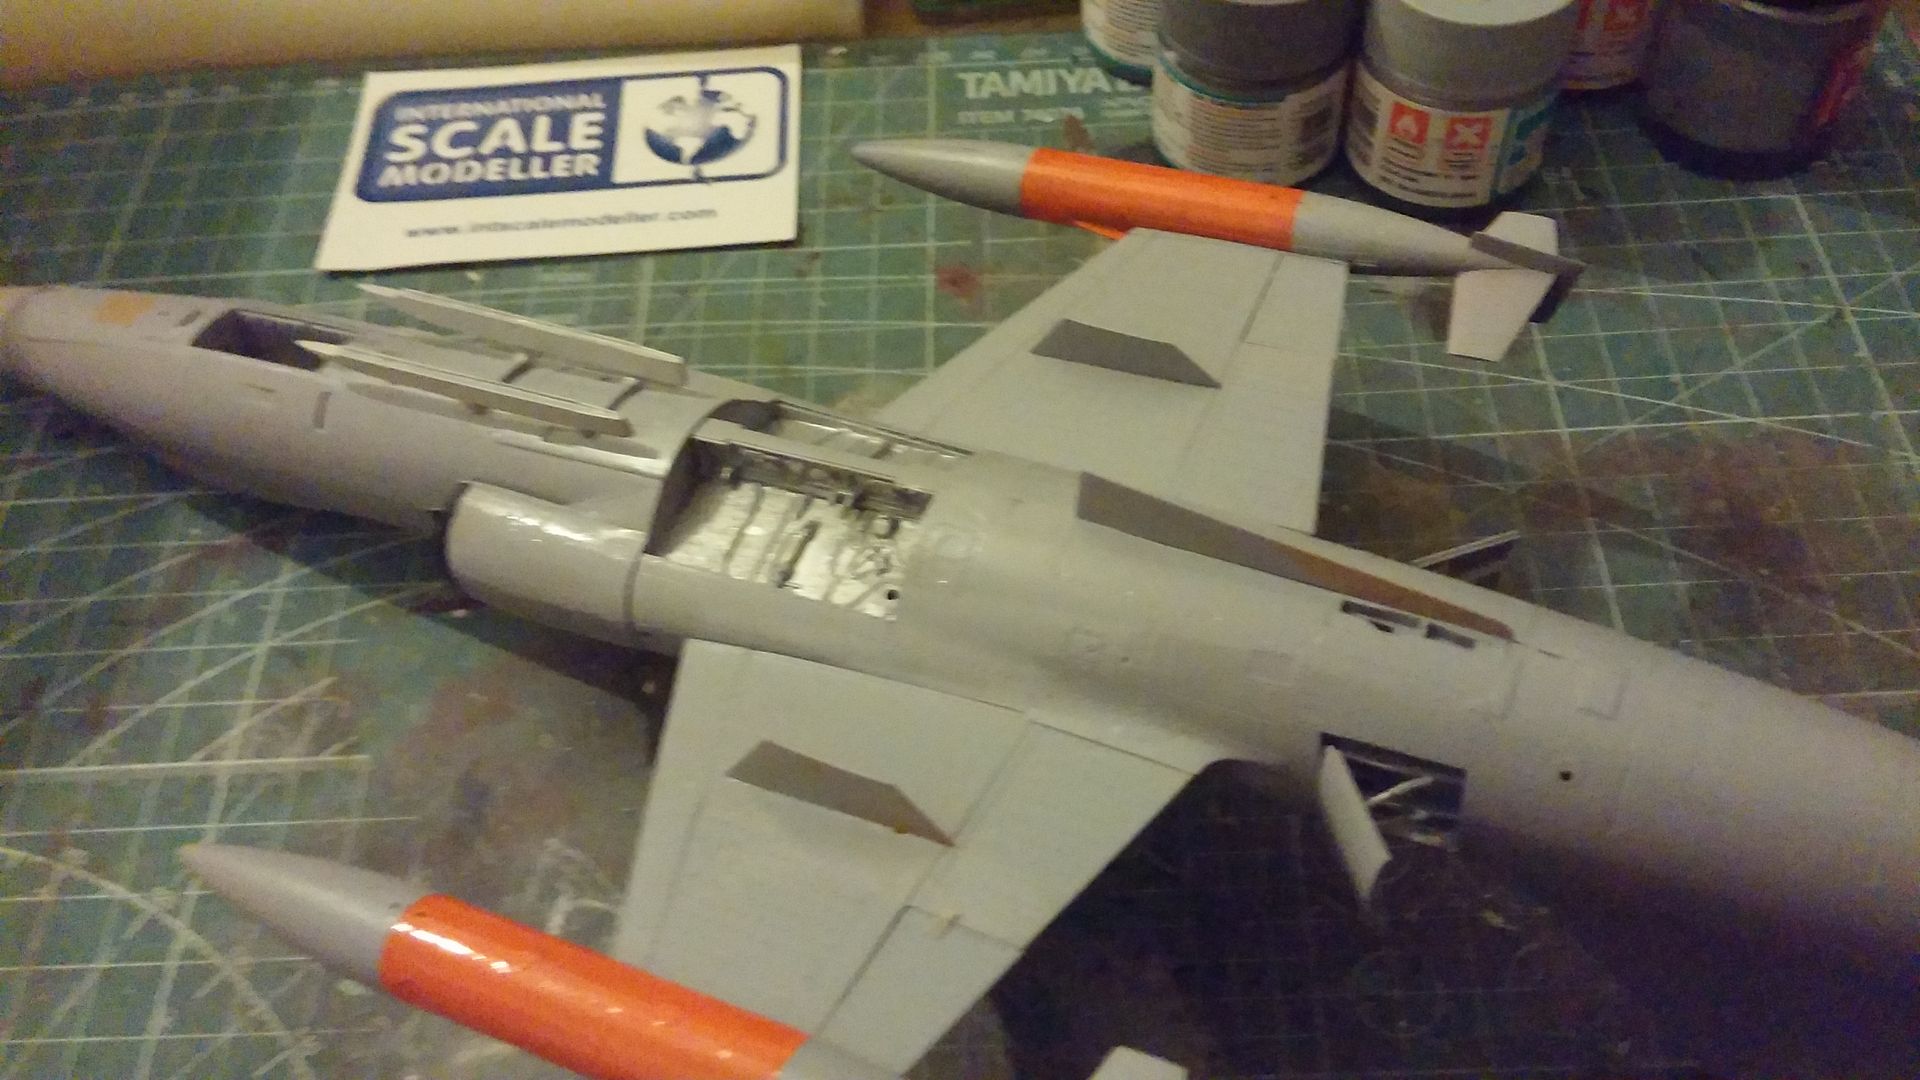
Now leaving this to go to the plane ...sorry 'The mummy return...' I masked as I can the upper part , as I always get paint where I do not want , and even it isn't a hard color scheme i'm not too fond to discover lately a color invasion somewhere ...lack of practice I think ...
I now use for the bottom Mr Hobby gray (H308)
The result , by the way I buy this Plastic thins as I think they are better to have all parts and also to have the build protected when moving it from side to side ...
Oh and forget that I painted the wheel bay ..I apint all and lately will paint in Silver all again ...and again not study the project earliear , also the instructions could help more ...
some nice detail ...and painted with this Gray ...almost a very, very light blue ....
While it dries ..back to the missiles ...
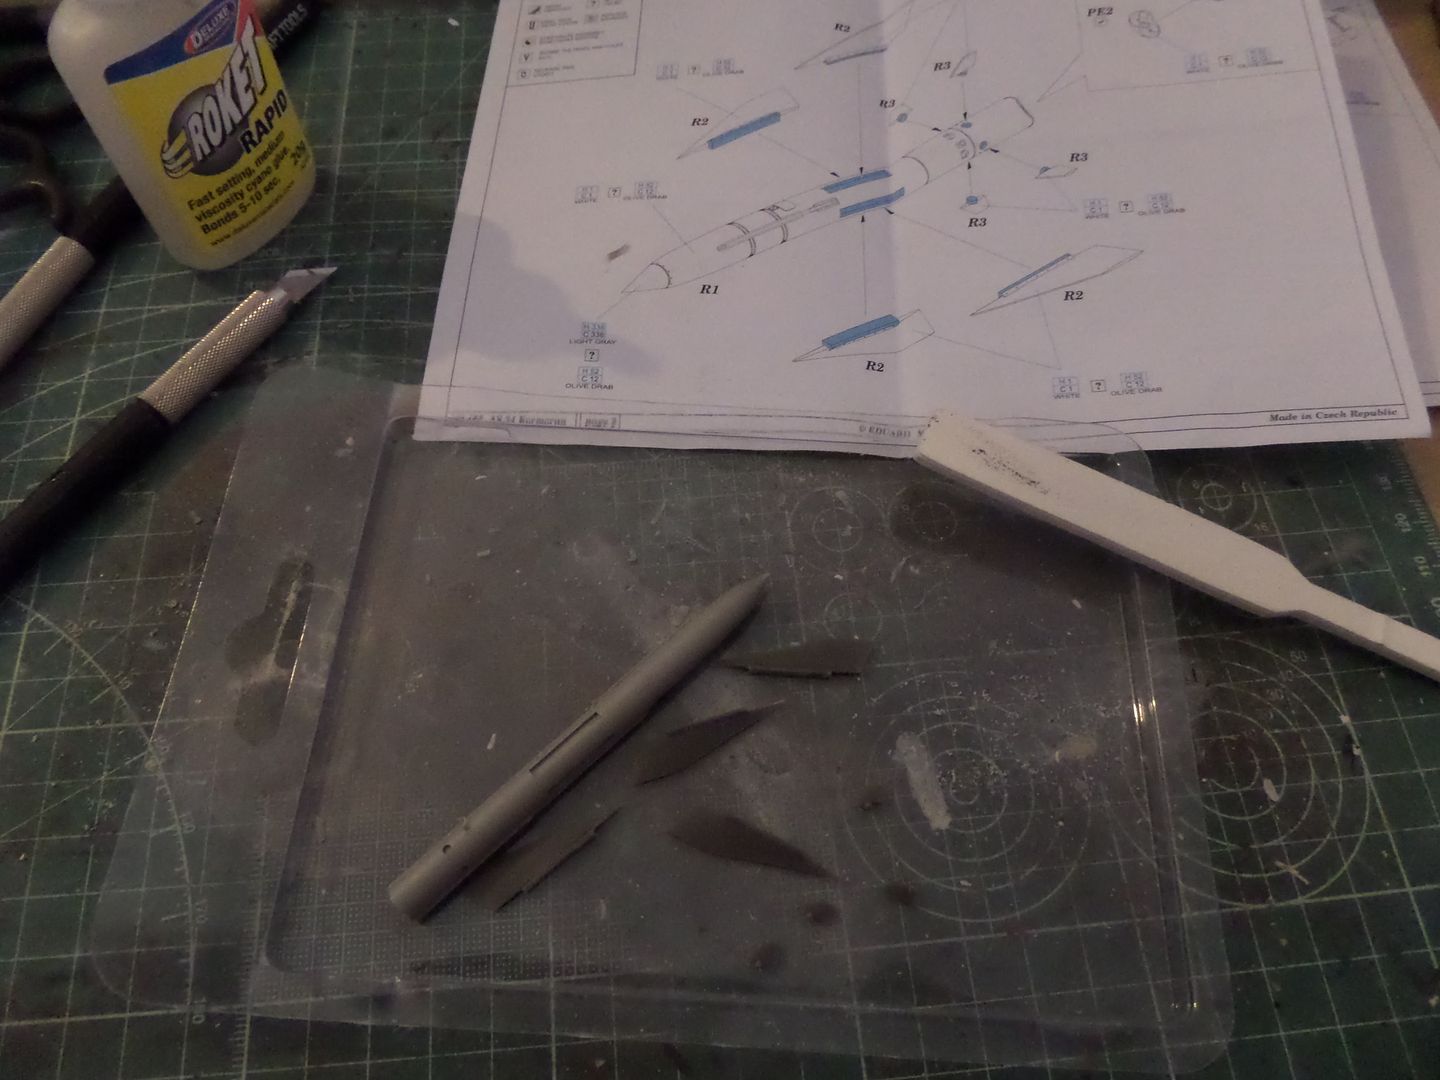
Sanding and cutting resin again ...I'm becoming an expert ...
PE added , this is the Kormoran 1 , see the bended PE part on top , one of the differences ...
This one finish ...
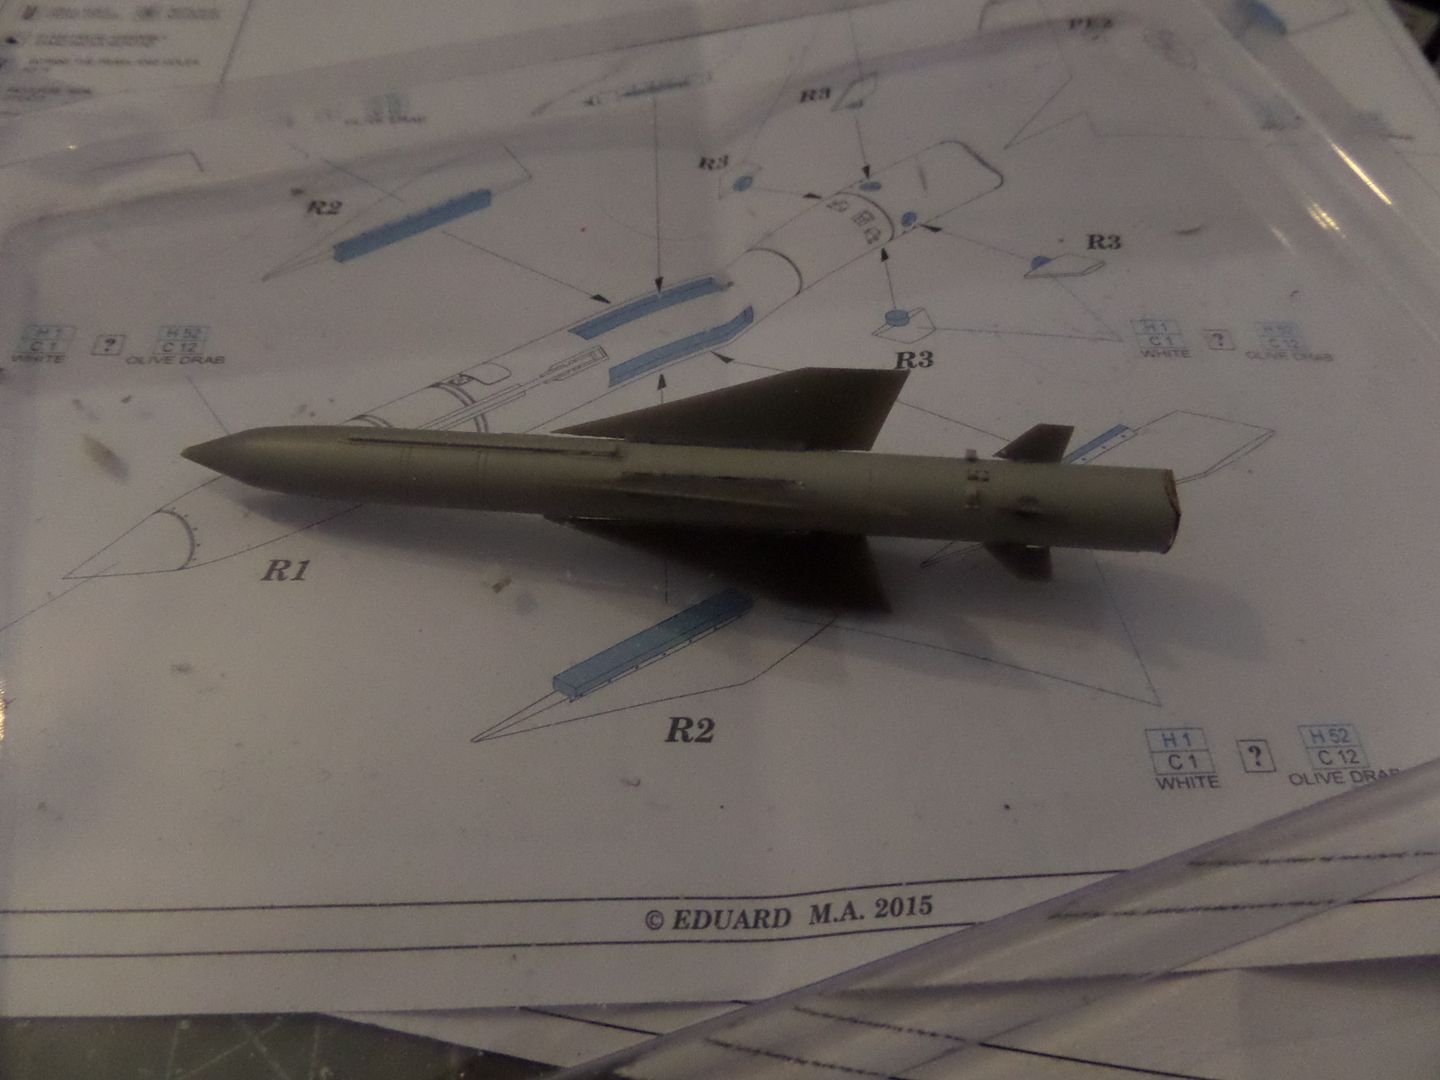
One to go ...only PE to add , this is the Kormoran 2 ...
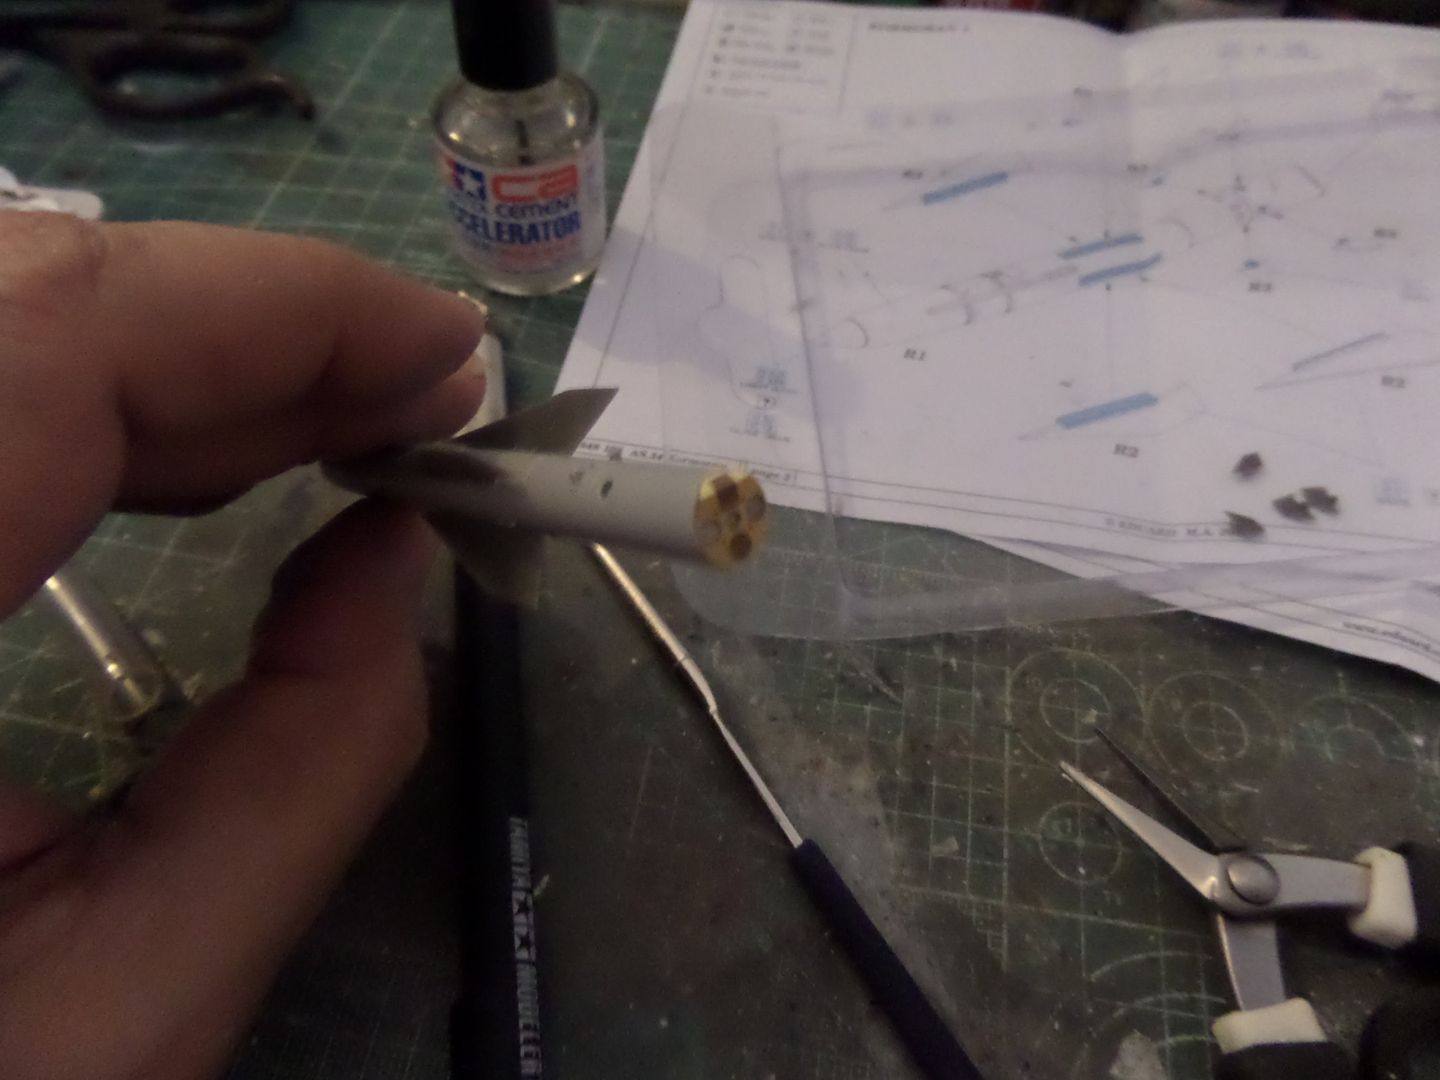
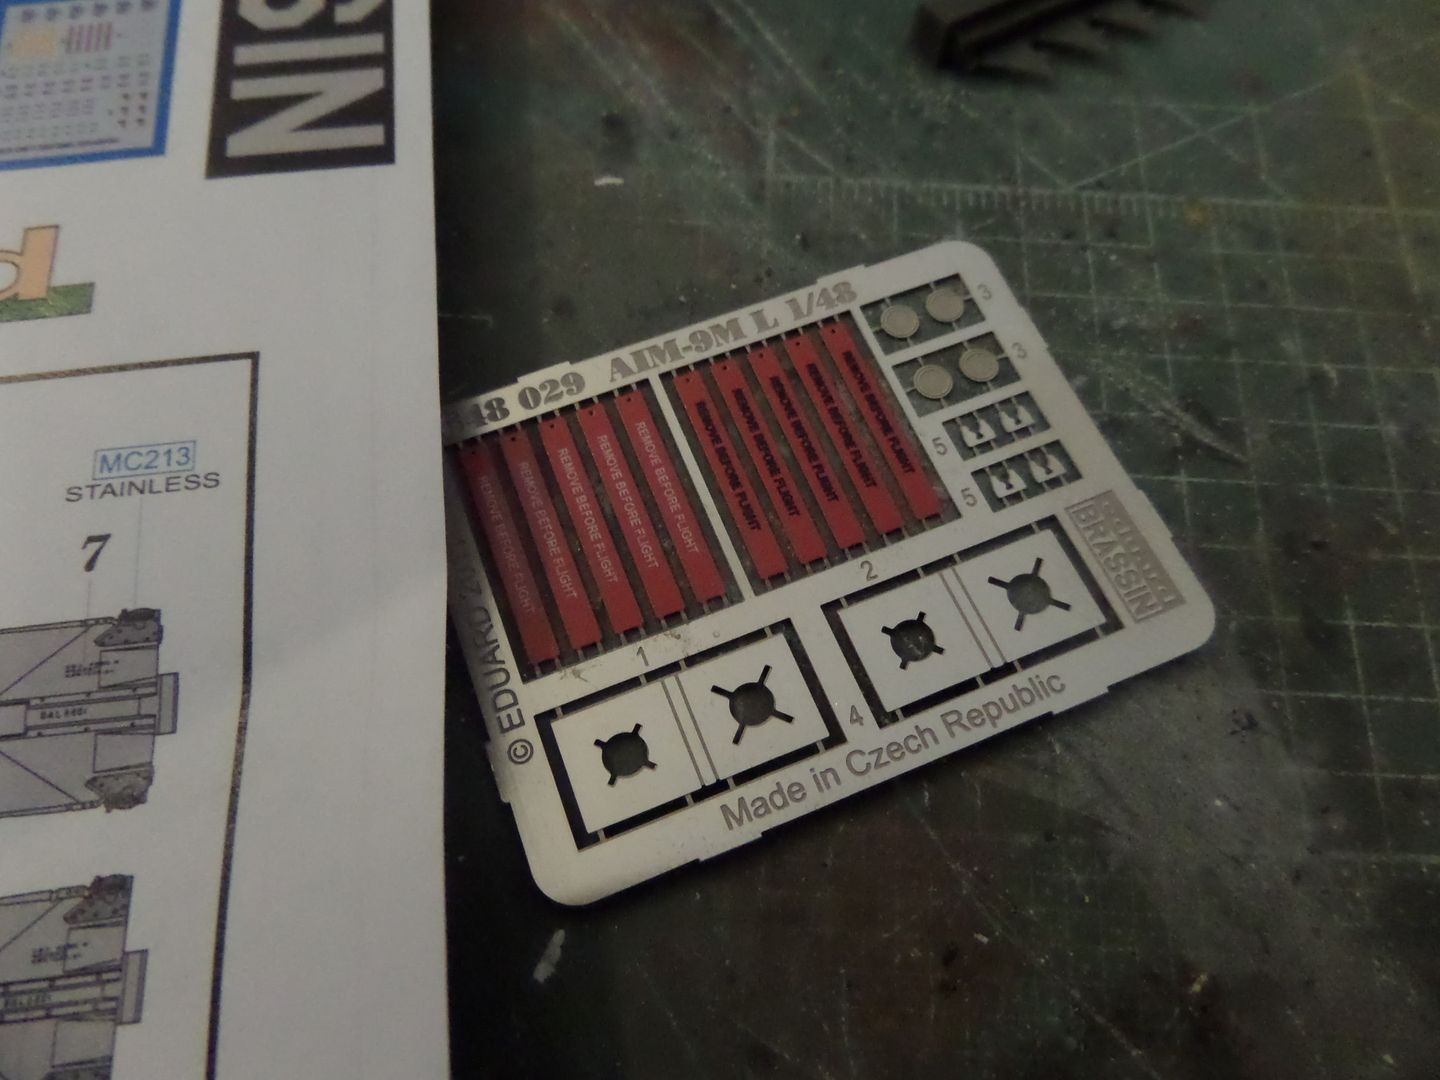
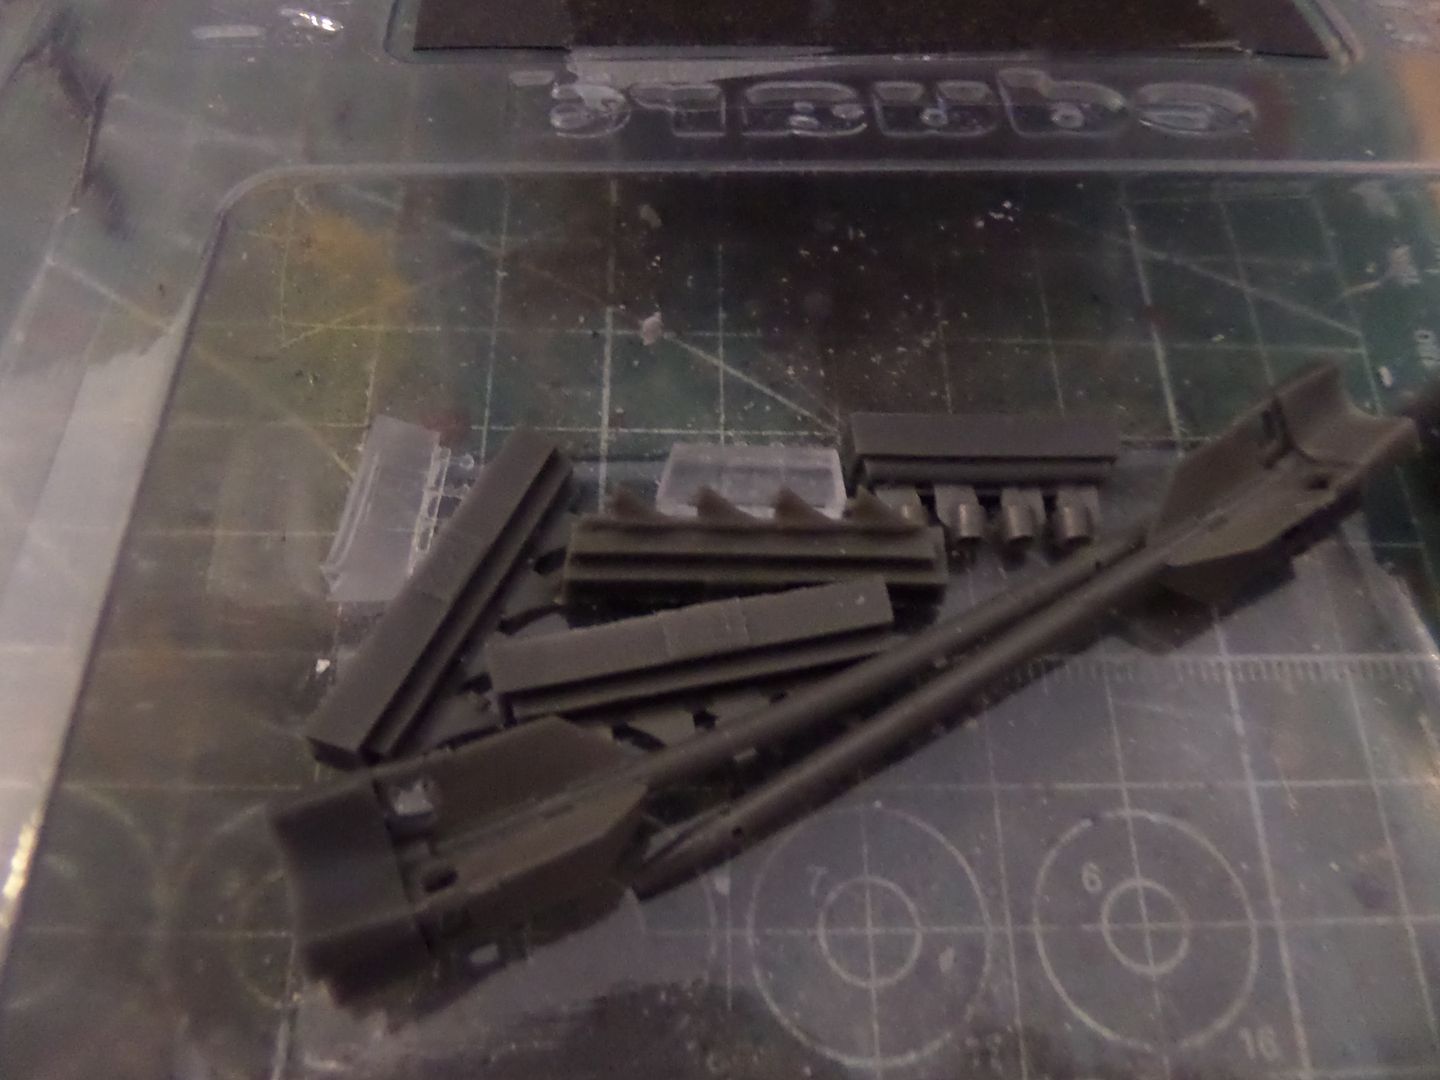
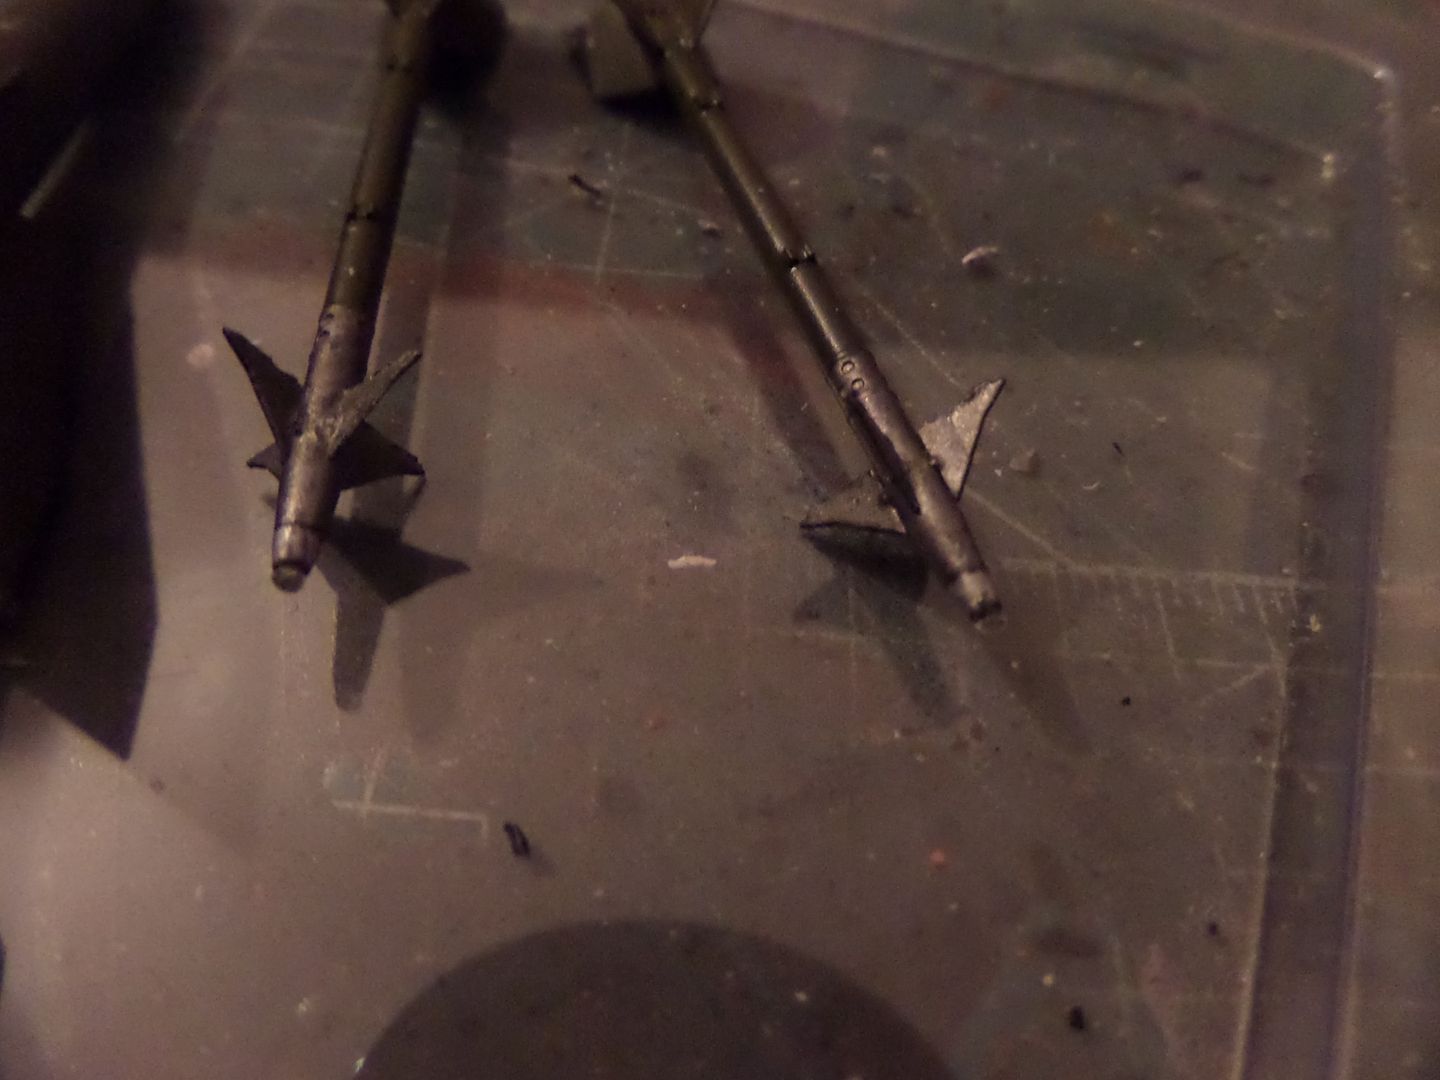
Sidewinders ...come with resin parts, PE ...included are 'Remove before flight ' banners ( in metal ...there is an Eduard Kit in Fabric , maybe more realistic ..or not , the metal ones you can bend and seems that there is some wind or something ...)
oh and they bring some clear parts so you to place in front to depict the optical in the missile head ...more food to my carpet monster !

Detail on the PE
Round pieces are the missile engines exhaust , the star pieces are the STencil so you can fix correctly the forward wings (sorry do not know really the English name for those )
The Resin missile ...hard to remove the back , as the back wings are very fragile ...what I did was cut very careful the resin links andwith a lot of patience with the modelling knife separate the mould from the missile part ...not easy and shoudl be very carefull not to damage it ...
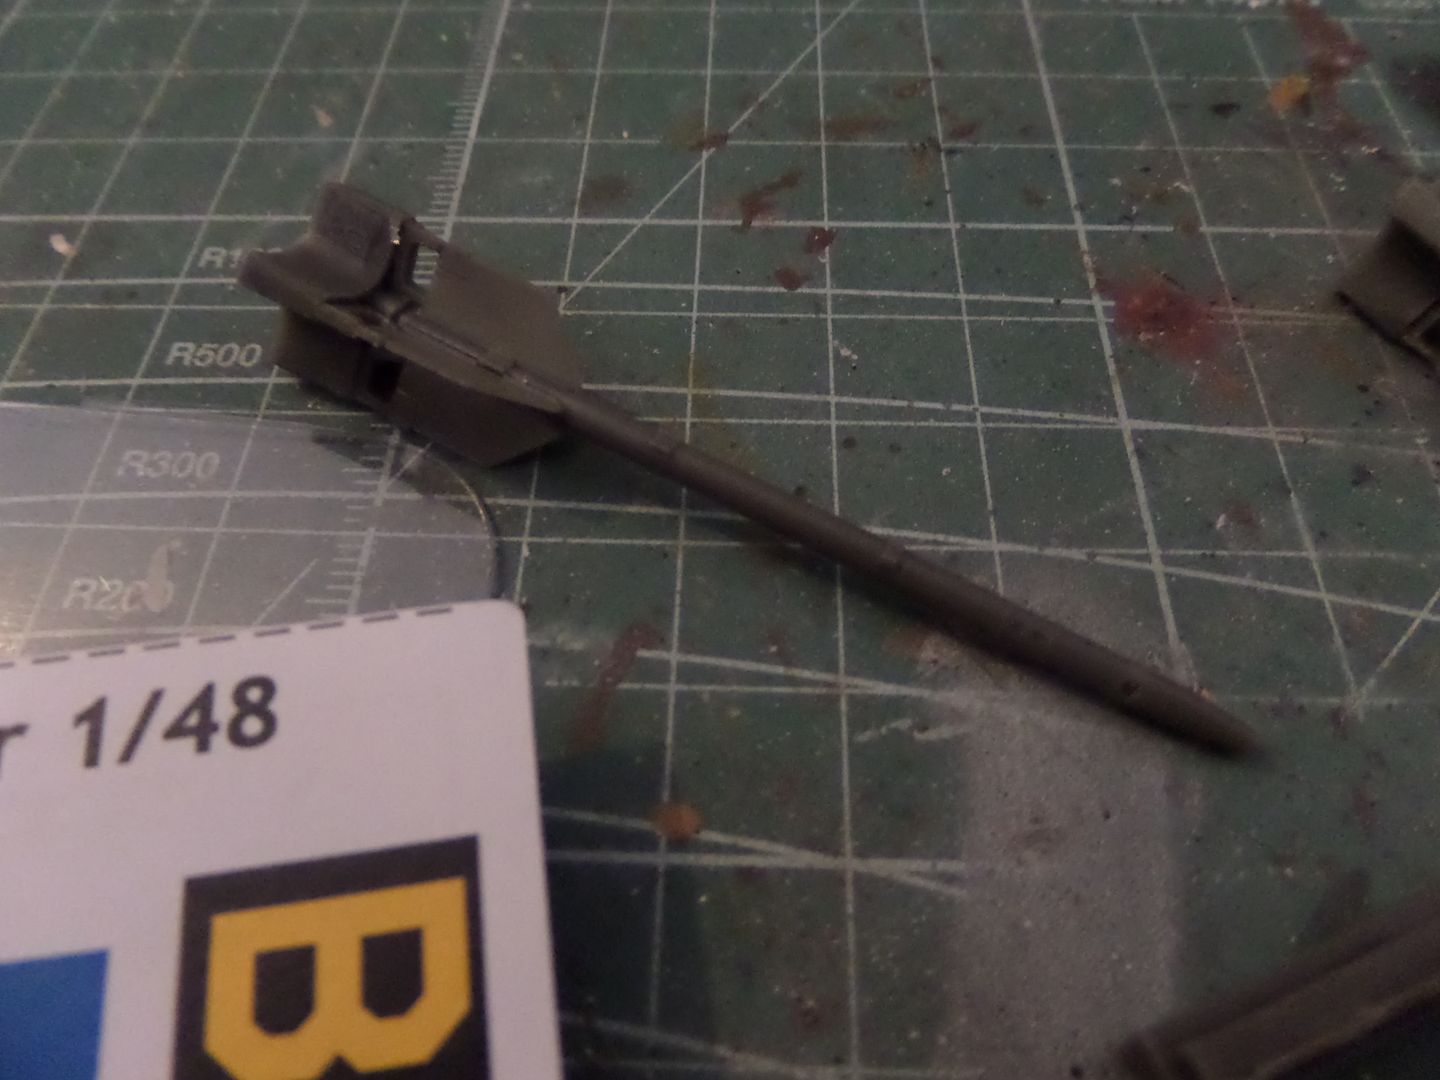
It brings 4 missiles , with the safety covers fro the front
First separated from the mould ...
Ready to primer and paint them ...
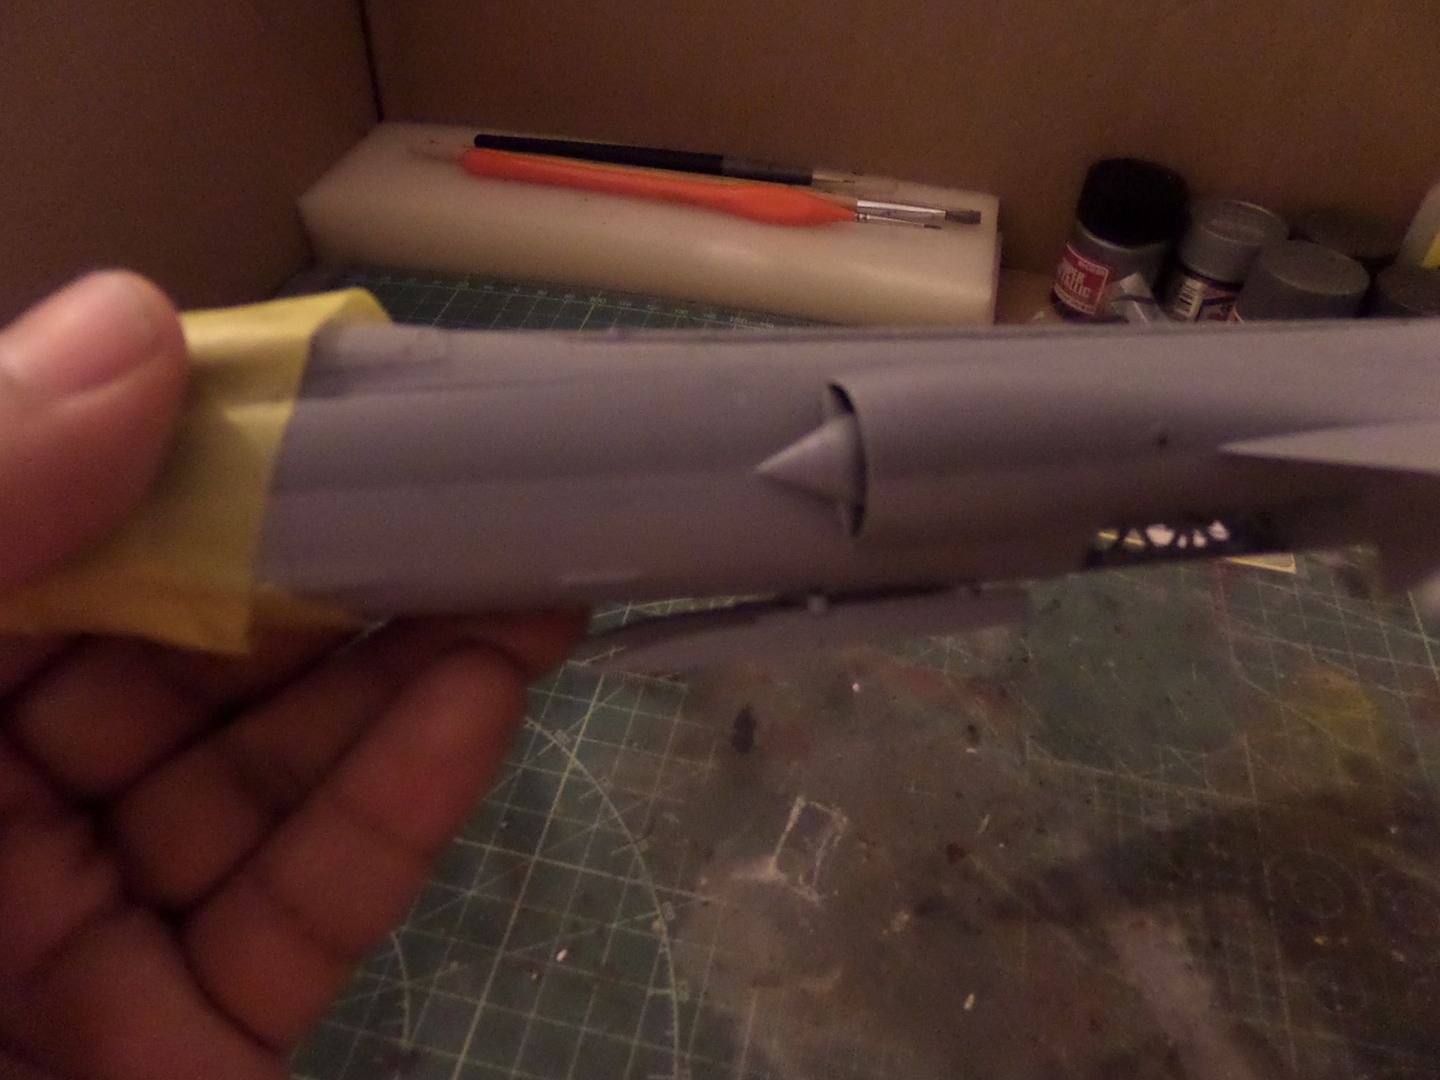
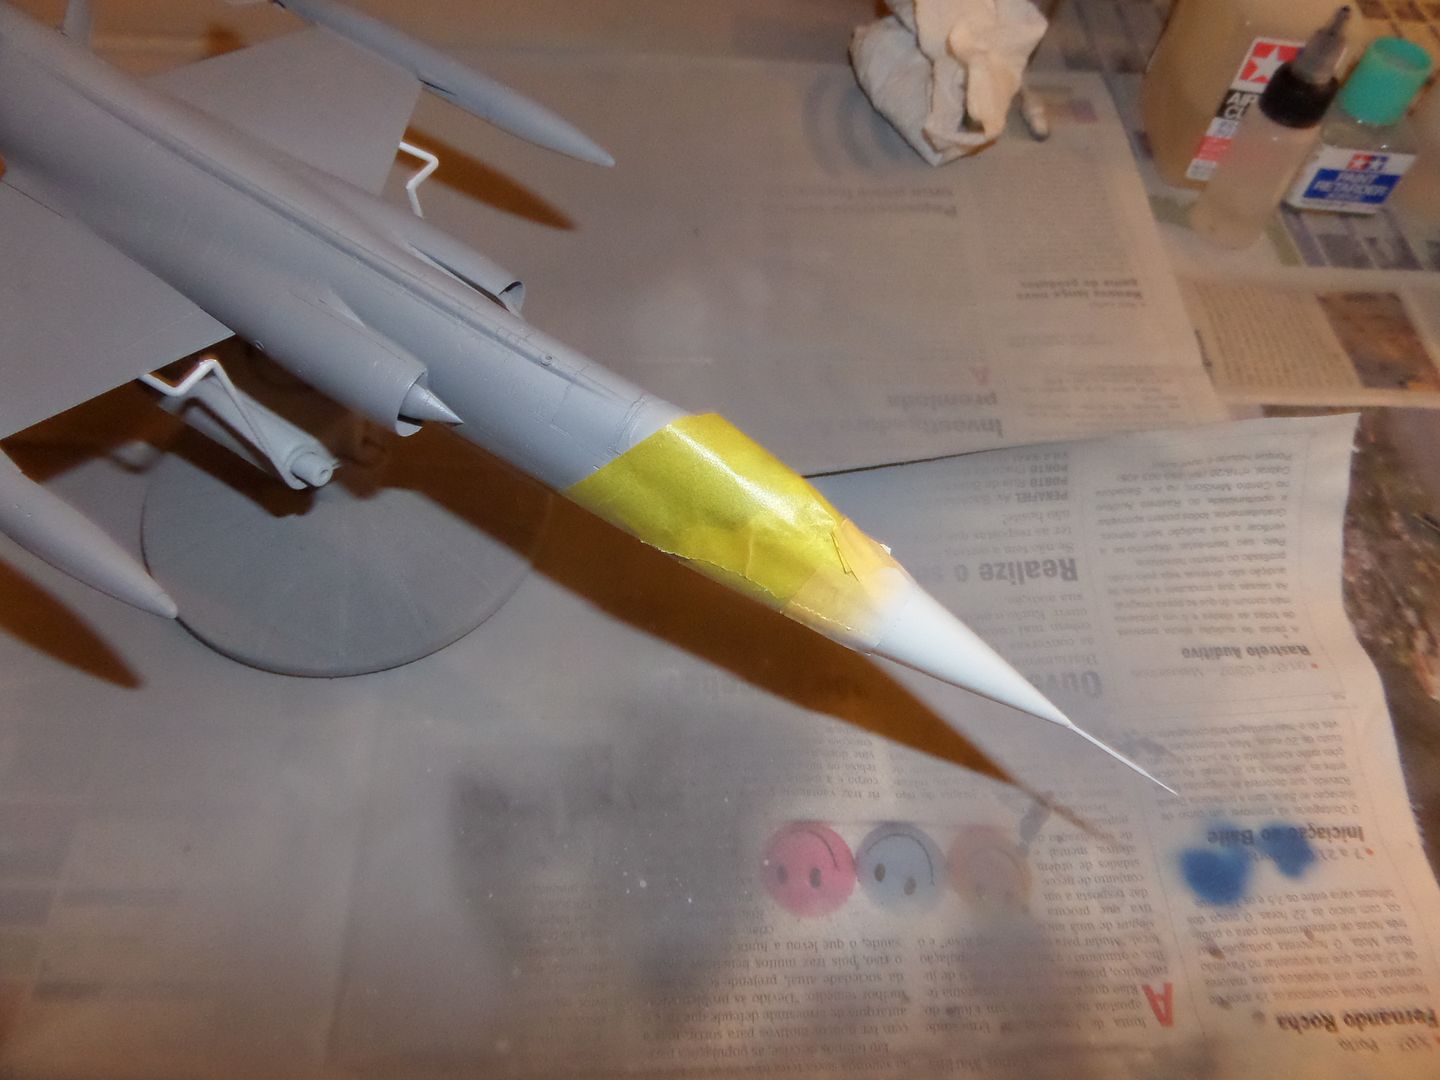
I add the pivot tube at the front as I was checking some photos and the color should be the same as the nose/radar cone
by the way this is the plane that I'm building ...here in this photo in the 916 site that I mention earlier ...
http://www.916-starfighter.de/Large/2274.htm
also it gave me the idea of the colors to use in the missile rail and on the missiles ...but if you check the pivot , only the very end point should be silver ...in the instructions is mentioned that should be all silver ...
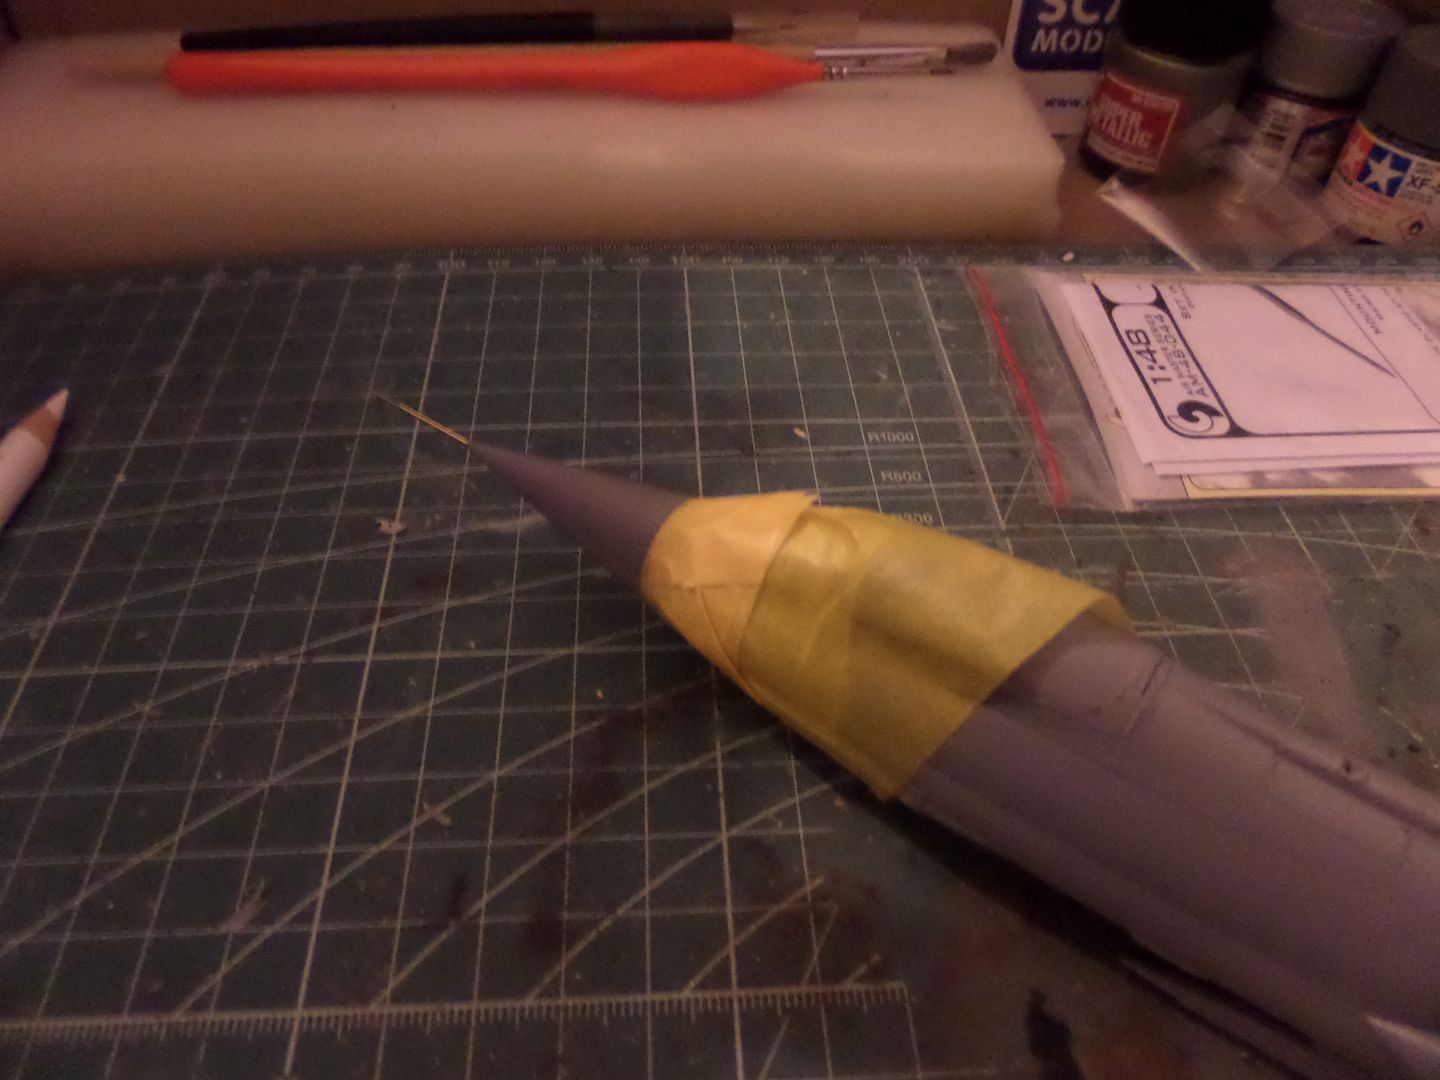
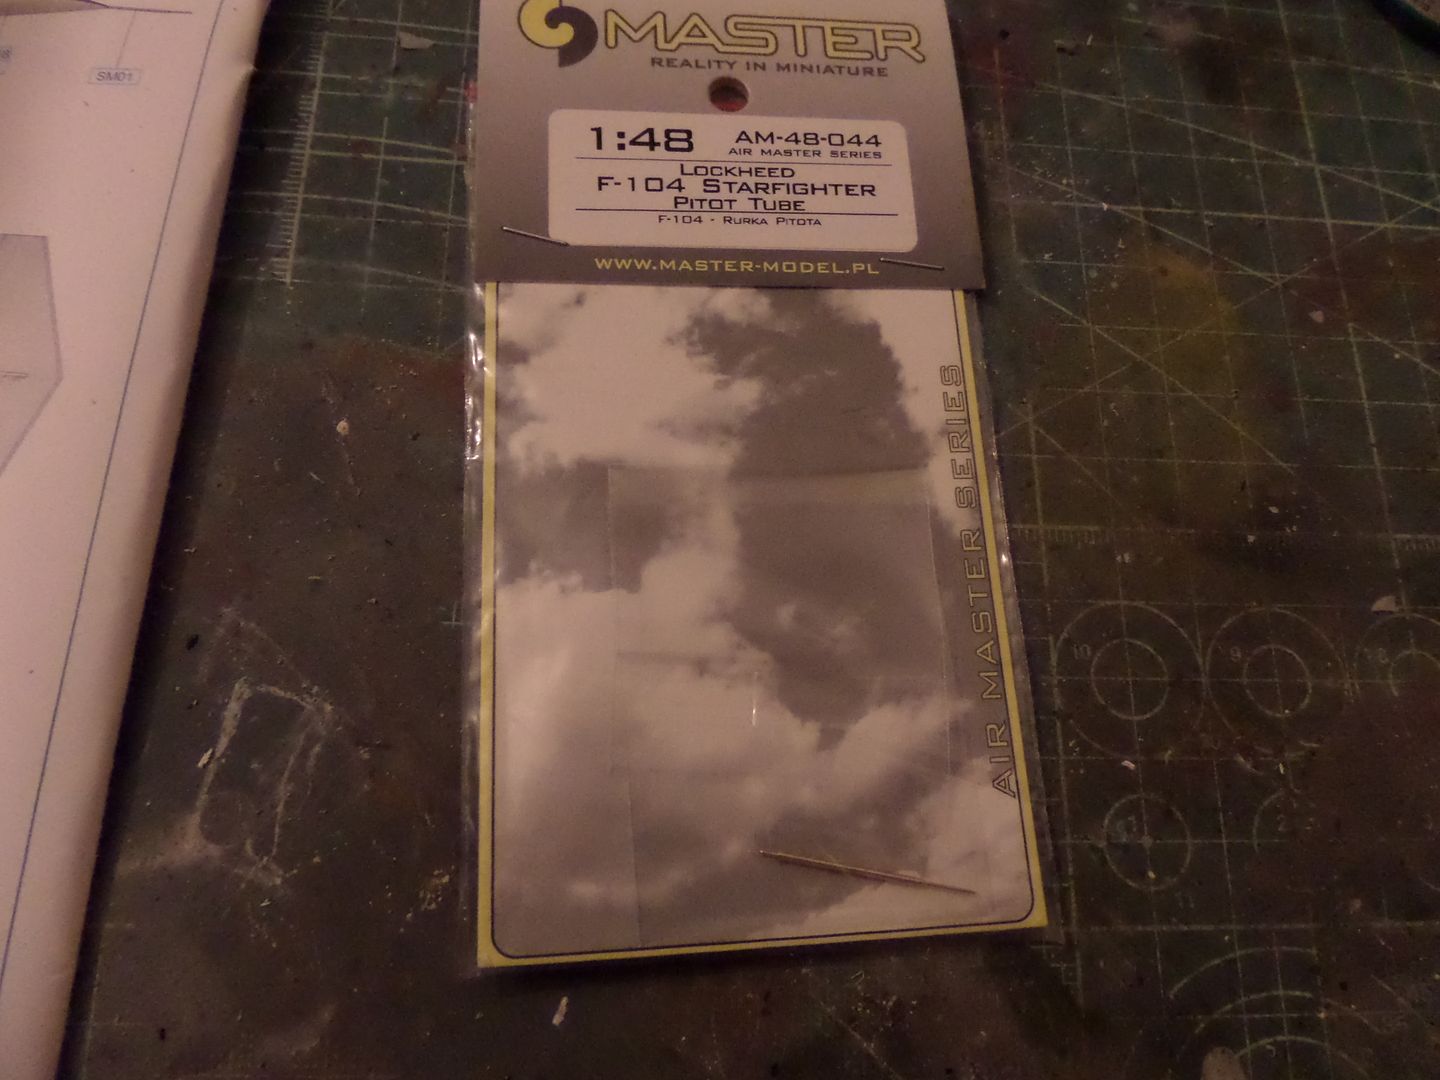
the pivot tube was an aftermarket metal from MASTER brand ( it is polish ..)
see the different shades in the fuselage ...not very marked ...
PAinted the plane radar cone in Mr.Hobby Light Gray H338 ...the three shades of grey ...
Missiles painted Olive Drab ...the sidewinders take also some stainless color from Mr Hobby Metal Colors range ...
see the small optics on front ...almost lost one in action , the kit brings 4 in surlus ...guess that the manufacturer knows that the carpet monster really exist !

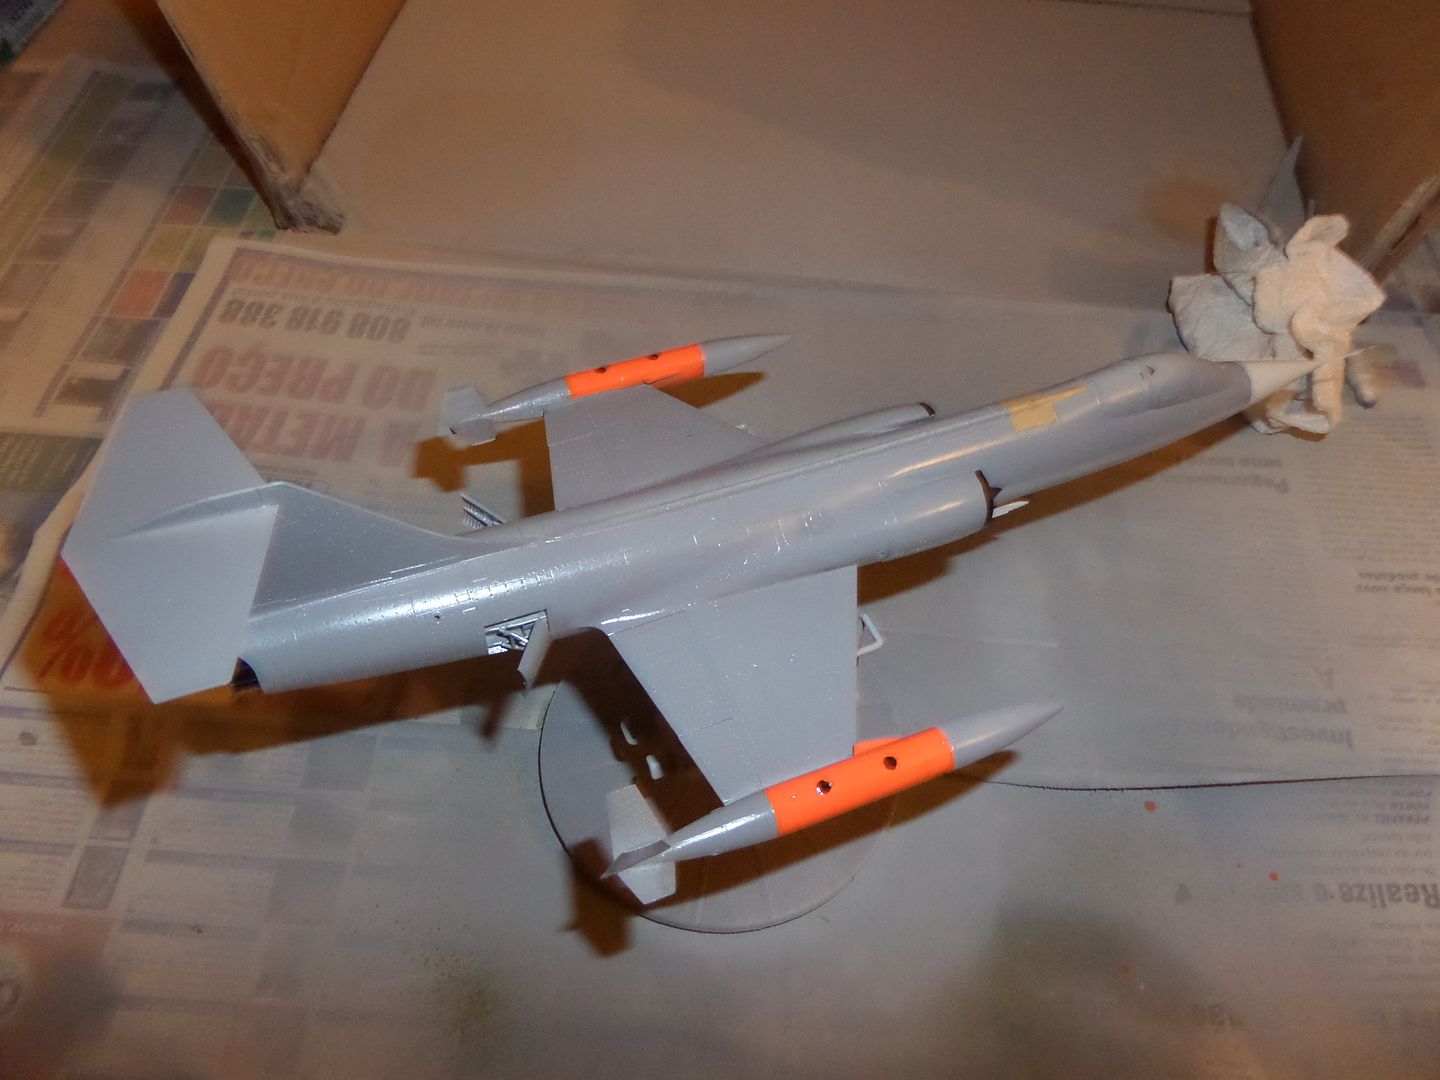
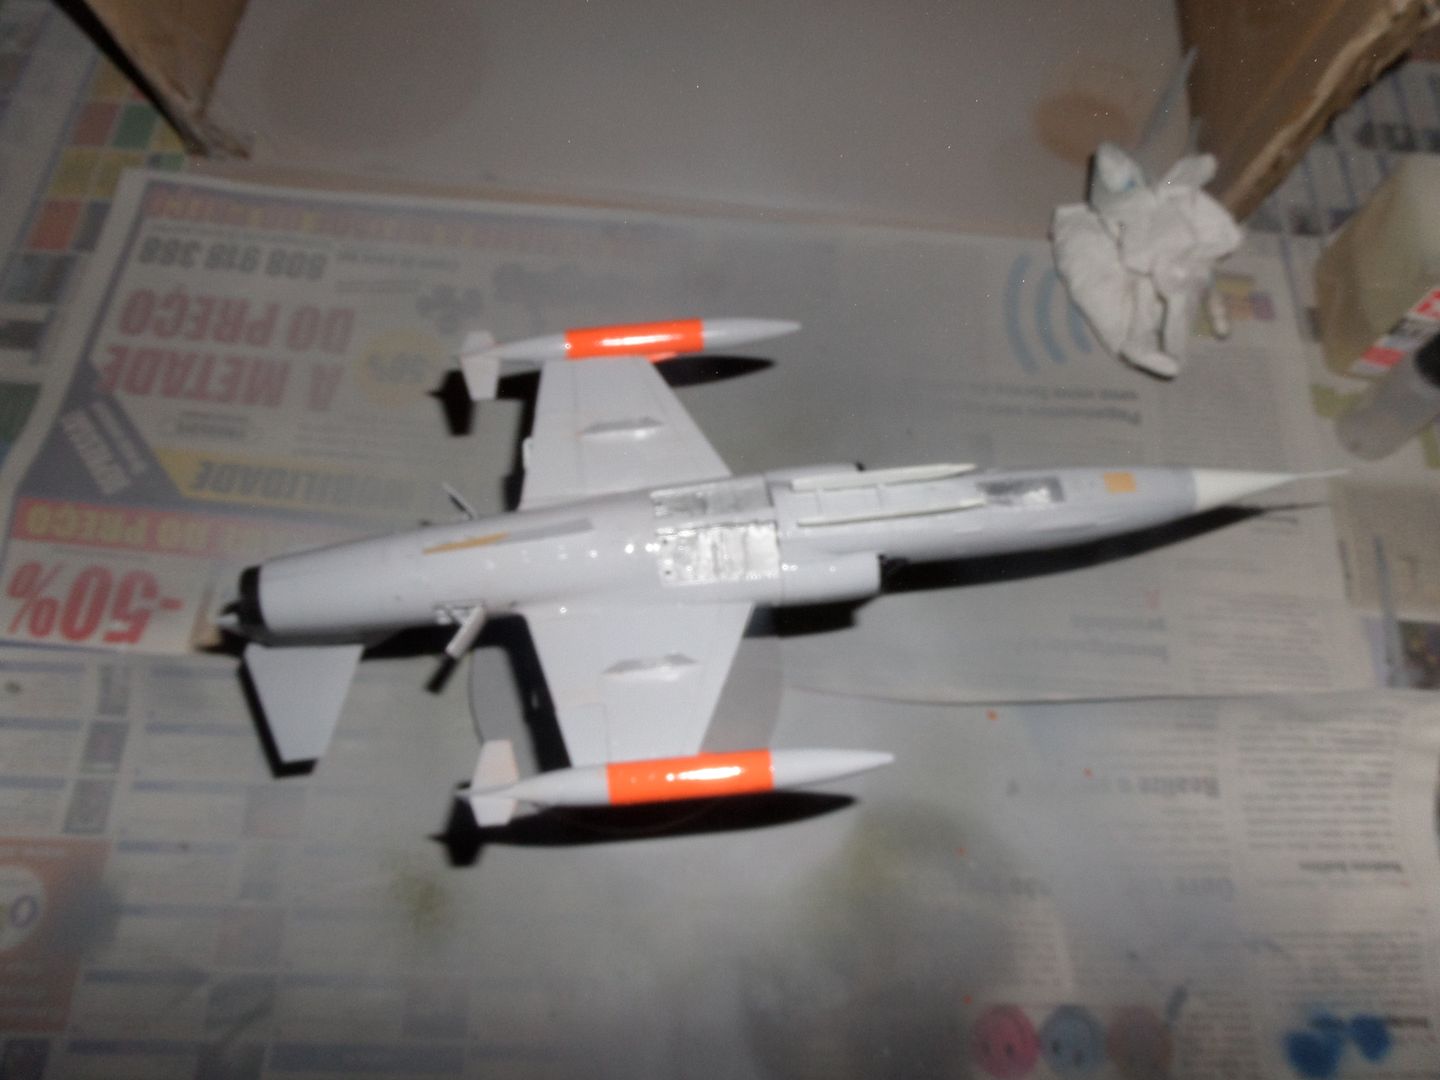
Hmmmm, these two pictures show the plane already finished on paint ...the Orange on the external wing deposits is Mr Hobby Orange (surprise ...it is orange ...) it's reference H14 , now I must take from now the pictures with my Phone , thy are much better than the camera

I painted the exausts entry Flat Black , Tamiya XF-1 and the Tan color also painted in brush is Mr Hobby H27 ...
Bottom ...Wheel bay pain is Mr Hobby Super Mettalic SM01 Silver (great colors ...)
Gloss Sprayed , Used Tamiya TS13 CLear
Bottom
to dry now ...then decalling marathon , a lot of stencils to do ...
with this color I'm thinking to use some Light grey wash on it or Ultimate concrete ...or oils ...I don't know ...must check what to do next ...
well decalling in missiles and plane to follow ...still thinking on the base , will use an Ushi van der Rosten Scenic display from Langley Eustis Joint Base ...still must do also a ladder from an Eduard PE kit , but will show you in next updates ...
thank you for watching guys , see ya !