Airfix 1/72 GR.1 converted to USMC AV-8A

Post Reply
User avatar
ILuvMigs
Private First Class
Private First Class
Posts: 32
Joined: Sat Mar 15, 2014 9:10 am
Location: Manitoba,Canada

Airfix 1/72 GR.1 converted to USMC AV-8A

Post by ILuvMigs »

Hey all,
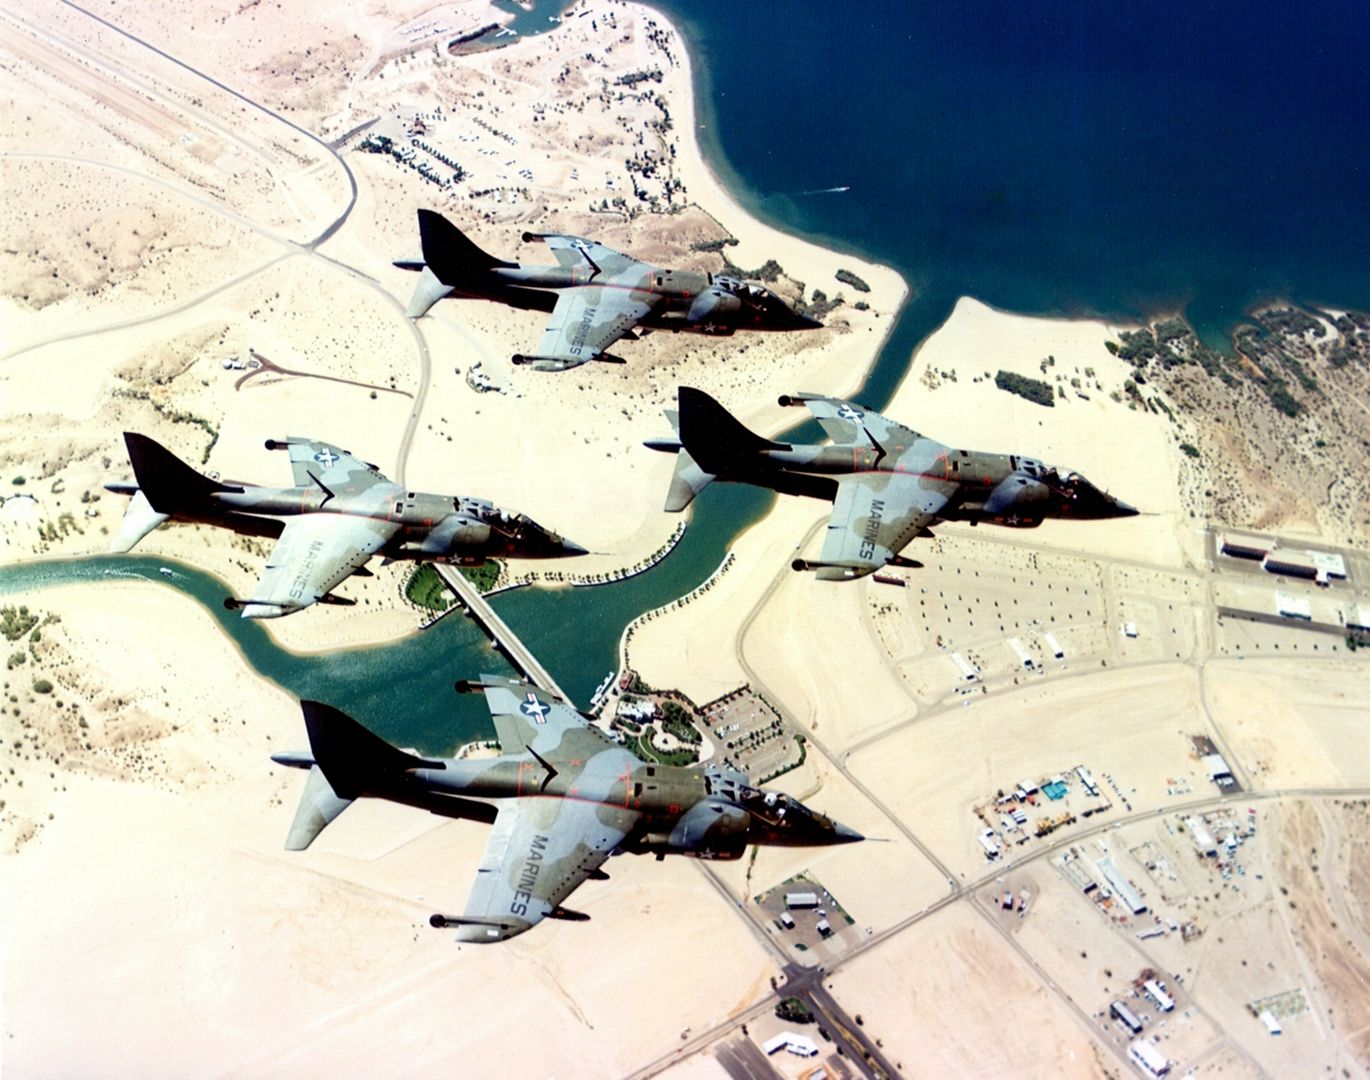
My entry will be a 1/72 USMC AV-8A from either VMA-542 "Tigers" or VMA-231 "Ace of Spades" Due to a medical incident that happened this will probably be my only entry into the Navy SiG. Incidentally it is and my first entry into ANY Group Build and my first model in over 10 years so here goes nothing!
Image


History:

I'm sure that anyone who does military modeling knows about the GREATEST aircraft in the world, the Harrier, so I won't go into great detail. Briefly in 1960 Hawker Siddeley developed a niffty little V/STOL plane called the P.1127 Kestrel.

Image


Evaluated by the U.K., West Germany and the U.S.A the only real taker was the RAF. After trial where completed the 3 US examples and all the West German airframes where shipped back to the USA changing to the XV-6A and given to the USMC to evaluate, being the only U.S service not able to evaluate the aircraft during the initial trials. The USMC was so impressed with the Kestrel, Deputy Chief of staff (Air) USMC Major General Kieth McCutcheon wanted the Harrier for the USMC inventory and sent to pilots to the 1968 Farnborough air to fly the harrier and begin negotiations. The Harrier was such a great aircraft that the U.S.A ignored their golden rule "Buy only American" and ordered all their Harriers straight from Hawker Siddley.

Image


The kit:
This is Airfix's GR.1 Harrier released in 2013 I believe.

Image


I've build a few harriers in my life, Matchbox, Hasegawa, ERTL and AMT's reissue and IMO this is the BEST AV-8A/GR.1 kit out there.

Image

Image

According to Detail and Scale #28 By Don Line it scales out perfectly, though some of the panel lines are wrong or nonexistent. On the subject of panel lines, these ones are deep as all new airfix kits seem to be, but I'm thinking with a few course sanding they may be reduced and I will try on this build.

Image

Image

The decals in this kit are great! Crisp, all seem to be in register and there is nothing like having tons of stenciling info to put all over the aircraft.
Image

One problem I noted though was the instrument decals provided are for the AV-8A and not the GR.1. The GR.1 used a moving map display which took up a major portion of the bottom part of the instrument panel. The AV-8A deleted that and replaced it with a simple gyroscope. Close inspection of the instrument panel will show that the moving map is indeed a gyroscope.

AV-8A cockpit:
Image

GR.1:
Image

Decal:
Image

But as I'm using a model of the GR.1 variant I had to dig up some other decals for a USMC version. My other problem was as much as everyone likes gaudy squadron marking's I've always loved town downed markings, so I stole a set of decals from an old ESCI AV-8A kit for the low viz markings.

Image

Other bits and pieces I'm using:

Eduard:
Image

And some Reheat bezels as I want to scratch build the cockpit and use only bits of the eduard set:
Image.
Unarmed and Unafraid.
User avatar
ILuvMigs
Private First Class
Private First Class
Posts: 32
Joined: Sat Mar 15, 2014 9:10 am
Location: Manitoba,Canada

Re: Airfix 1/72 GR.1 converted to USMC AV-8A

Post by ILuvMigs »

Let's begin:
Tonight I started off slow. I've always loved molded details when it comes to cockpits. Things you and see and pick out with paint. The photo-etch stuff seem pretty one dimensional and I like more eye popping that one dimension. I also abhor the pre-painted photo-etch that now seems to be prevalent, so resin is my thing. Unfortunately there is not resin st for the AV-8A or GR.1 at the point and the closest thing was Pavla's FRS.1 Sea Harrier cockpit. The only problem... the instrument panel is different so I decided to bit the bullet and try something I've not done before, scratch build the cockpit. This started with grinding down the instrument panel and then adding some beef to the middle of the panel as in the Cockpit picture above the middle portion of the panel seems to protrude from the panel a bit.

Before:
Image

After:
Image


Also, I decide to spruce up the wings a bit bu dropping the inner flaps as seen on many harriers. This was accomplished using an xacto and lightly scribing the panel lines but making sure to cut from different directions so as not to slant the cut. 4 cuts to the left and then 4 to the right. This seems ridiculous but I've noticed that when cutting plastic with Xacto knives if you cut in the same direction the cut seems to slant instead of giving a straight cut.
Image

With that done, day one of the build comes to a close. Tomorrow the cockpit!
Unarmed and Unafraid.
User avatar
ILuvMigs
Private First Class
Private First Class
Posts: 32
Joined: Sat Mar 15, 2014 9:10 am
Location: Manitoba,Canada

Re: Airfix 1/72 GR.1 converted to USMC AV-8A

Post by ILuvMigs »

So tonight entailed some work on the instrument panel. This was done using reheat "modern" bezels. Basically, I used CA glue applied to the area I wanted the bezel to go and using my tweezers and MEGA patience place the bezel.

Image

Image

Also started on at the same time was the main cockpit with the rudder petals and stick installed:

Image

Image

Airfix did a great job of the sidewalls, Greenstuff covering ejector pin marks that may or may not be visible after complete. The other will not:

Image

Image

After that a little work was done putting the front wheel well together. Here, I was impress with the detail airfix put into an area usually overlooked by most kit manufacturers.

Image

Image

Image

Image

Also done tonight was the air intake area.

Image

It's a very interesting set up that will have the fan fit between the intake package and the wheel well package.

Image
Unarmed and Unafraid.
Post Reply

Return to “Jet Aircraft”