
Tamiya Type 61
-
Schoof
- Chief Warrant Officer 3

- Posts: 2165
- Joined: Thu Aug 15, 2013 7:09 am
- Location: Veghel, Noord-Brabant, The Netherlands
Tamiya Type 61
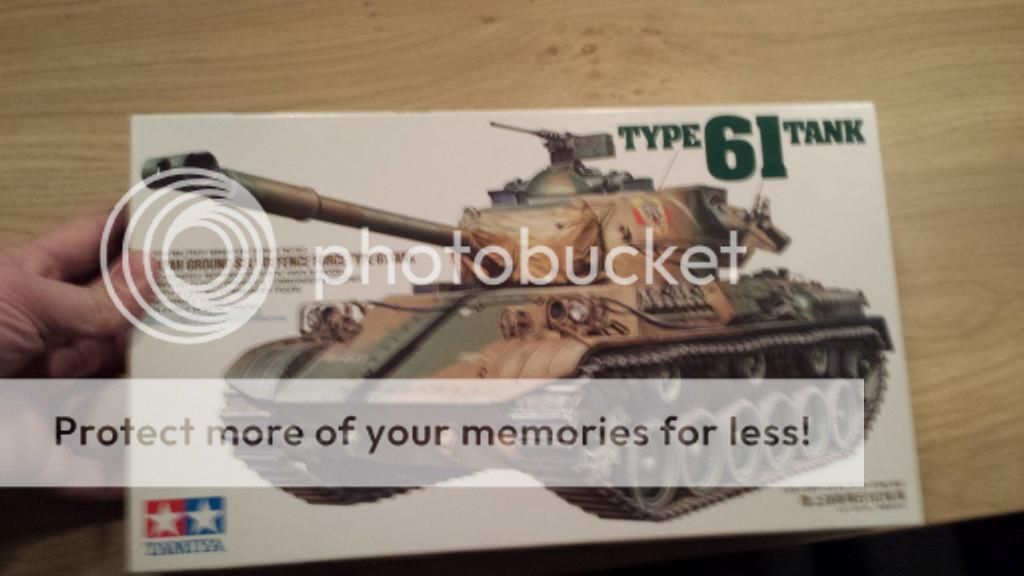
This is just to show you what I'm gonna be building for this SiG....
On the Bench:
Uhm. .... That. ..... And. .. uhm. ... That. ..... And. ..... uhm. ..... That. .... And. ... uhm. .. waaaaaaaaaaaaay too much
Uhm. .... That. ..... And. .. uhm. ... That. ..... And. ..... uhm. ..... That. .... And. ... uhm. ..
-
eightfooticeman

- First Sergeant

- Posts: 581
- Joined: Sat Nov 02, 2013 1:39 am
- Location: Woodbridge Virginia, USA

Re: Tamiya Type 61
I like it! 

Jermaine
On The Bench:1/12 Tamiya Honda NSR 500 Kit 14099
Ideas: ?
On Hold:1/48 Revell F-15E
On The Bench:1/12 Tamiya Honda NSR 500 Kit 14099
Ideas: ?
On Hold:1/48 Revell F-15E
-
EasyEight96

- Sergeant Major of the Army

- Posts: 1012
- Joined: Sat Jul 20, 2013 2:04 pm
- Location: Malaysia

Re: Tamiya Type 61
oooo another 61 in da house!!! Great choice!!
In -progress
Too many on the bench!!!
Matchbox Kits lover....
Too many on the bench!!!
Matchbox Kits lover....
-
Schoof
- Chief Warrant Officer 3
- Posts: 2165
- Joined: Thu Aug 15, 2013 7:09 am
- Location: Veghel, Noord-Brabant, The Netherlands
Re: Tamiya Type 61
Well here it goes ...... just a little warning , this will be a high speed tread as the build stage took me about 5 or 6 hours in total.....
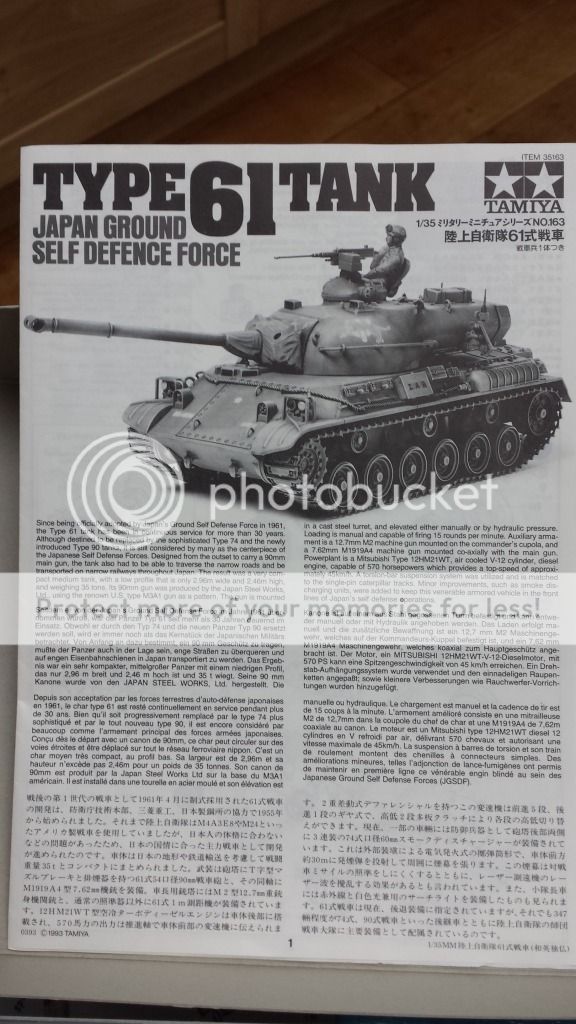
Lets start with so wiki wisdom:
Type 61
From Wikipedia, the free encyclopedia
The Type 61 (61式戦車?) was a main battle tank (MBT) developed and used by the Japan Ground Self-Defense Force (JGSDF), built by Mitsubishi Heavy Industries. Development started in 1955 and the vehicle was first deployed in April 1961. The type number follows the year of deployment. A total of 560 Type 61s were manufactured between 1961 to 1975, when production ceased.
History
After World War II, Supreme Commander of the Allied Powers (SCAP or aka GHQ in Japan) ceased all military manufacturing and development plants in Japan, resulting in Japan losing the technology needed to build and manufacture tanks and armored vehicles. However, due to the Korean War, SCAP ordered Japan to re-militarize, forming armed police forces (National Police Reserve, later called National Security Force, then finally Japan Ground Self Defense Force) and provided M4A3E8 Sherman and M24 Chaffee tanks. However, the average height of a Japanese person at the time was too small for the M4A3E8, and drivers had difficulty reaching the clutch pedal with their foot. In addition, the M4 was becoming obsolete. The M24, though it was popular among the Japanese crews, was inadequate when facing Soviet T-34-85s, as seen in Korea. Thus, as the tanks in JGSDF service at the time were obsolete/inadequate, the JGSDF was provided with the option of either purchasing the new American built M46 Patton and later, the M47 Patton or develop their own MBT in 1954. Due to the high cost of purchasing American made tanks, and because the M47 did not meet their requirements, the JGSDF decided on developing their own main battle tank, resulting in the development of the Type 61.
Development
In order to effectively use a small number of tanks to cover up a large area, the size and weight of the tank has to be light enough for trains to carry.
Due to the above target, the weight of the armour has to be limited around 25 tons yet as heavily armoured as possible.
Main cannon has to be 90 mm.
The weight was one of the main concerns since if the first constraint was met, the tank could also be transported by a specially modified truck through most major highways and tunnels in Japan. The second constraint couldn't be met due to the mock up development team finding out that the armour would be too thin to protect the vehicle. As a result, the armour weight constraint was raised to 35 tons for a while. However, due to a delays in the production of the planned diesel engine, the tank did not have enough power to attain good mobility. As a result the weight of the armour was reduced. The final constraint was due to the light body build of Japanese people at that time, after examining the M36 Jackson, 90 millimeter ammunition was felt to be the upper limit of what an average Japanese tanker could handle effectively. Additionally due to the mountainous landscape of Japan, it was unlikely that long range engagements would occur frequently and it was thought that a 90 millimeter gun would be sufficient.
The first test vehicles, STA-1 (completed in December 1956)[1] and STA-2 (completed in February 1957)[2] were built and tested. The results were used to develop the STA-3 (completed in January 1960)[3] and STA-4 (completed in November 1959)[4] in 1960. More improvements were made in 1961 and the deployment of the Type 61 started in the same year.
The initial production rate was low, with only ten tanks produced in 1961 and 1962, increasing to twenty in 1964 and thirty in 1965 and 1966. A total of 250 had been produced by 1970, with production continuing at an increased pace until 1975 when it was terminated. A total of 560 were produced.[5] The tanks were phased out of service in the 1990s with 400 in service in 1990, and 190 in service in 1995. All were decommissioned by 2000, 39 years after their original deployment.[6] During this period, the Type 61 received minor upgrades in the form of infra red searchlights and/or smoke dischargers. From 1980, Type 61's began to be supplemented by the more modern Type 74 MBT.
Description
Type 61 tanks on the move in 1985 as part of a joint US/Japanese exercise.
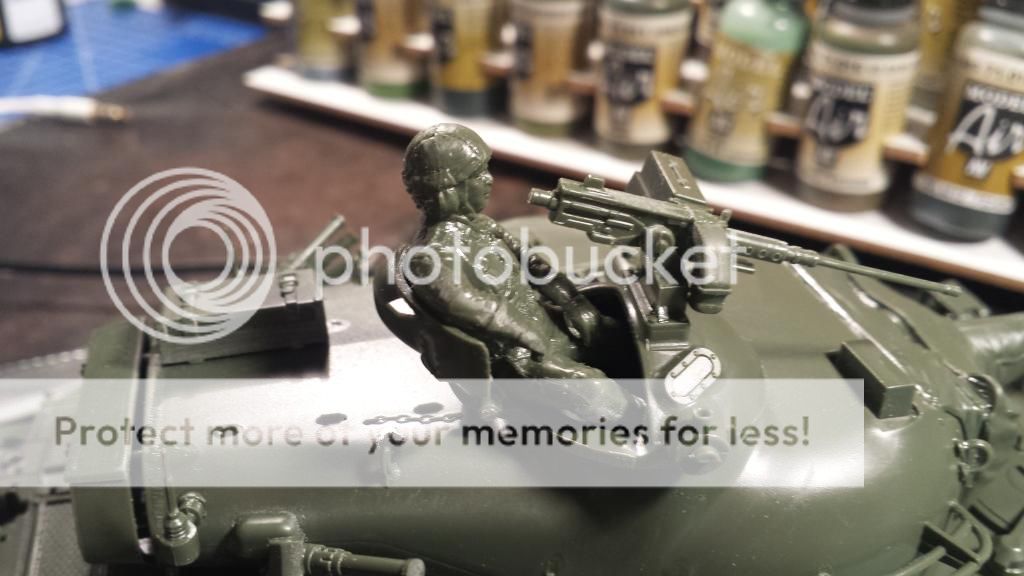
The Type 61 is conventionally laid out, with a central turret and the engine located at the rear of the hull. The tank has a crew of four, a commander, driver, gunner and loader. The hull is welded steel, with a cast steel turret. The maximum armour thickness is quoted as 64 millimeters. The driver sits at the front right of the hull, with a hatch immediately above him, and three vision periscopes covering the forward arc. To the drivers left is the transmission, which can be accessed for servicing by removing a large panel on the front of the hull. The commander and gunner sit in the turret on the right side, with the commander provided with a large domed cupola with a hatch on the rear of it. The cupola has four vision blocks, which are angled upward, and a one meter base stereoscopic rangefinder with x7 magnification. A 12.7 mm machine gun was normally mounted on the cupola for anti-aircraft use.
The gunner does not have a hatch and is seated forward of the commander. The gunner has a x6 magnification periscope, as well as a x6 magnification sight. The main gun was the Type 61 90 millimeter calibre rifled gun with a horizontal sliding breach block. The gun is fitted with a t-shaped muzzle brake, which diverts firing gases sideways, and reduces the amount of dust kicked up by firing. A coaxial 7.62 millimeter machine gun is mounted next to the gun.
The loader is provided with a small hatch, which has a small flap in it for ejecting spent shell cases by hand. Storage is provided for 18 rounds in the bustle at the rear of the tank, with additional rounds being distributed in various positions inside the tank.
A tool storage box was normally mounted externally on the rear of the bustle, and three smoke grenade launchers were mounted on each side of the turret. Two large radio antenna were also attached to the rear of the bustle.
The tank was powered by a 570 horsepower Mitsubishi HM21 WT V12 turbocharged diesel mounted at the rear of the hull and exhausting through pipes on either side of the rear of the hull. The engine is coupled to a Mitsubishi manual transmission system. The track is driven from the front, and has six rubber road wheels on each side along with three return rollers. The suspension is a torsion bar system with the first, second and sixth road wheel fitted with hydraulic shock absorbers.
The main gun is unstabilized, so firing on the move was impractical, and the vehicle is not fitted with an NBC protection system or deep wading equipment.
Variant
Type 67 AVLB (Armored vehicle launch bridge) (67式戦車橋)
Type 70 ARV (Armored Recovery Vehicle) (70式戦車回収車)
Operators
Japan - 560 in service between 1961 and 2000
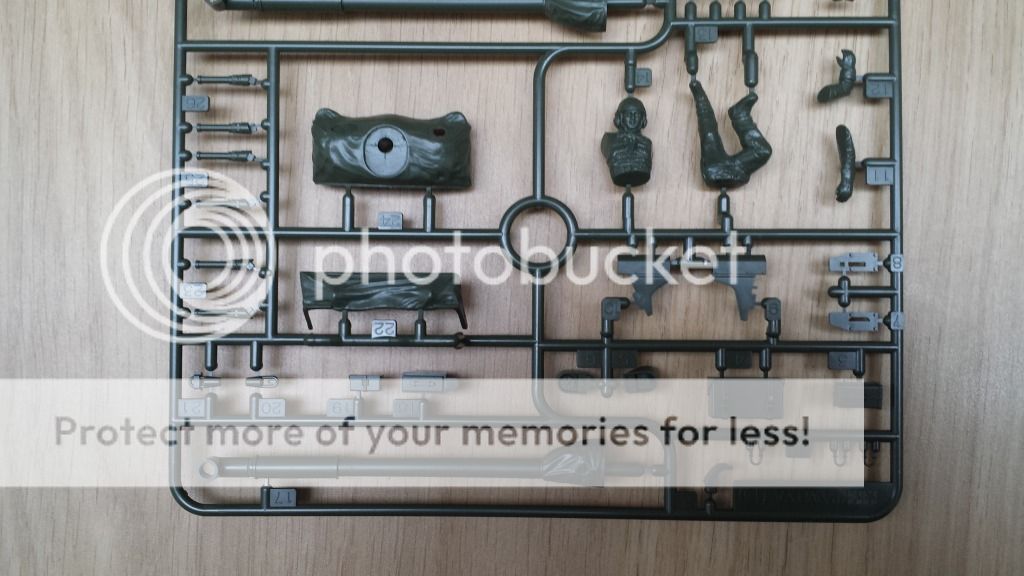
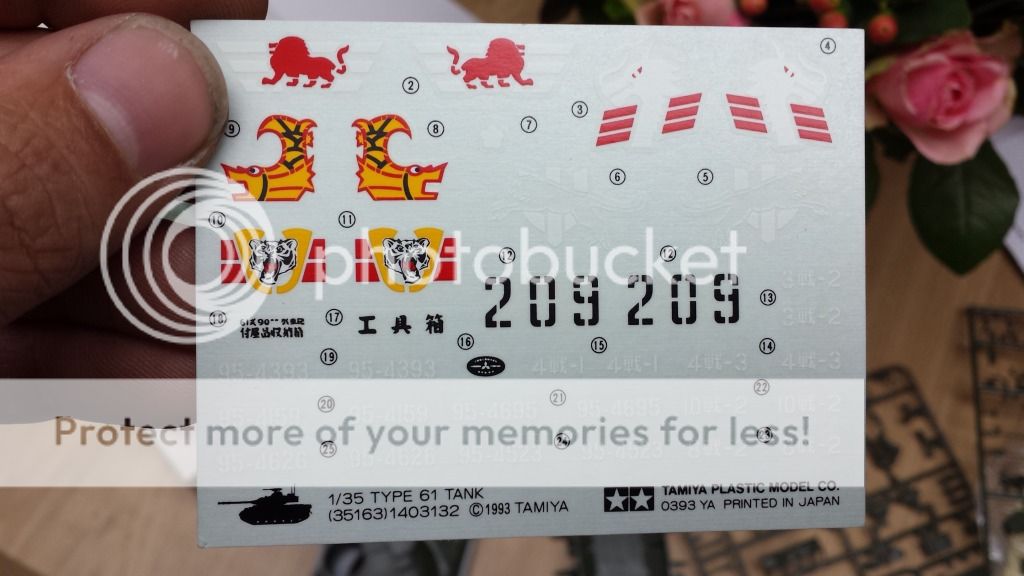
And now the Kit:
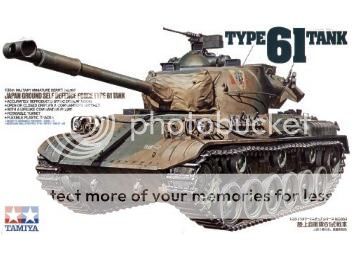

Yes it`s that old !
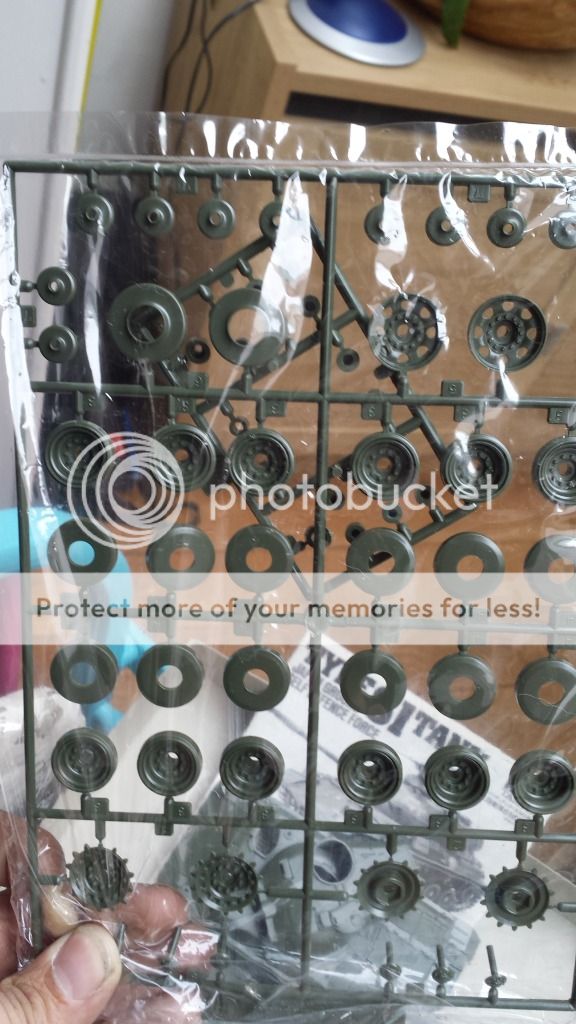
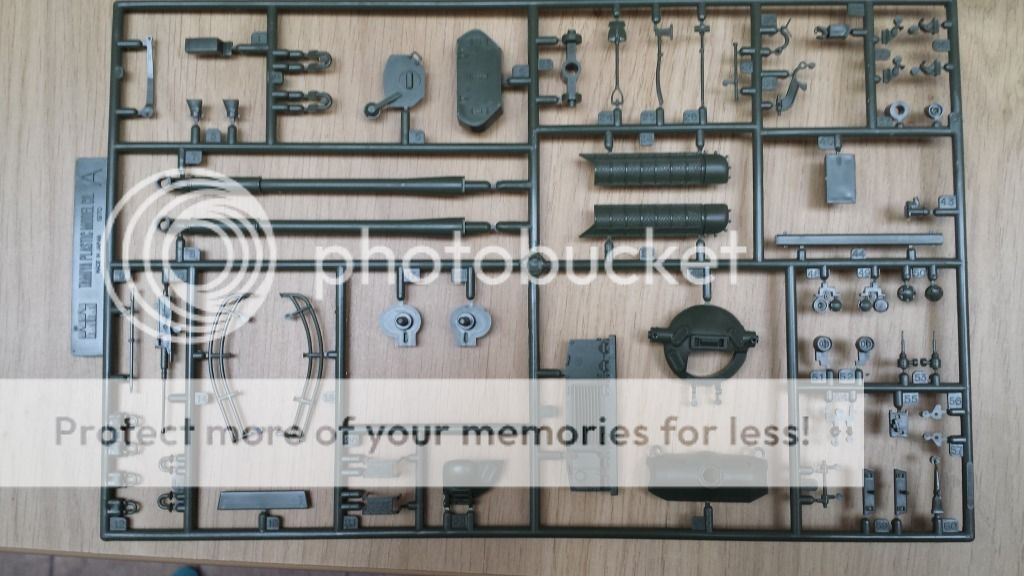
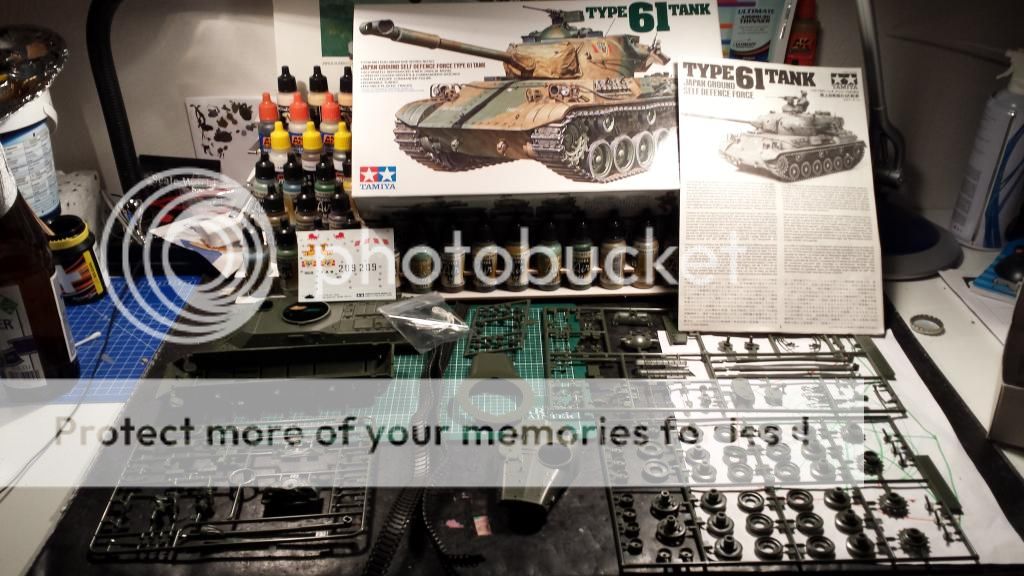
and so the build starts
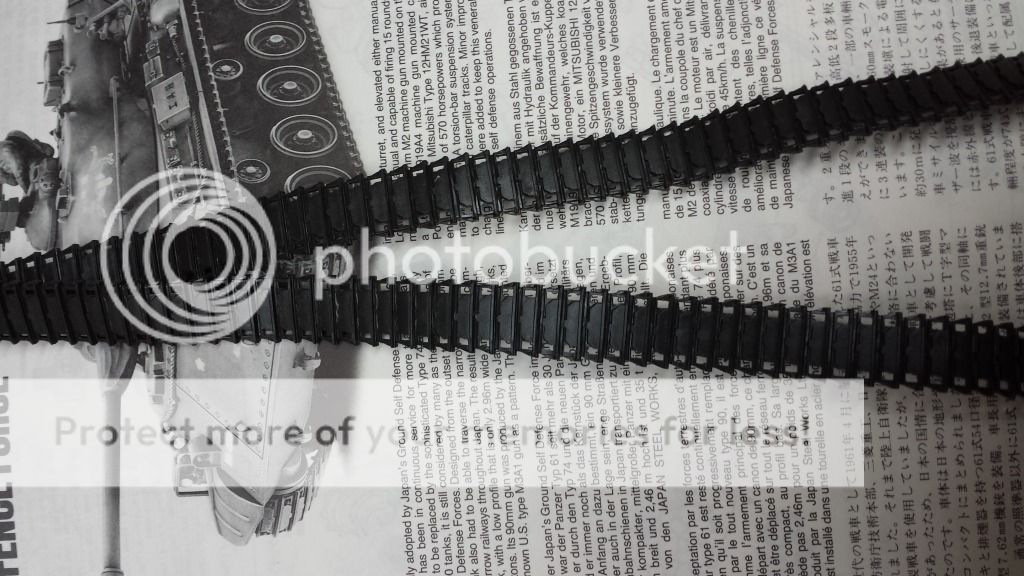
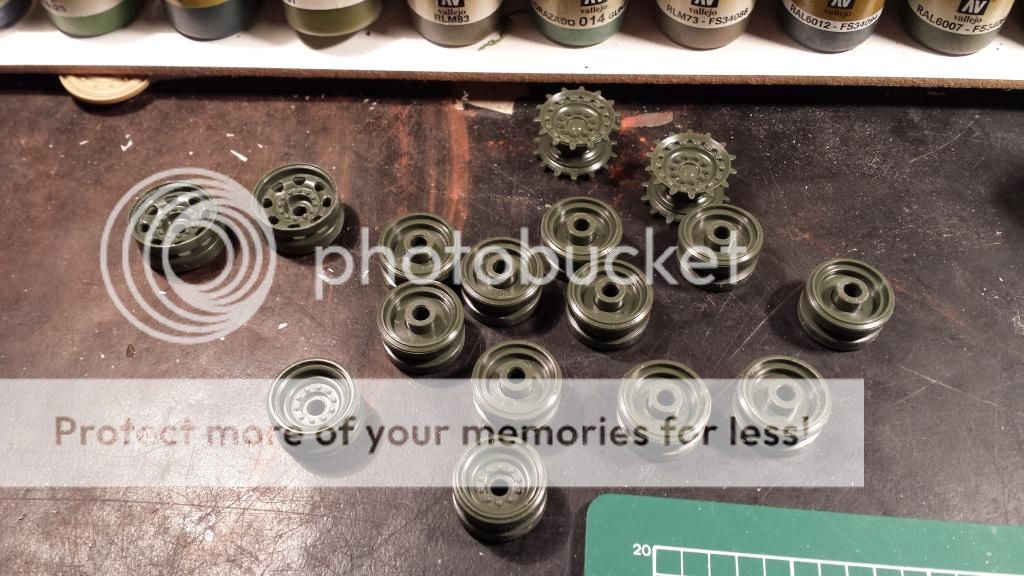
First, as always, the wheels are being assembled
And because the suspension is molded on next ,i read the instructions wrong, i jumped to the upper hull, tools, lights, exhausts and more are added to the hull

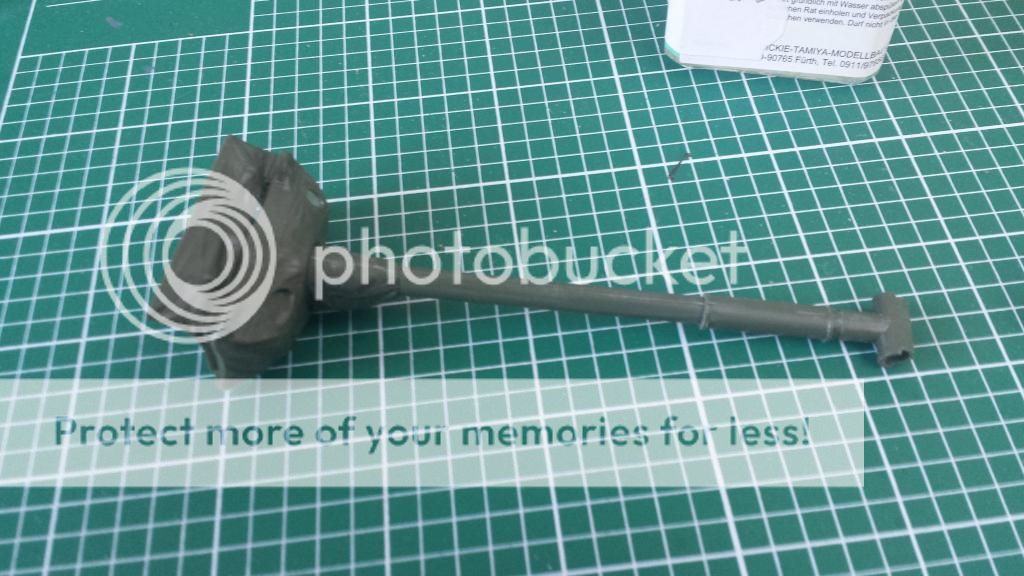
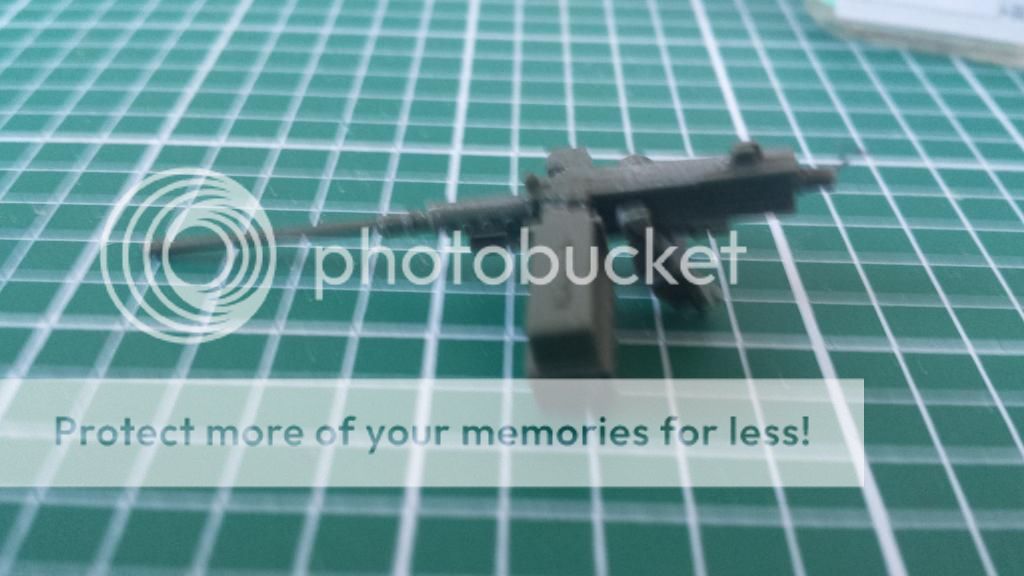
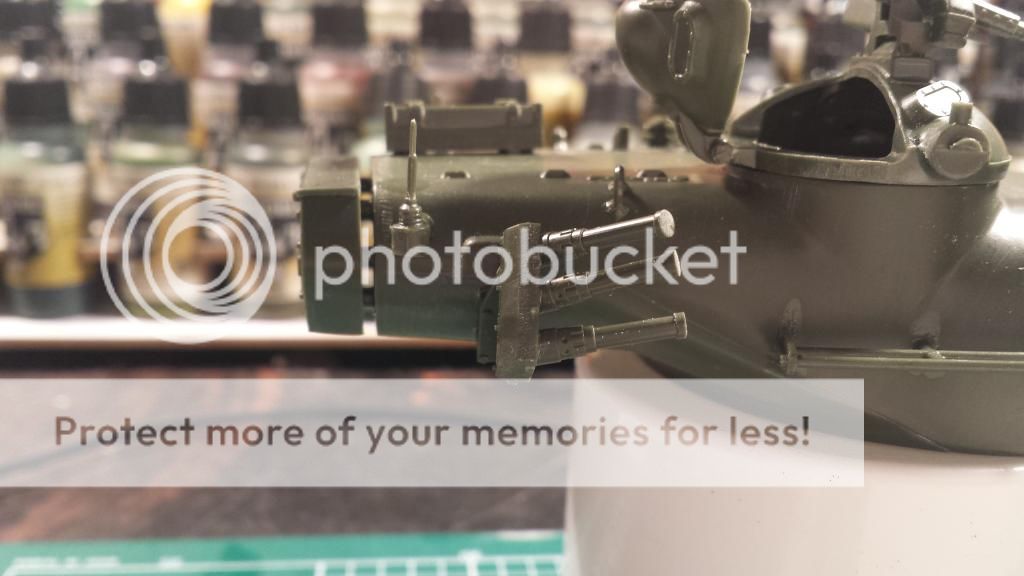
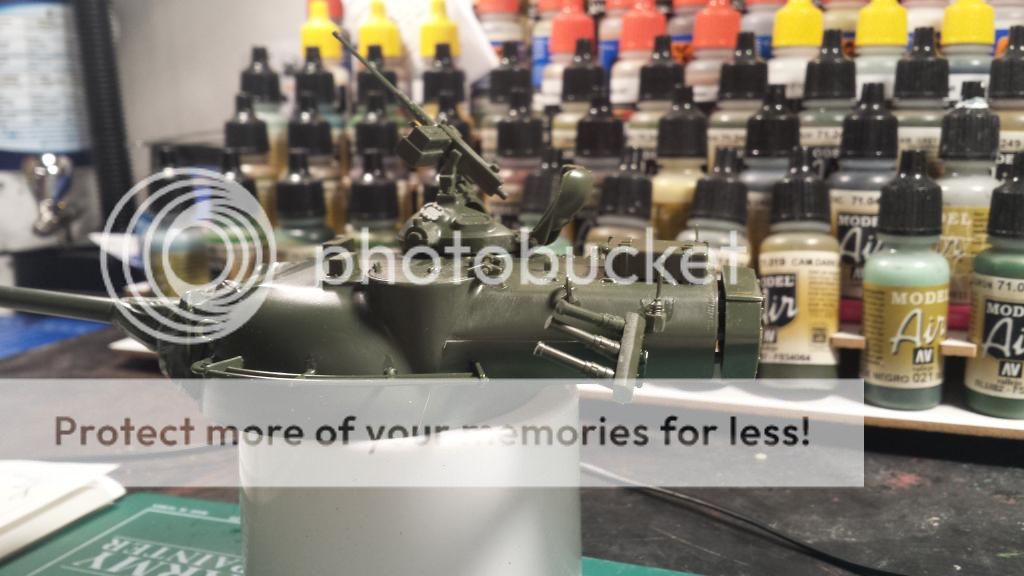
and as i was already skipping steps why not do the main gun next
Next up .......the MG ( sorry for the blurry pic)
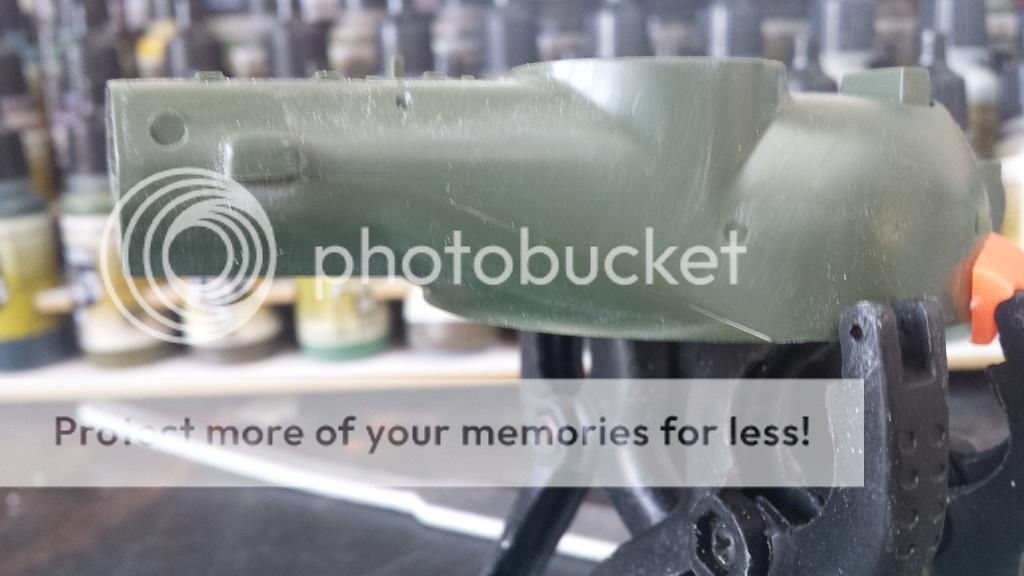
After that i started on the turret which needed some serious clamping

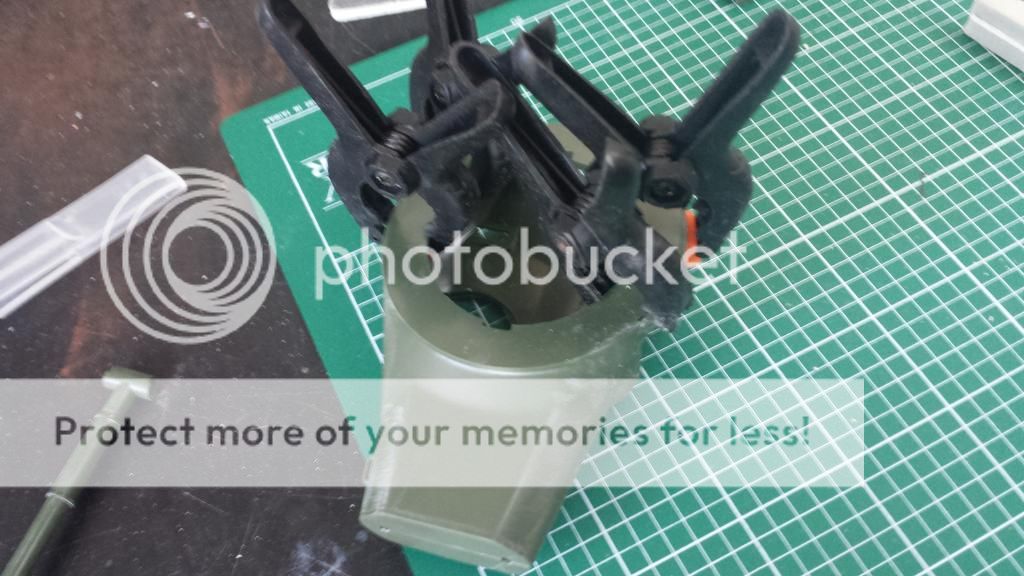
This left the turret with quiet a seam
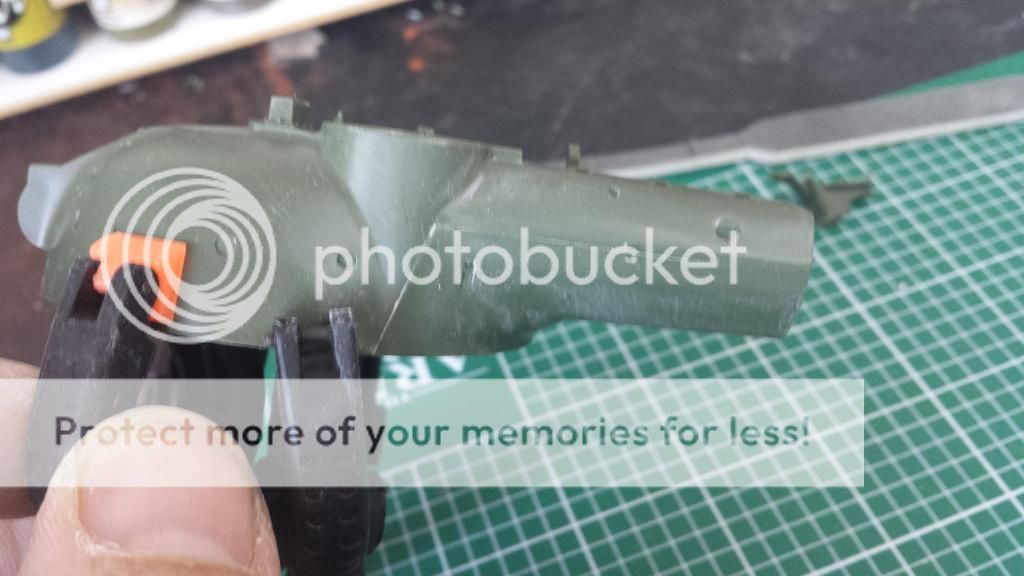
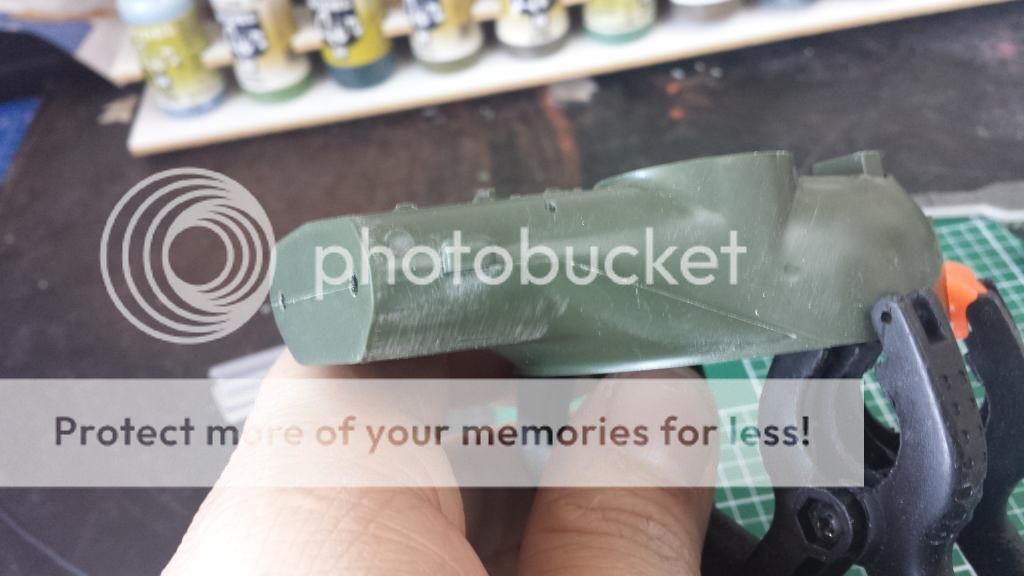
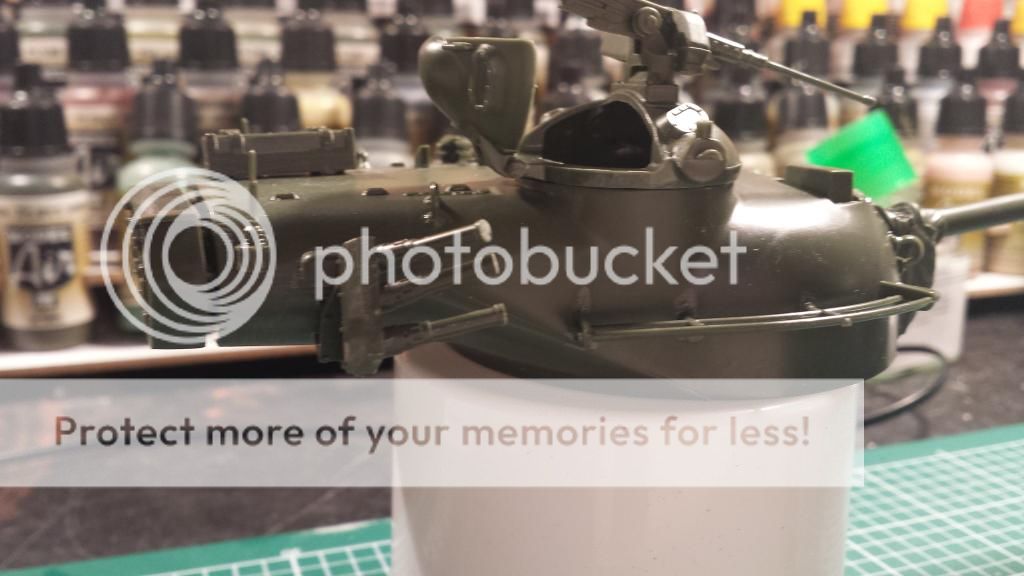
But after the intense use of some cheap ass no name trow away sanders and buffer........


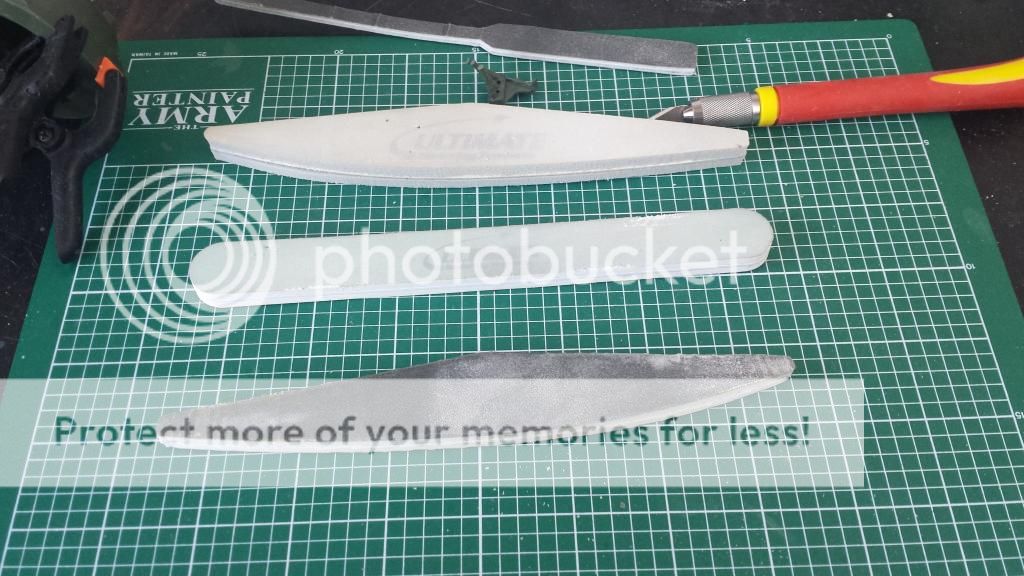
the big seam turned into a weld line ( of sorts )
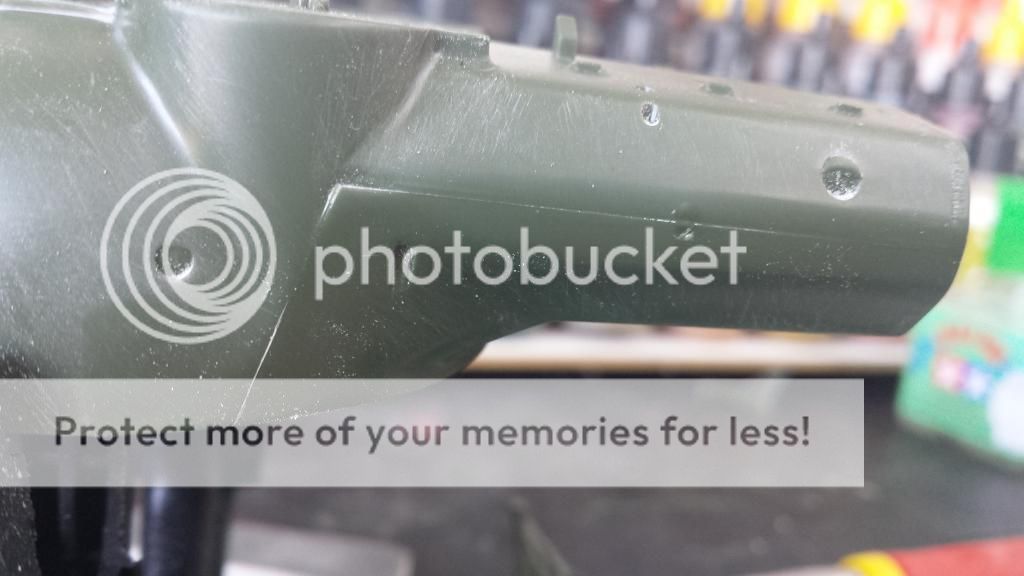
Next up........ dressing up the turret and mounting the gun which needed some good clamping ( again )
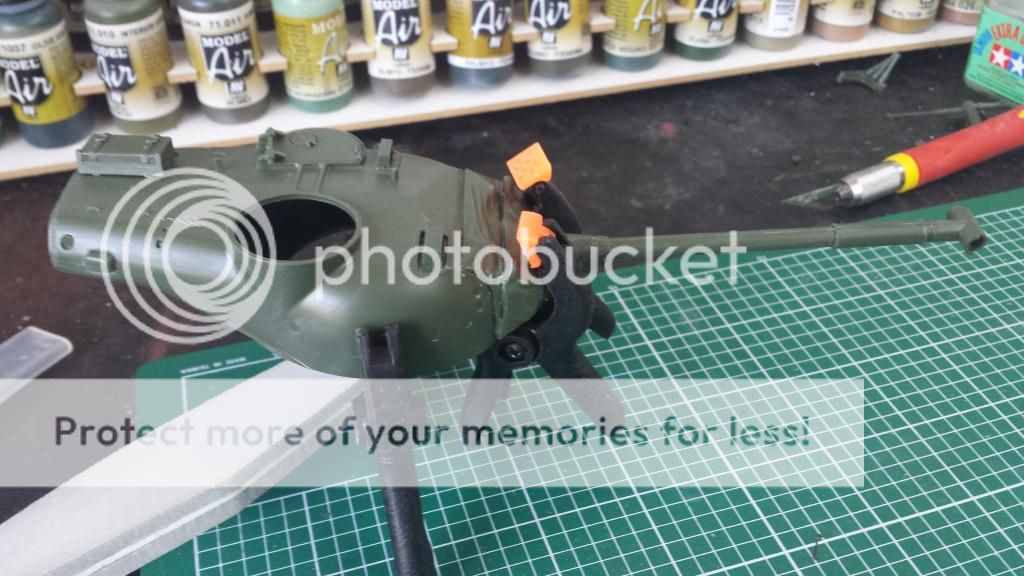
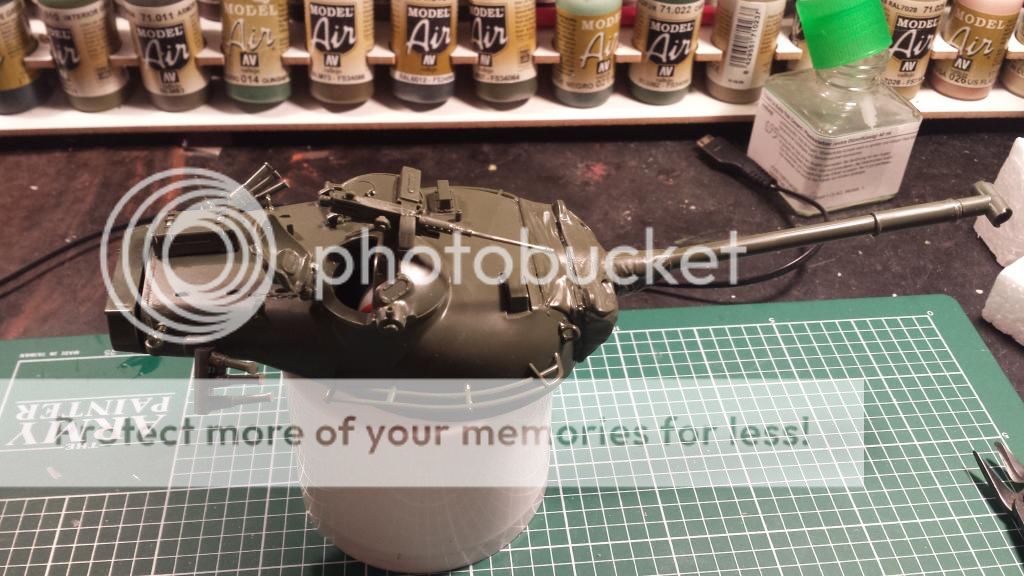
yes , the gap between the turret and the turret basket is supposed to be there ( i checked 4 times myself )
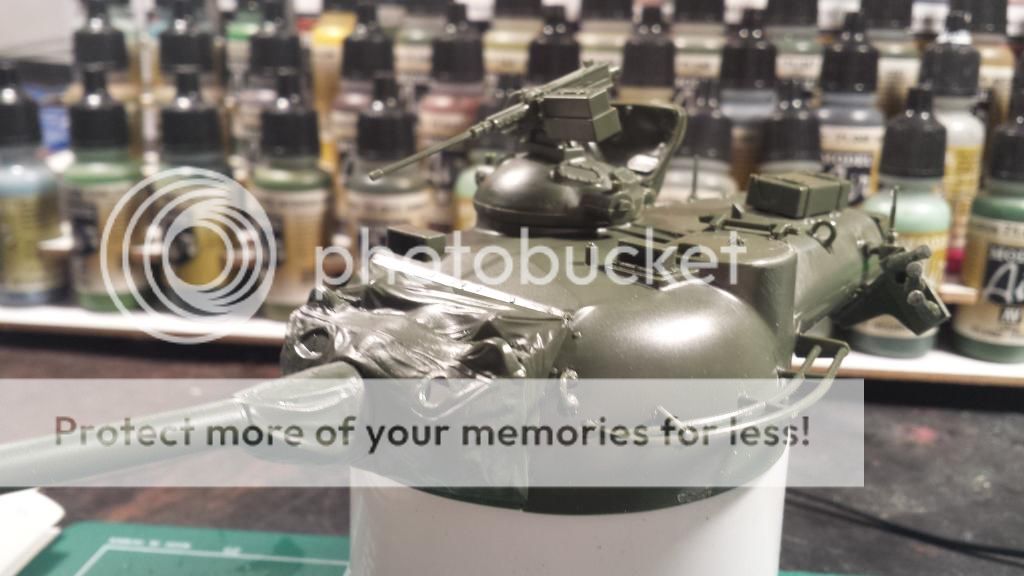
well and then all the was left was to glue the commander together and join the turret with the hull ......
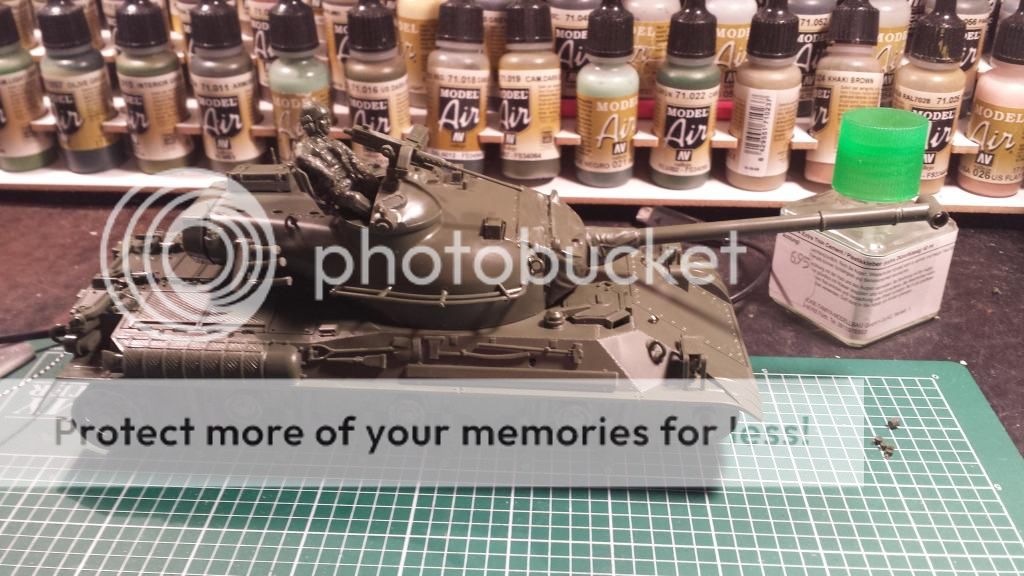
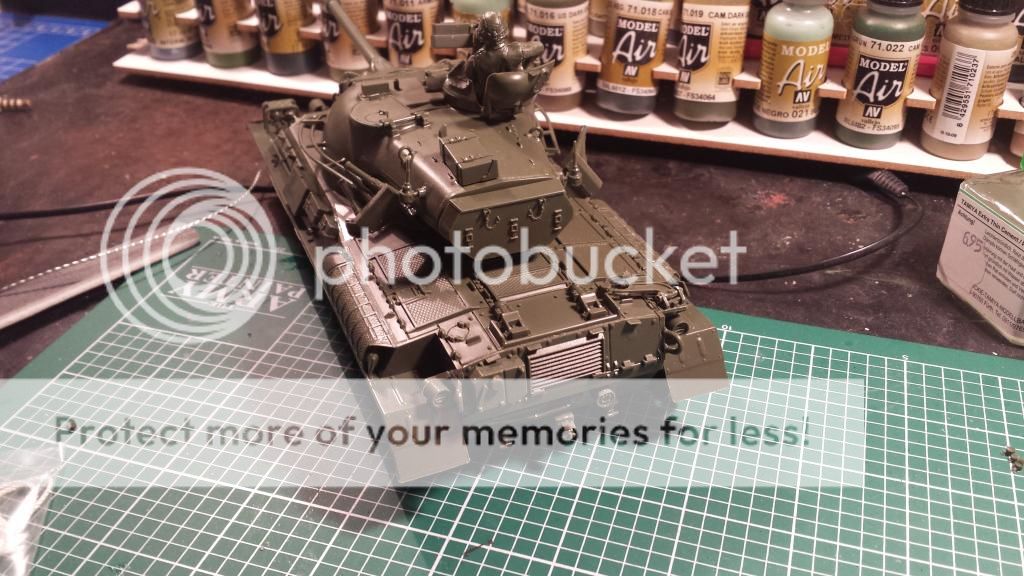
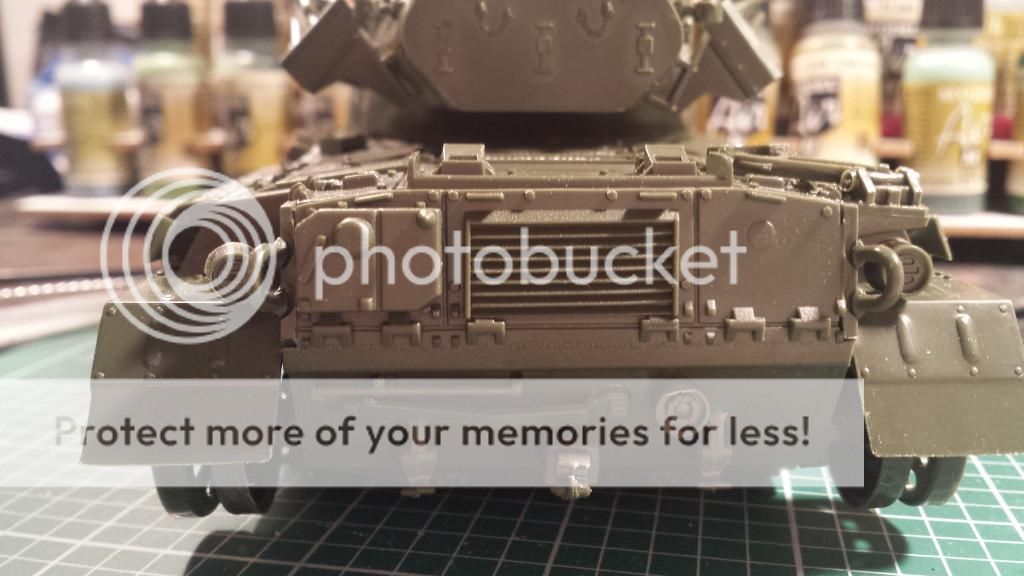
nice ars.... uhm behind
travellock

all the tools in place

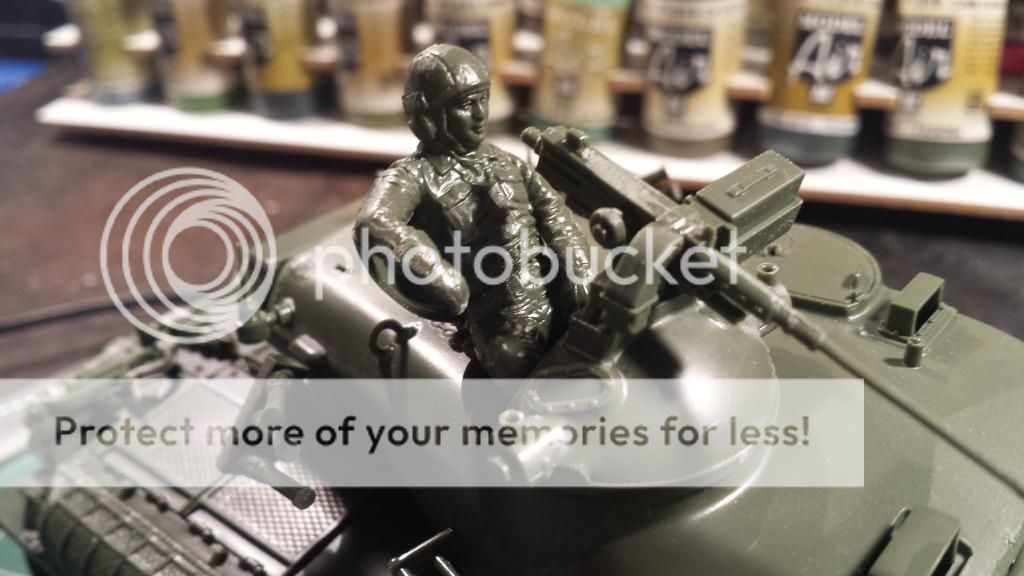
one relaxed Japanese
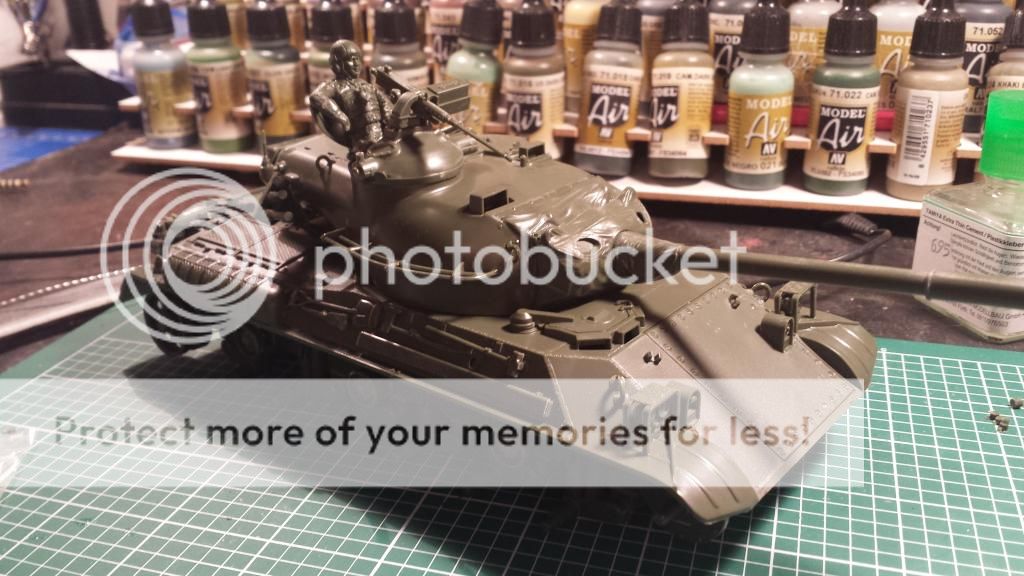
well..... that`s it for the build part.......... to be continued
Lets start with so wiki wisdom:
Type 61
From Wikipedia, the free encyclopedia
The Type 61 (61式戦車?) was a main battle tank (MBT) developed and used by the Japan Ground Self-Defense Force (JGSDF), built by Mitsubishi Heavy Industries. Development started in 1955 and the vehicle was first deployed in April 1961. The type number follows the year of deployment. A total of 560 Type 61s were manufactured between 1961 to 1975, when production ceased.
History
After World War II, Supreme Commander of the Allied Powers (SCAP or aka GHQ in Japan) ceased all military manufacturing and development plants in Japan, resulting in Japan losing the technology needed to build and manufacture tanks and armored vehicles. However, due to the Korean War, SCAP ordered Japan to re-militarize, forming armed police forces (National Police Reserve, later called National Security Force, then finally Japan Ground Self Defense Force) and provided M4A3E8 Sherman and M24 Chaffee tanks. However, the average height of a Japanese person at the time was too small for the M4A3E8, and drivers had difficulty reaching the clutch pedal with their foot. In addition, the M4 was becoming obsolete. The M24, though it was popular among the Japanese crews, was inadequate when facing Soviet T-34-85s, as seen in Korea. Thus, as the tanks in JGSDF service at the time were obsolete/inadequate, the JGSDF was provided with the option of either purchasing the new American built M46 Patton and later, the M47 Patton or develop their own MBT in 1954. Due to the high cost of purchasing American made tanks, and because the M47 did not meet their requirements, the JGSDF decided on developing their own main battle tank, resulting in the development of the Type 61.
Development
In order to effectively use a small number of tanks to cover up a large area, the size and weight of the tank has to be light enough for trains to carry.
Due to the above target, the weight of the armour has to be limited around 25 tons yet as heavily armoured as possible.
Main cannon has to be 90 mm.
The weight was one of the main concerns since if the first constraint was met, the tank could also be transported by a specially modified truck through most major highways and tunnels in Japan. The second constraint couldn't be met due to the mock up development team finding out that the armour would be too thin to protect the vehicle. As a result, the armour weight constraint was raised to 35 tons for a while. However, due to a delays in the production of the planned diesel engine, the tank did not have enough power to attain good mobility. As a result the weight of the armour was reduced. The final constraint was due to the light body build of Japanese people at that time, after examining the M36 Jackson, 90 millimeter ammunition was felt to be the upper limit of what an average Japanese tanker could handle effectively. Additionally due to the mountainous landscape of Japan, it was unlikely that long range engagements would occur frequently and it was thought that a 90 millimeter gun would be sufficient.
The first test vehicles, STA-1 (completed in December 1956)[1] and STA-2 (completed in February 1957)[2] were built and tested. The results were used to develop the STA-3 (completed in January 1960)[3] and STA-4 (completed in November 1959)[4] in 1960. More improvements were made in 1961 and the deployment of the Type 61 started in the same year.
The initial production rate was low, with only ten tanks produced in 1961 and 1962, increasing to twenty in 1964 and thirty in 1965 and 1966. A total of 250 had been produced by 1970, with production continuing at an increased pace until 1975 when it was terminated. A total of 560 were produced.[5] The tanks were phased out of service in the 1990s with 400 in service in 1990, and 190 in service in 1995. All were decommissioned by 2000, 39 years after their original deployment.[6] During this period, the Type 61 received minor upgrades in the form of infra red searchlights and/or smoke dischargers. From 1980, Type 61's began to be supplemented by the more modern Type 74 MBT.
Description
Type 61 tanks on the move in 1985 as part of a joint US/Japanese exercise.
The Type 61 is conventionally laid out, with a central turret and the engine located at the rear of the hull. The tank has a crew of four, a commander, driver, gunner and loader. The hull is welded steel, with a cast steel turret. The maximum armour thickness is quoted as 64 millimeters. The driver sits at the front right of the hull, with a hatch immediately above him, and three vision periscopes covering the forward arc. To the drivers left is the transmission, which can be accessed for servicing by removing a large panel on the front of the hull. The commander and gunner sit in the turret on the right side, with the commander provided with a large domed cupola with a hatch on the rear of it. The cupola has four vision blocks, which are angled upward, and a one meter base stereoscopic rangefinder with x7 magnification. A 12.7 mm machine gun was normally mounted on the cupola for anti-aircraft use.
The gunner does not have a hatch and is seated forward of the commander. The gunner has a x6 magnification periscope, as well as a x6 magnification sight. The main gun was the Type 61 90 millimeter calibre rifled gun with a horizontal sliding breach block. The gun is fitted with a t-shaped muzzle brake, which diverts firing gases sideways, and reduces the amount of dust kicked up by firing. A coaxial 7.62 millimeter machine gun is mounted next to the gun.
The loader is provided with a small hatch, which has a small flap in it for ejecting spent shell cases by hand. Storage is provided for 18 rounds in the bustle at the rear of the tank, with additional rounds being distributed in various positions inside the tank.
A tool storage box was normally mounted externally on the rear of the bustle, and three smoke grenade launchers were mounted on each side of the turret. Two large radio antenna were also attached to the rear of the bustle.
The tank was powered by a 570 horsepower Mitsubishi HM21 WT V12 turbocharged diesel mounted at the rear of the hull and exhausting through pipes on either side of the rear of the hull. The engine is coupled to a Mitsubishi manual transmission system. The track is driven from the front, and has six rubber road wheels on each side along with three return rollers. The suspension is a torsion bar system with the first, second and sixth road wheel fitted with hydraulic shock absorbers.
The main gun is unstabilized, so firing on the move was impractical, and the vehicle is not fitted with an NBC protection system or deep wading equipment.
Variant
Type 67 AVLB (Armored vehicle launch bridge) (67式戦車橋)
Type 70 ARV (Armored Recovery Vehicle) (70式戦車回収車)
Operators
Japan - 560 in service between 1961 and 2000
And now the Kit:


Yes it`s that old !


and so the build starts
First, as always, the wheels are being assembled

And because the suspension is molded on next ,i read the instructions wrong, i jumped to the upper hull, tools, lights, exhausts and more are added to the hull

and as i was already skipping steps why not do the main gun next

Next up .......the MG ( sorry for the blurry pic)

After that i started on the turret which needed some serious clamping


This left the turret with quiet a seam


But after the intense use of some cheap ass no name trow away sanders and buffer........

the big seam turned into a weld line ( of sorts )


Next up........ dressing up the turret and mounting the gun which needed some good clamping ( again )


yes , the gap between the turret and the turret basket is supposed to be there ( i checked 4 times myself )


well and then all the was left was to glue the commander together and join the turret with the hull ......


nice ars.... uhm behind

travellock

all the tools in place

one relaxed Japanese


well..... that`s it for the build part.......... to be continued
On the Bench:
Uhm. .... That. ..... And. .. uhm. ... That. ..... And. ..... uhm. ..... That. .... And. ... uhm. .. waaaaaaaaaaaaay too much
Uhm. .... That. ..... And. .. uhm. ... That. ..... And. ..... uhm. ..... That. .... And. ... uhm. ..
-
Schoof
- Chief Warrant Officer 3
- Posts: 2165
- Joined: Thu Aug 15, 2013 7:09 am
- Location: Veghel, Noord-Brabant, The Netherlands
Re: Tamiya Type 61
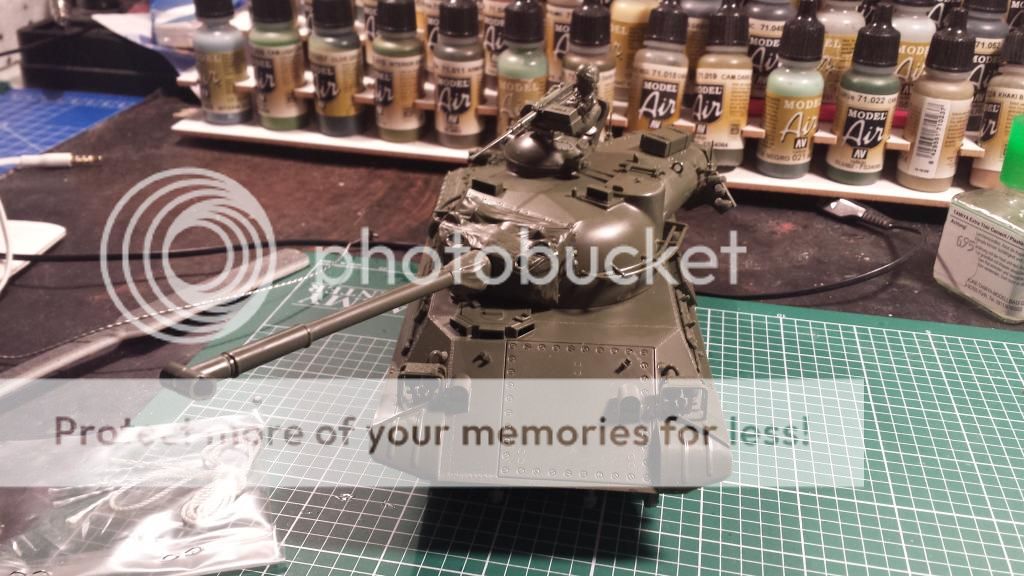
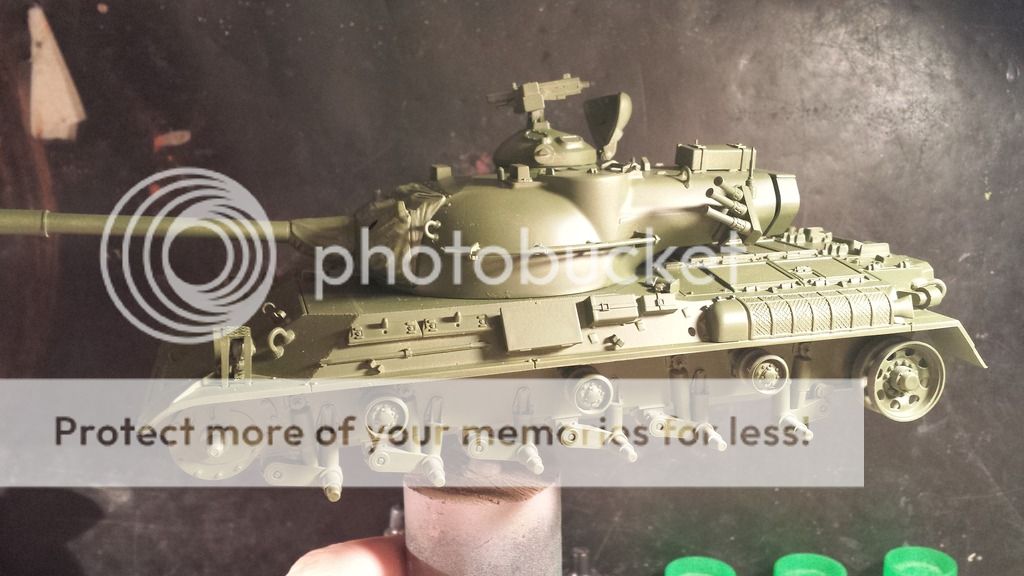
i know it`s been a while but a curtain Lord`s Tiger build kept me bussy....
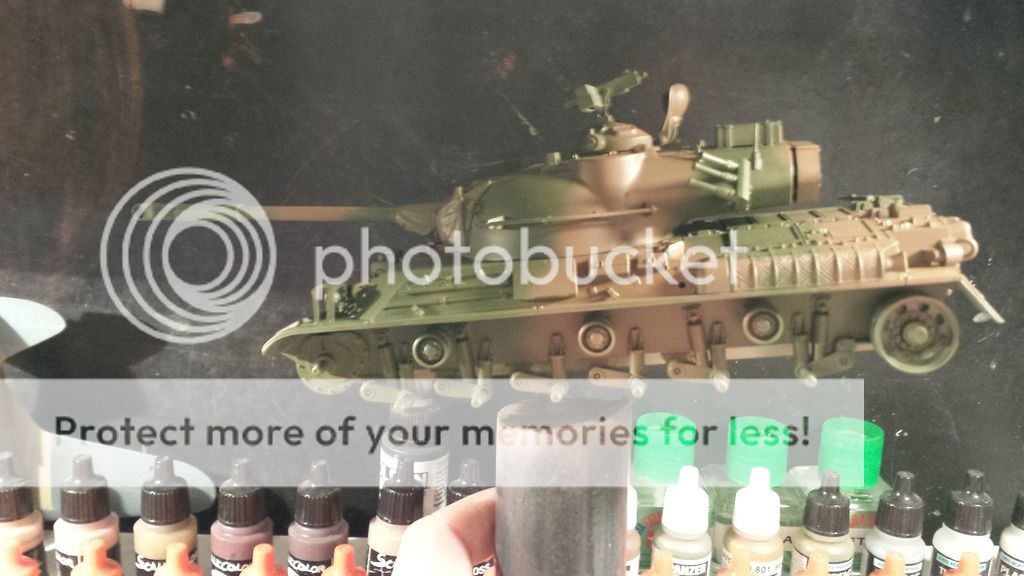
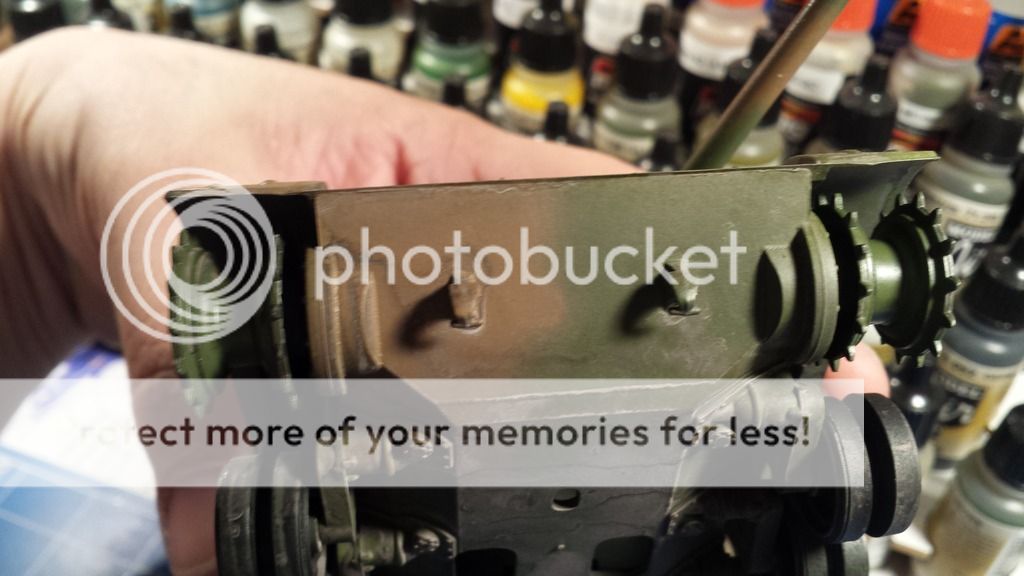
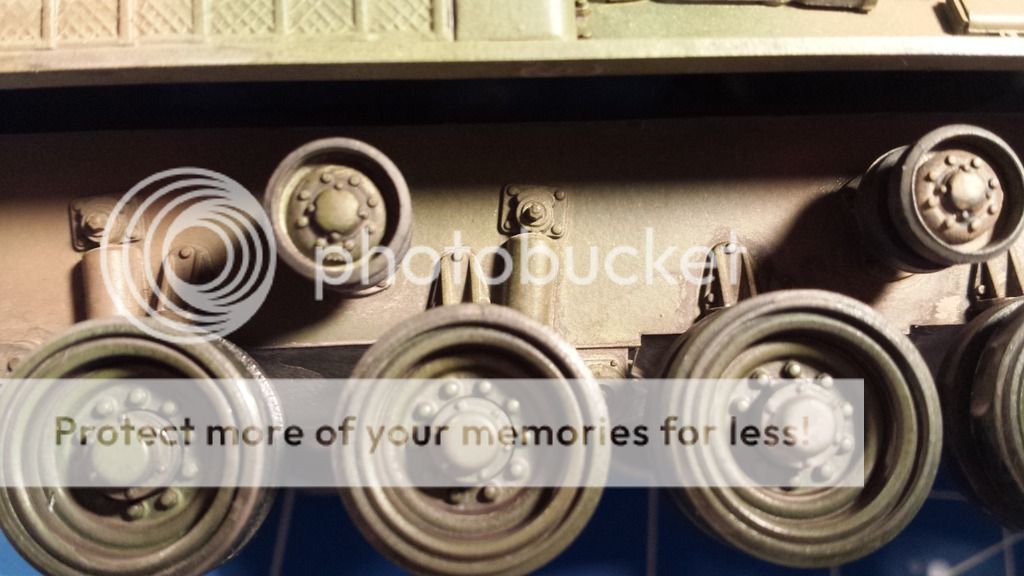
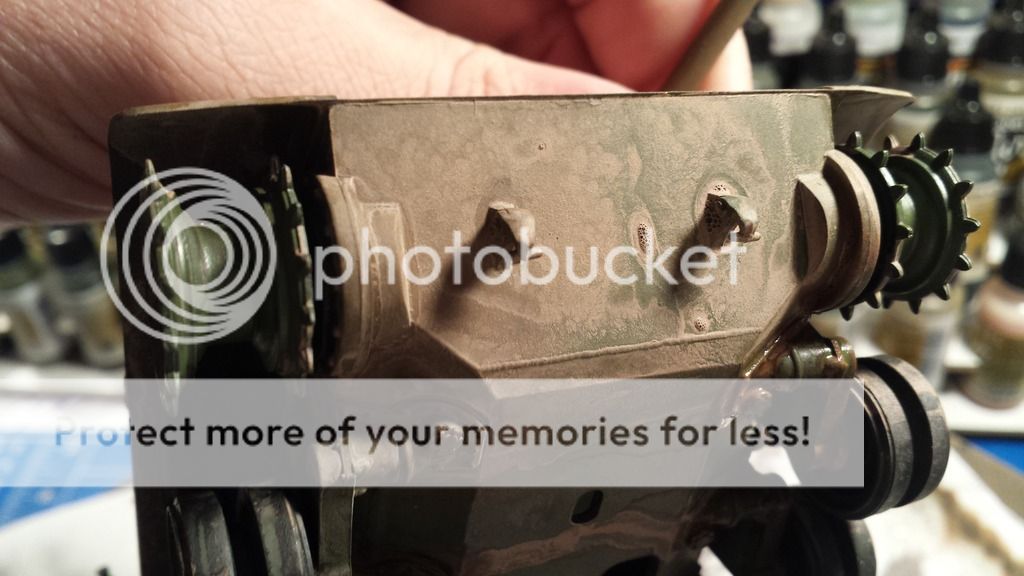
The primer is on ..... the paint will go on this weekend


The primer is on ..... the paint will go on this weekend


On the Bench:
Uhm. .... That. ..... And. .. uhm. ... That. ..... And. ..... uhm. ..... That. .... And. ... uhm. .. waaaaaaaaaaaaay too much
Uhm. .... That. ..... And. .. uhm. ... That. ..... And. ..... uhm. ..... That. .... And. ... uhm. ..
-
EasyEight96
- Sergeant Major of the Army
- Posts: 1012
- Joined: Sat Jul 20, 2013 2:04 pm
- Location: Malaysia
Re: Tamiya Type 61
Now that is fast nice job so far Sebastian
In -progress
Too many on the bench!!!
Matchbox Kits lover....
Too many on the bench!!!
Matchbox Kits lover....
-
Schoof
- Chief Warrant Officer 3
- Posts: 2165
- Joined: Thu Aug 15, 2013 7:09 am
- Location: Veghel, Noord-Brabant, The Netherlands
Re: Tamiya Type 61
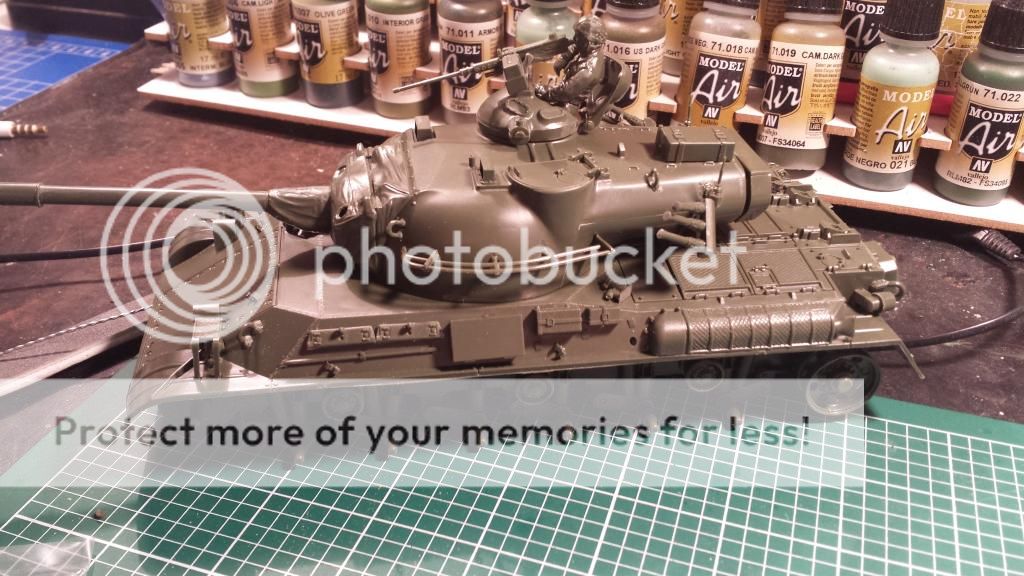
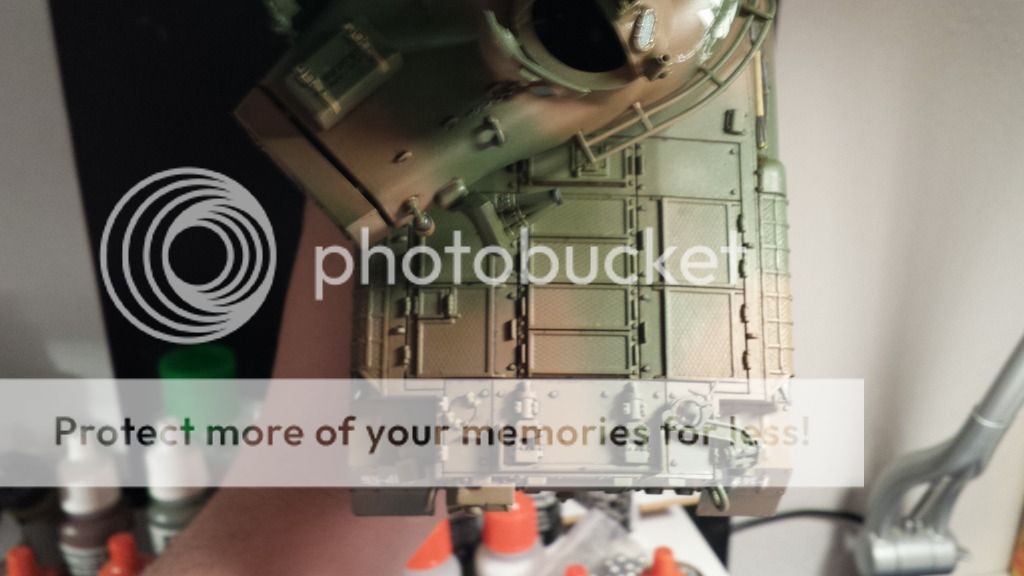
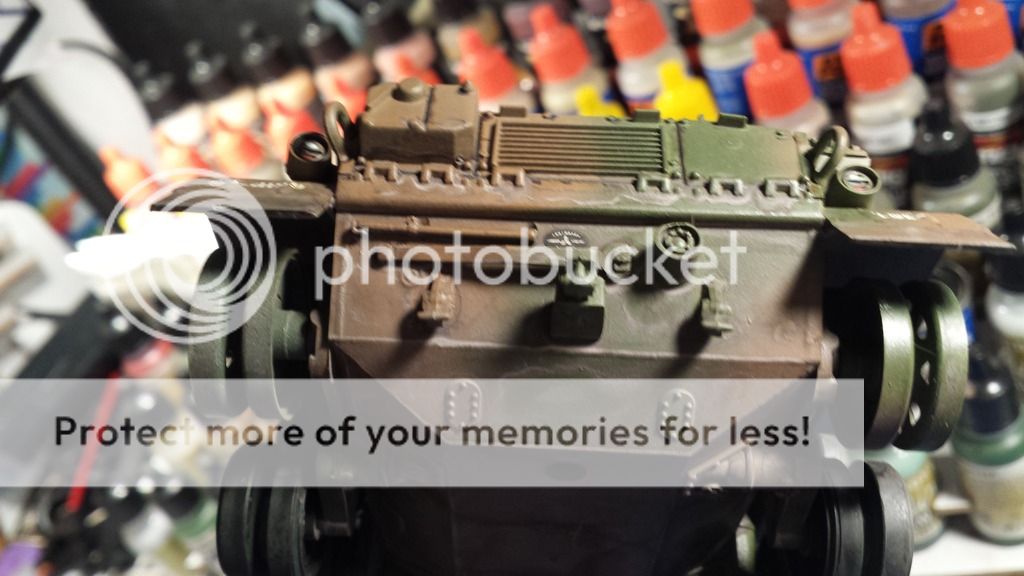
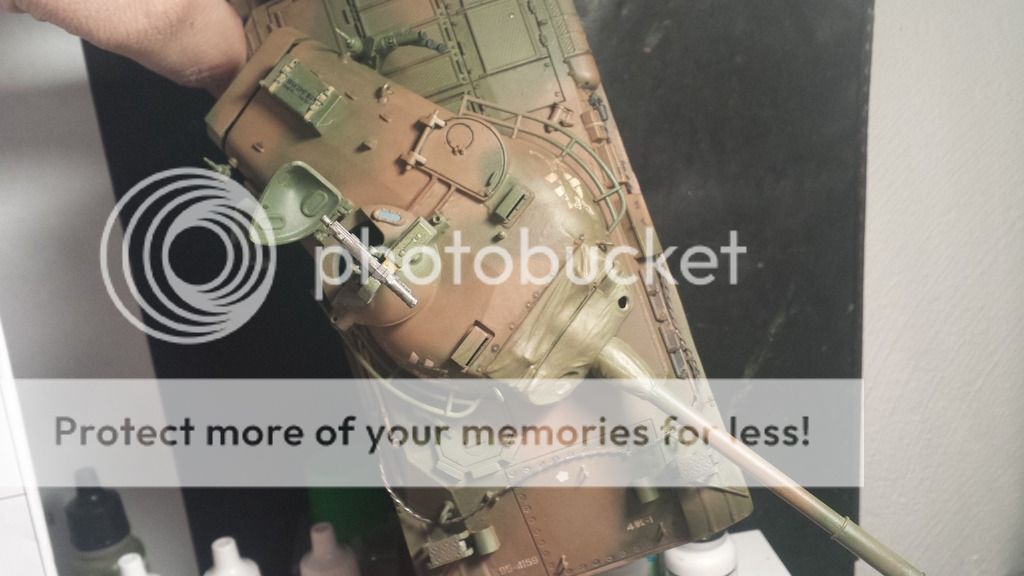
Next step. ....2-tone camo. ........ done
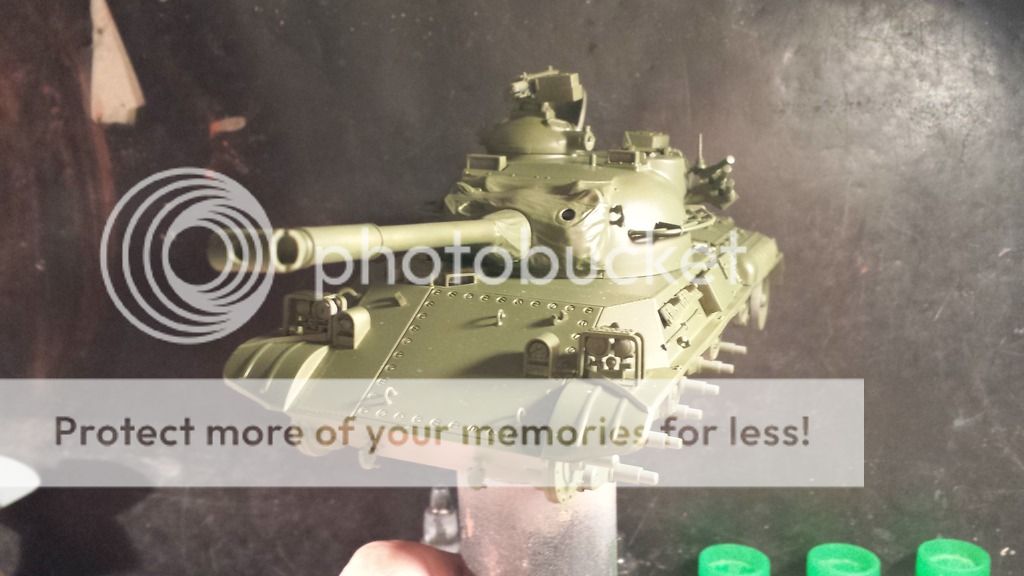
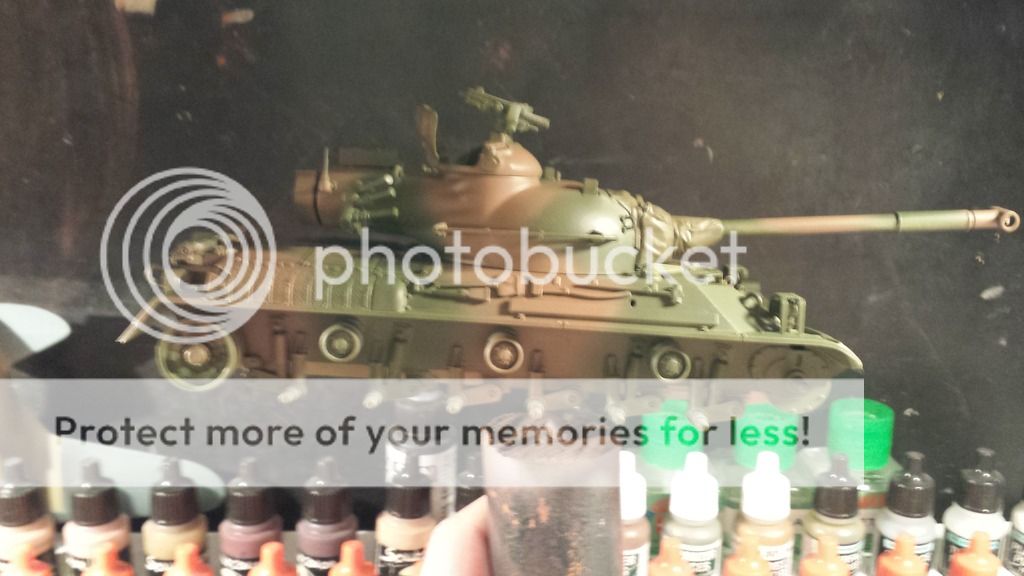
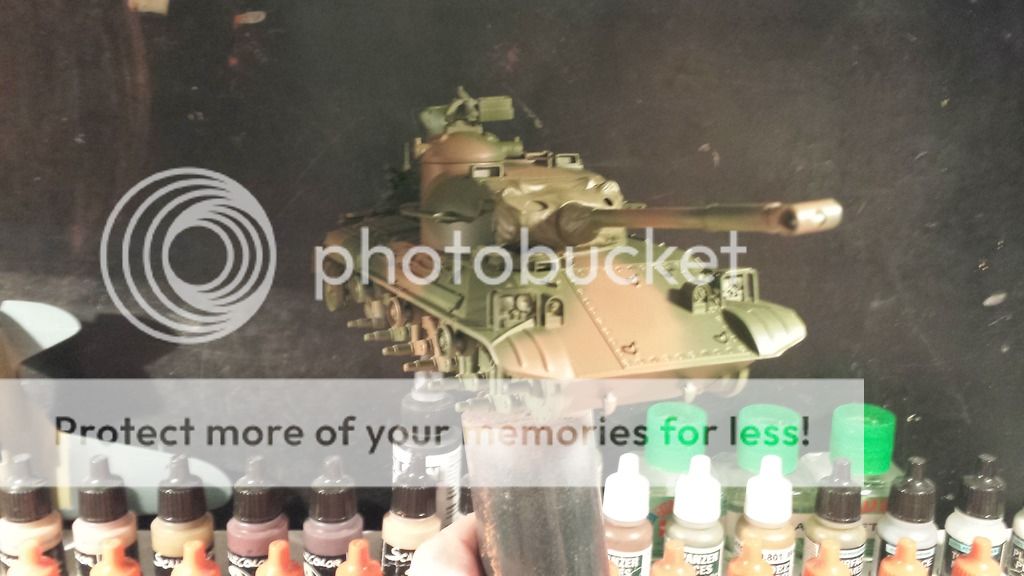
Next will be detail painting decaling and gloss coat


Next will be detail painting decaling and gloss coat
On the Bench:
Uhm. .... That. ..... And. .. uhm. ... That. ..... And. ..... uhm. ..... That. .... And. ... uhm. .. waaaaaaaaaaaaay too much
Uhm. .... That. ..... And. .. uhm. ... That. ..... And. ..... uhm. ..... That. .... And. ... uhm. ..
-
Schoof
- Chief Warrant Officer 3
- Posts: 2165
- Joined: Thu Aug 15, 2013 7:09 am
- Location: Veghel, Noord-Brabant, The Netherlands
Re: Tamiya Type 61
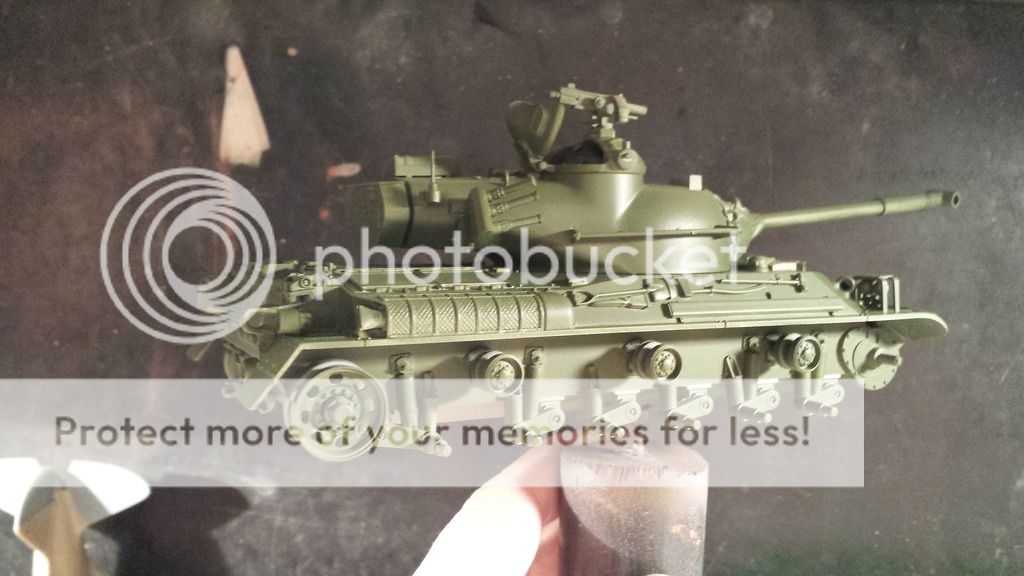
Yet another Update !!
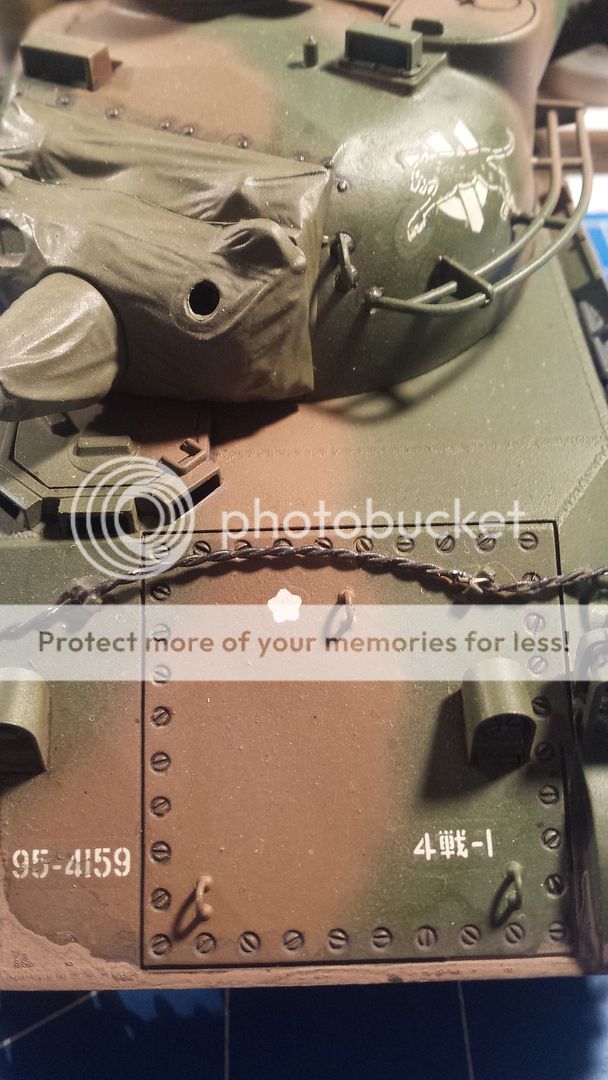
Well after the camo came a Gloss coat and then it was time for me to put on the decals, detail panit and a bit of pin wash
Yes you got it all in one because i forgot to take pictures
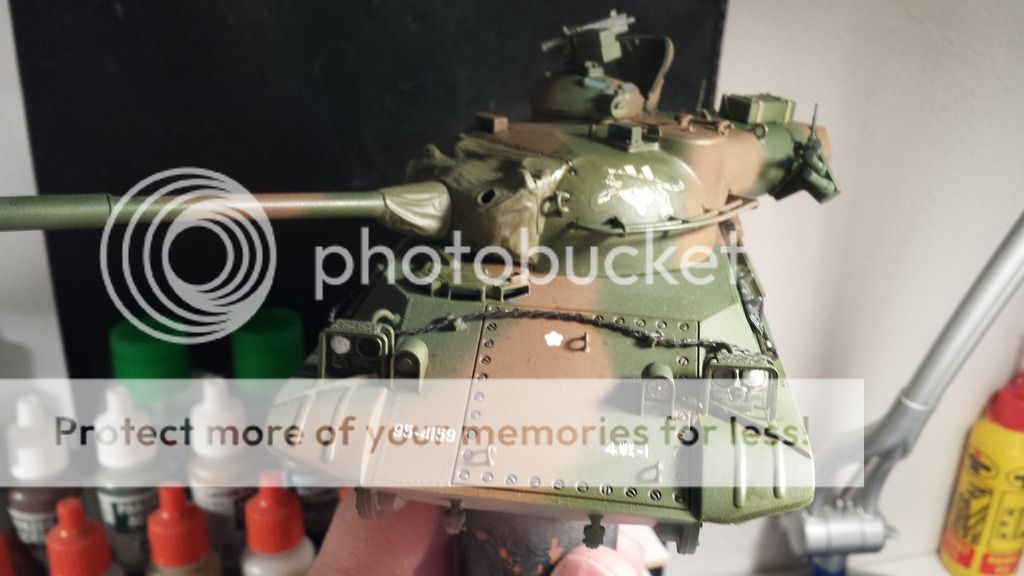

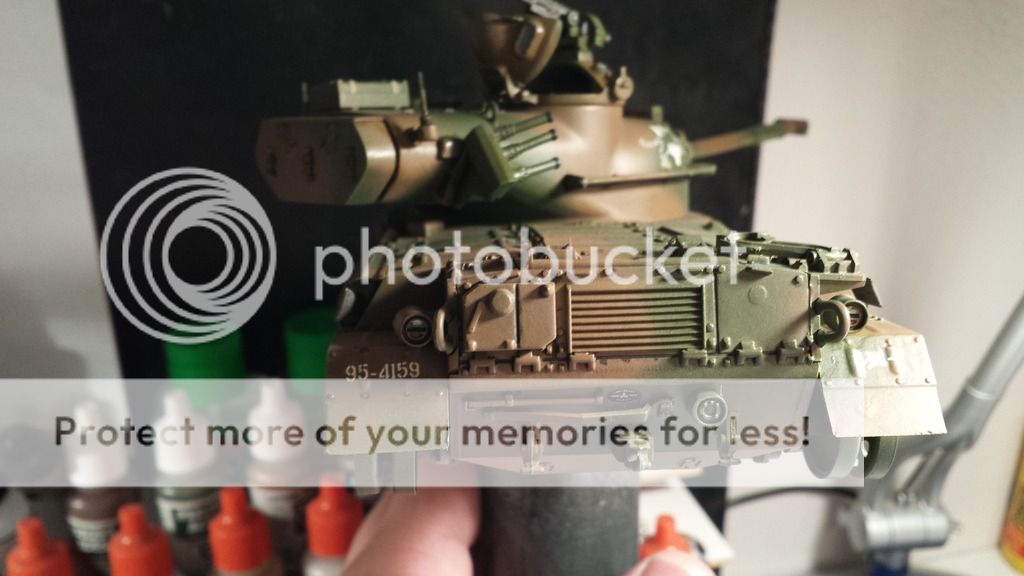
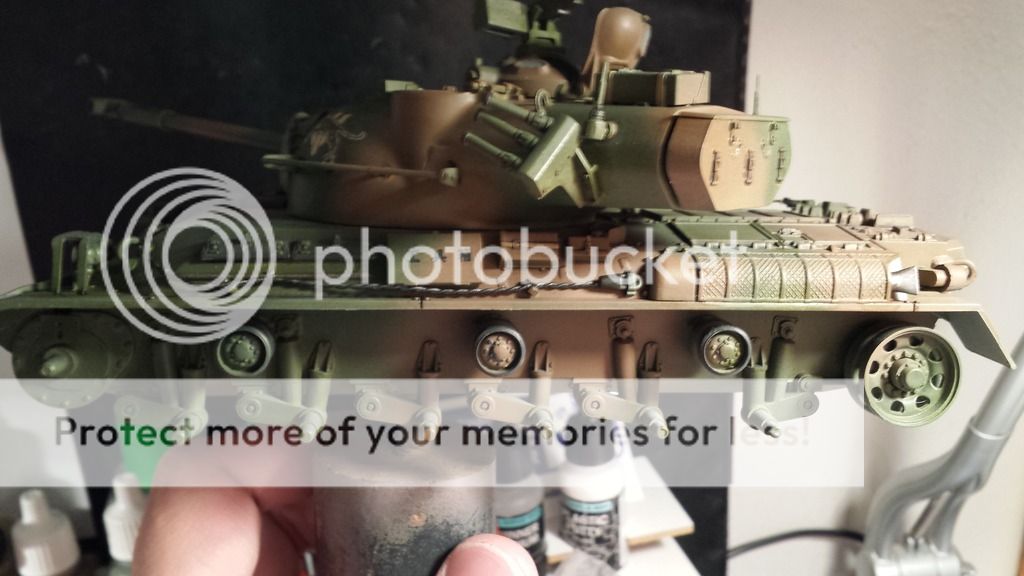
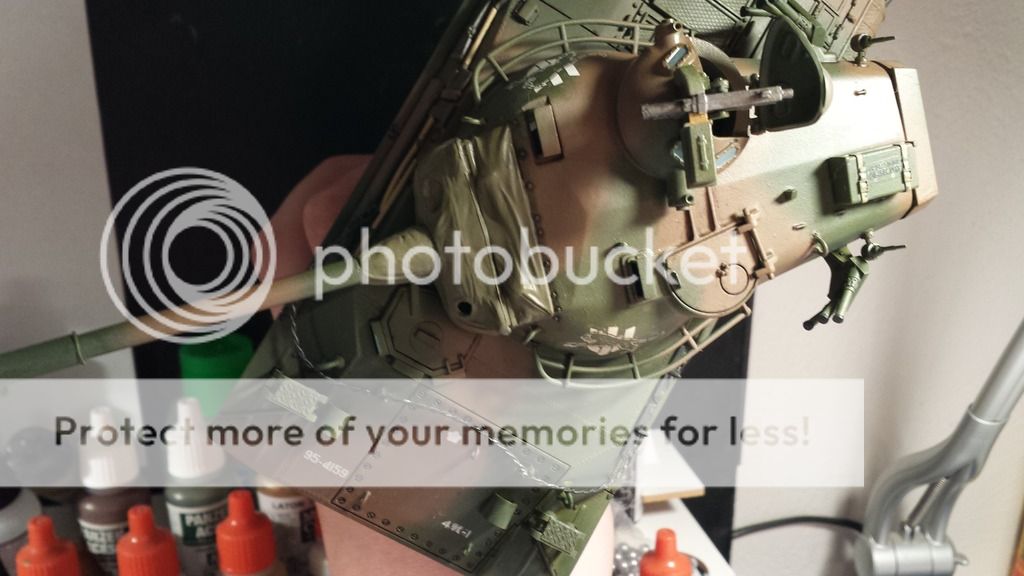
For the tool handles i use MIG`s new wood and for the tool heads i used gun metal.....the tow cable i made myself by twisting or winding up a piece of metel wire, the spare track links are painted in NATO black
For the pinwash i used a black oilpaint and thinner ...... i tried it with a burned umber oil first but the effect was almost not to see
Next up was a matt coat and the first off 5 layers of filter......


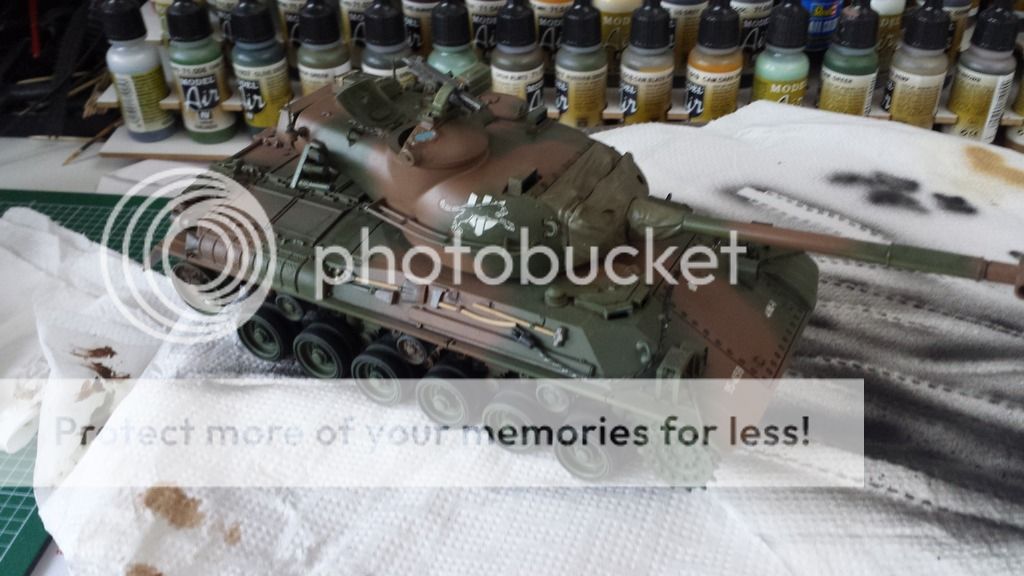

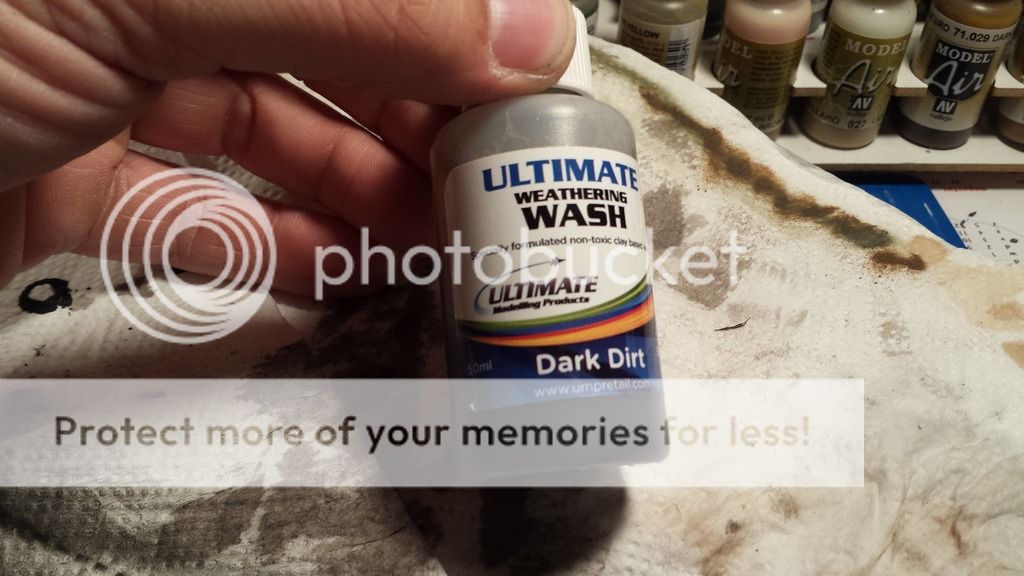
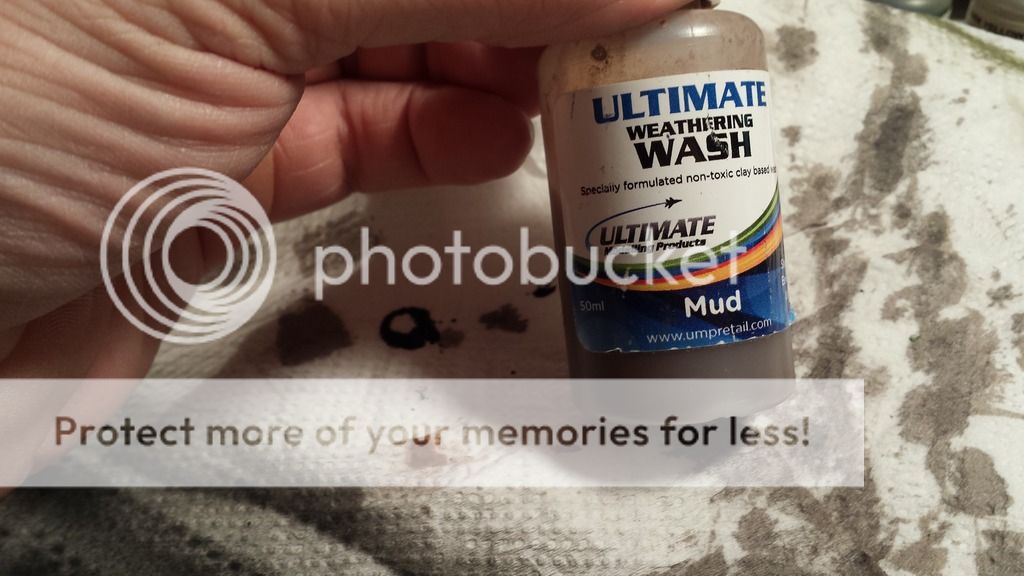
Then i played a bit with the Ultimate washes ...... i used the mud and dark dirt to simulate a used but not battered tank
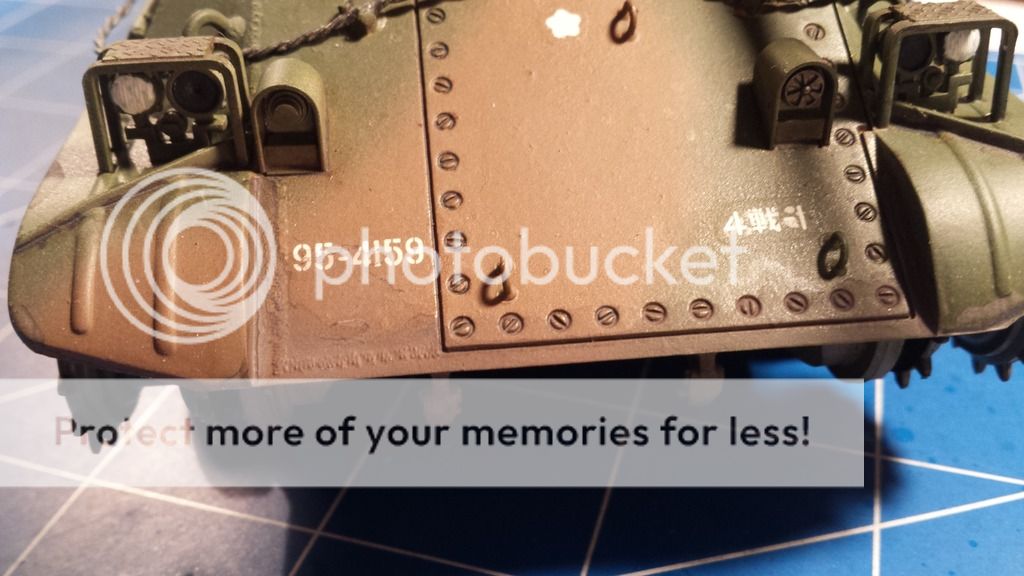

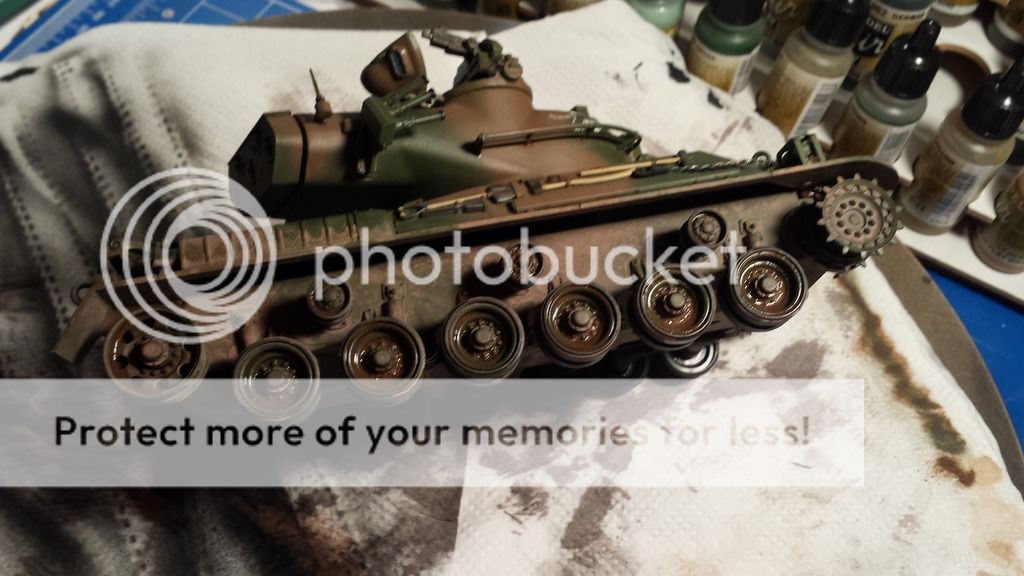
After that i did someting new ( for me at leased) i got a tip that on modern armour the dirt and mud will really hold on to the matt paint so i used some of my Mig pigments and grinded it into the paint to give it a dirty look


so and that now means that she`s done ...... the only thing left is to make some pretty pictures off her in the sun and put them in the reveal section !!
Well after the camo came a Gloss coat and then it was time for me to put on the decals, detail panit and a bit of pin wash
Yes you got it all in one because i forgot to take pictures


For the tool handles i use MIG`s new wood and for the tool heads i used gun metal.....the tow cable i made myself by twisting or winding up a piece of metel wire, the spare track links are painted in NATO black
For the pinwash i used a black oilpaint and thinner ...... i tried it with a burned umber oil first but the effect was almost not to see
Next up was a matt coat and the first off 5 layers of filter......


Then i played a bit with the Ultimate washes ...... i used the mud and dark dirt to simulate a used but not battered tank


After that i did someting new ( for me at leased) i got a tip that on modern armour the dirt and mud will really hold on to the matt paint so i used some of my Mig pigments and grinded it into the paint to give it a dirty look


so and that now means that she`s done ...... the only thing left is to make some pretty pictures off her in the sun and put them in the reveal section !!
On the Bench:
Uhm. .... That. ..... And. .. uhm. ... That. ..... And. ..... uhm. ..... That. .... And. ... uhm. .. waaaaaaaaaaaaay too much
Uhm. .... That. ..... And. .. uhm. ... That. ..... And. ..... uhm. ..... That. .... And. ... uhm. ..
