Oh, I didn't really break down the weathering as you asked. Well. here you go - you asked for it
 You know, weathering a Millennium Falcon is very much like making love to a beautiful
...no. Wait. It's totally not.
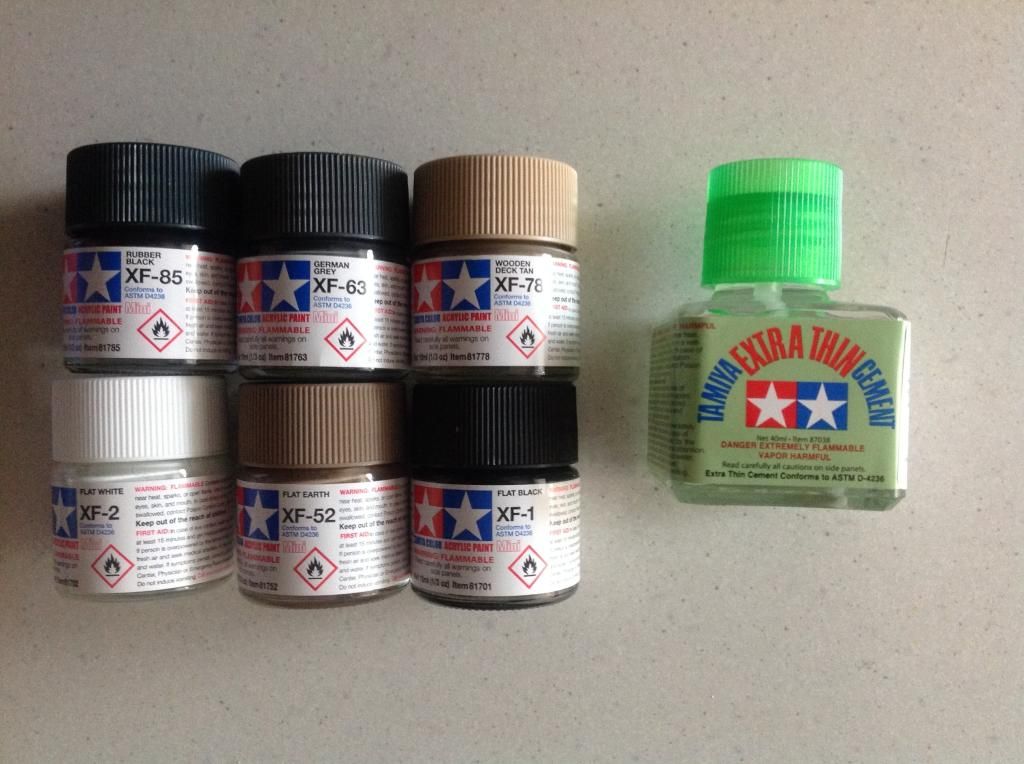
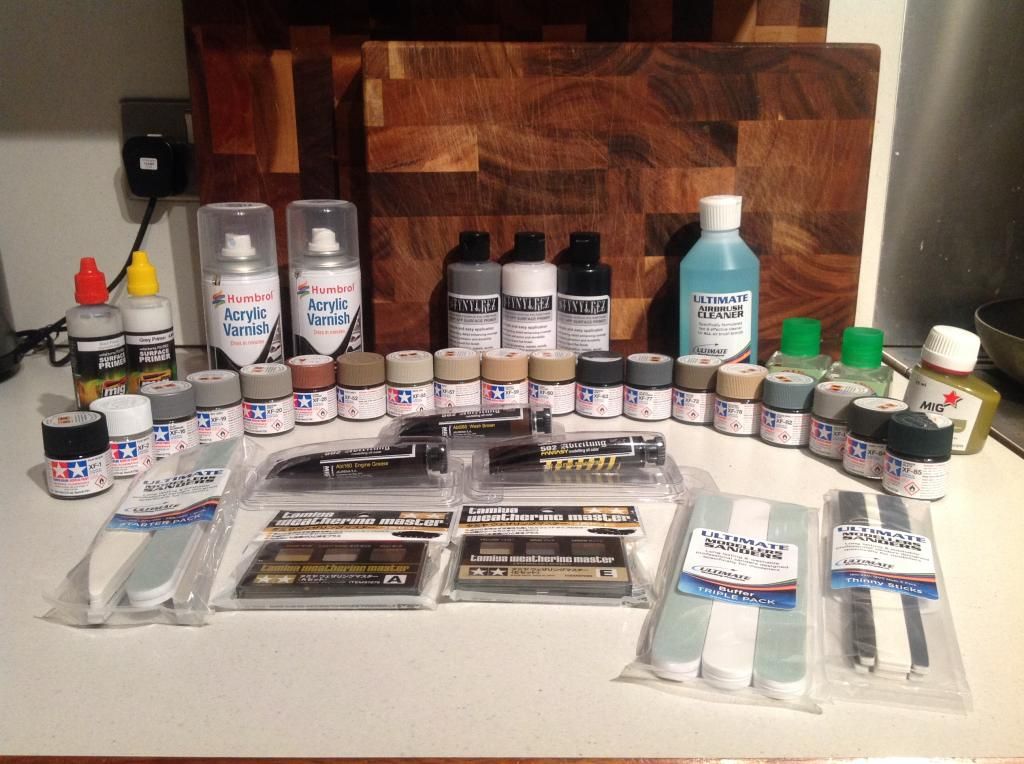
Once built, I will mask off the coloured hull panels. Then I will use Maskol and a cocktail stick and a pin to mask off the paint chips in those panels (I will use that and not the hairspray method because I will want to try and match the chipping on the studio model). Paint panels (Tamiya paints), remove maskol. Paint chips!
Some of the base colour hull has paint chipping too, little grey specks and patches. I will add this as post-chipping - I will apply Tamiya colour with a bit off ripped off scouring pad to get that random, flakey chip effect. Once done, in some areas I may then add tiny rust coloured specks inside the grey flecks.
Ship is matt varnished, then a Smoke wash. Maybe two, as the size of the model might allow this without it looking too naff. After drying, again with trhe matt varnish.
Then the oil paints come in: Filter 1: General oil paint hull discolouration, general. varied dots of colour applied to the surface, and blended in with a brush dipped in thinner (i.e. odourless oil paint thinners), to break up the uniform hull colour. I MIGHT NOT DO THIS BIT, not sure yet. My 4:1 mix hull colour is exactly as I want it, so this might not be needed.I decided against this filter on my latest Falcon build and everything was fine. Dry for 24hours minimum.
Filter 2: OI Paint Panel discolouration. 1 tiny dot of colour added to one panel, then mixed across the single panel with a thinner-dipped brush, just to make that panel a slightly different tone to it's neighbours. Only carried out here and there. Dry for 24hours minimum.
Filter 3: streaks. Panel is coated in thinner and splotches and lines of Starship Filth/Engine Grease/Light Rust/Dark Rust oil paints painted on the panel. These are then softened, flattened and stretched out with a dry flat bush to create streaks. Dry for 24hours minimum.
FIlter 4: Drybrush Engine Grease in maintenance pits and mechanical areas (minimal). Light streaks from Engine vents down the rear hull. Dry for 48/72 hours minimum.
Filter 5: Drybrush Starship Filth in maintenance pits and various greeblies around the hull, also corners and edges to suggest dirt, filth and also slight shadowing.Also used to create the dark patches around blaster damage and the big dorsal scars, suggesting scorching. NOT BLACK but a darkish brown/grey tone. FInally streaks down the full from the engine vents, "inside" the engine grease streaks, to give a darker centre to those streaks, suggesting heat. Dry for 48/72 hours minimum.
FIlter 6: Light Rust drybrush to create soft patches of rust, where rust has leached. Dry for 24hours minimum.
|Filter 7: Dark Rust drybush inside the light rust patches to suggest a darker centre, then just neat dark rust paint patches added to actually suggest the rust from which all the rest has leached. Then leave the entire model for 2 weeks so that ALL the oils I have added can dry thoroughly. Matt varnish.
Filter 8: mix a colour of oil paint that is a tiny bit lighter than the base hull colour. drybrush entire hull to catch the edges and highlight. Will also be used to lighten the centres of some panels, and to fade some of the red and blue-gray hull panels. Leave for 1 week.
Matt Varnish.
DONE
Then spend weeks fussing and fiddling with streaks and dirty patches because I CAN'T HELP MYSELF.
Stand back, light pipe, admire handiwork.