everbody doing well i hope
so here is the new update on my entry for the D-Day gb
i was going to break it up into 2 posts but i forgot to make the first update and now both vehicles are finished
so i will make 1 huge update showing the methods and products i used for weathering these 2 vehicles
so get a drink and make sure you have a comfortable seat because this will be a long one
GENERAL WASH
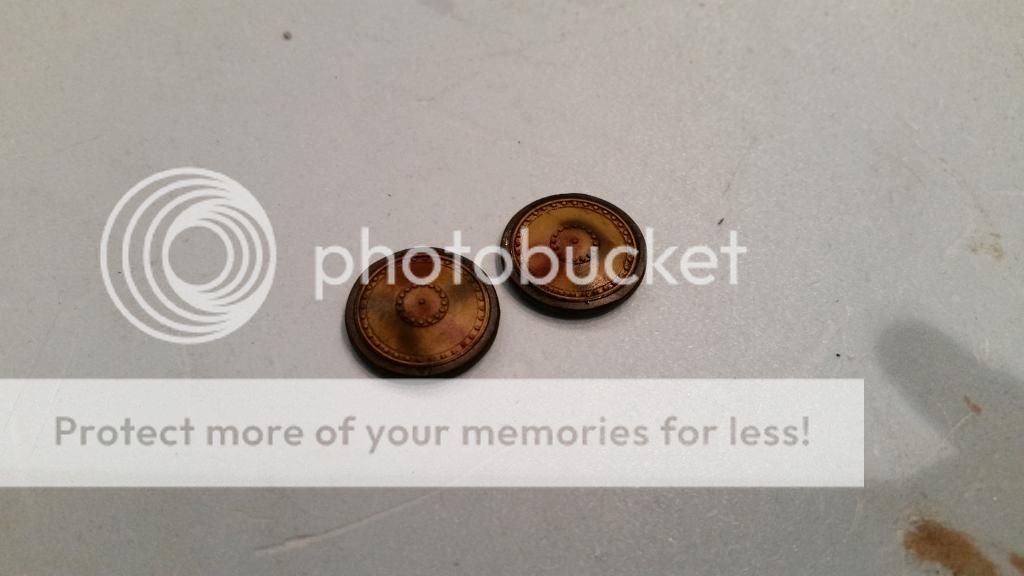
i started of with the wheels of the flakpanzer
these are covered with ak DAK wash to get a general wash on them
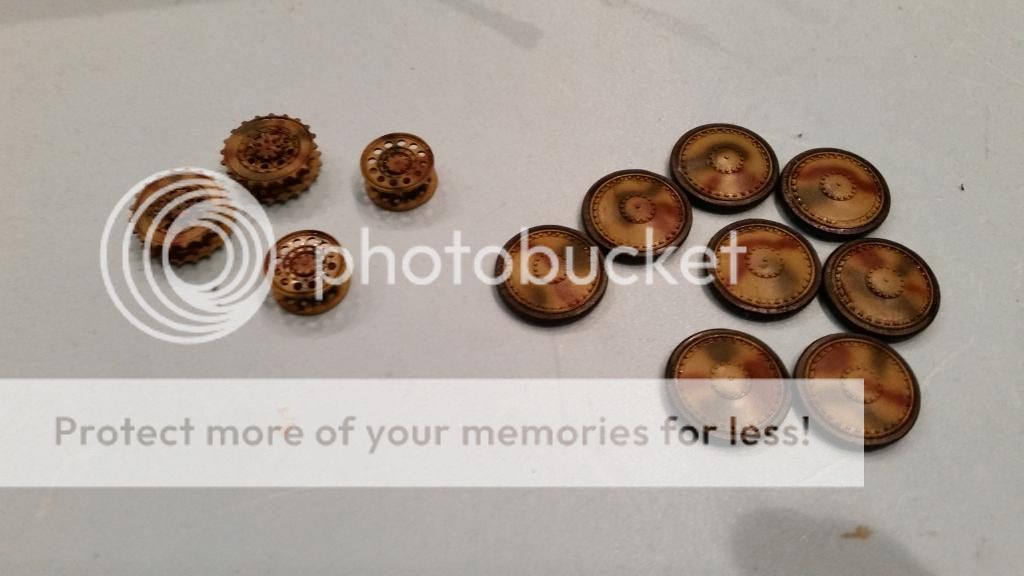
the entire collection
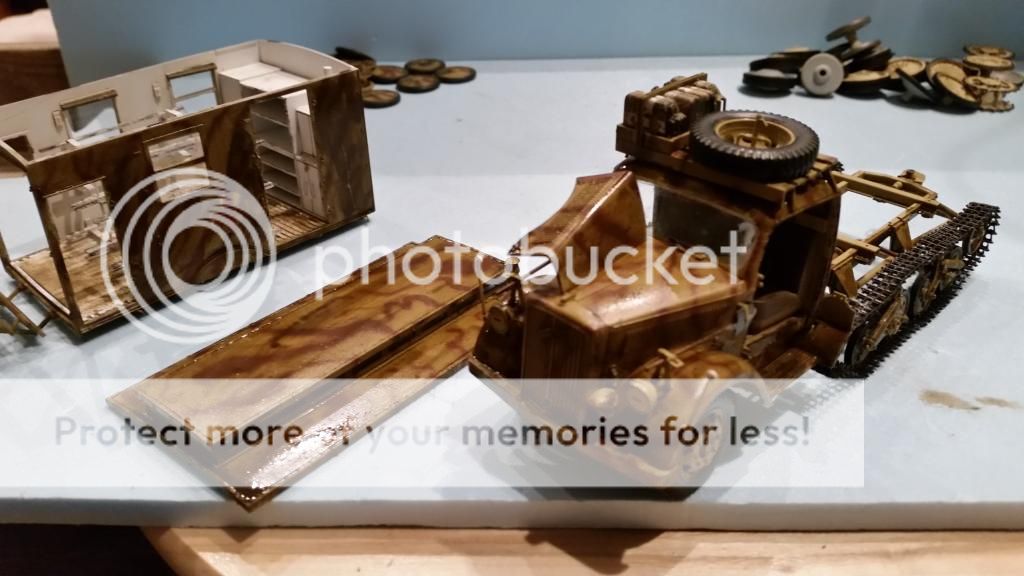
the ambulance was given the same wash and the flakpanzer itself had this aswell but i don't have that photo
this was left to dry for about an hour
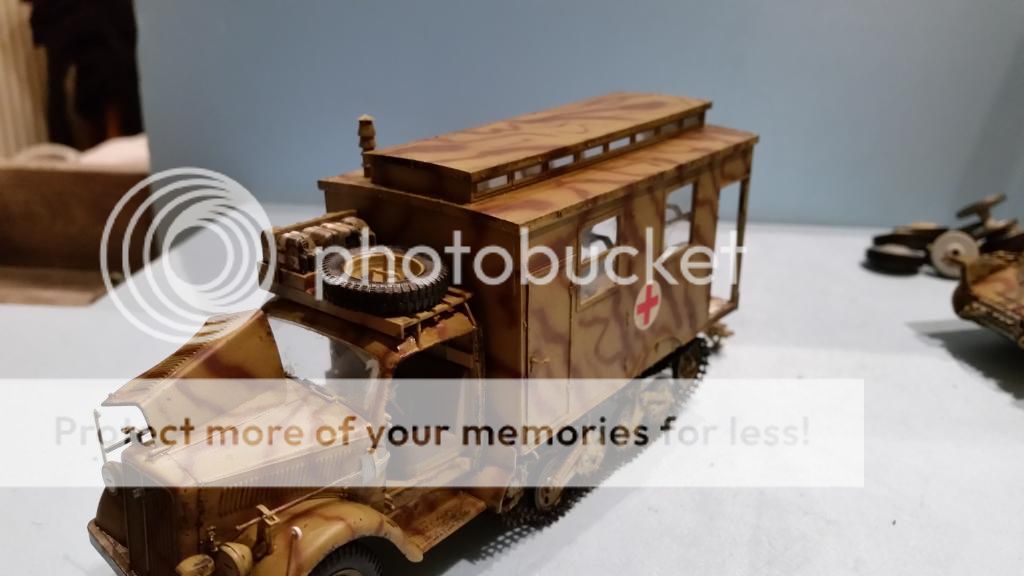
then i used ak miniral spirit to soften the wash again and toilet paper (yes unused)
was stomped on the surface to make a transparent and random coat
wich was left to dry completly
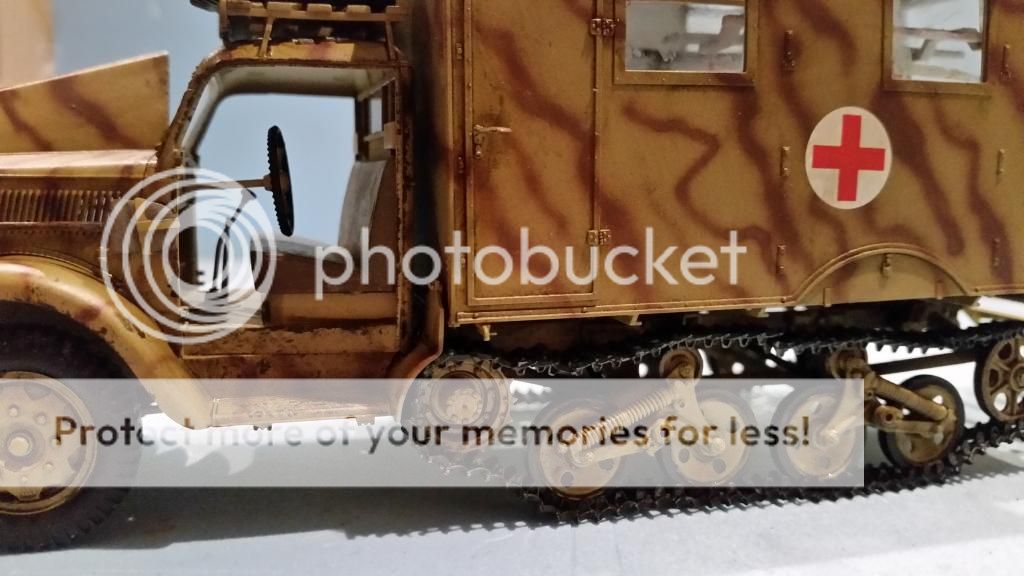
the effect is most visible on the red cross sign
PIN WASH
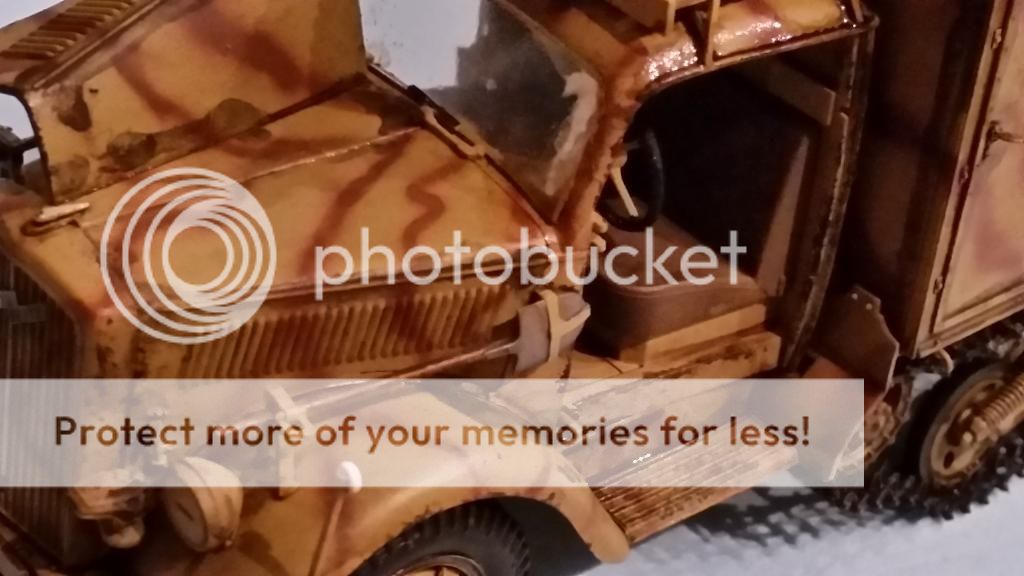
i then used mig productions dark wash as a pin wash
i never get a delecate result when i apply a wash but with the help of a bit of miniral spirit/thinner you can rework the wash to the desired result
this is the first step though and i left it like this for about 1 hour so it could dry and the pigments in the wash would settle
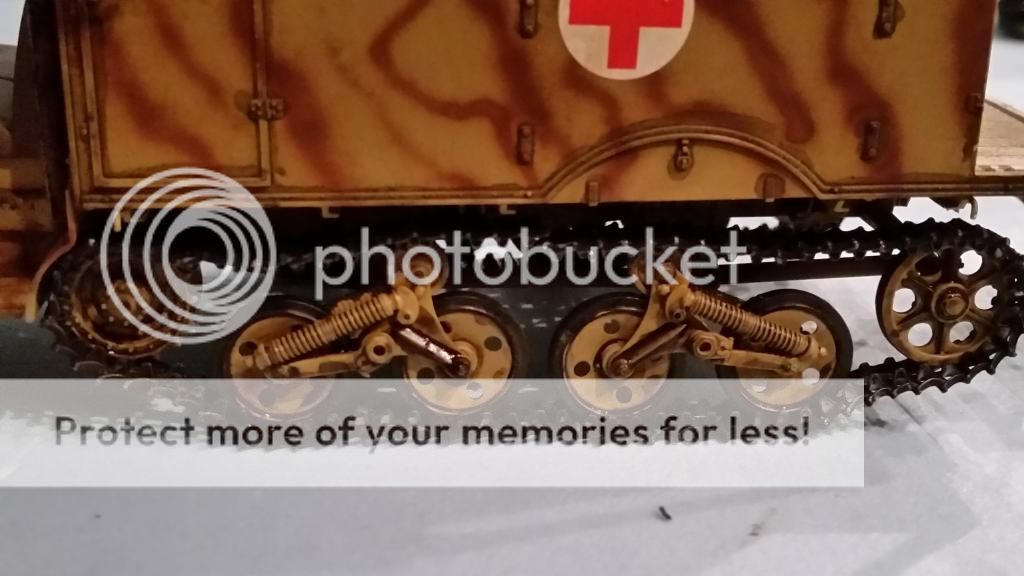
the boogies have a lot of detail for this wash to get in
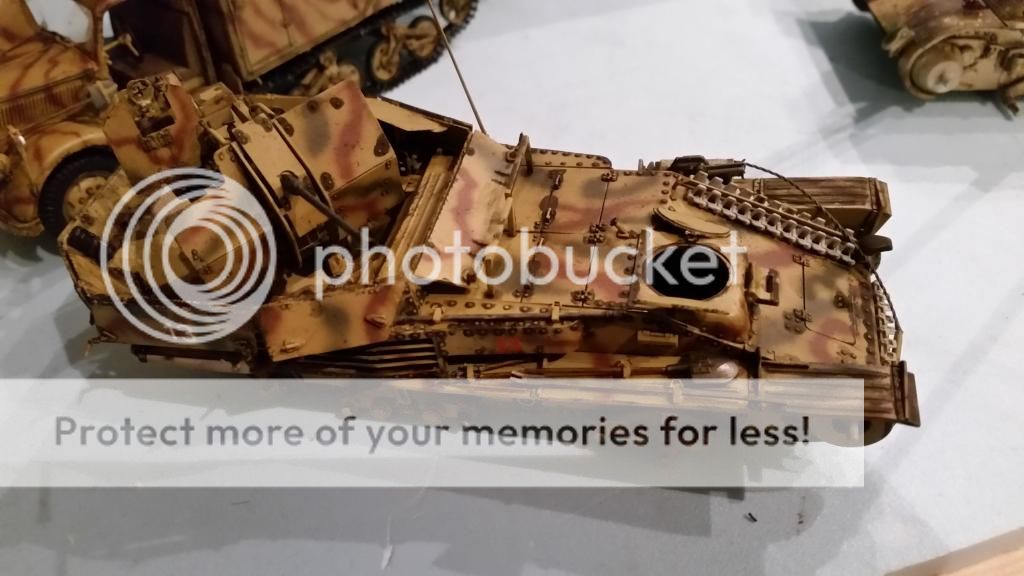
this is the flakpanzer in the same stage
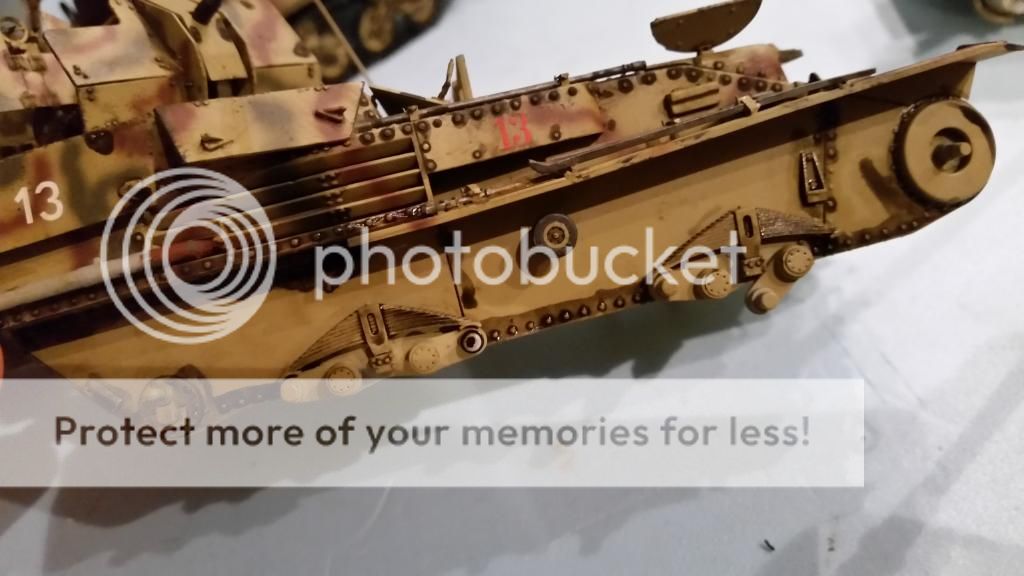
the hull has rivets and panellines wich can be highlighted using a wash to make them really pop up
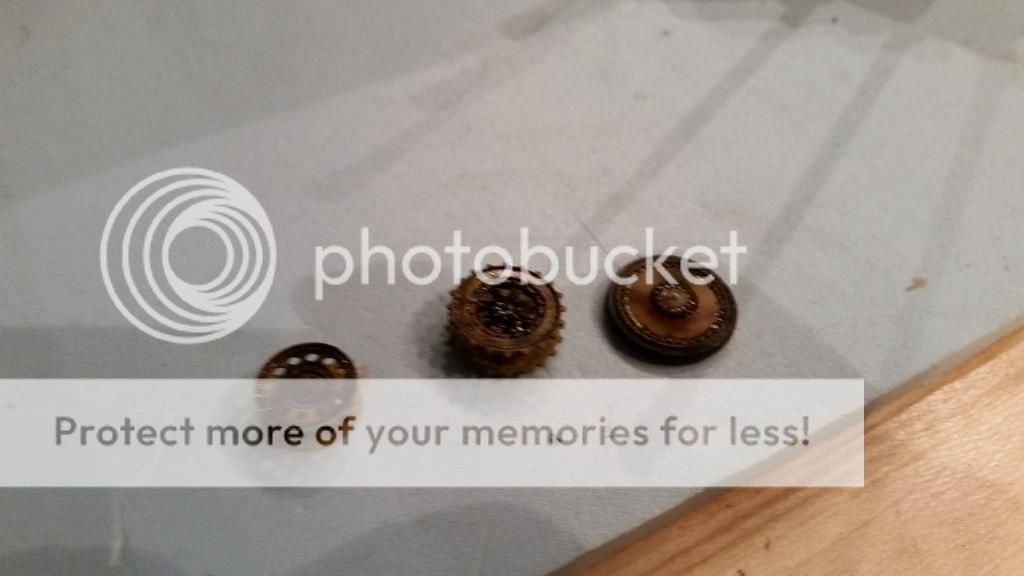
i used the dark wash on the wheels too
but this time only on the parts with bolts or other raised detail
PIN WASH CLEANING
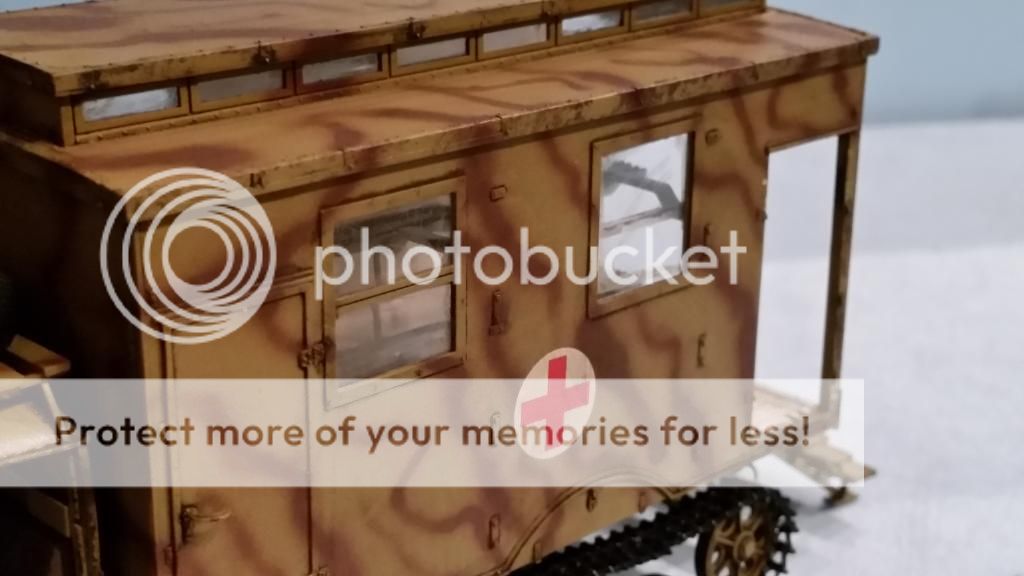
i used thinner to stomp (i think it is called) the wash back towards the raised details
all the excess wash can be removed with a piece of toilet paper
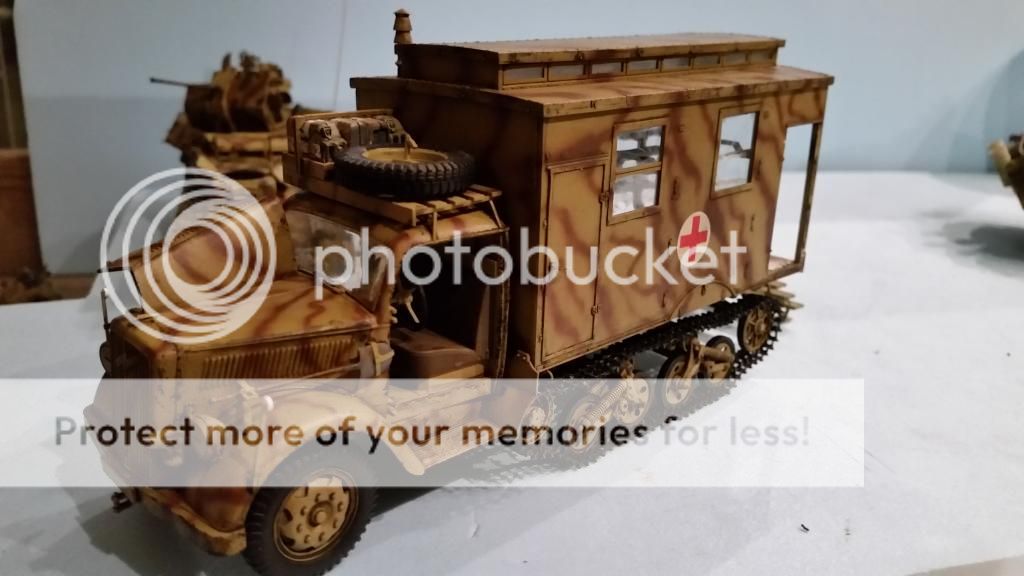
the entire vehicle is cleaned
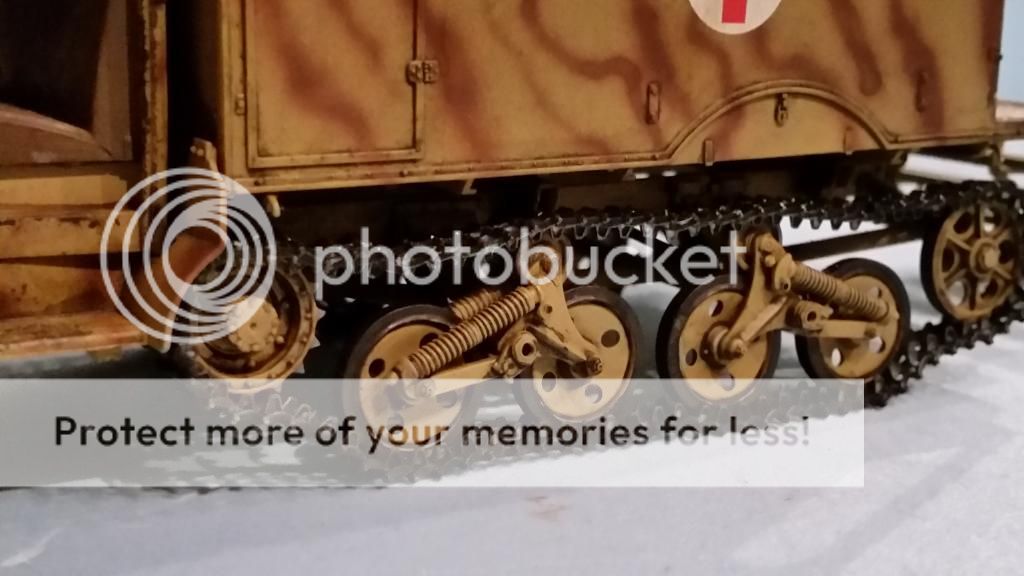
close up of the suspension boogies with the wash
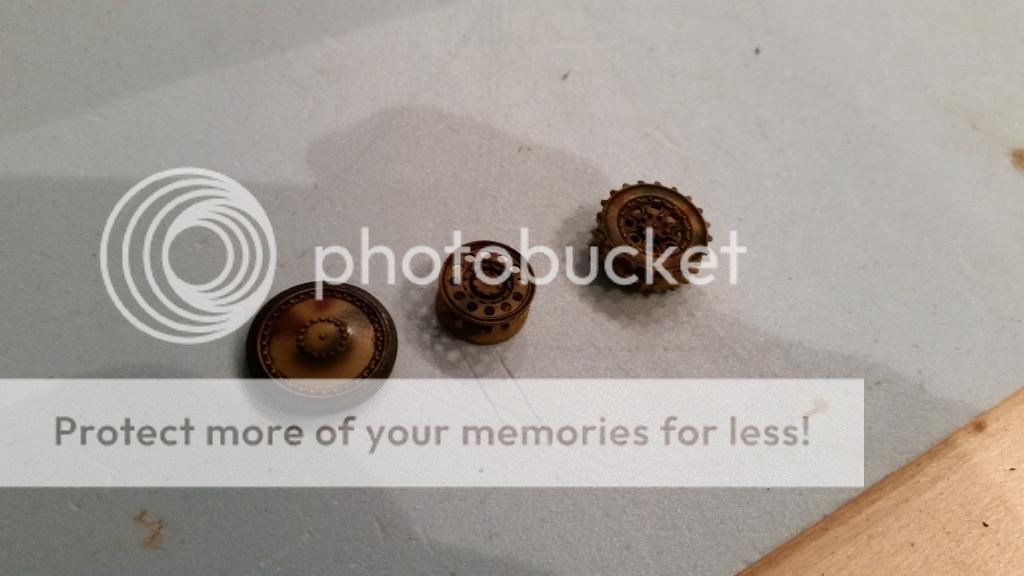
the cleaned wheels of the flakpanzer
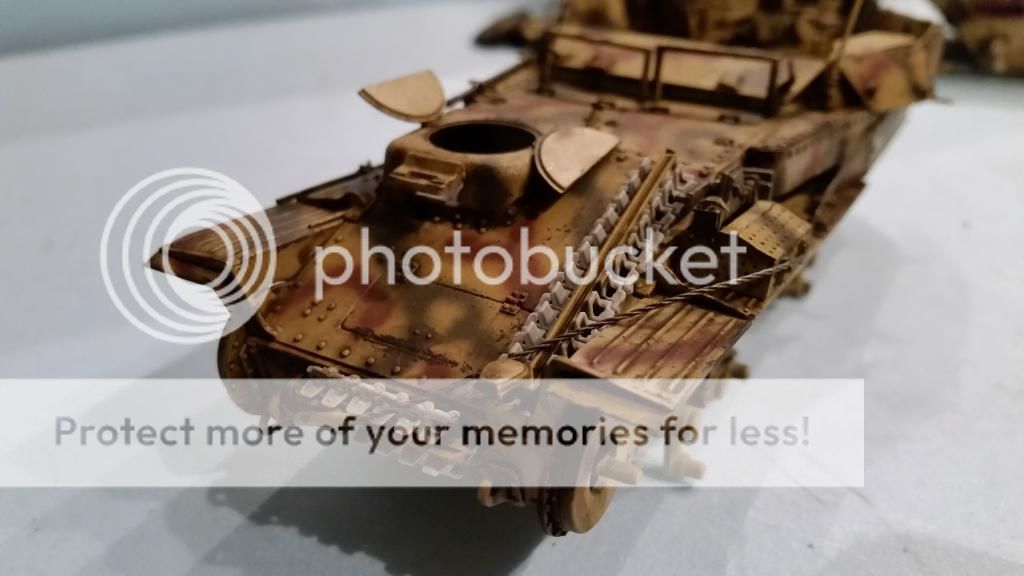
here the hull needs more cleaning but the effect of the wash is visible around the rivets
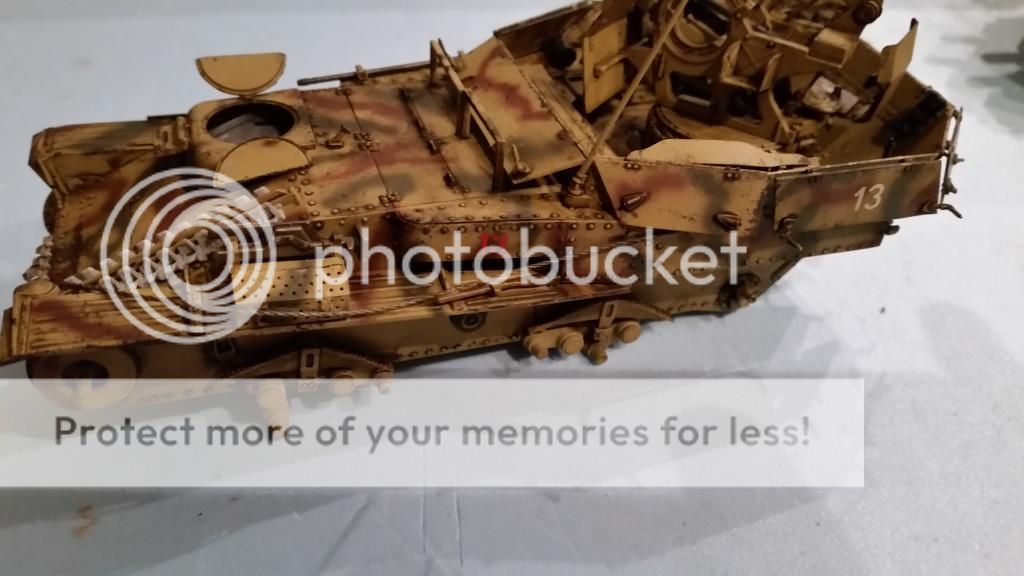
the flakpanzer after the clean up
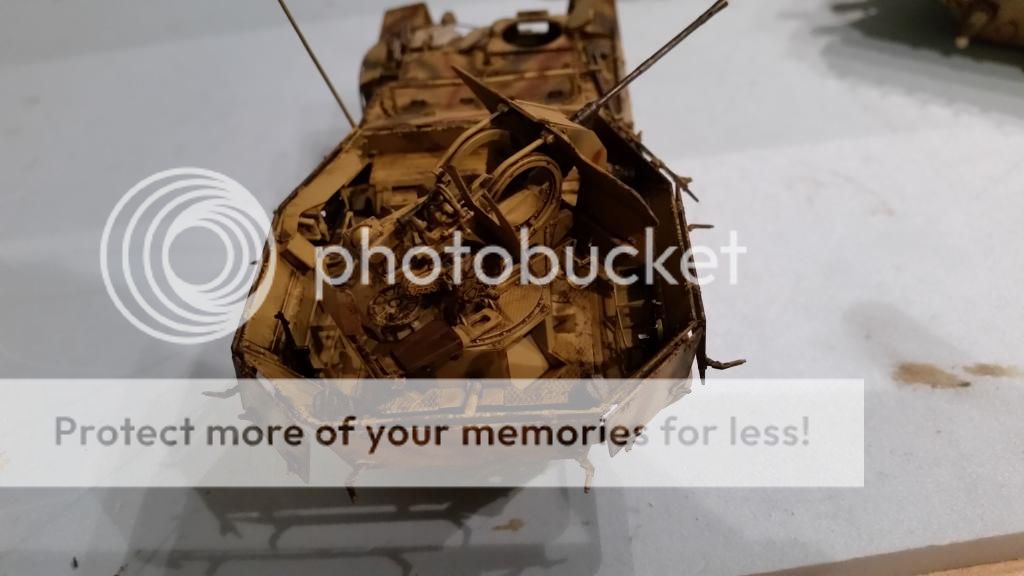
the fighting compartment and the gun can't be forgotten
wich completes this step
STREAKING EFFECTS
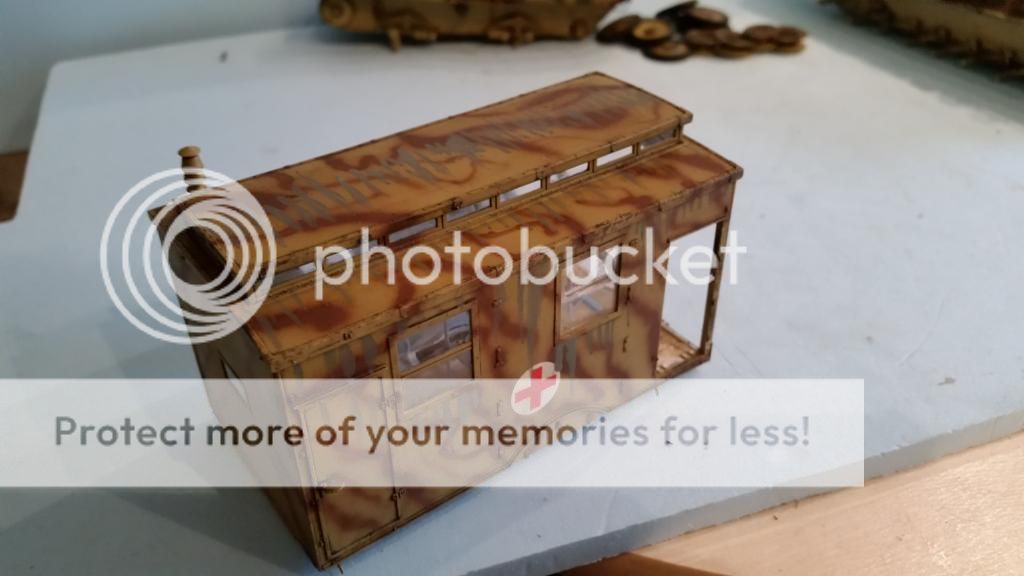
i have used ak DAK streaking effects first
this will give a nice light effect once this is finished
don't forget to only do this on vertical and diagonal surfaces , it is not very suitble on horizontal surfaces
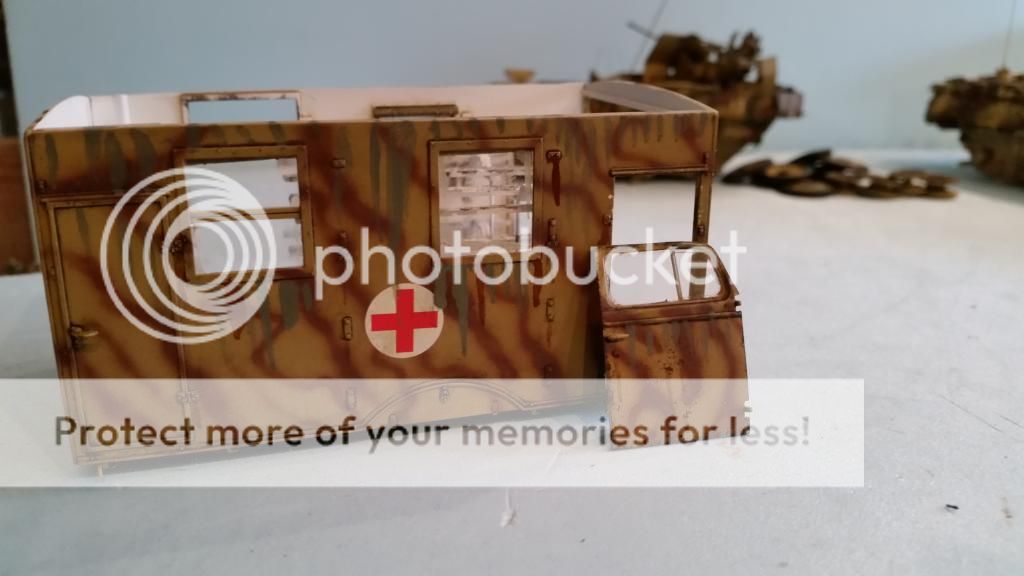
for a bit of variation i added some rust streaking also ak
this needs to dry for 15 to 20 minutes but not much longer as this is a thick wash wich will be very hard to remove after it dries
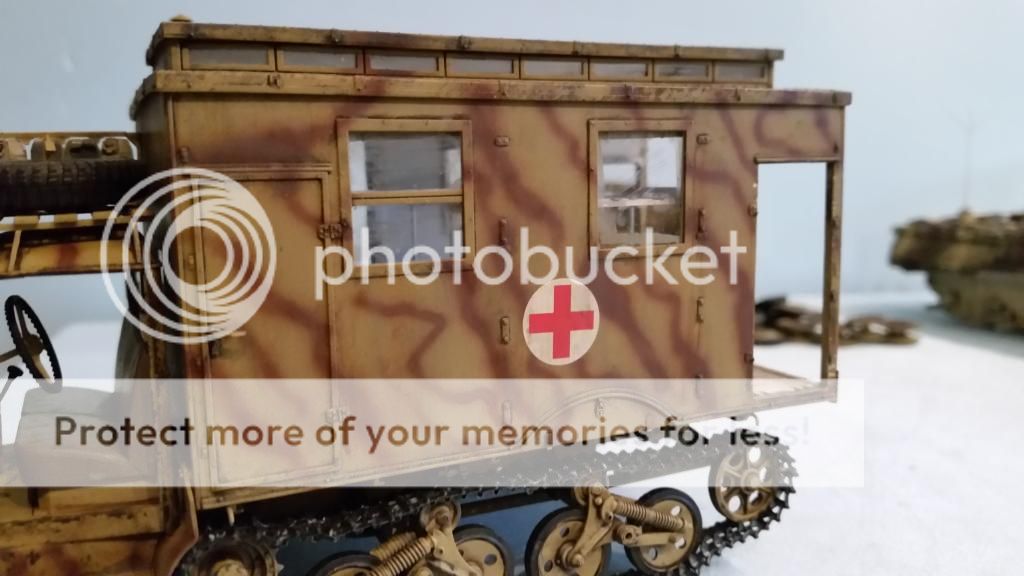
then i used a flat no 2 brush and thinner to complete this step
with a barely moist brush i soften the streaking
and with a downwards motion the streaks are faded to the point i want
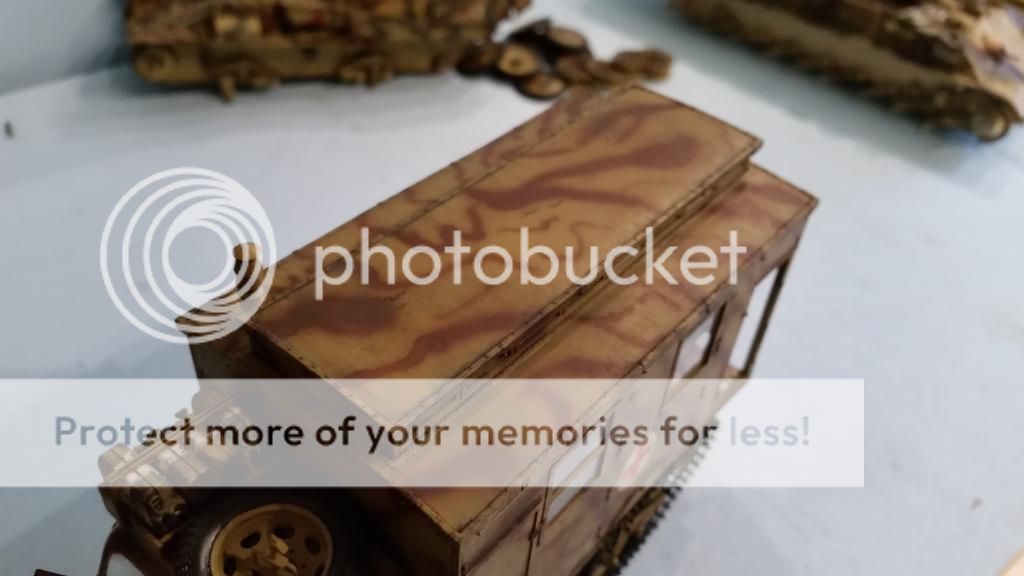
this is easy to see on the roof after the thinner had dried
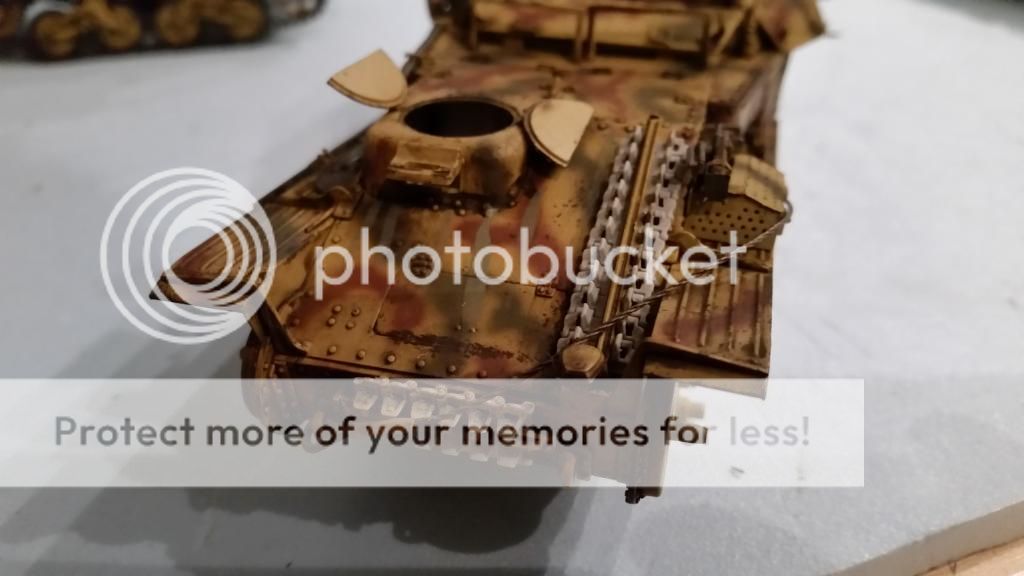
the flakpanzer had the same treatment
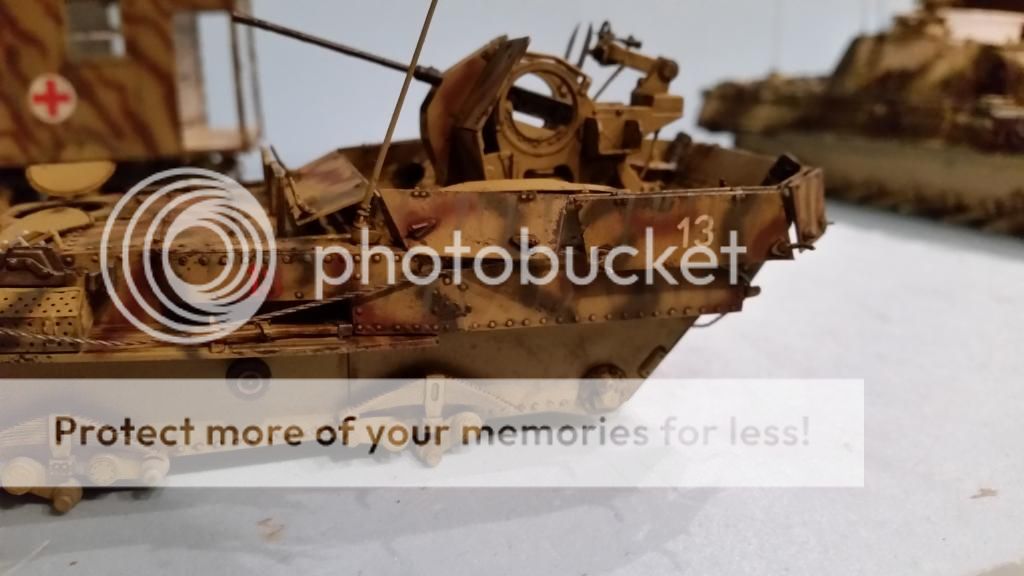
streaking on the side panels
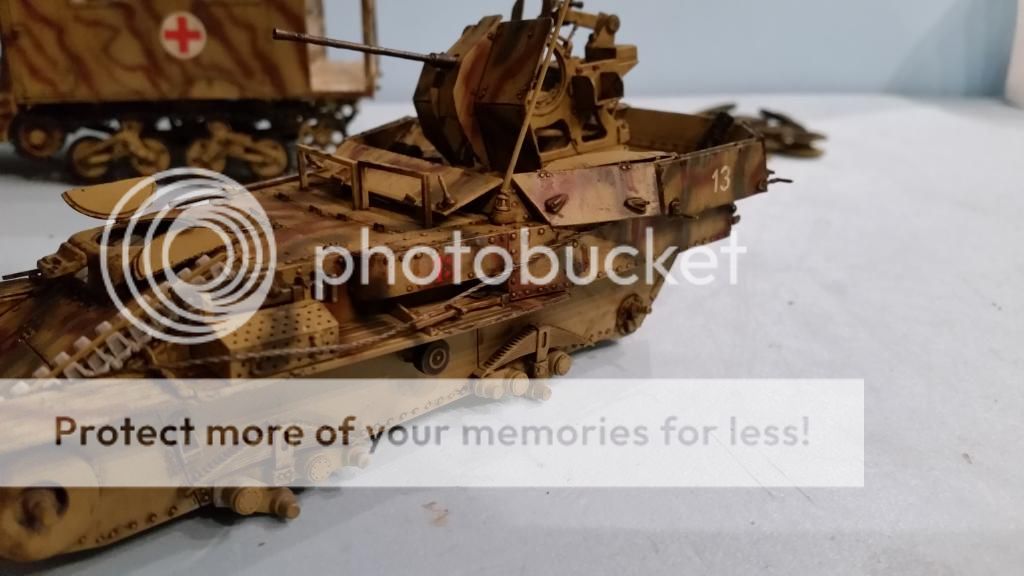
rust streaks are added
i concentrated this around the rivets
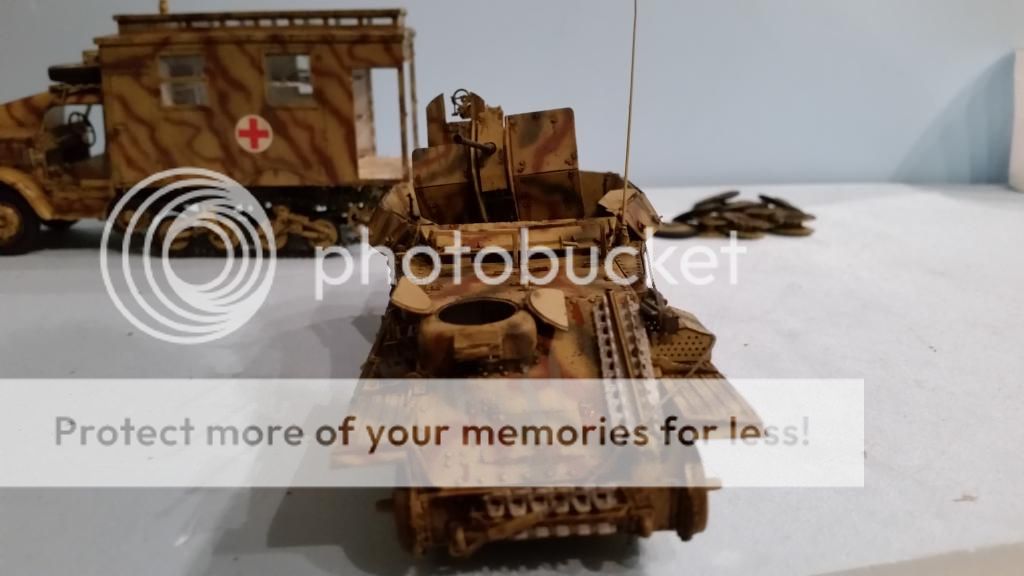
the front
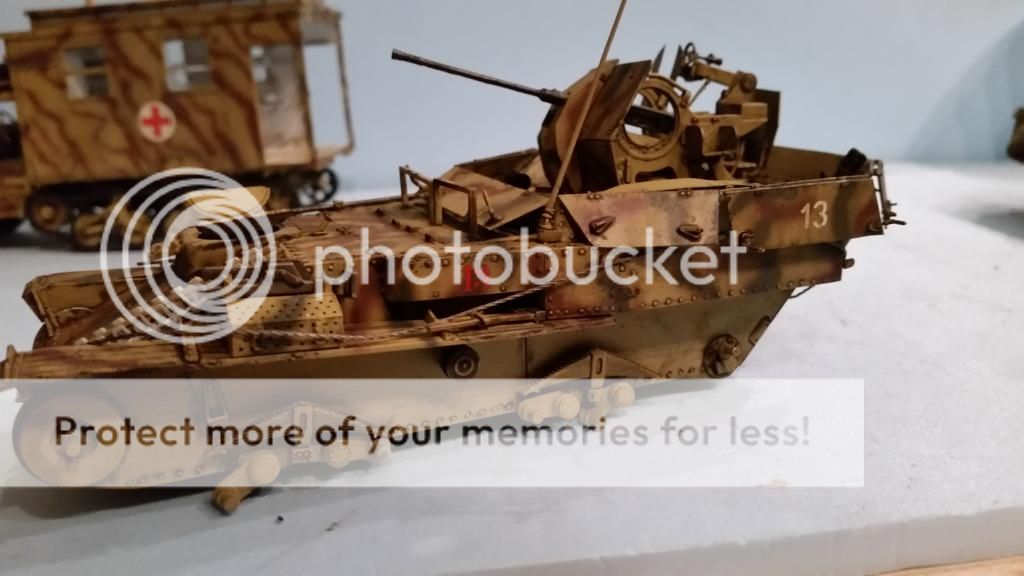
after i whiped it down with thinner
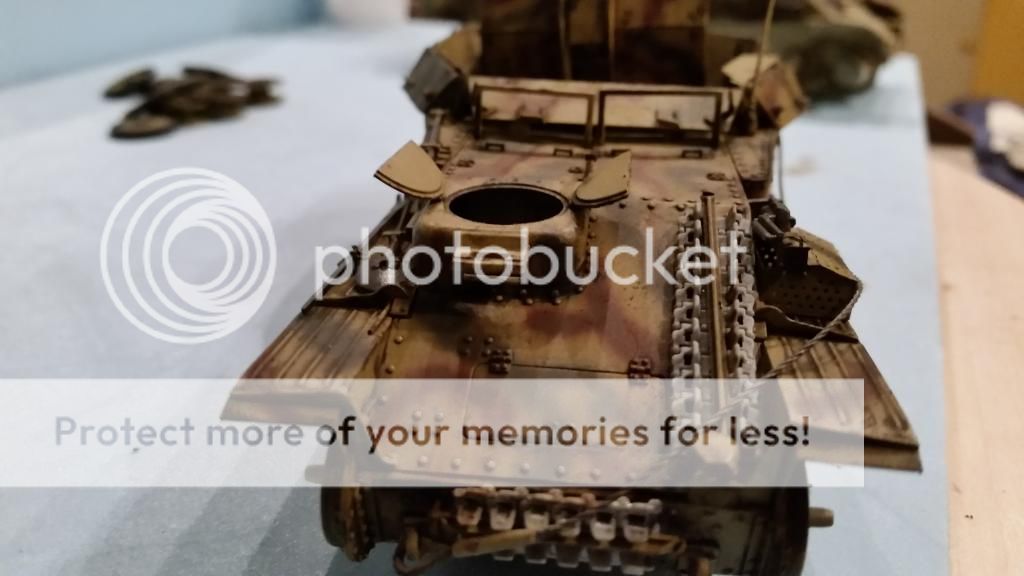
the front after cleaning
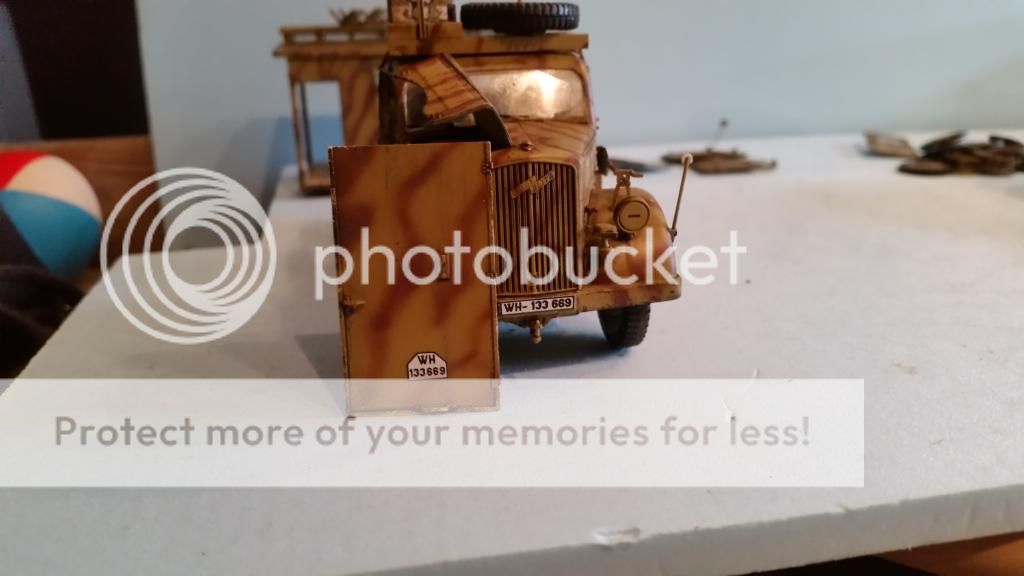
it then hit me that i forgot the license plates on the ambulance
i used an eduard set for this , they are preprinted/painted photo etch plates wich only need some weathering after you place them
as i placed them way too late i decided that i would just use soem pigments to dirty them up
ADDING THE FINAL DETAILS
at this point i sweeped all the seperate parts together and added them to the vehicles
i started with the wheels of the flakpanzer
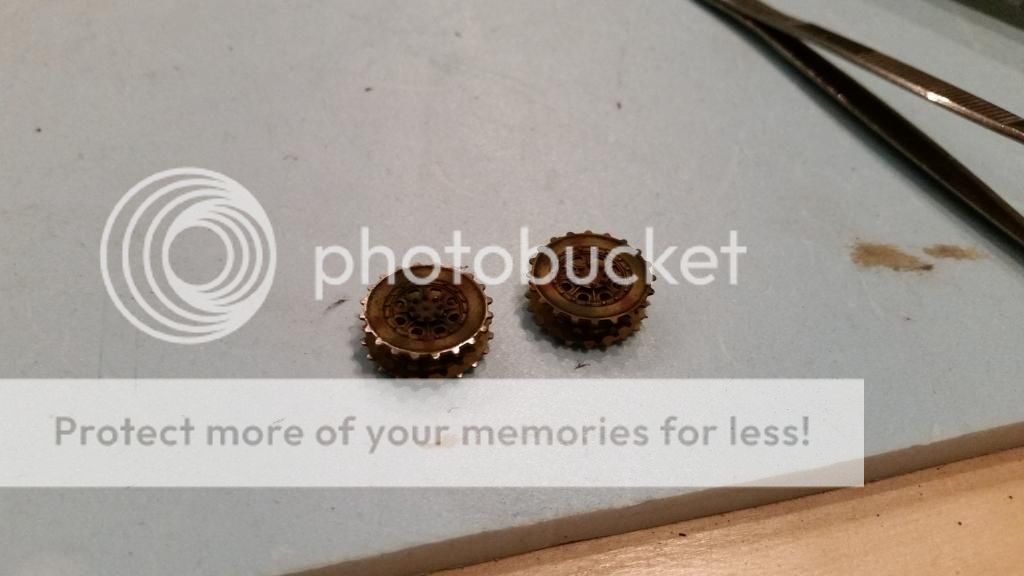
since these are from the friul track kit i use i could do this neat little trick
instead of painting the worn effect on the teeth i simply sanded off the paint revealing the metal underneath
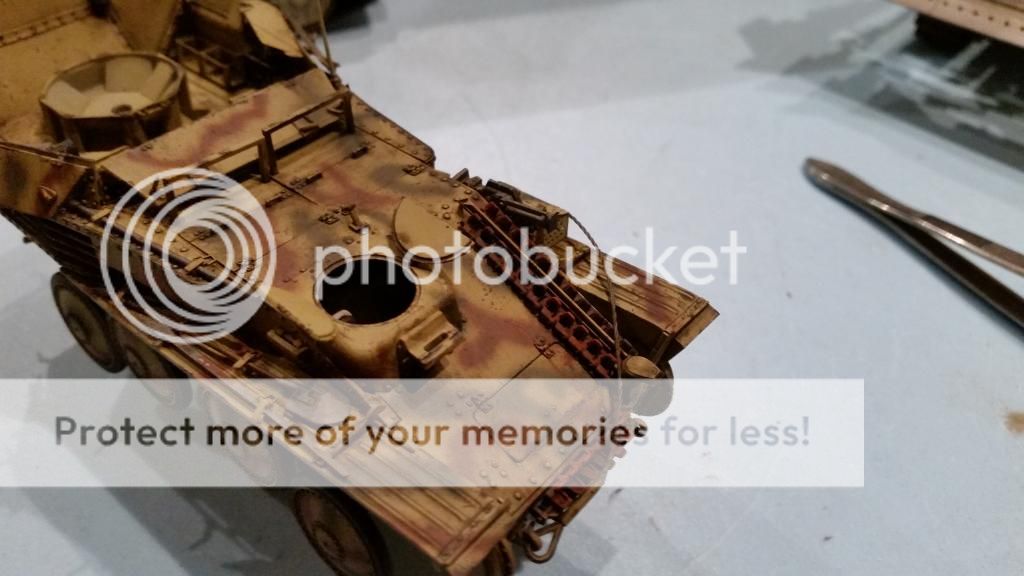
then with my rust mixes i rusted the spare tracks that are on the flakpanzer
the best result (imo) is obtained when each track is different from the other
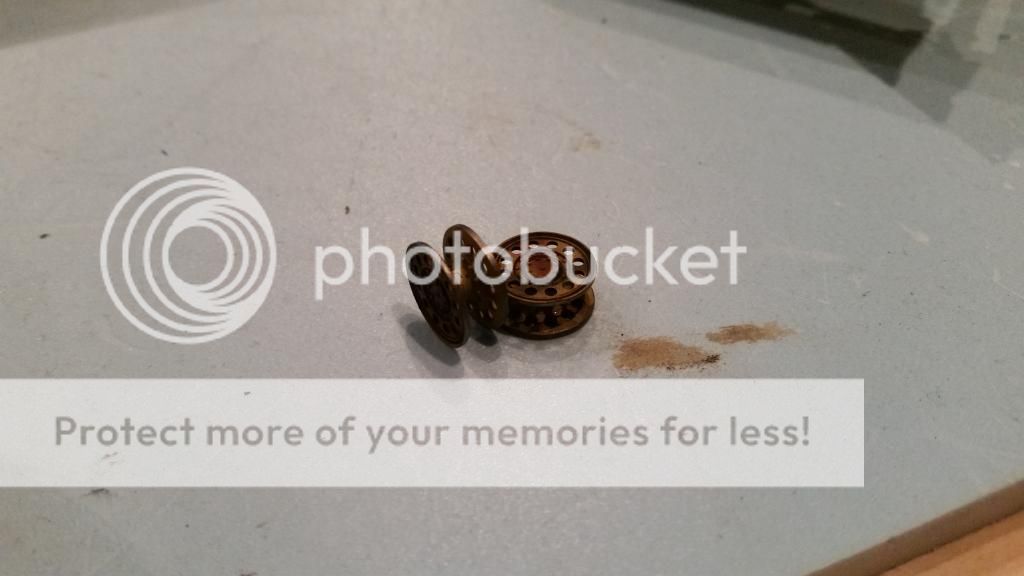
the idlers had to get a worn side where they would touch the tracks
so this is done using mr metal stainless
this is buffed after is had dried
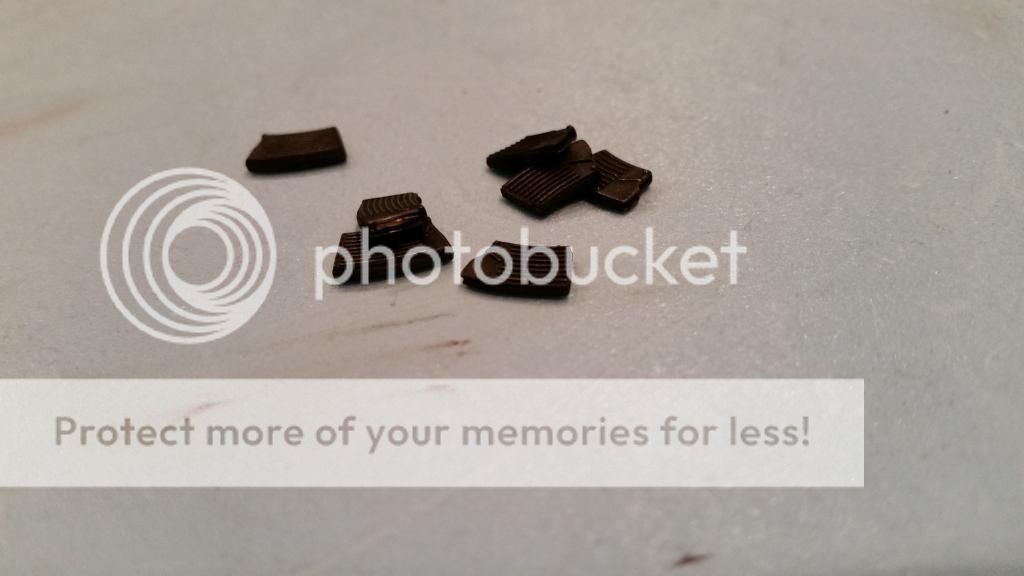
the magazines of the flak where painted with mr metal dark iron
and then buffed using a q-tip
the shells are painted with vallejo liquid metal old gold
wich resembles brass pretty good
if you are not fimiliar with this paint , it is a alcohol based metallic paint
i don't know if there are more colors but i hava a set wich contains silver, gold,old gold and copper
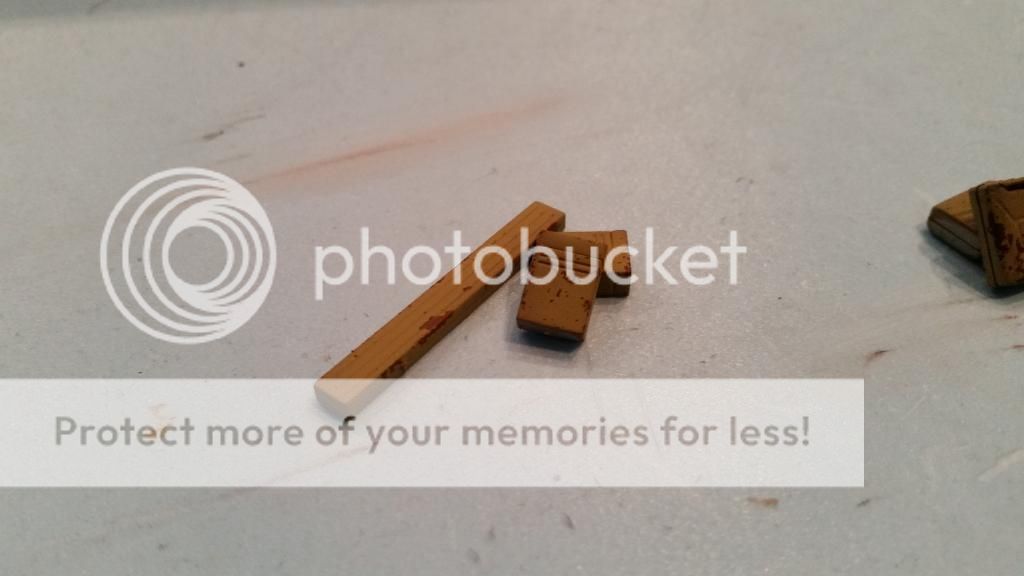
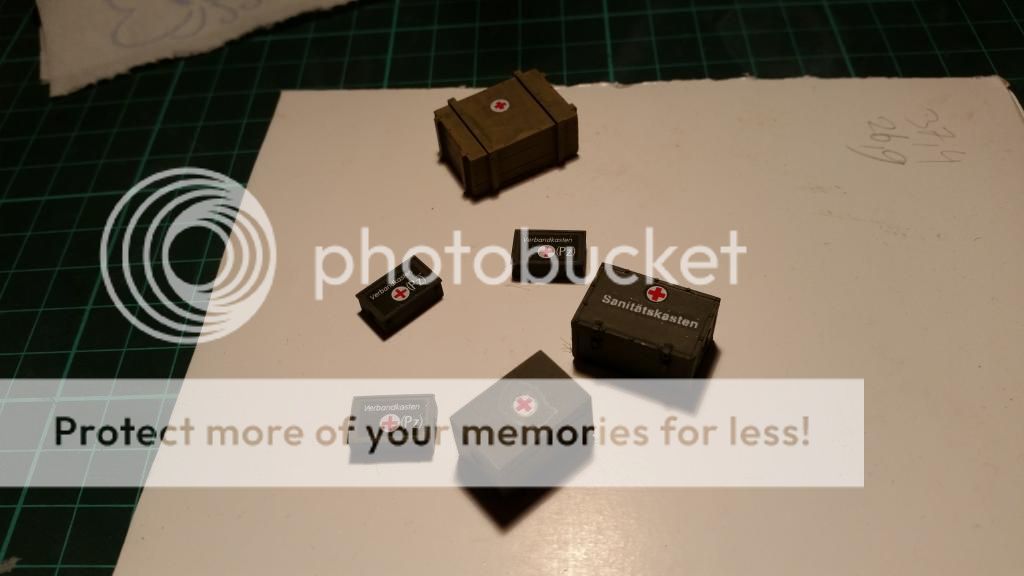
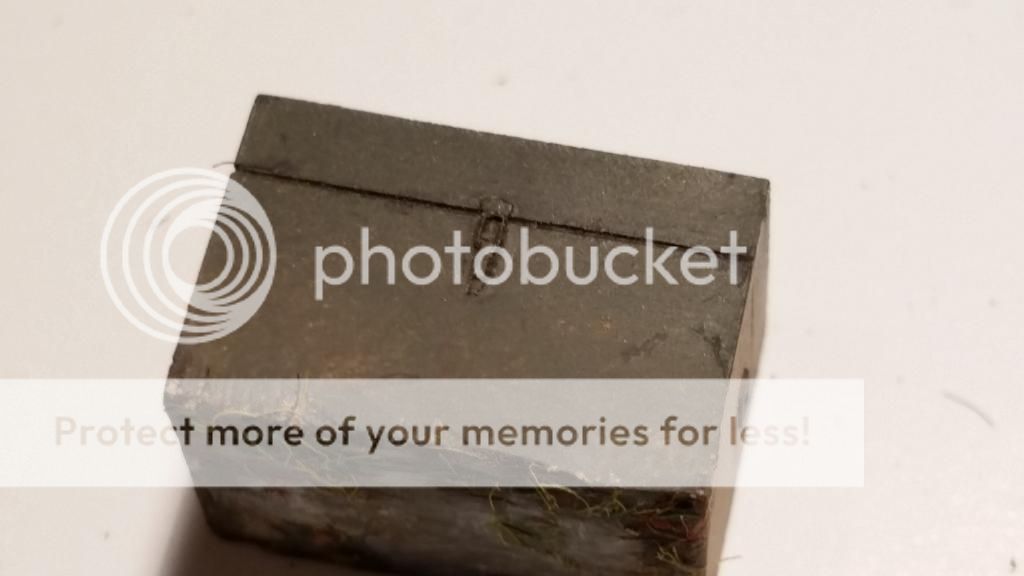
the ammo boxes and spare barrel box where painted with a 50/50 mix of vallejo tank brown and olive brown
this was sprayed on as a rust colored base
then i applied some maskol with a sponge to get the effect of small chipping
once the maskol had dried i sprayed the boxes with tamiya dark yellow wich was mixed with buff in a 4-1 ratio
and once everything was dry i rubbed of the maskol revealing the chipping effect
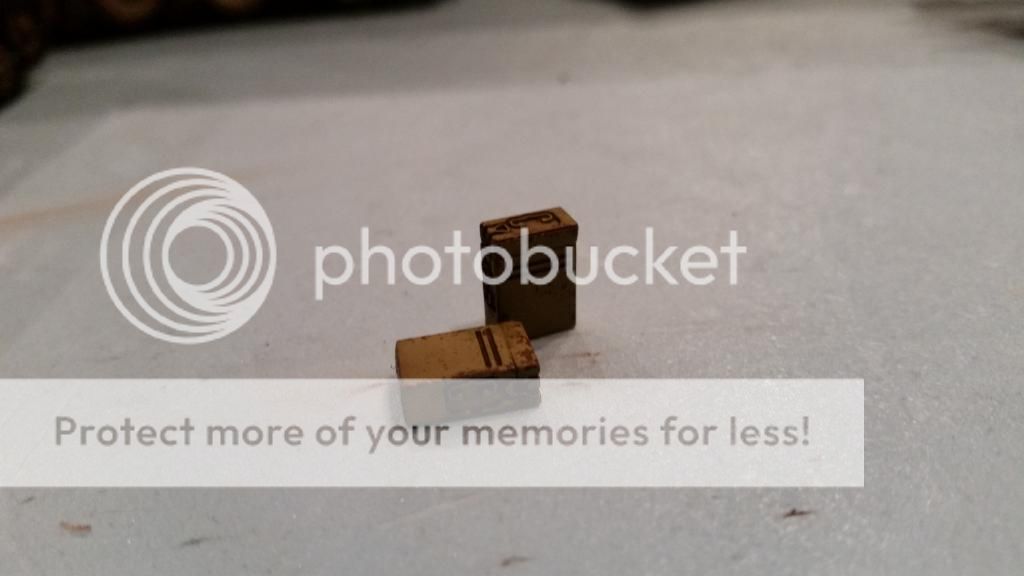
i then applied ak's oif/oef wash (for modern dessert vehicles) in all the resecced places
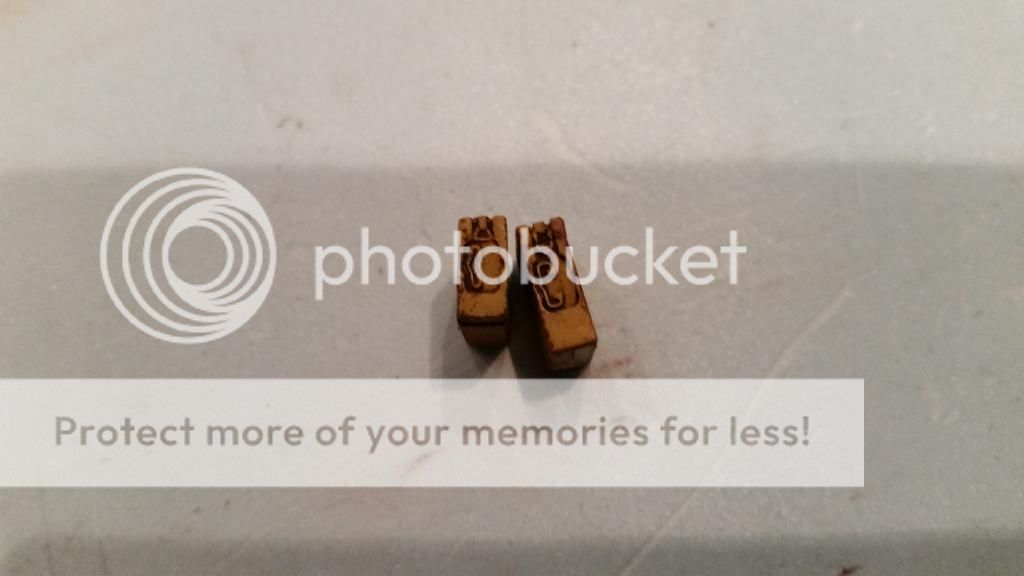
and finally i used a pencil to give the handles a metallic finish
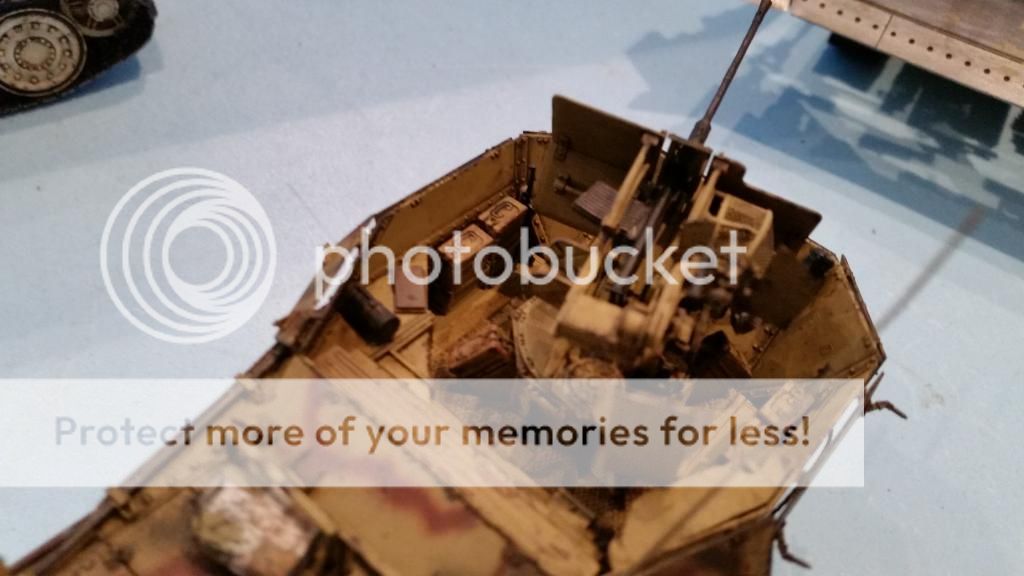
i then added the ammo boxes in the fighting compartment
they have a tight fit and are not very easy to get in place
except for the 4 boxes that go in the racks to the side of the fighting compartment
they go in there very easy
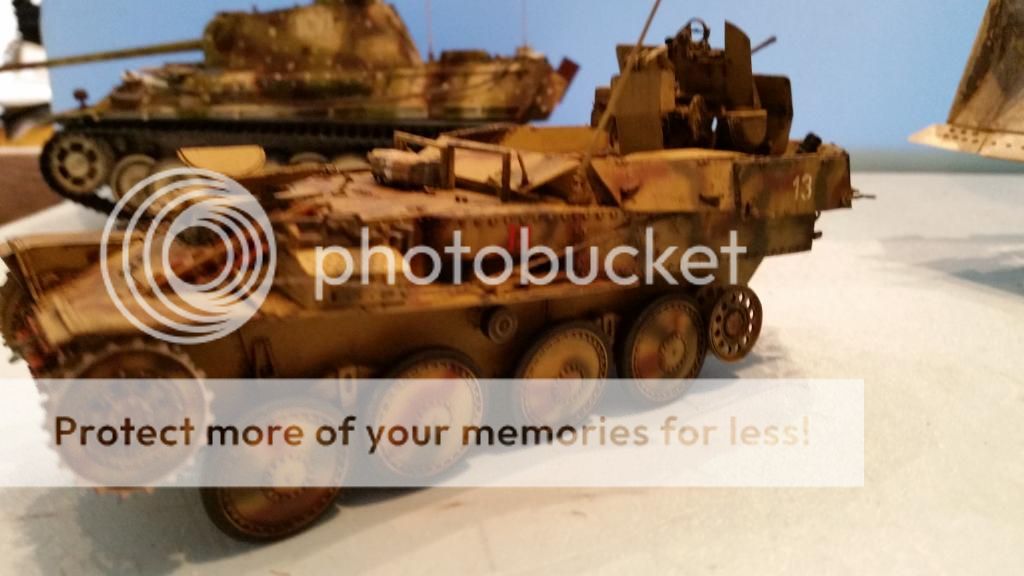
then all the wheels are added
i did find that the way i constructed the suspension (with moving swing arms) was going to give problems as the vehicle now has a problem to sit leveled
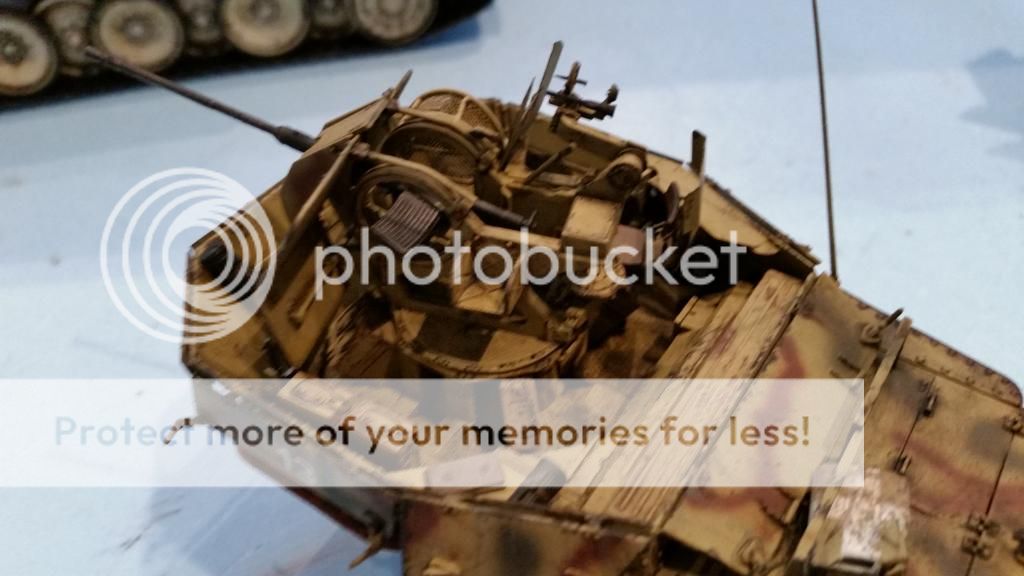
other small extra's where added and the shell catching net was installed
this is painted with vallejo modelair olive drab and then dry brushed with modelair hemp
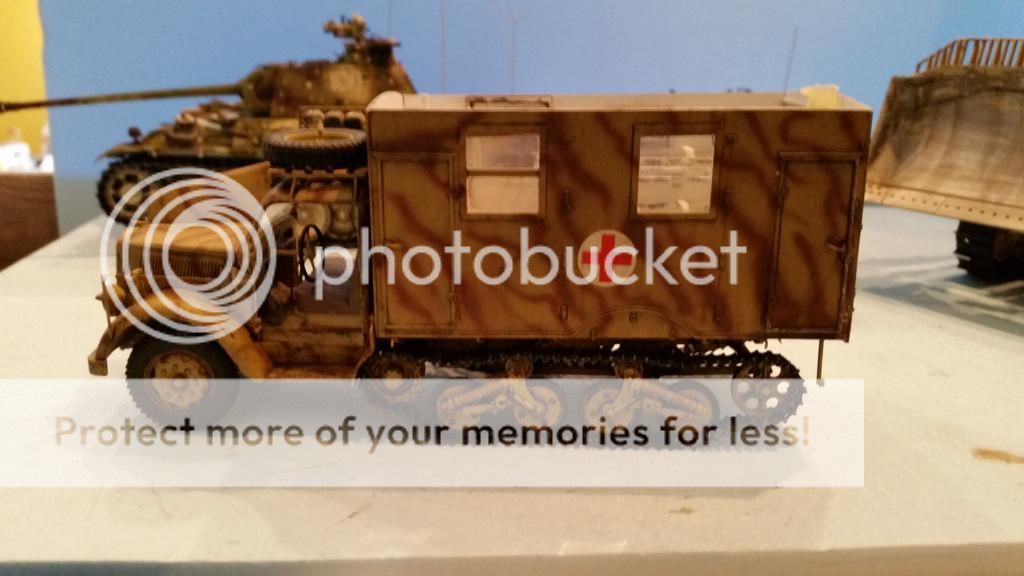
to prepare for the mud and dust i placed all the doors ,these are held in place with a piece of masking tape on the inside
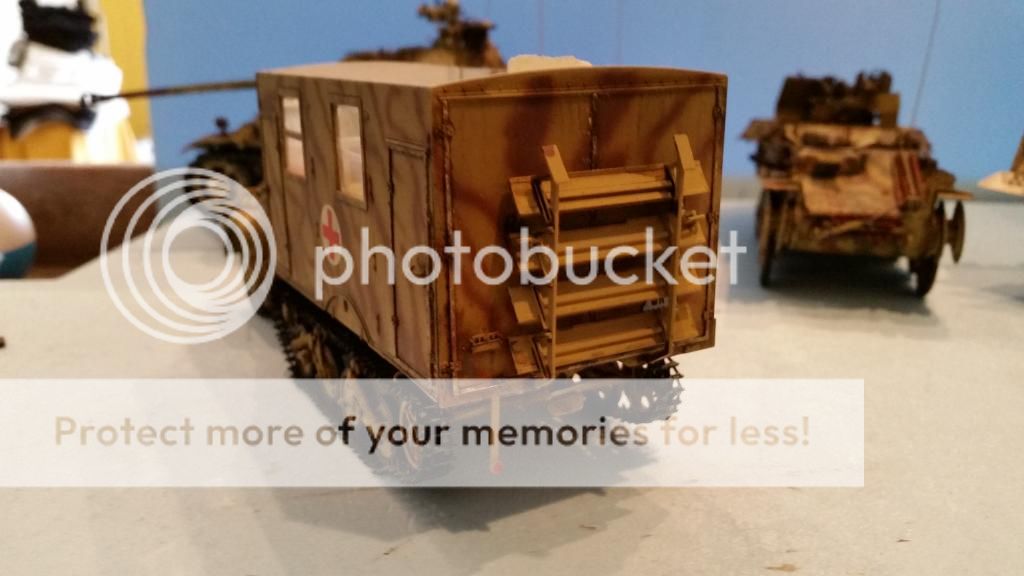
the steps will have to be in the upright position just as it would be when the vehicle is moving
this is done to get the right result with the mud and to get the mud in the places it would splatter on in real life
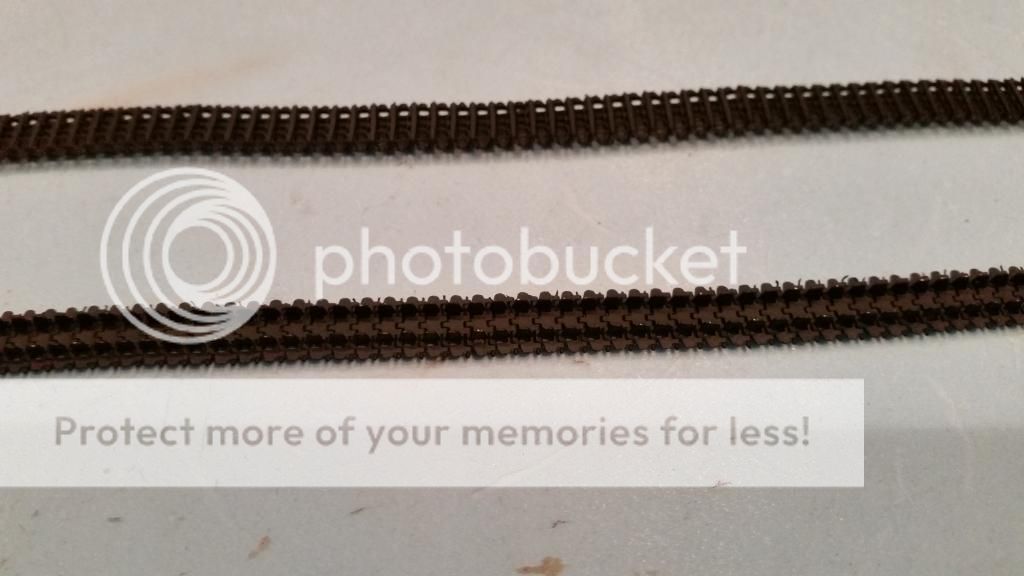
the friul tracks where assembled
make sure that you drill out the holes with the right size drill ,this will make the assembly a lot easier
they are painted with vallejo model air black and then heavily drybrushed with vallejo model color gunmetal grey
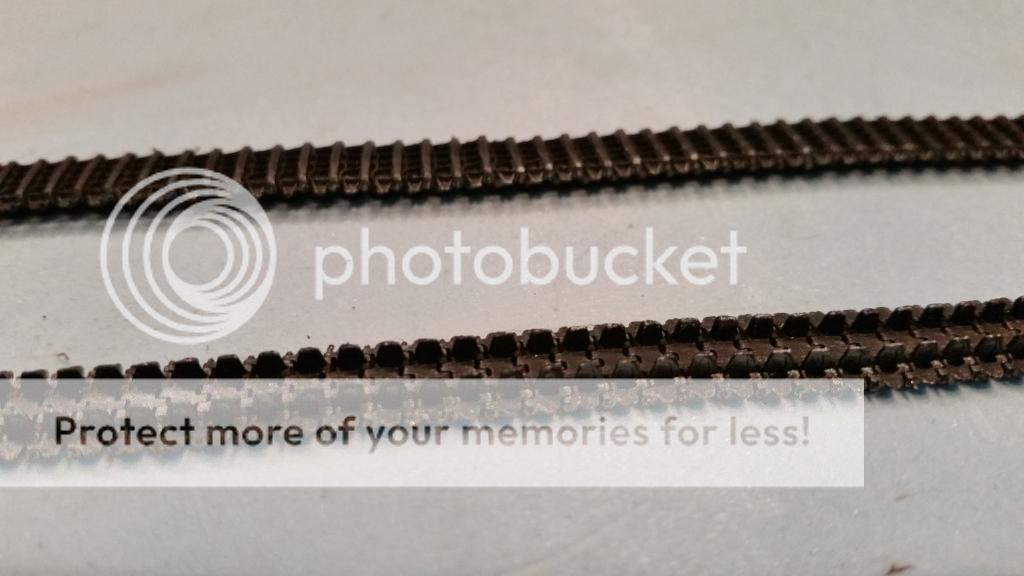
wich is shown here
LET'S GET MUDDY
so now the vehicles are ready for the last big step of the weathering ,mud
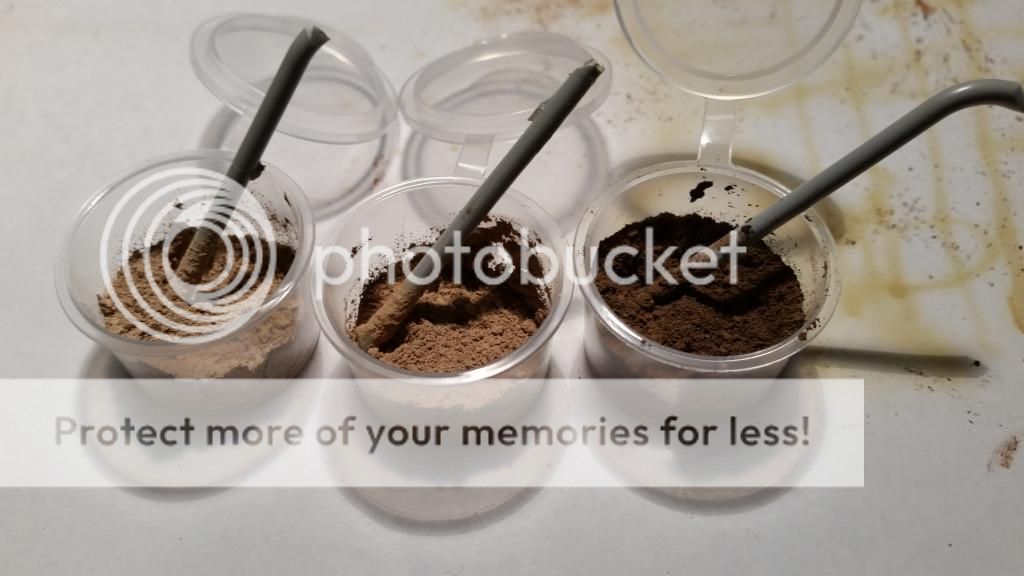
i made these 3 mixes using mig productions pigments
from left to right :
dry mud , dry mud and europe dust 50/50 mix and dark mud with europe dust in a 75/25 mix
all of these are mixed with 30% (roughly) plaster
make sure all the lumps are crushed before you add the water
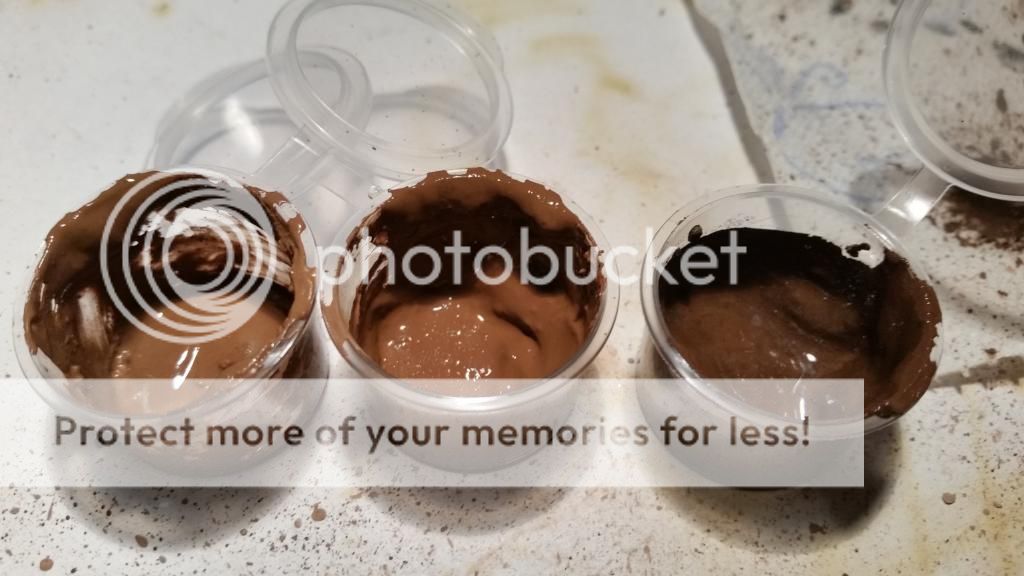
then drop in some water
you should end up with a thin paste ,something like this
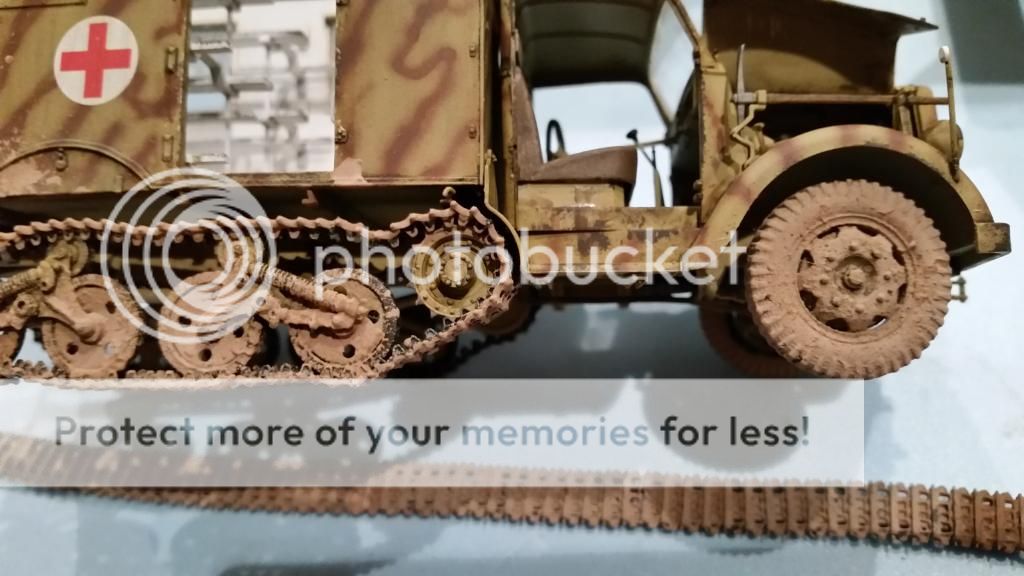
i then dipped a old big brush (about a no 4 ) in the mix but only the tip
and held that in front of the vehicle , then using the airbrush i hit it with a blast of air wich splashes the mud mix on the vehicle
always work from light to dark when doing this
also keep in mind that the dry mud should cover the most surface and use less when you go over it with a darker tone
a other thing to keep in mind is that the rear should be messier then the front
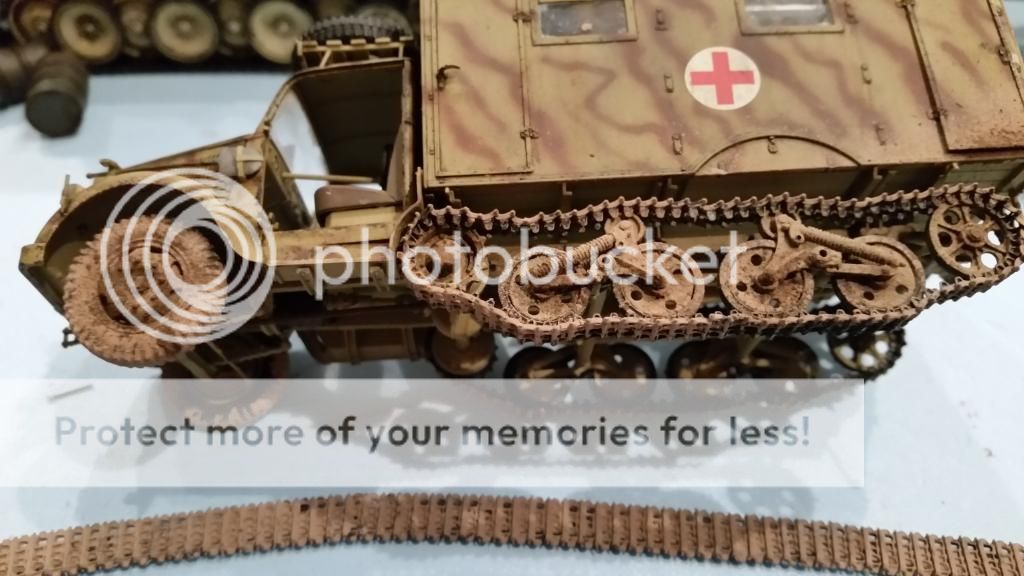
here the second and third mud mix are applied
on the front wheel the color variation is clearly visible
as you can see i only placed it on the lower part of the back and on some area's on the suspension
this was then left to dry for a while ,30 minutes should be enough but if it takes longer no problem just make sure it get's to dry completly
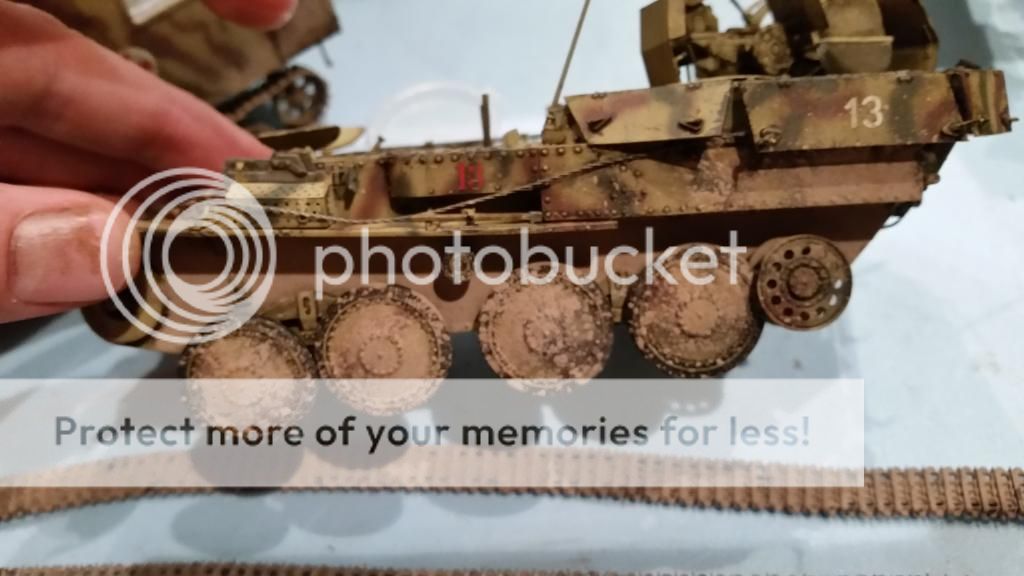
then the flakpanzer got the same treatment
but this time i only used the first color
i did this to get a difference in the apearrence of the vehicles
this way i only have dried up mud on the flakpanzer giving the look that it has been in position for a while and wasn't moving
the ambulance has more variation so this gives the idea it was moving recently and whent through some puddles wich trown up fresh mud that hit the vehicle
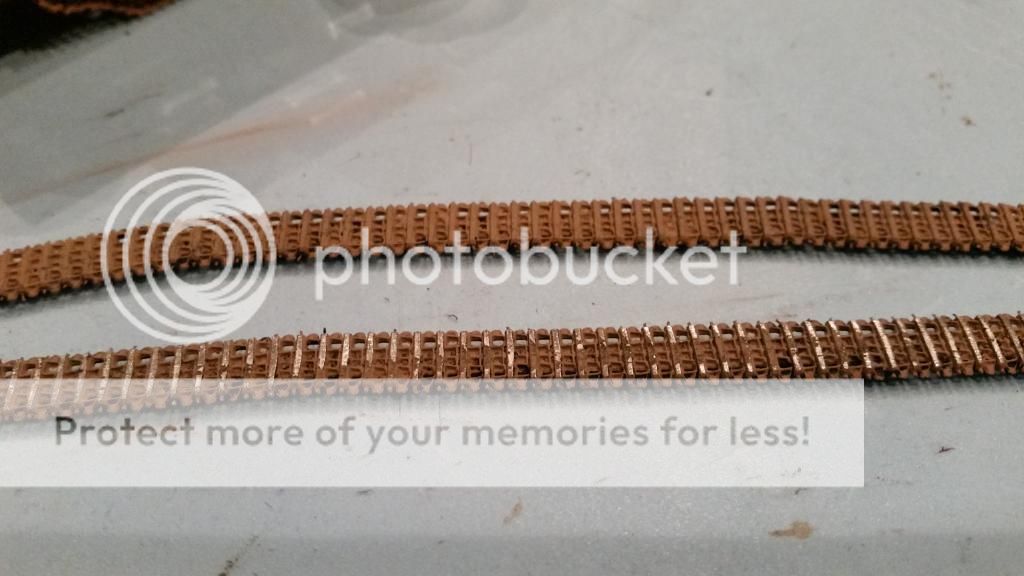
the tracks also had this coat of mud but this time i only used a brush
then i wanted to make the look worn so i used a piece of sanding paper wich i rubbed over the underside of the tracks
this removes part of the paint and mud showing the metal underneath
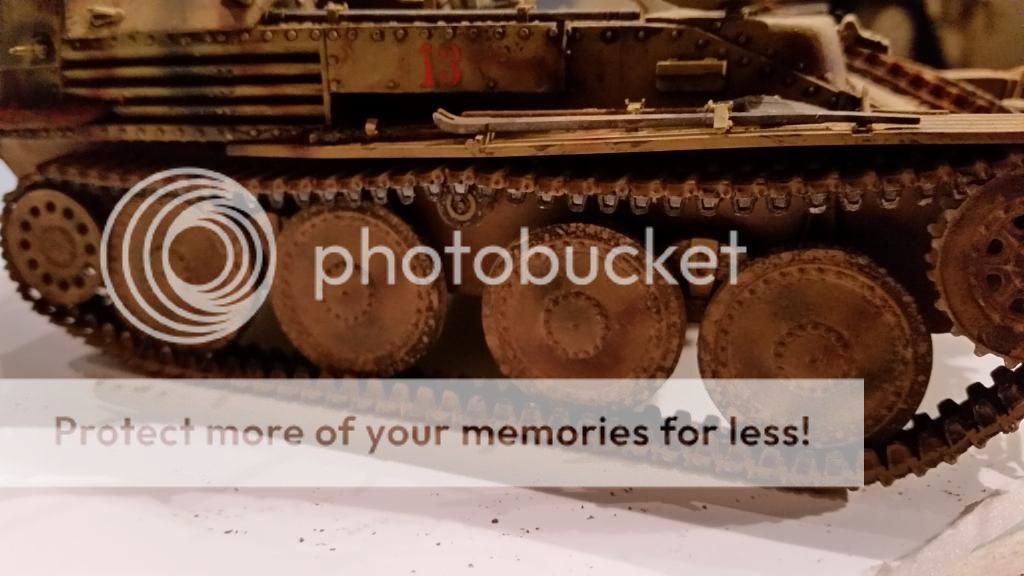
but since wheels spin when the vehicle is driving mud will be trown of and i had a big amount on them
so i used a dry brush and whiped off some of the mud
this will leave on a bit but the shunks are now gone
this also works when you hit a part you don't want to have mud on
because this method is not that controlable to begin with (they are actual slashes)
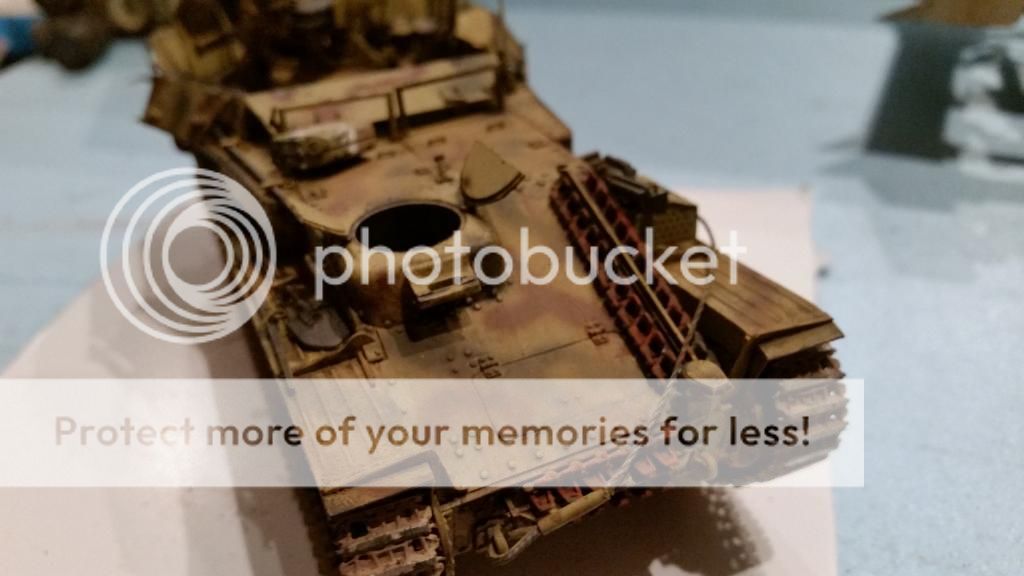
i then added a bit of pigment on the horizontal surfaces for some dust
i used europe dust pigments for this
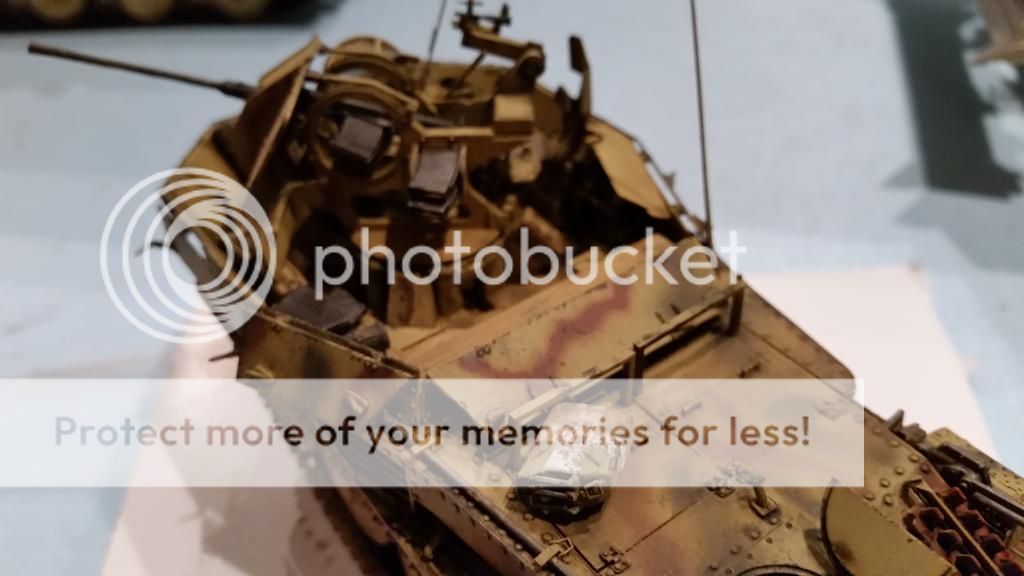
the last magazines where added and then this vehicle is done
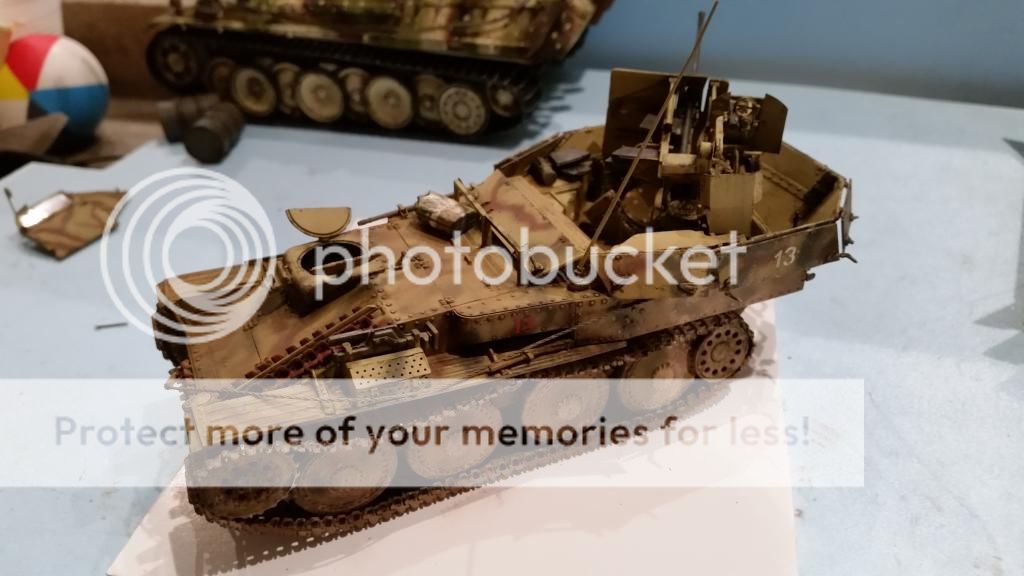
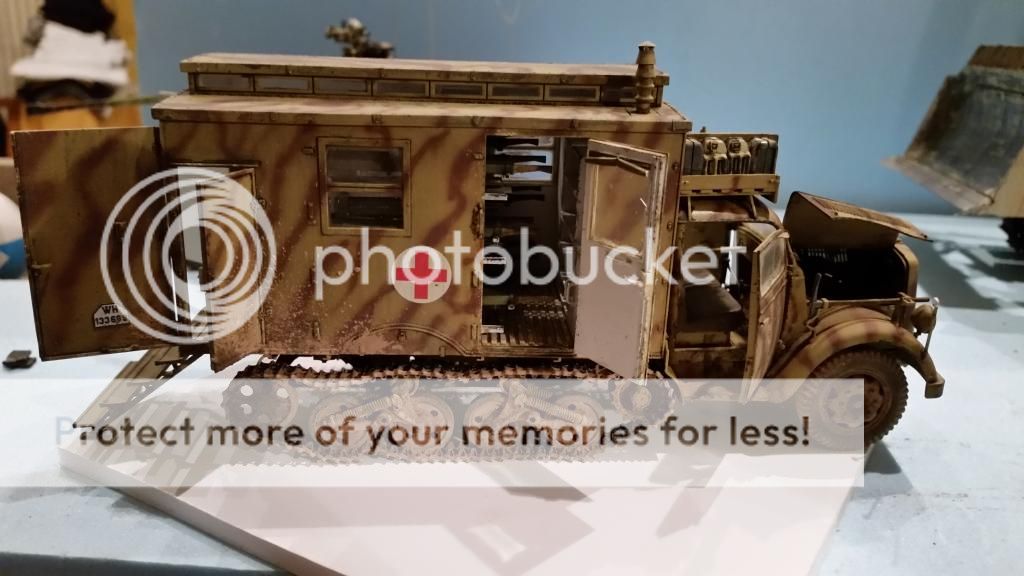
after the flakpanzer was removed from the bench i moved over to the ambulance
all the doors where glued in still showing the mud splashes
the front tyre had most of the mud brushed of showing the rubber tyre
this was also done on the boogies
the wheels still have the mud but the rubber surfaces don't
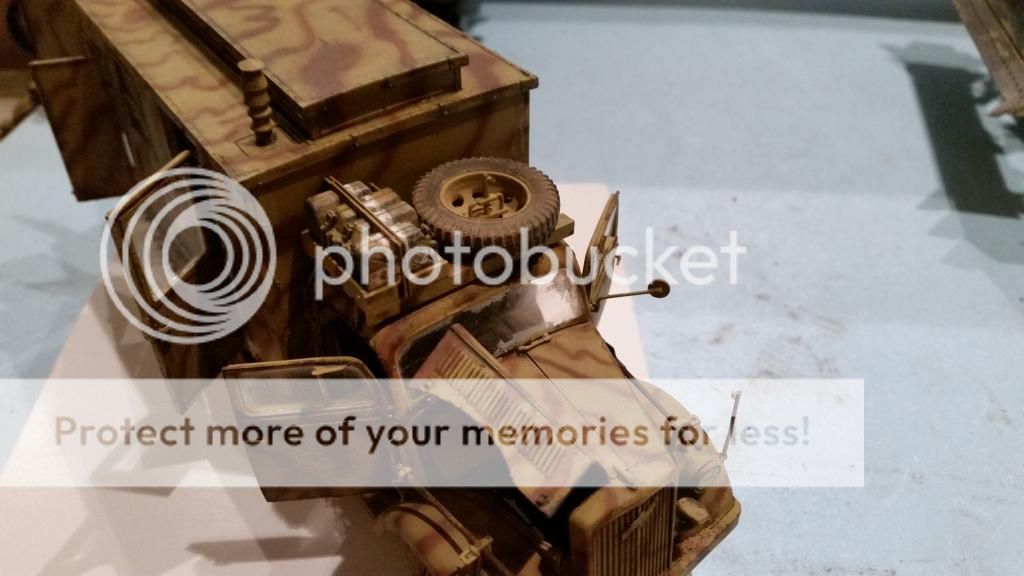
then a bit of dry mud pigment was used to cover the last surfaces like the fenders and the spare wheel
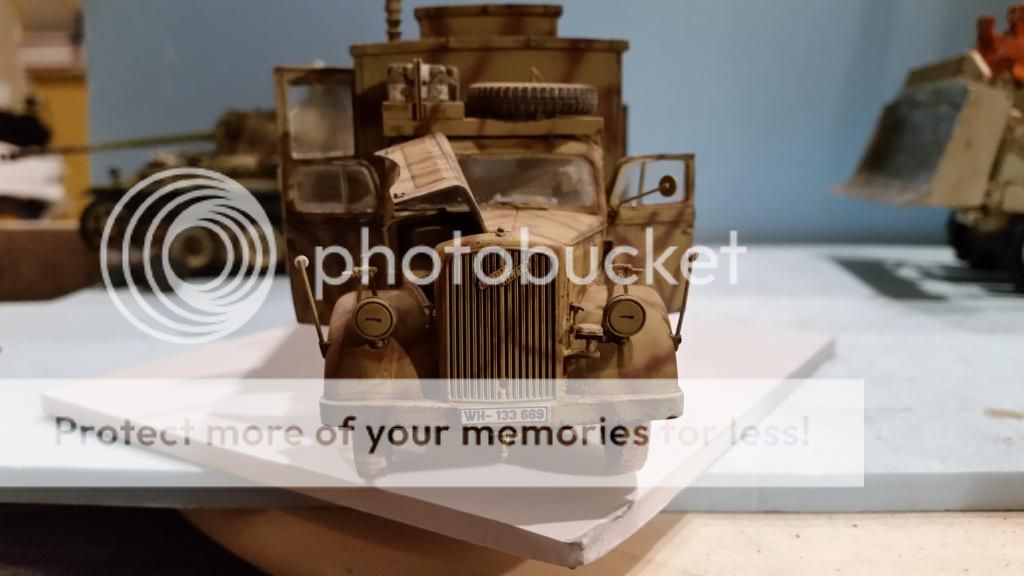
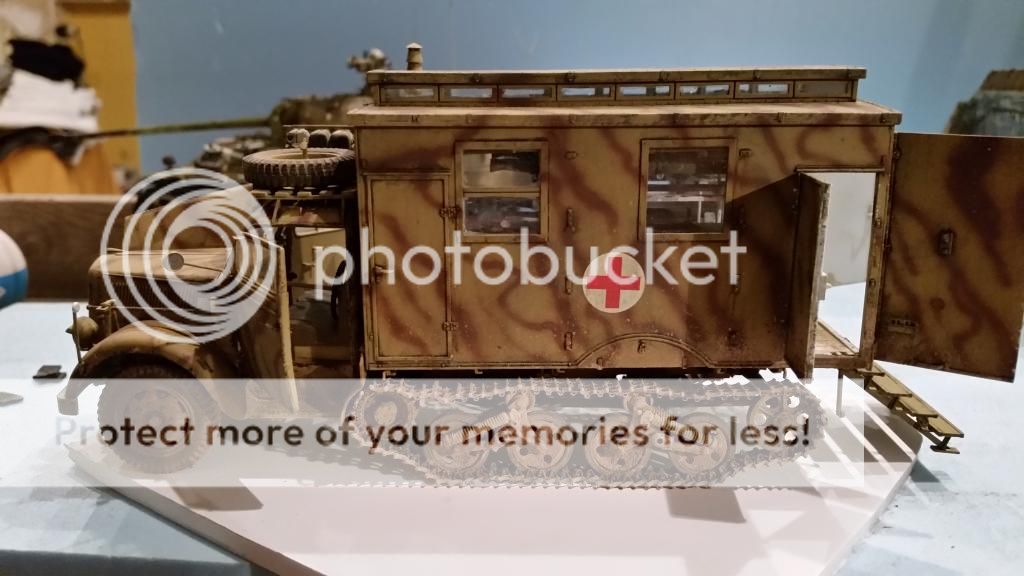
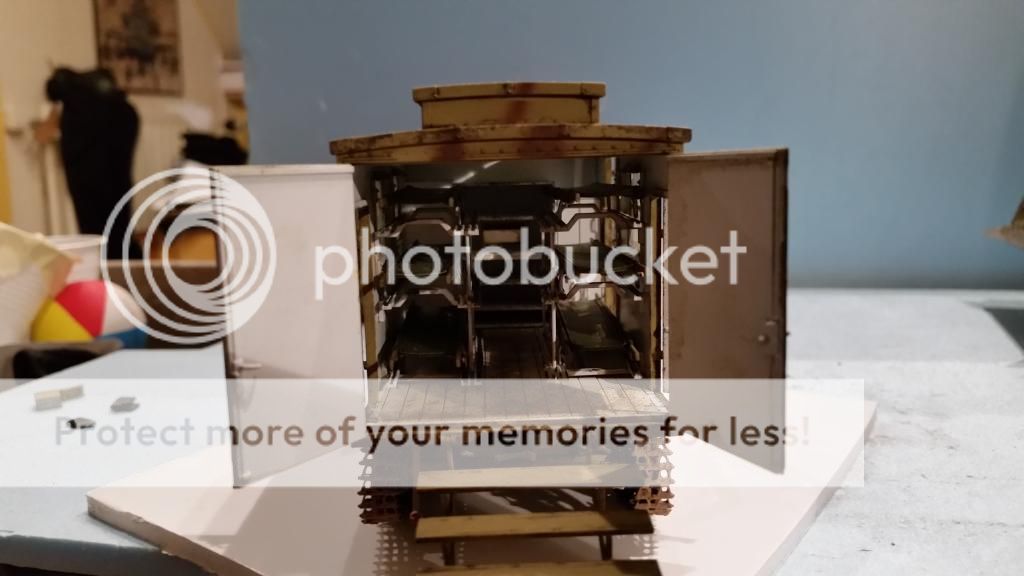
some different photo's of the finished vehicle
the steering wheel has to be put back into it's place (loose part)
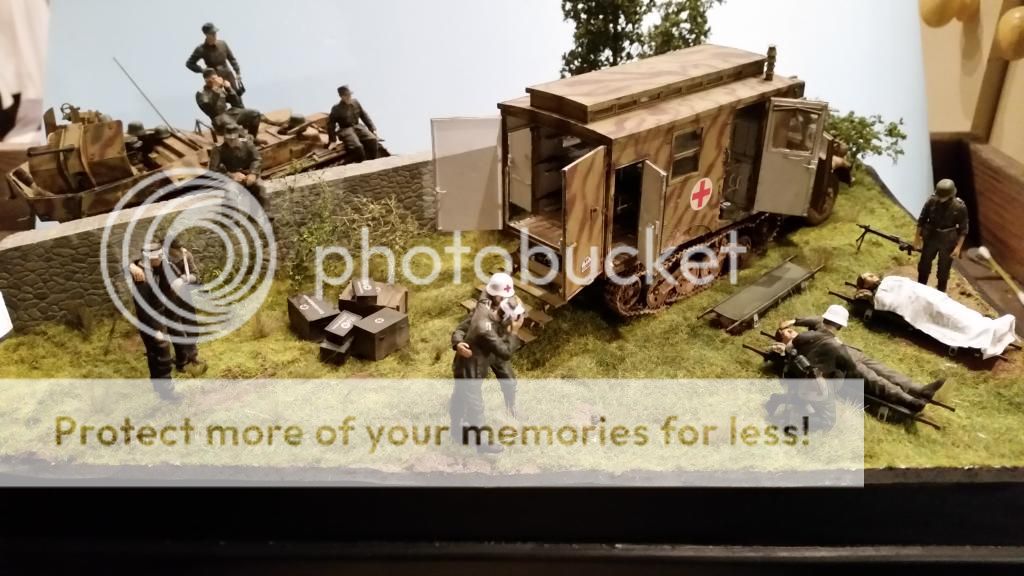
and 6 of the stretchers are in the racks the others will be placed on the dio later on
and that is it
finally , my fingers hurt from all this typing
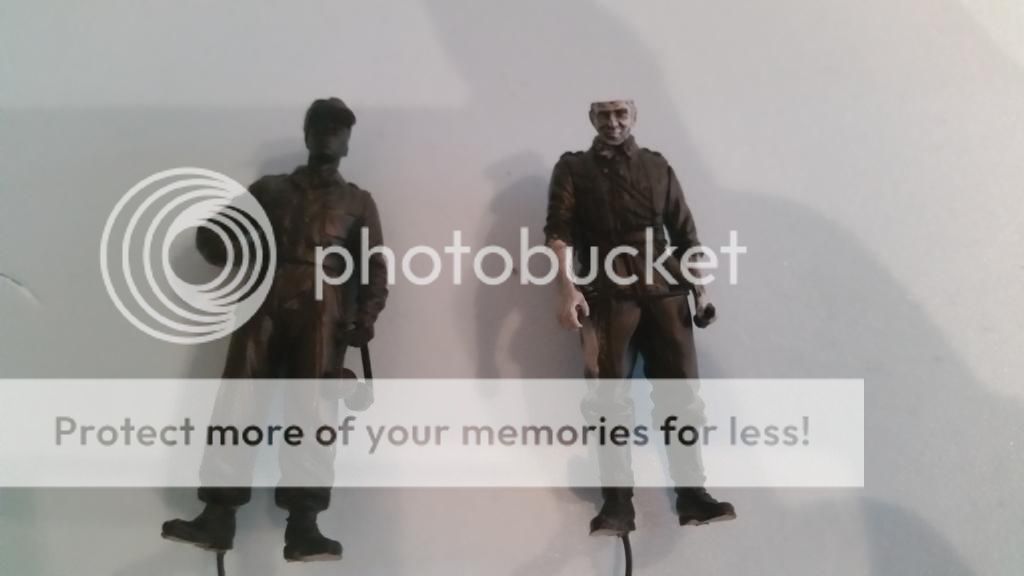
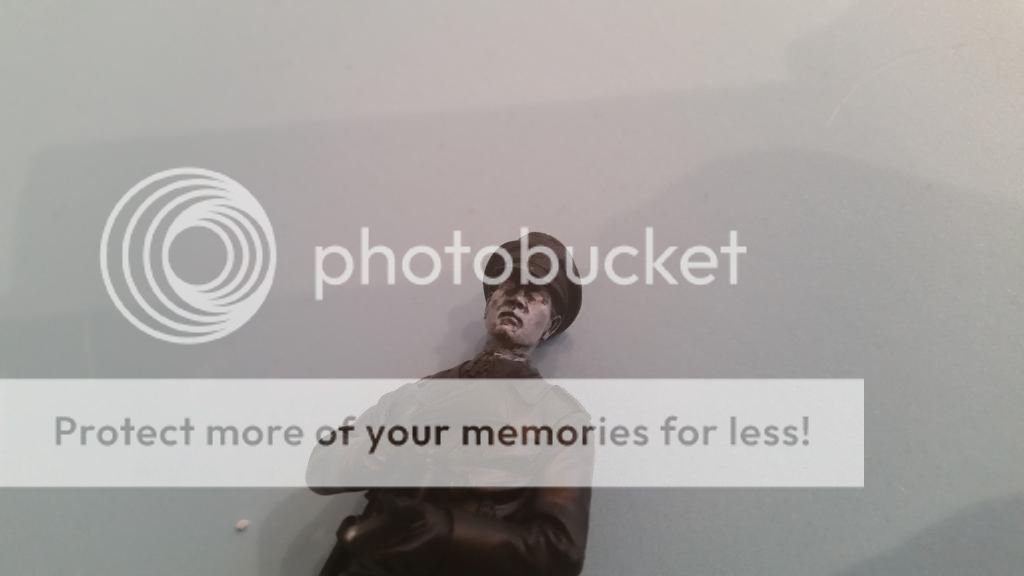
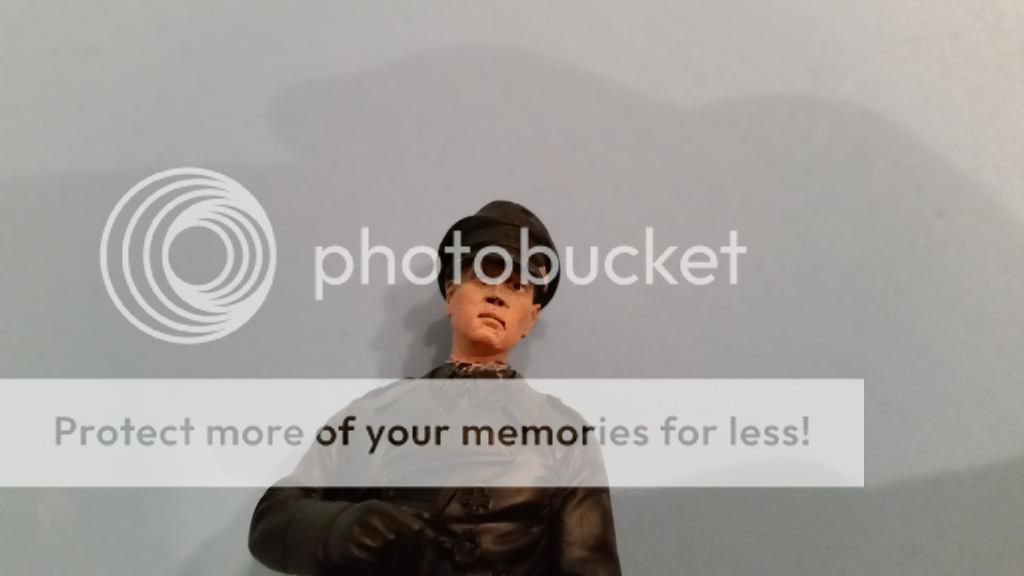
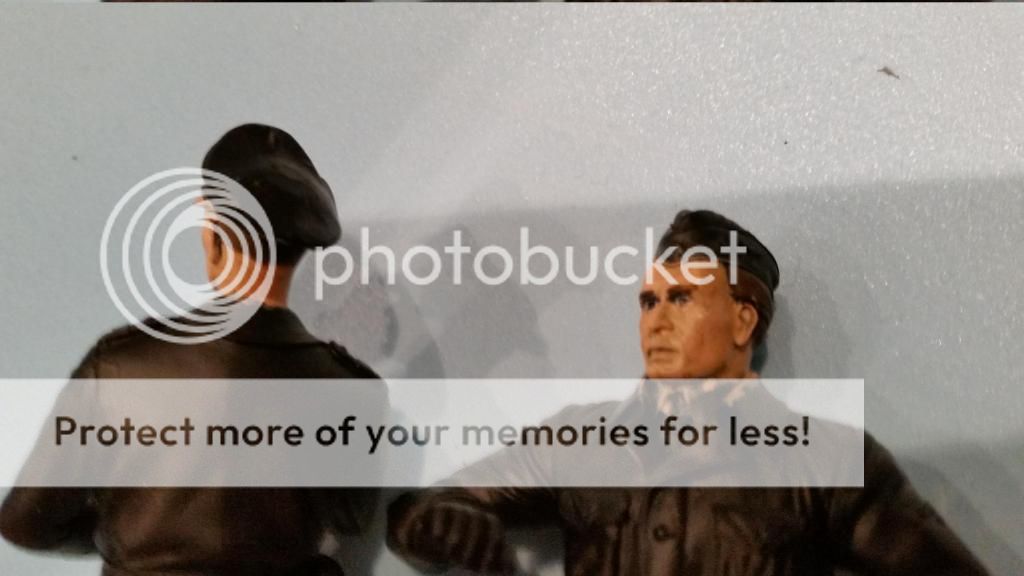
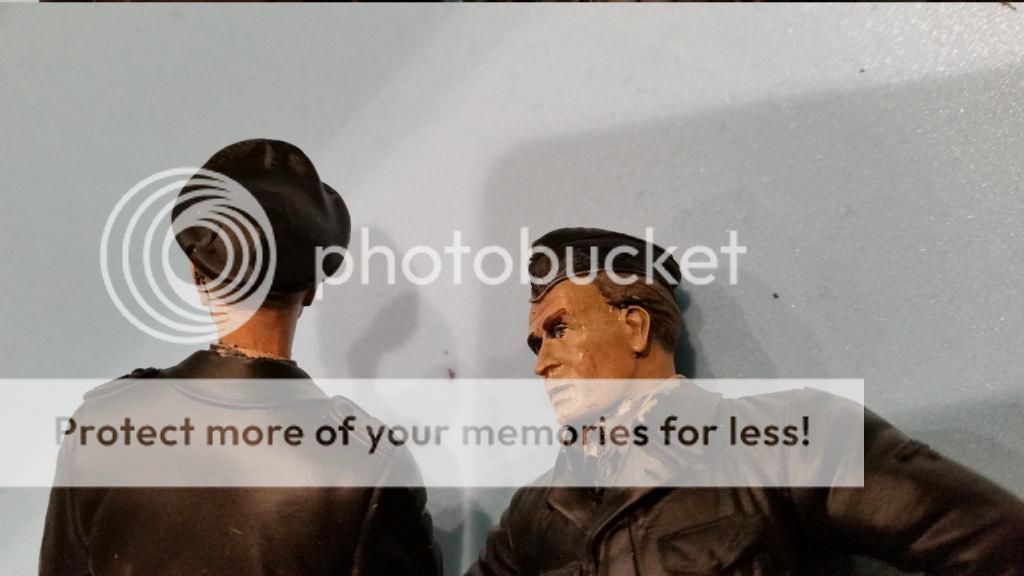
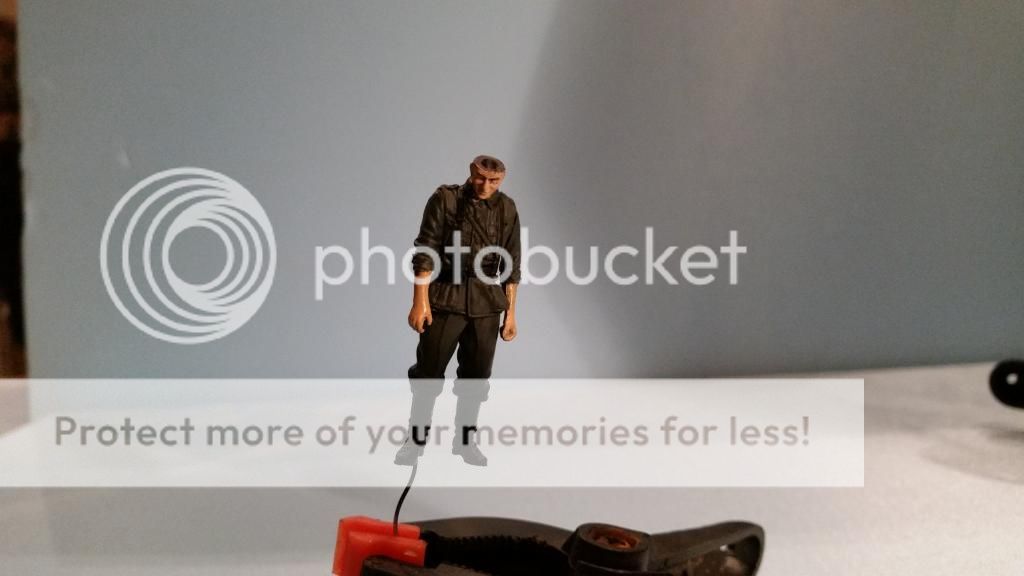
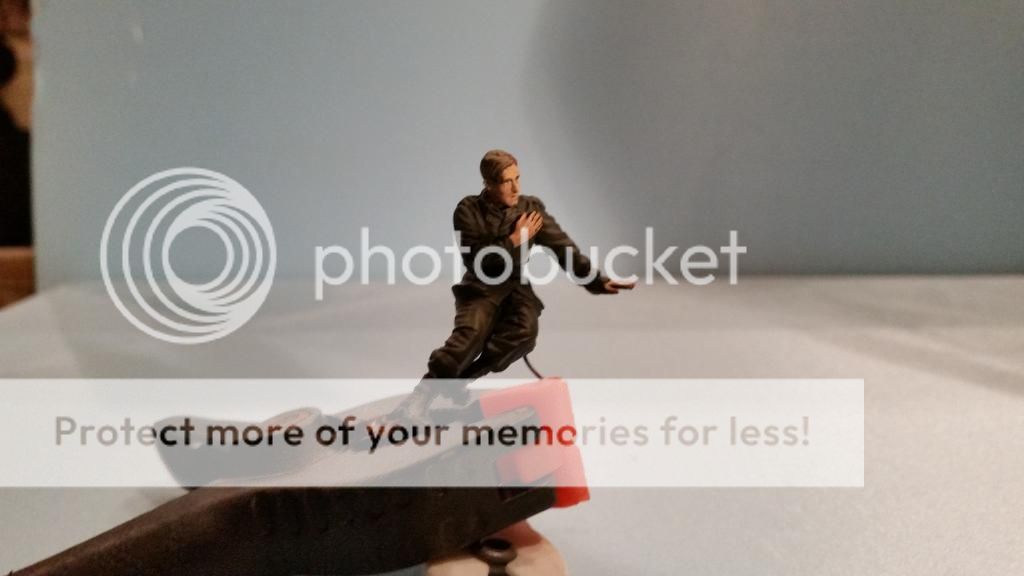
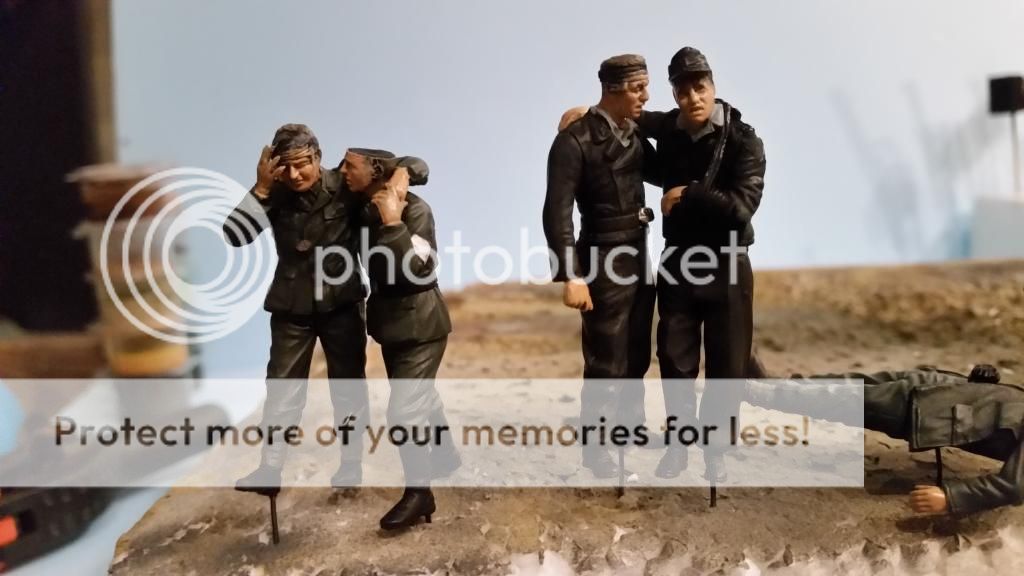
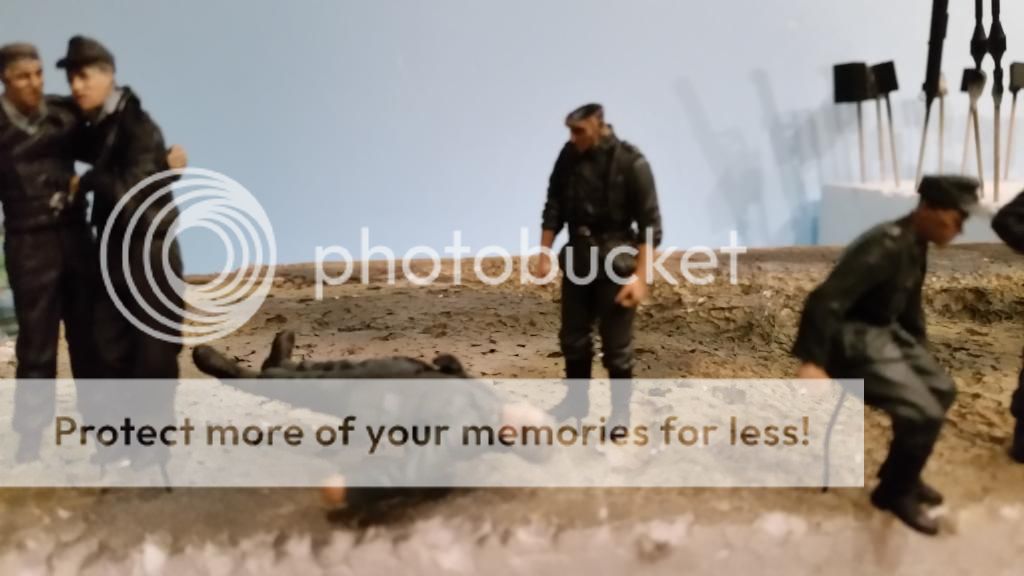
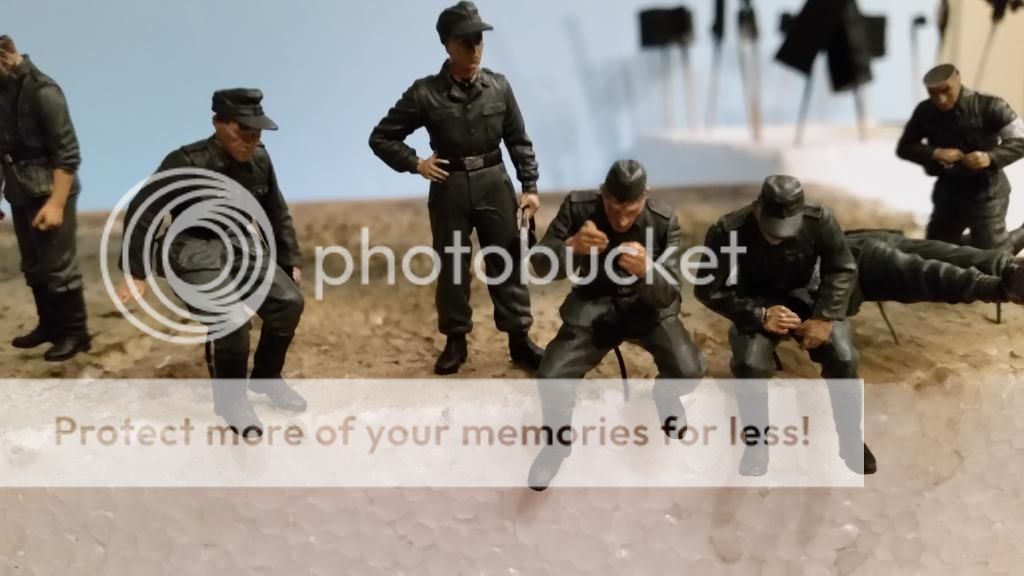
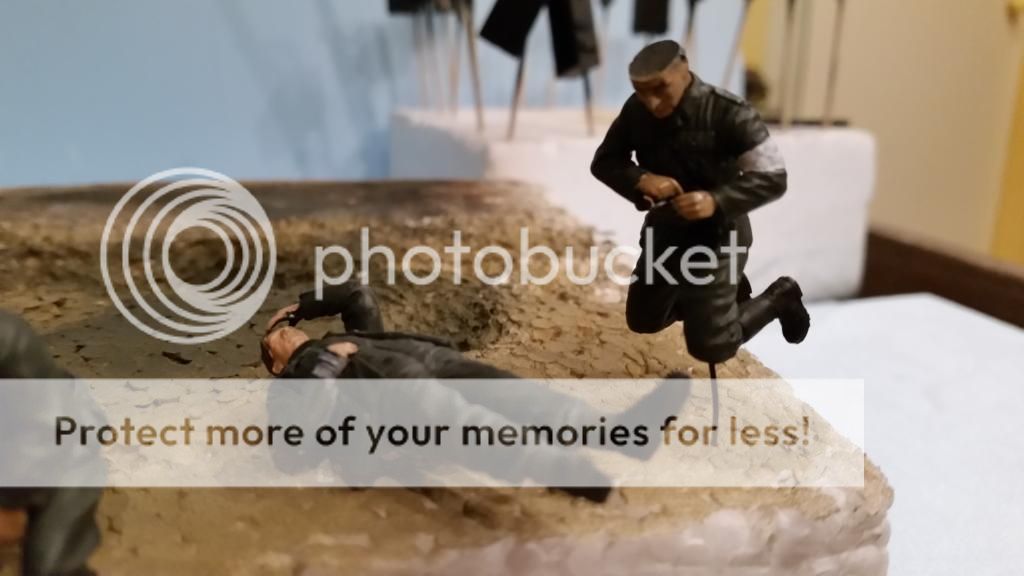
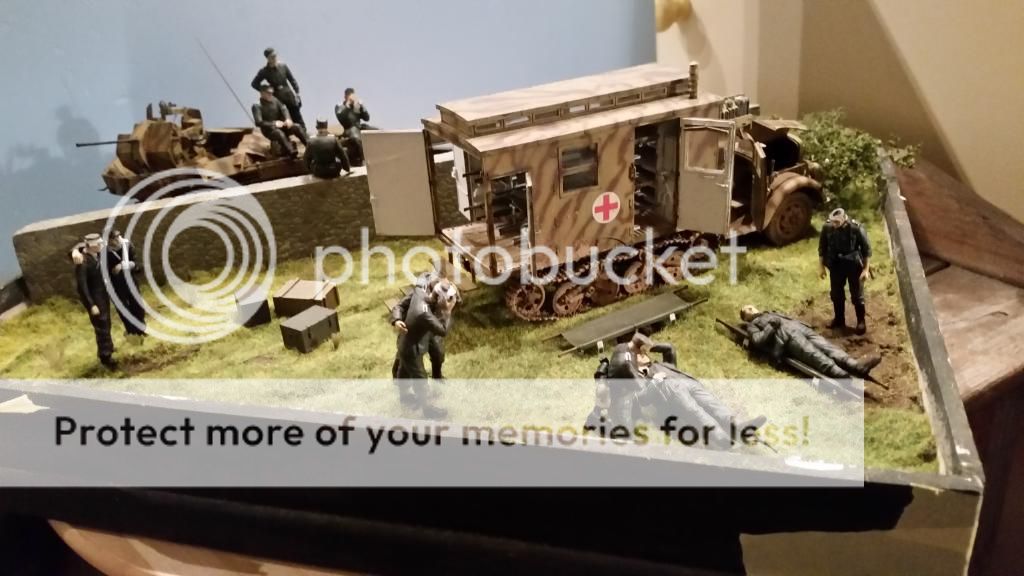
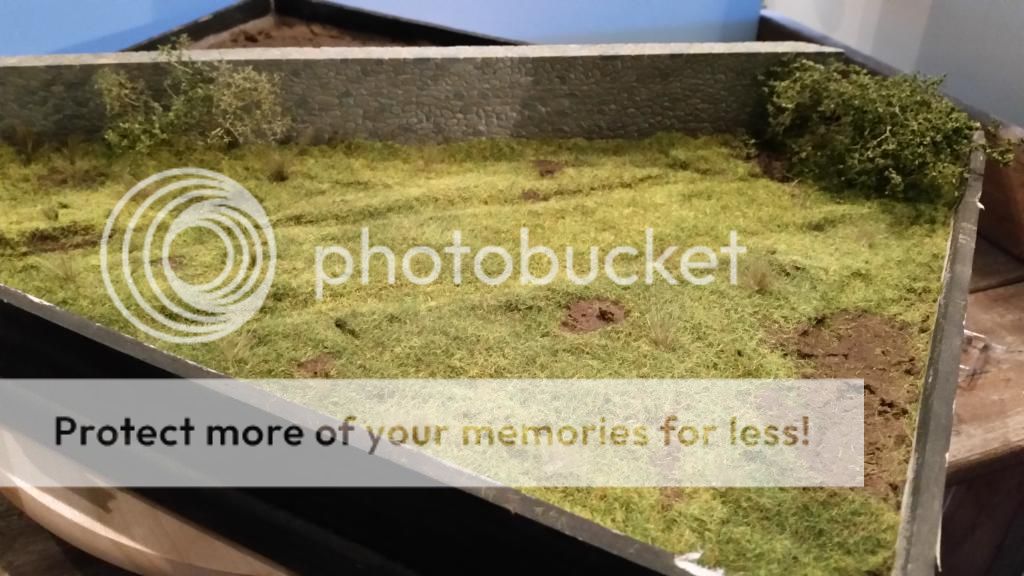
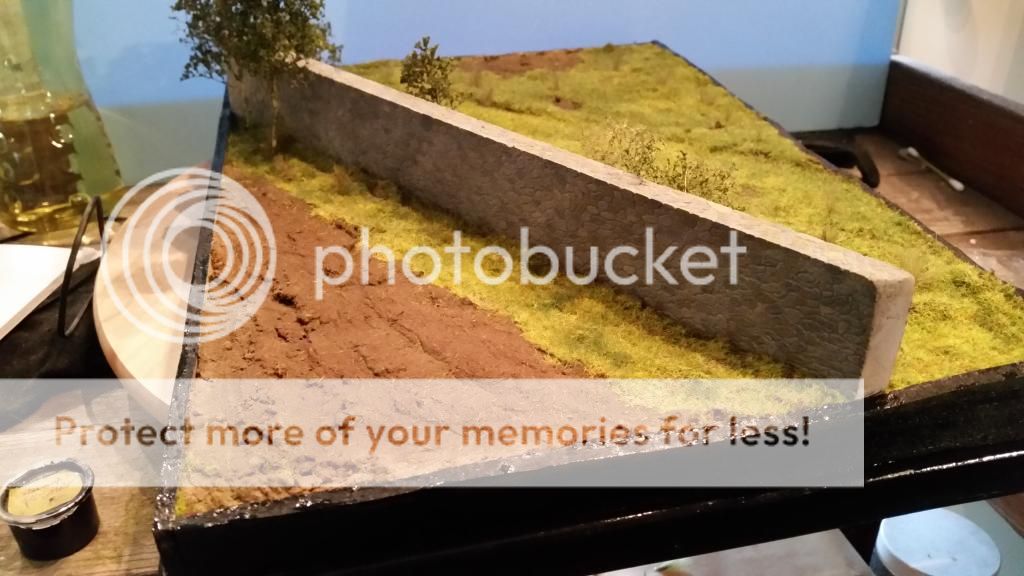
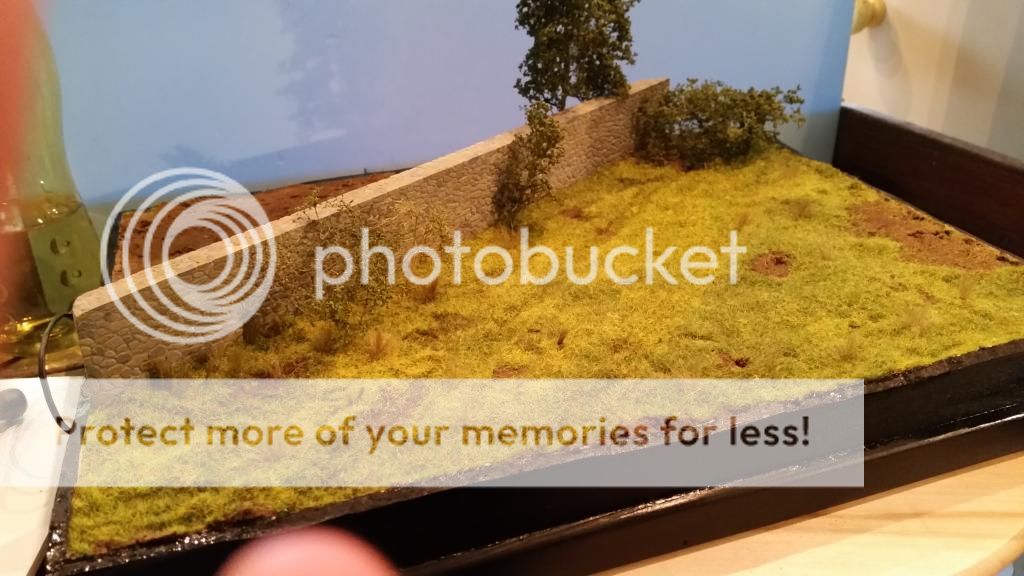
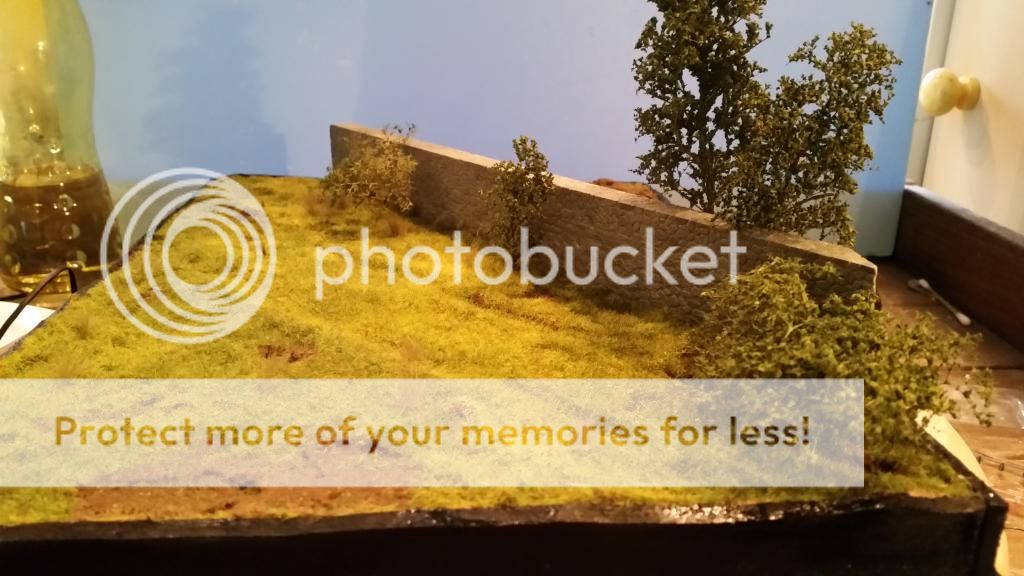
next time i should have gotten some progress with figures and maybe the dio itself
so i hope you like the results and hopefully someone benefits from the methods i have showed
all that is left is a :untill next time
cheers Mark


